8 WEEK CLASS: NOVEMBER 2025
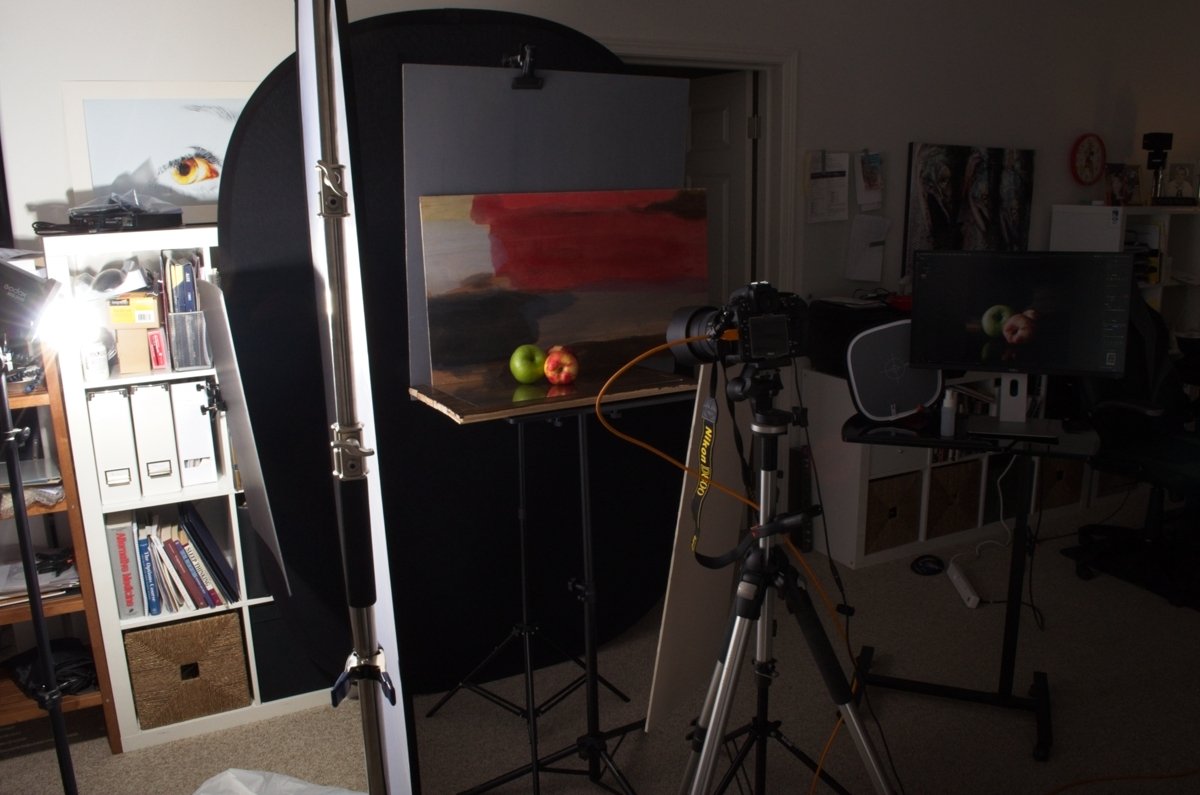
One Big Beautiful Light: Week One
CLASS ONE: One Large Light for Food;
The Window You Can Take Anywhere
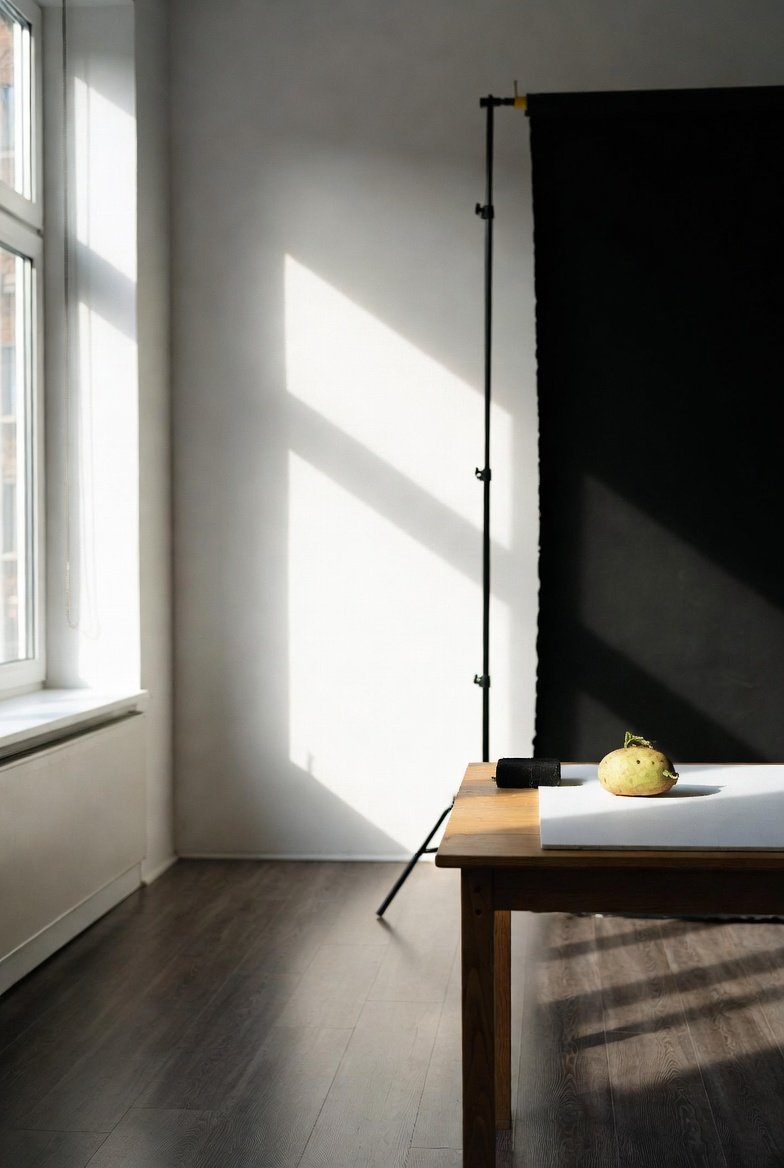
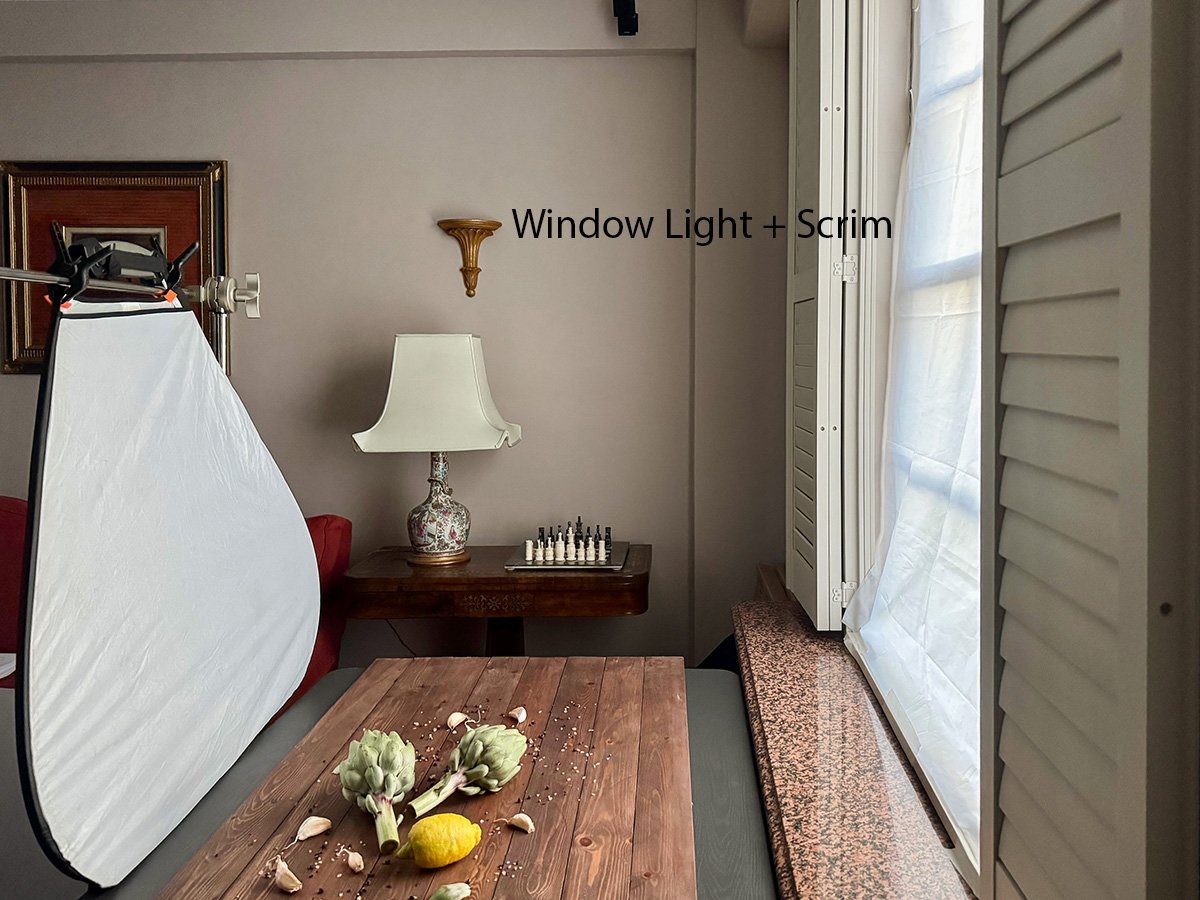
You’ve all seen food photographed next to a window. What we’re doing today is the same thing, but we can make it predictable, controllable, and repeatable.
One big vertical source.
One table.
One subject.
No drama.
No circus.
Just you, the food, and the light.”
Traditional One Big Light Setup with Natural Light:
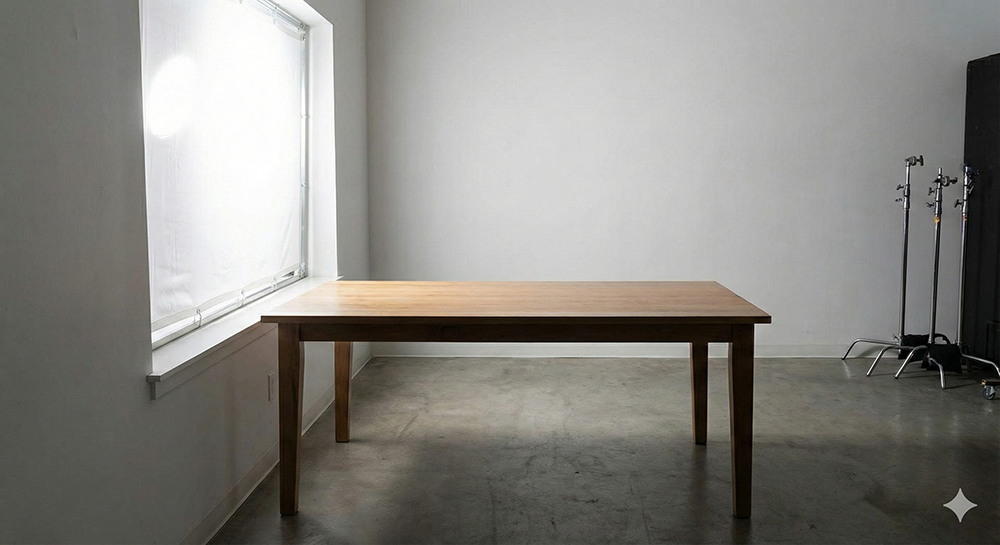
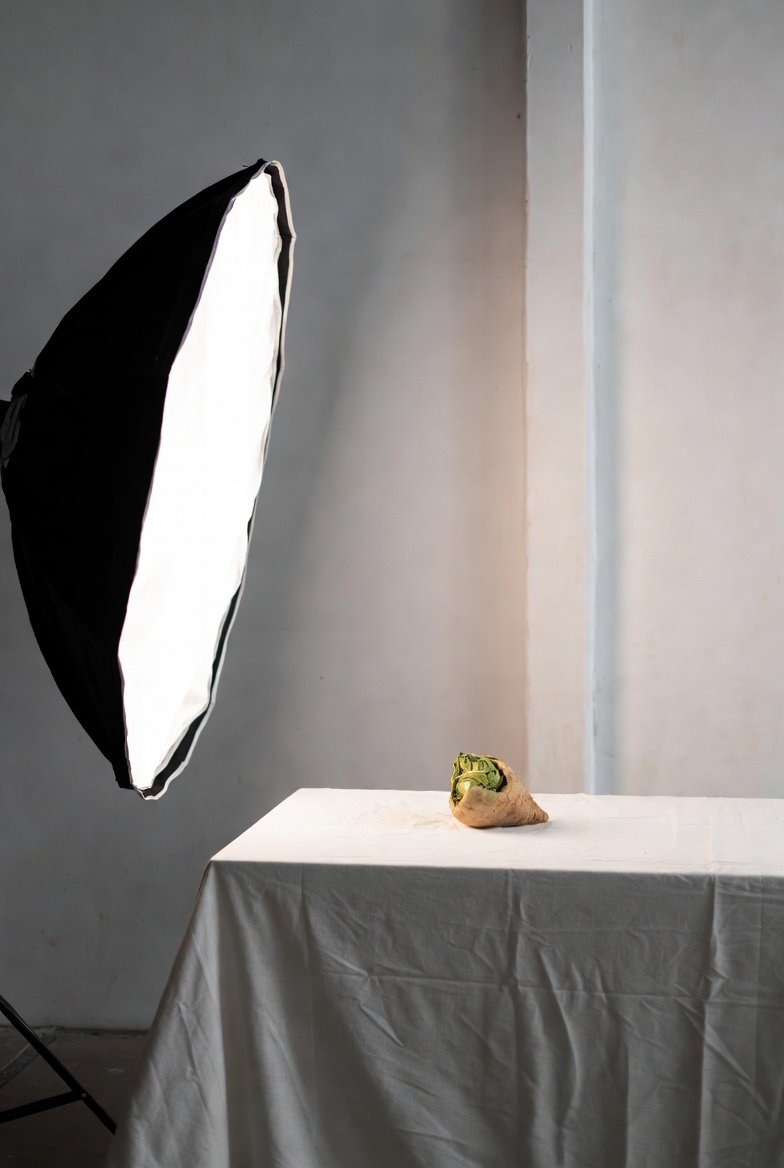
We are going to create that light in the studio.
Advantages to doing it with studio lights:
- Color temperature stays the same.
- Exposure stays constant
- Work at any time.
- Adjust and modify at every level.
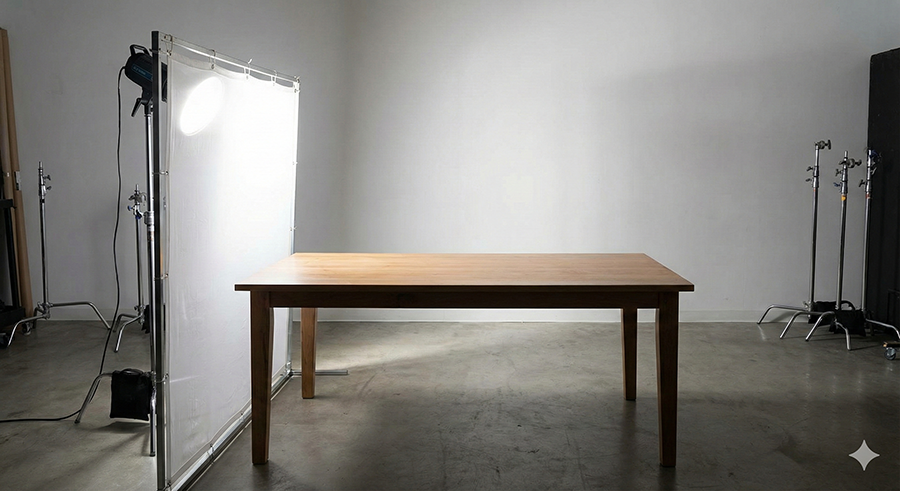
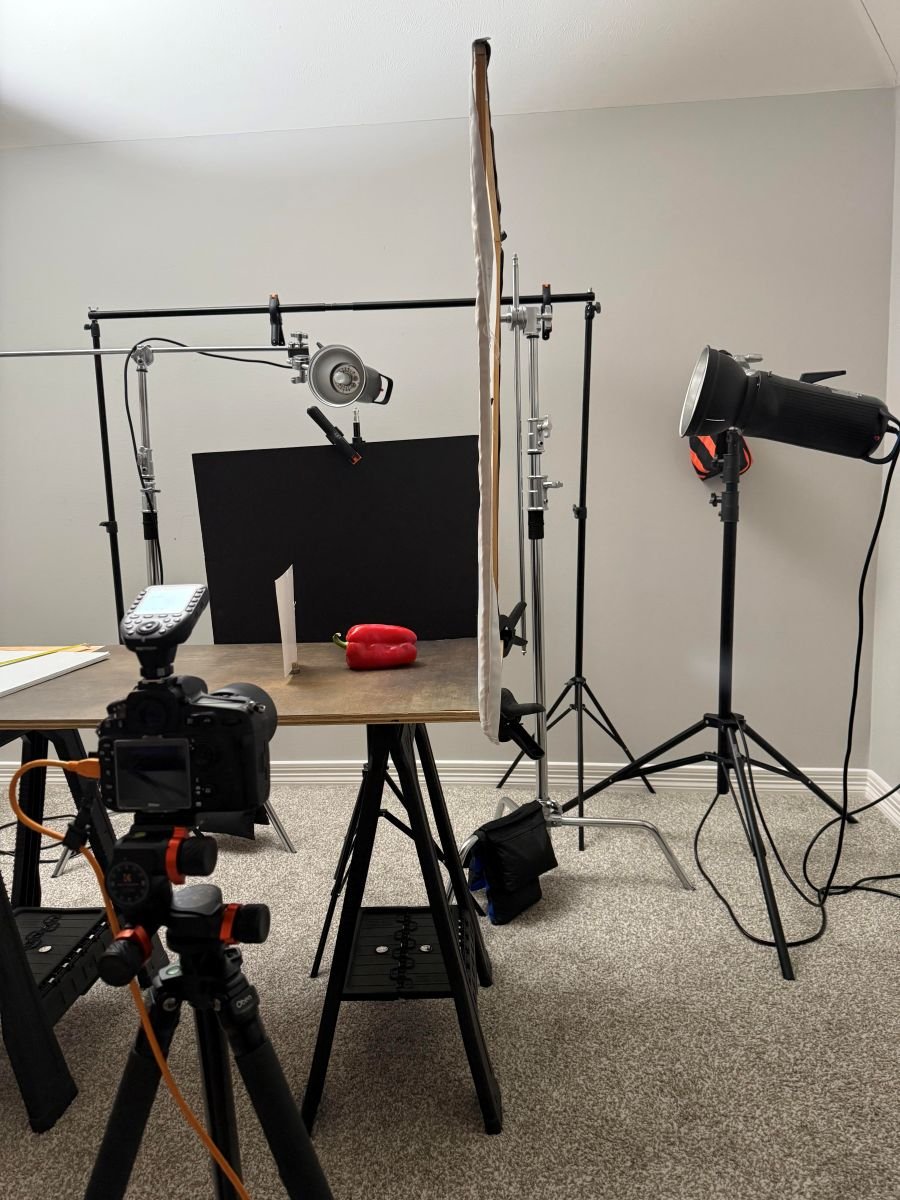
1. The Setup
This is going to be a comfortable light, like an old friend:
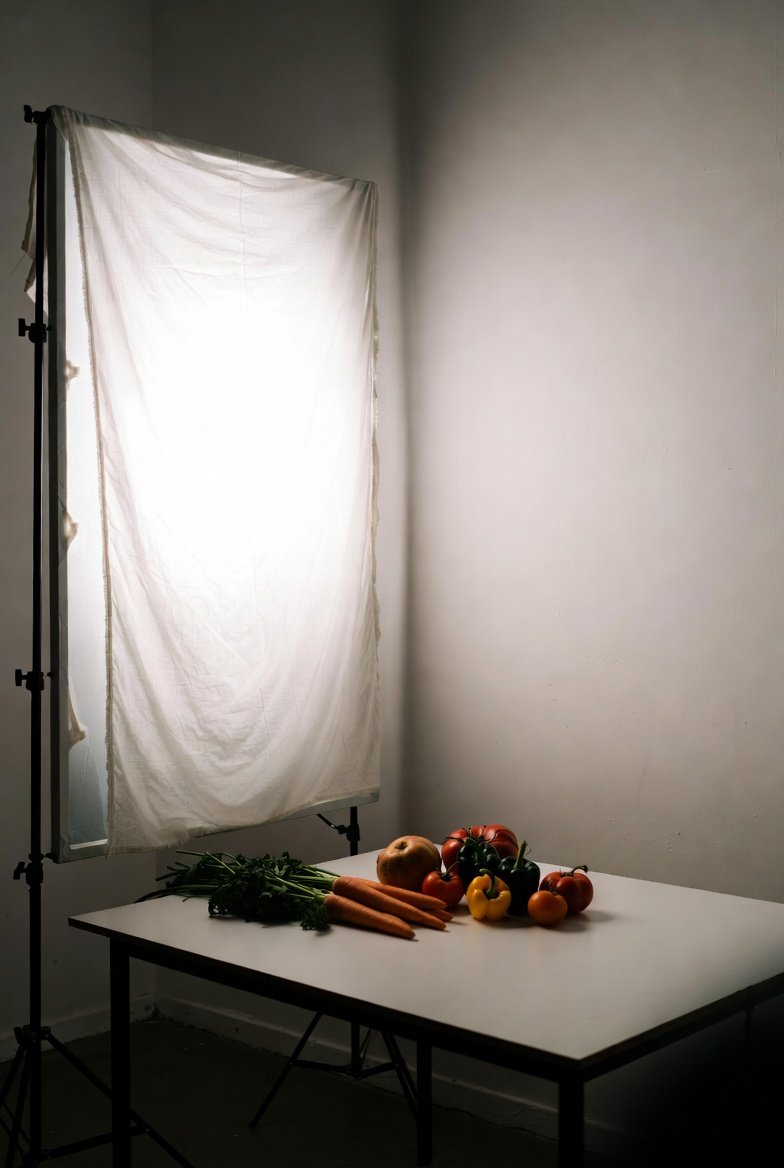
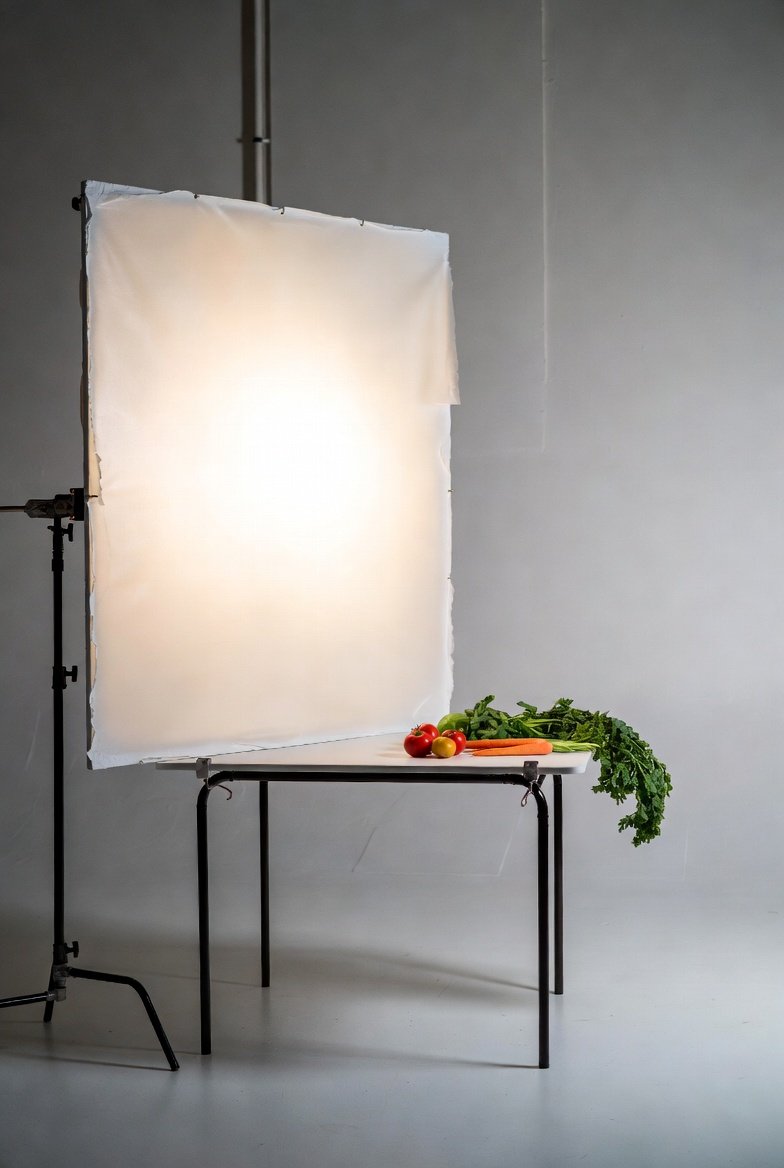
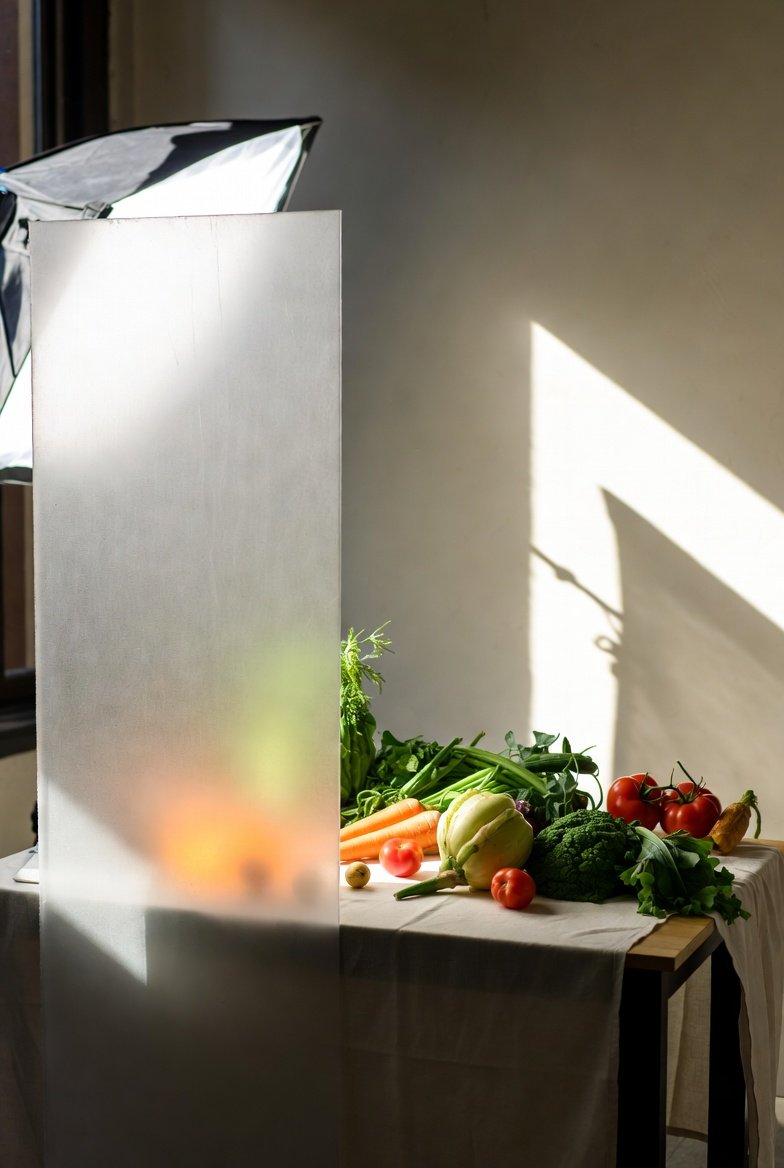
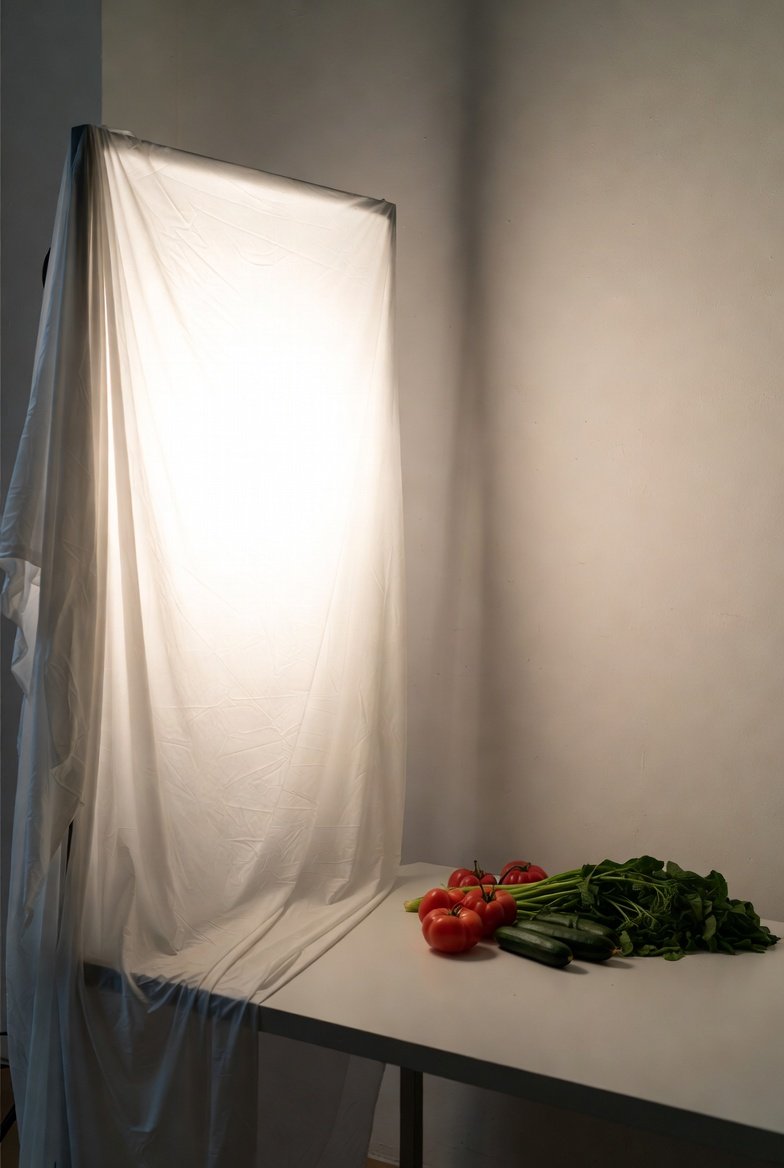
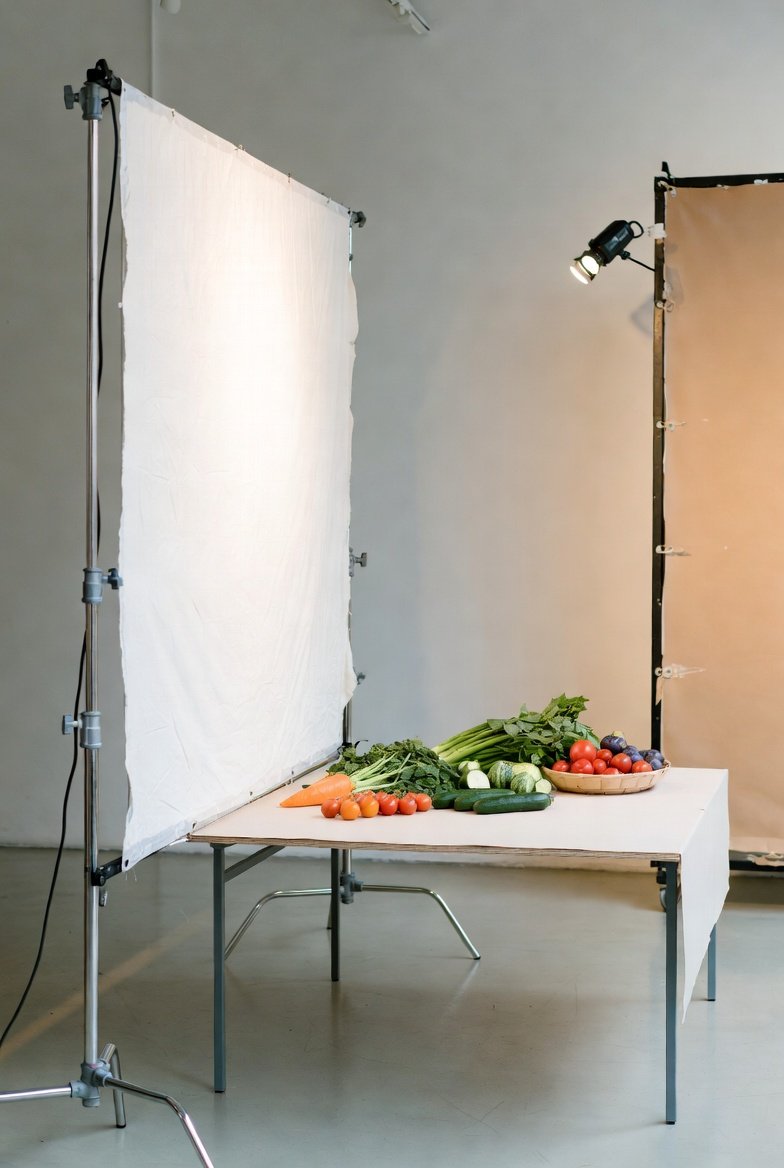
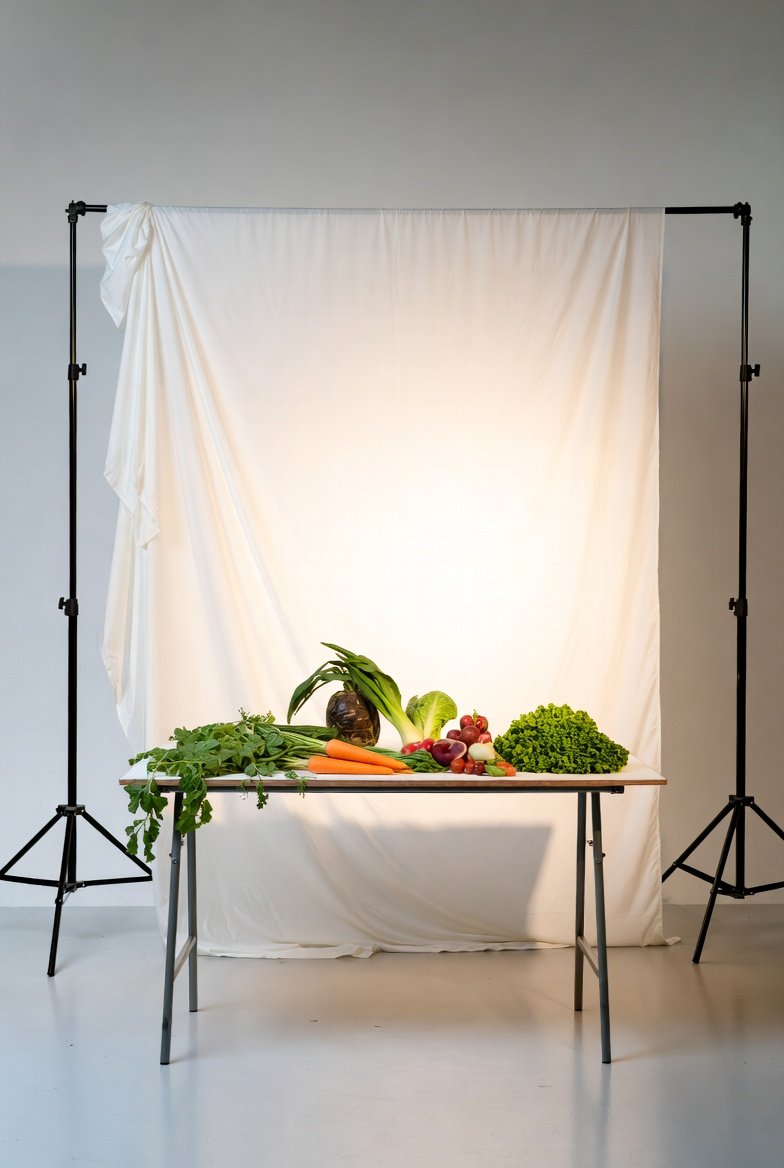
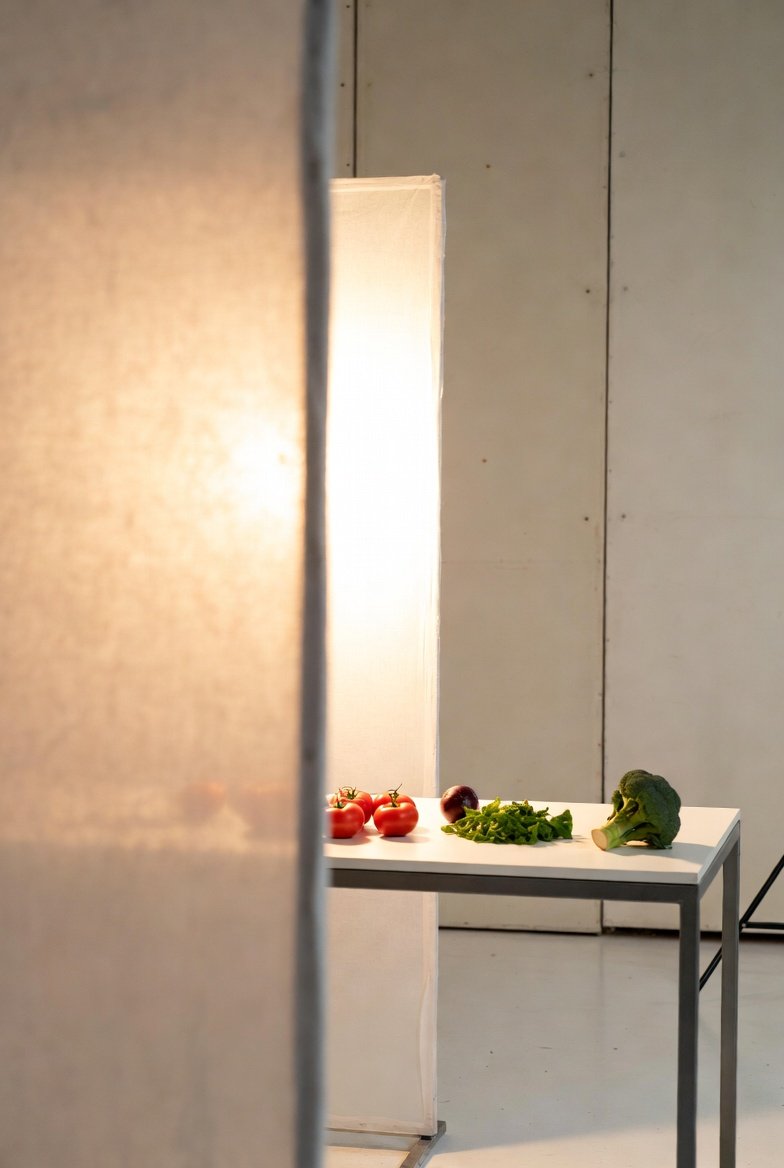
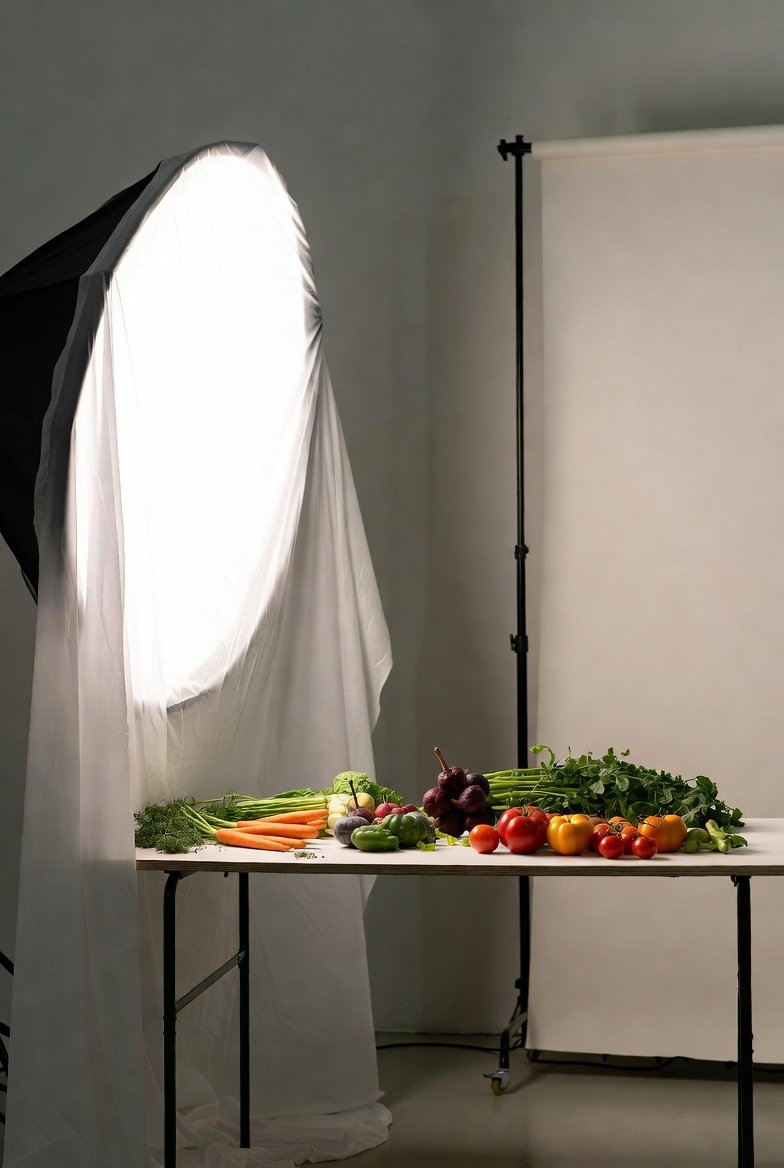
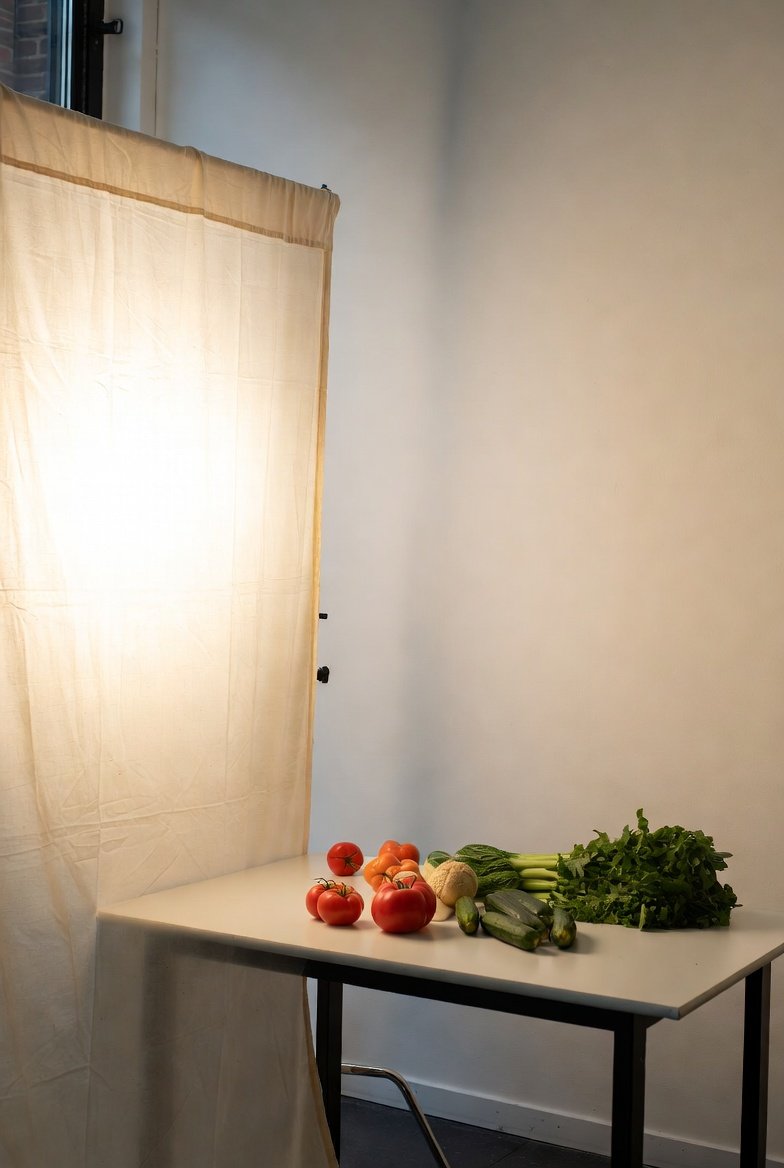
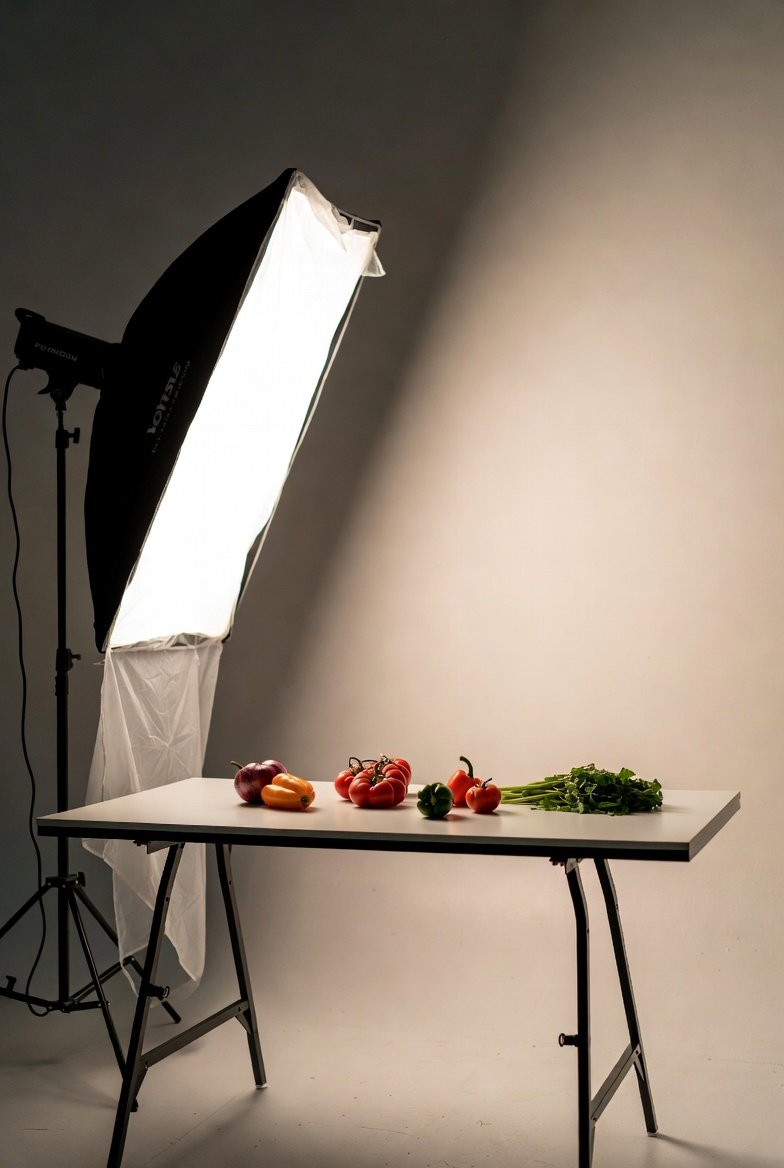
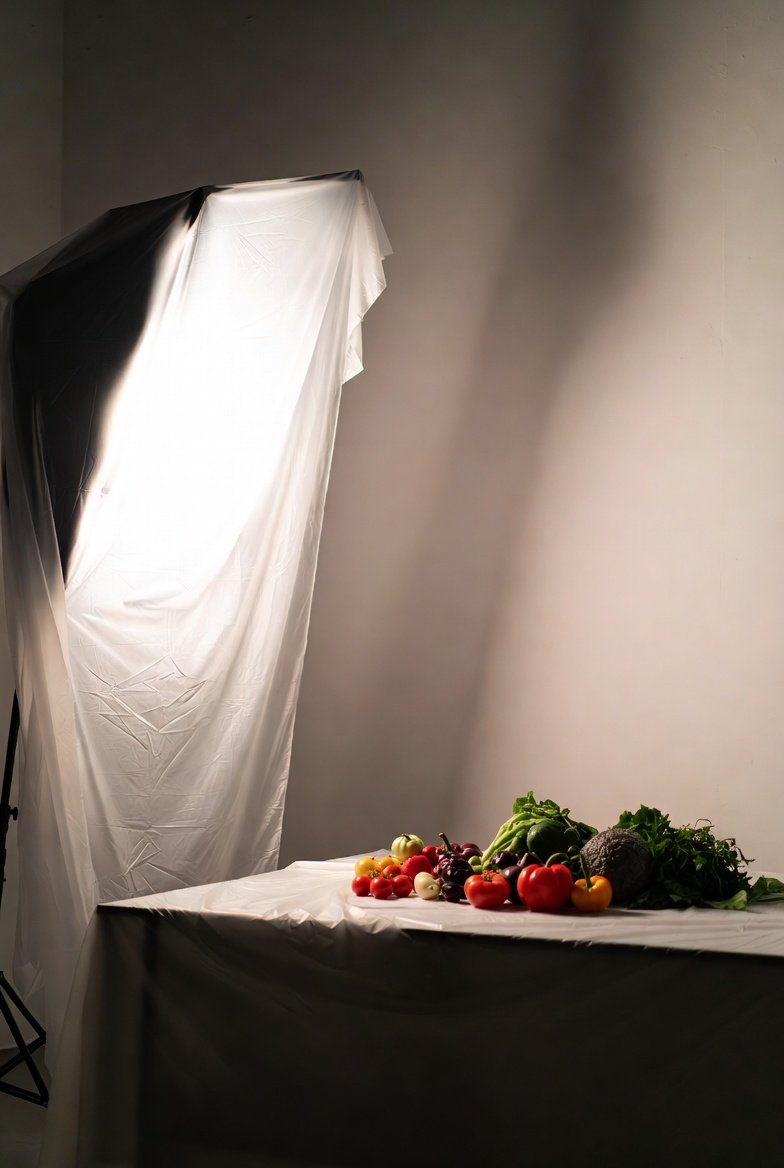
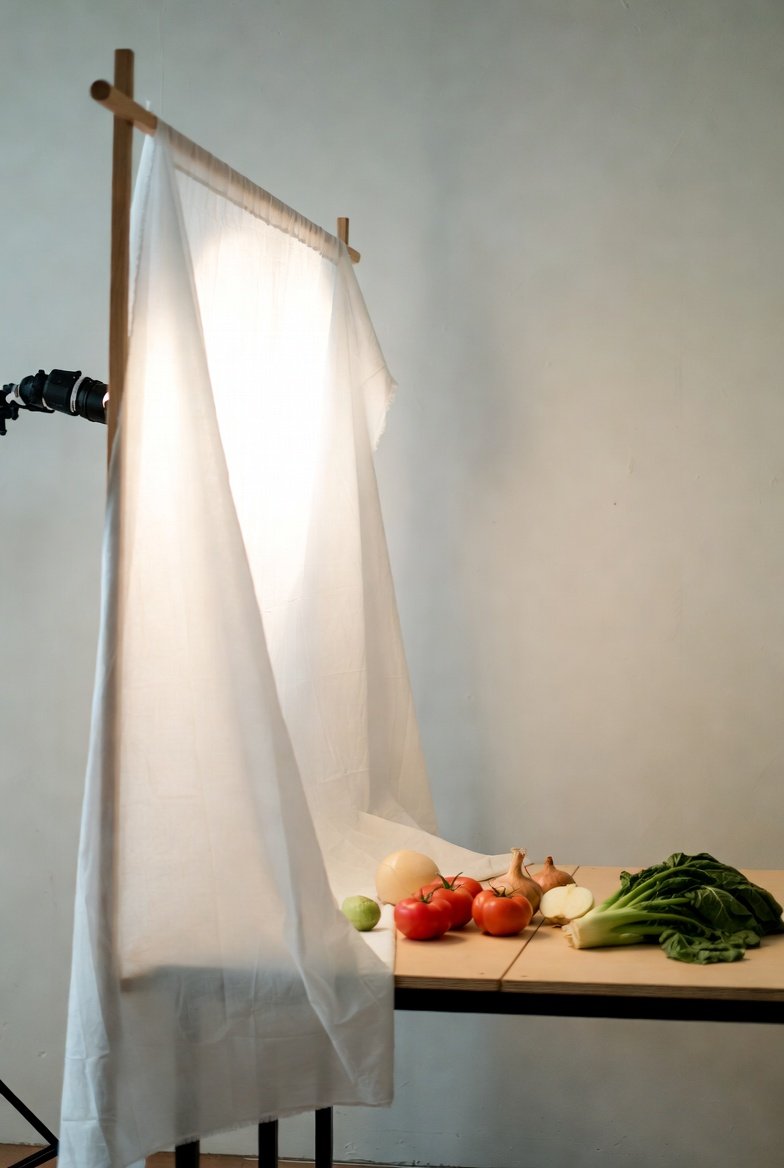
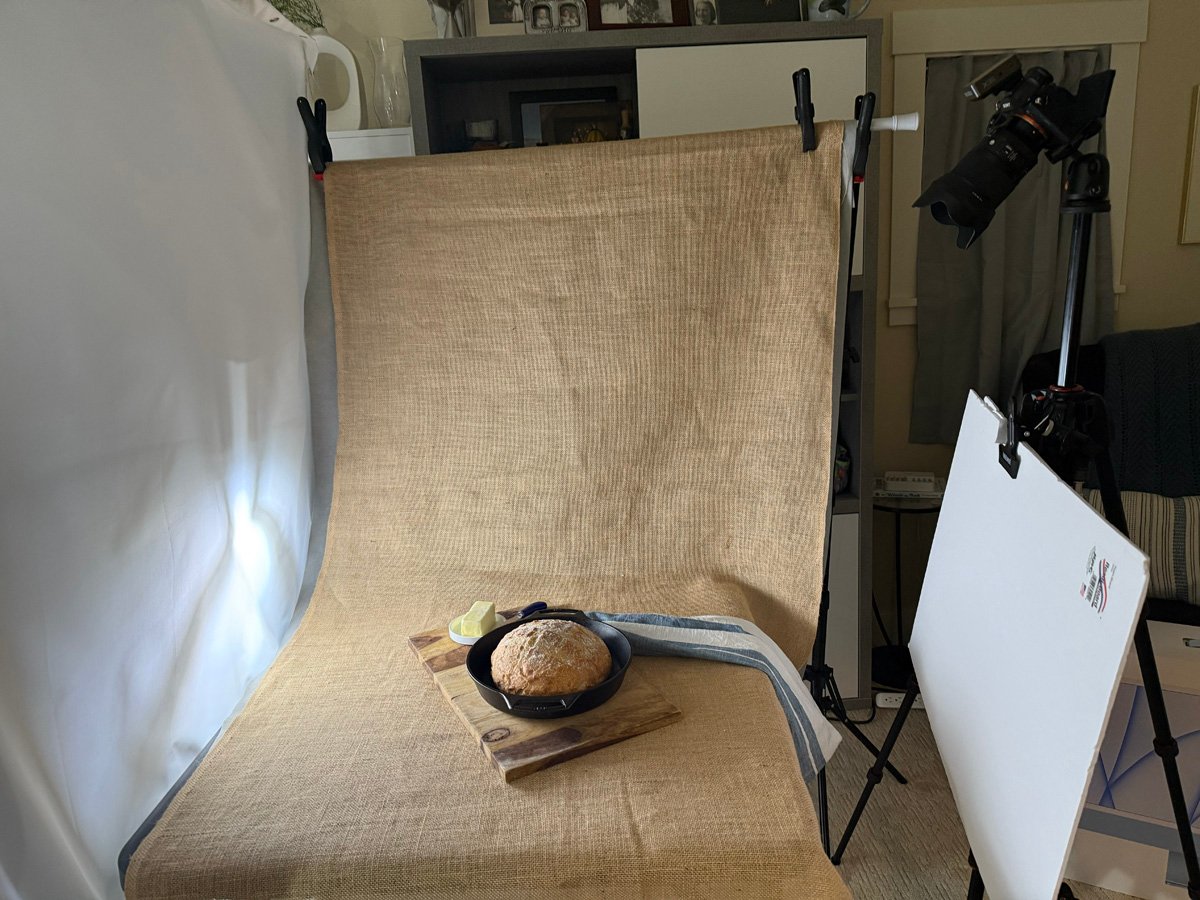
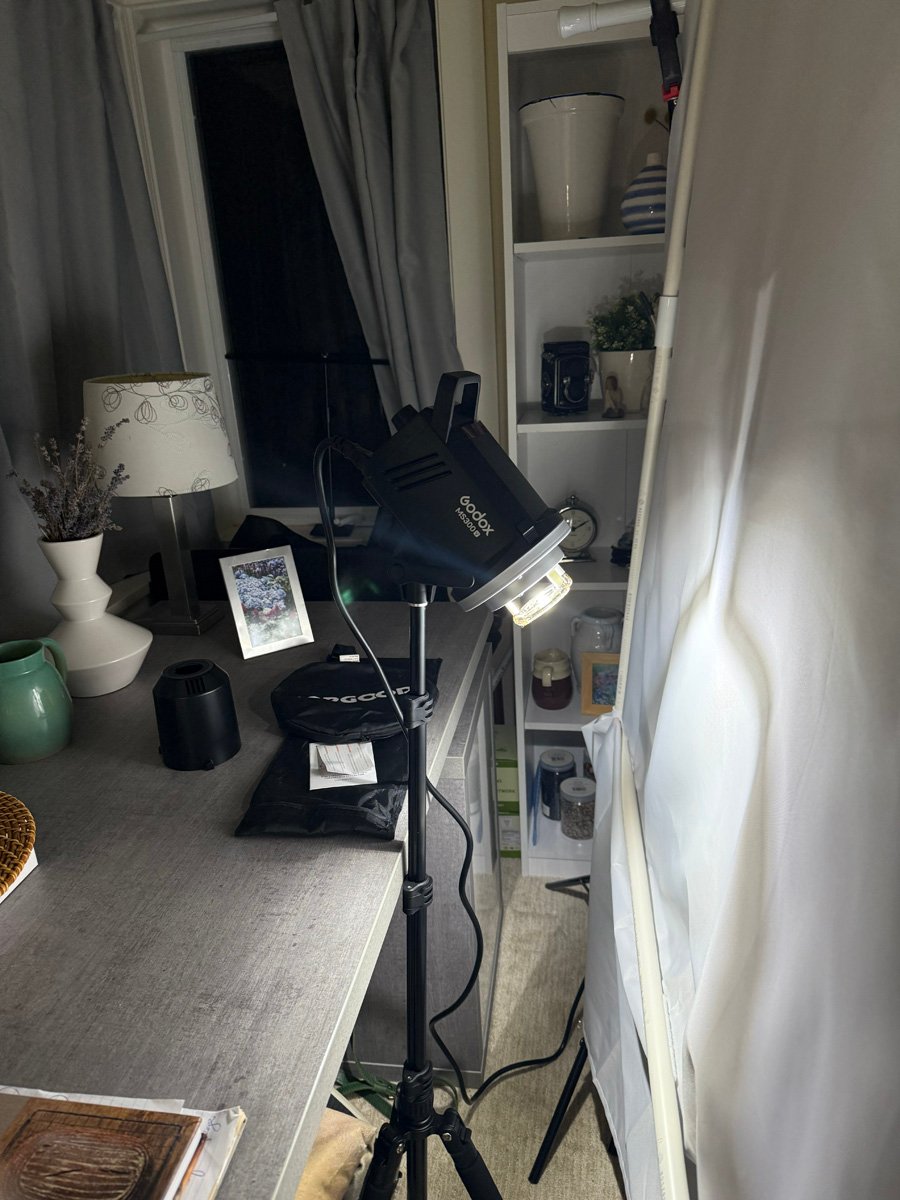
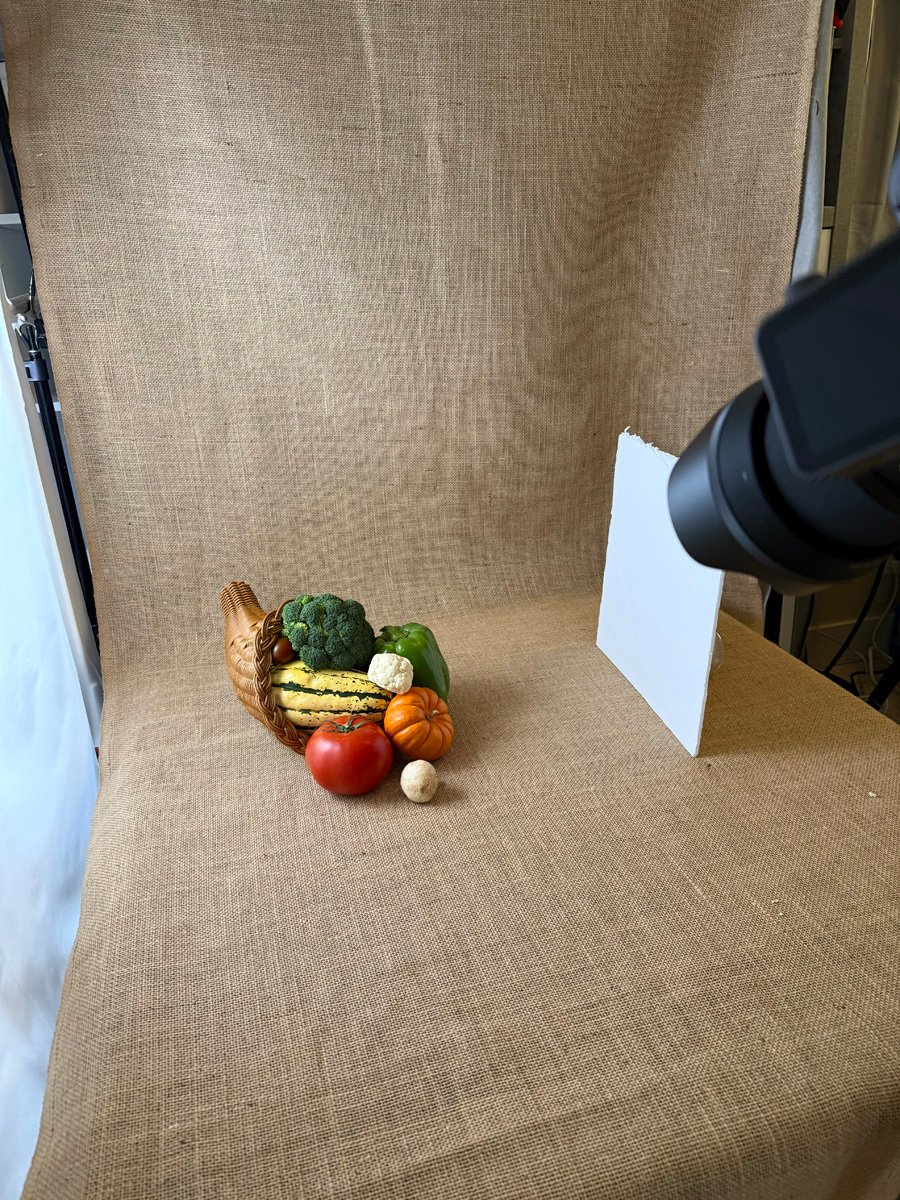
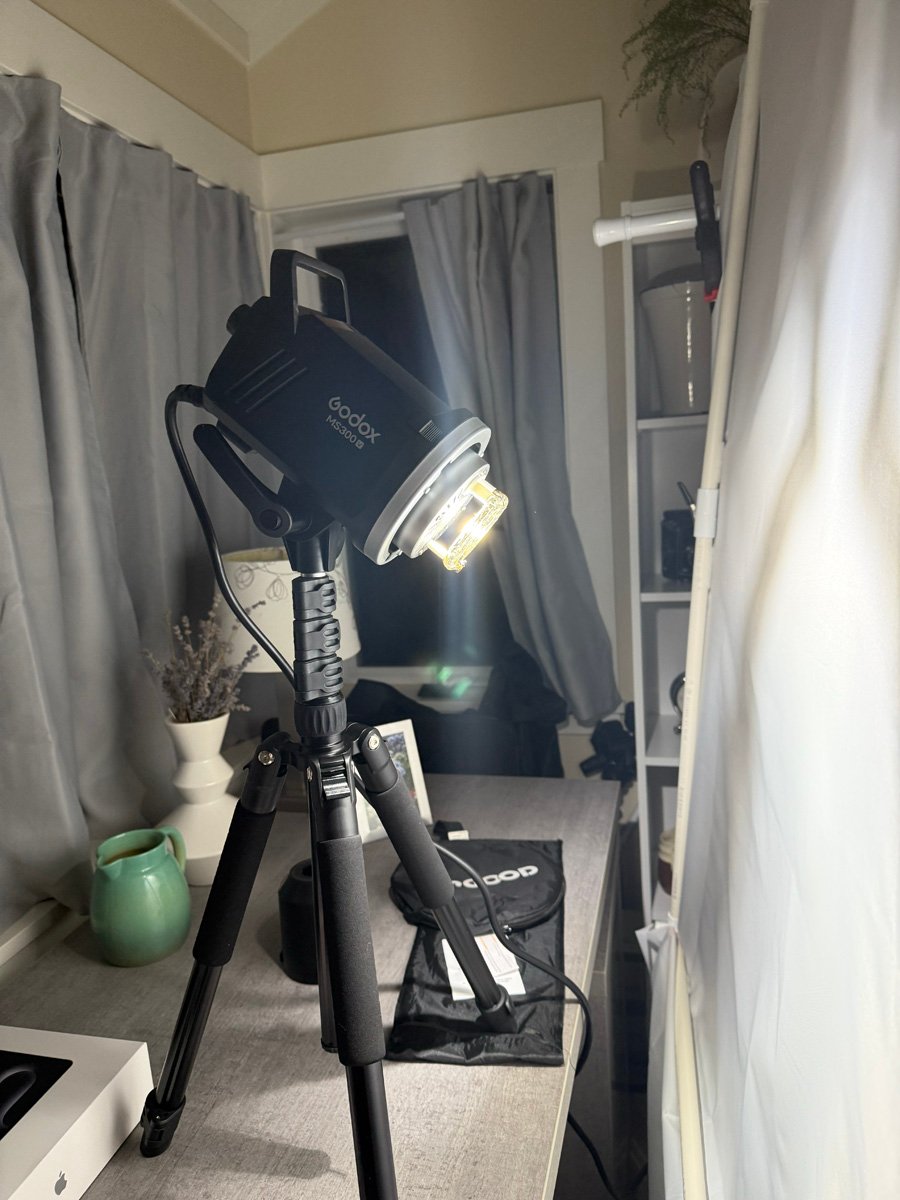
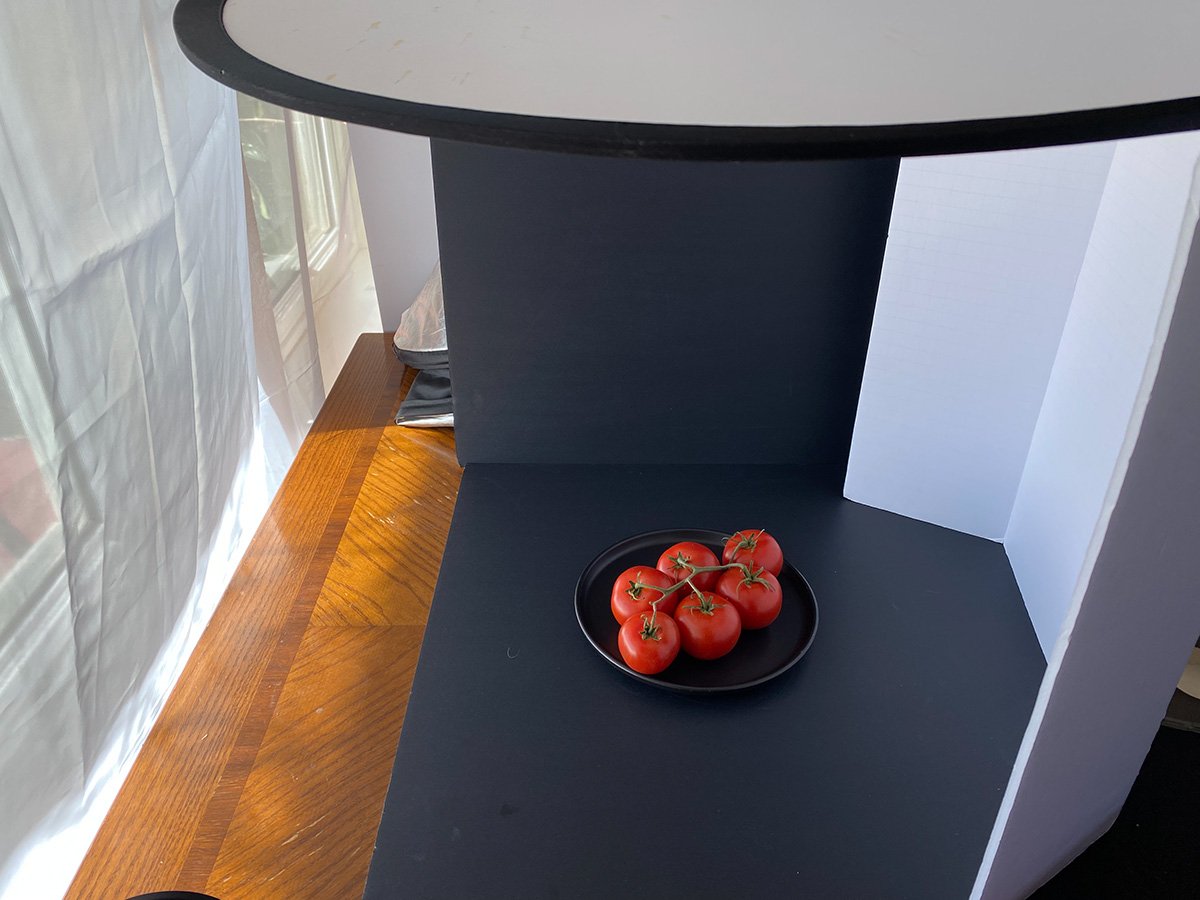
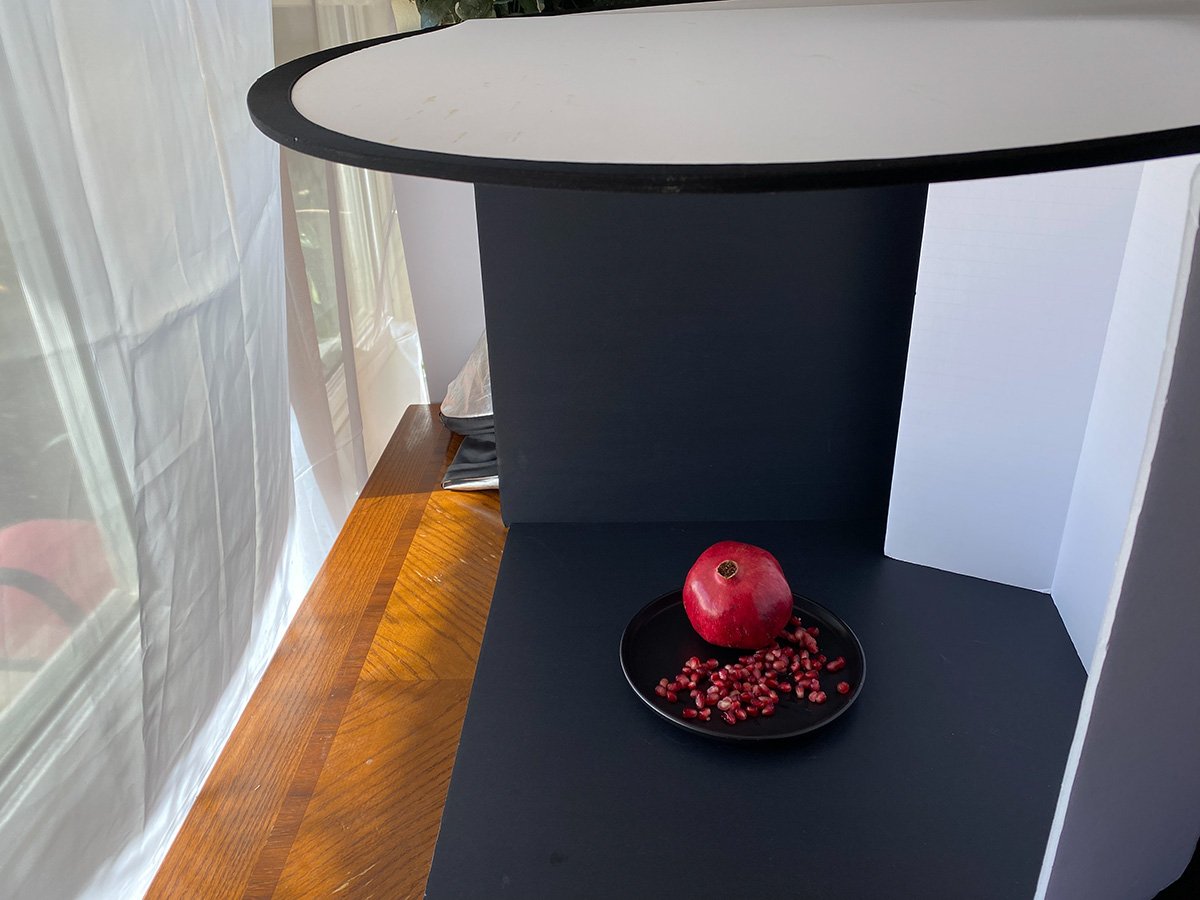
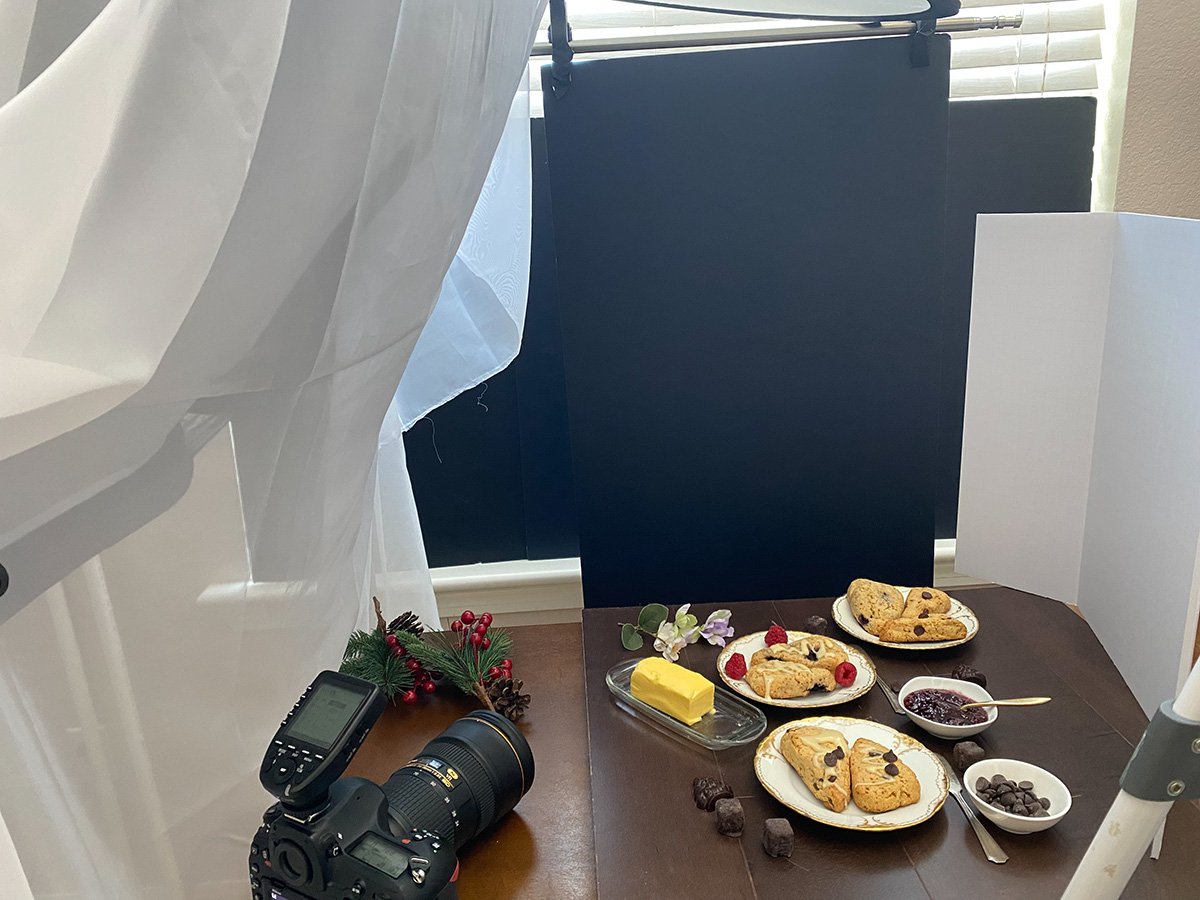
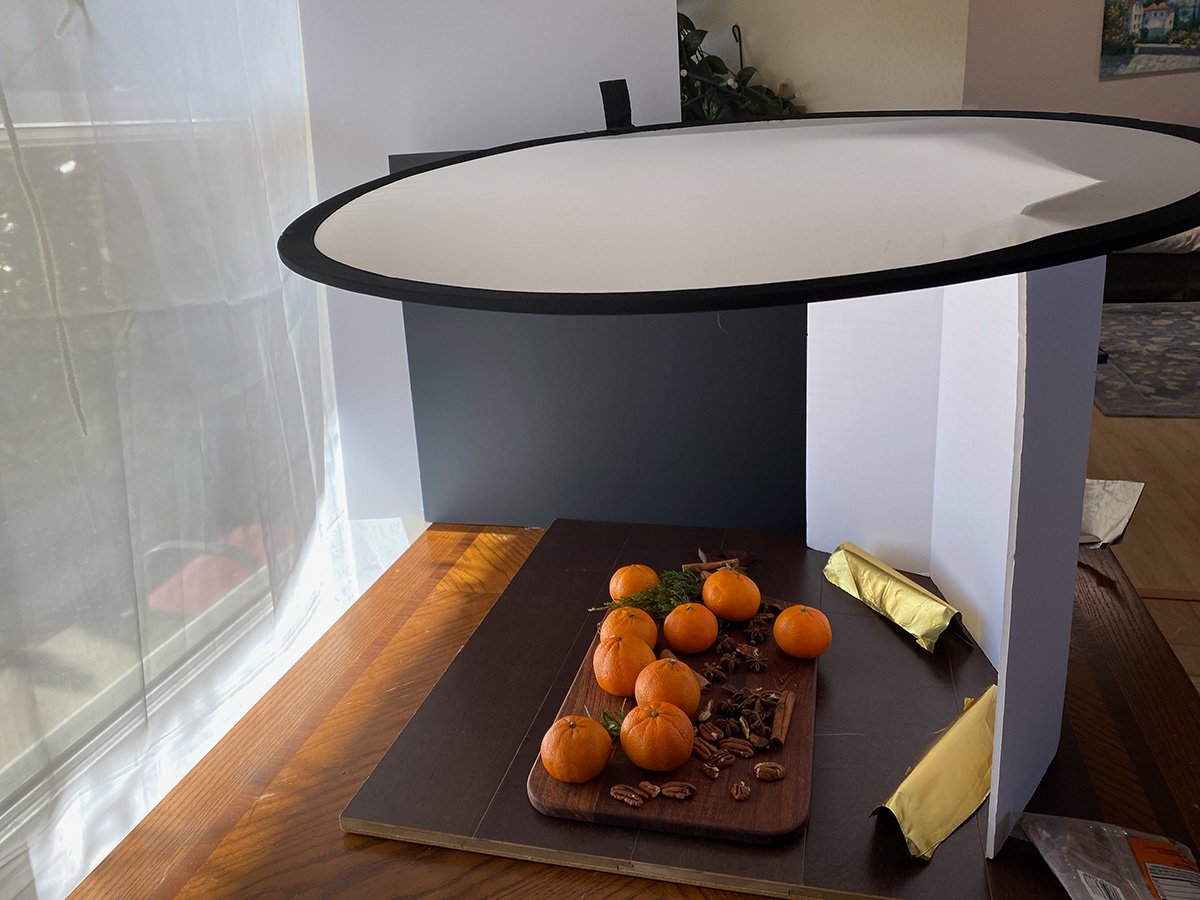
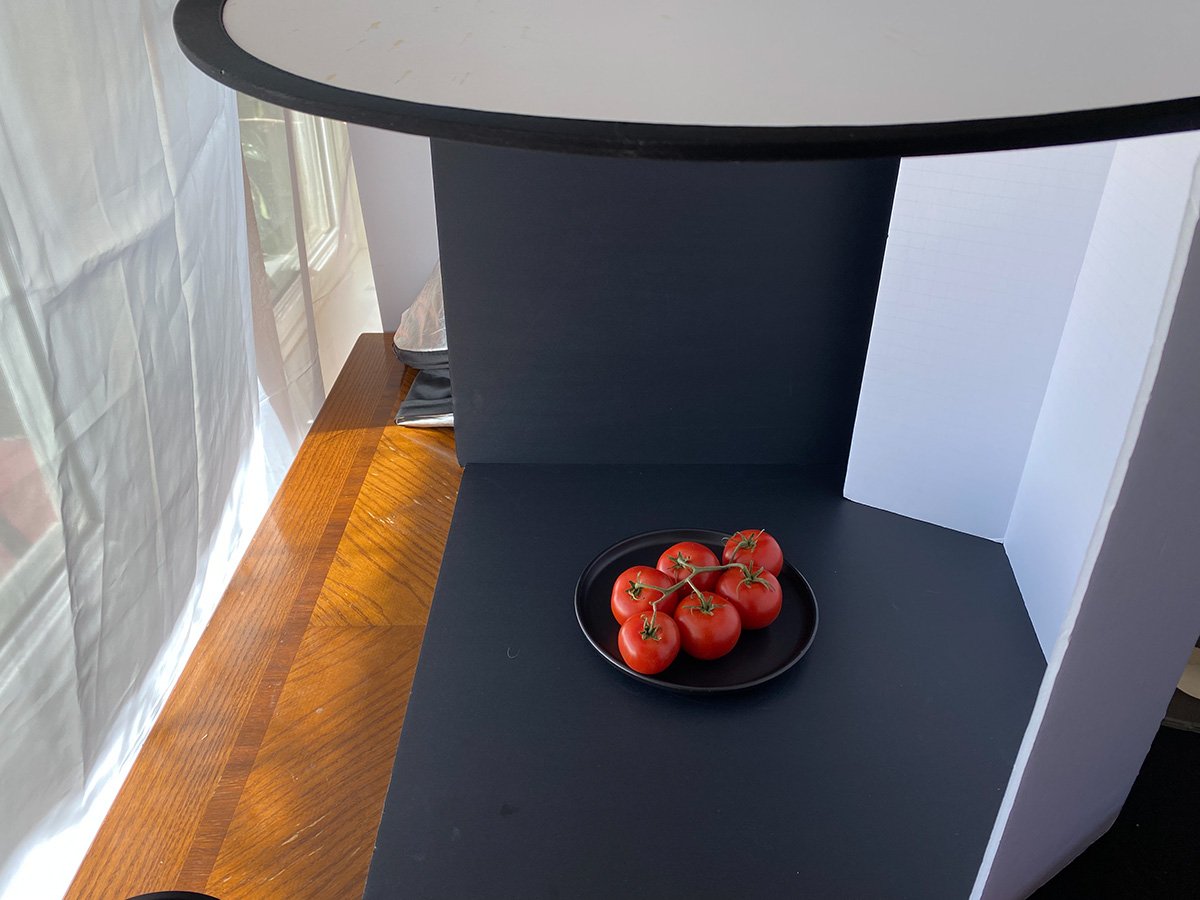
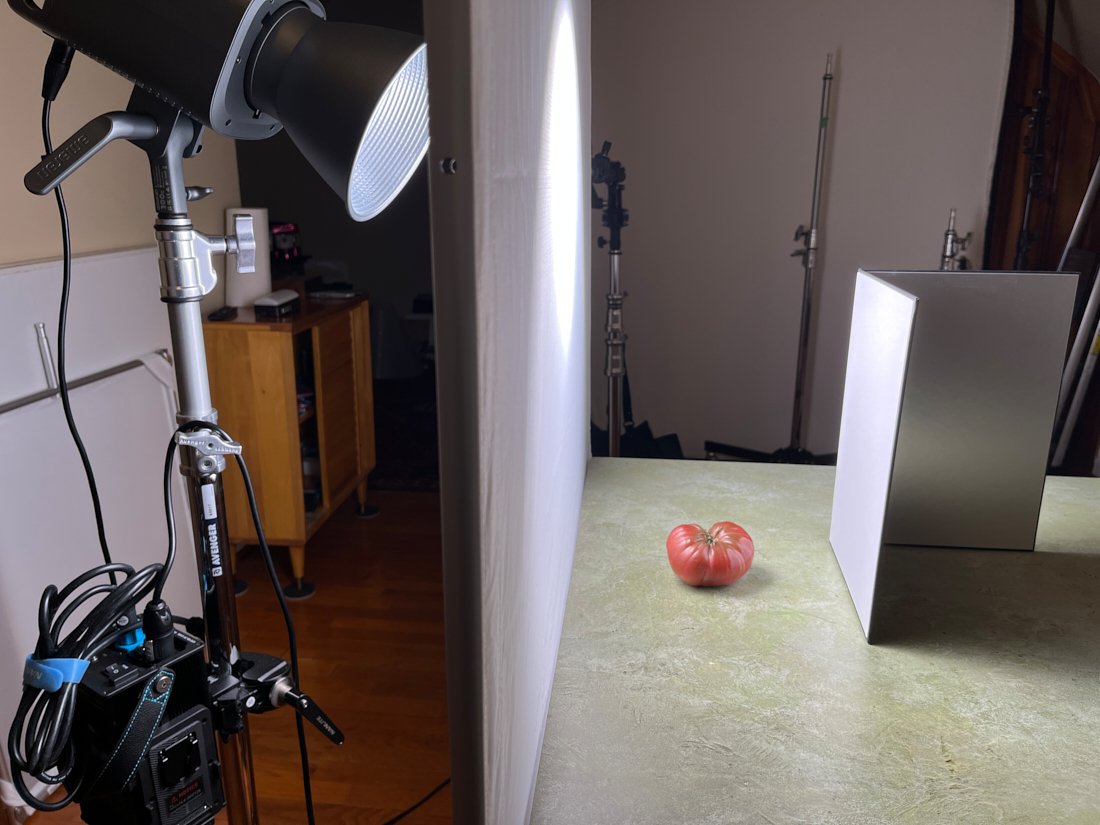
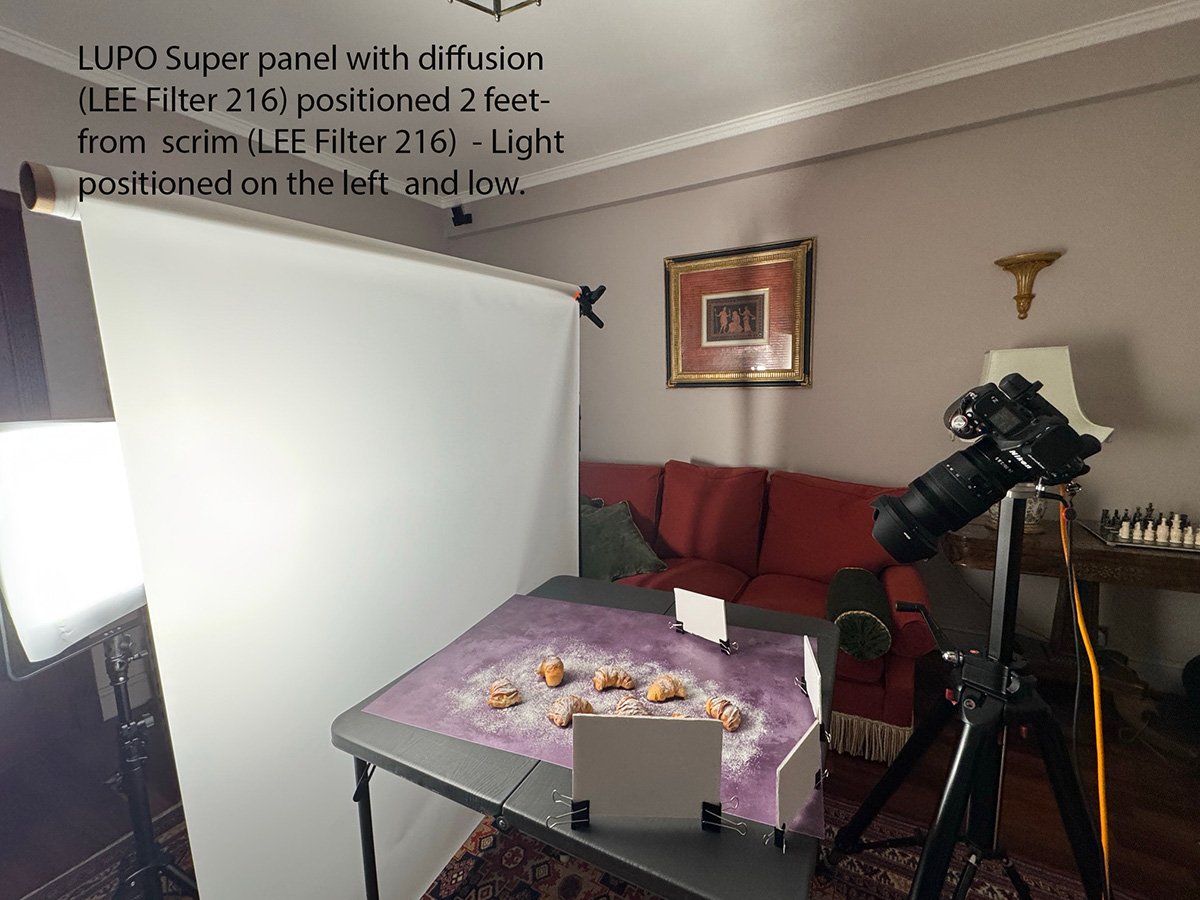
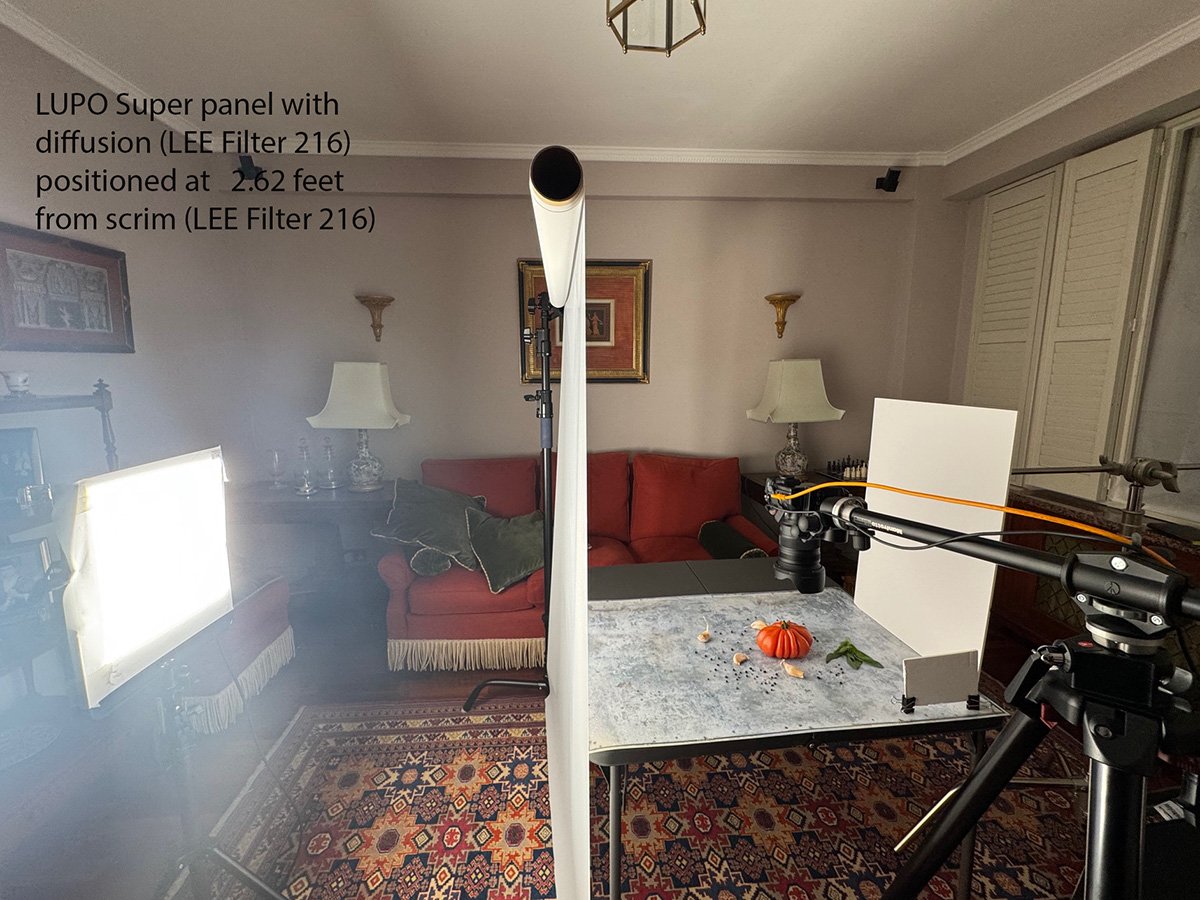
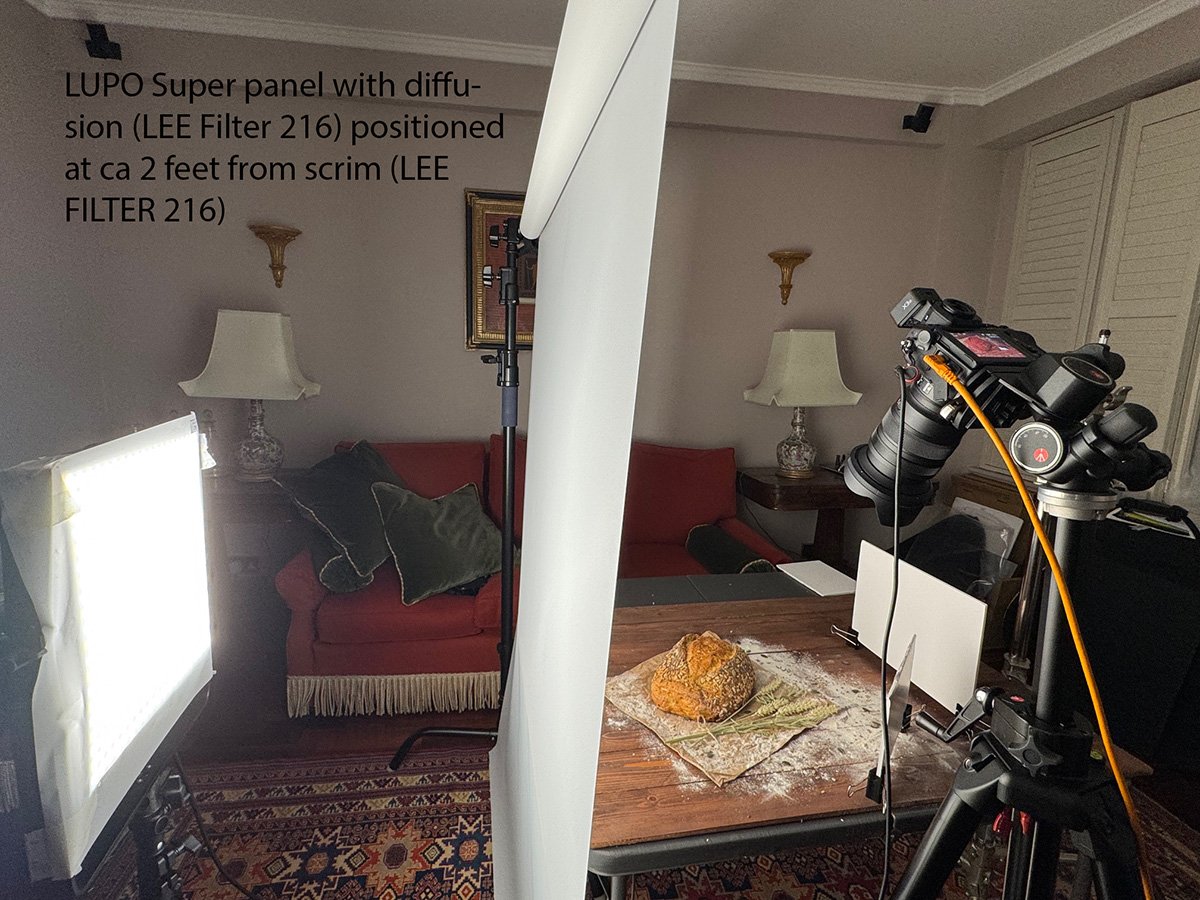
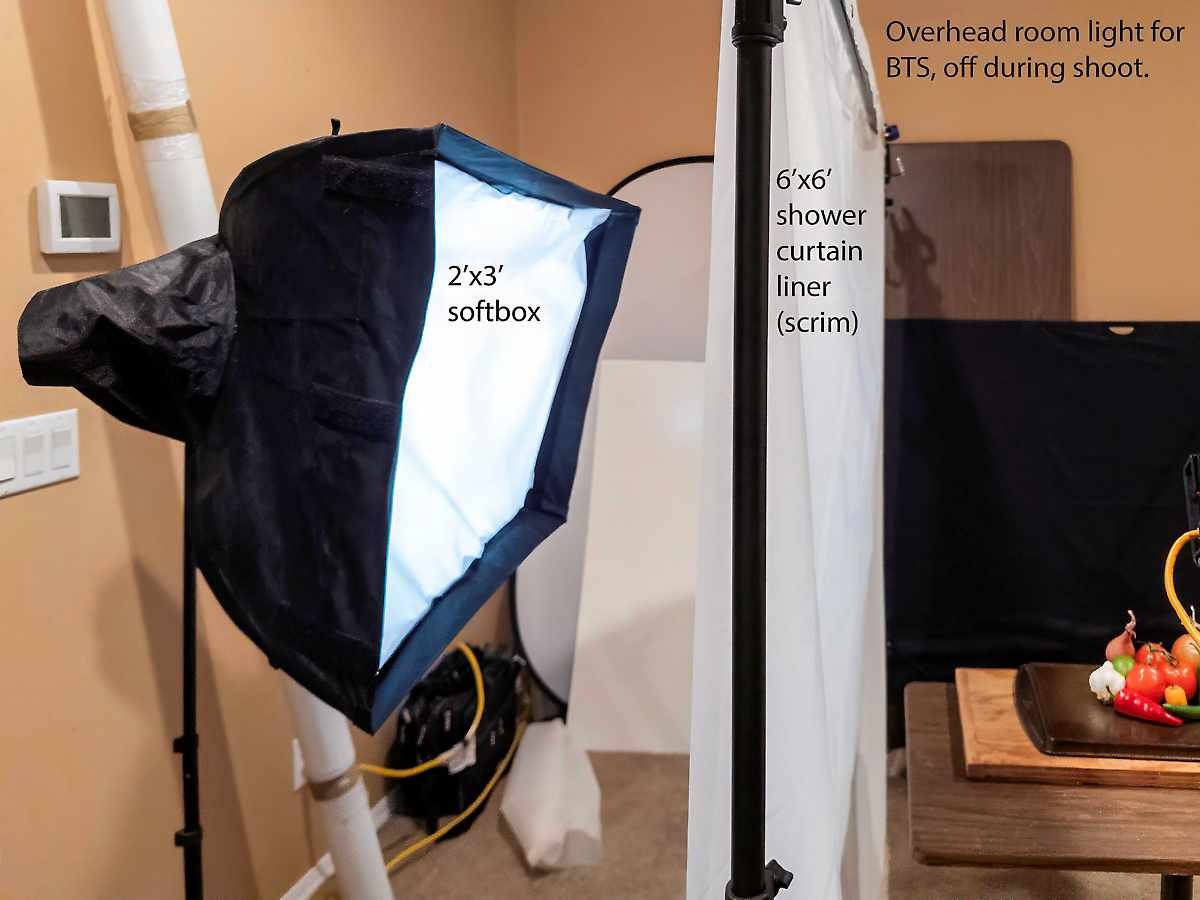
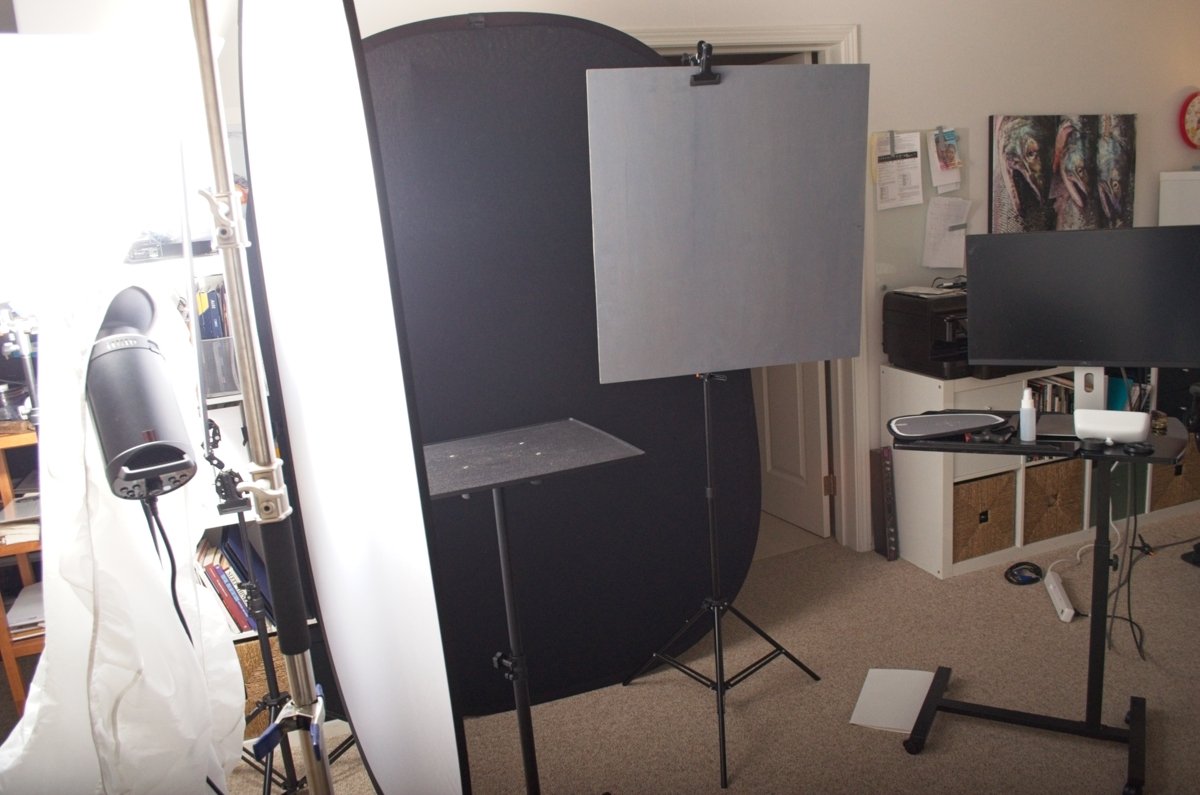
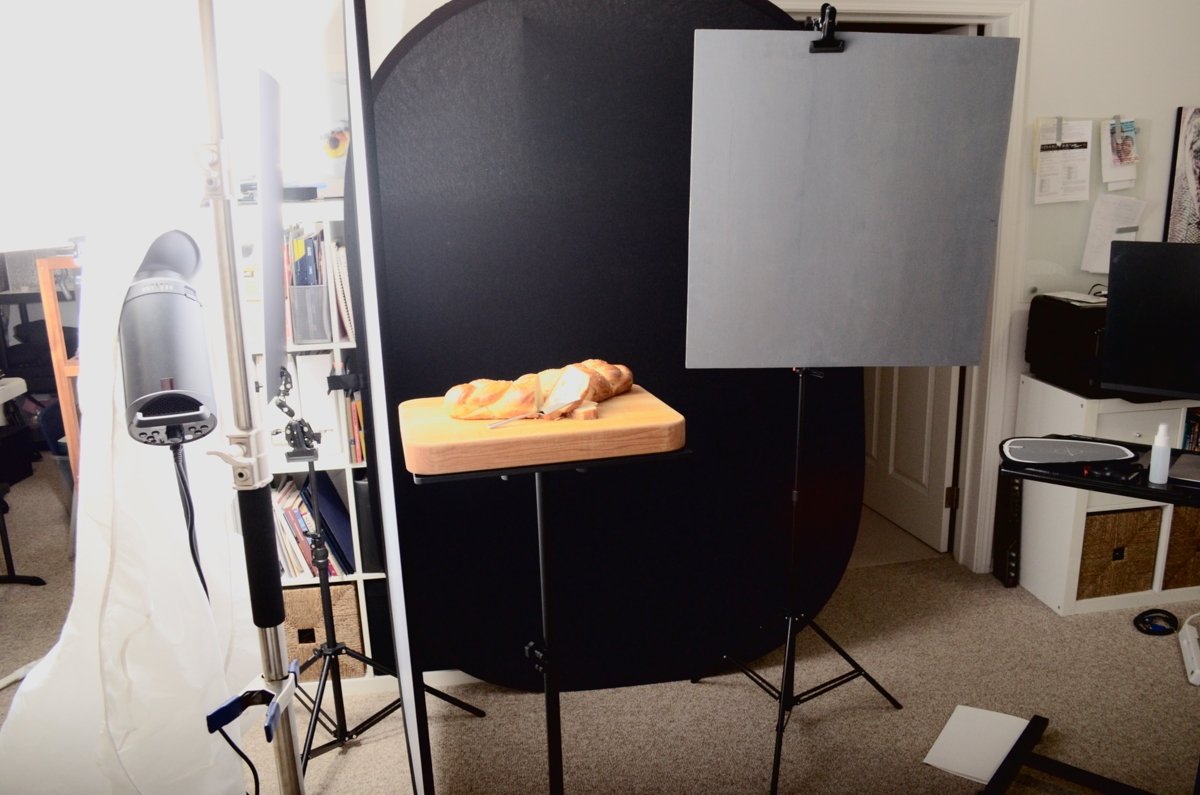
• 4×4 scrim with a strobe behind it, or a 2×3 softbox turned vertically
• Light edge right at the table, not at any distance, right at the table.
• Height: bottom edge right at table’s edge
• Angle: straight on the table edge, straight up as a window in your studio would be.
I always think of this as the simplest, most comfortable, and most seen light we can create. We’ve all grown up with window light, so we are super familiar with it.
Everything starts from this baseline.
2. The Food
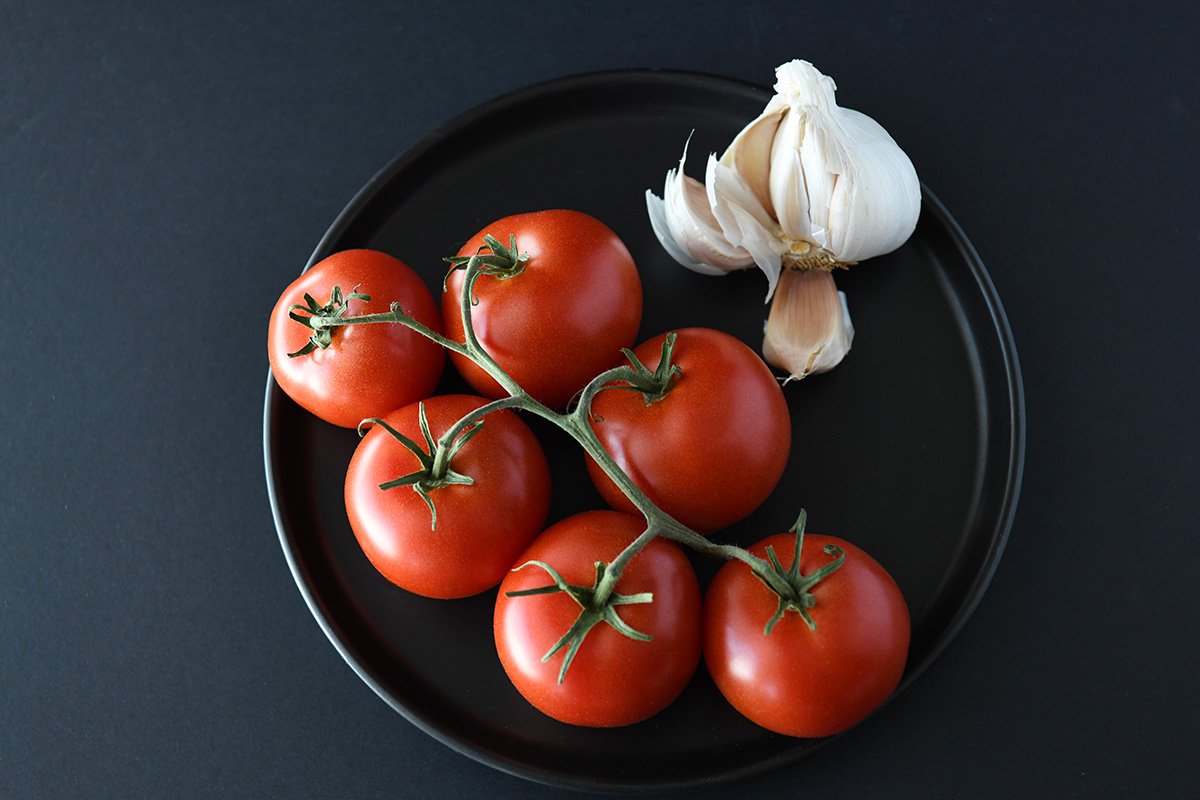
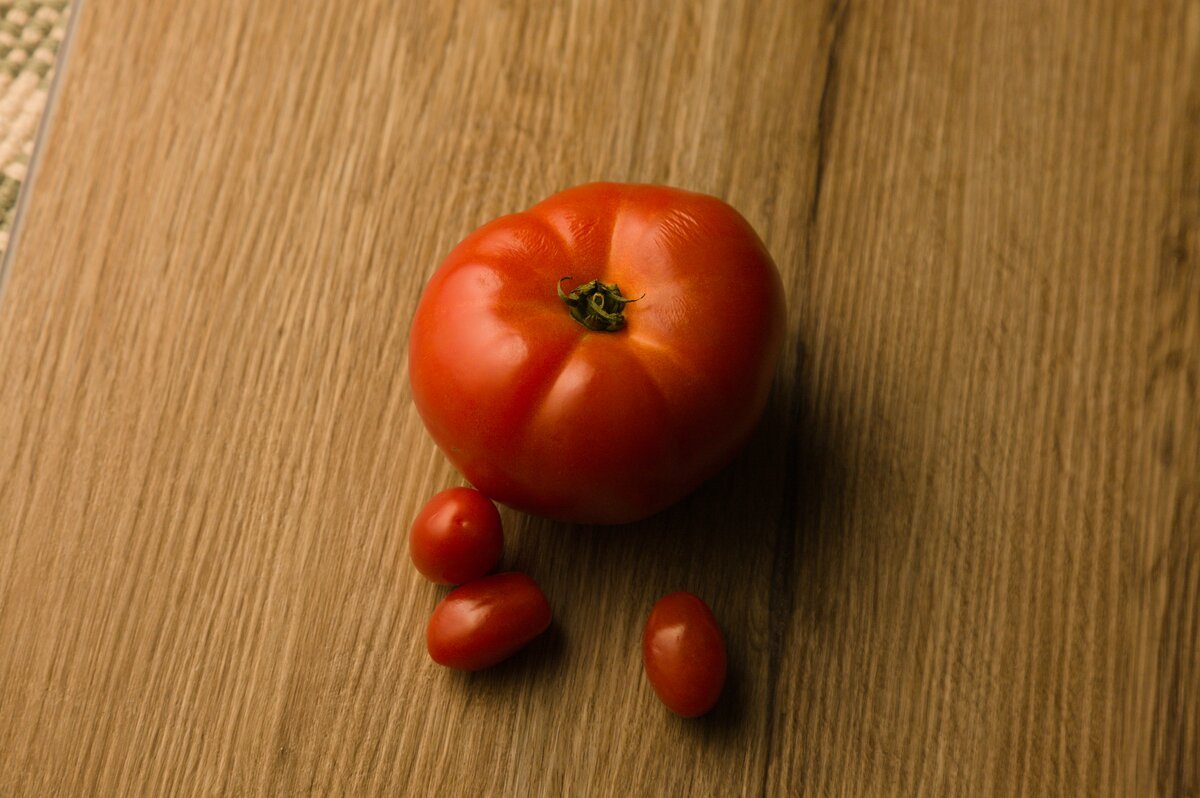
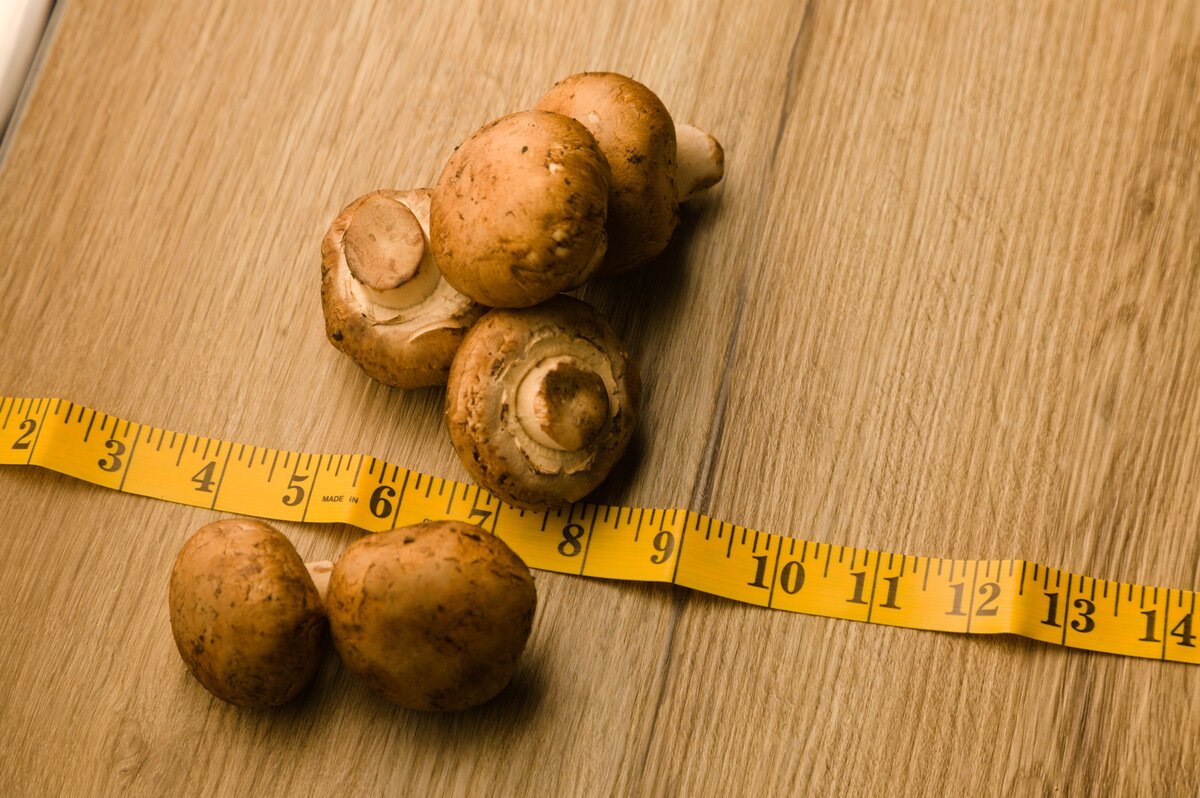
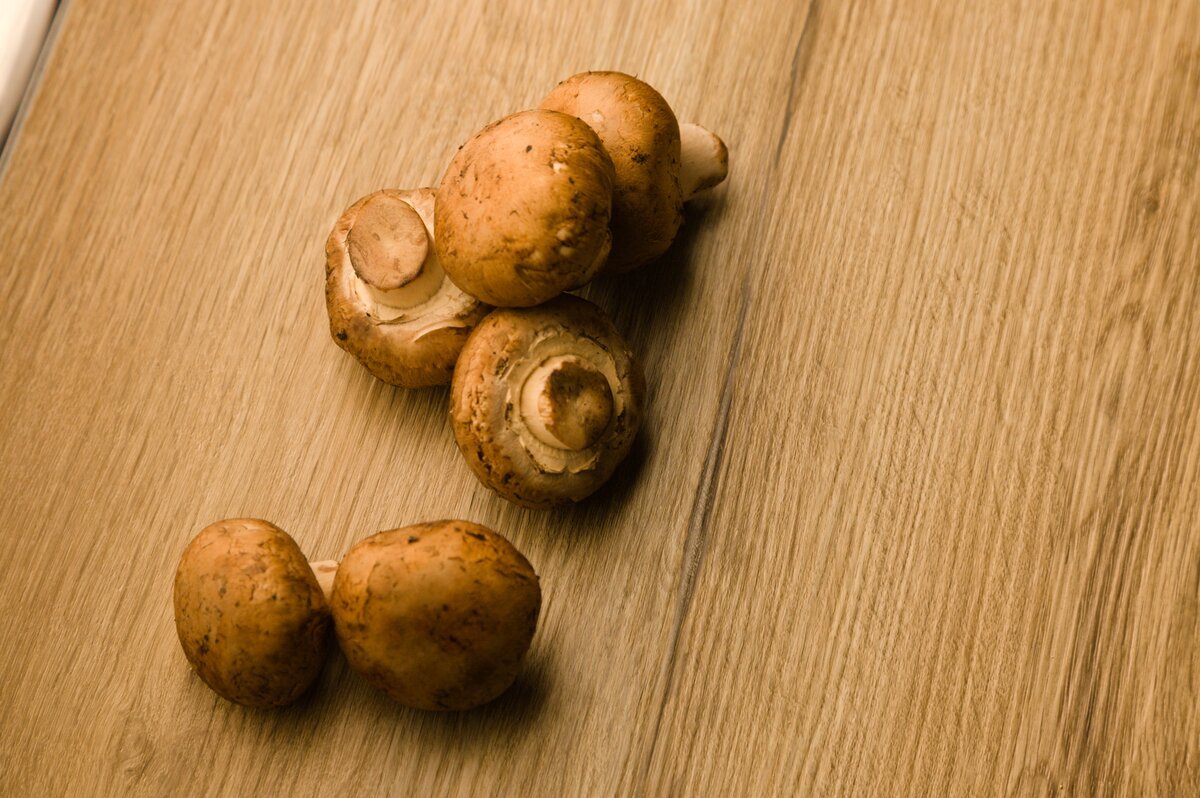
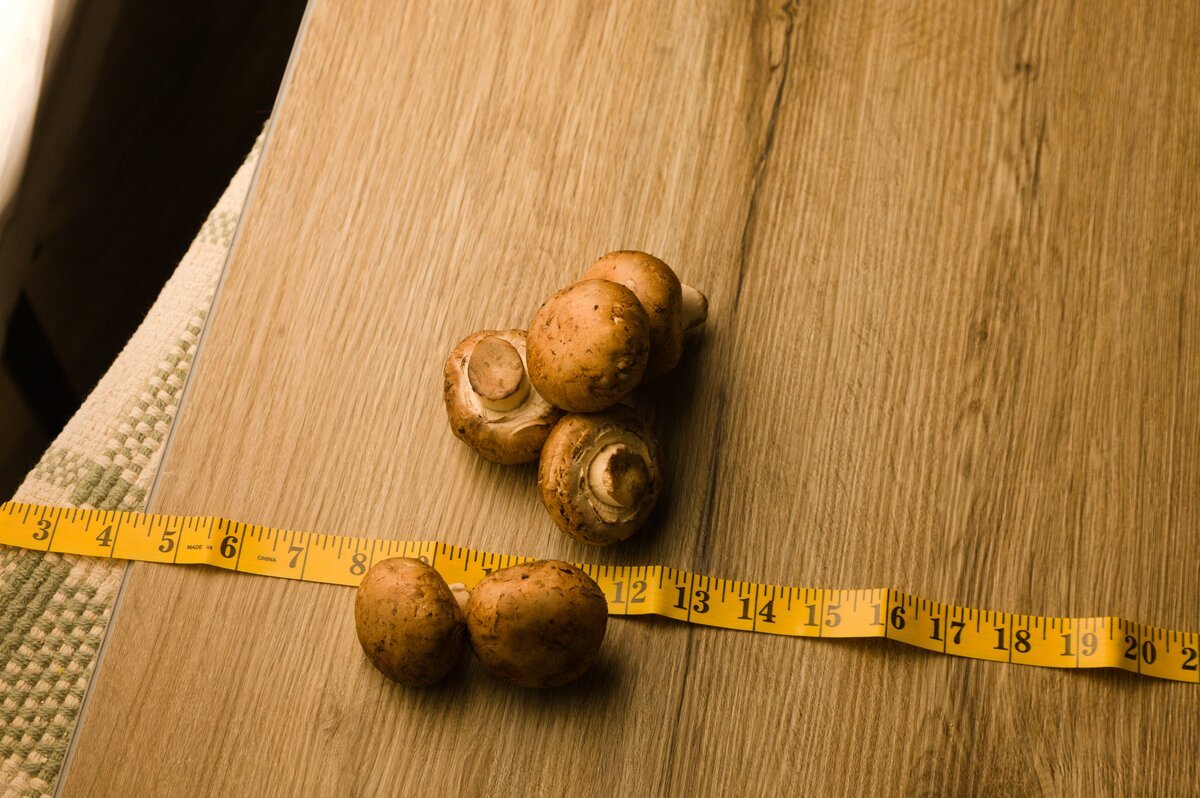
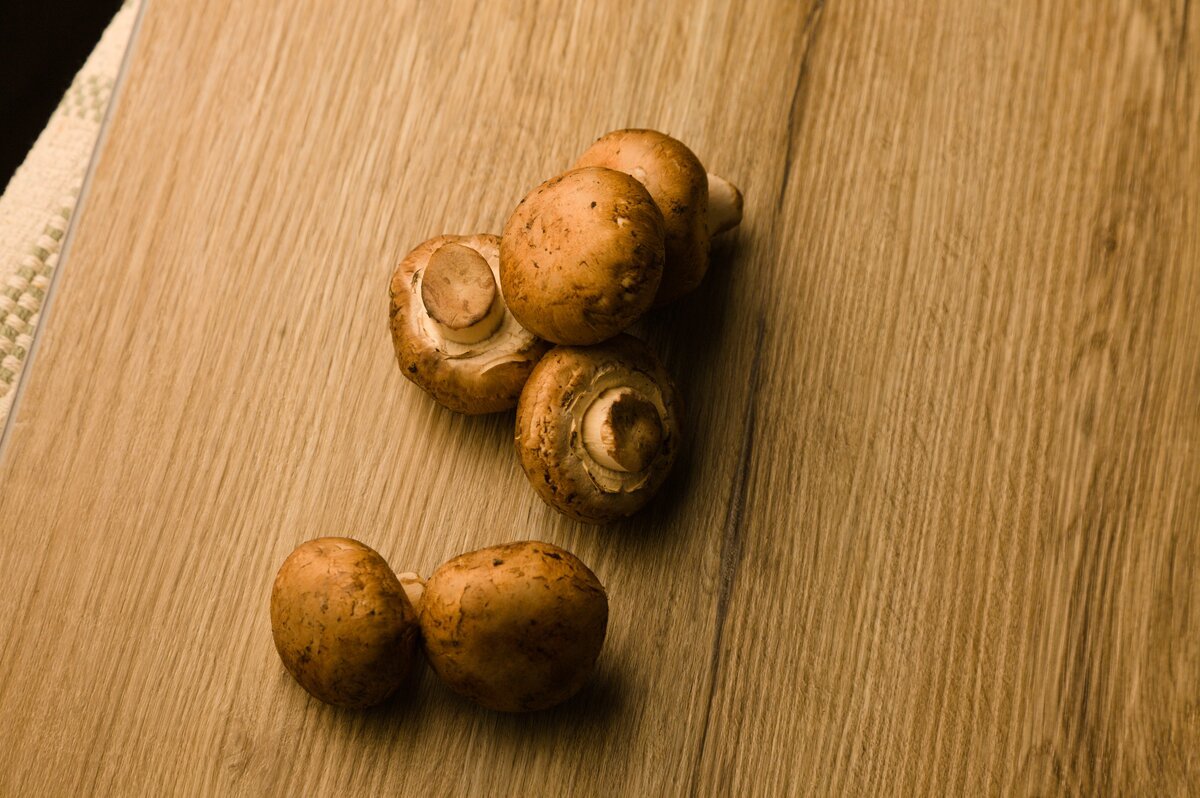
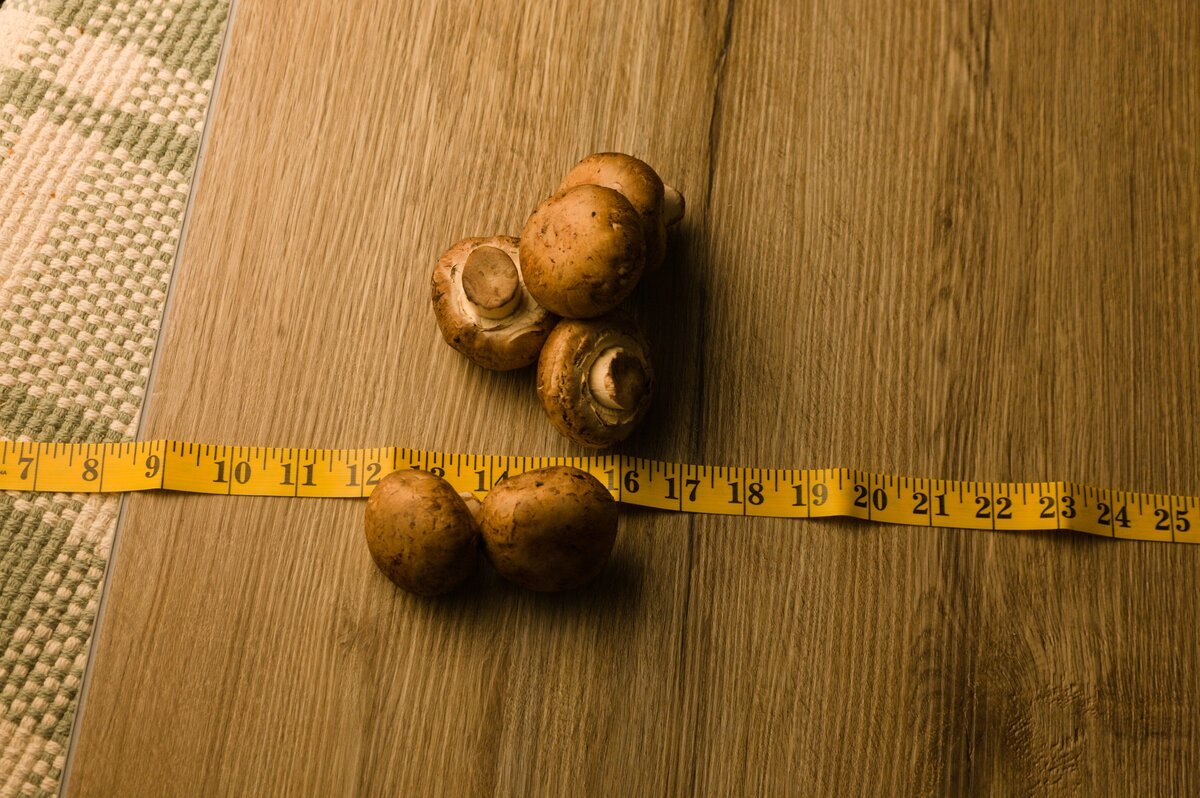
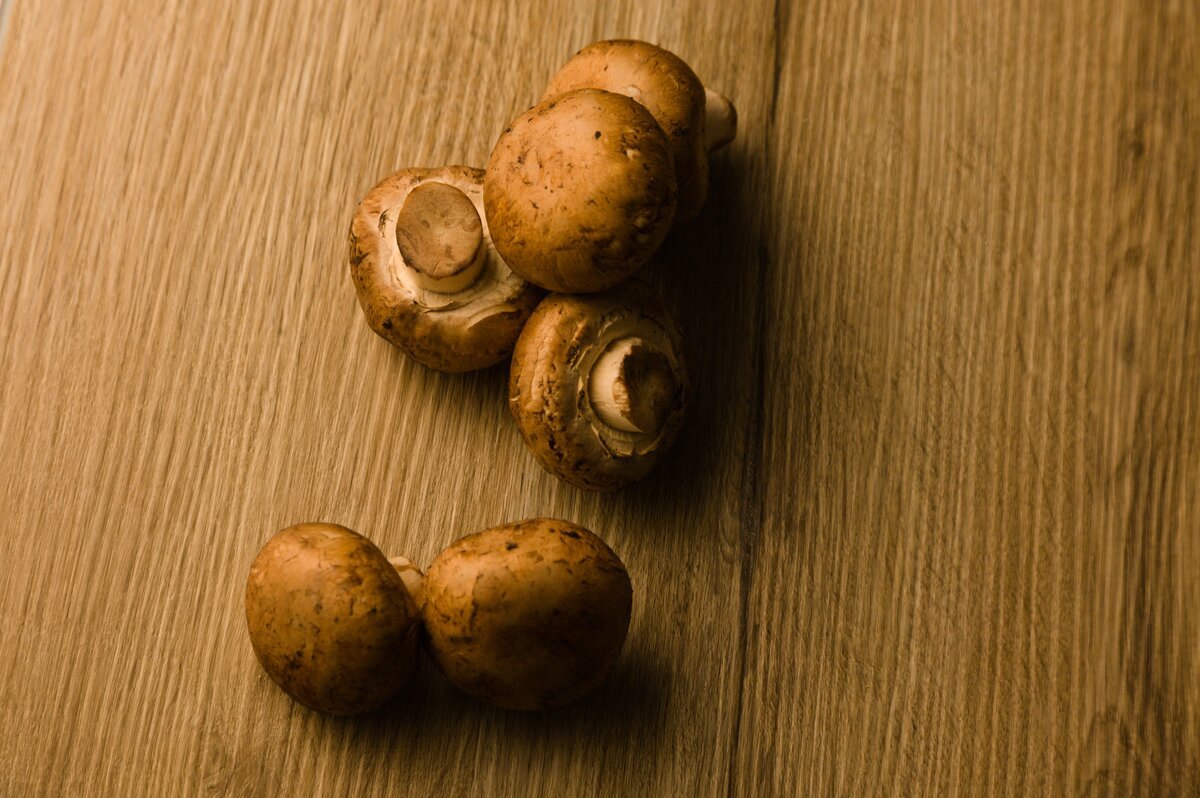
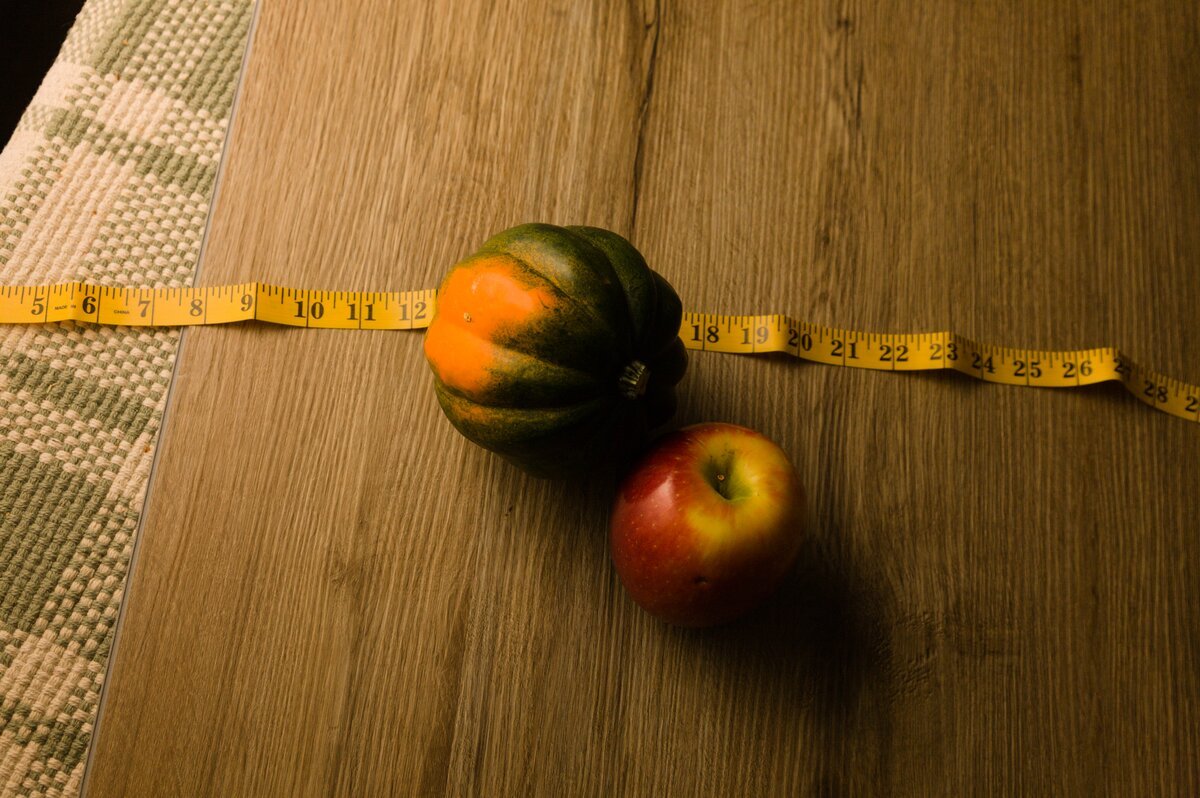
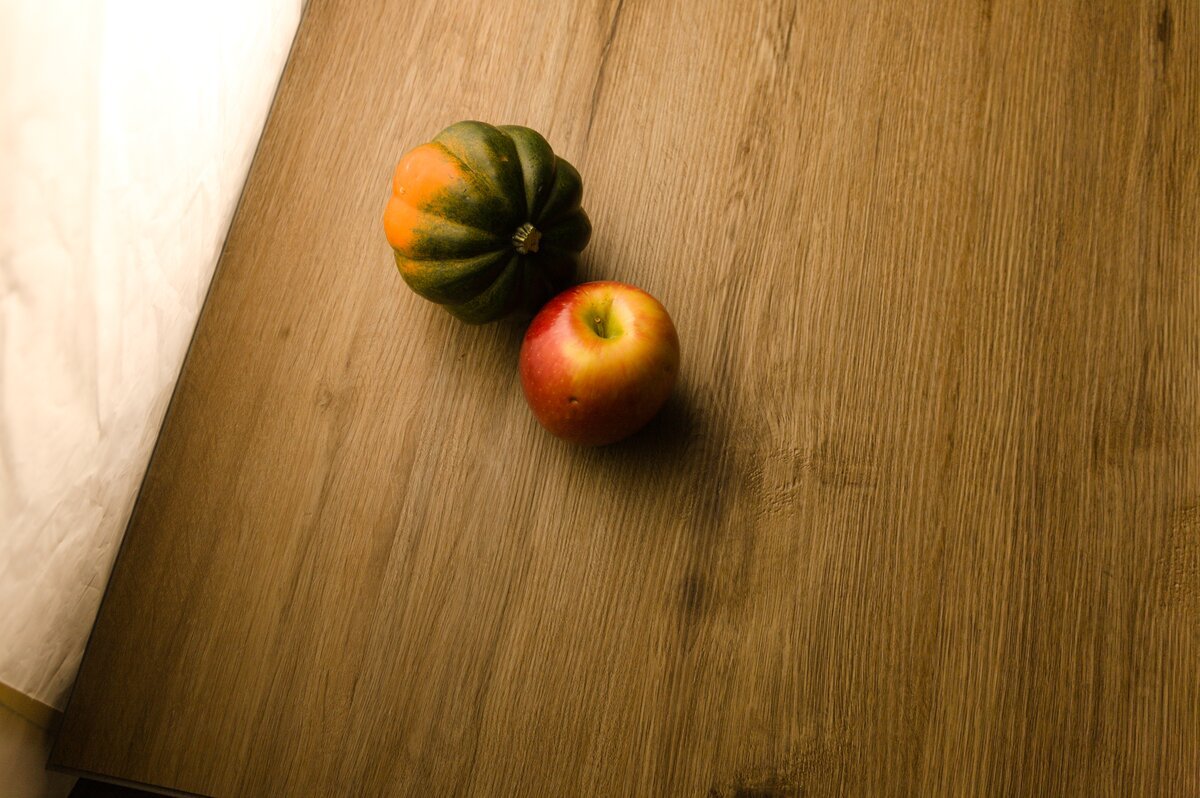
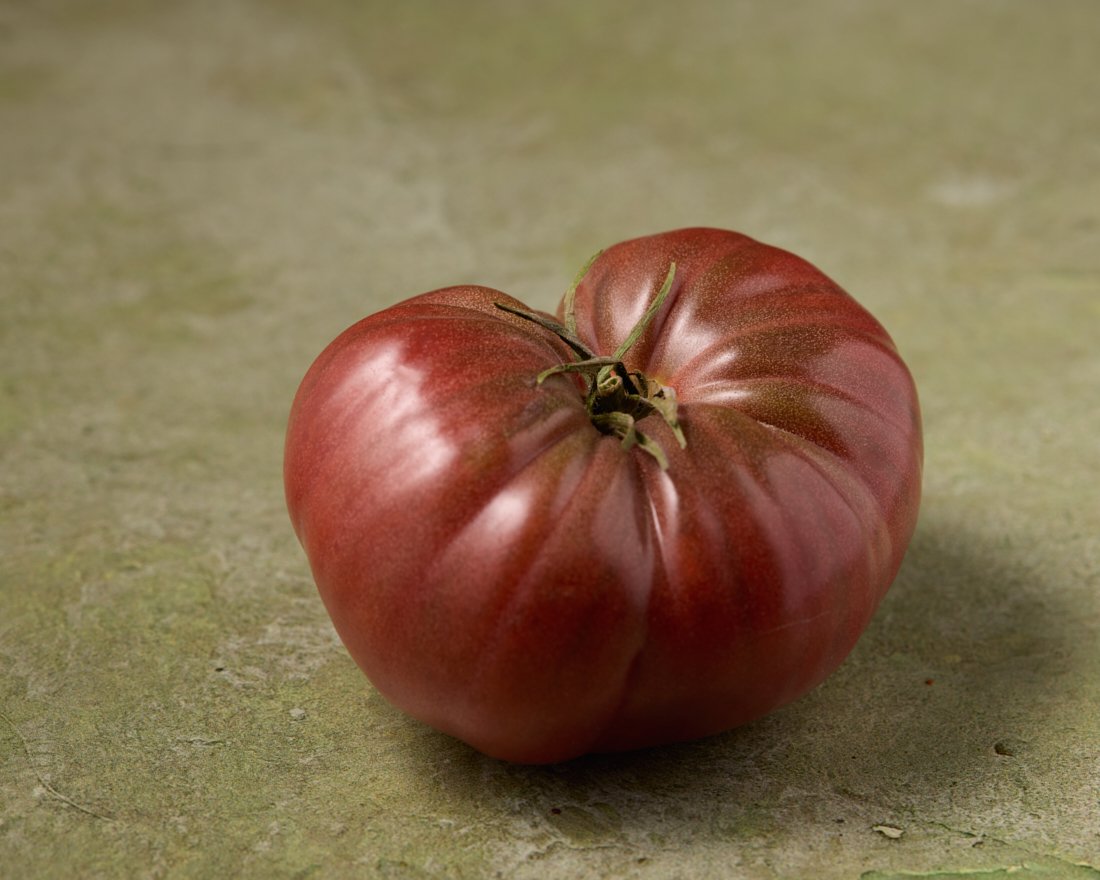
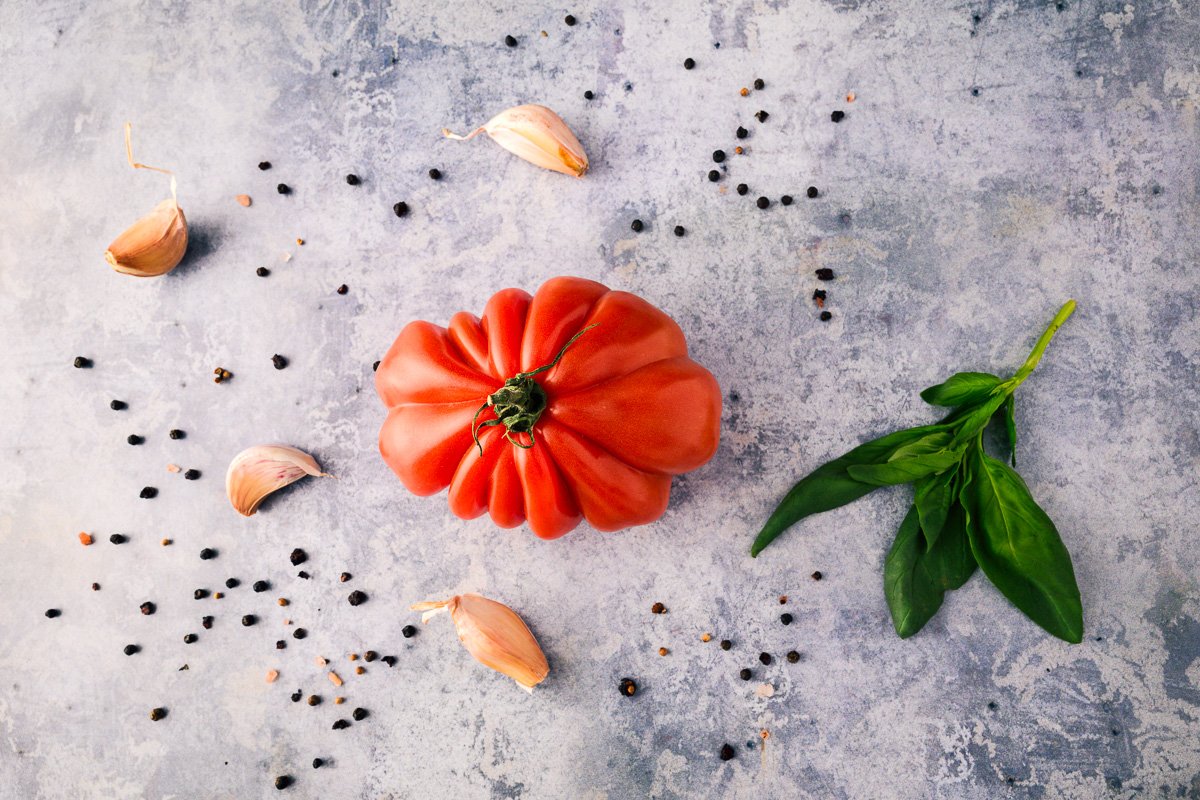
Pick food that behaves well under soft light: tomatoes (for shine), tomatillos, or brussels sprouts (for texture), eggplant (gloss + shape), mushrooms (earthy matte finish), squash (dimension + color). These are only suggestions, but think abut the food you get. Make sure we have a variety of textures and colors.
For this assignment, these aren’t props. They’re tiny, tasty, lighting teachers.
Don’t overthink styling right now.
We’re studying how the light behaves, not whether you can make a salad look like a magazine cover.
3. Technical Exploration Phase
This is where you learn the inside knowledge of the shot.
We are using side light and back light on this one, so we are shooting with the light coming from the left or right side, and then again with the light directly behind the subject. (Just move the camera.)
Distance From Light
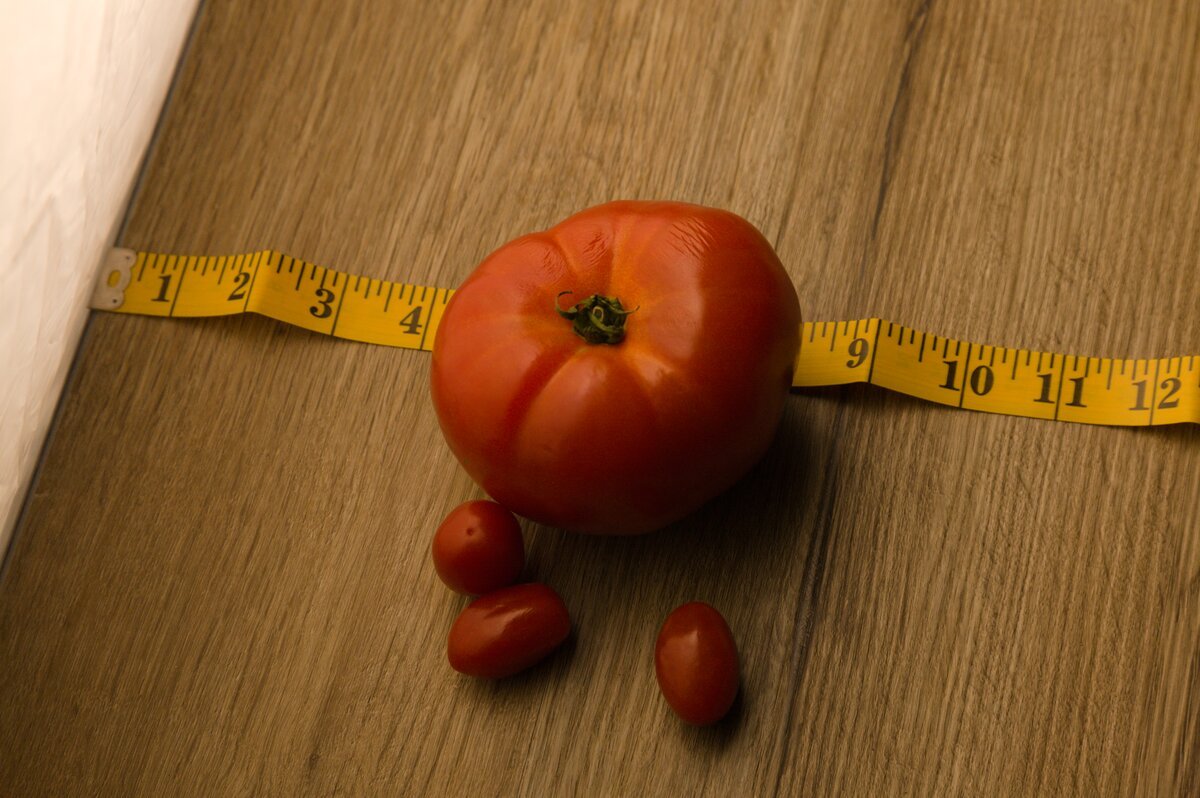
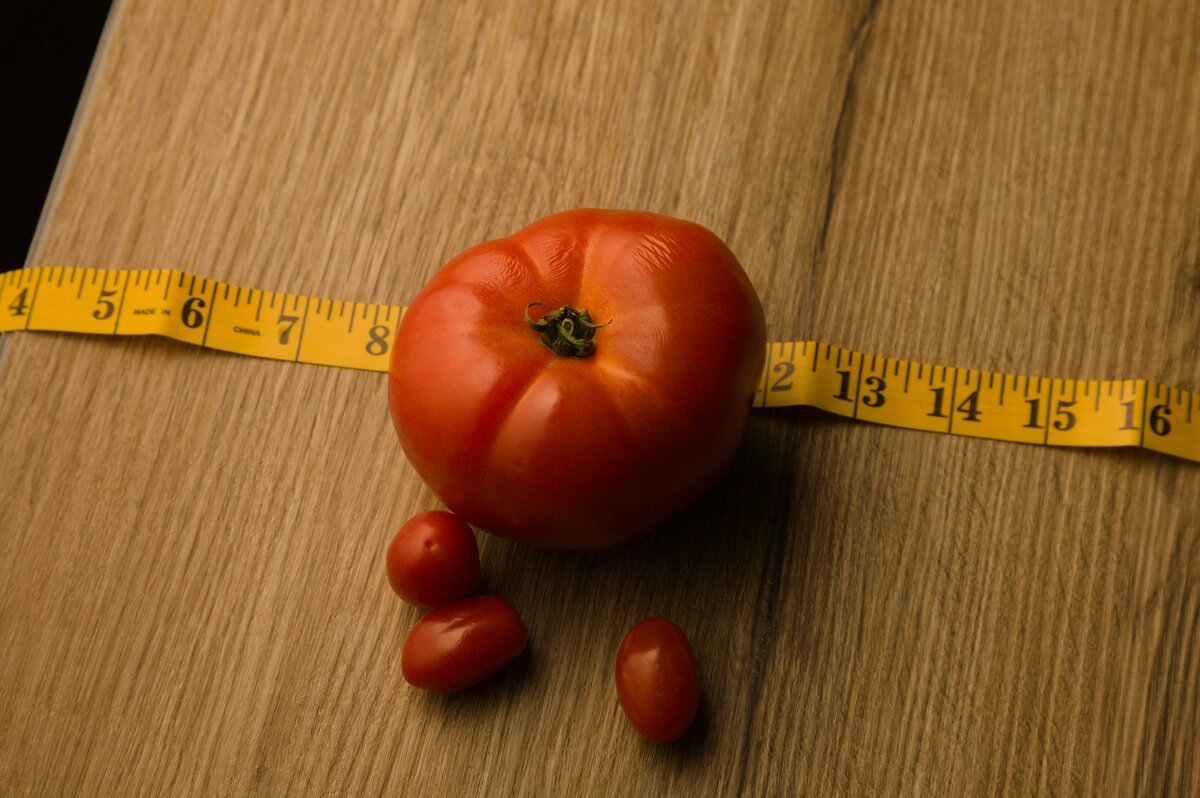
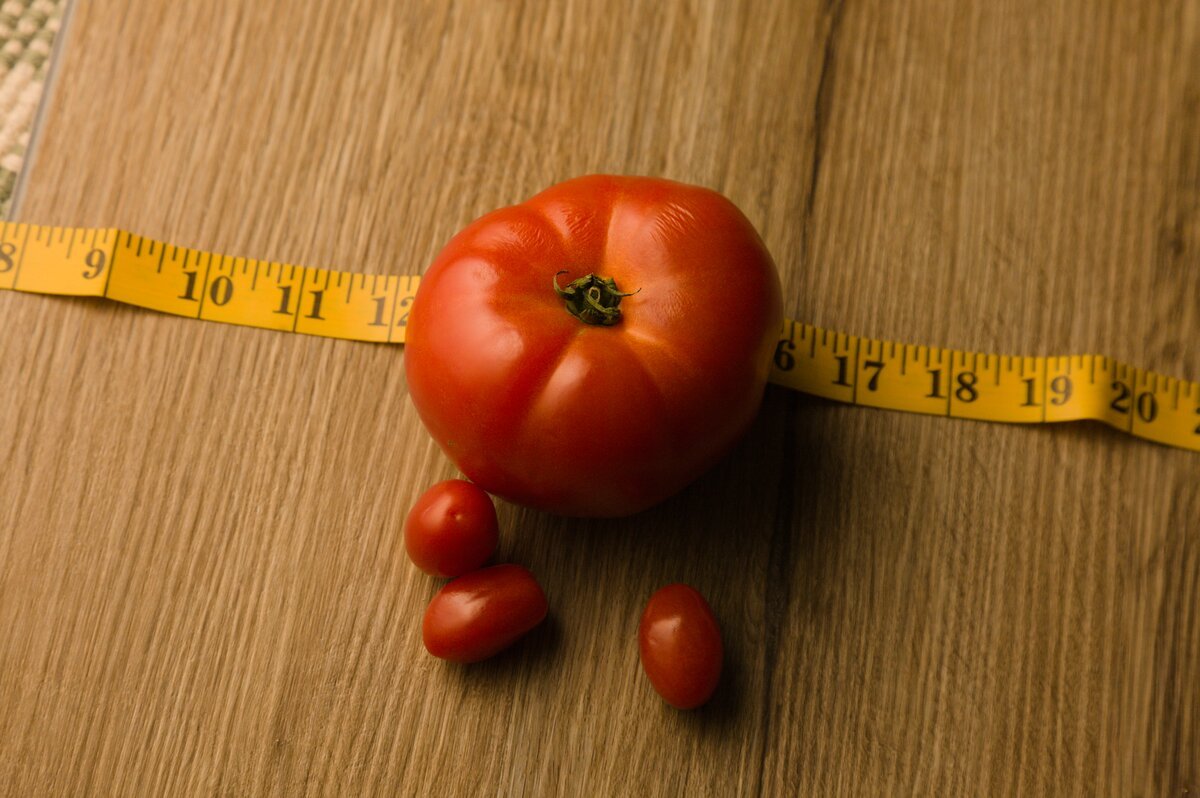
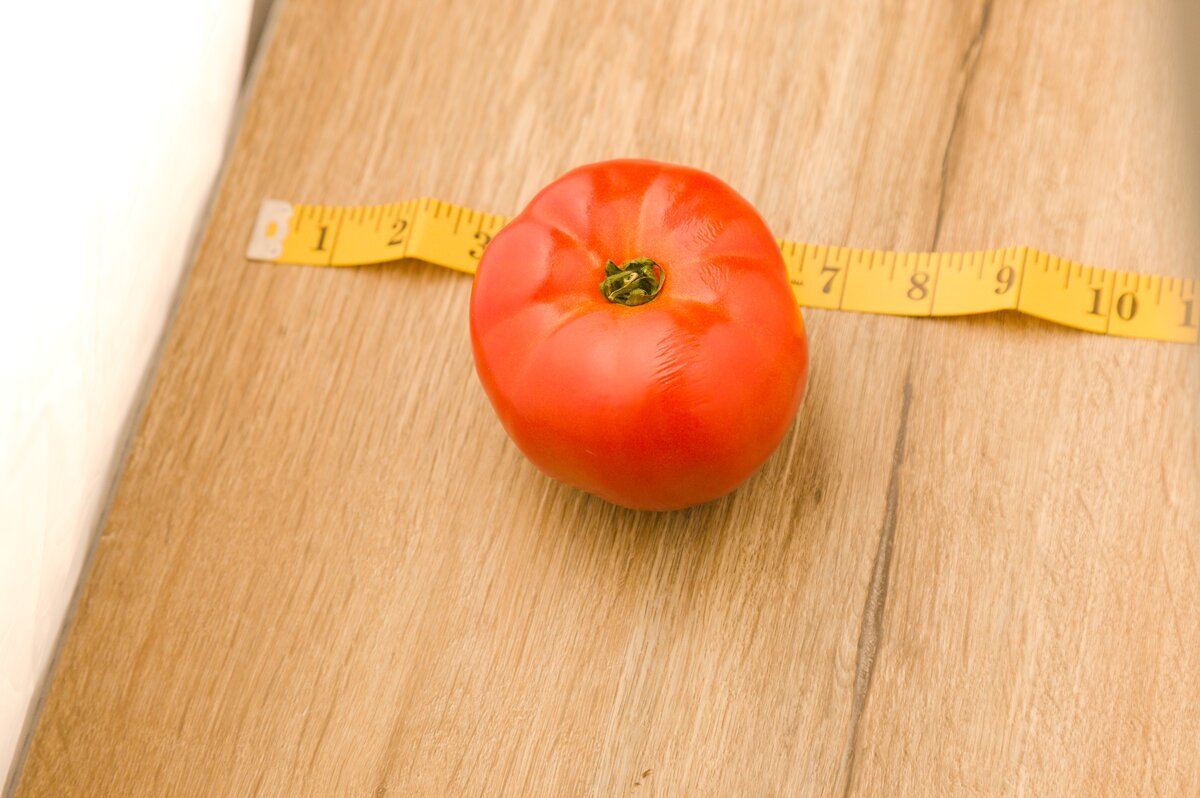
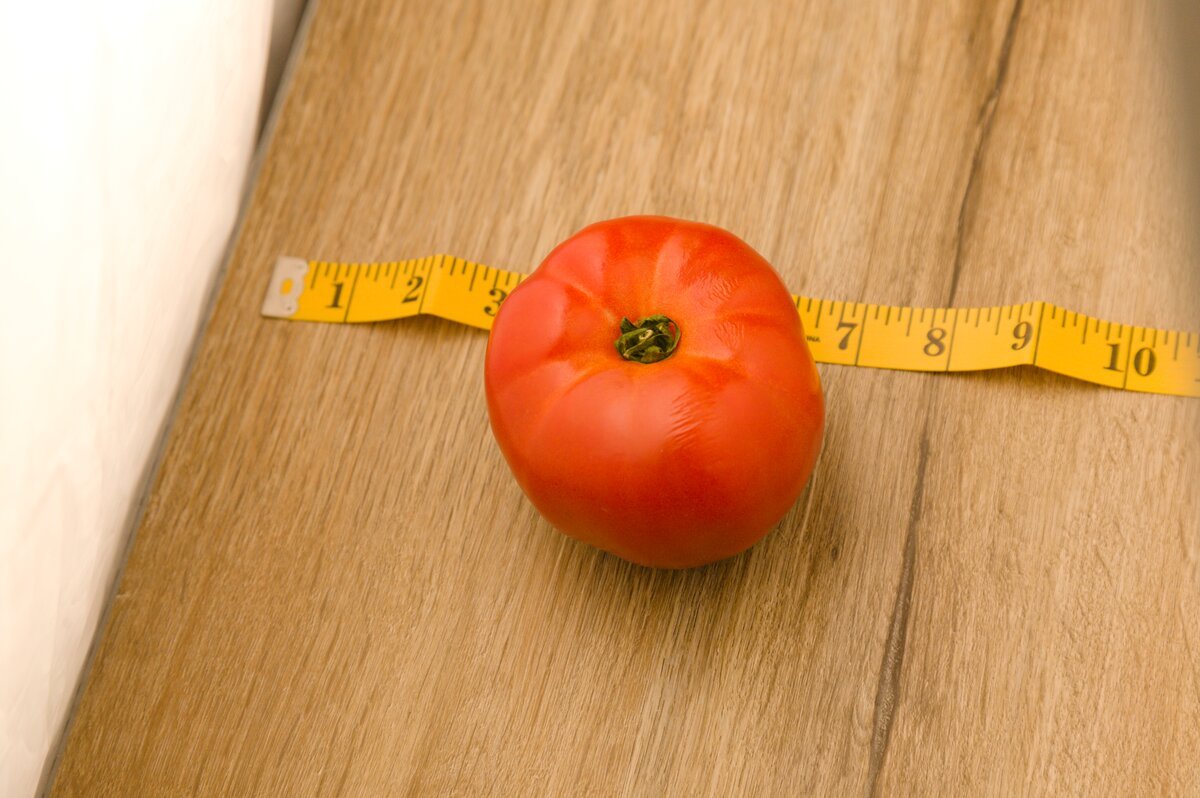
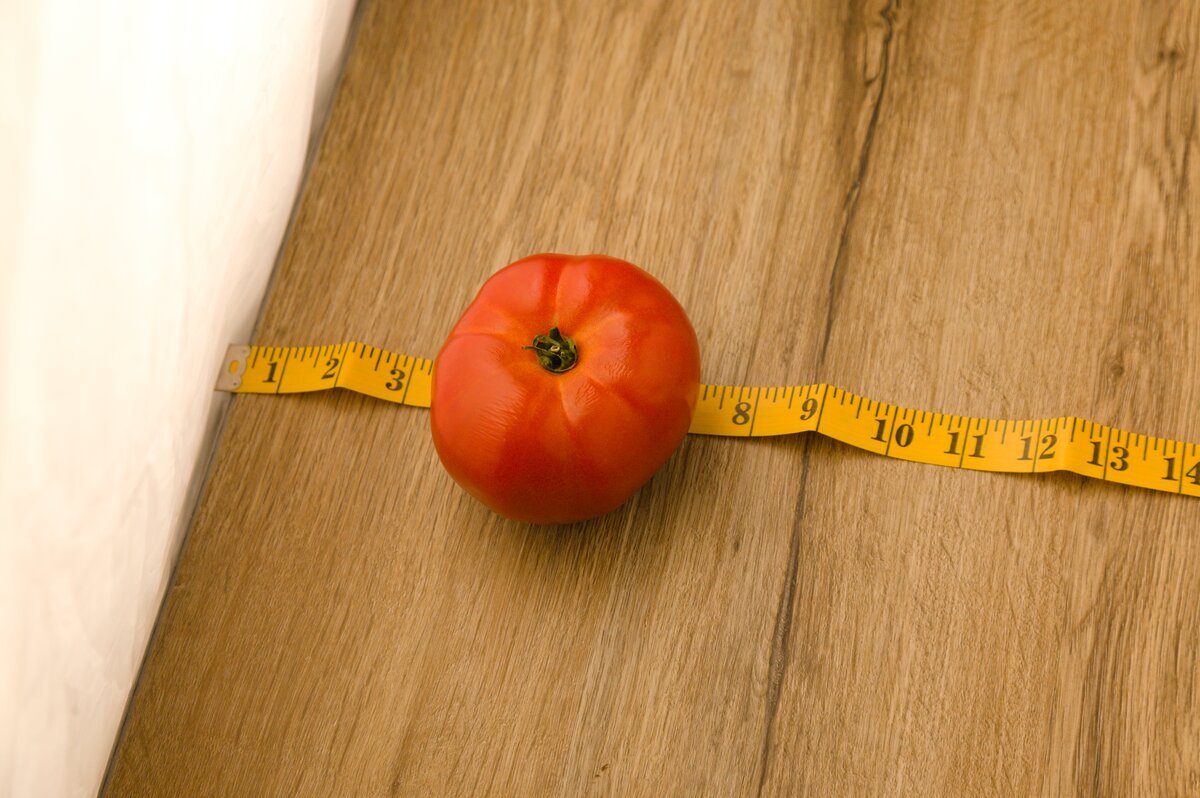
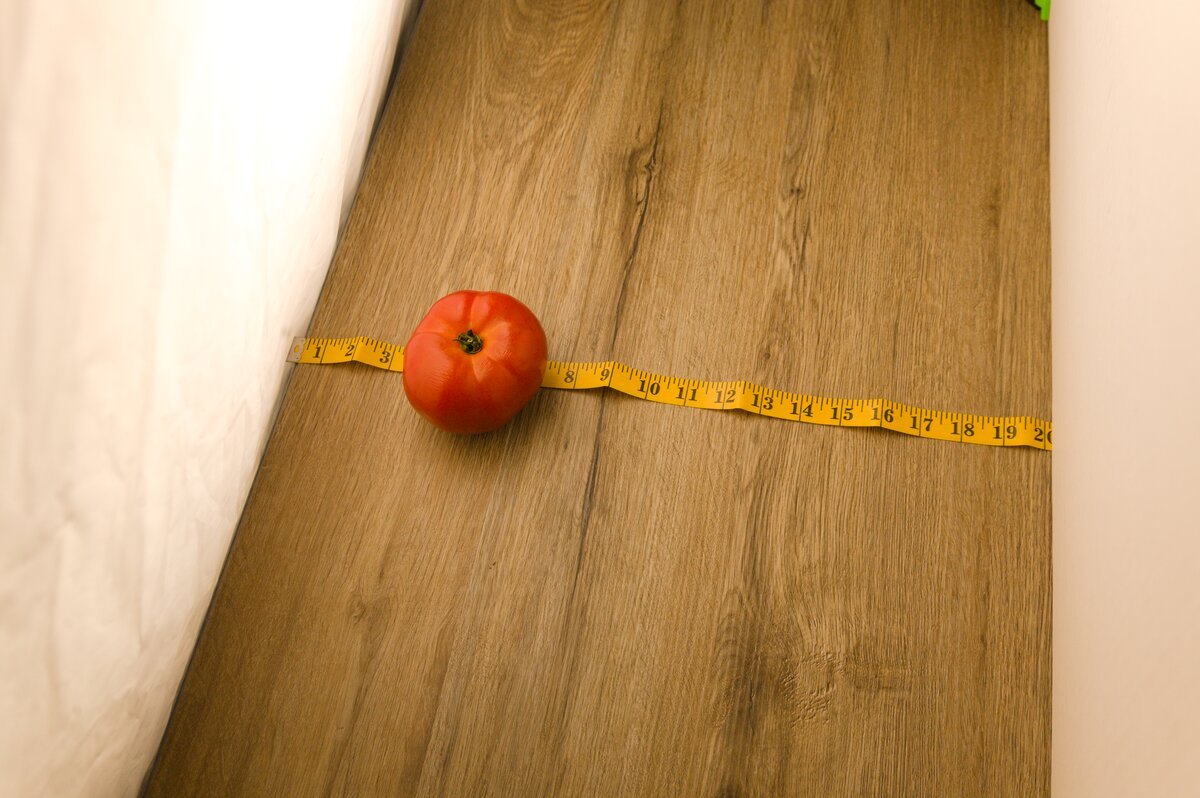
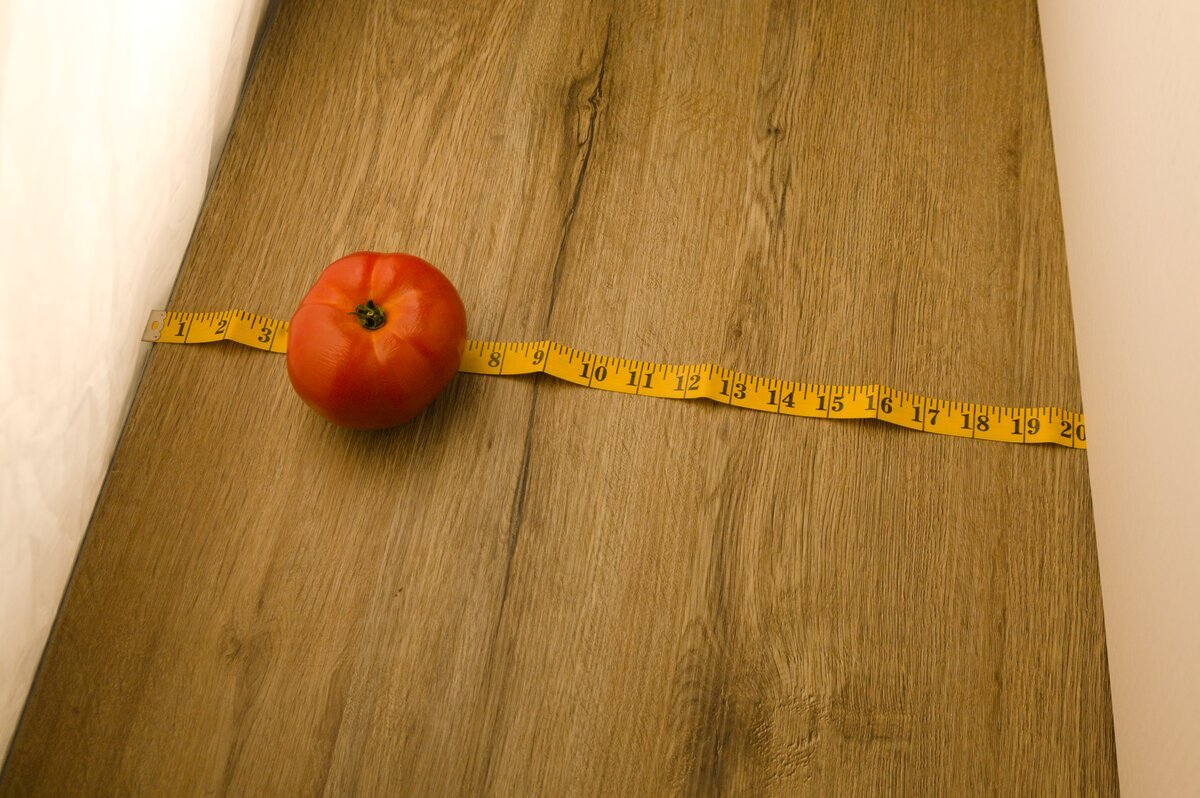
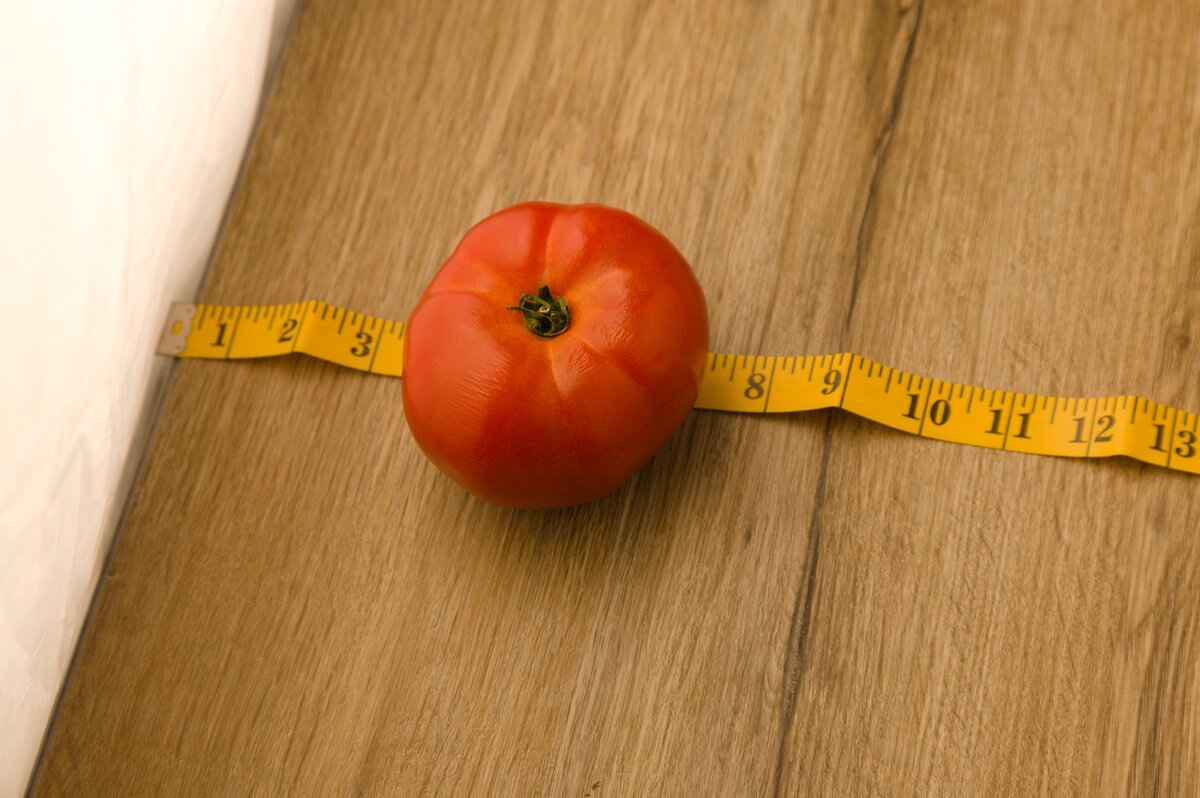
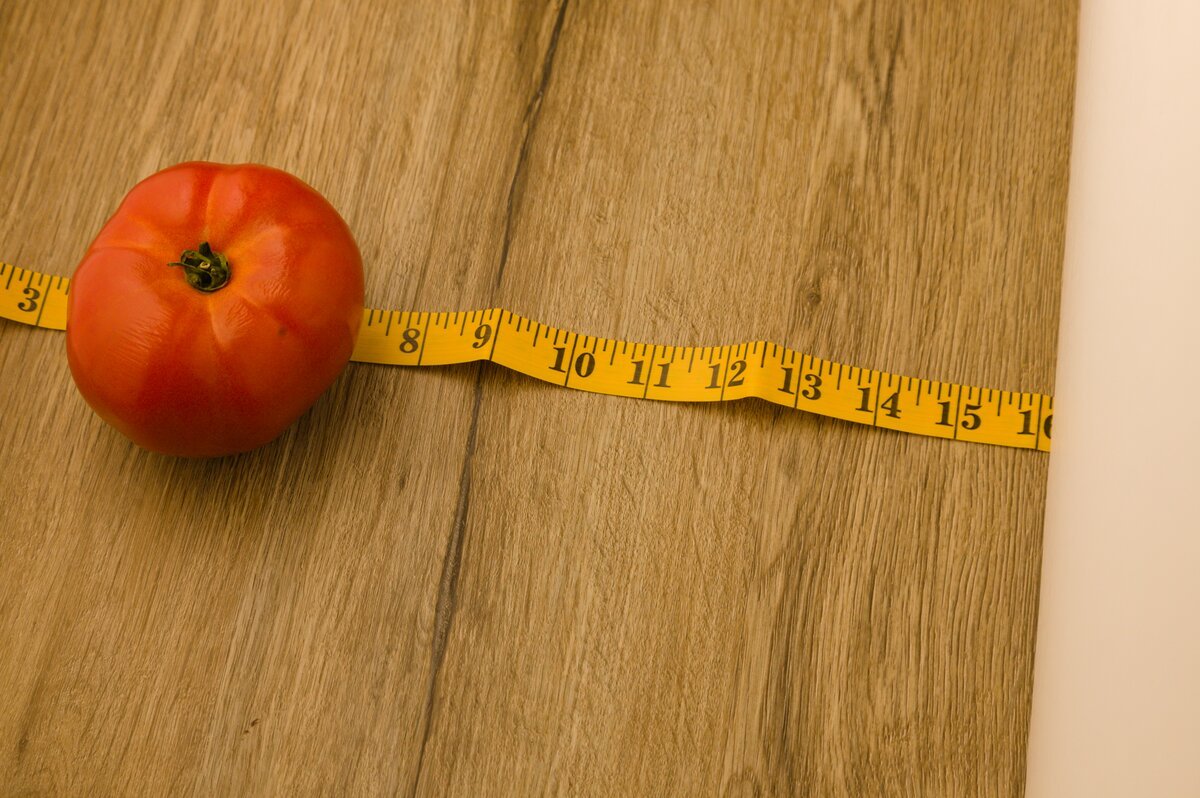
Get a ruler.
Choose a camera position and lock it down… tripod suggested.
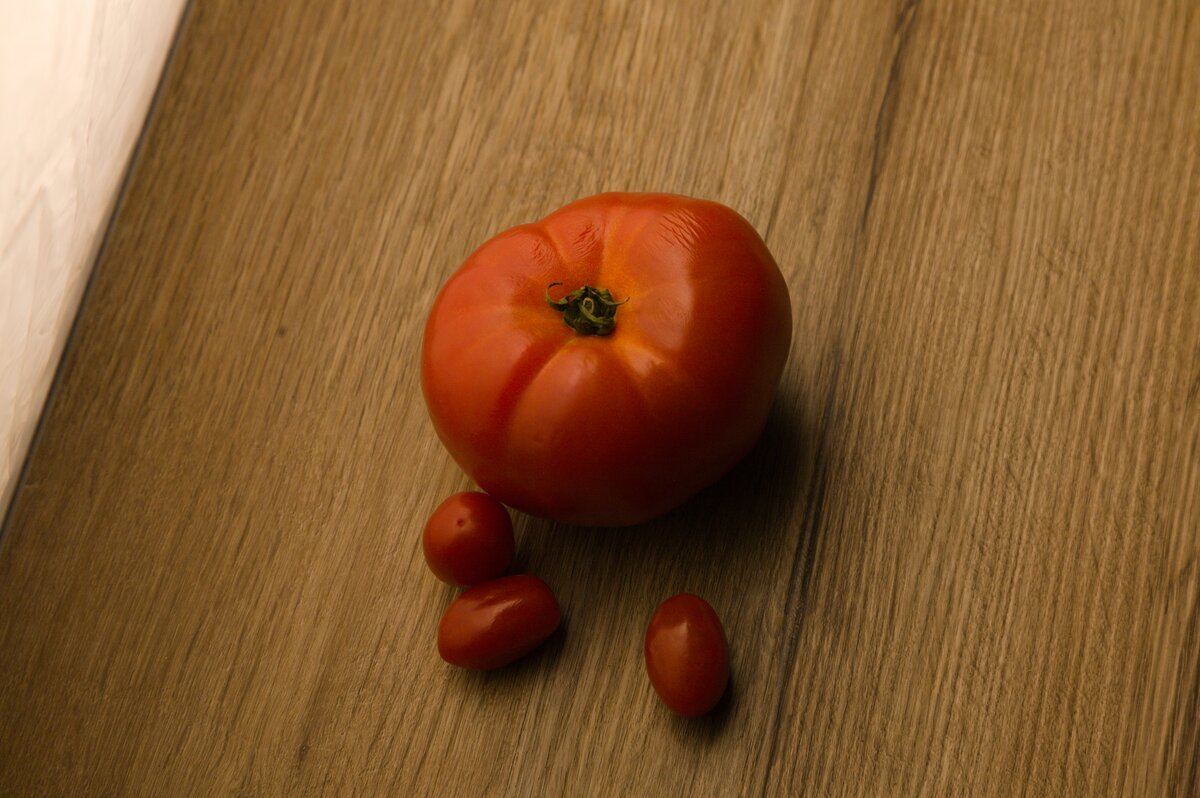
Place a tomato 4 inches from the scrim.
Shoot.
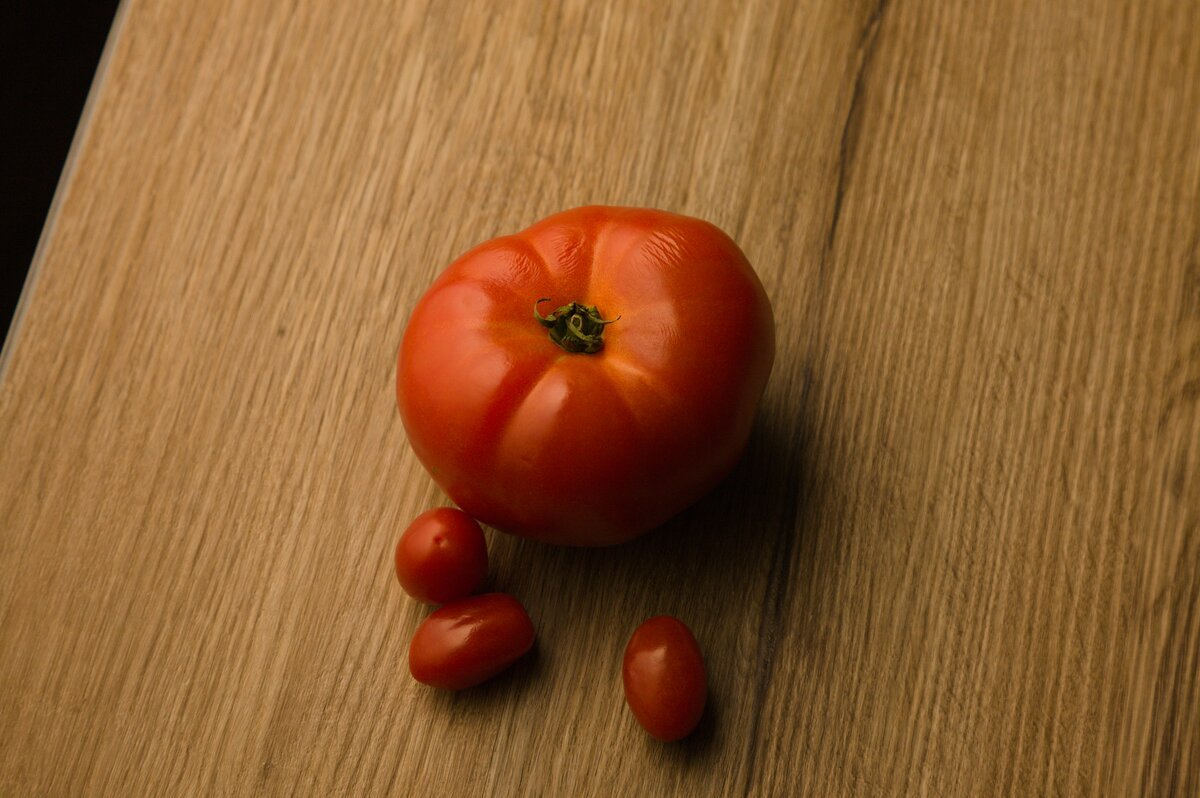
Then move it 8 inches.
Shoot.
Then 12 inches.
Shoot.
Do this with two other veggies of different texture… a group of tomatillos or mushrooms, an eggplant or squash.
Note the differences.
• Closer = softer, wider wrap, lower contrast
• Farther = sharper contrast, defined shadows, more shape, more “artisan” feel
• This is the one variable most mid-level photographers think they understand but rarely control intentionally
Fill Card Position
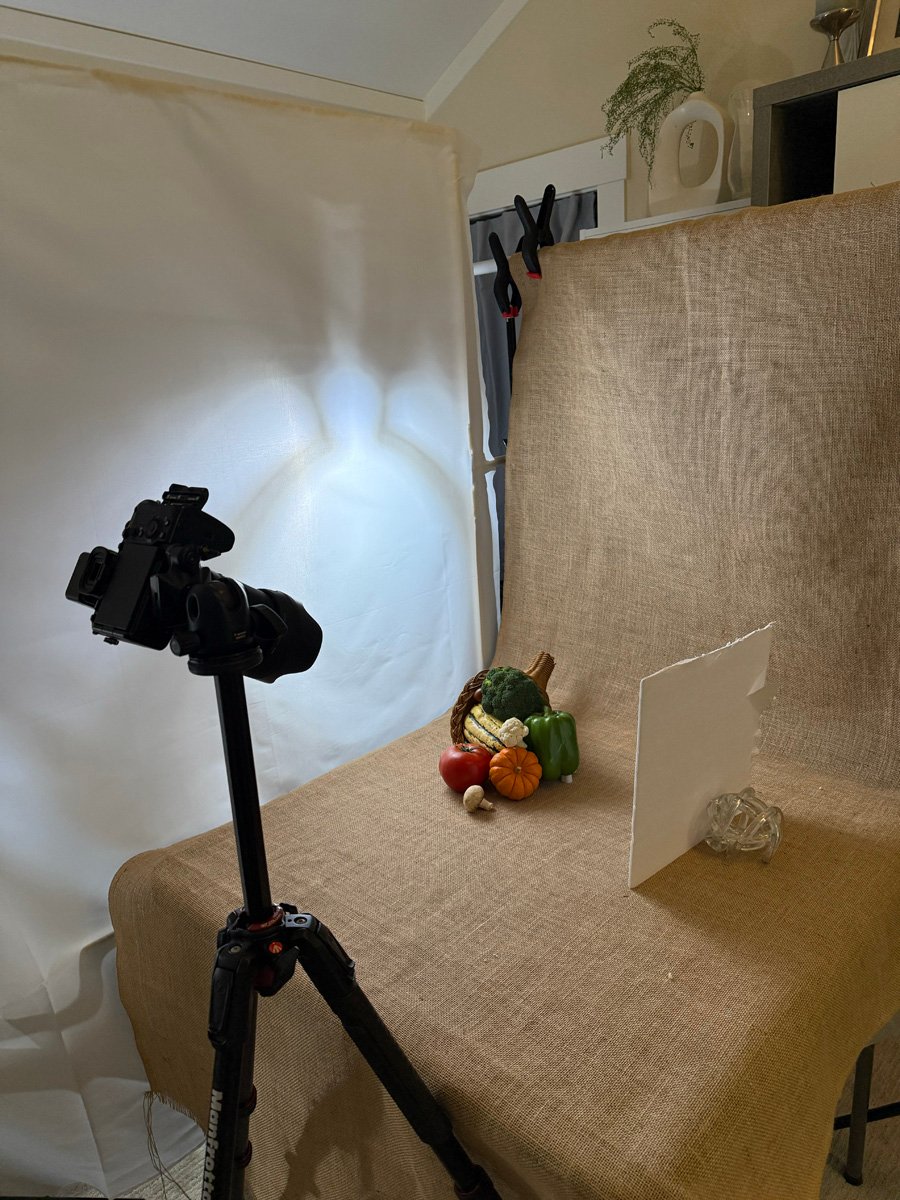
Add a white card opposite the light.
Move it in tight.
Then pull it 6 inches back.
Then a foot.
So the same as above, but this time you are going to add a fill card to the opposite side;
Tomato at 4″ / fill card at 4″, then 8″, then 12″.
Tomato at 8″ / fill card at 4″, then 8″, then 12″.
Tomato at 12″ / fill card at 4″, then 8″, then 12″.
Note what you are seeing right there on the screen in front of you.
Now do that same exercise above with a different vegetable, one with a matte surface.
When you are done, do it with a veggie you picked for shape, like an eggplant or an artichoke.
(Aren’t you glad we aren’t shooting film… cha ching)
• Fill closes the shadows, but it also changes the mood
• Too much fill can flatten the subjects
• Too little makes it look like a Rembrandt painting of a tomato
• Find the tension point between “natural” and “dramatic.”
Take this opportunity to work the set as completely as you can to find a few combos you like.
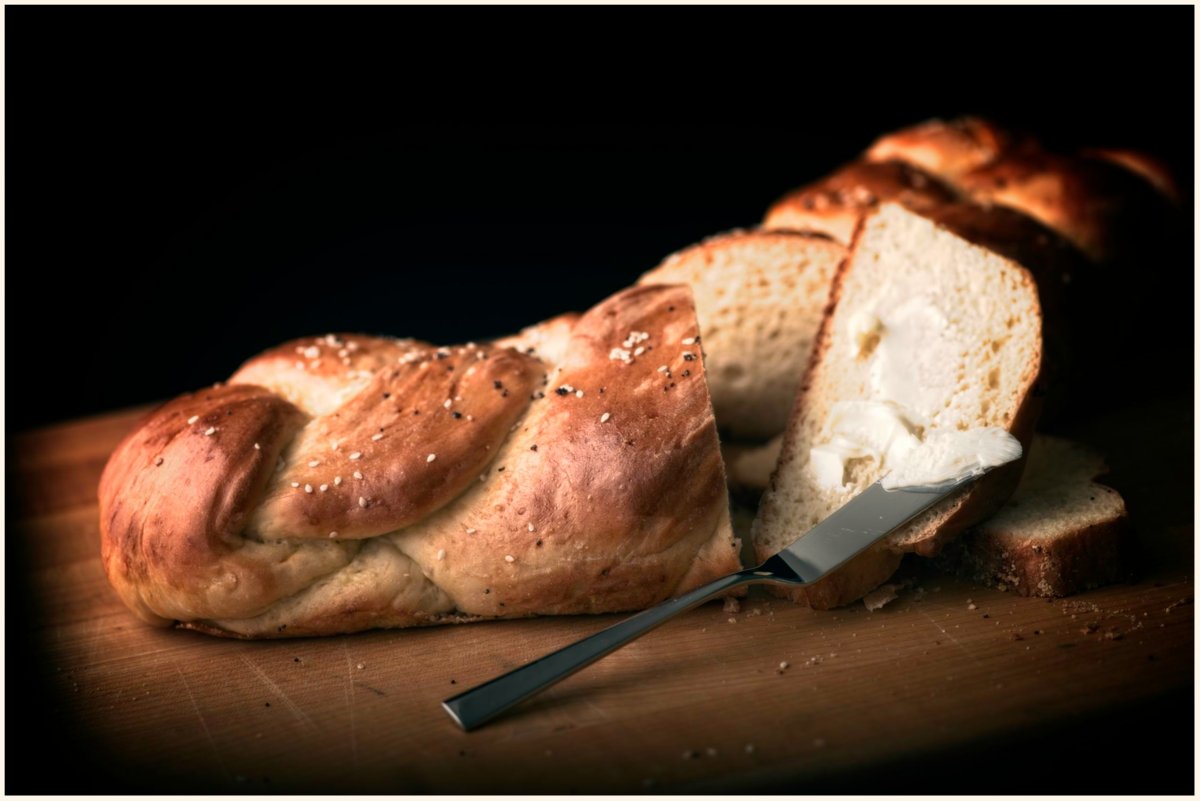
Baked Goods.
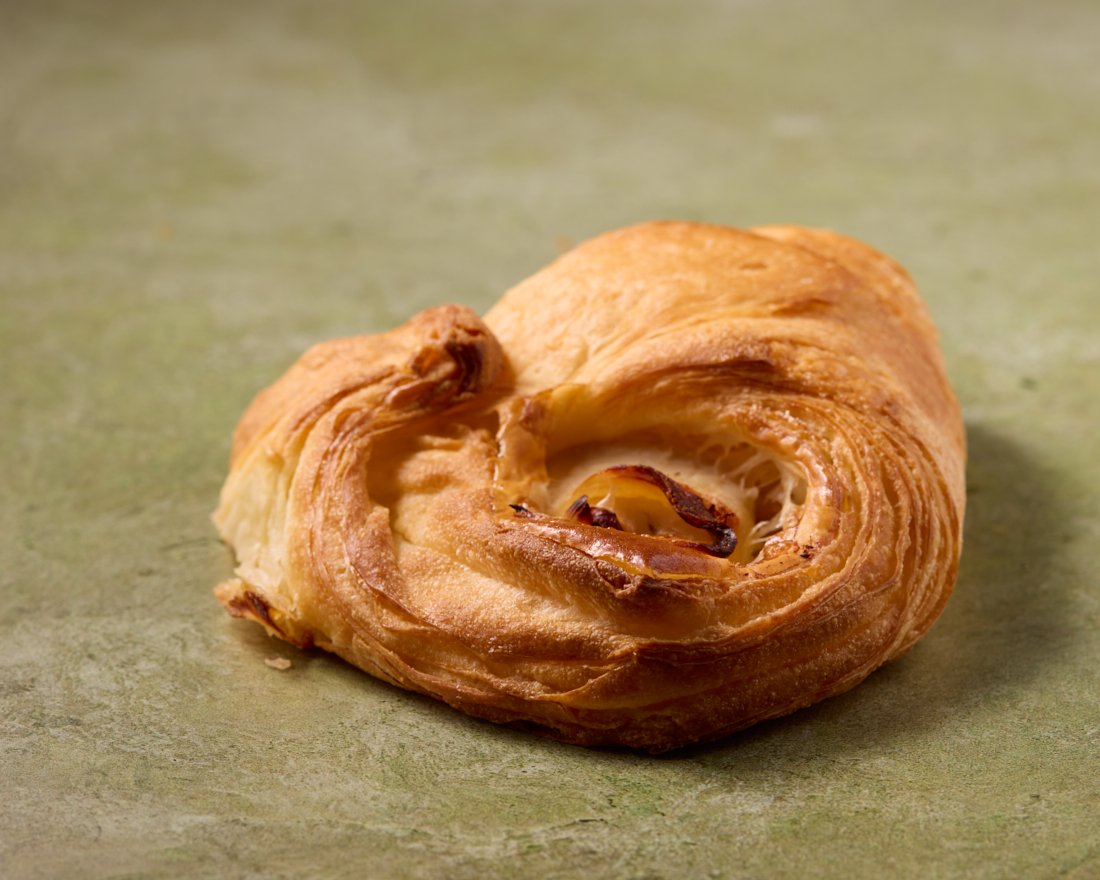
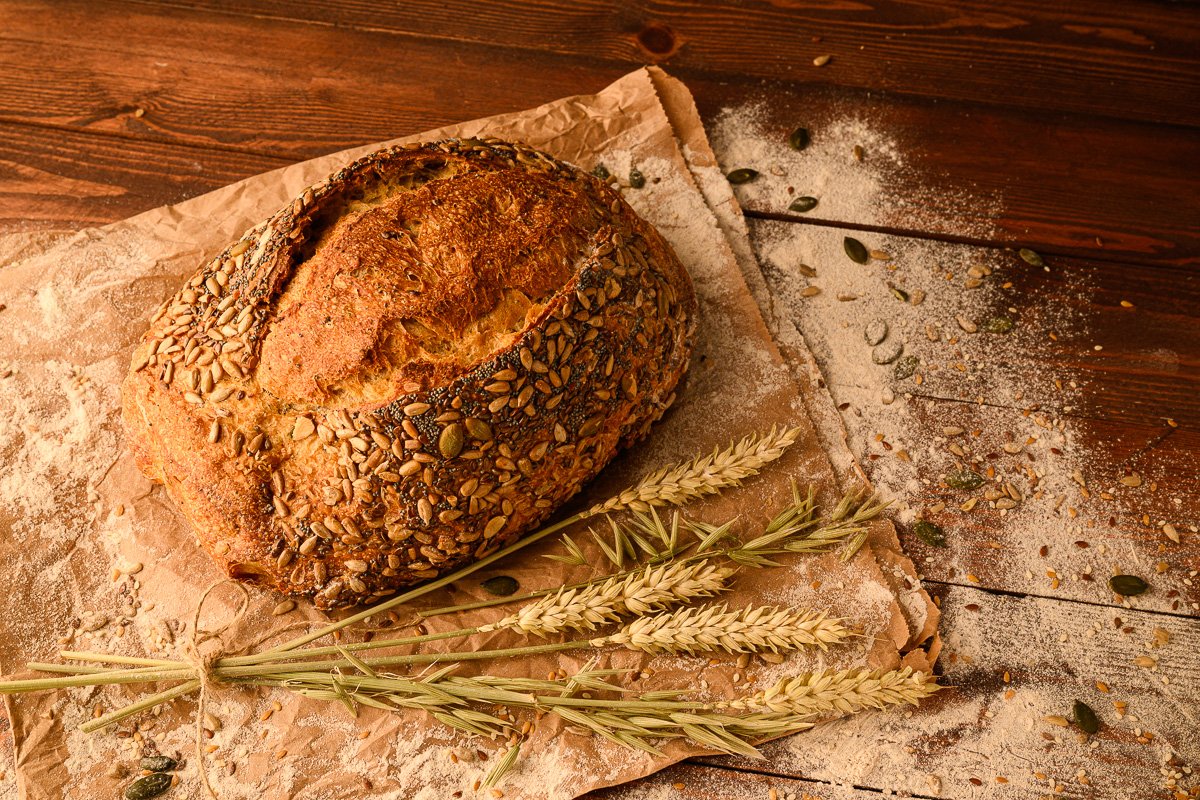
A small cake, a loaf of artisan bread, fancy breadsticks: any baked goods that will not crumble or begin to look bad as you are shooting them.
Repeat all of the exercises above.
4. Mini Demo: Two Looks You’ll Use Forever
These two are simple and universal.
Look 1: Classic Soft-Wide for Raw Veggies
• Subject within 4–12 inches of the scrim
• Fill card at 4–8 inches
• Overhead or 3/4 top camera angle
Clean, soft, organic. This is your everyday “farmer’s market” aesthetic.
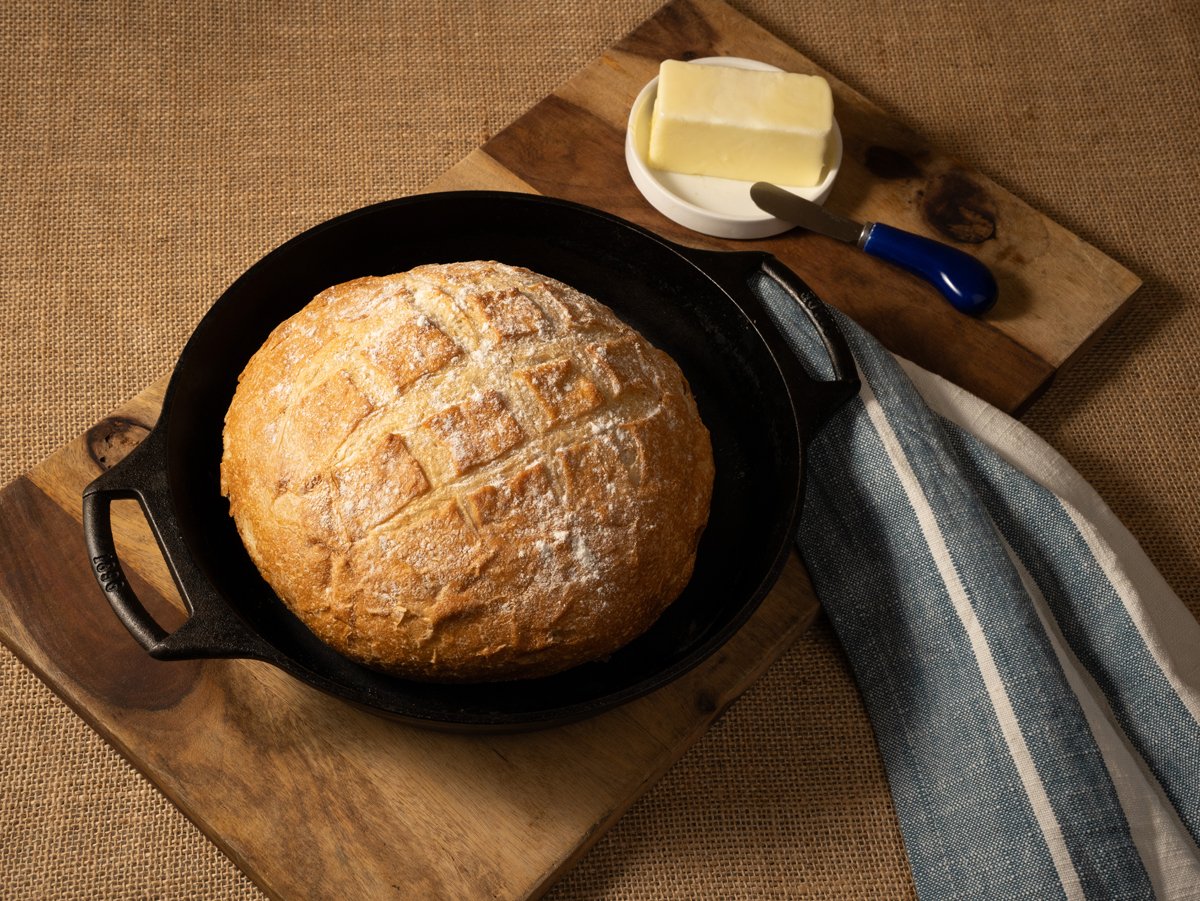
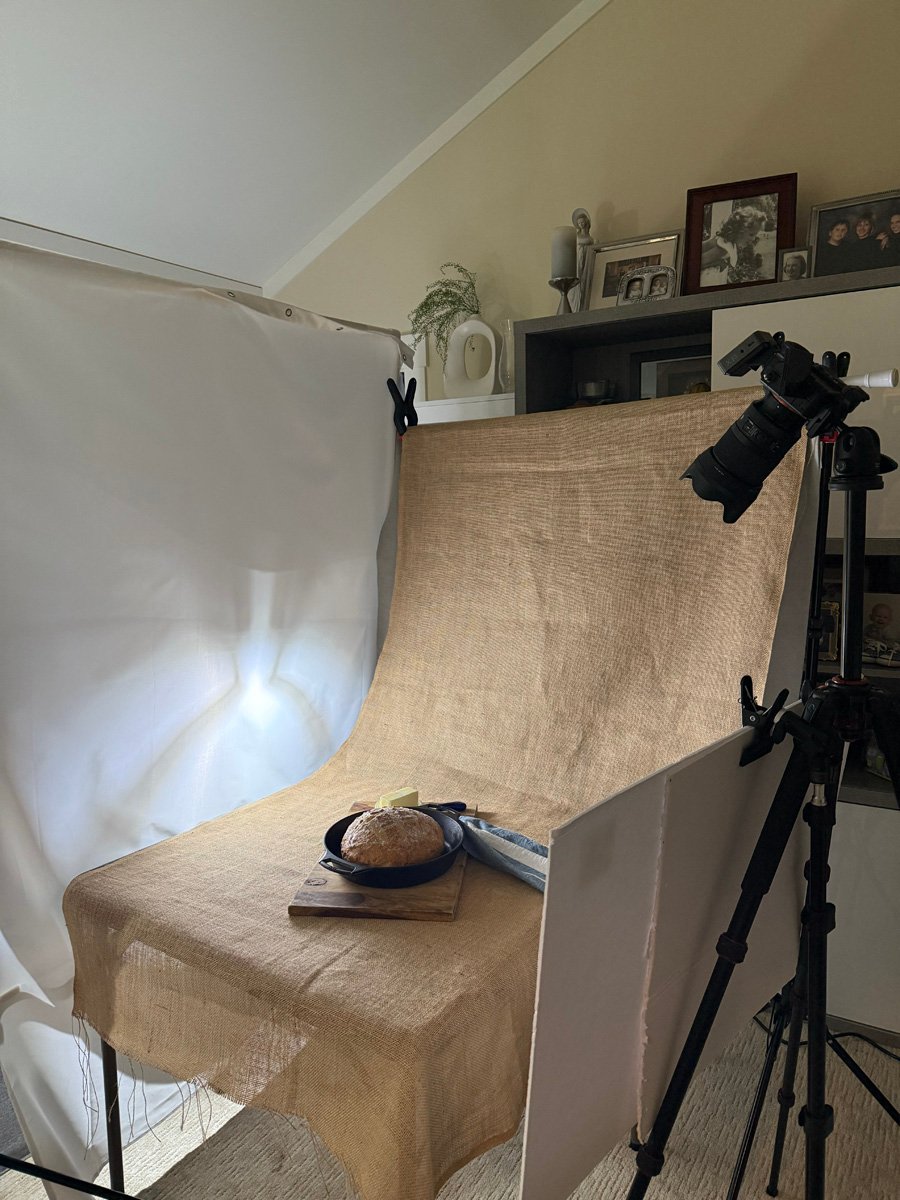
Look 2: Moody Falloff for Baked Goods
• Subject 10–14 inches off the scrim
• Fill card far back or removed for drama
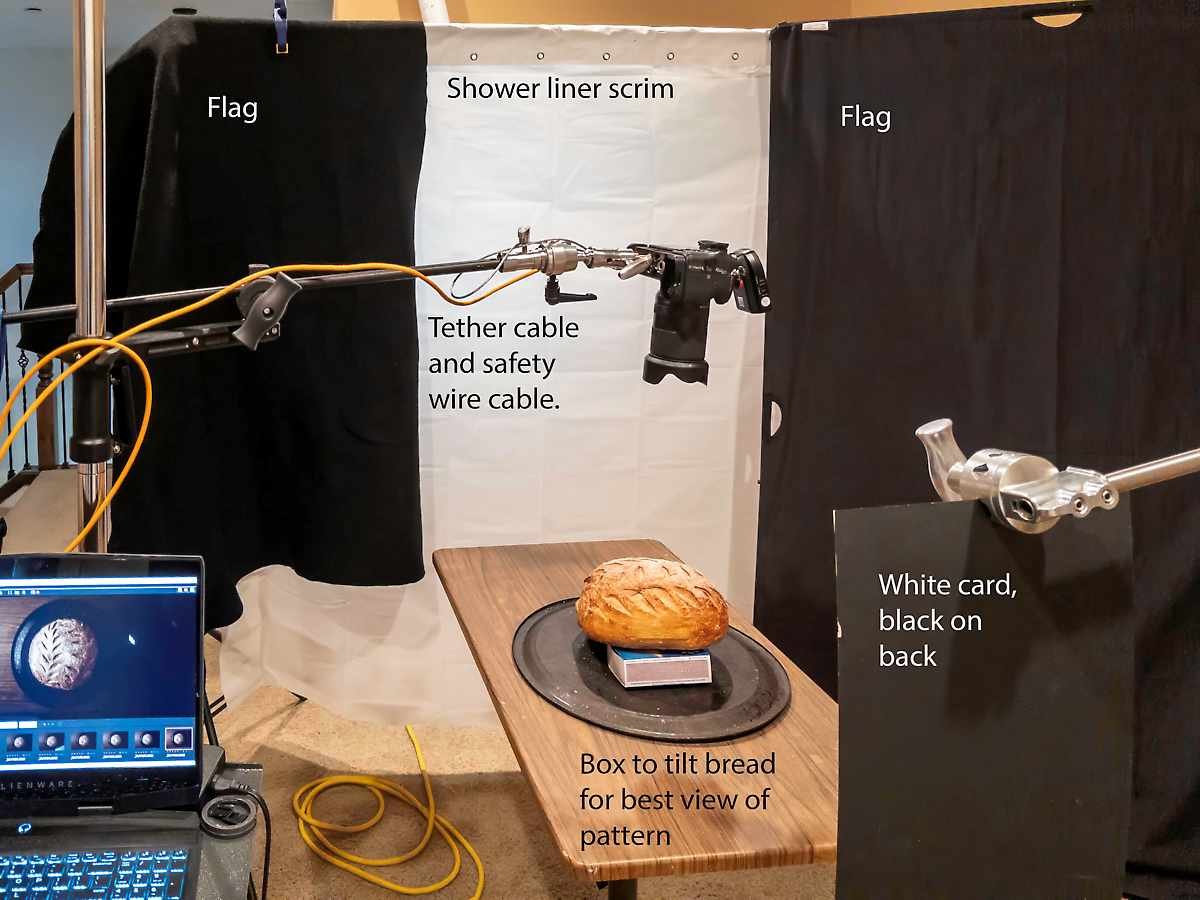
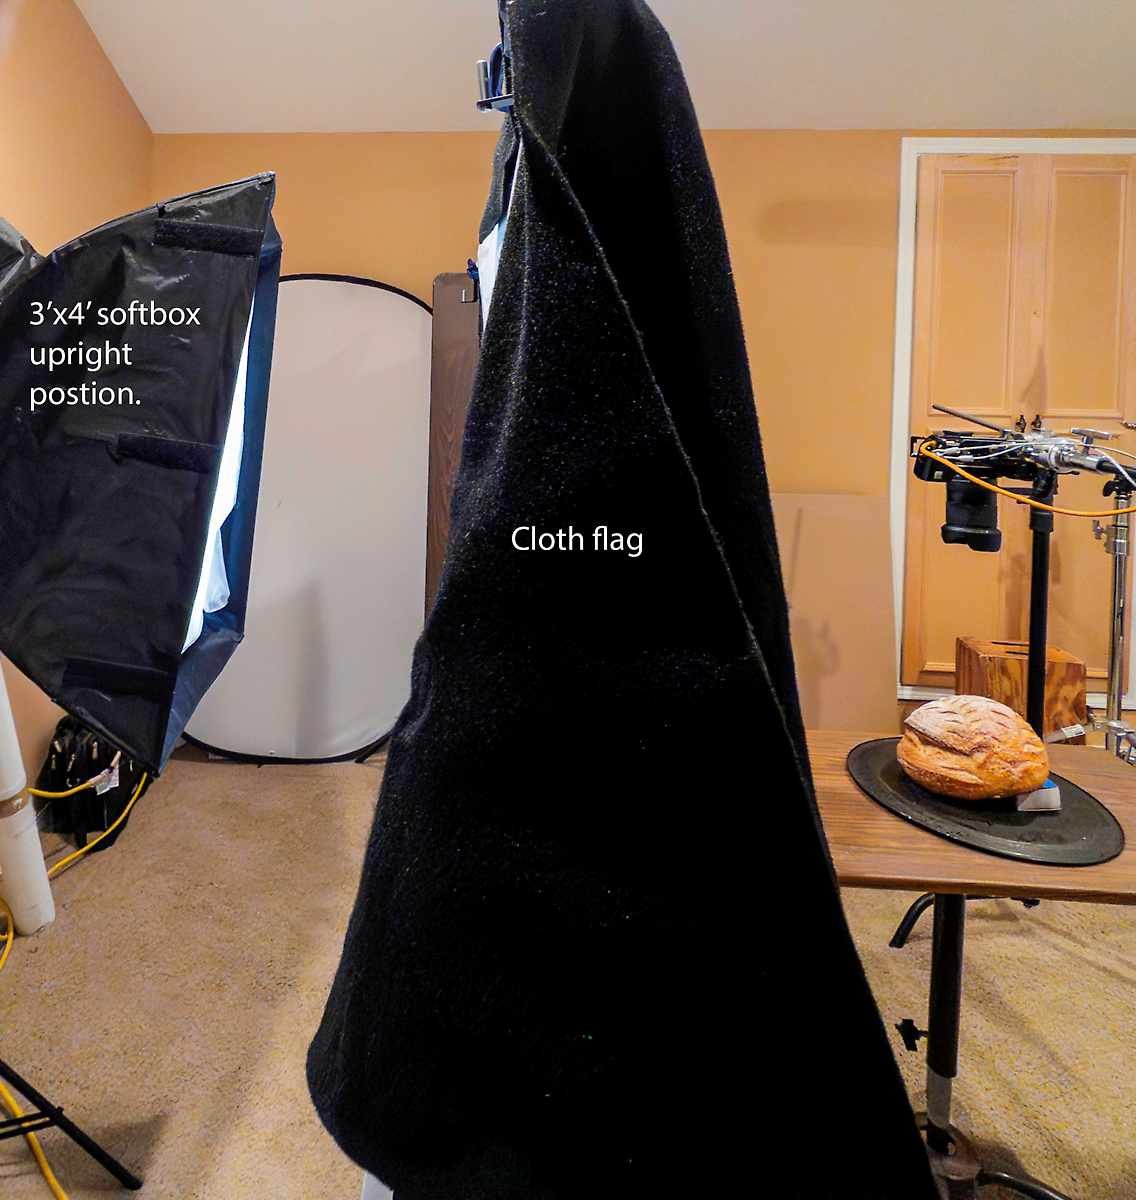
• Bring in a black negative fill card if you want real depth
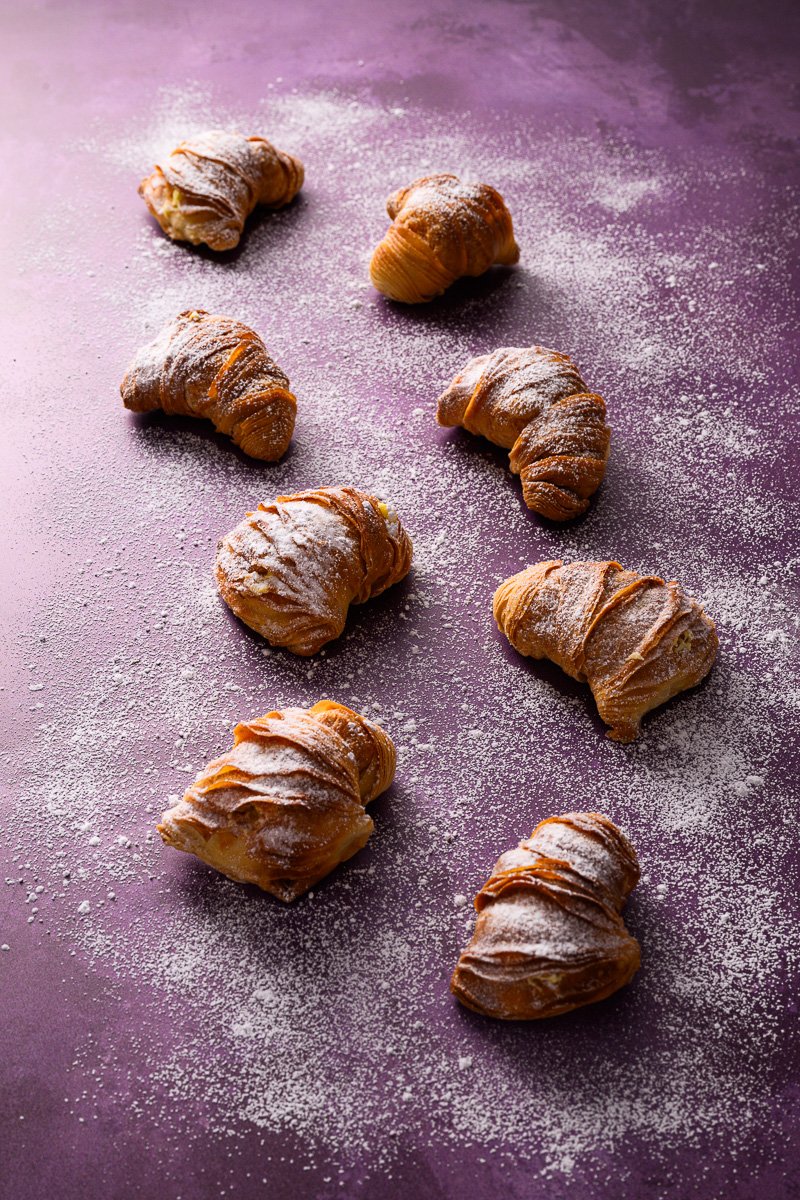
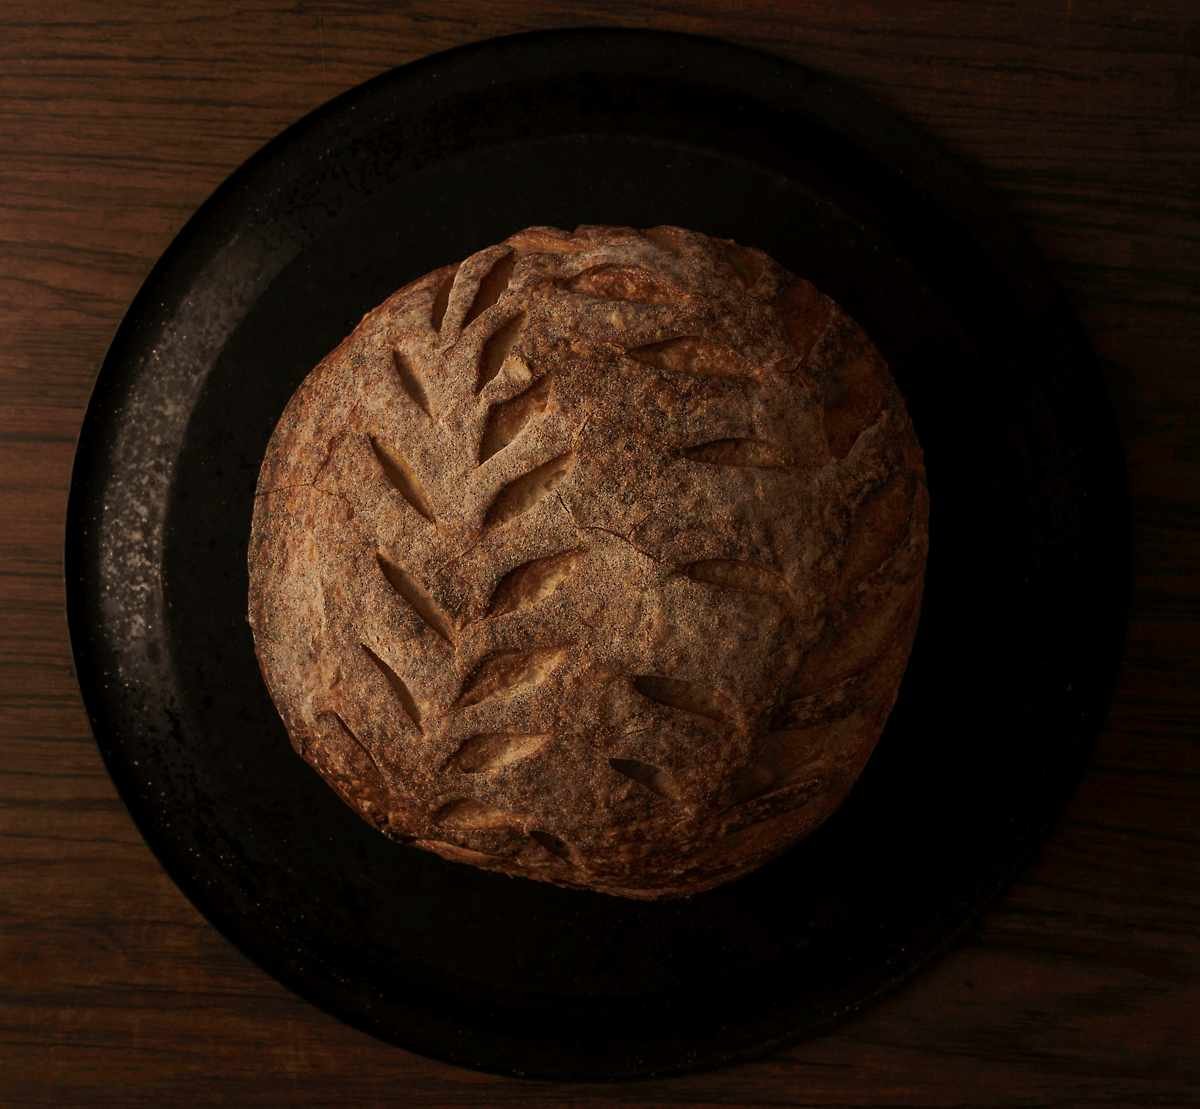
Rich, dimensional, craft-bakery vibes. Works for bread, muffins, crusts, anything with texture.
You’ll repeat these two setups a thousand times in your career. Master them now.
A REVIEW:
You have shot all the test shots above with both side and back light. To make things easier, I would have the set ready for you to shoot both. Shoot all of the sidelight shots, then move to the backlight shots.
BACKLIGHT DEVIATION:
When you are shooting the backlight, you may not be able to put the fill card in front of the camera because the image would just be the back of the fill card and ain’t nobody wanna see that. So put it to one side of the camera, but do use the same 2″, 6″, 12″ distances the assignment calls for. Even if you have to Photoshop the card out of the 2″ in shot.
5. The Portfolio Shot
OK… you have some real data in front of you, and you have your favorites.
You have 30–40 minutes. Pick the distance and fill you liked.
Commit to it.
Make a few shots for your portfolio.
Use one or two of your favorite looks.
You can add a simple prop or two, but keep the shot focused on the subject.
ASSIGNMMENT:
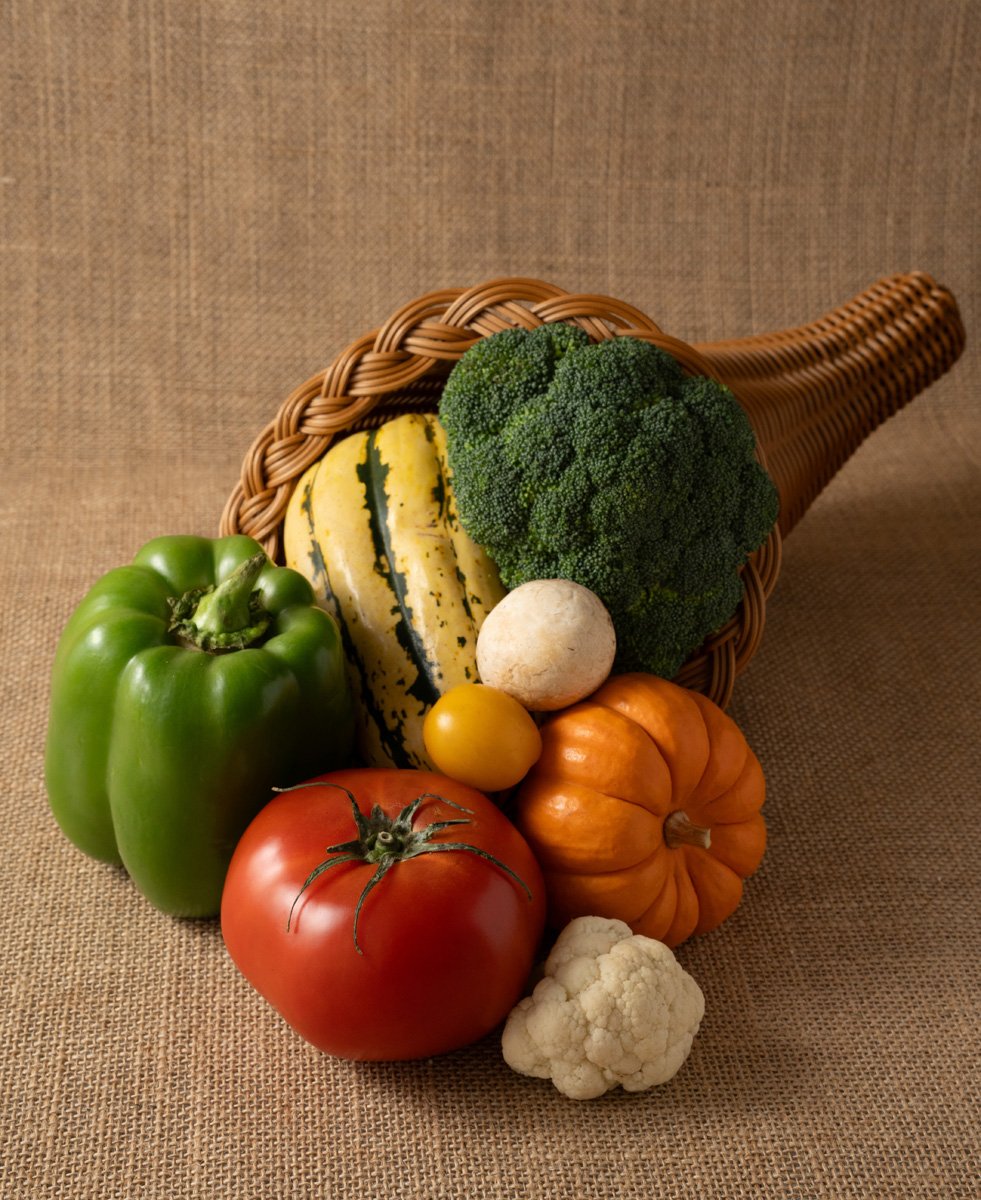
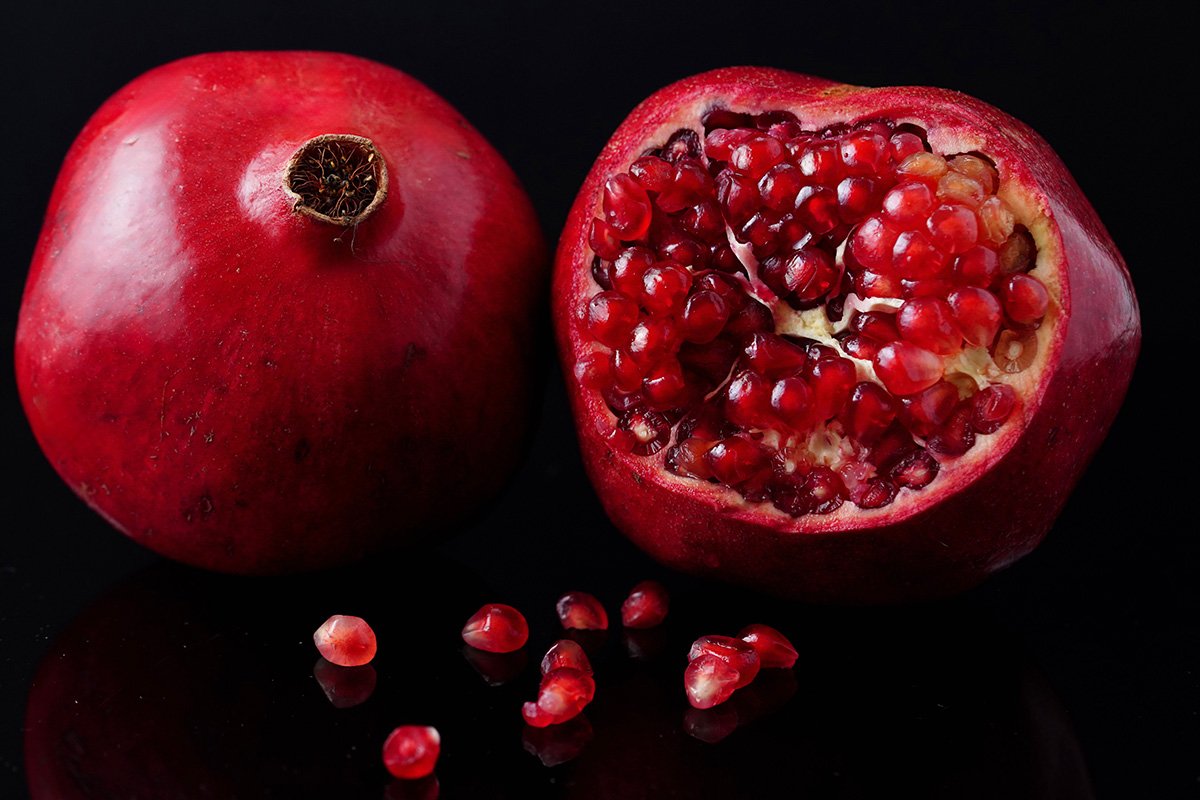
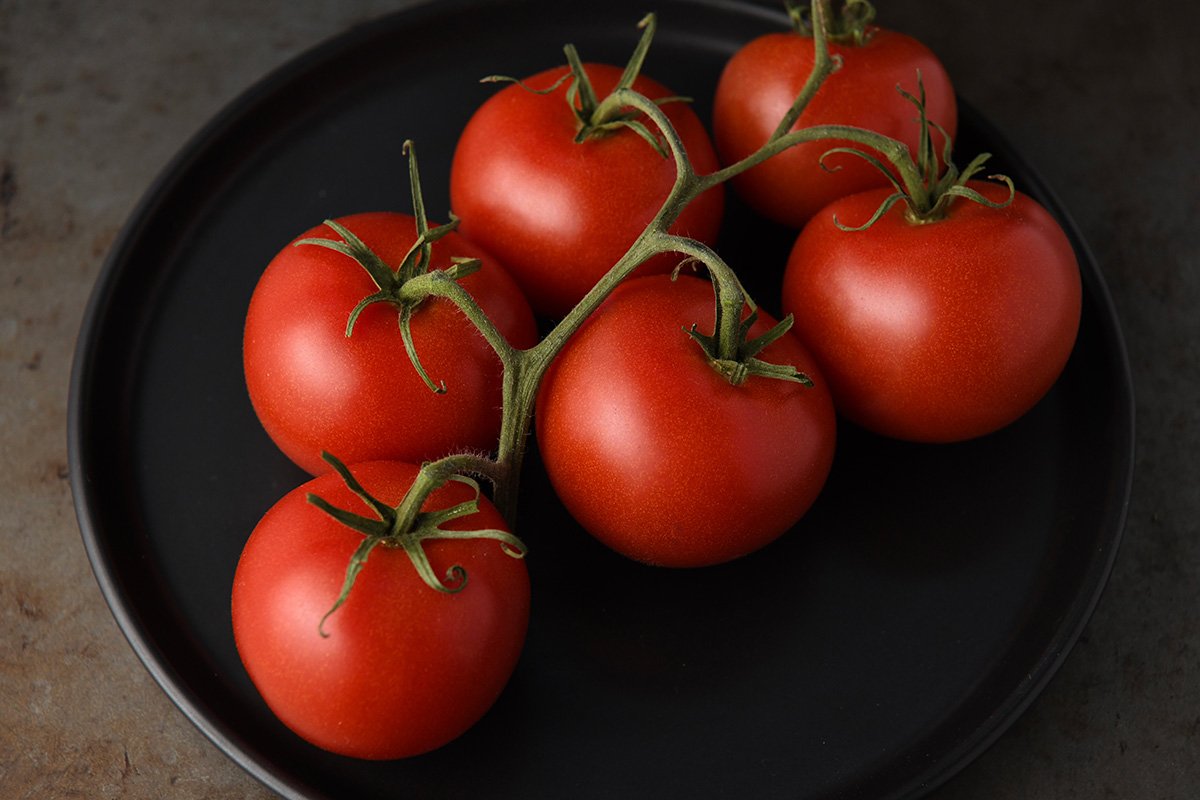
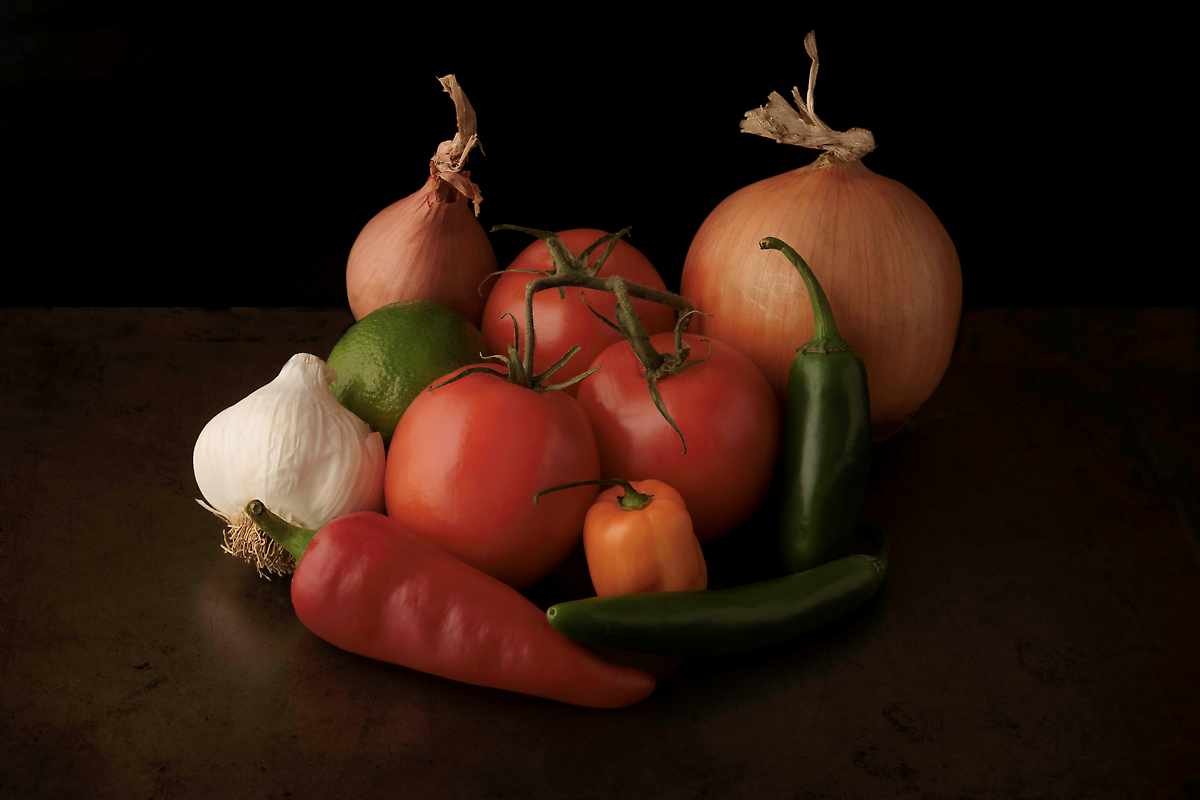
2 Portfolio images: one veggie, one baked good.
Up to 5 behind-the-scenes showing us what you did, and what you discovered.
Shoot tethered if you can
Take meticulous notes so that you can see the data and correlate the images.
Your only rules:
• Under three hours from start to finish
• Don’t go prop-hunting during the assignment, have them ready
• No more than two camera angles
• Make two images that feel like something a real restaurant could use tomorrow
6. Commercial Tie-In
This setup is how you shoot 80% of restaurant menus, bakery promos, chef portraits-with-food, and small-biz product jobs. Clients aren’t interested in how many lights you own. What they want is for you to make a tomato look like it belongs on a billboard, or a croissant on a menu.
7. Assignment Summary:
Subjects:
Vegetables like tomatoes, squash, brussels sprouts, tomatillos, eggplant, mushrooms, or any similar items with shiny surfaces and matte surfaces.
Baked goods: A loaf of artisan bread, a croissant, or similar baked goods that will not crumble or look distressed after handling.
Technique:
• Move subject 4″, 8″, 12″, and 24″ from the large vertical light; photograph each
• Test fill card at 3″, 6″, 12″, and absent
• Observe texture, contrast, and mood shifts
Final Image:
• Choose the distance + fill combination you like
• Style minimally (OK to add props, but keep them simple
• Shoot a finished portfolio image
• Keep total working time under three hours
• Submit final veggie and baked goods, and 5 total behind-the-scenes shots.
ASSIGNMENT UPLOAD
1. Must not be larger than 1200 pixels on the longest side.
2. Must be .jpg format
3. Include BTS shots
4. File naming: first-last-assignnumber-1.jpg (don-giannatti-1-a.jpg, don-giannatti-1-b.jpg, etc…
5. Be sure to resize phone shots.
[wordpress_file_upload]
What you will need:
- 3×4 softbox minimum size, or a 4×4 scrim.
- Light on a stand, bottom even with the table.
- Table.
- Tripod.
- Ruler or measuring tape.
- 12×12 fill card (fome core or white board)
- Strobe or continuous light
- Vegetables: choose for texture; shiny and matte. Choose for shape: Eggplant, mushrooms. (you can choose whateer you wish, but please have a variety of shapes, colors, and textures.
- Baked goods: Cake, artisan bread, muffins… something that will not crumble or be destroyed by handling them through the exercise.
- Suggested you shoot tethered.
- Notebook: digital or paper for keeping notes on the exercise.
Resources:
AI TOOLS I USE:
Open AI ChatGPT
Gemini
Claude
GenSpark
Grok
The Ultimate Guide to Starting Your Creative Business
The Ultimate Guide to Starting Your Creative Business (PDF)
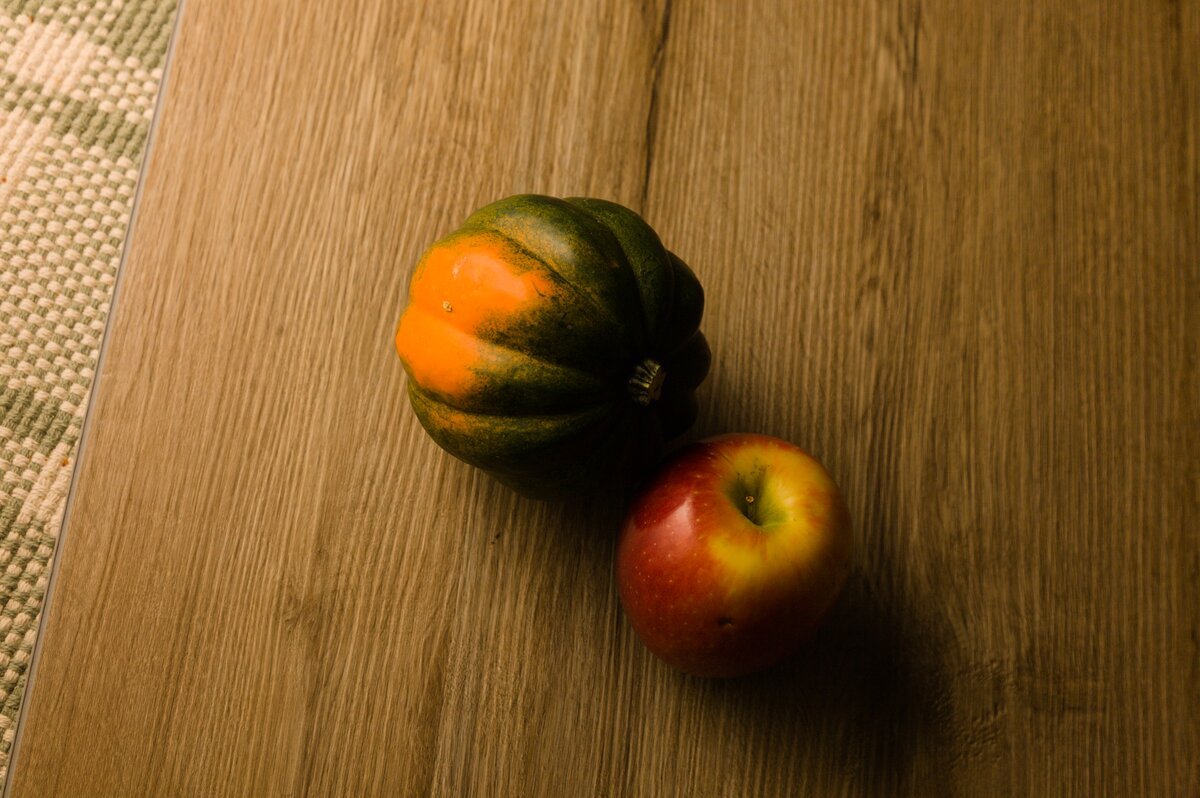
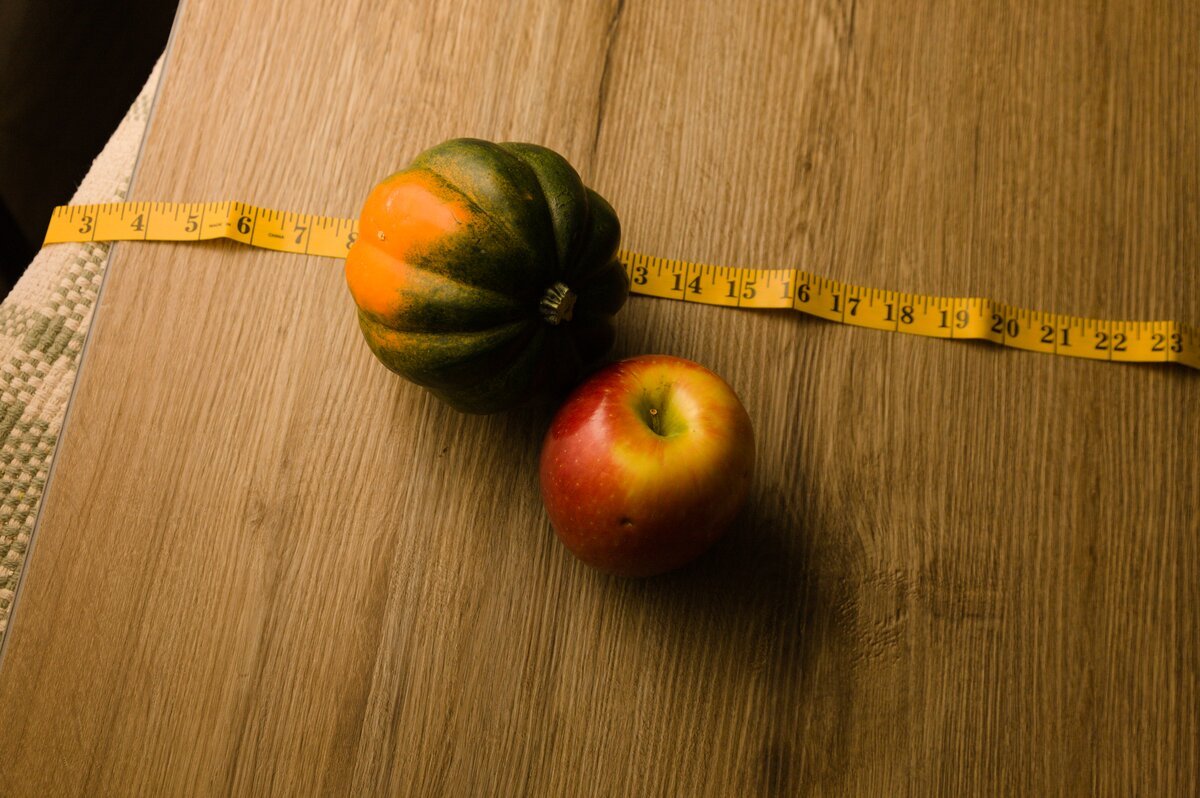
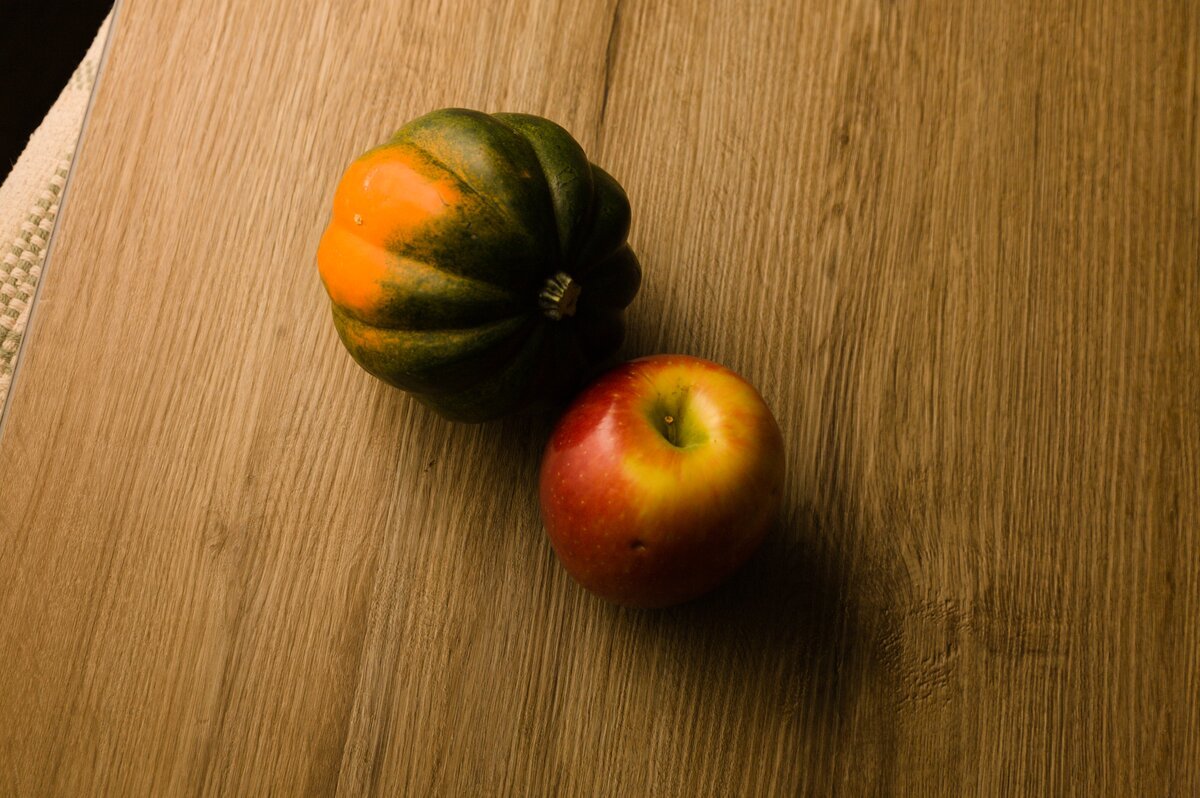
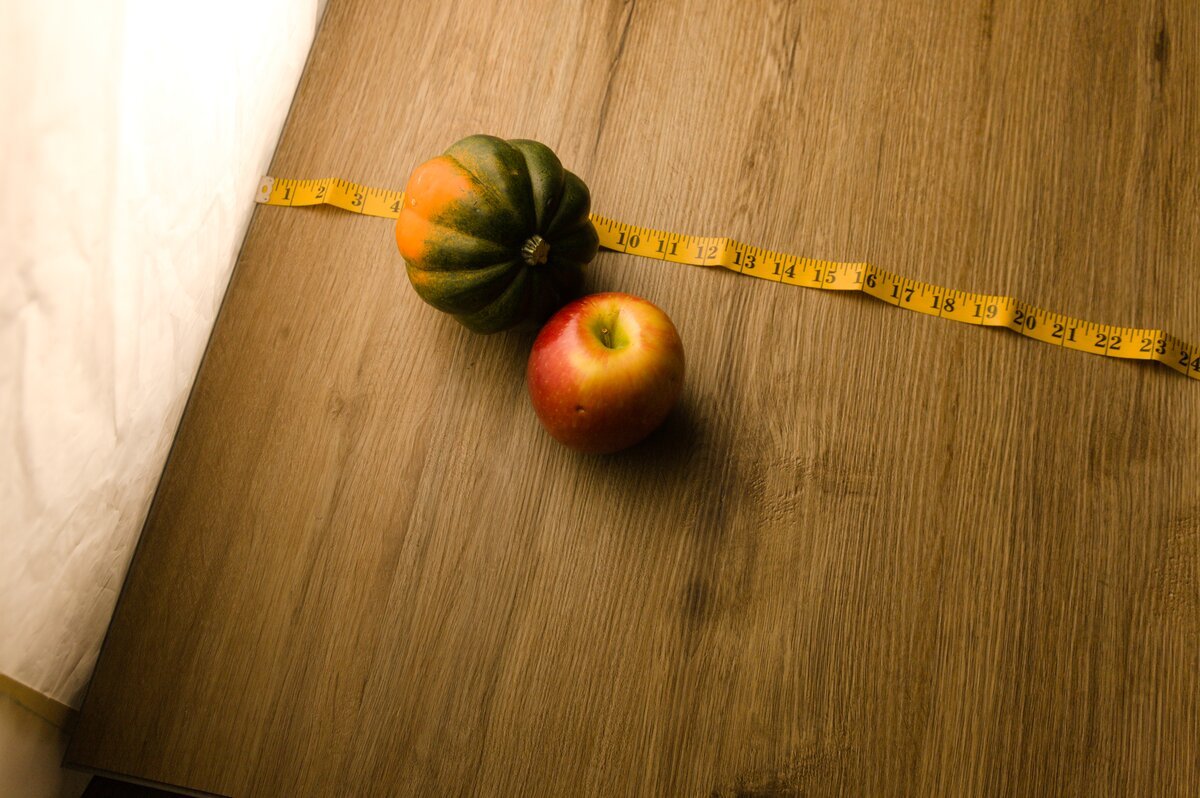
-
- www.LUCIANARIZZIPHOTOGRAPHY.COM
-
- www.LUCIANARIZZIPHOTOGRAPHY.COM
-
- www.LUCIANARIZZIPHOTOGRAPHY.COM
-
- www.LUCIANARIZZIPHOTOGRAPHY.COM
AI Review of Meeting
Quick recap
Don led a photography class review session where students shared their lighting techniques and assignments, including natural light setups and product photography. The class explored various lighting methods for food photography, discussing window light, scrims, and fill cards while receiving feedback on composition and technical aspects. Students practiced different lighting setups and techniques throughout the session, with assignments focusing on book lighting and controlling light sources for future still life scenes.
Next steps
- Judy: Work on portfolio images today, taking into consideration the feedback discussed.
- All participants: Complete next week’s assignment using a big white wall/card and flagging off the light as described in the instructions.
- All participants: (Optional) Try the “book lighting” setup as an alternative for the next assignment.
- All participants: Move the light/flag as appropriate when setting up shots to control highlights and shadows, per the specific technical advice given (e.g., using flags to control light fall-off, moving fill cards closer/tilting them, elevating fill cards, etc.)—this is an ongoing assignment instruction.
- Christine: Put a softbox on the light to spread light and reduce hot spots on future bread shots.
- Christine: Use A-clamps (or tape boards to make V-boards) to stabilize scrims/flags during setup.
- All participants: For the next assignment, ensure to shoot both “natural” (45 degree) and “oblique” (straight across) angles of the food subjects.
- All participants: For the next assignment, use a large white surface (wall, card, or paper) as the bounce source and flag the light appropriately.
- All participants: For the next assignment, experiment with moving the light closer/farther to control the “hot spot” on the bounce surface, as per the video and discussion.
- All participants: For the next assignment, flag off the light so it does not spill onto the subject, only the bounced light is used.
Summary
Photography Class Review Session
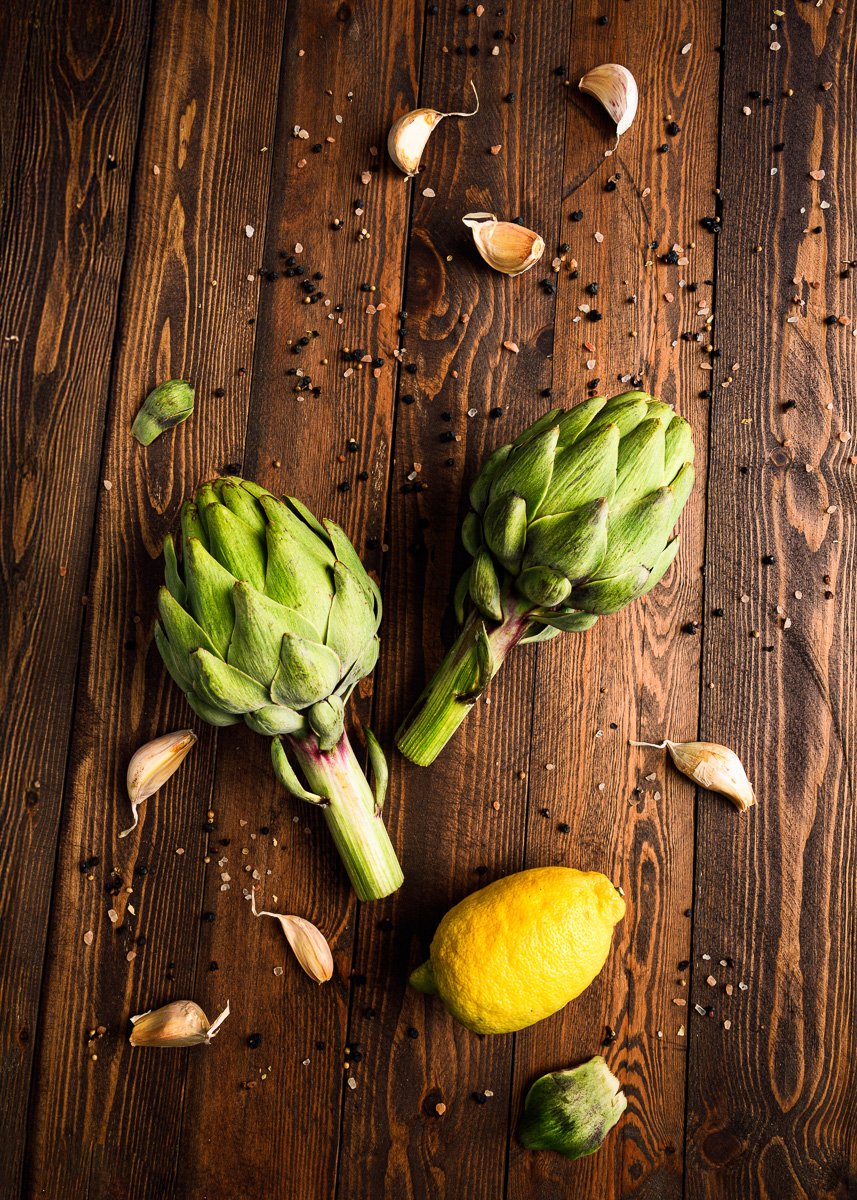
Don led a review session for a photography class, discussing students’ assignments and techniques. Students shared their discoveries about lighting, including the effectiveness of different scrims and fill cards. Inge demonstrated various natural light setups using window light and scrims, while Steve discussed challenges with fill card positioning. Don provided feedback on composition and lighting techniques, particularly for translucent foods like garlic. He also recommended using color masks and gradients in Lightroom to enhance certain elements in the photos.
Product Photography Lighting Techniques
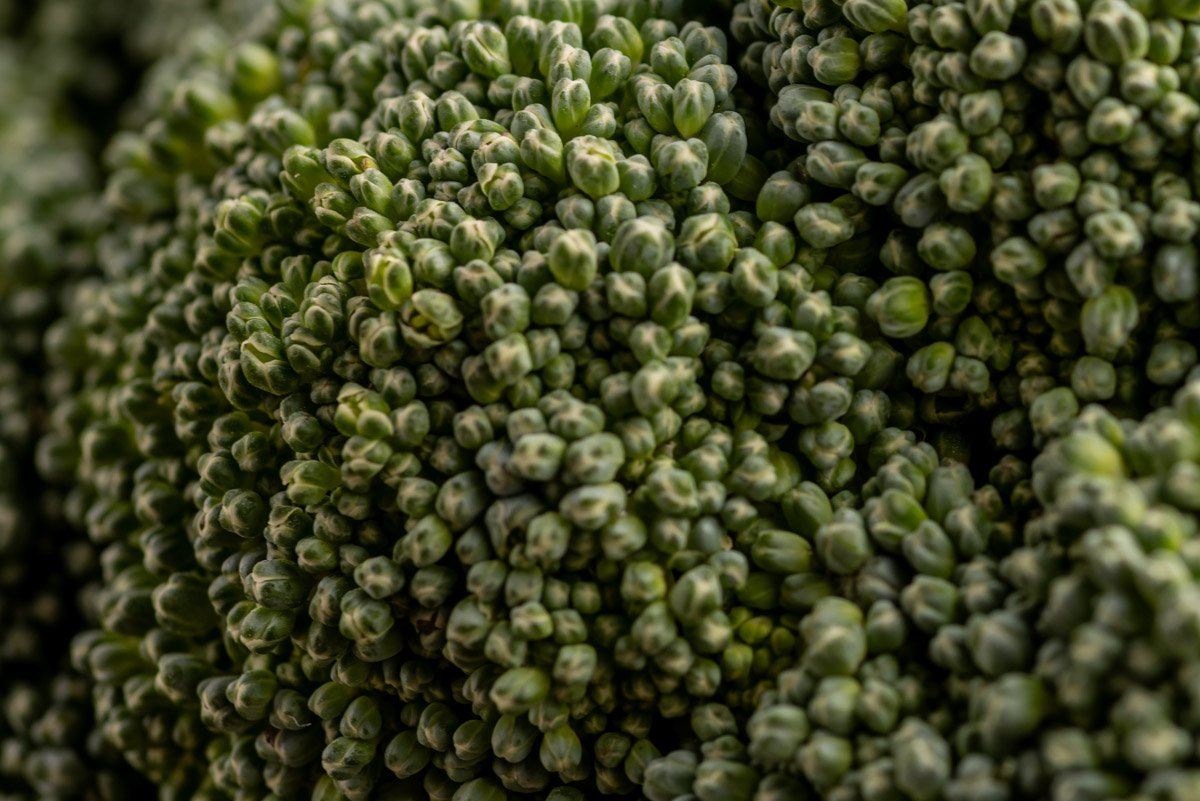
Don and the team reviewed lighting setups for product photography, focusing on the use of scrims and light placement. Judy explained her setup using an Amran continuous light and discussed adjusting the distance to achieve different lighting effects. Don provided guidance on using black cards to create depth in images and encouraged Judy to work on portfolio images. Robinson shared a macro shot of mackerel and broccoli, noting time constraints due to other work commitments. Don mentioned that upcoming assignments would be less intensive, as this was a major learning opportunity for understanding lighting techniques.
Photography Lighting Techniques Discussion
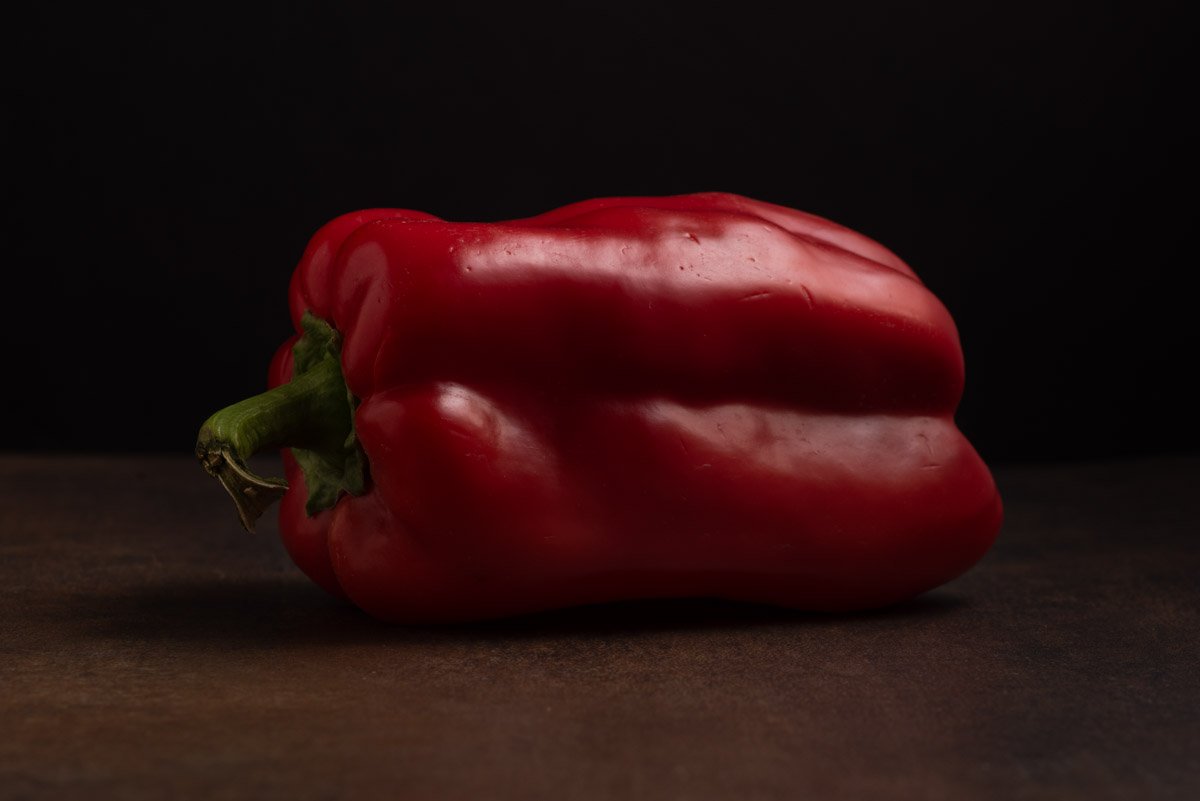
The group discussed lighting techniques, with Lael explaining his approach of shooting from the right side, which Don noted was different from his usual left-side lighting. Don and Lael discussed the effect of light on peppers, with Don praising the subtle fill lighting technique used by Lael. Luciana Rizzi shared her experience with lighting and depth of field, asking Don about the difference between landscape and macro photography settings, which Don explained was related to the focus distance rather than the aperture setting.
Food Photography Lighting Techniques
Don and Luciana discussed lighting techniques for food photography, focusing on window light and fill cards. Don suggested adjusting the fill card’s position and angle to control shadows, and explained the benefits of sloping a white card for better light diffusion. They also explored the use of a large fill card and scrim to create a well-lit, dimensional photo with minimal shadows, particularly suitable for food photography. Don emphasized the importance of considering the final output medium, advising Luciana to experiment with different lighting setups and depth of field for both print and web purposes.
Photography Techniques and Equipment Discussion
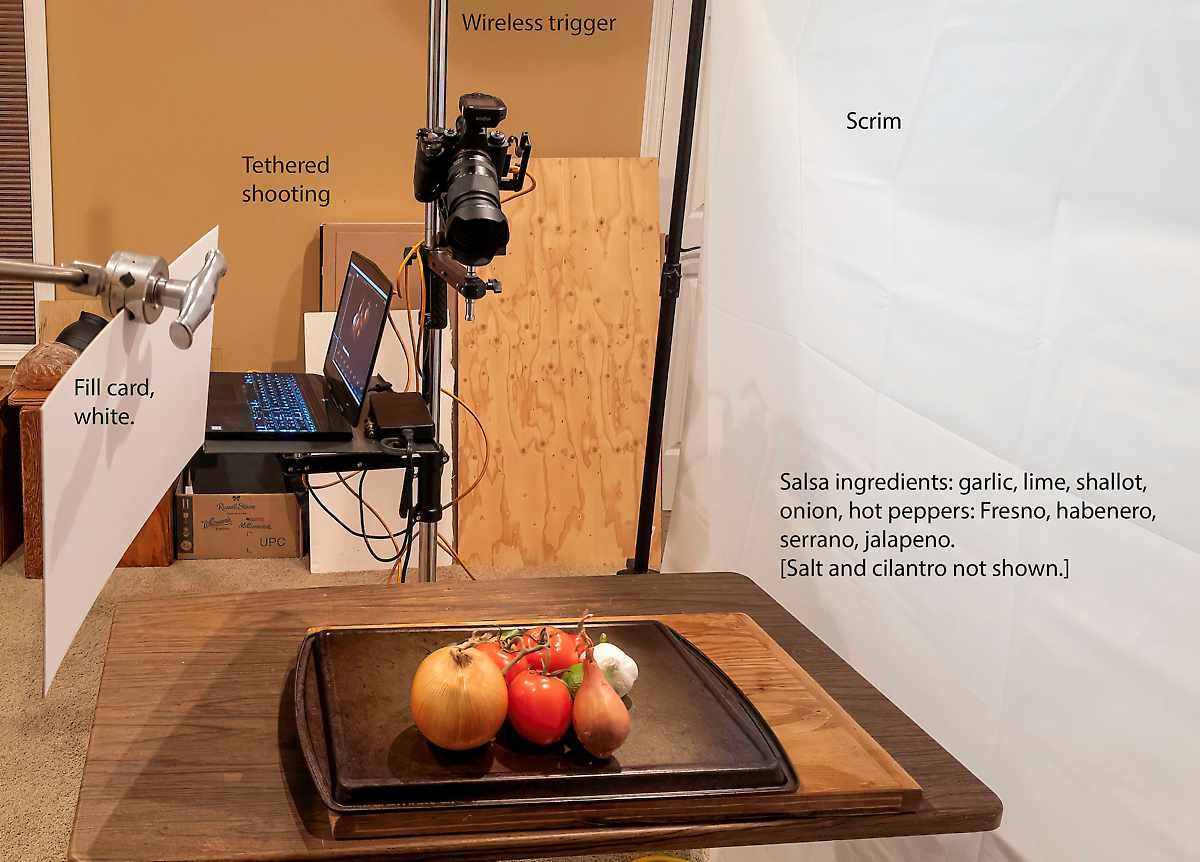
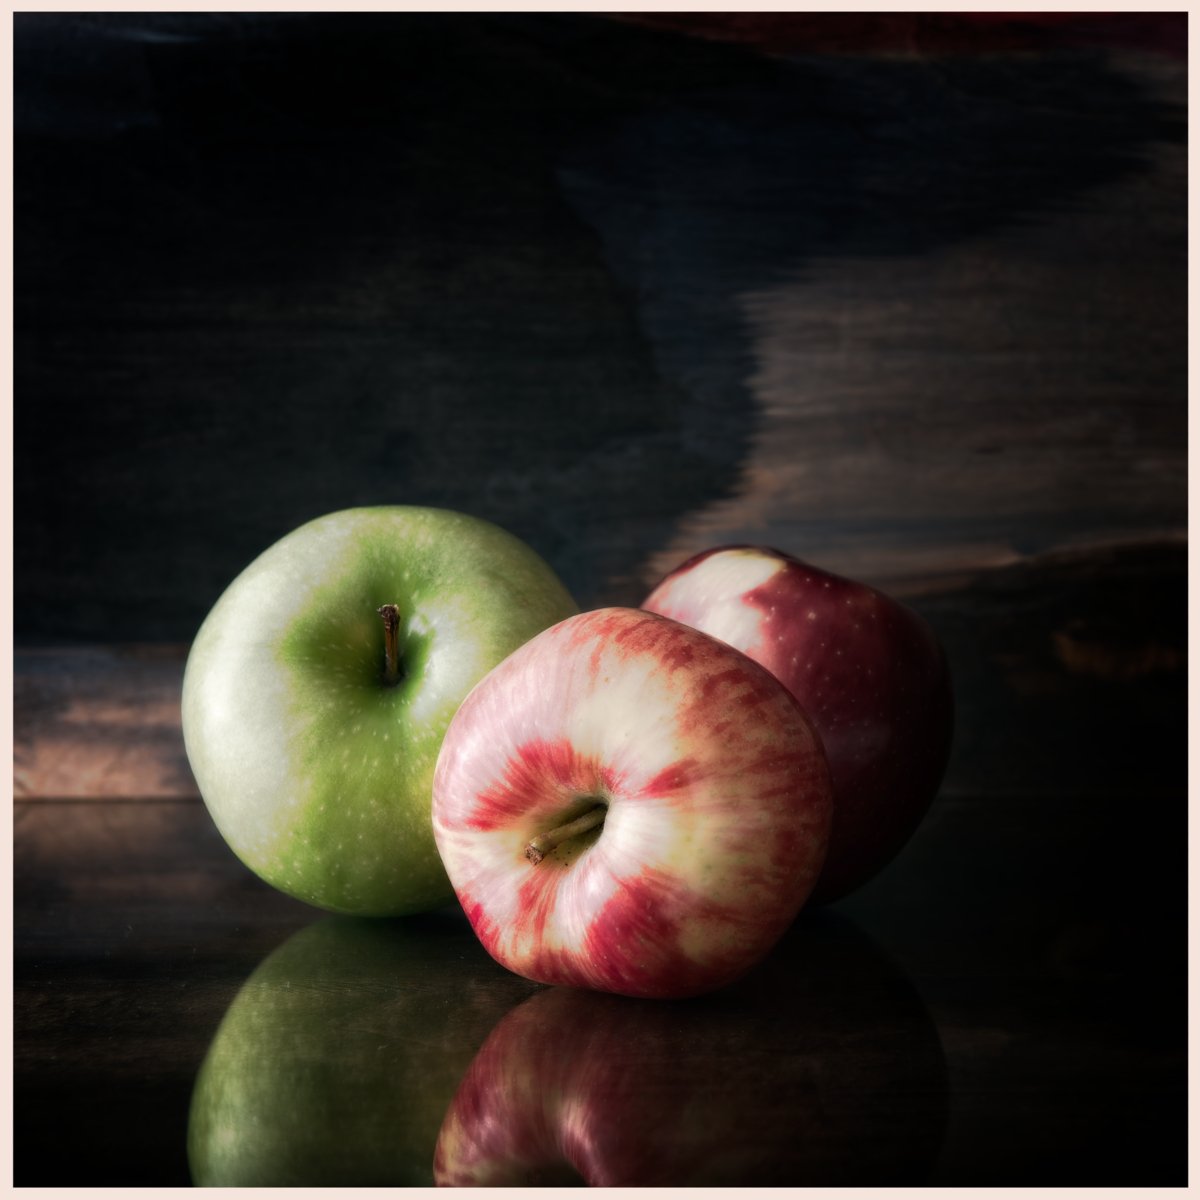
The group discussed various photography setups and techniques, including using window light and new equipment like gear heads and Manfrotto arms. Robert shared his successful photos of salsa ingredients and bread, while Steve presented apple shots processed with a custom Fuji recipe. Don provided feedback on composition and lighting, suggesting ways to adjust fill cards and modify apple surfaces to reduce reflections.
Food Photography Lighting Techniques
The class discussed lighting techniques for food photography, focusing on book lighting and softbox setups. Don demonstrated how to create moody shots using a reflector card and umbrella, while explaining the importance of controlling light spill and using flags to manage shadows. Students shared their experiences with different lenses and lighting setups, with Christine receiving feedback on her bread shot and learning to use a softbox to reduce harsh shadows. The assignment for the following week was announced, involving lighting a still life scene with a large white wall and a 4×4 or 4×8 card, with an emphasis on controlling the light source and creating a balanced exposure.
Photography Lighting Techniques Workshop
The group discussed lighting techniques for photography, focusing on book lighting and the use of scrims and flags. Don explained how to set up a lighting setup using a scrim and flash, and demonstrated how to adjust exposure by changing shutter speed or ISO. The class also covered shooting angles for food photography, with Don recommending a natural point of view at a 45-degree angle. The assignment for the next week was to practice book lighting, and Don suggested trying the technique with different subjects.
Class Two
This is where the video will be after our meeting.
Meeting Notes
Summary
Exploring OneLight Photography Techniques
Don welcomed the class and introduced the topic of OneLight photography, emphasizing the importance of learning lighting techniques and the value of creating high-quality images in-camera rather than relying on post-processing. He encouraged students to experiment with different lighting setups and to appreciate the art of photography. The class included introductions from students, who shared their backgrounds, equipment, and interests in photography, particularly still life, portraiture, and food photography. Don expressed enthusiasm for teaching the class and mentioned the exercises they would be doing to learn and apply lighting techniques.
Photography Learning and Business Insights
Christina expressed her eagerness to learn photography and mentioned that Don would have her making still-life shots by the end of the course. Don explained that each class would include post-processing videos for assignments, allowing students to learn by applying techniques to their own work. Inge shared her experience with photography, highlighting her transition from a Sony a7II to a Nikon D850, which she acquired at a discounted price. She discussed her challenges with lighting in New Mexico’s unique environment and her plans to establish an online presence for her photography business.
Photography Insights and Lighting Tips
Don discussed the unique lighting conditions in Taos, New Mexico, and how they influenced famous photographers like Georgia O’Keefe. Judy shared her background in photography and her interest in food photography, while Billy introduced himself as a Project 52 alumni and mentioned his plans to start a desert racing publication. Don provided lighting advice for Jay, suggesting panel kits as an affordable option for beginners, and offered to answer any further lighting questions via email or Facebook.
Understanding Soft Lighting in Photography
Don explained the importance of soft lighting in photography, comparing natural window light to studio lighting setups. He discussed the inverse square law and the concept of subject-centric lighting, emphasizing how distance and light source size affect the quality and intensity of light. Don also mentioned a book on subject-centric lighting that participants could download for further study.
Budget Lighting Techniques for Photography
Don discussed lighting techniques and equipment, emphasizing the importance of controlling shadows and using scrims for soft lighting. He shared tips on using foam core, white sheets, and shower curtains as budget-friendly alternatives to softboxes. Don also recommended Translam for scrims, noting its durability and effectiveness. The group discussed the assignment, which involves setting up a classic lighting setup with a table, softbox, and boom. Don encouraged experimentation with different lighting setups and materials to learn more about photography.
Mastering One-Light Photography Techniques
Don led a photography workshop focusing on one-light setups, explaining how to control shadows and use fill cards effectively. He instructed participants to shoot portfolio shots of vegetables and bread using both side light and back light techniques, with the option to add props. Don emphasized the importance of quick, versatile photography for modern commercial clients, particularly in social media-driven industries. Participants were encouraged to share their behind-the-scenes shots for peer learning, with the possibility of sharing YouTube videos if desired.
Lighting Techniques and Panel Usage
Don explained the differences between using a panel and a softbox for lighting, emphasizing that a panel should be kept 2-3 inches away from the screen to maintain a soft light effect. He highlighted the advantages of using scrims over softboxes, noting their ability to provide more control over lighting intensity and the shape of highlights. Don advised Luciana to experiment with positioning the panel at different angles and distances to achieve desired effects, while also clarifying that the power of the light remains constant, with exposure adjustments made as needed. Billy inquired about using a single-stop scrim with a flashlight, but Don’s response was unclear due to the incomplete nature of the question.
AI Lighting and Photography Techniques
Don explained the use of a fin to create a soft edge in lighting, particularly for softboxes, and discussed the concept of using scrims with various light sources. He also introduced XAI’s new image generator, Grok, and demonstrated its ability to create AI-generated images of lighting setups. The group discussed the importance of using flags in professional photography to control lighting and block backgrounds.
Advanced Lighting Techniques in Studio
Don demonstrated lighting techniques using flags, reflectors, and transloom panels to control and enhance lighting in a studio setup. He emphasized the importance of having the right number of stands and using flags effectively to manage reflections and shadows. Don also discussed alternative methods for creating strip lights using foam core and shared tips on building scrims with PVC and Velcro. He advised against using grids on softboxes for the current setup and stressed the significance of clean, stretched materials for optimal lighting effects.
Black Flag Material and AI
LucianaRizzi asked Don about the least reflective material to create a black flag, and Don suggested using foam core with black flocking or even a white shower curtain for diffusion. JaySi and Don discussed that any material can be used to block light, as long as it doesn’t reflect unwanted colors. Don shared his experience with AI-generated images and prompt engineering, emphasizing the importance of clear, structured prompts. Billy inquired about documentation for the Grok AI tool, and Don explained that prompt engineering requires learning and practice, with resources available on Substack and Medium.
AI Tools and Course Updates
The meeting focused on discussing AI tools and their effective use. Don emphasized the importance of teaching AI how to perform tasks and suggested using tools like Claude for learning prompts. The group also discussed the upcoming course schedule, with Robert pointing out some scheduling errors that Don agreed to fix. Don provided instructions for uploading assignments to the class page, including file size and naming conventions. The conversation ended with Don encouraging participants to join the Facebook group for class updates and support.
