8 WEEK CLASS: NOVEMBER 2025
One Big Beautiful Light: Week Four
Meeting Notes
Quick recap
The meeting focused on reviewing and providing feedback on photography assignments involving still life and product shots. Participants shared their setups, lighting techniques, and challenges encountered while capturing images of wine bottles, glassware, and other items. Don offered guidance on improving compositions, managing reflections, and post-processing images using software like Photoshop and Lightroom. He emphasized the importance of understanding lighting angles, using white cards for fill light, and experimenting with different setups to achieve desired effects. Participants discussed specific issues such as dealing with crooked labels, managing background reflections, and enhancing colors in post-processing. Don encouraged everyone to continue experimenting and learning from their assignments, highlighting the importance of practice and attention to detail in photography.
Next steps
- Judy: Later today, work with a card to darken the background and create a shadow that breaks behind the bowl in your still life setup, as suggested by Don.
- LucianaRizzi: Move the cork in Photoshop so it breaks the horizon in your image, and adjust the reflection accordingly, as discussed with Don.
- LucianaRizzi: Lower the exposure on the bright label reflection and possibly the foil in your wine bottle image, as suggested by Don and Steve.
- LucianaRizzi: Reshoot the image with the small white plexiglass using a black card behind the glass to improve the background, as discussed.
- All participants: Prepare two cards (approximately 2×3 feet) with black construction paper on one side and white foam core on the other for next week’s dark field and bright field lighting assignment, as instructed by Don.
- All participants: Source three wine bottles (or three similar shiny objects) for the next assignment, as specified by Don.
- All participants: Arrange for a portrait subject for the upcoming portrait assignment (does not have to be a model, can be anyone), as reminded by Don.
Summary
Photography Lighting Techniques Feedback
Don provided feedback on Christine’s photography assignment, explaining lighting techniques and composition principles. He demonstrated how to adjust the setup to improve the lighting on a bottle, suggesting moving the light source closer to the subject and using a white card for reflection. Christine shared her attempts with different lighting setups and backgrounds, including using a flag and a whiteboard. Don praised her efforts and explained the concept of angle of incidence and reflection. The discussion highlighted practical photography tips that could be applied to product photography.
Photography Setup and Technique Feedback
Don provided feedback on Christine’s photography setup and techniques, suggesting she use a higher shutter speed of 250 and maintain an F8 aperture or above to minimize ambient light interference. He recommended adjusting the camera angle and using the 105mm macro lens or an 85mm lens for better results. Don also praised Inge’s black and white photos, noting the effective use of color grading in Apple’s Photos app.
Product Photography Lighting Techniques
The group discussed photography techniques for product shots and still lifes. Don provided feedback on various photos, suggesting adjustments like darkening backgrounds, creating shadows, and enhancing label visibility. He emphasized the importance of making labels pop in product photography. Judy and Lael shared their setups and received tips on improving their shots. Don advised using gradients and Photoshop for post-processing. The discussion focused on practical lighting and composition tips for commercial photography.
Photoshop Masking and Software Updates
Don demonstrated how to use Photoshop to adjust the brightness of a bottle in an image, showing the importance of masking and local adjustments. He emphasized that every photograph needs a mask at some point to enhance the image. The group discussed software updates and their impact on functionality, with some members expressing frustration over lost actions after upgrades.
Lightroom Gradient and Photography Tips
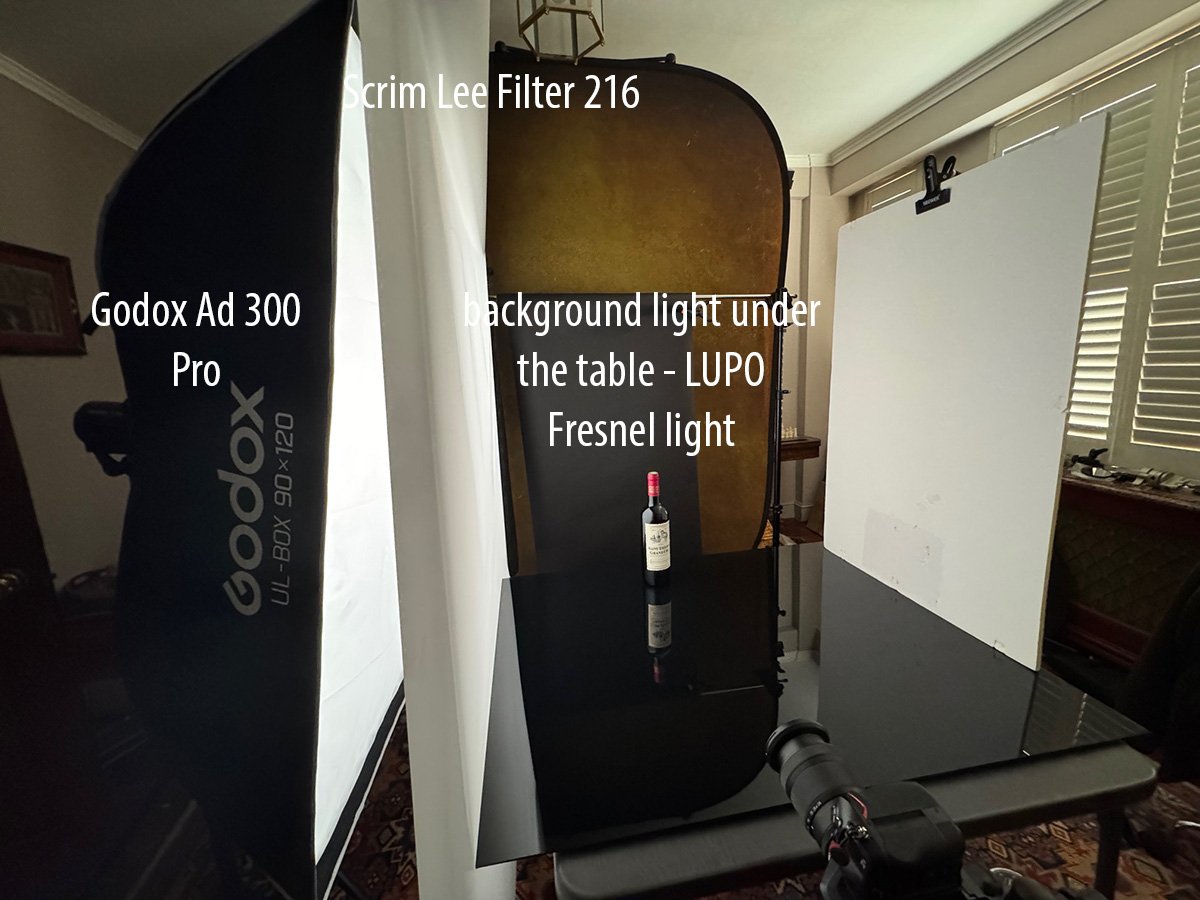
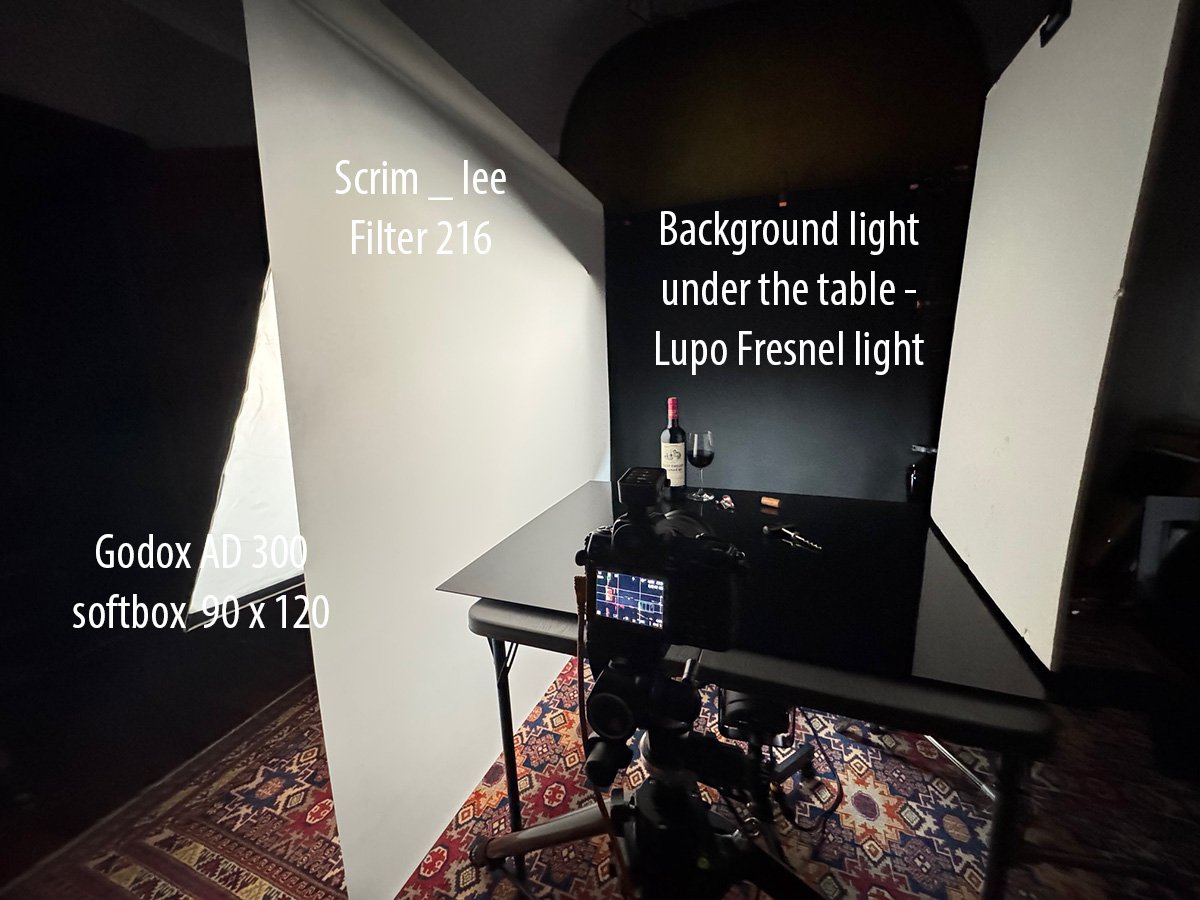
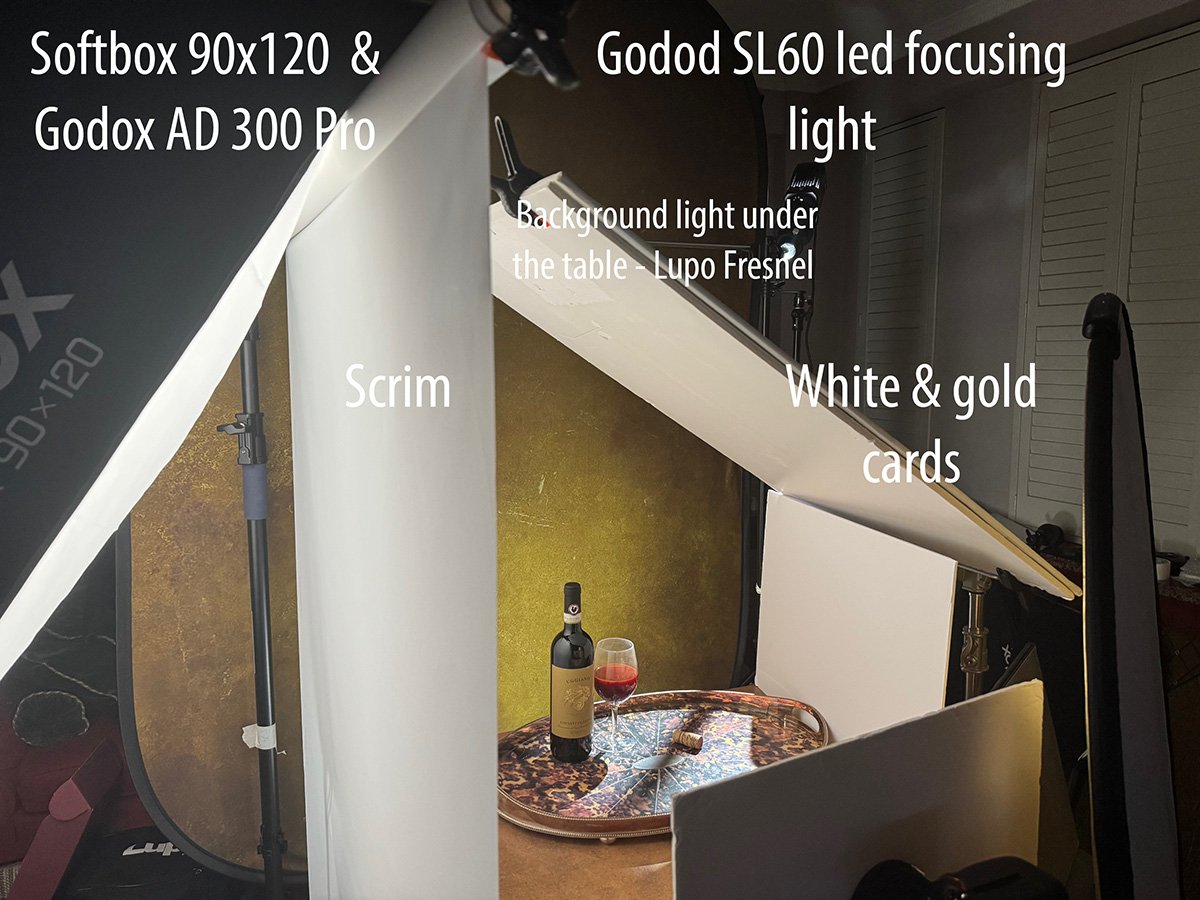
Don provided guidance on using the radial gradient tool in Lightroom, explaining how to intersect it with objects to cut off backgrounds and achieve desired effects. He advised Robinson on handling label issues in product photography, suggesting masking techniques and noting that specific instructions might vary depending on the client. Luciana shared her experience with photographing a product, mentioning challenges with reflections and her decision to add a light under the table for better lighting. Don clarified that this setup did not count as a proper light source, emphasizing the importance of lighting techniques that focus on the subject.
Photography Horizon Line Adjustments
Don provided feedback on LucianaRizzi’s photography, specifically regarding the placement of the glass horizon and cork in her images. He explained that the glass should be raised slightly to better capture the curve and avoid dark areas, and suggested moving the cork up to break the horizon line and add dimension. Don also demonstrated how to adjust the image in Photoshop, recommending LucianaRizzi move both the cork and its reflection together to maintain consistency.
Product Photography Feedback Session
Luciana presented her product photography work to Don and the group, who provided feedback on lighting, composition, and post-processing techniques. Don suggested adjusting the exposure and clarity settings in Lightroom, and recommended using a black card for better reflection control. The group discussed the benefits of using a reversible background for versatility in product shots, with Luciana sharing her experience using a large, foldable backdrop.
Wine Photography Lighting Techniques
Luciana discussed challenges with photographing wine and glass items, particularly with background enlargement and lighting techniques. Don advised on using Photoshop layers and expanding background images, and explained that for wine photography, real wine must be used for wine-specific shots, while colored water or food coloring is acceptable for other beverages.
Photography Composition and Lighting Tips
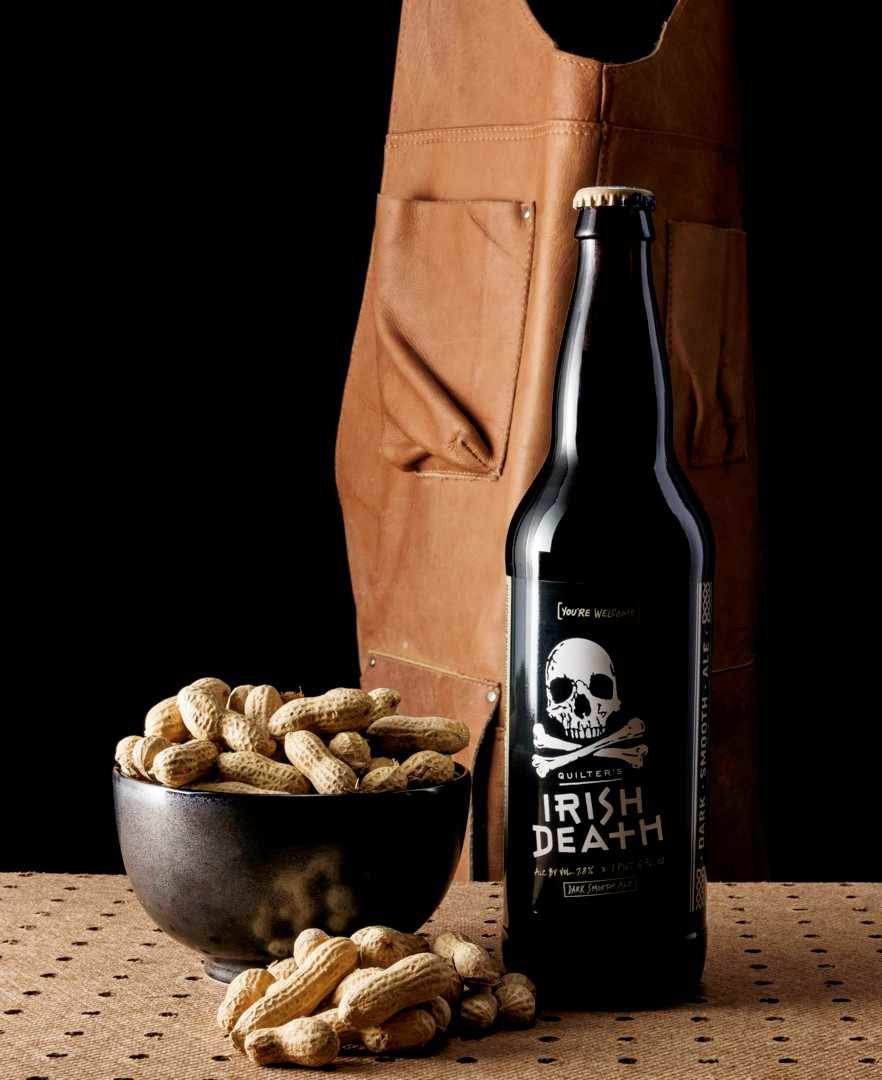
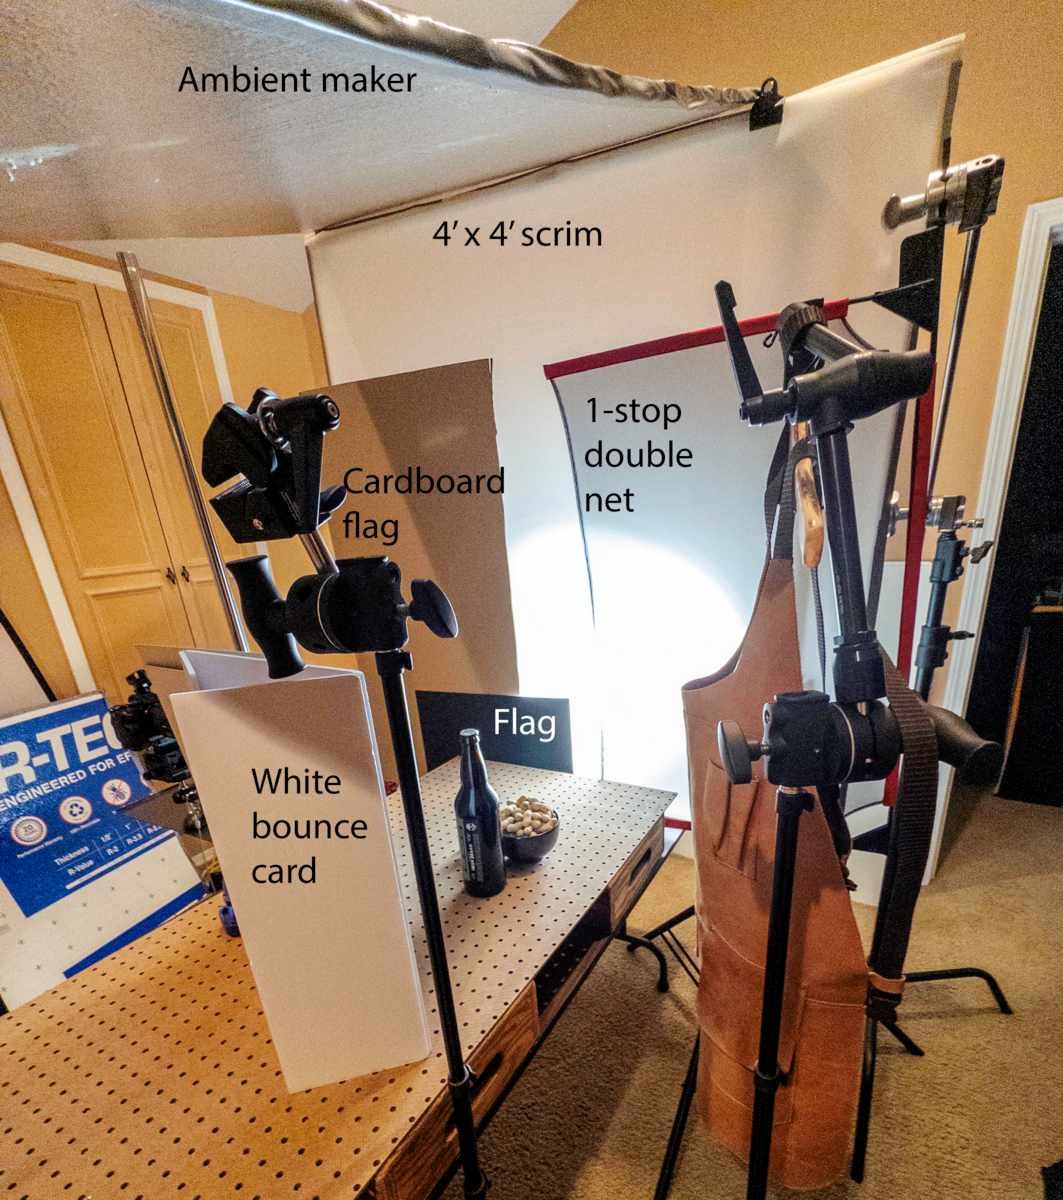
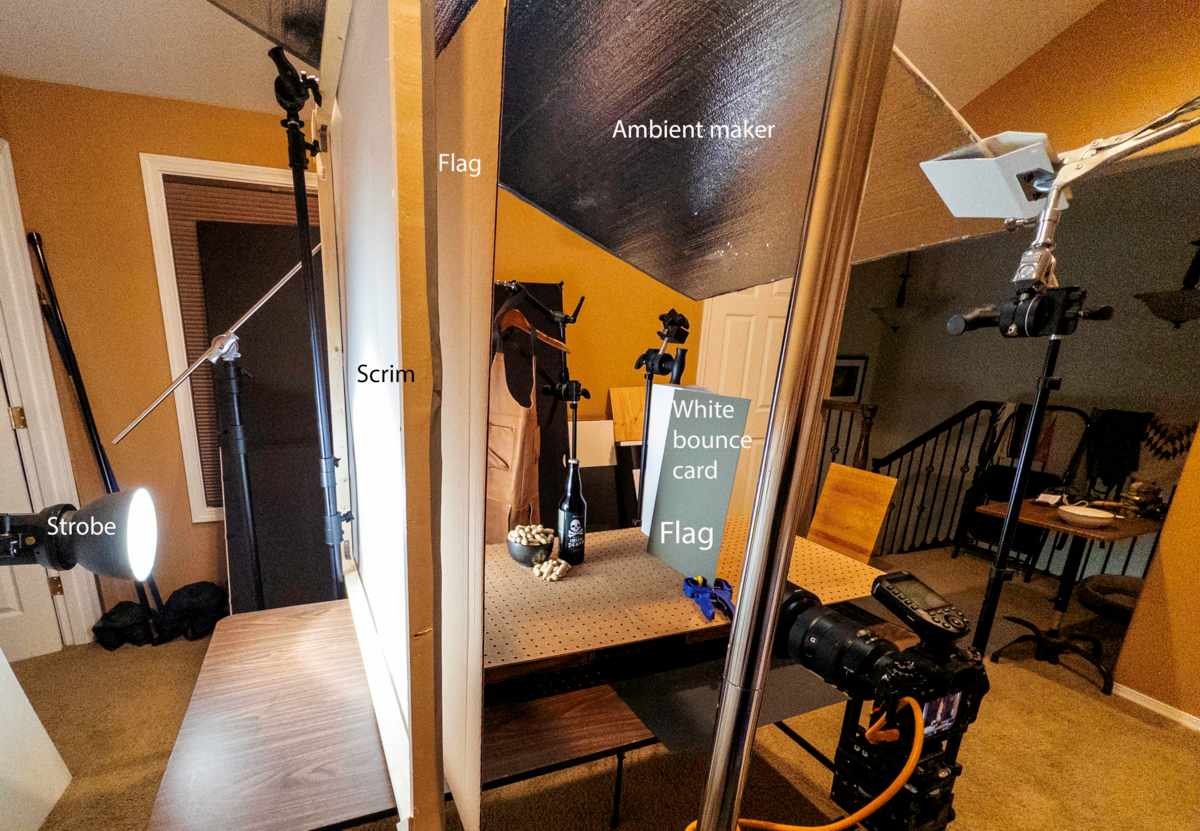
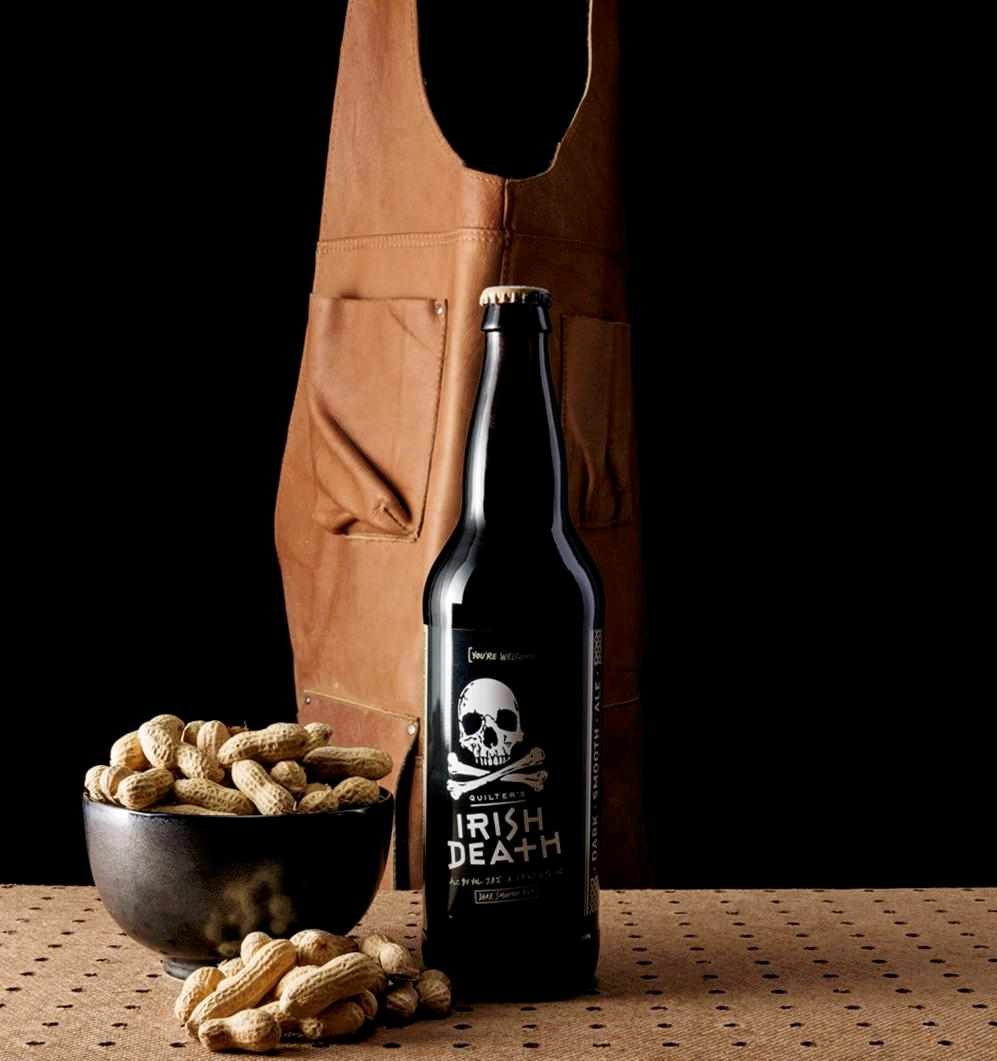
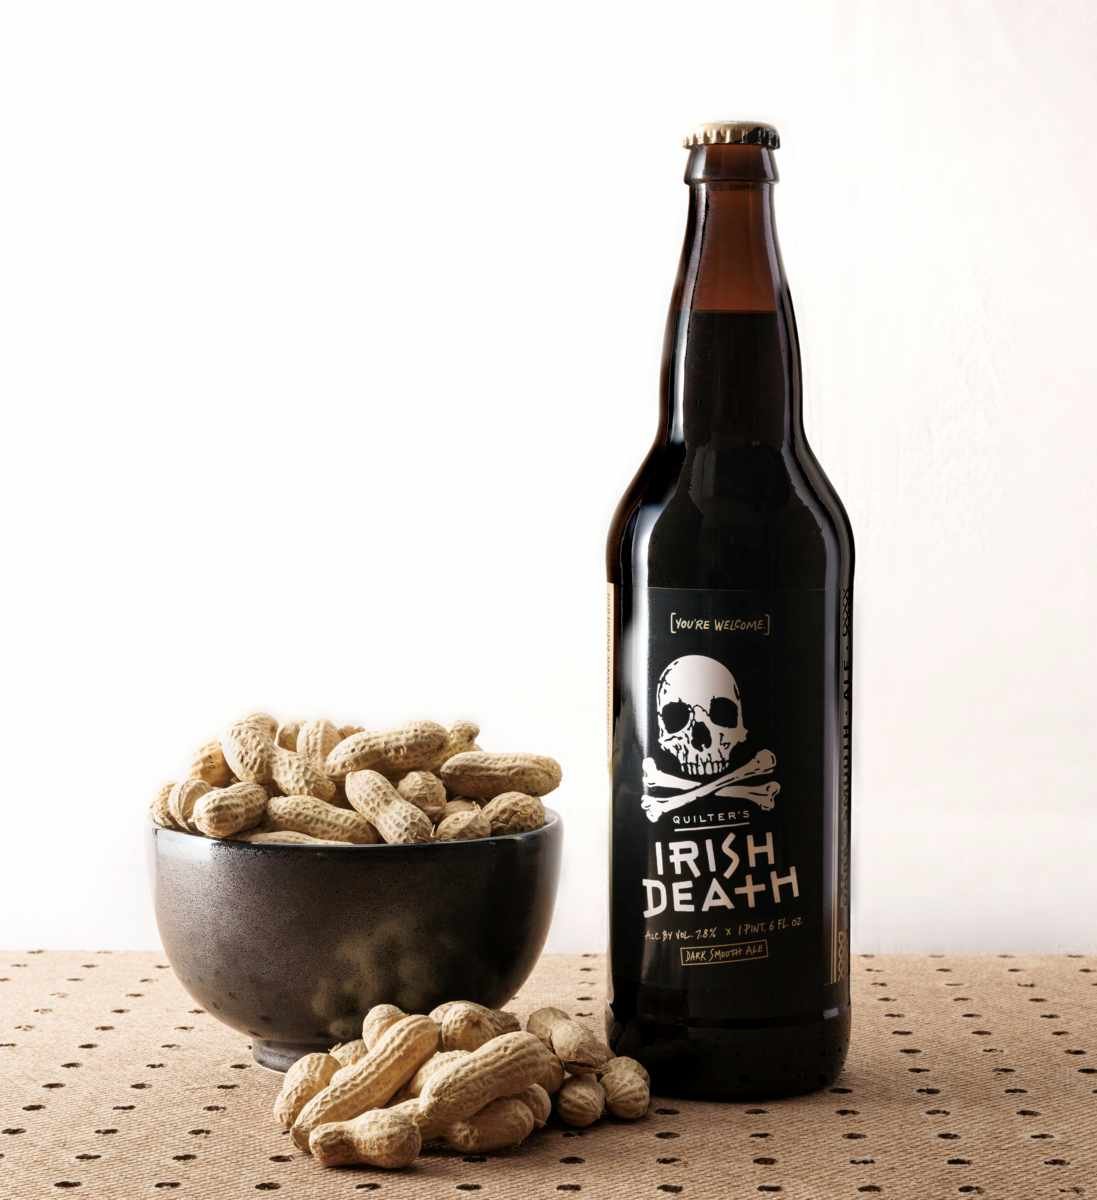
Don and Robert discussed photography techniques, focusing on composition and lighting. Robert shared his experience with a challenging photo setup involving a leather apron and a bottle of peanuts, and Don provided feedback on improving the composition by aligning key elements with the center line. They also discussed the use of a double net to reduce unwanted light reflections and the importance of choosing the right color for ambient lighting.
Product Photography Lighting Techniques
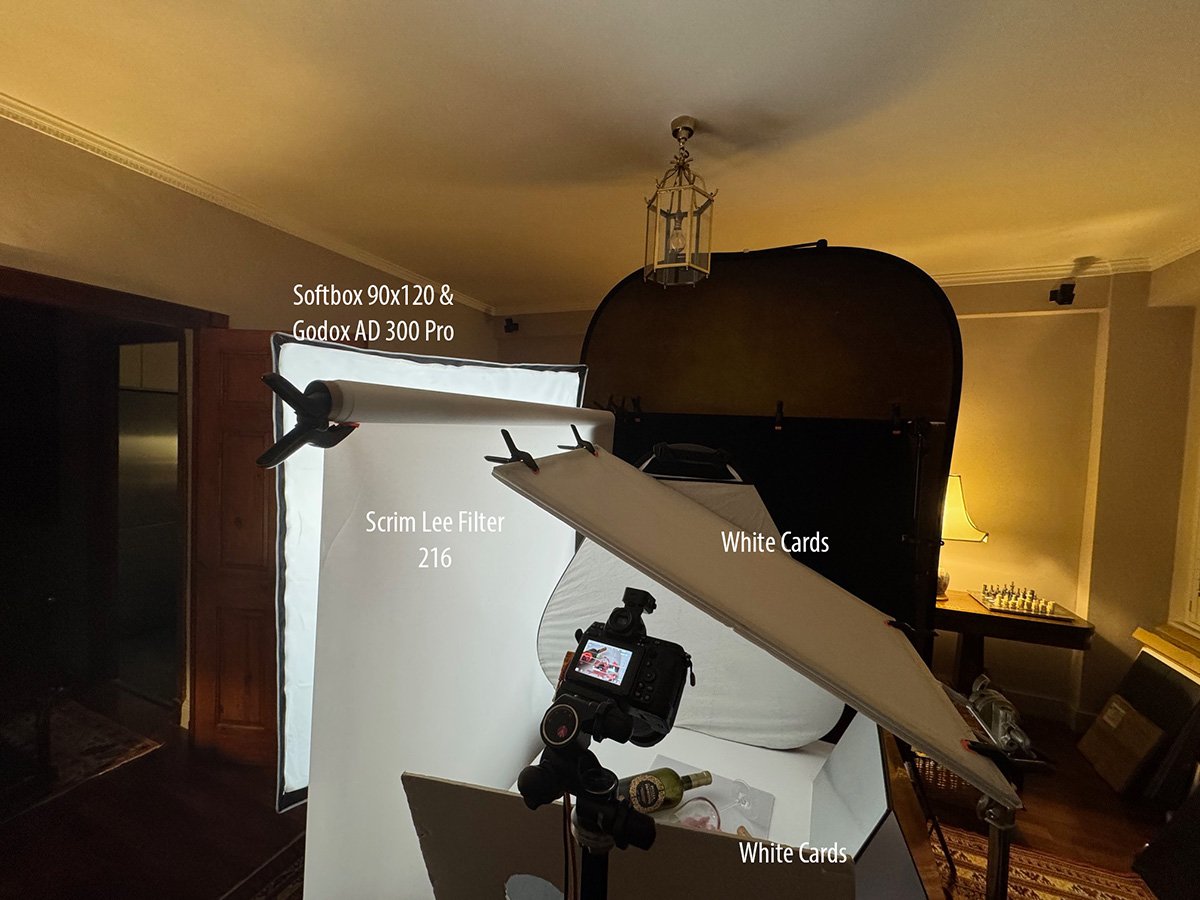
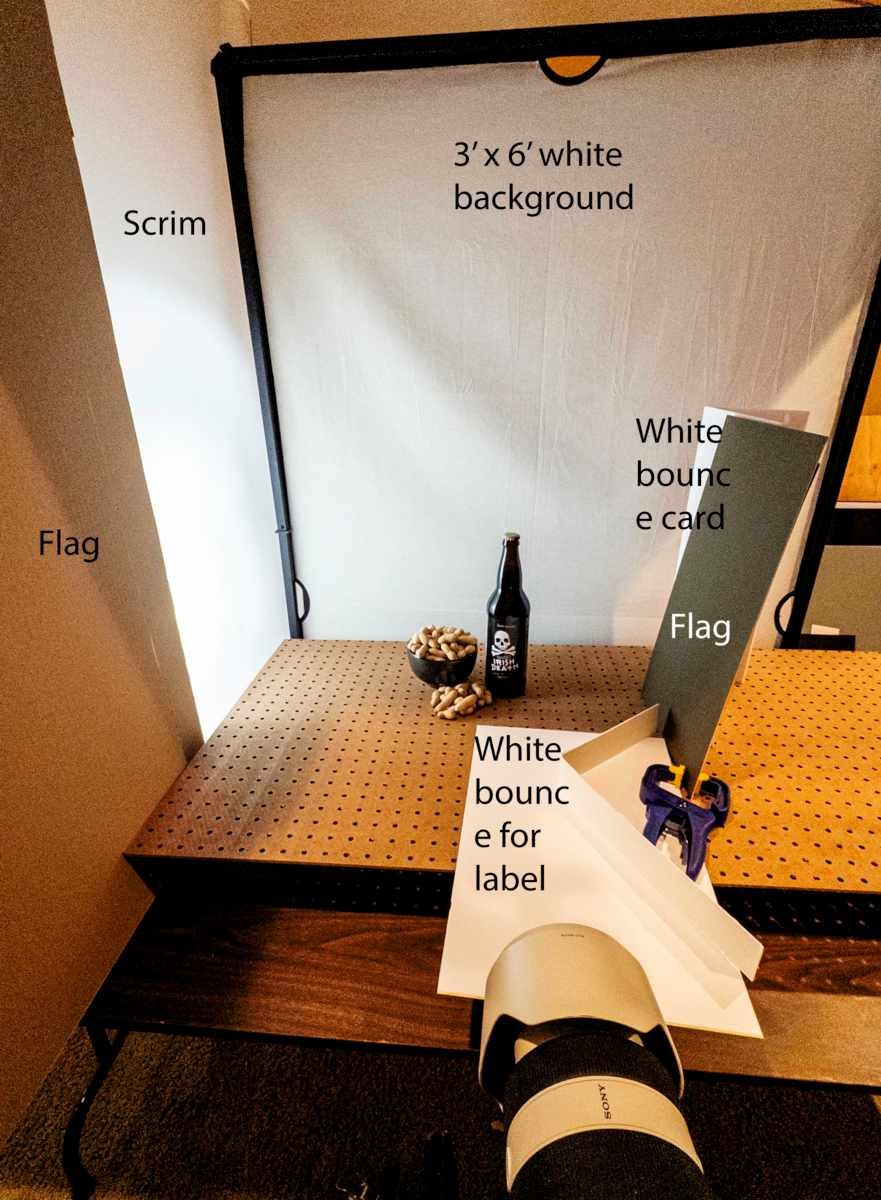
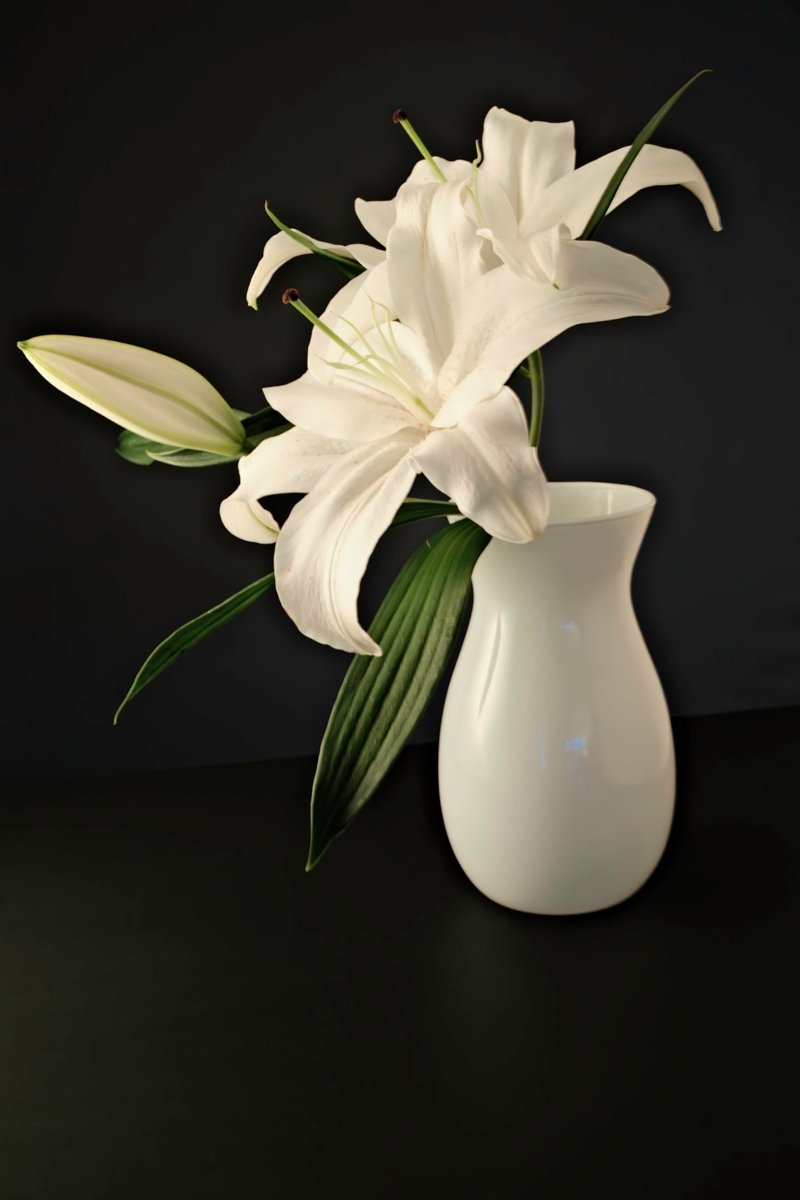
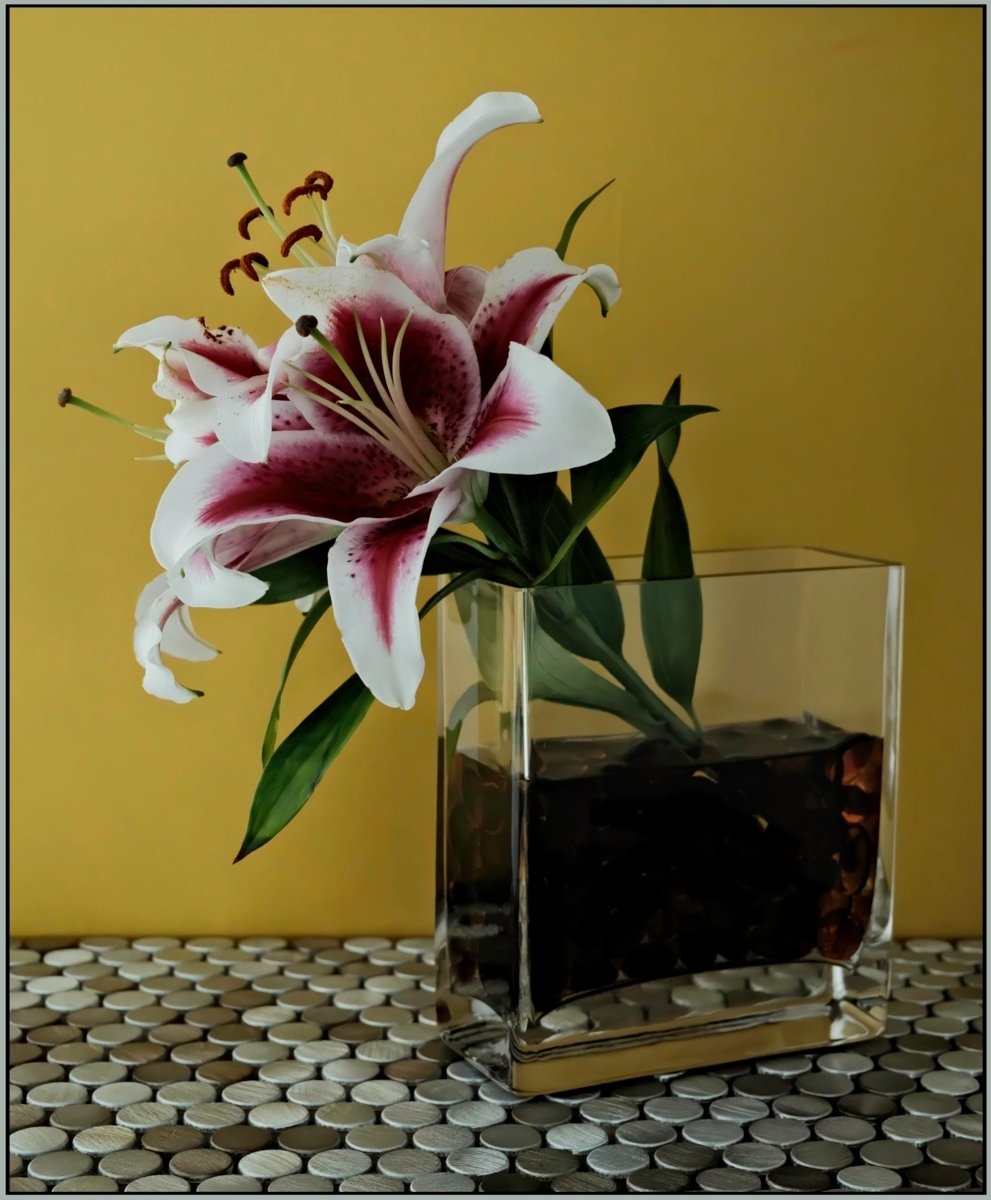
The group discussed lighting techniques for product photography, with Robert demonstrating a setup using white cards and a scrim for a bottle shot, while Steve shared his approach using natural window light and a homemade scrim. Don provided feedback on Steve’s romantic-looking flower photograph, suggesting compositional improvements and a technique for adjusting exposure using smart objects in Lightroom. The discussion concluded with Don sharing tips about using cards at angles for more controlled lighting and emphasizing the importance of understanding how light falls across a scene.
Product Photography Lighting Techniques
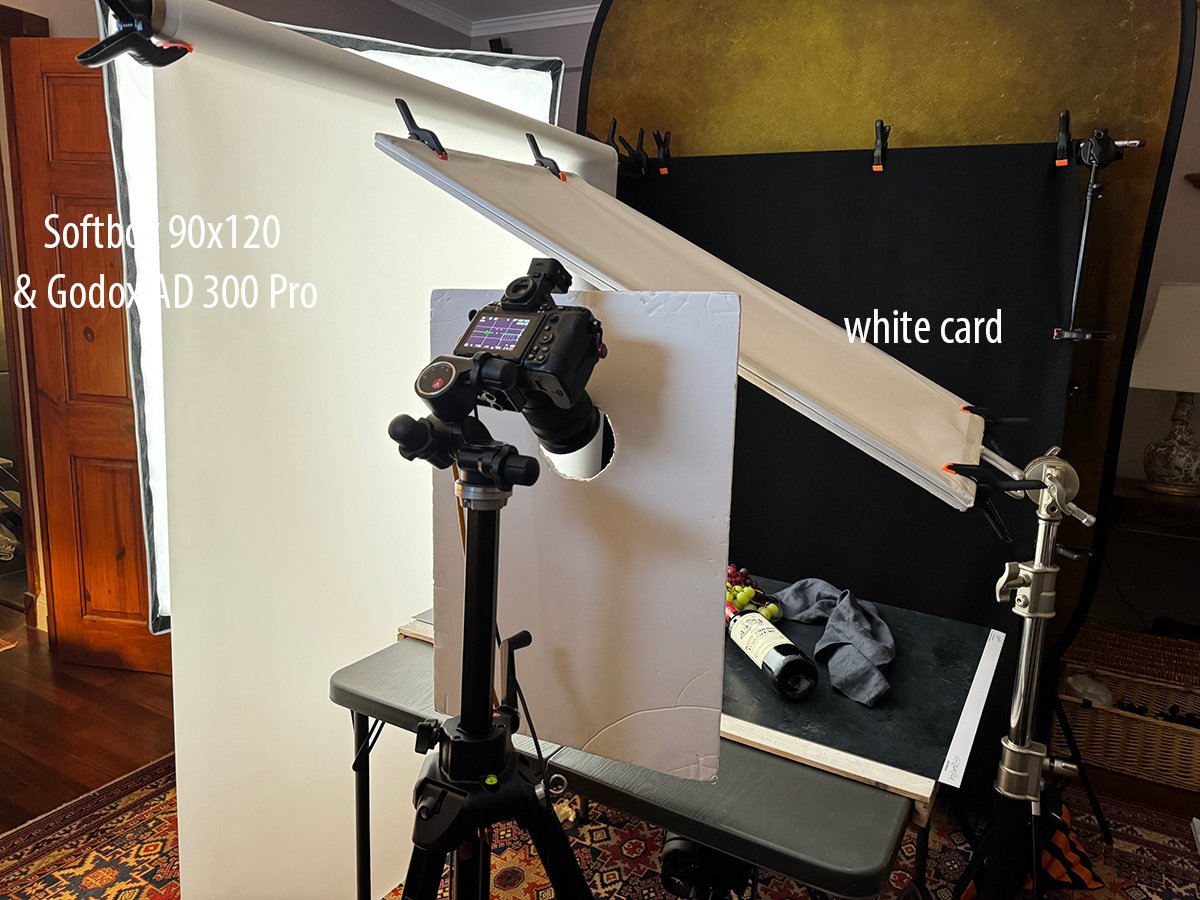
The group discussed photography techniques, focusing on lighting and reflection in product shots. Don provided guidance on using white and black cards to control light and shadow, explaining how to experiment with different lighting setups. They also discussed an upcoming assignment involving three wine bottles and shiny objects, with Don emphasizing the importance of fill light for this shot. The class agreed to work on portraits for the next assignment, with Don suggesting they could use anyone as a model.
You have worked with three of the big beautiful light setups, and learned the book light approach.
Excellent.
Now put that knowledge to work with a special still life class designed to have you think about textures and dimensions.
You may choose any of the big light configurations you have used before and do a portfolio shoot.
The Three-Point Portfolio Shoot
The idea is simple.
You don’t need more subjects.
You need more decisions.
One setup.
One product.
One light.
Three distinctly different images that look like three different shoots.
For instance:
-
Baseline shot: the “client-safe” image. Normal lens. Eye-level. Clean, readable.
-
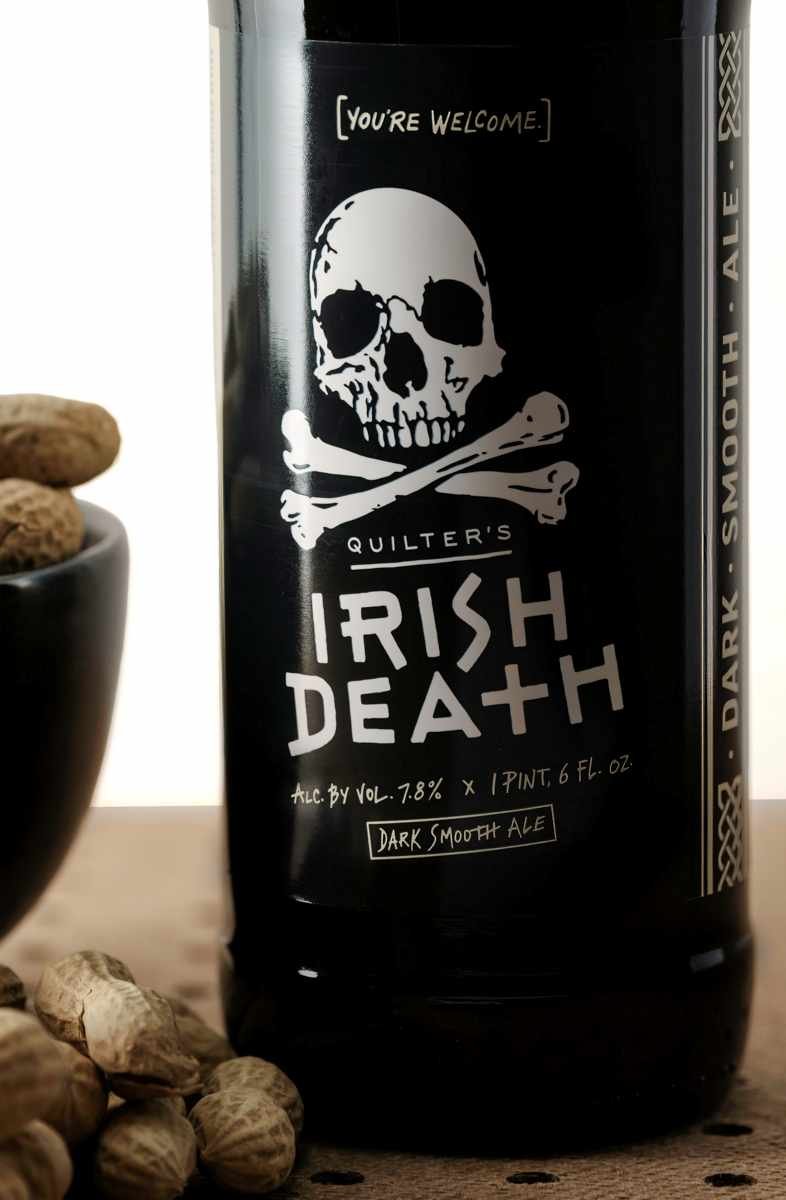
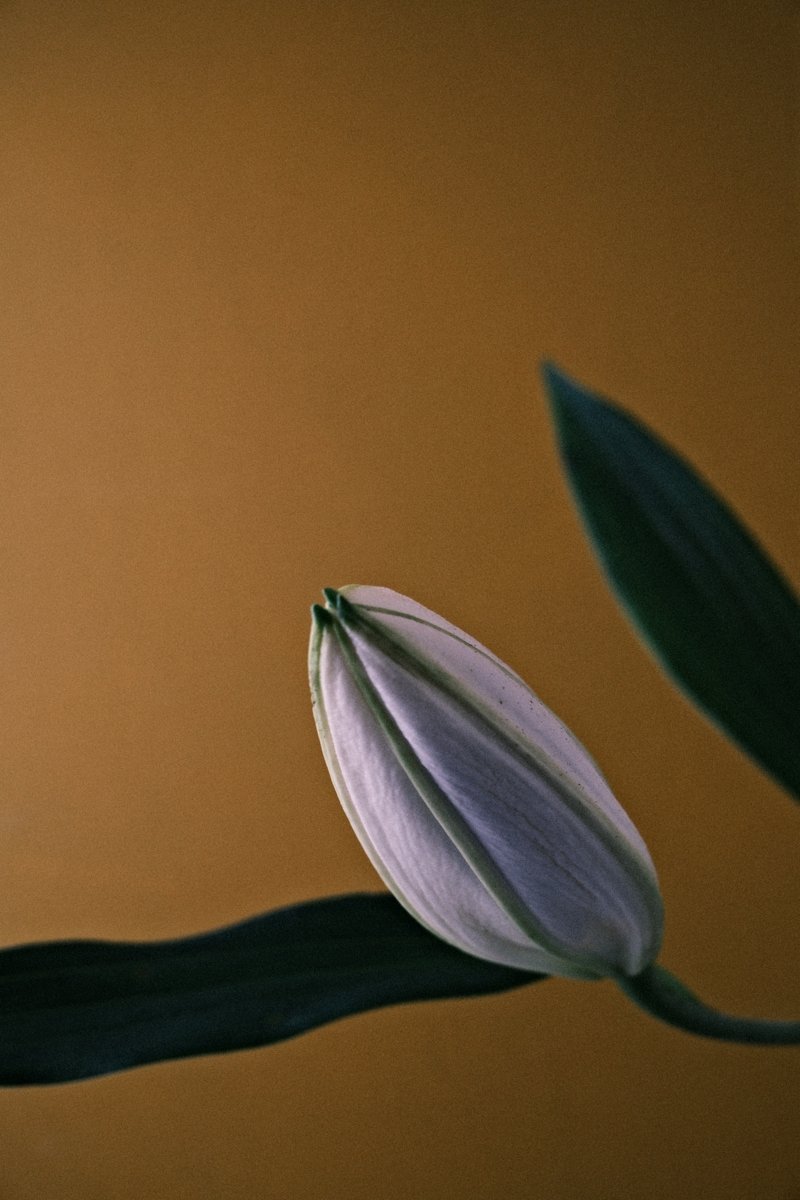
Close / detail shot: intimacy. Texture. Surface. Cropping that makes it feel tactile.
-
POV shift (flat lay): graphic. Designed. Space for text.
That alone turns one subject into a mini-series instead of a one-off.
Art directors, brands, and clients love this because it suggests flexibility.
Ways to Exploit One Setup Into Multiple Portfolio Images
1. Lens Psychology
Same setup. Same light. Different lenses.
-
Standard (50–85): neutral, honest, commercial
-
Wide (24–35): environmental, slightly distorted, energetic
-
Long (100+): compressed, elegant, premium
Each lens changes the story, not just the framing.
2. Orientation Flip
Shoot it both ways, and do it on purpose.
-
Horizontal: editorial, website hero
-
Vertical: social, packaging, ads
This is boring until you realize most portfolios are accidentally one-orientation.
3. Light Ratio Variations
Don’t move the subject. Touch the light.
-
Soft, open, key only (one big light
-
Add the fill and let it soften up a little
- (Additonally add a second light for a kicker or hardedged opposite light – NOT FOR THIS CLASS)
Same scene. Three moods. Three possible use cases.
4. Background Swap (Not a Set Change)
Slide, don’t rebuild.
-
Light surface ? dark surface with flags
-
Neutral ? colorful
-
Clean ? textured with slate or vinyl surfaces
Five minutes. Whole new image.
5. Crop With Intent
Shoot loose. Then design the crop.
-
Square for packaging
-
Wide crop for banners
-
Aggressive crop that breaks rules
Cropping isn’t cheating. It’s actually art direction and taking complete control.
6. Sharp vs Suggestive
Same composition.
-
One frame tack sharp captures clarity
-
One frame slightly soft or motion-influenced suggests lifestyle
- Shoot at f2.8 for creamy, out-of-focus background
- Shoot again at f16 for deep depth of field
We don’t want to scream “catalog.”
7. Negative Space Play
Reshoot for emptiness.
-
Tight and full
-
Wide with breathing room
-
Extreme negative space for copy
This says, “I understand advertising and layout concerns.”
The Big Idea (This Is the Part That Matters)
The three-point shoot isn’t really about getting quantity.
It’s about showing range possible from a single shoot.
You’re proving:
-
You can think like a problem-solver
-
You can stretch a shot to tell a story
-
You can give clients options without that scale
Many photographers overshoot.
We are extracting value from the shot.
ASSIGNMENT FOUR:
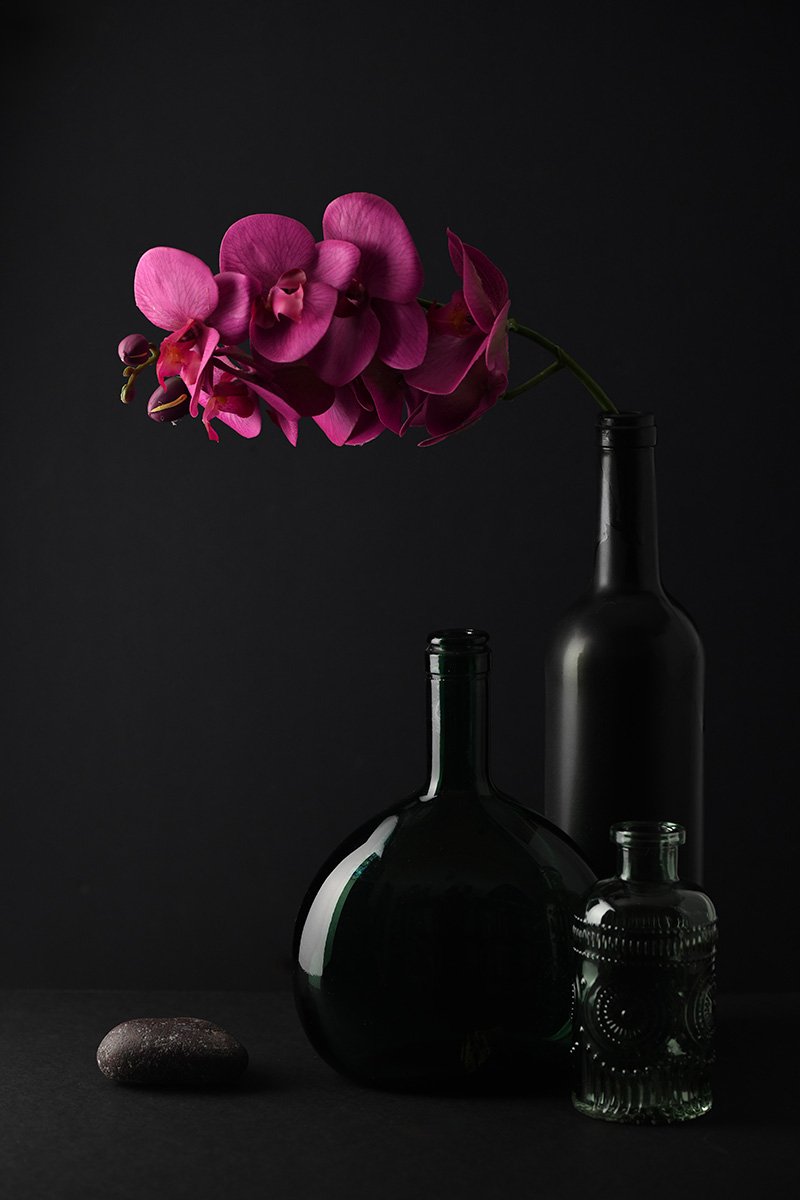
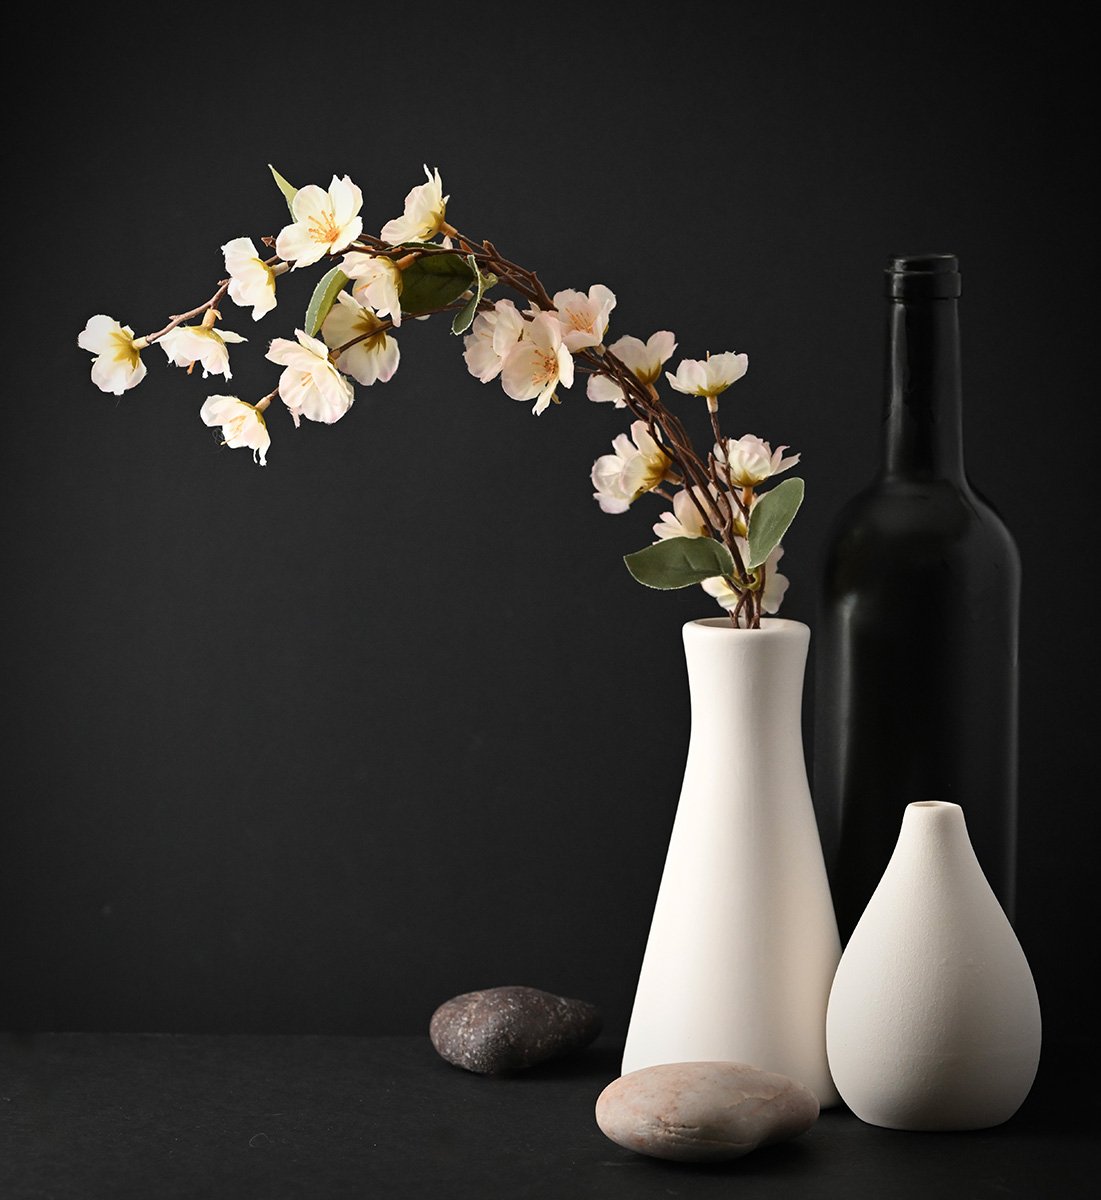
Three Still Lifes:
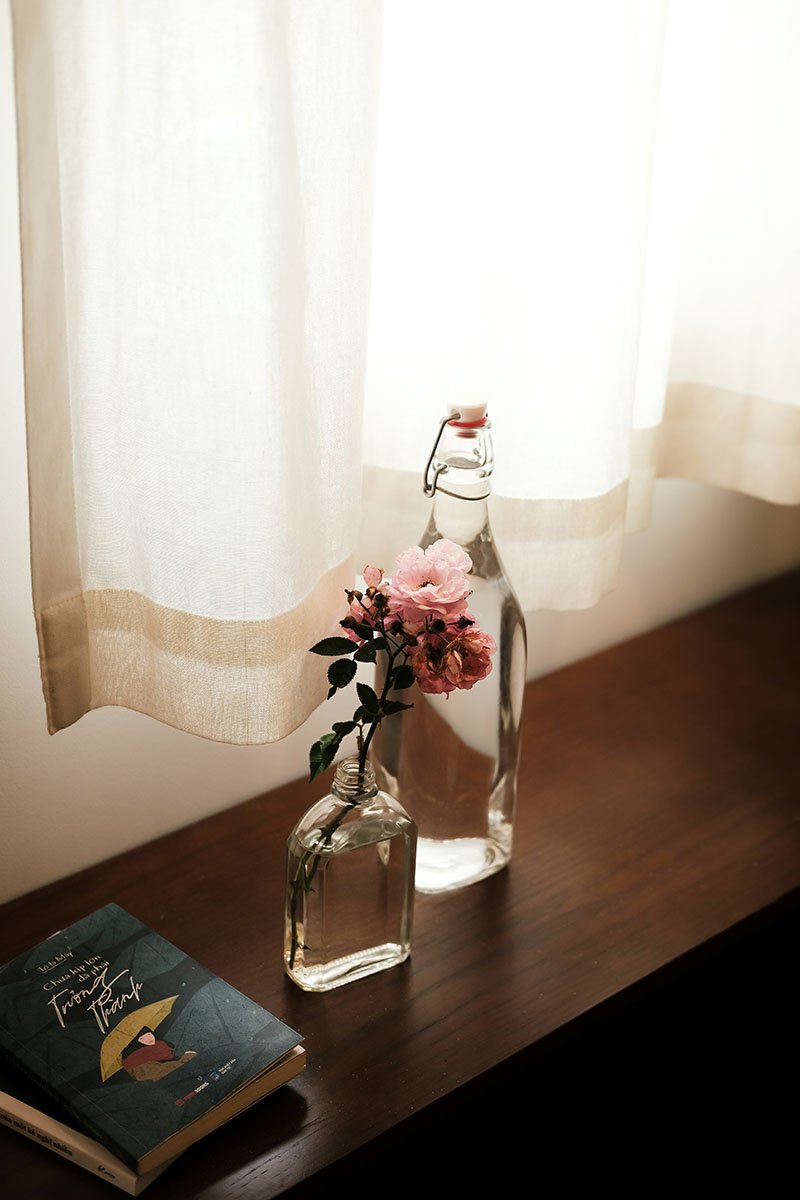
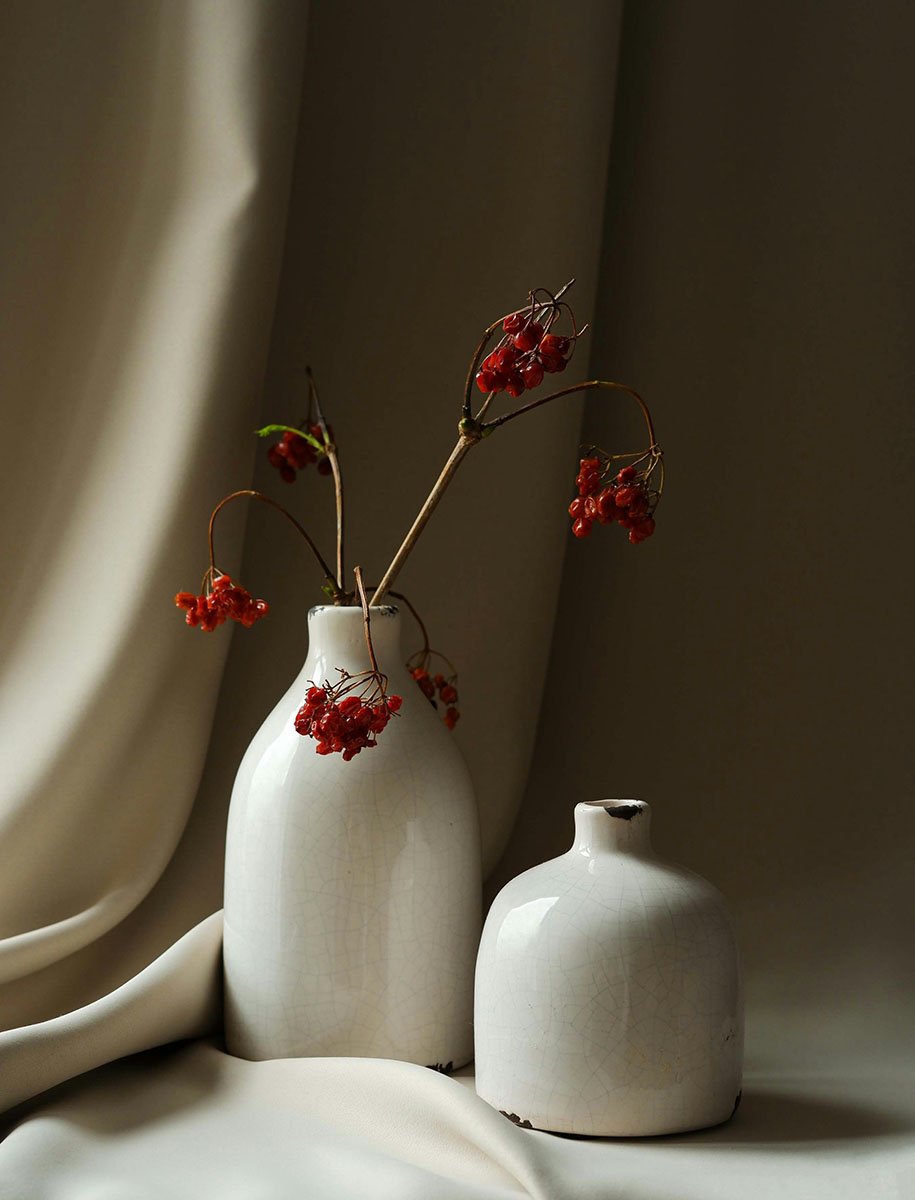
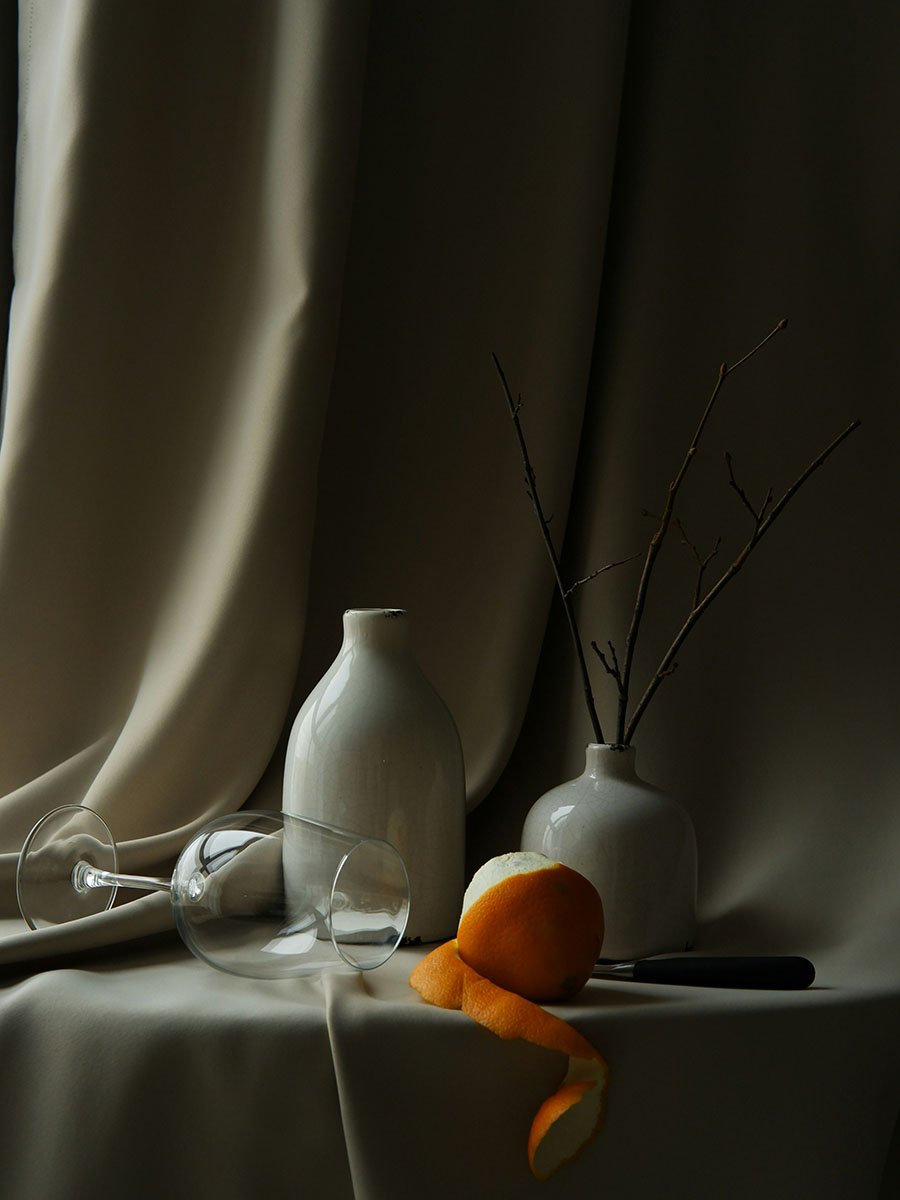
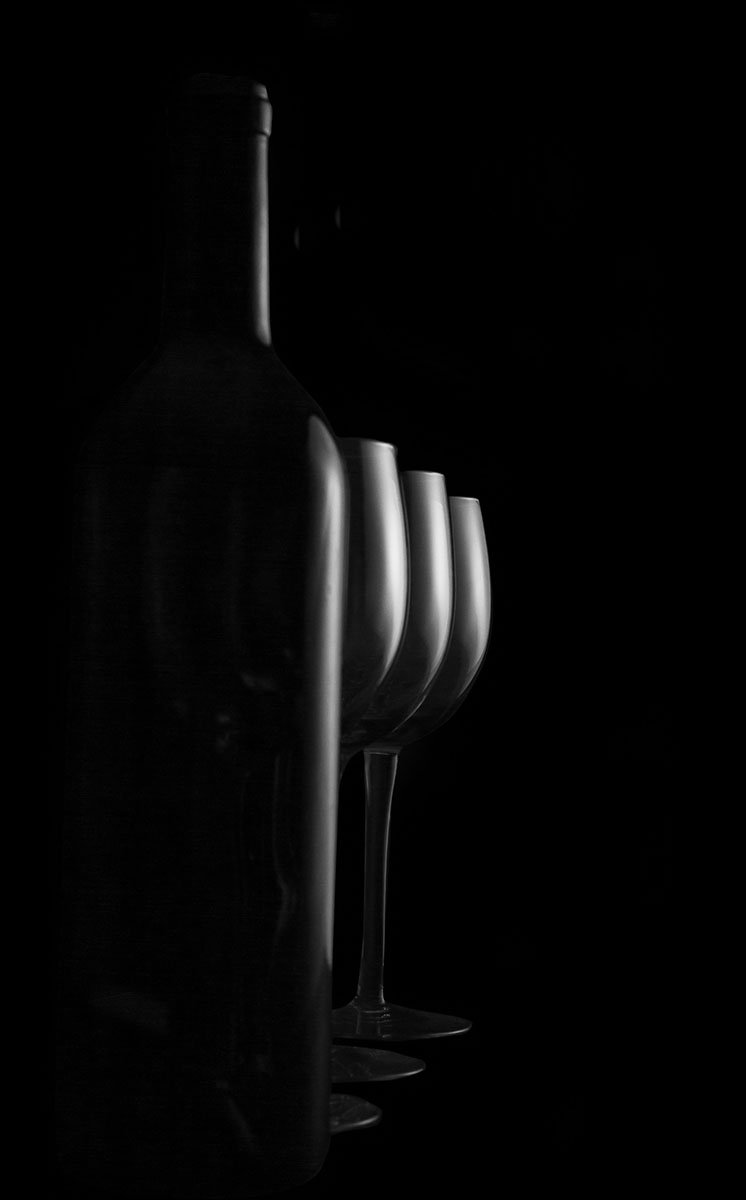
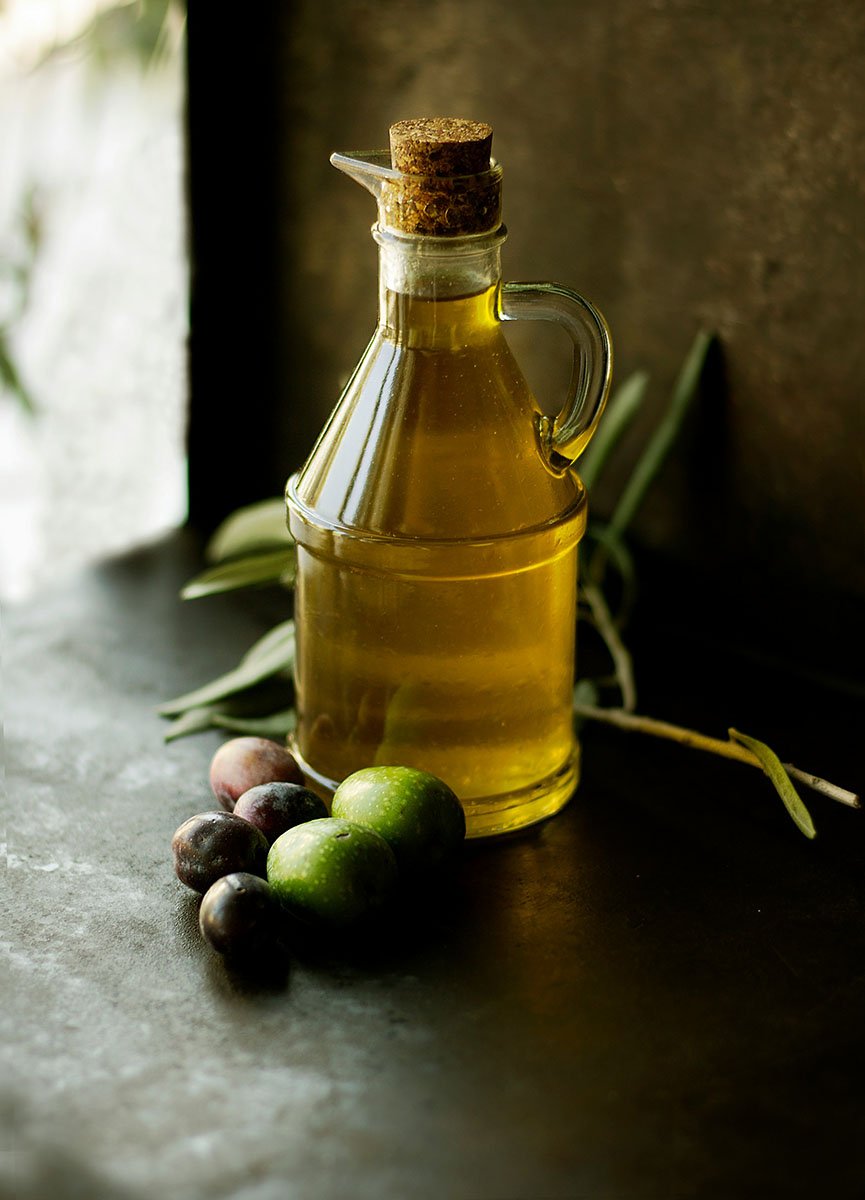
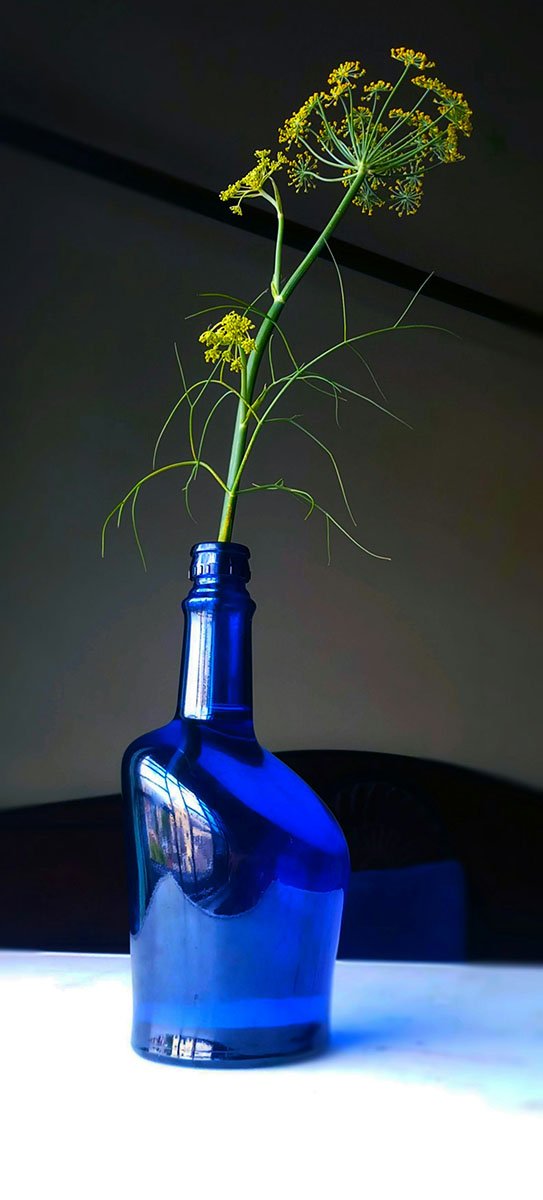
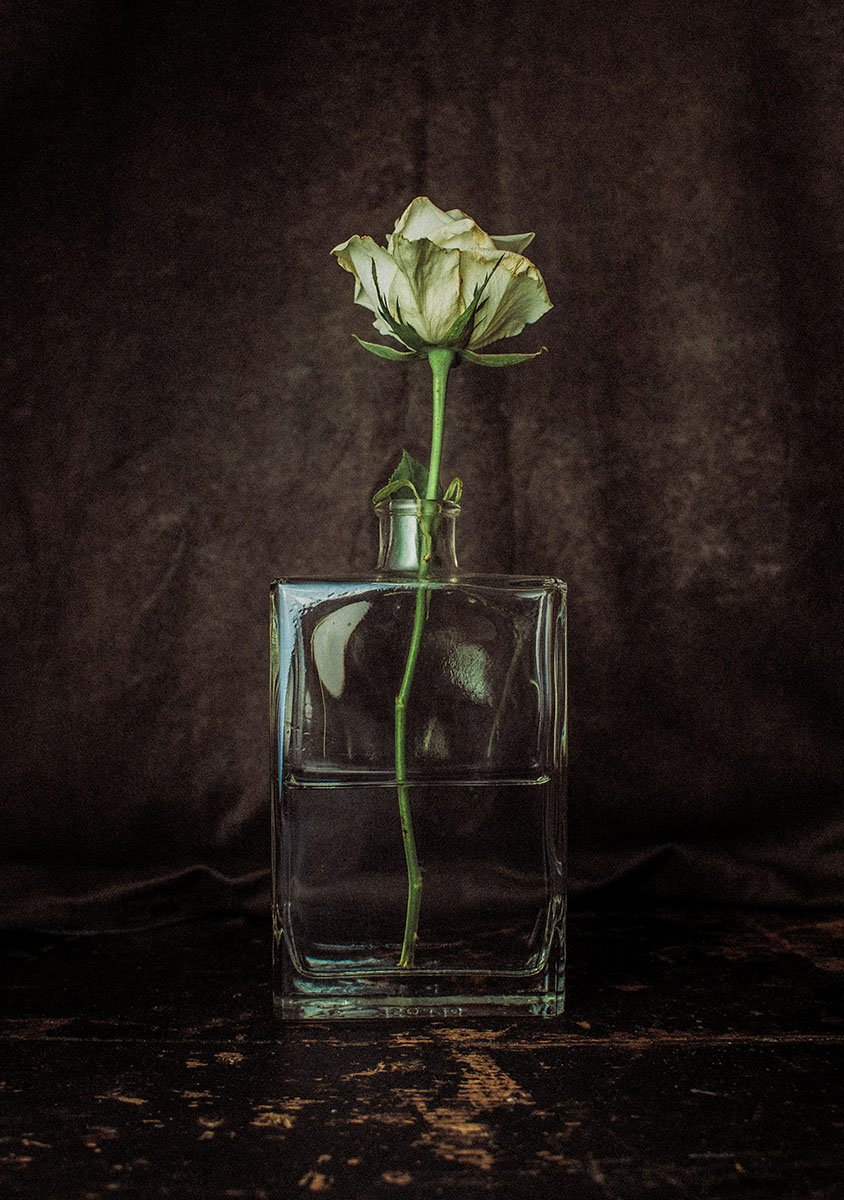
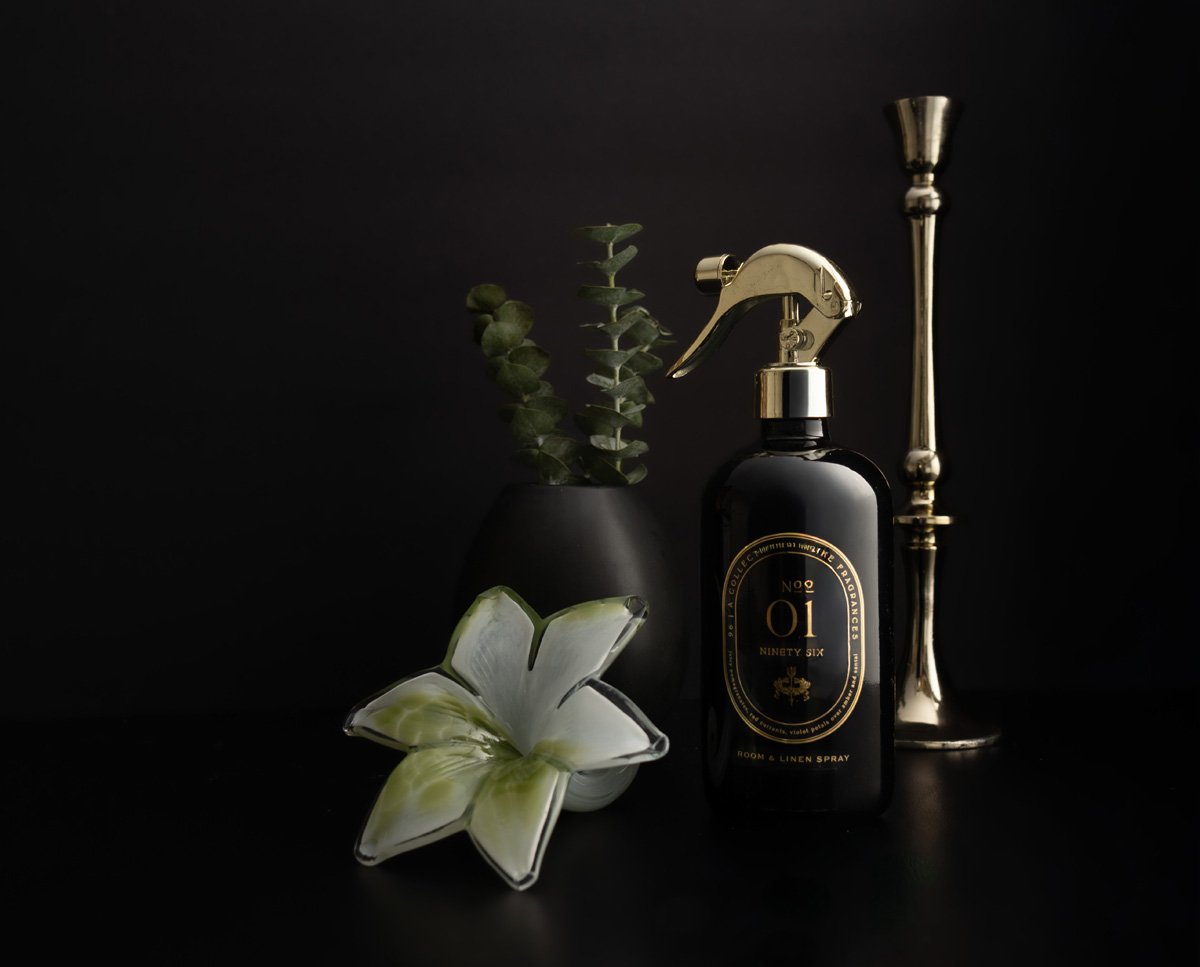
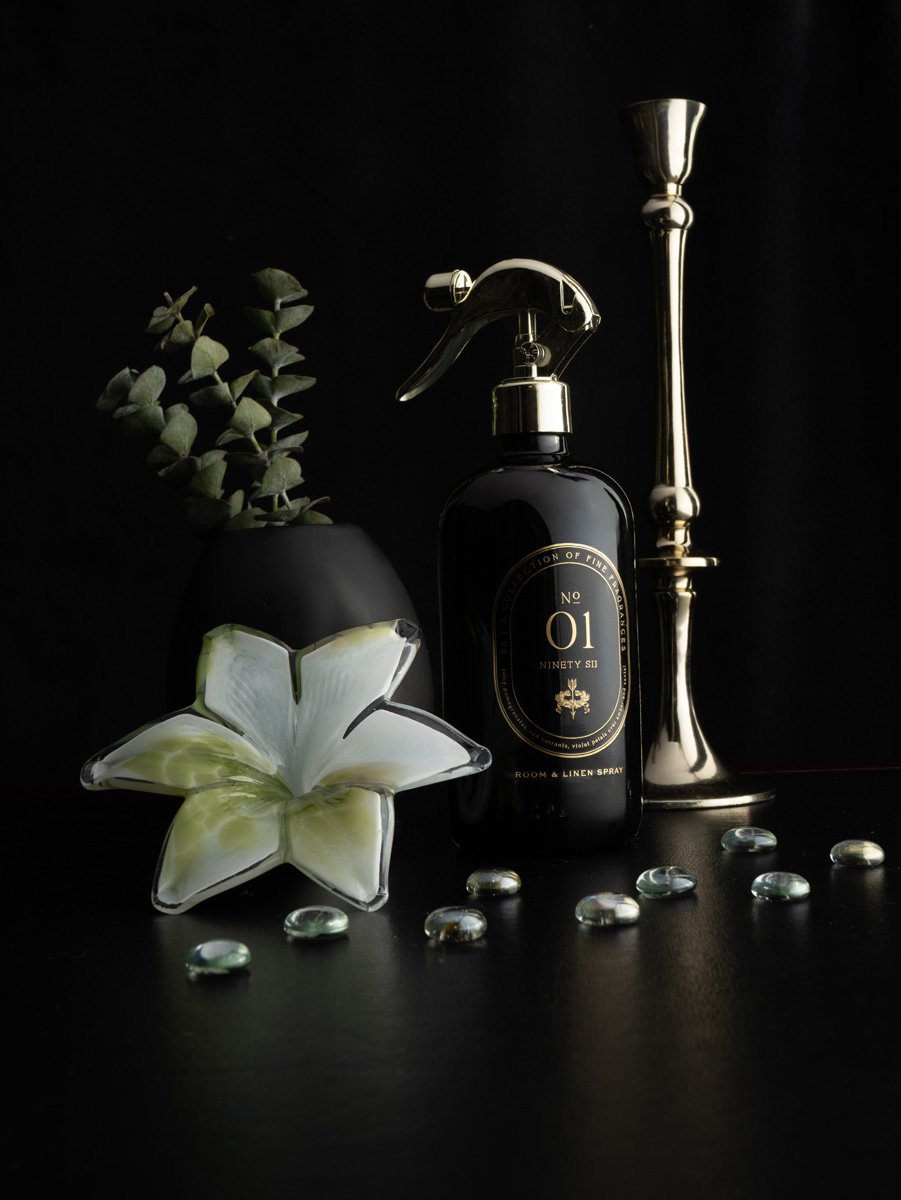
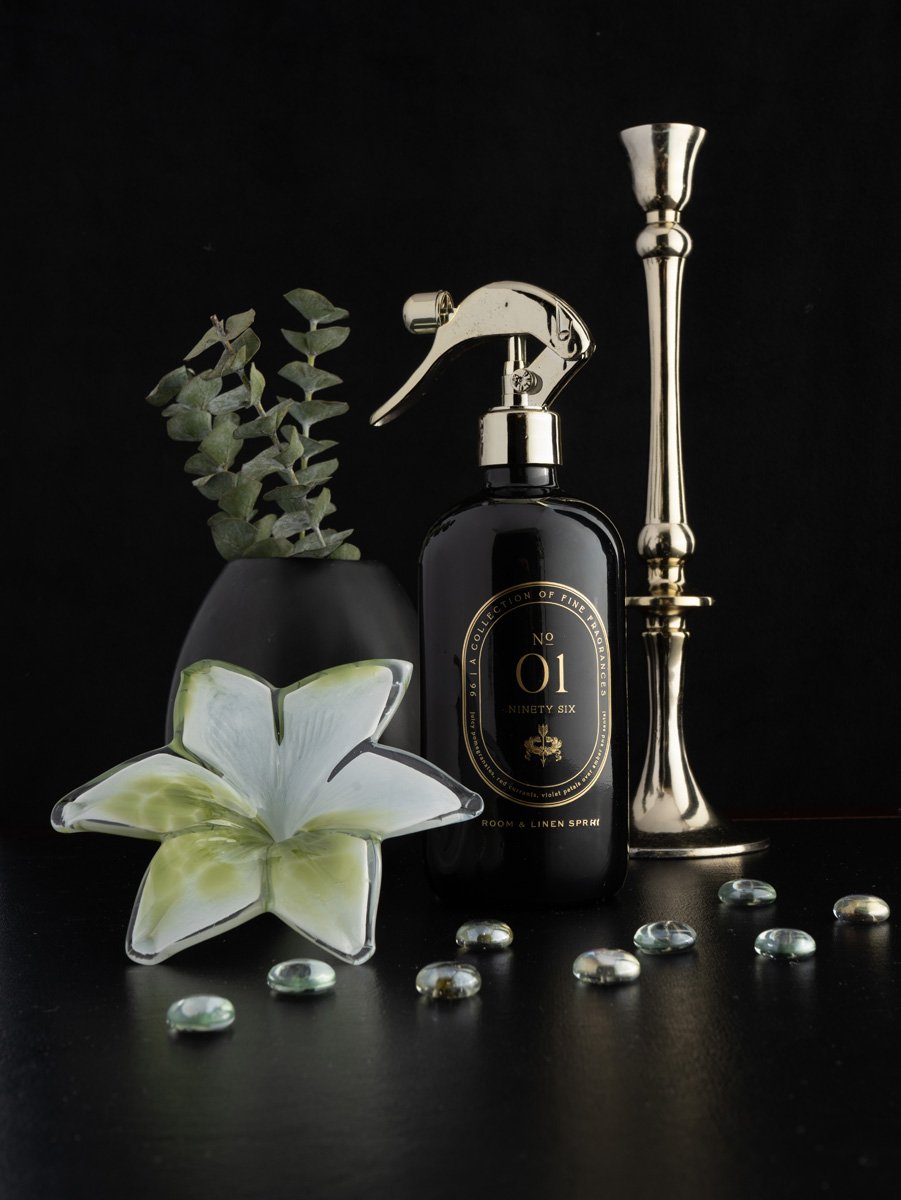
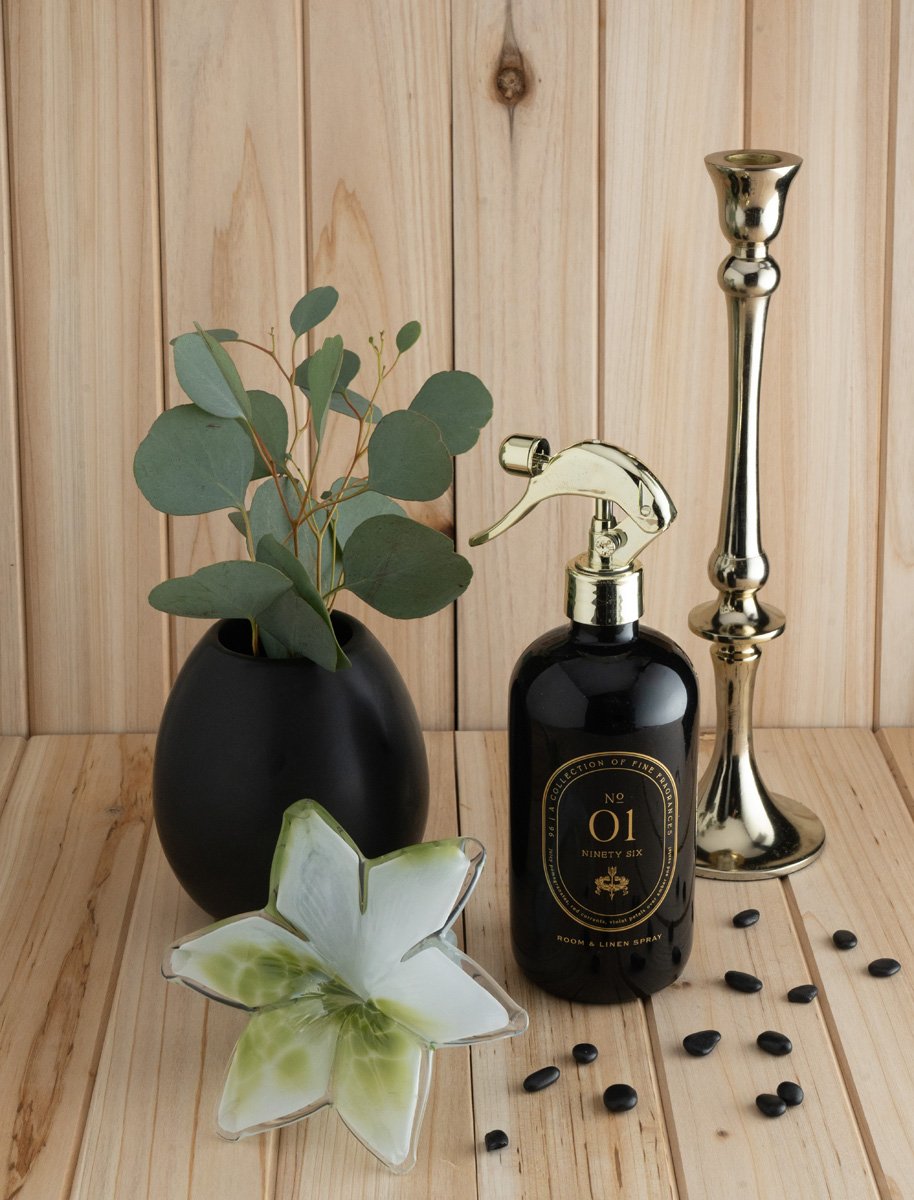
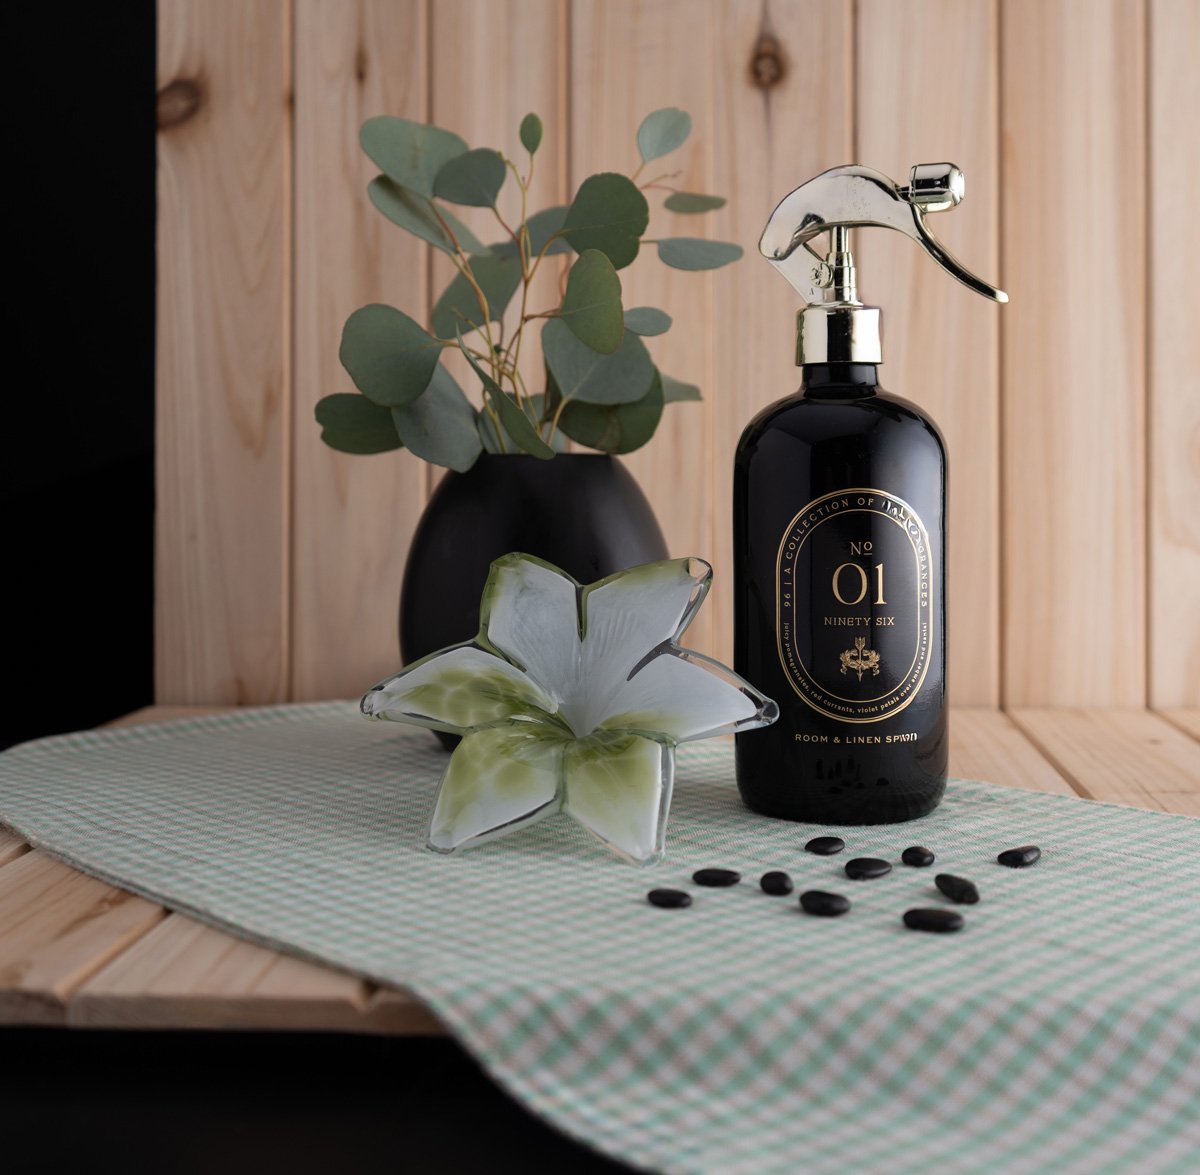
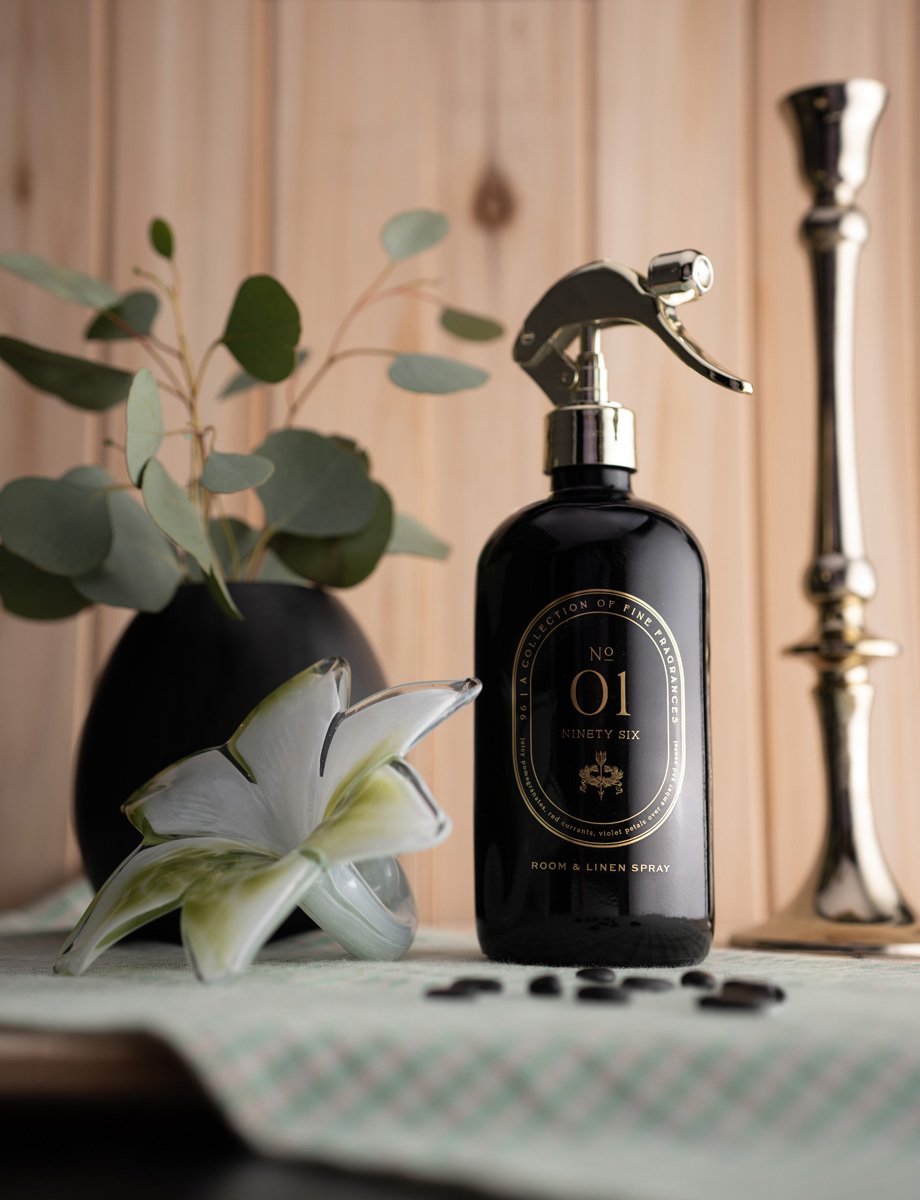
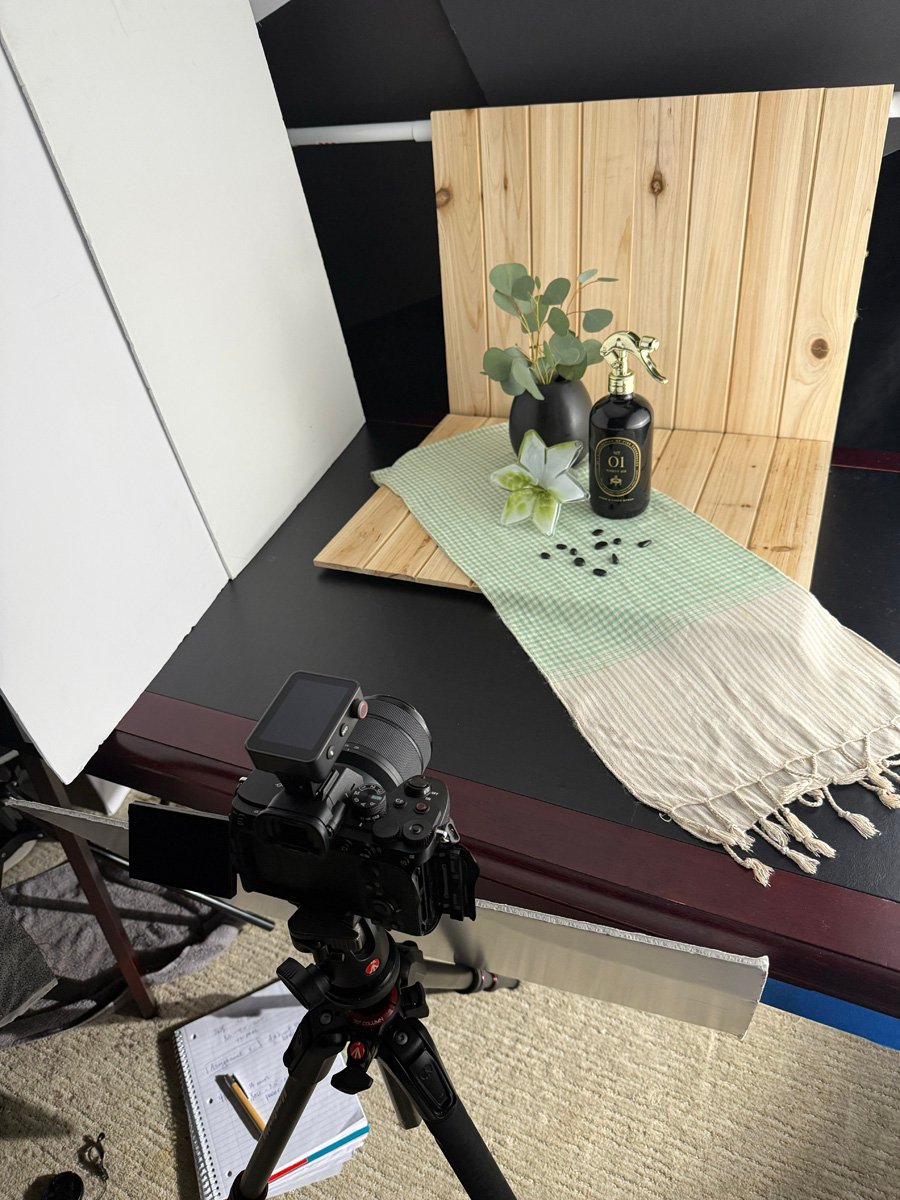
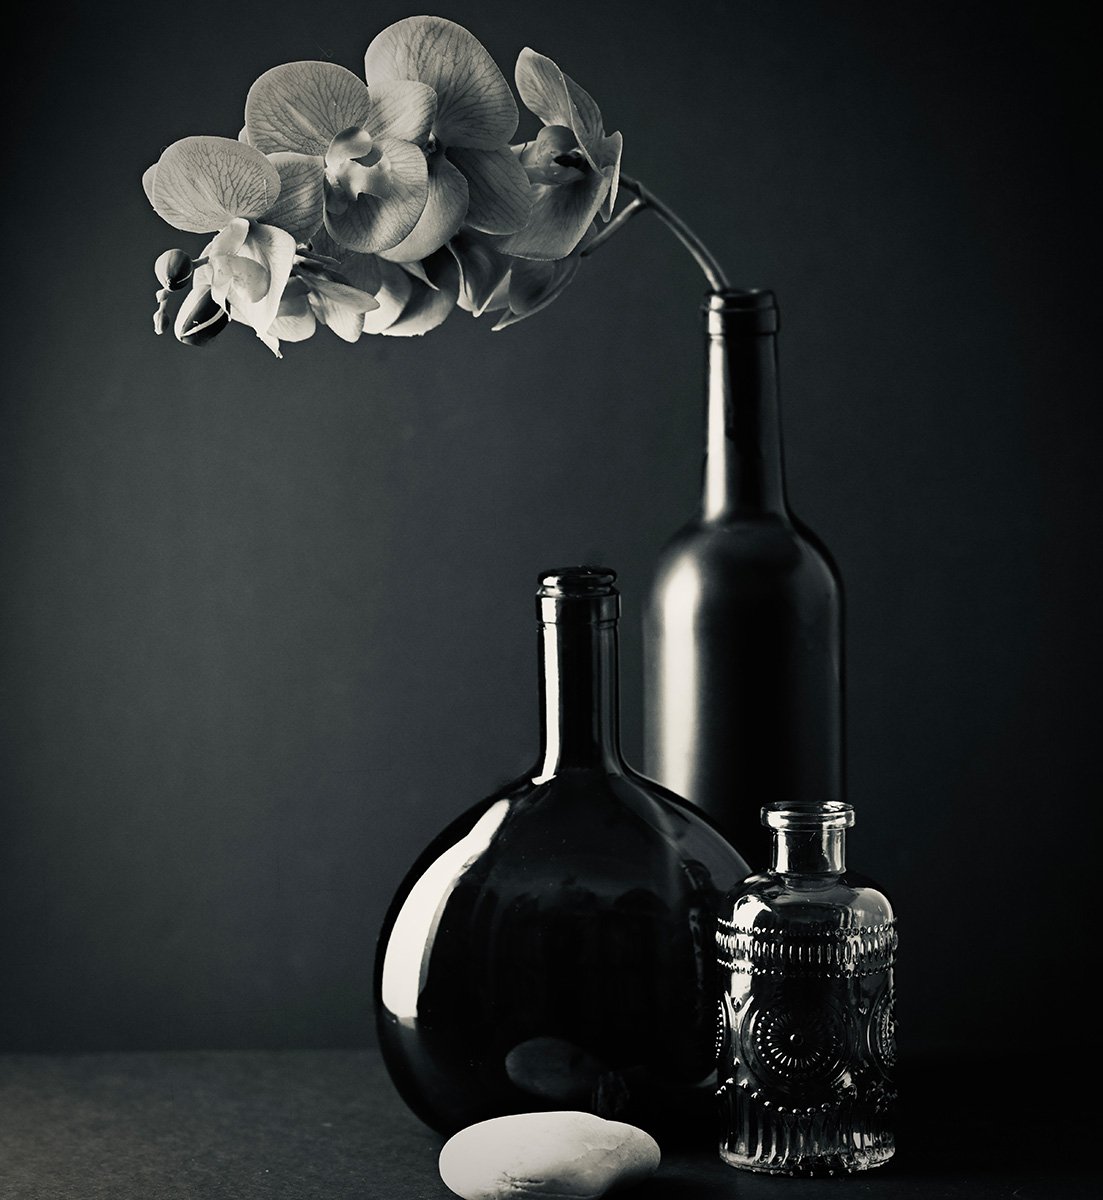
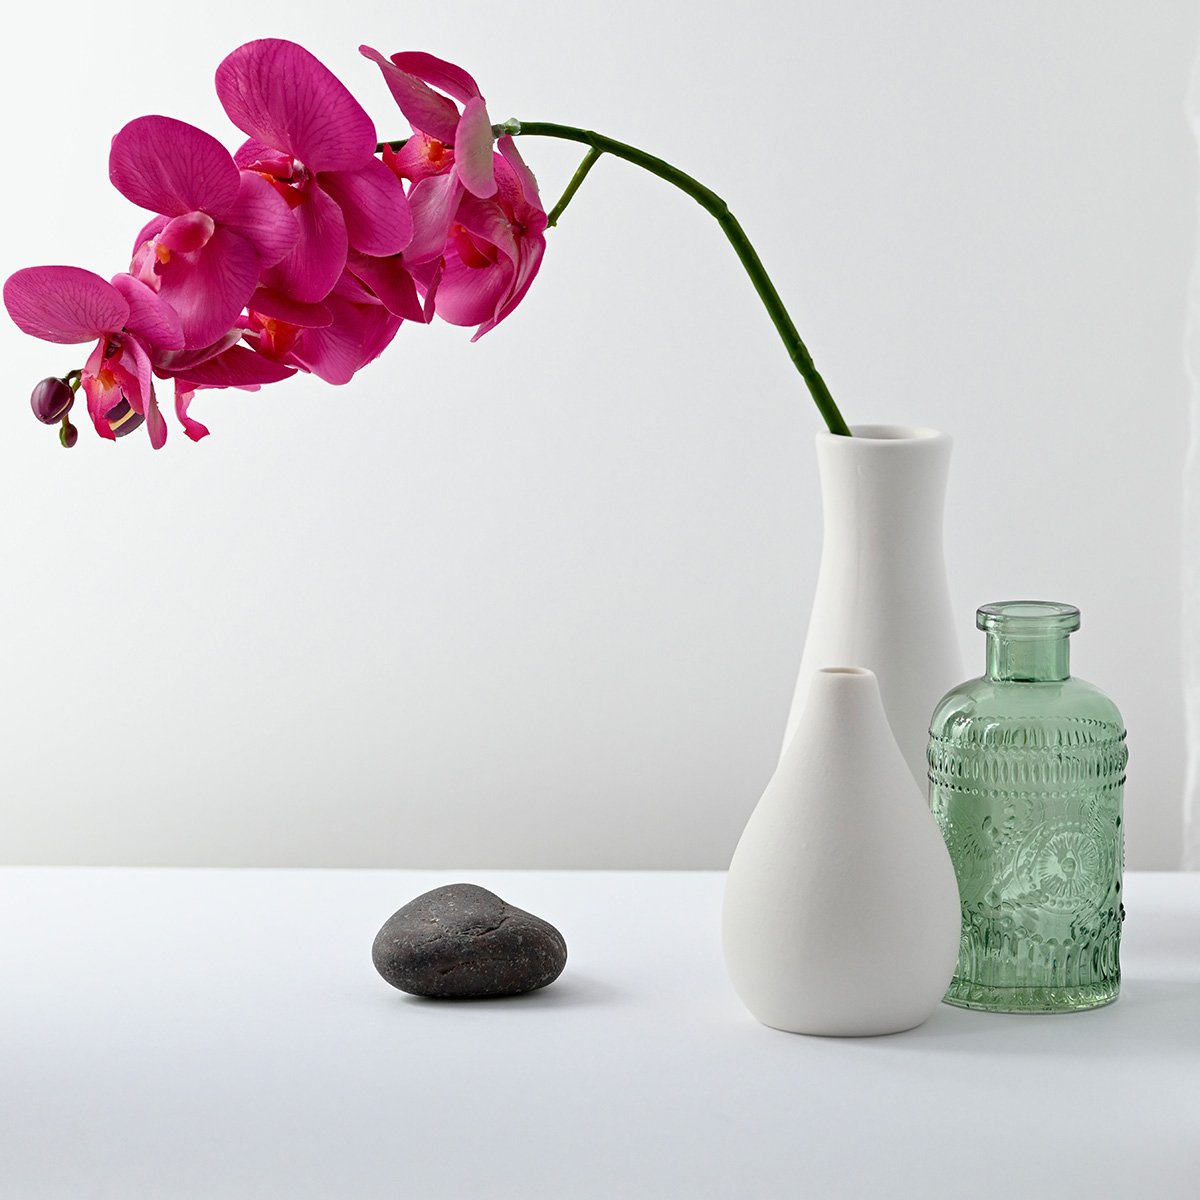
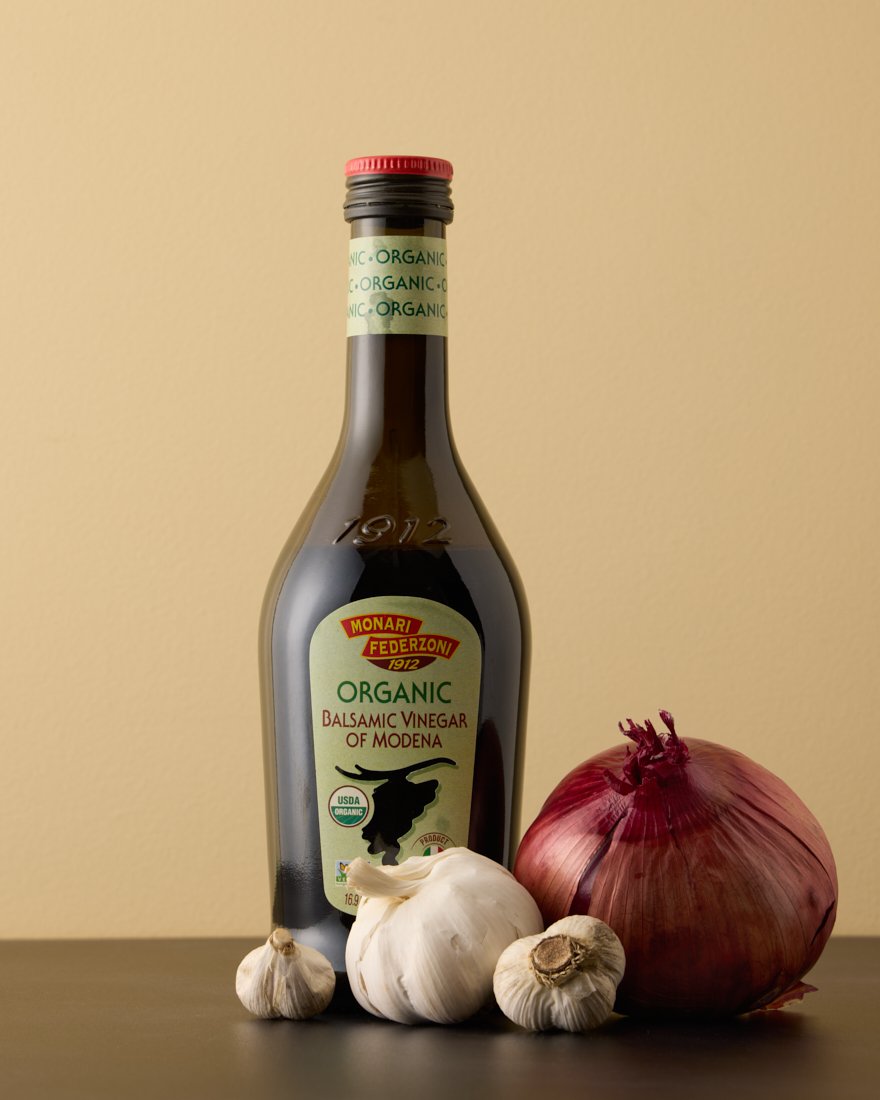
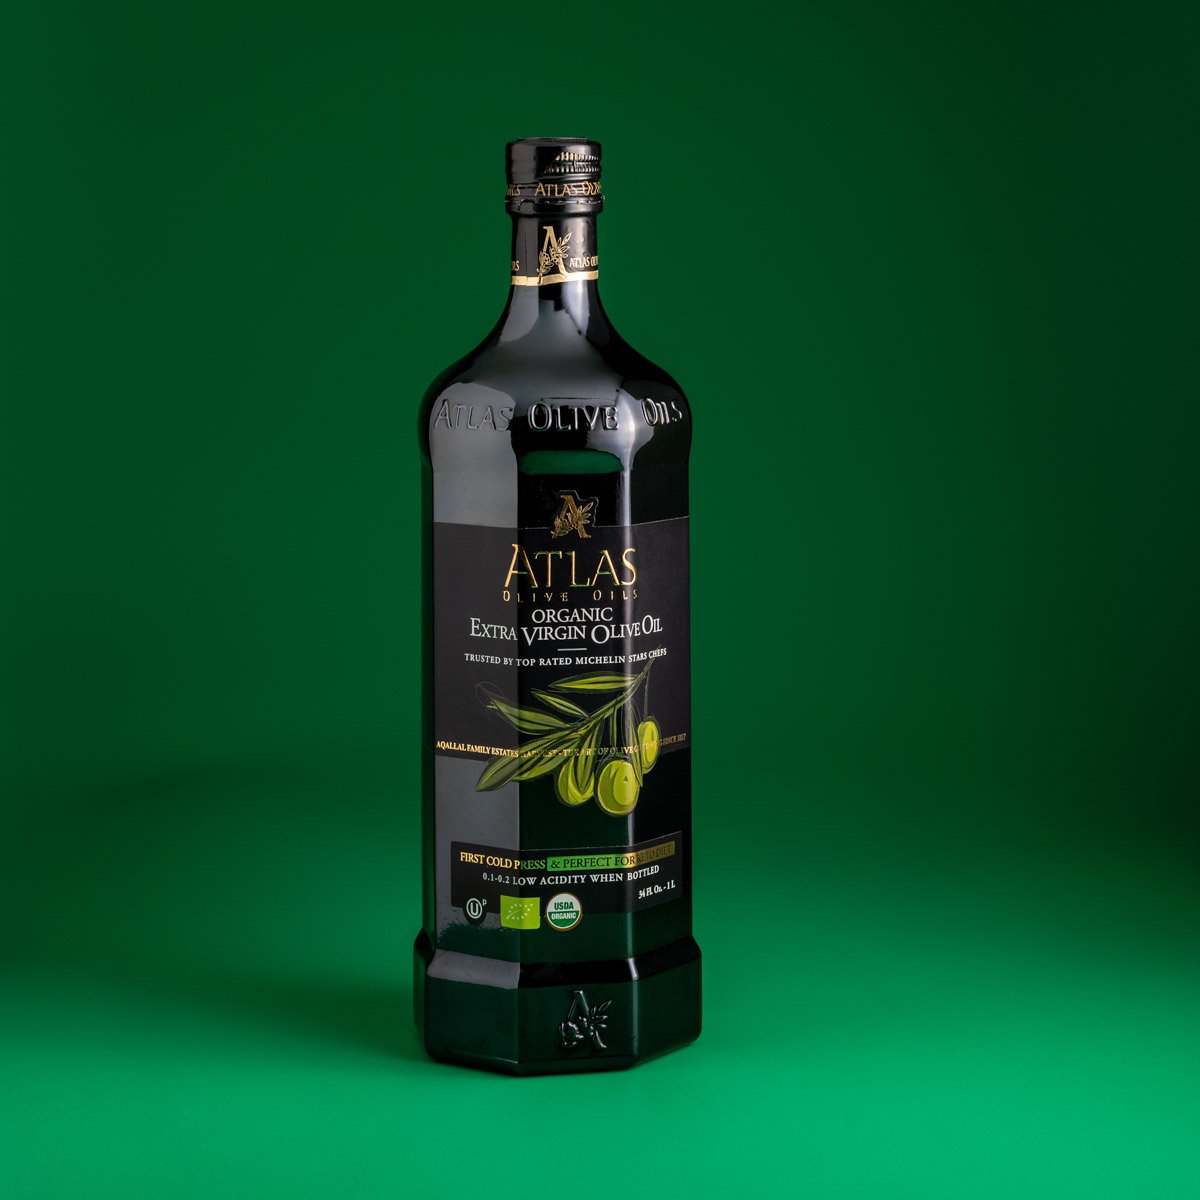
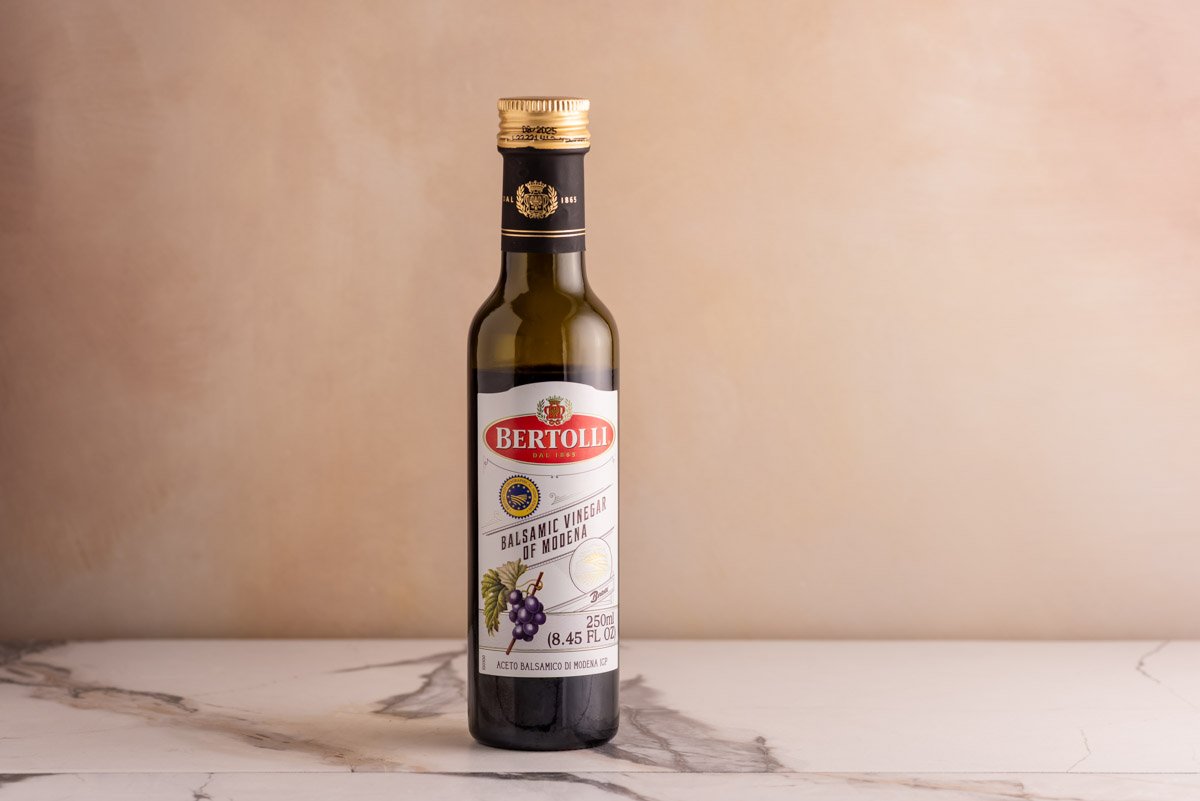
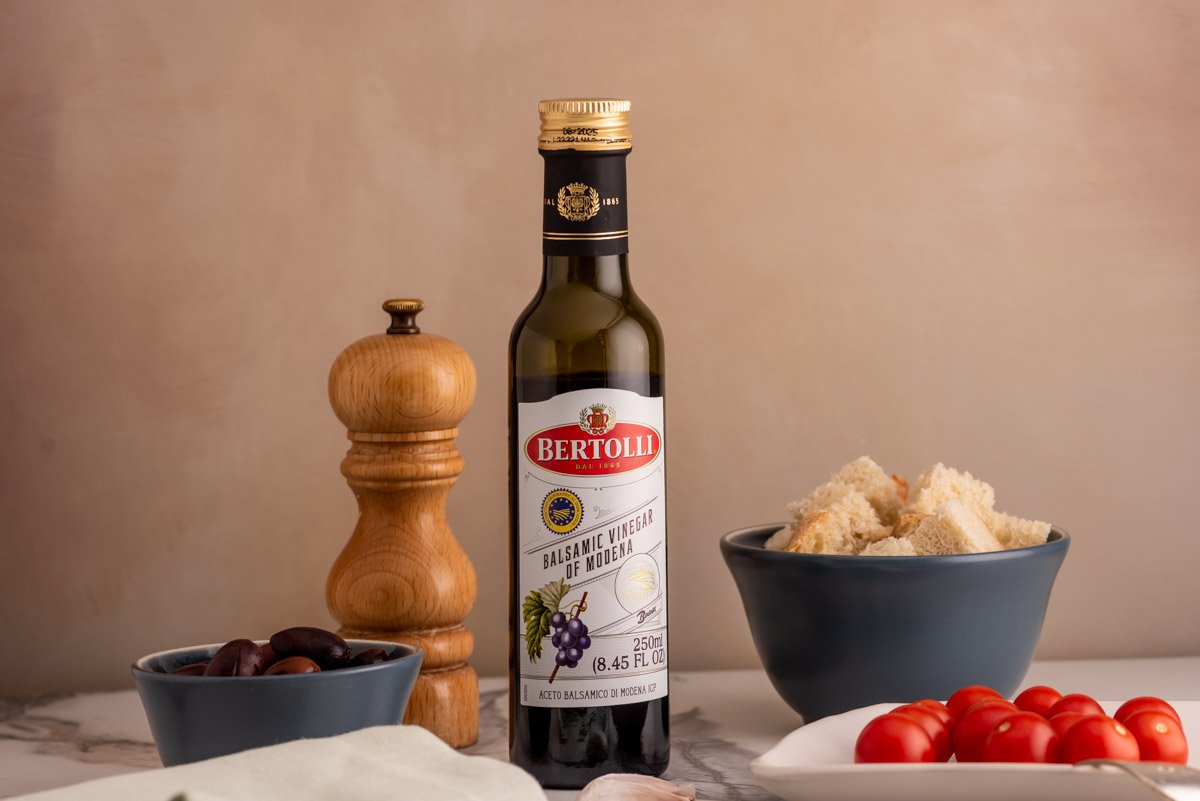
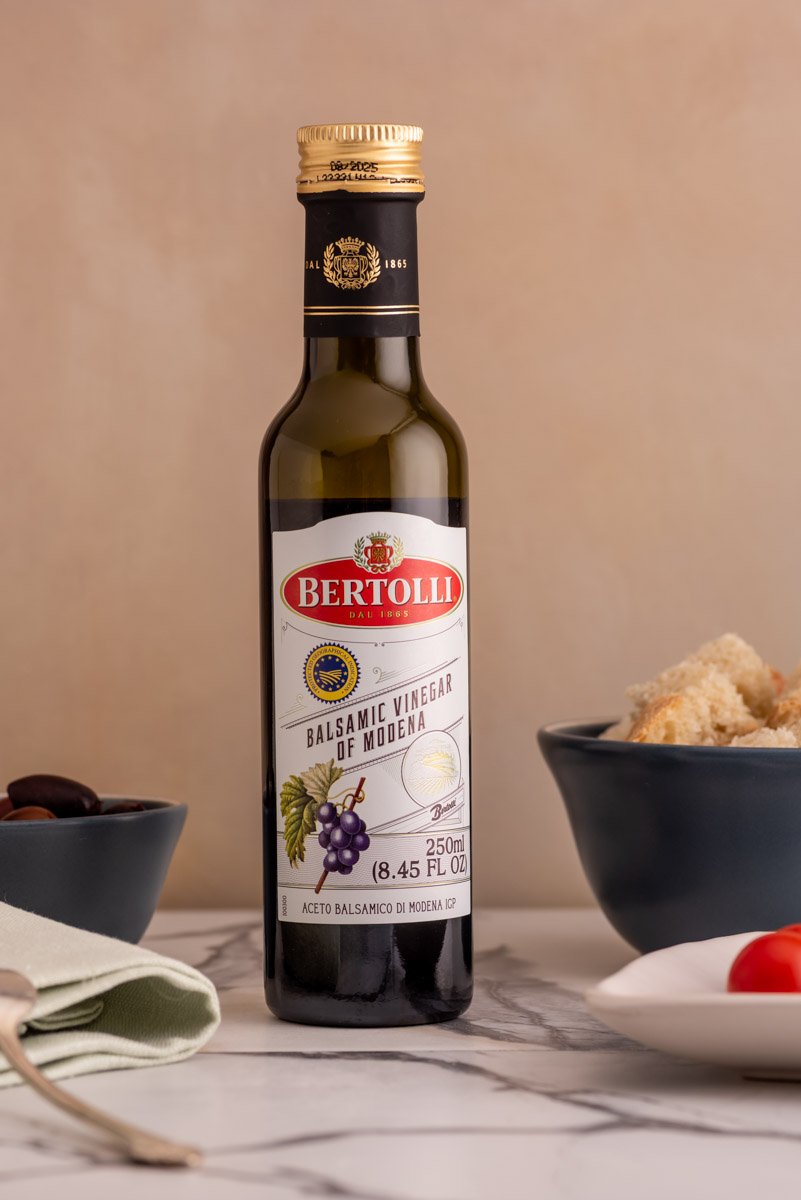
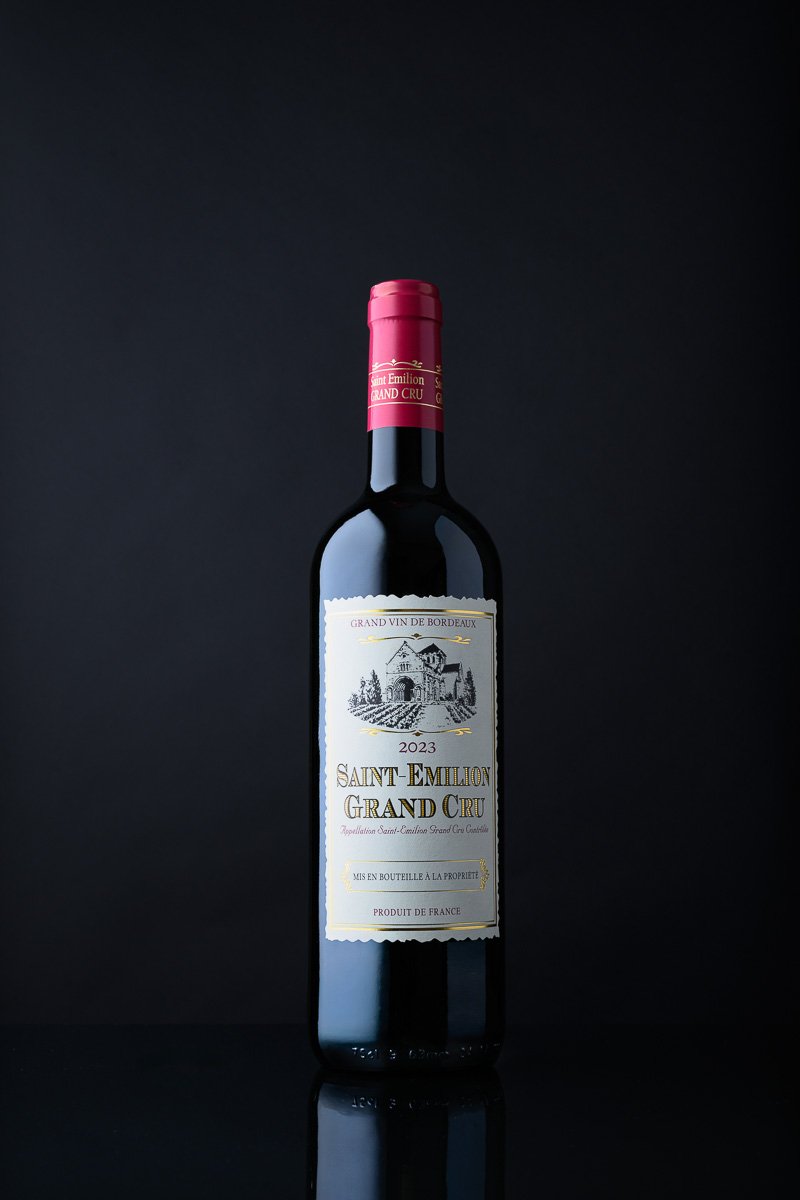
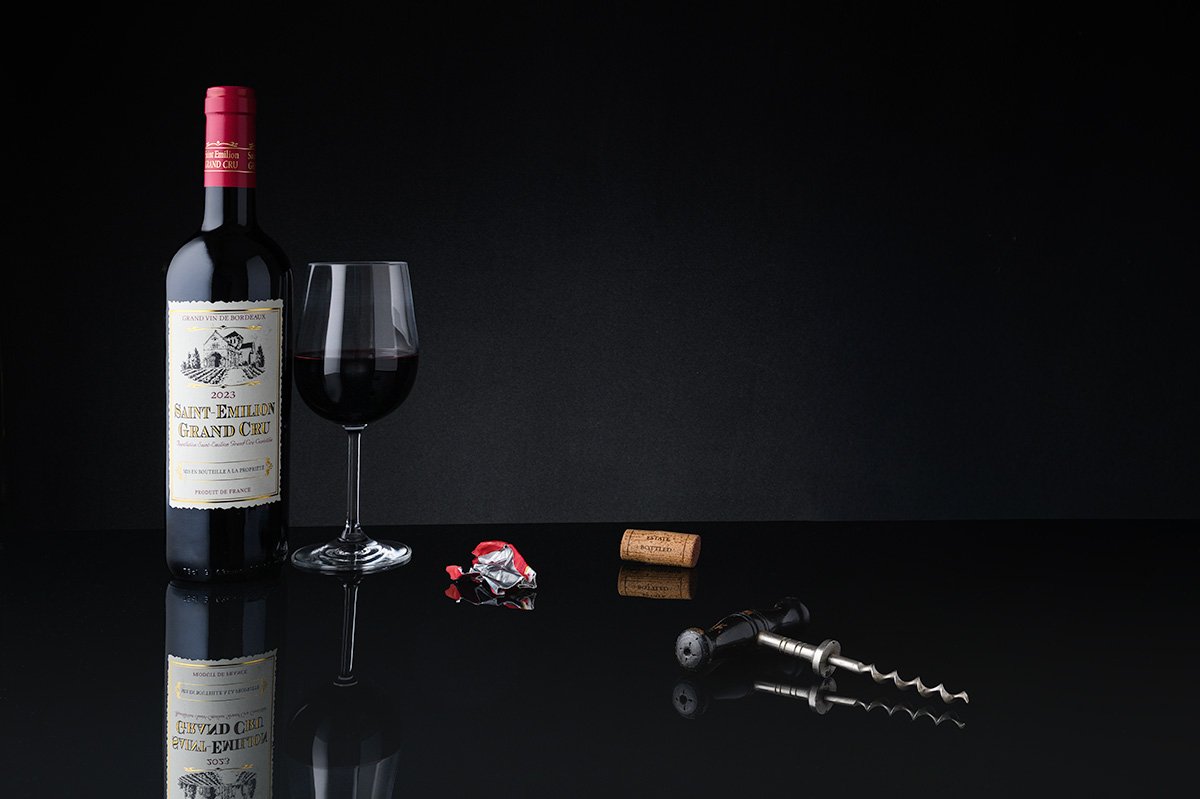
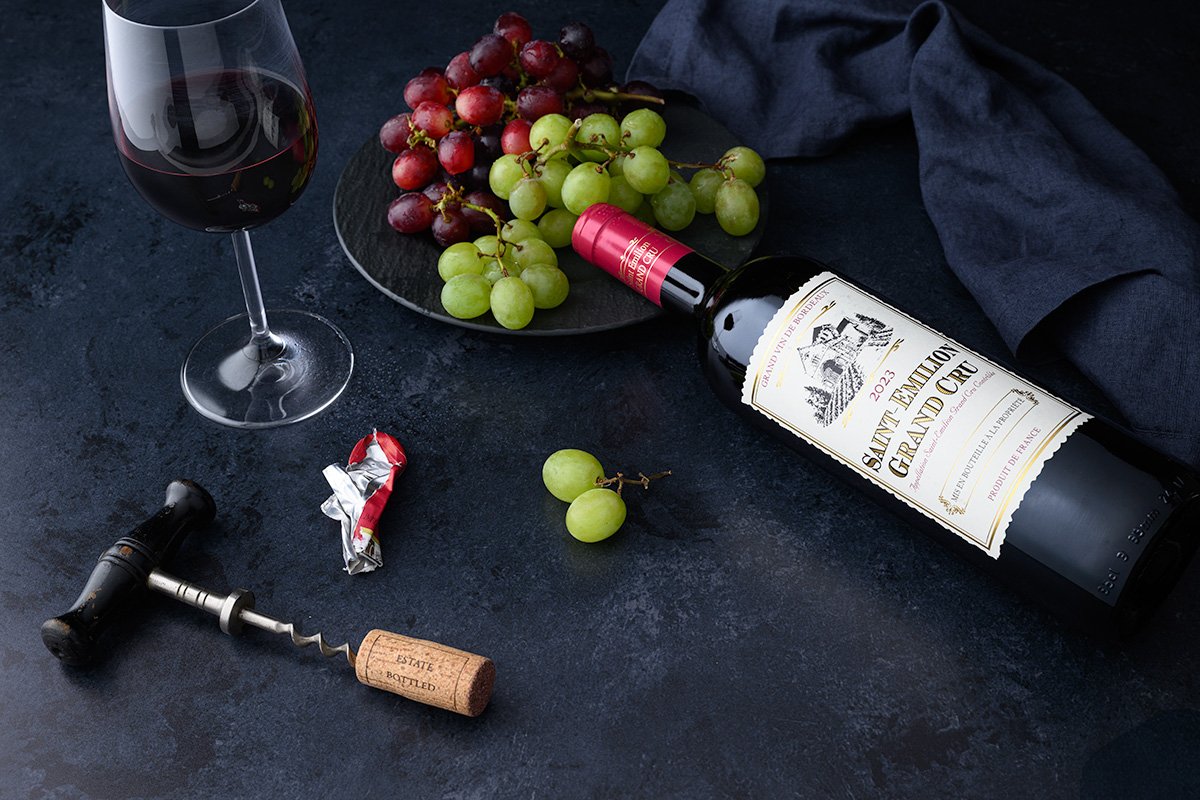
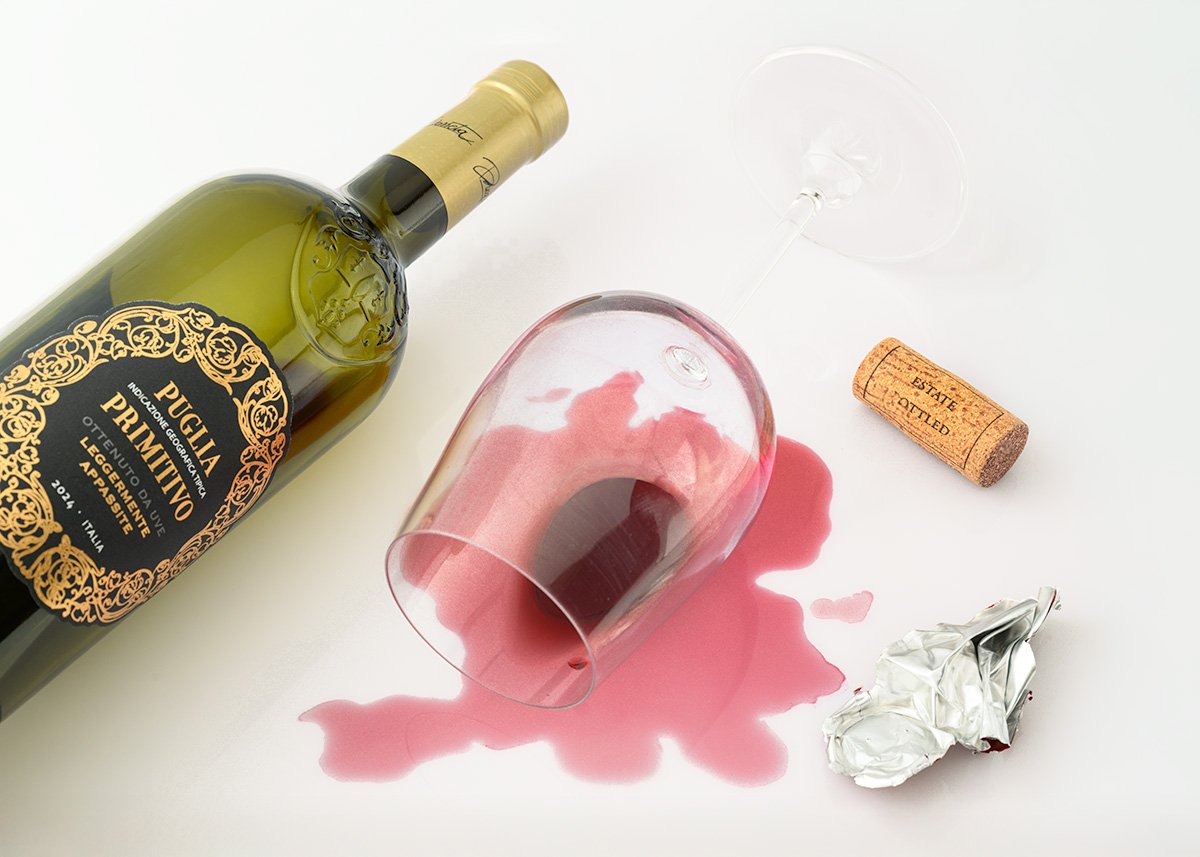
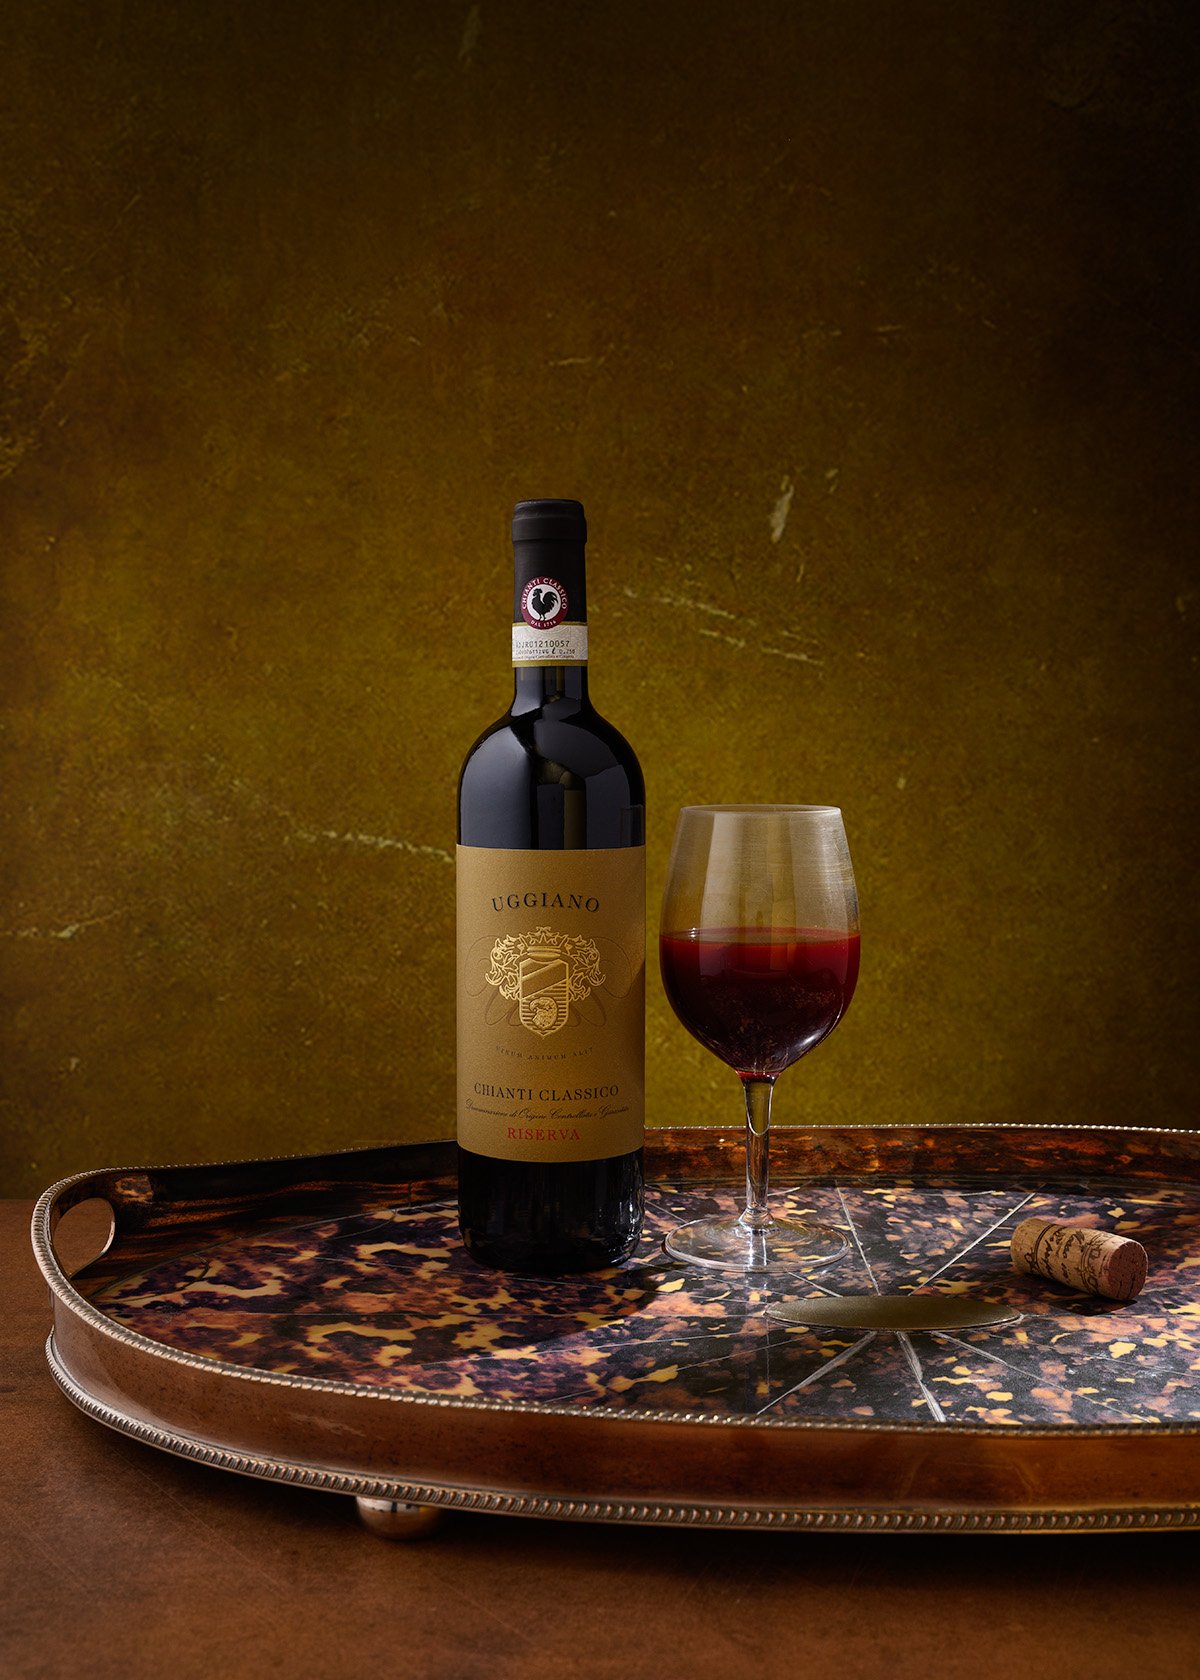
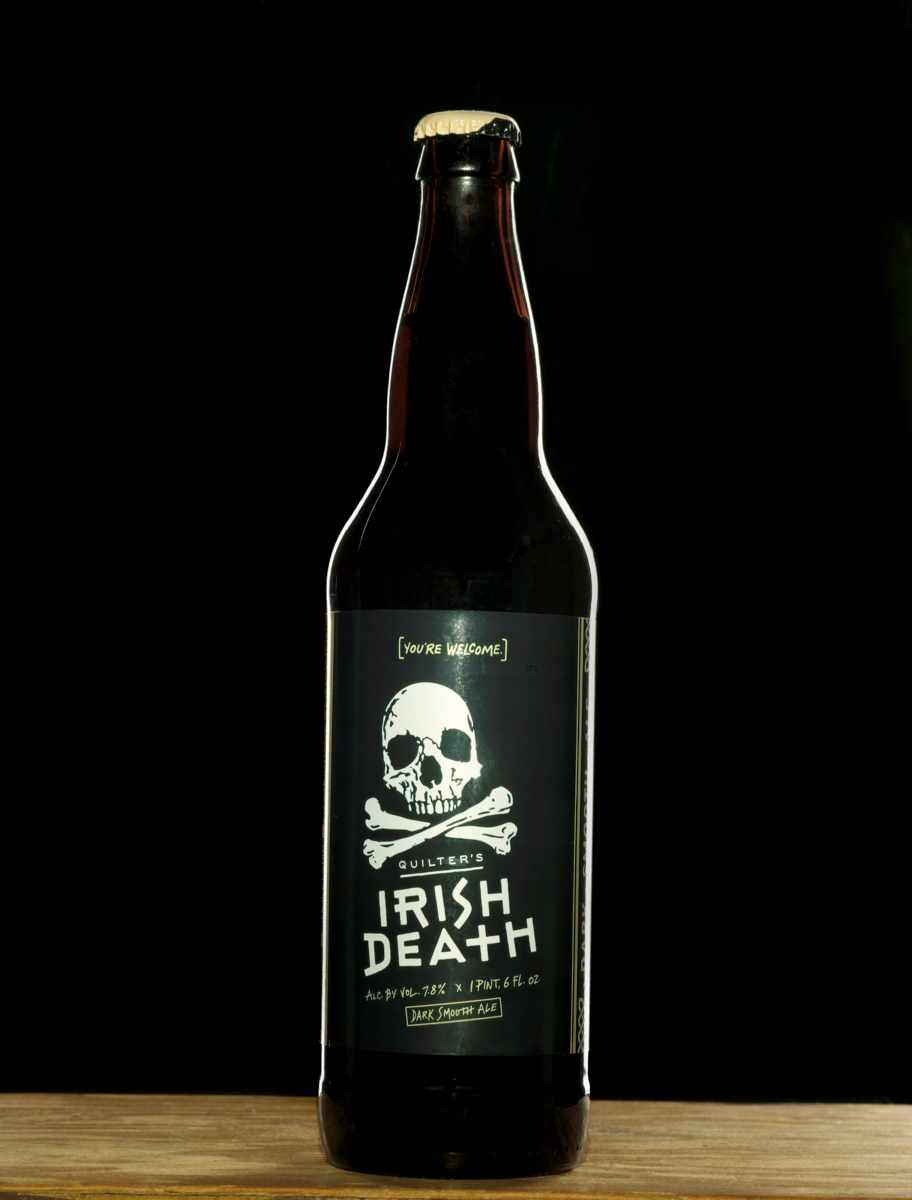
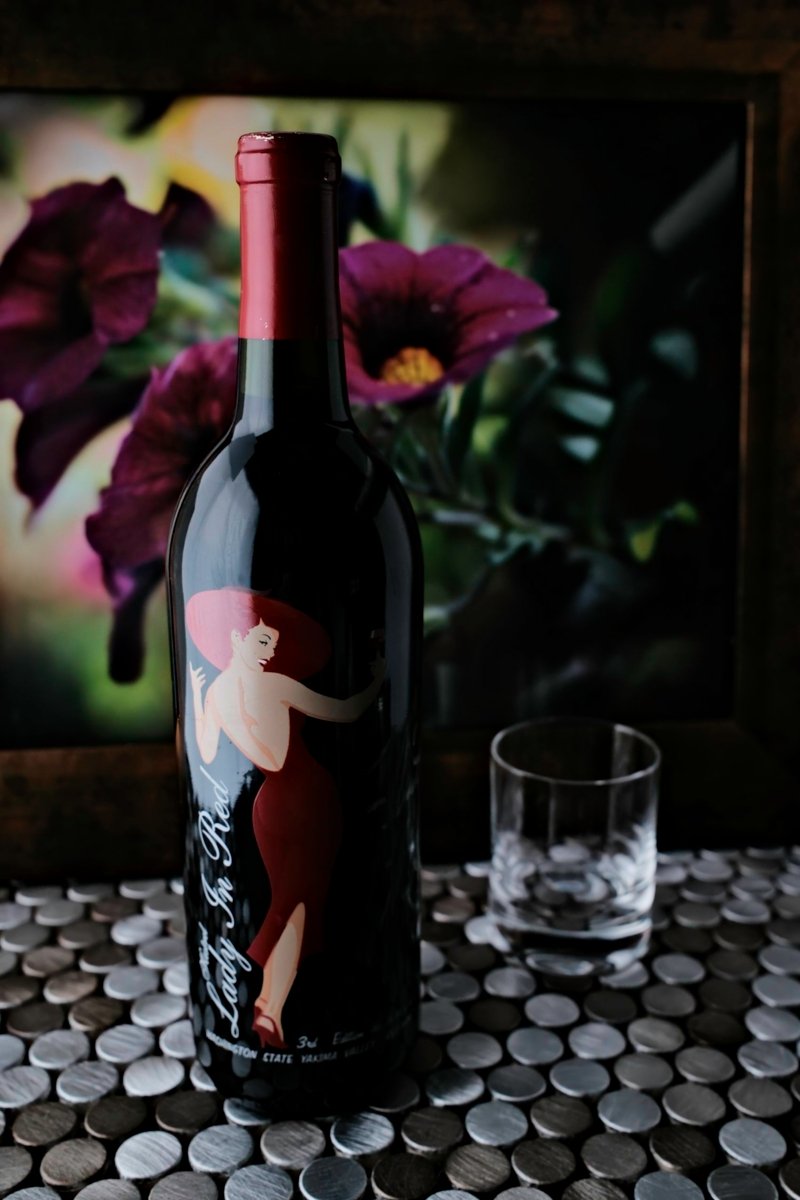
I want you to build a still life that includes a shiny, black, or very dark bottle. Everything else is up to you, but the shot must include a bottle of some sort.
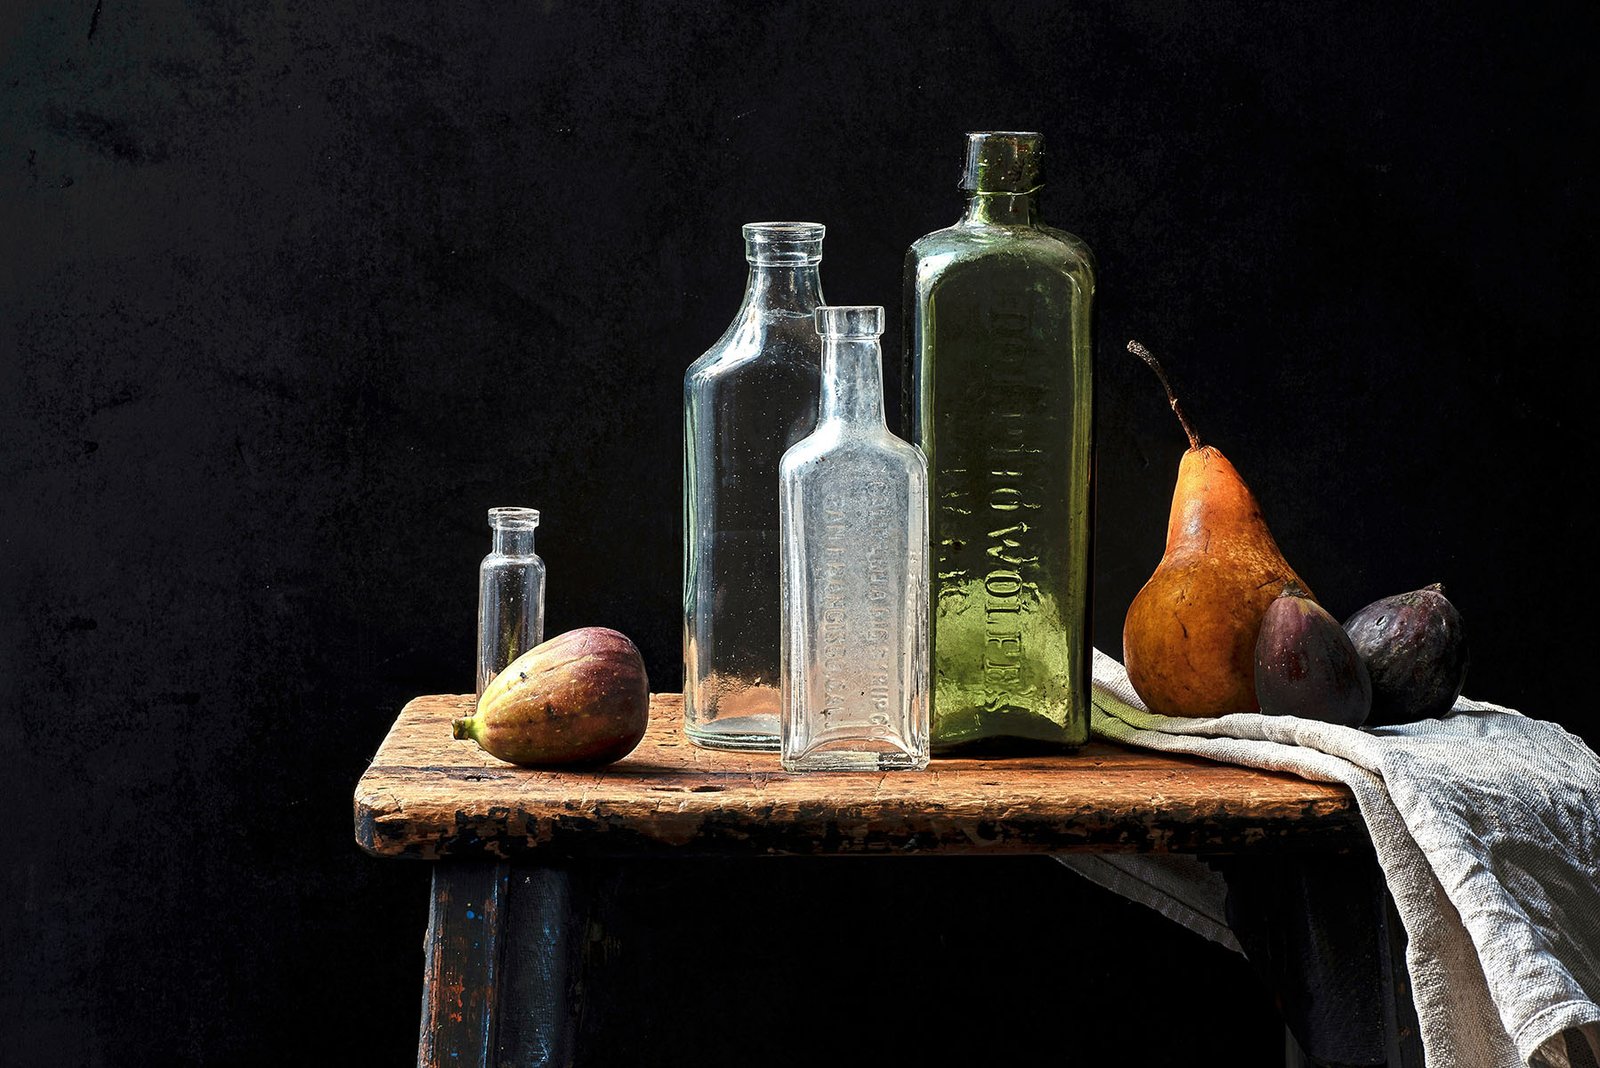
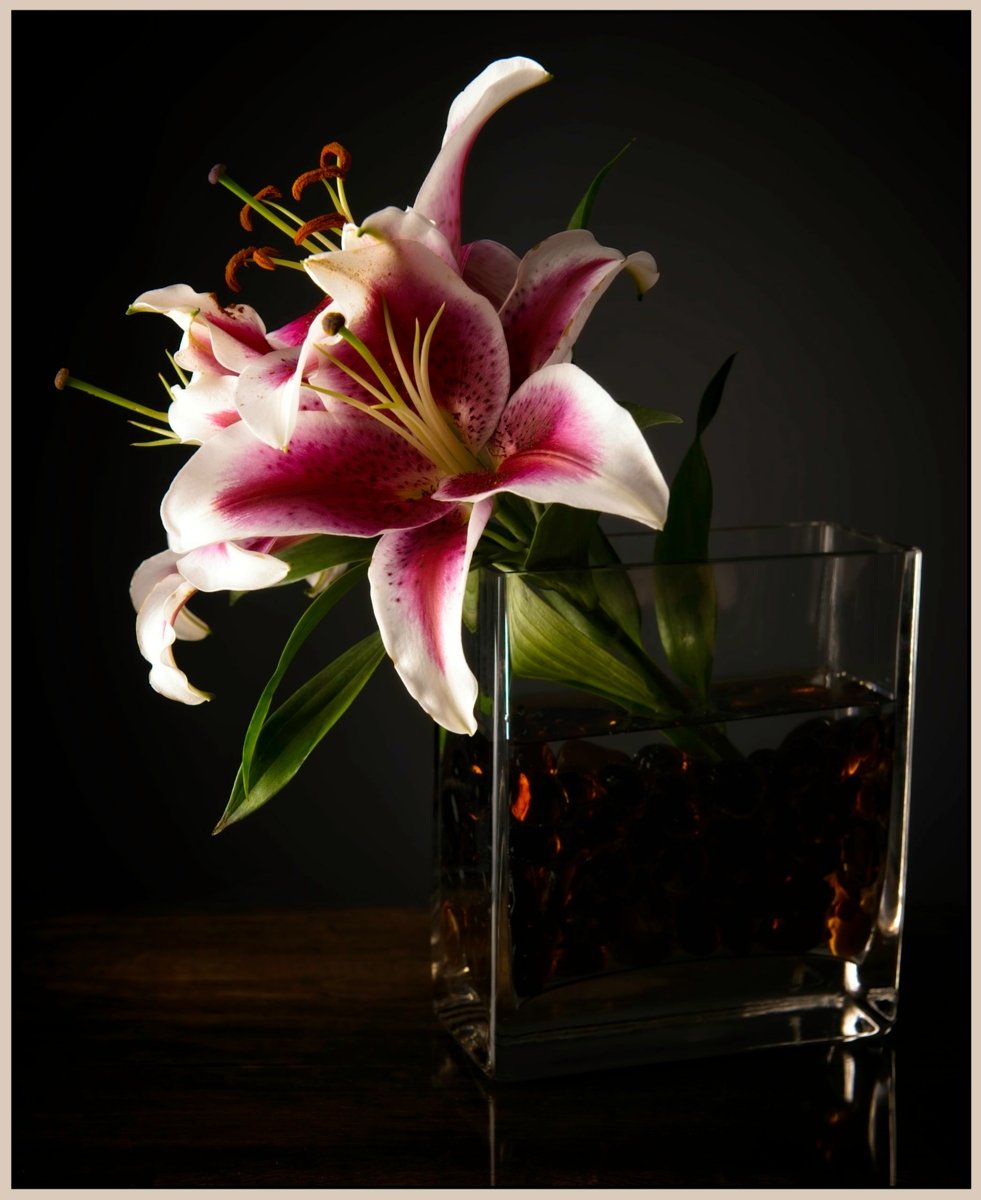
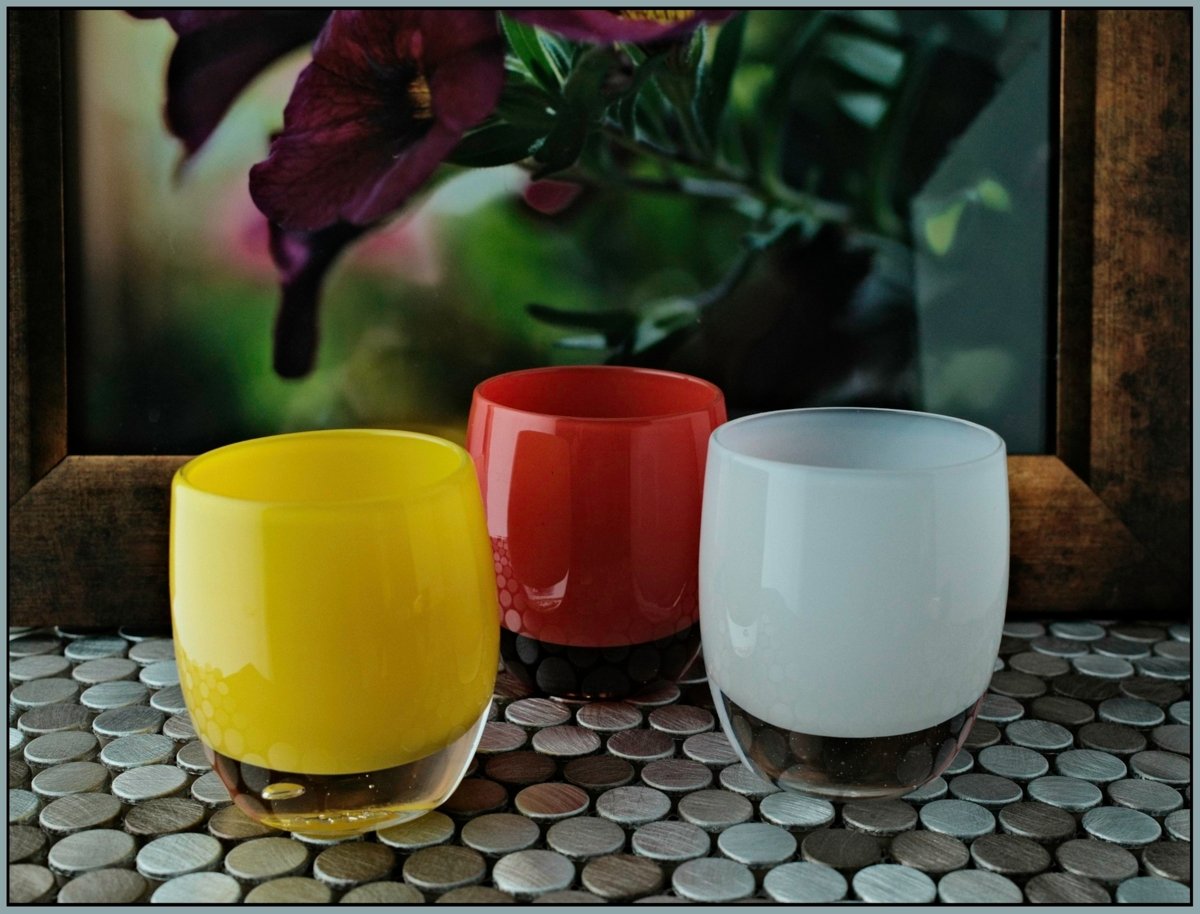
Flowers, candy, ornaments, food, cups, bottleware (not translucent) are all fine. Most everything is fine, but it all has to fit in 18″ square. No big products or large bouquets.
ASSIGNMENT UPLOAD
1. Must not be larger than 1200 pixels on the longest side.
2. Must be .jpg format
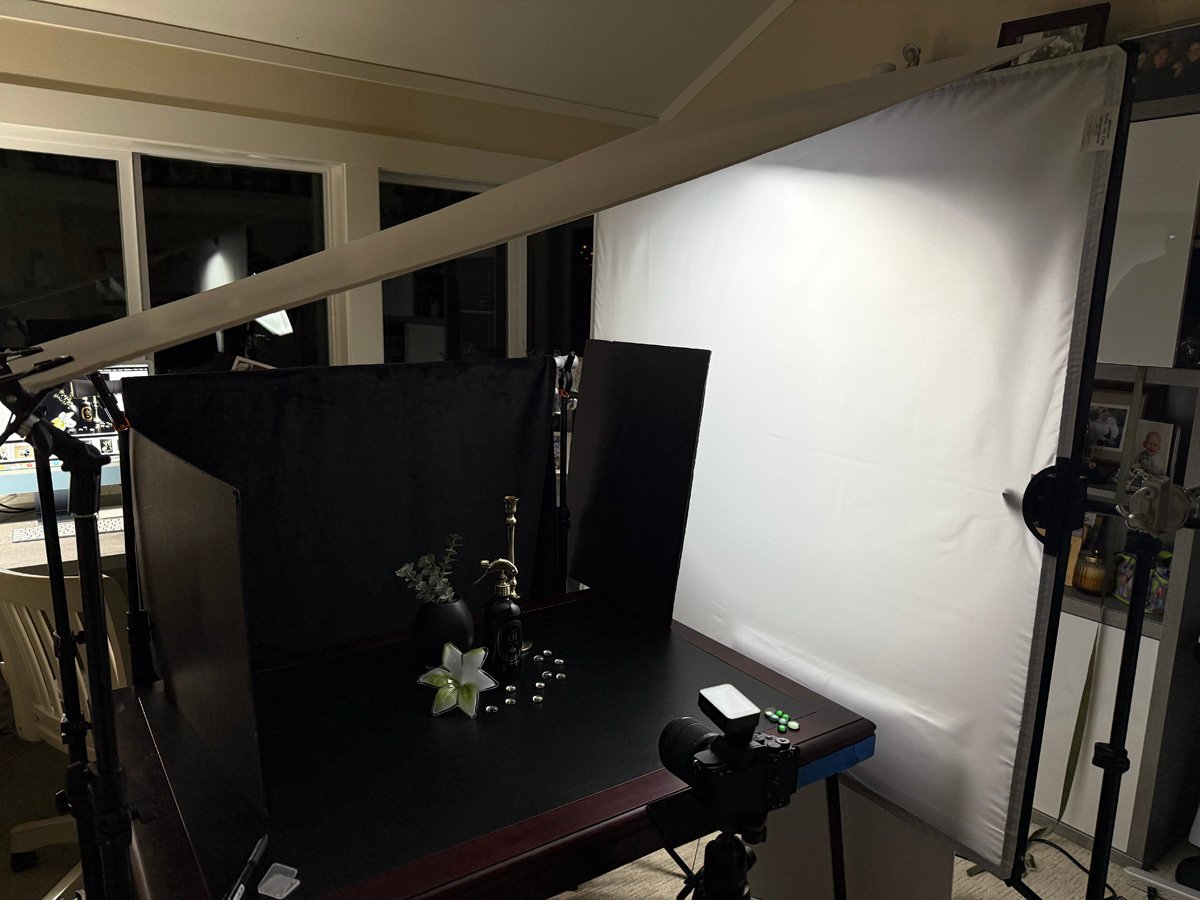
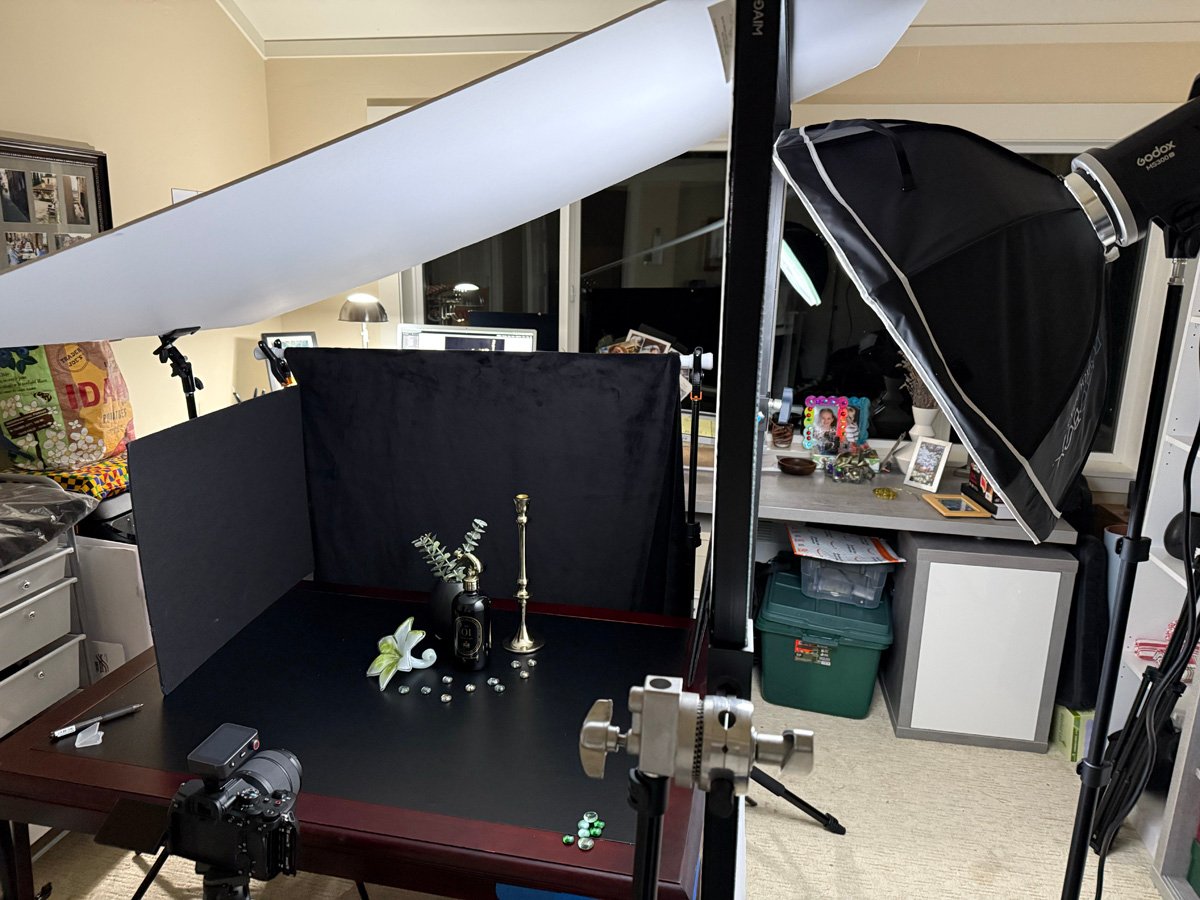
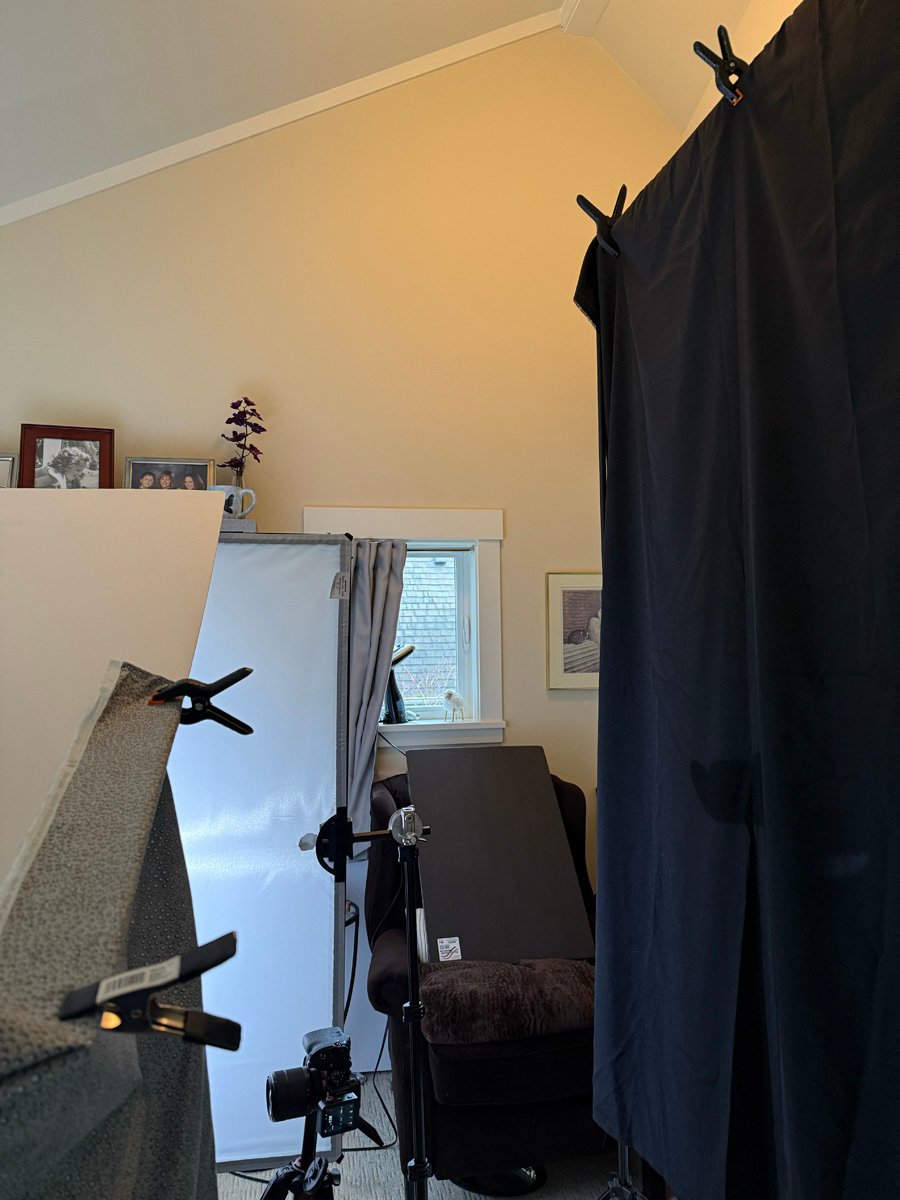
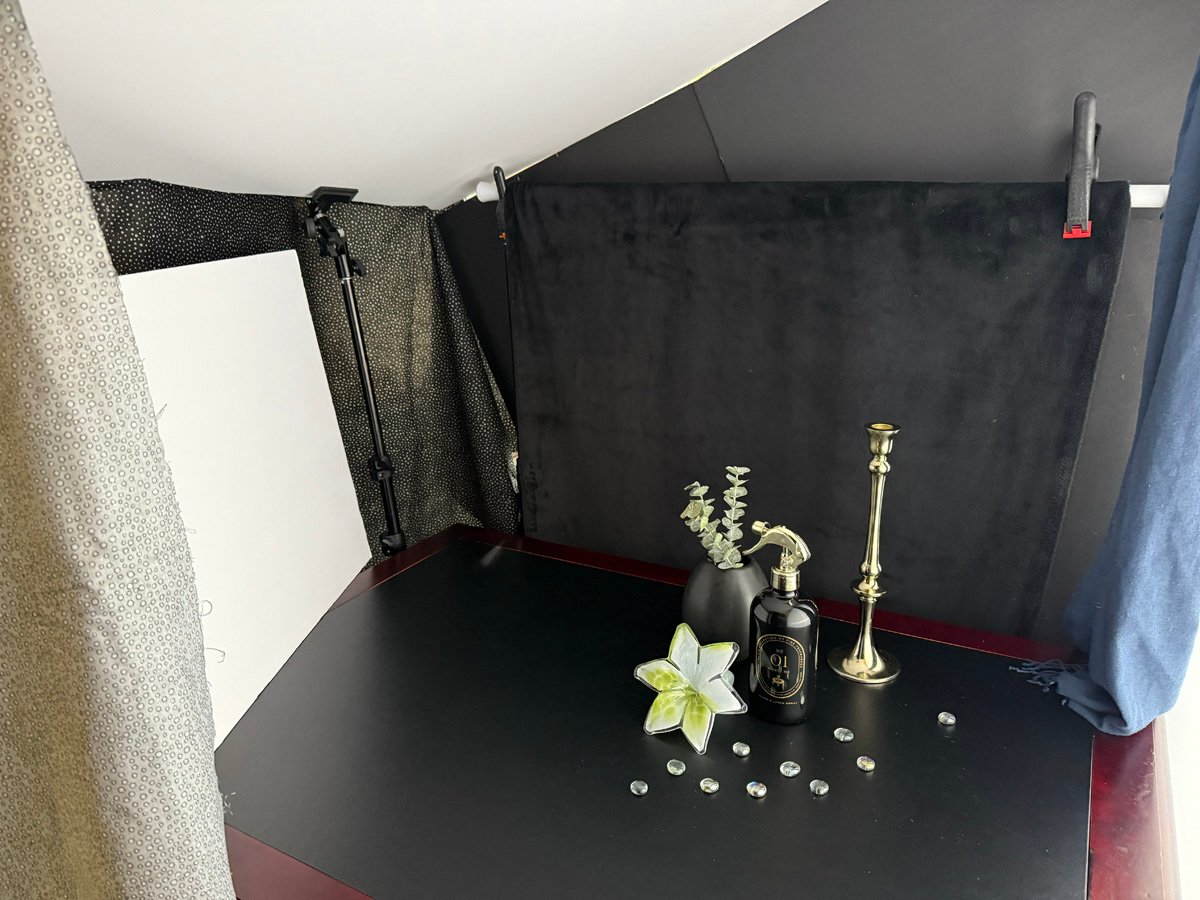
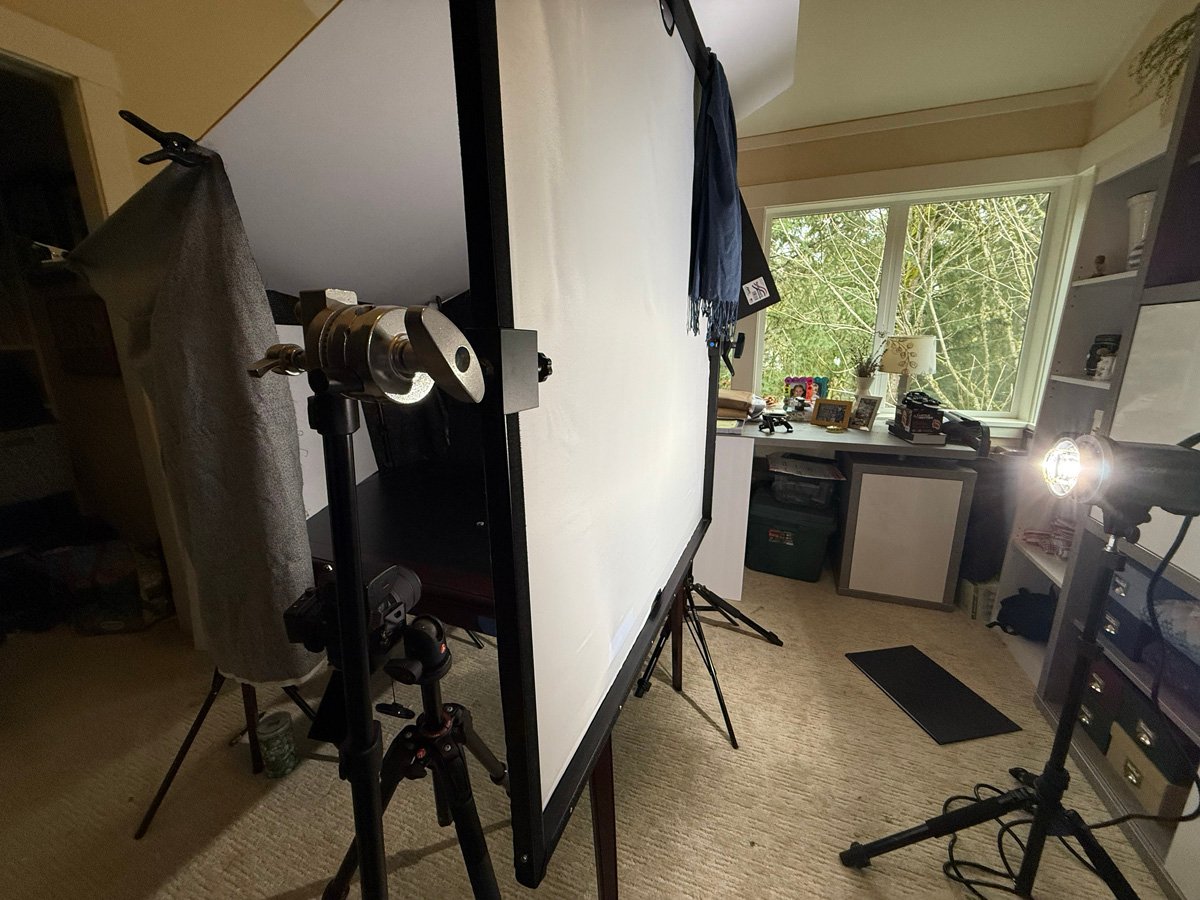
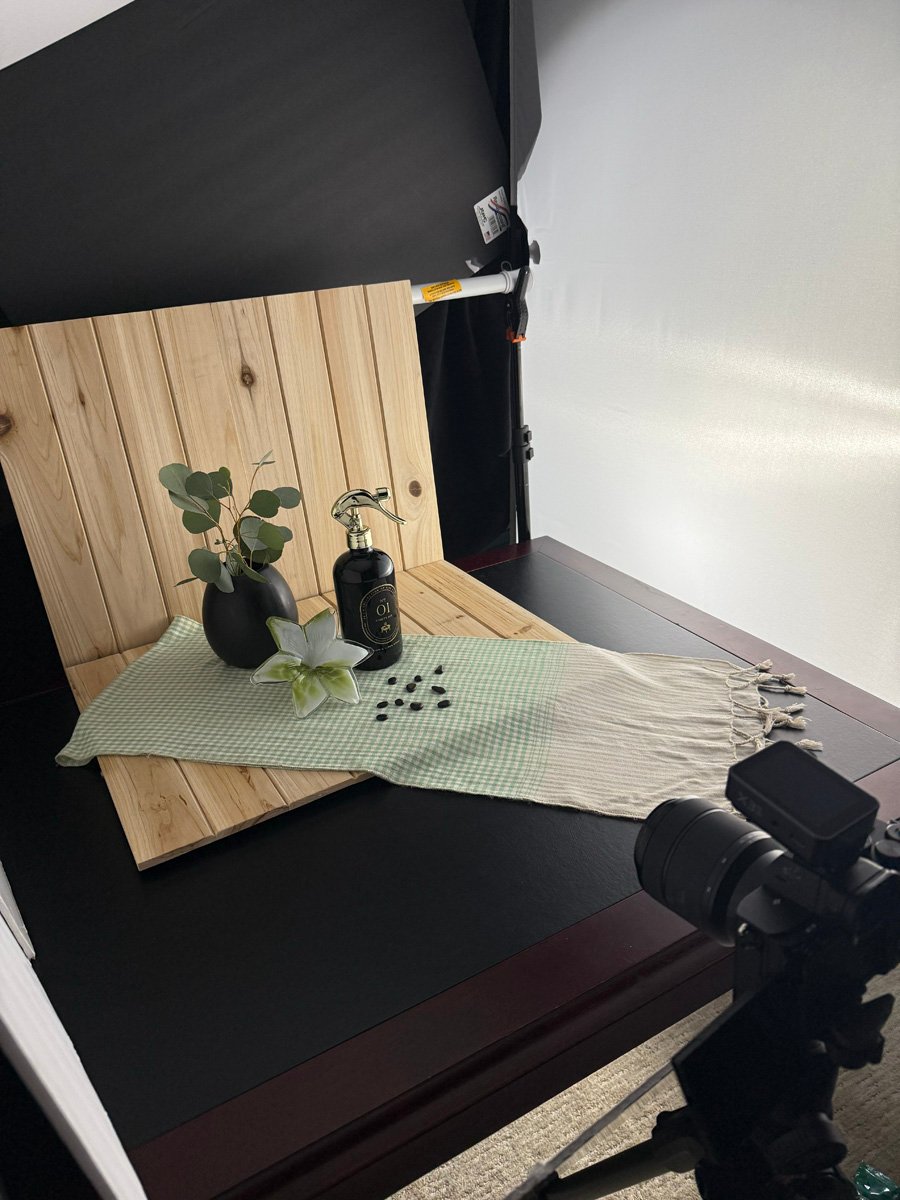
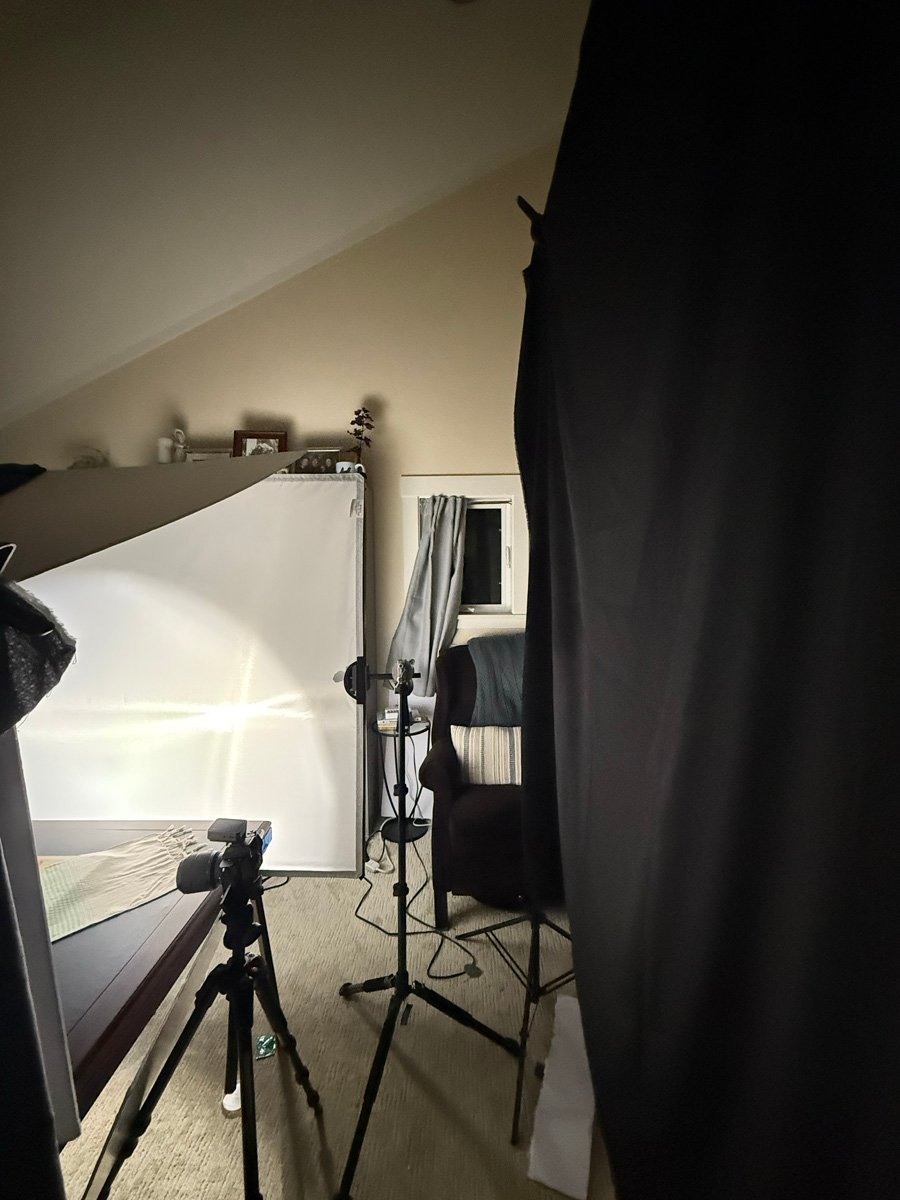
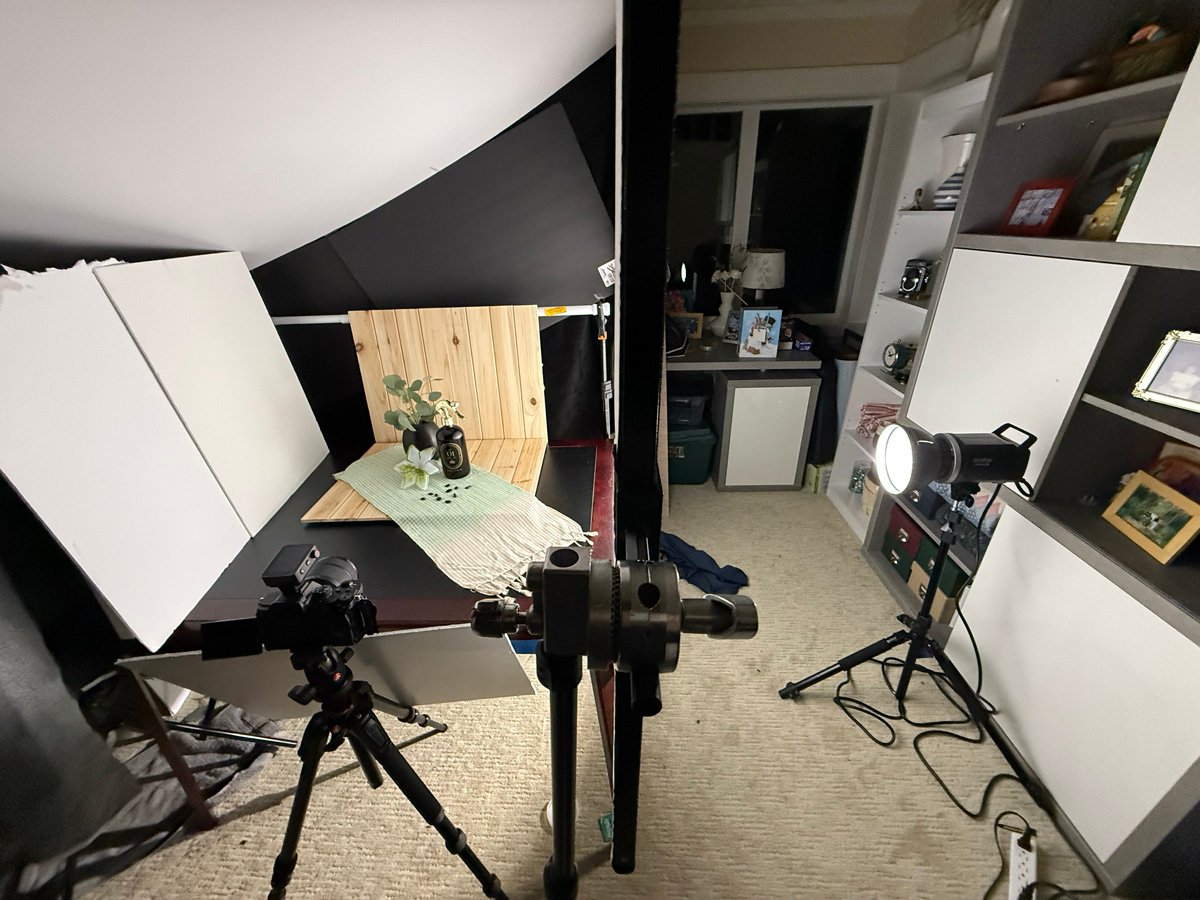
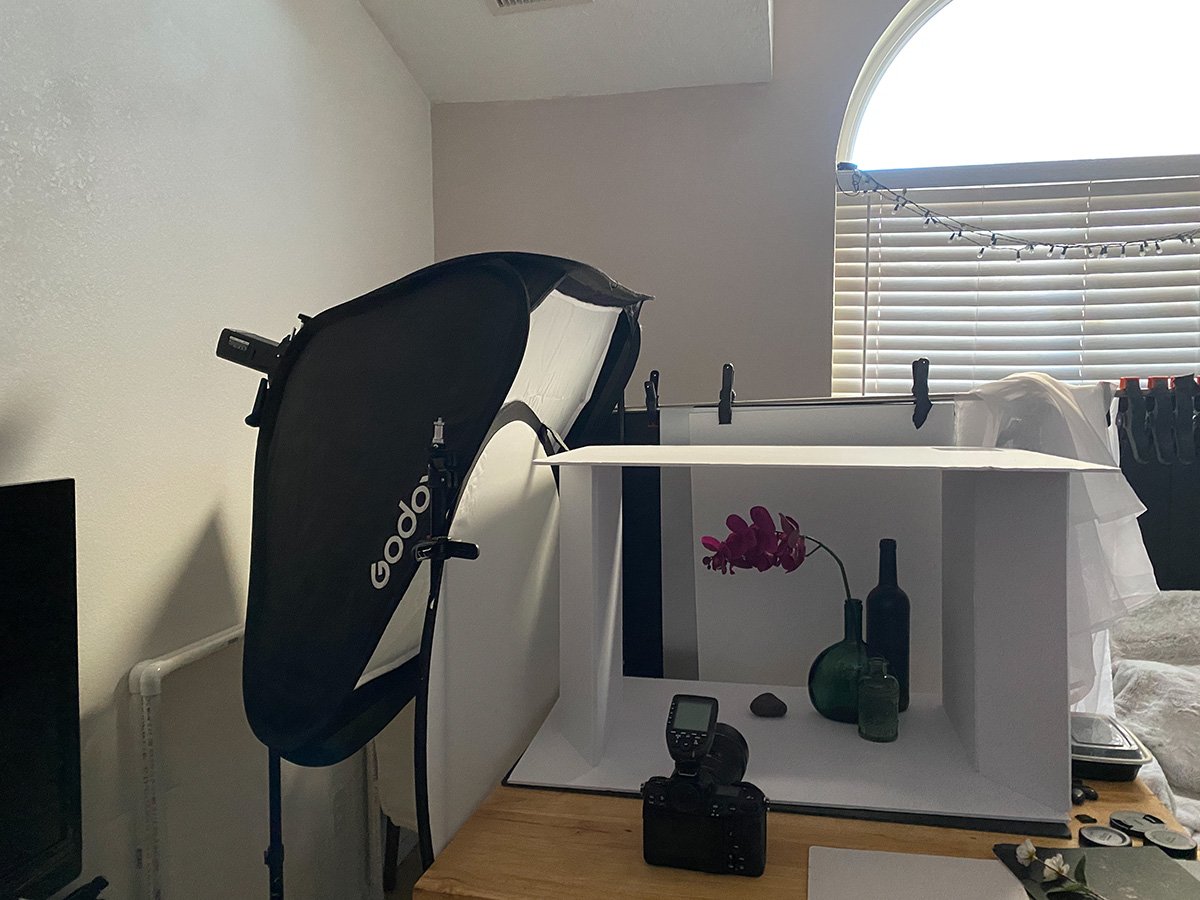
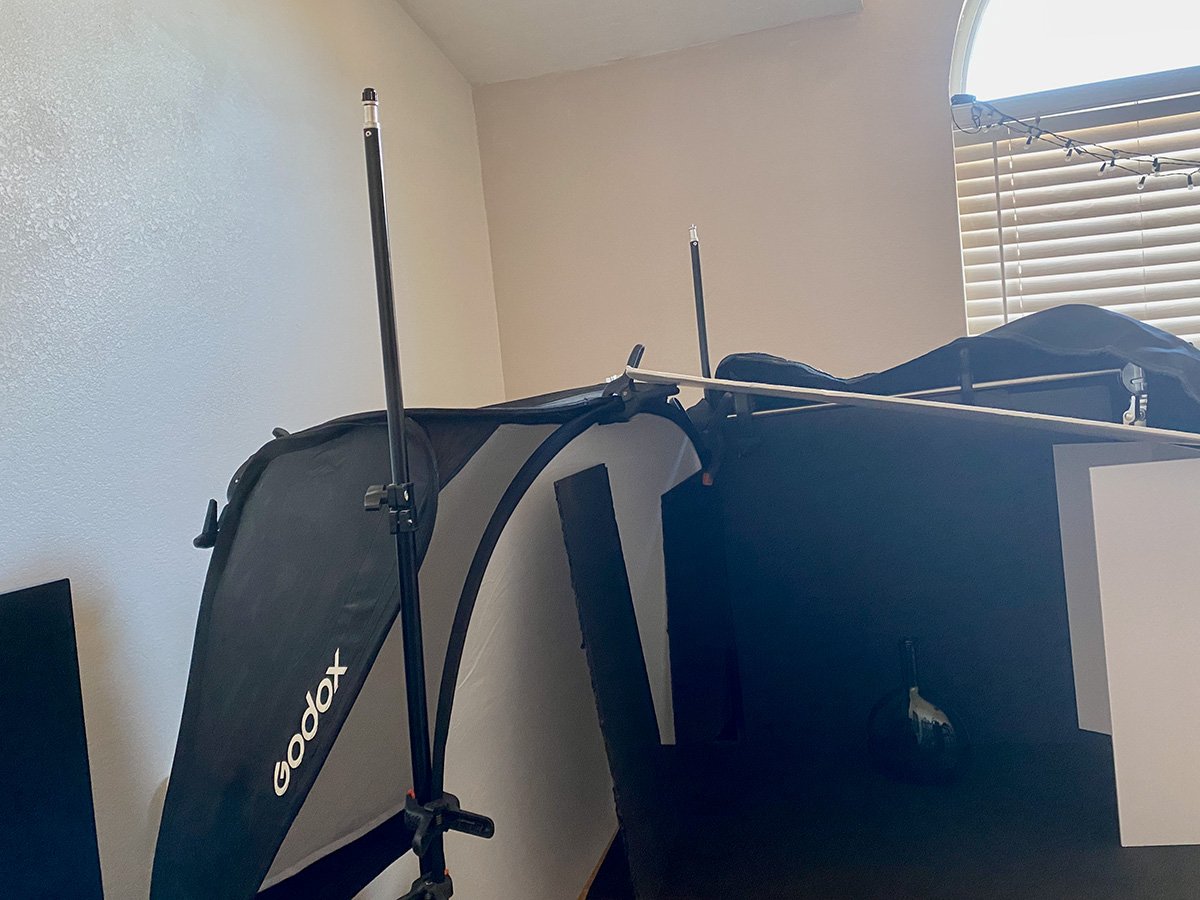
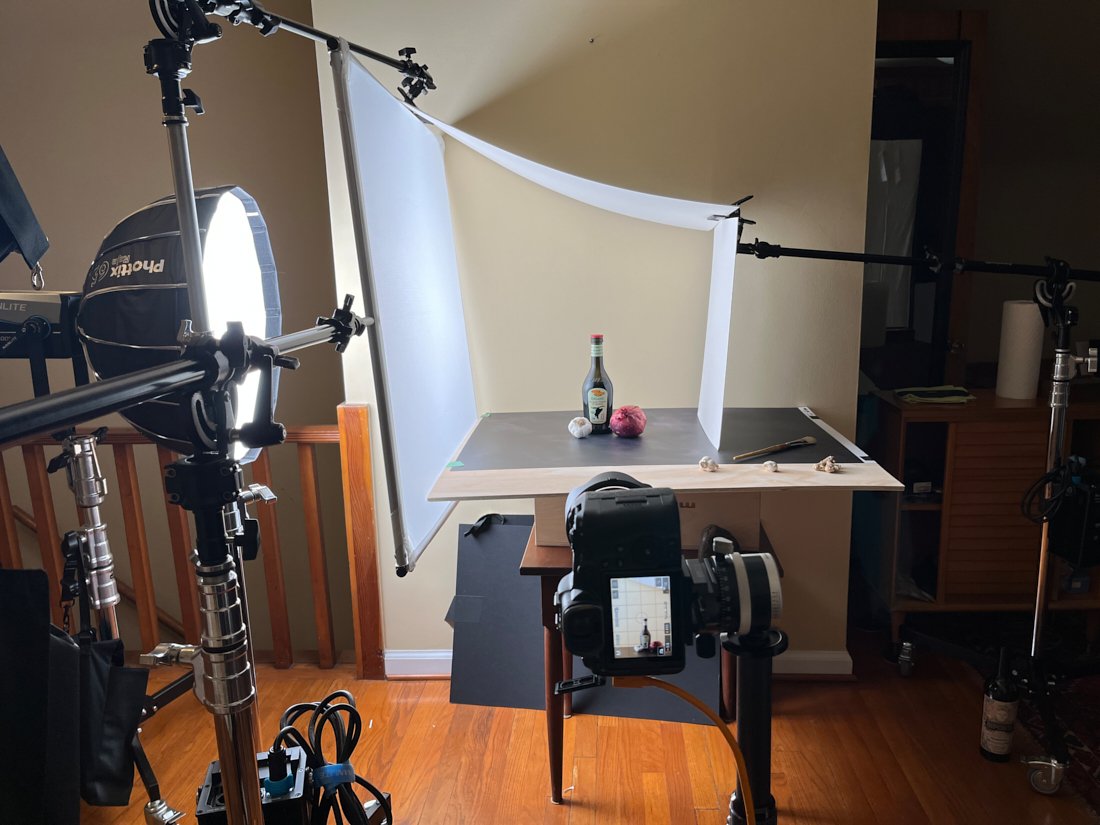
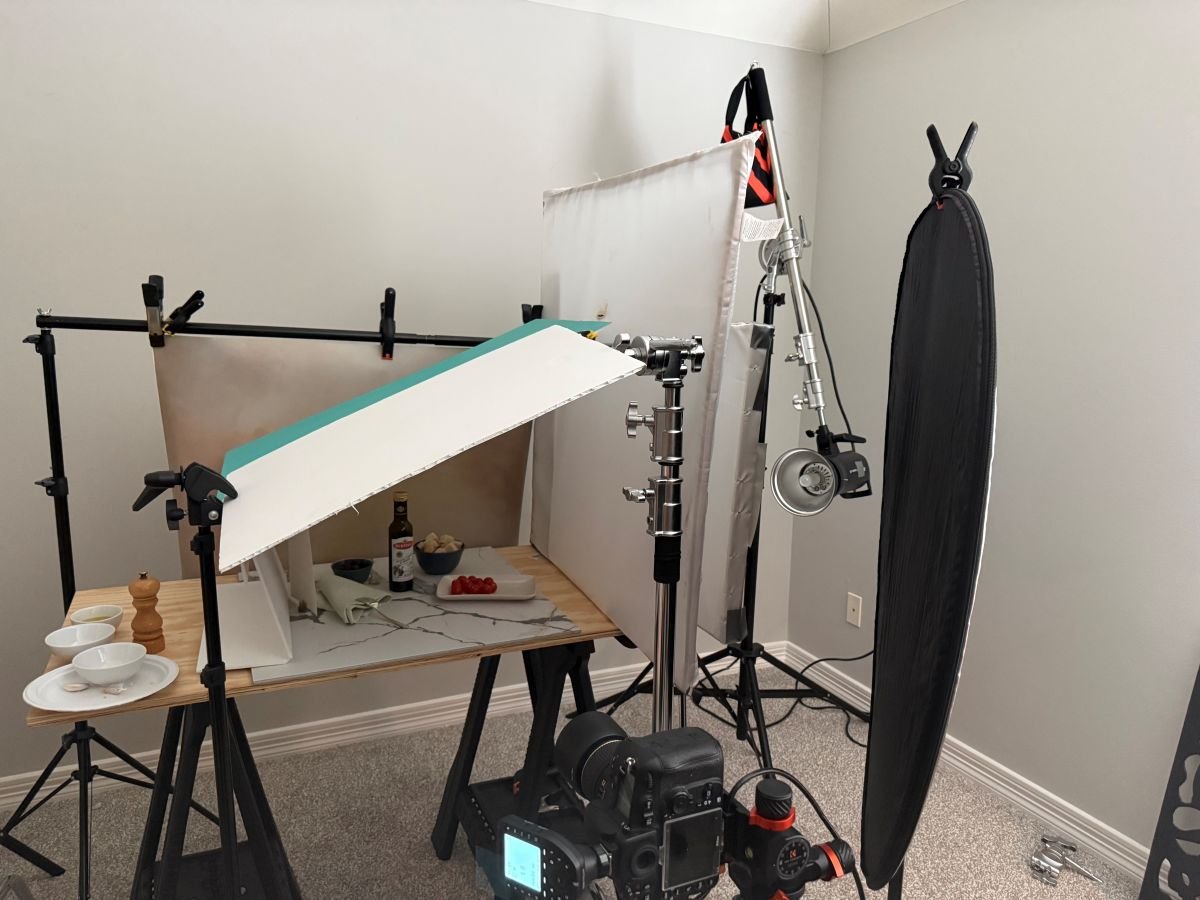
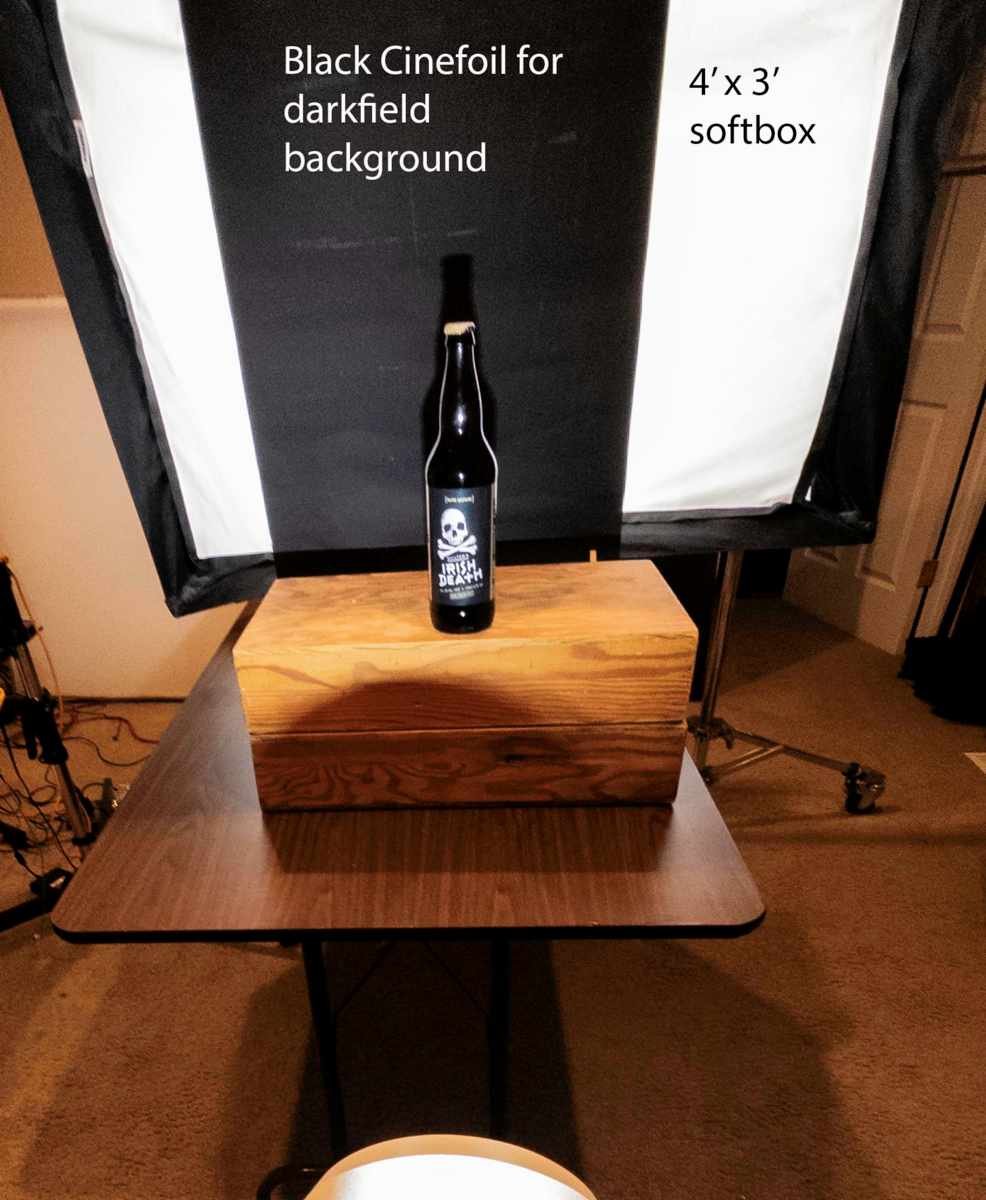
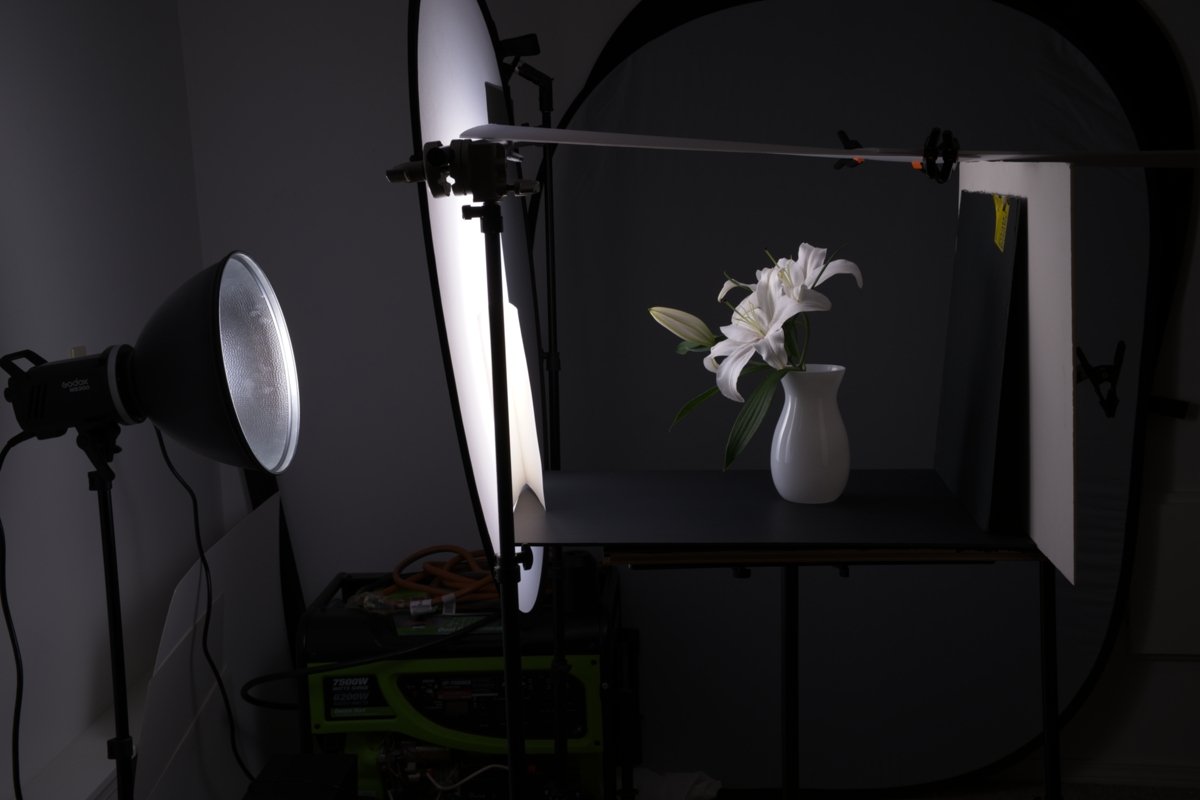
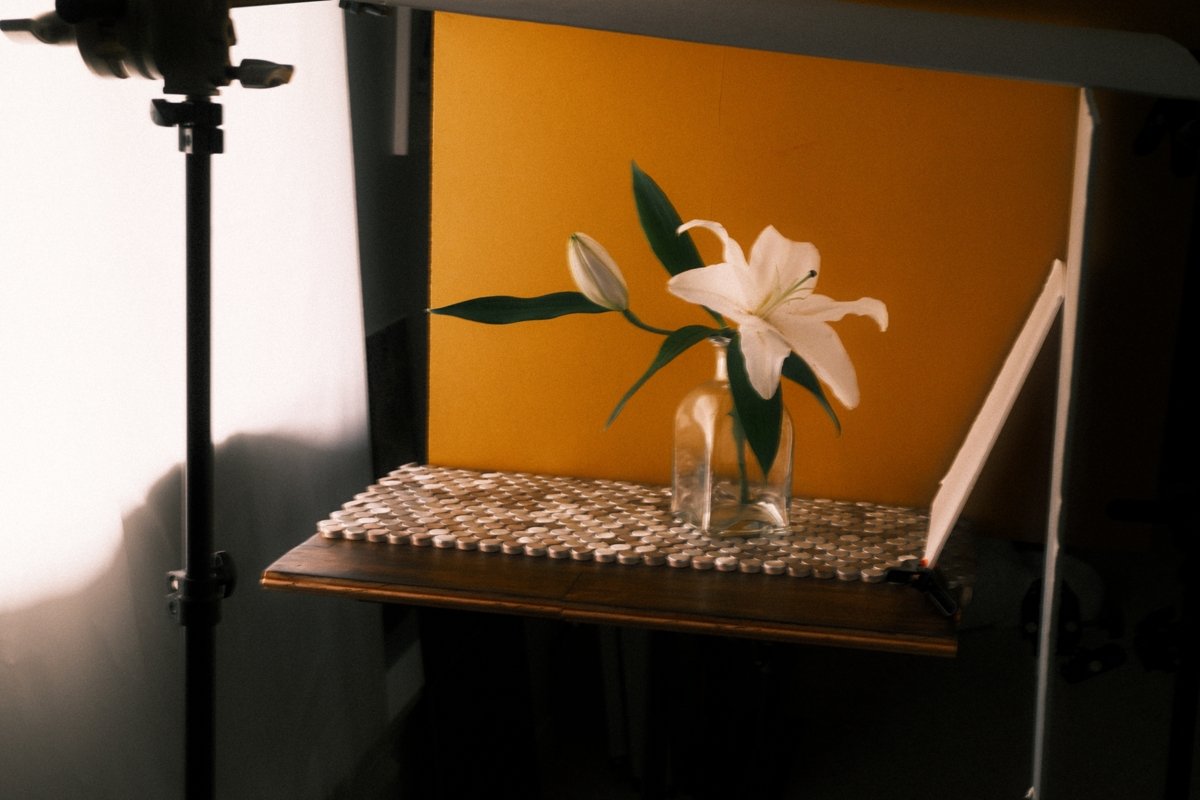
3. Include BTS shots
4. File naming: first-last-assignnumber-1.jpg (don-giannatti-1-a.jpg, don-giannatti-1-b.jpg, etc…
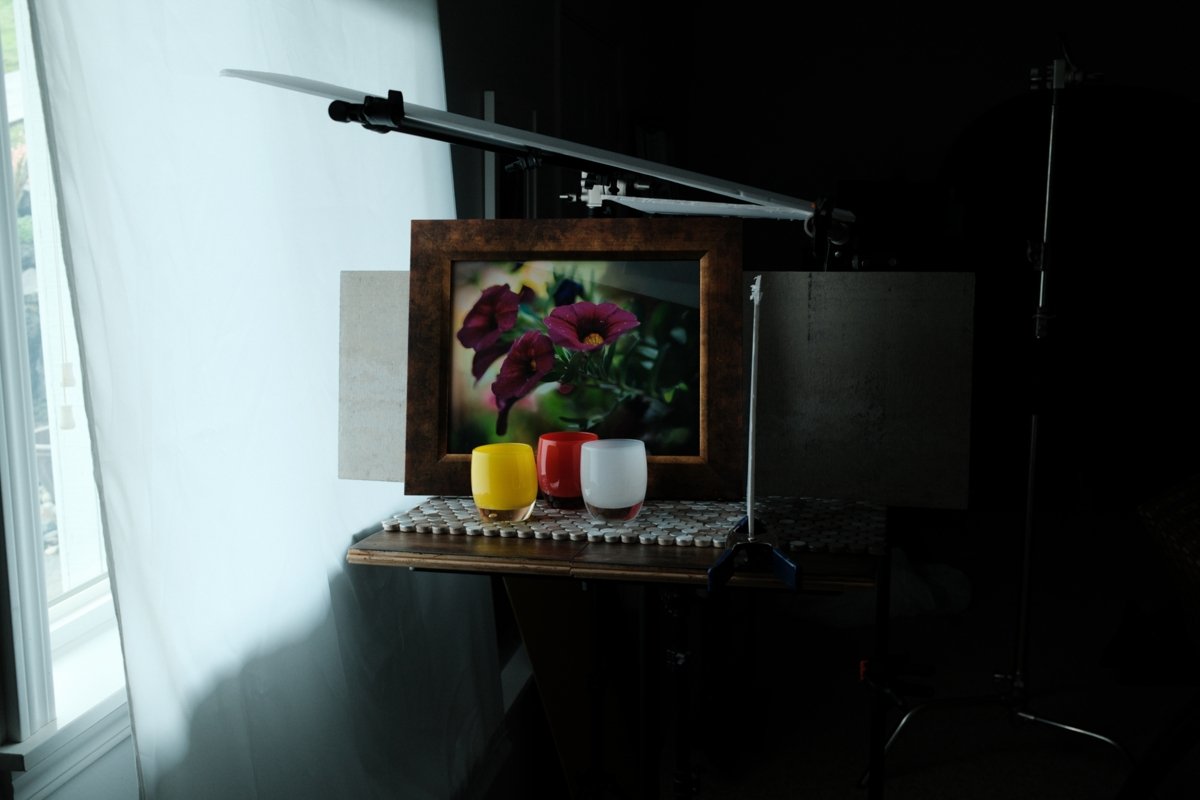
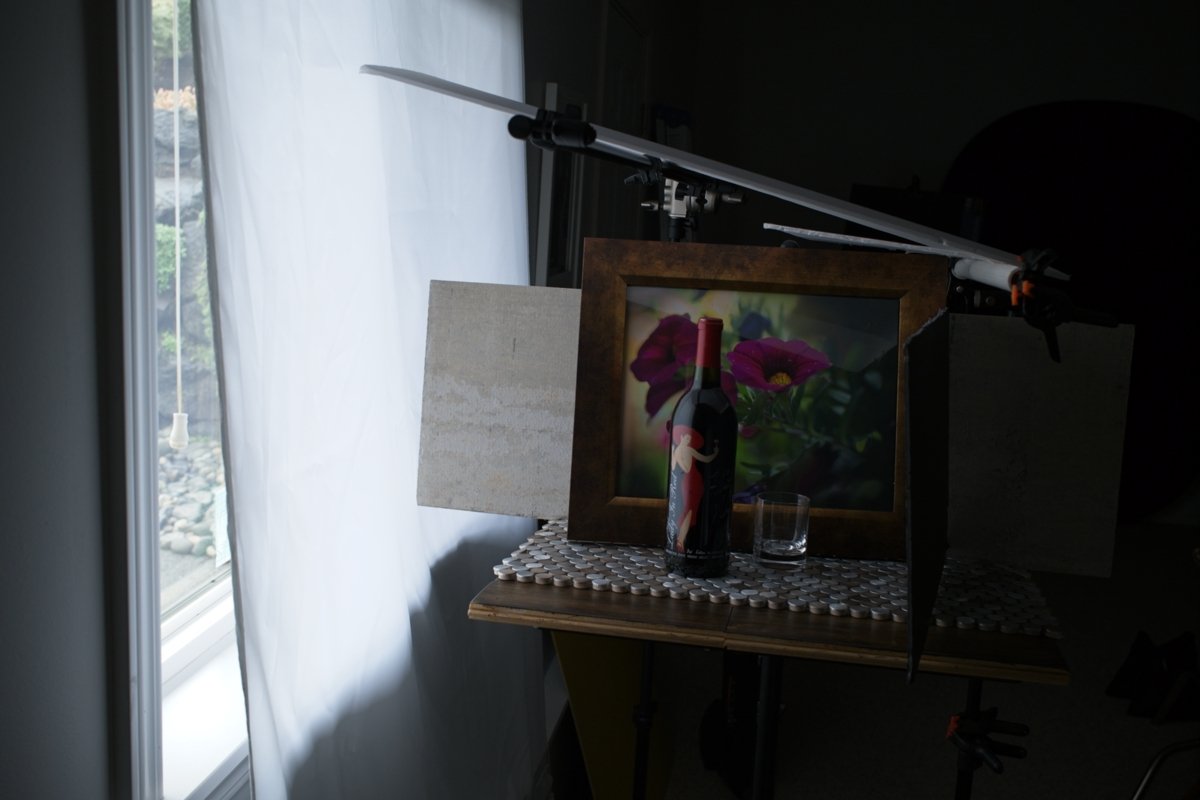
5. Be sure to resize phone shots.
[wordpress_file_upload]
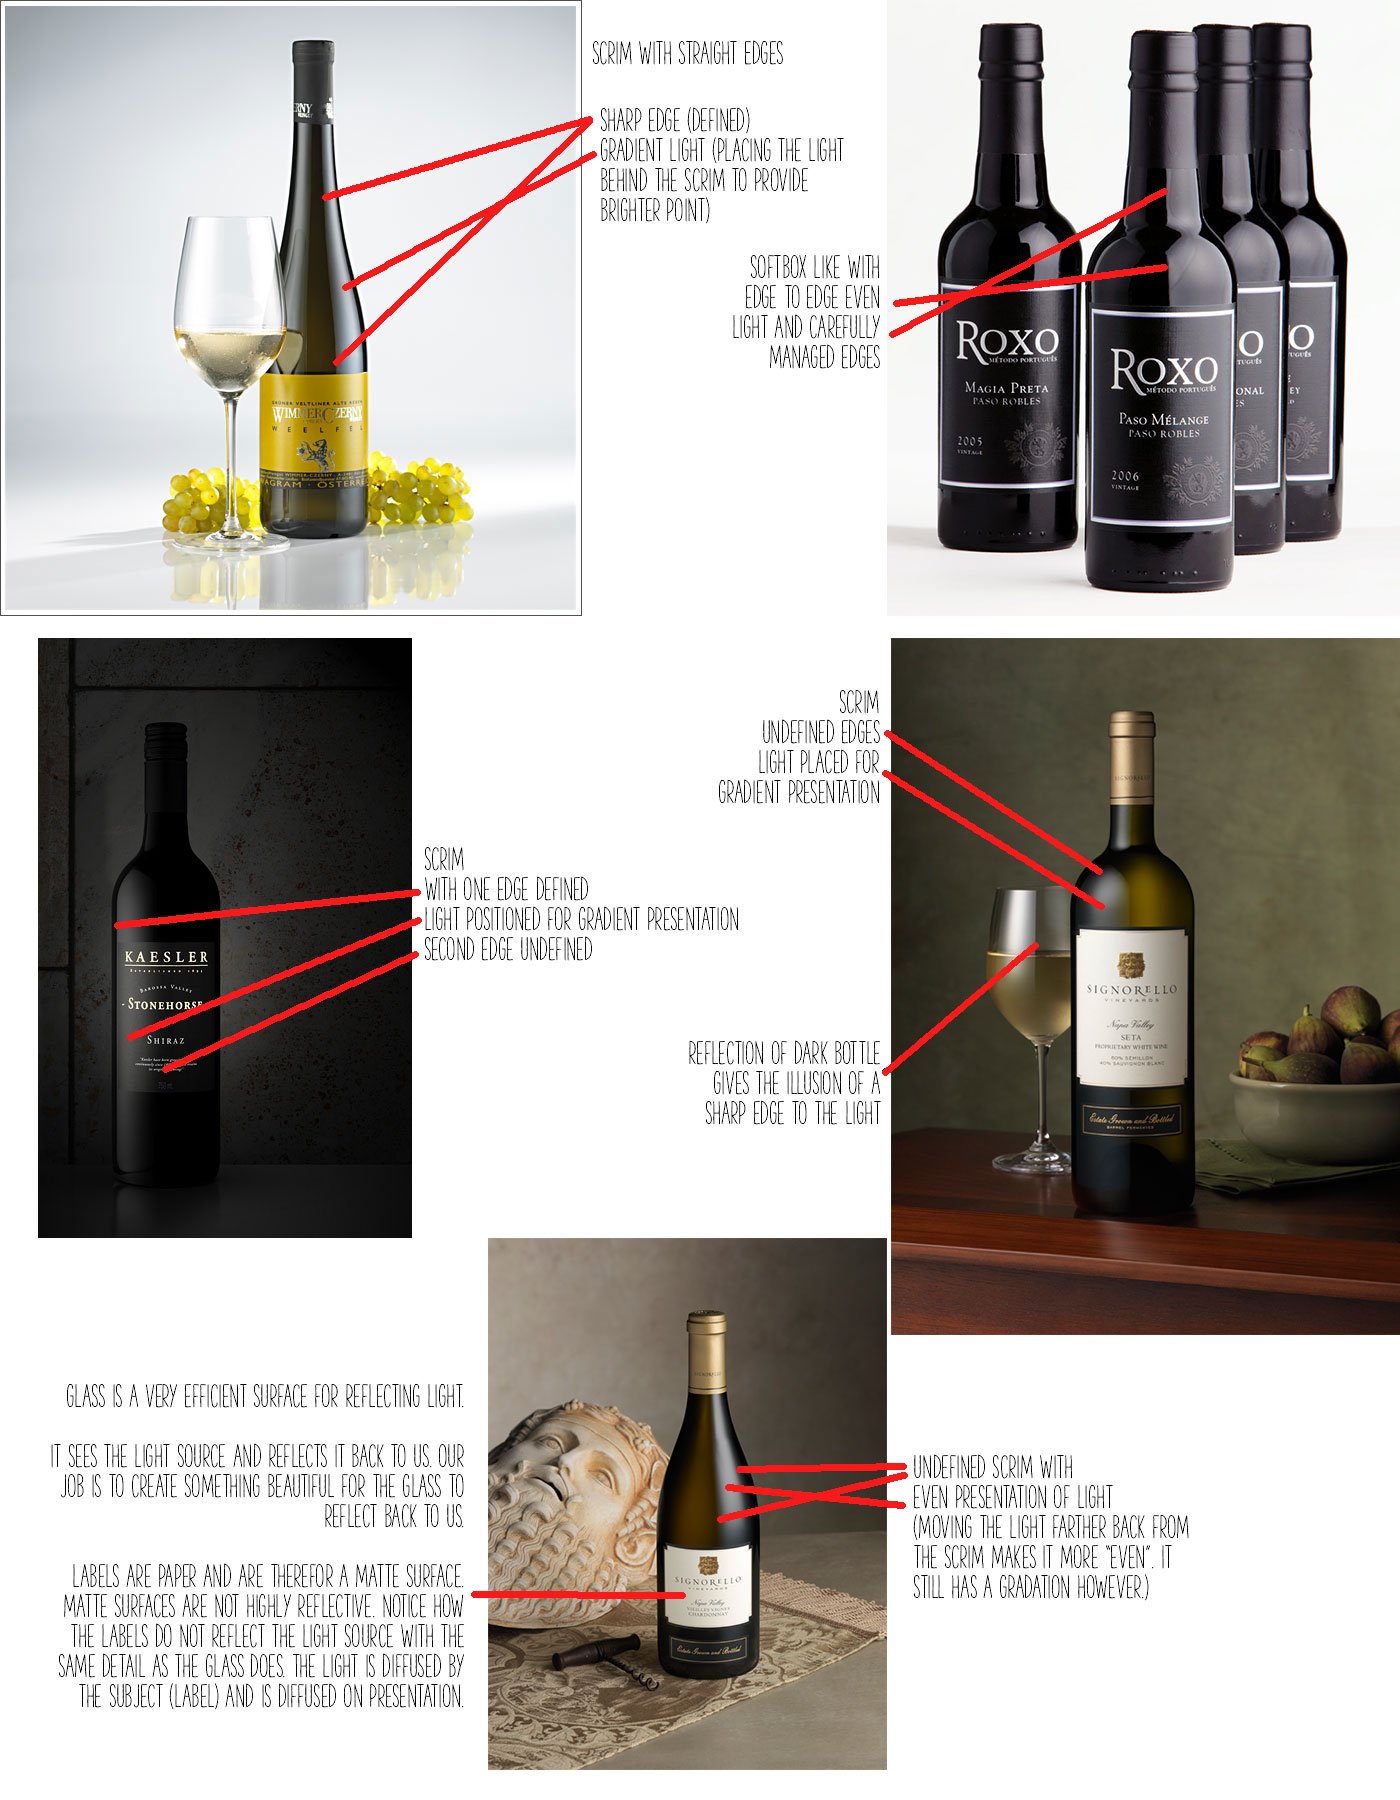
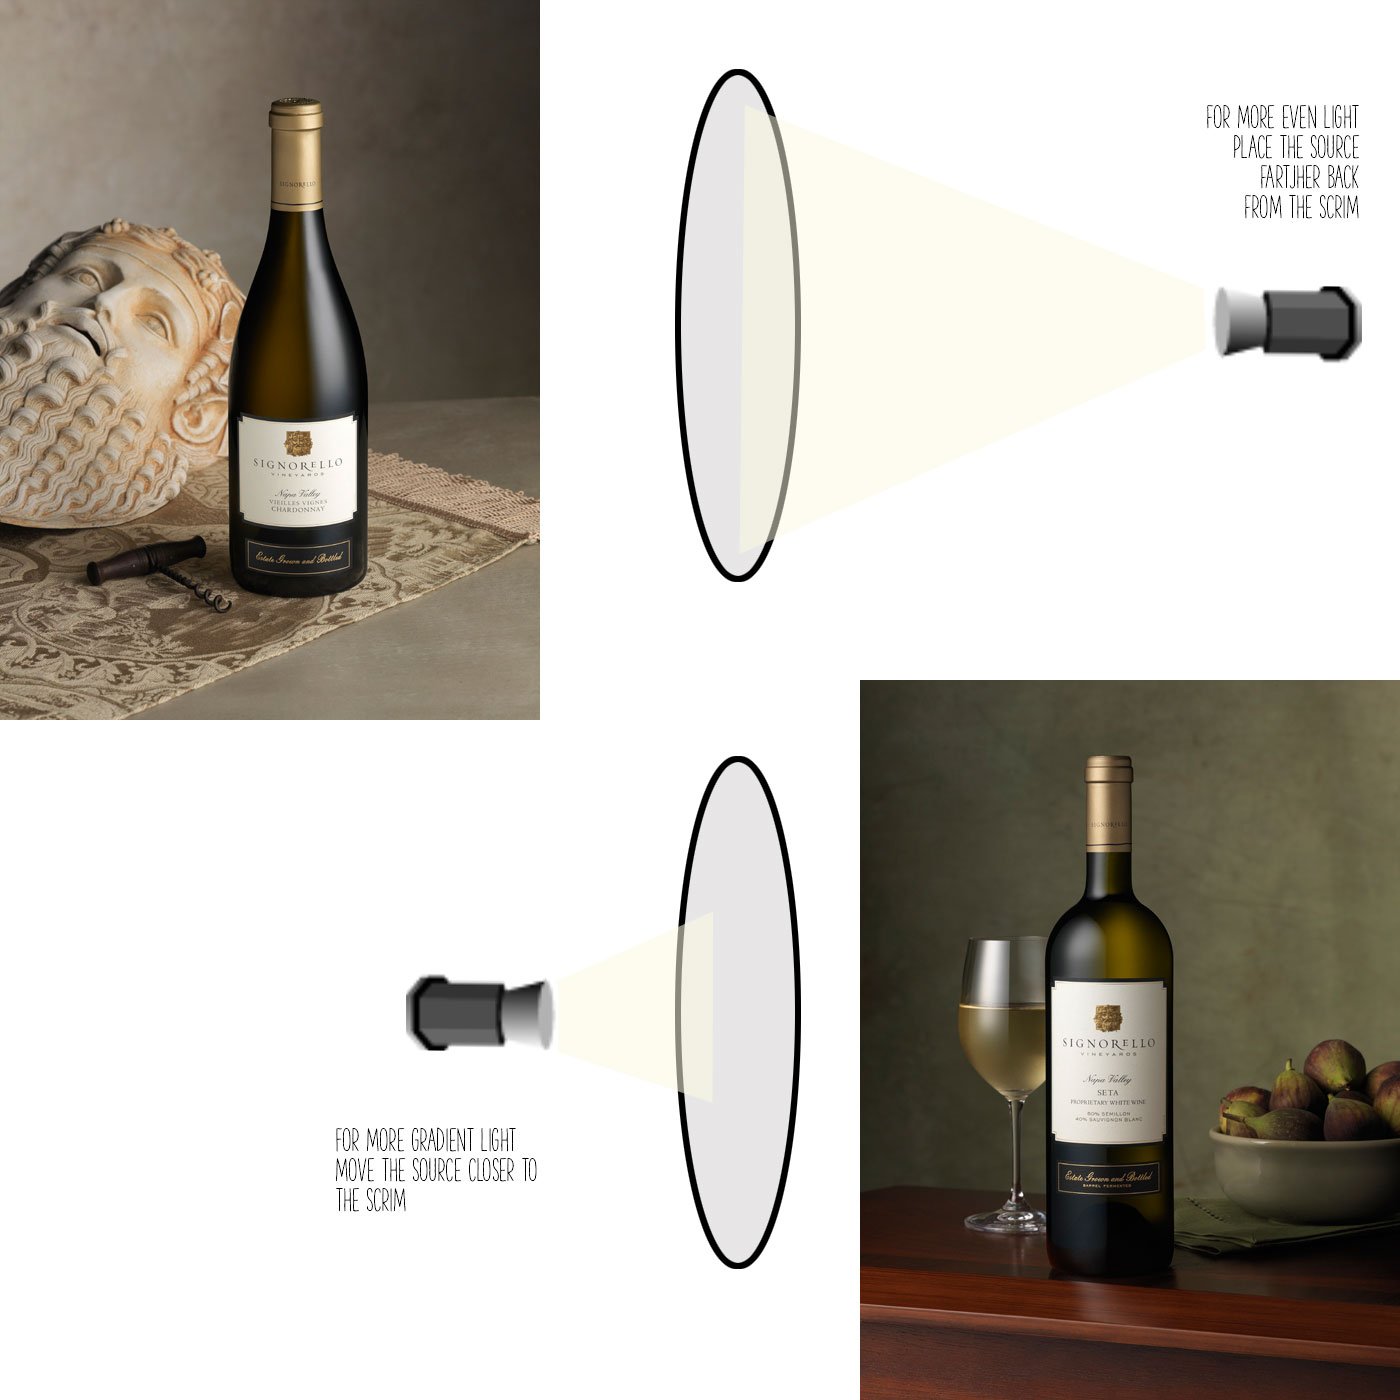
What you will need:
- One or Two lights
- Scrim
- Tabletop
- Bottle and props
- Flags (black card)
- Stand for the light and a stand for the flag.
The Ultimate Guide to Starting Your Creative Business
The Ultimate Guide to Starting Your Creative Business (PDF)
-
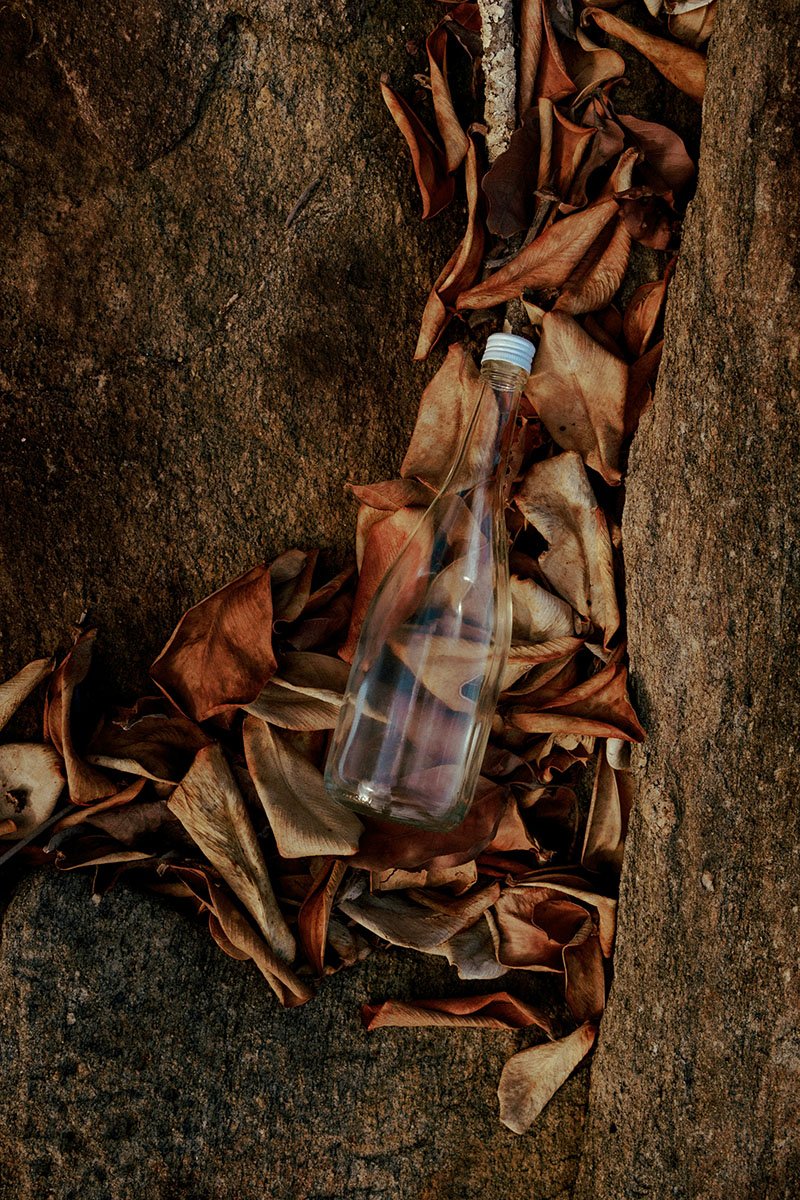
- Stacked from 5 images. Method=B (R=8,S=4)
-
- www.LUCIANARIZZIPHOTOGRAPHY.COM
Class Two
