8 WEEK CLASS: NOVEMBER 2025
One Big Beautiful Light: Week Five
Dark Field Lighting, and Bright Field Lighting: with One Big Light
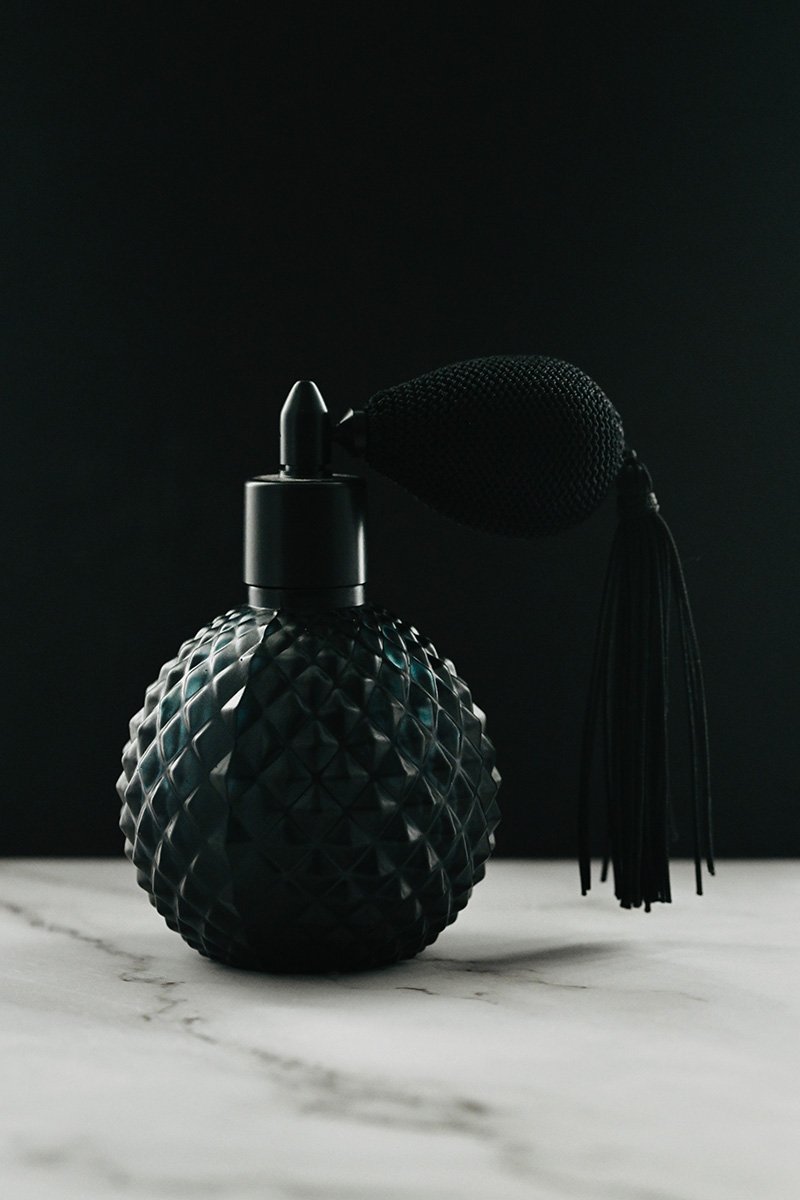
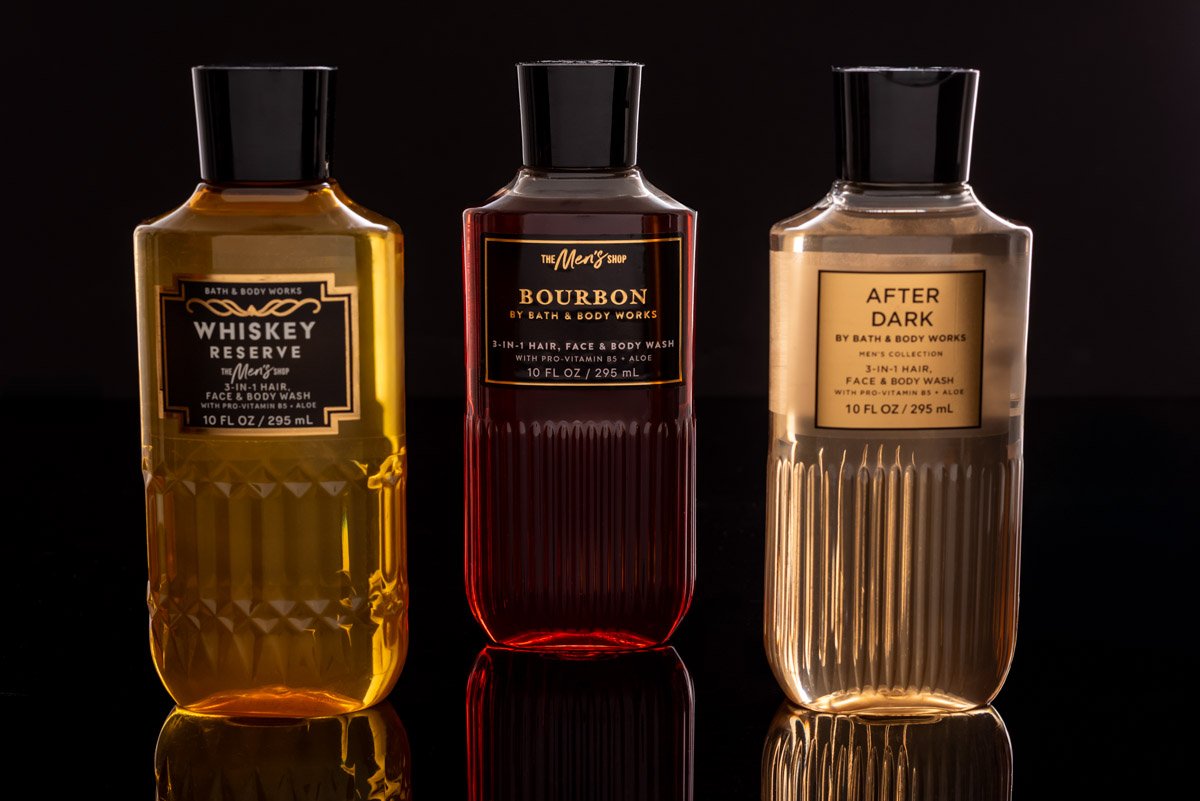
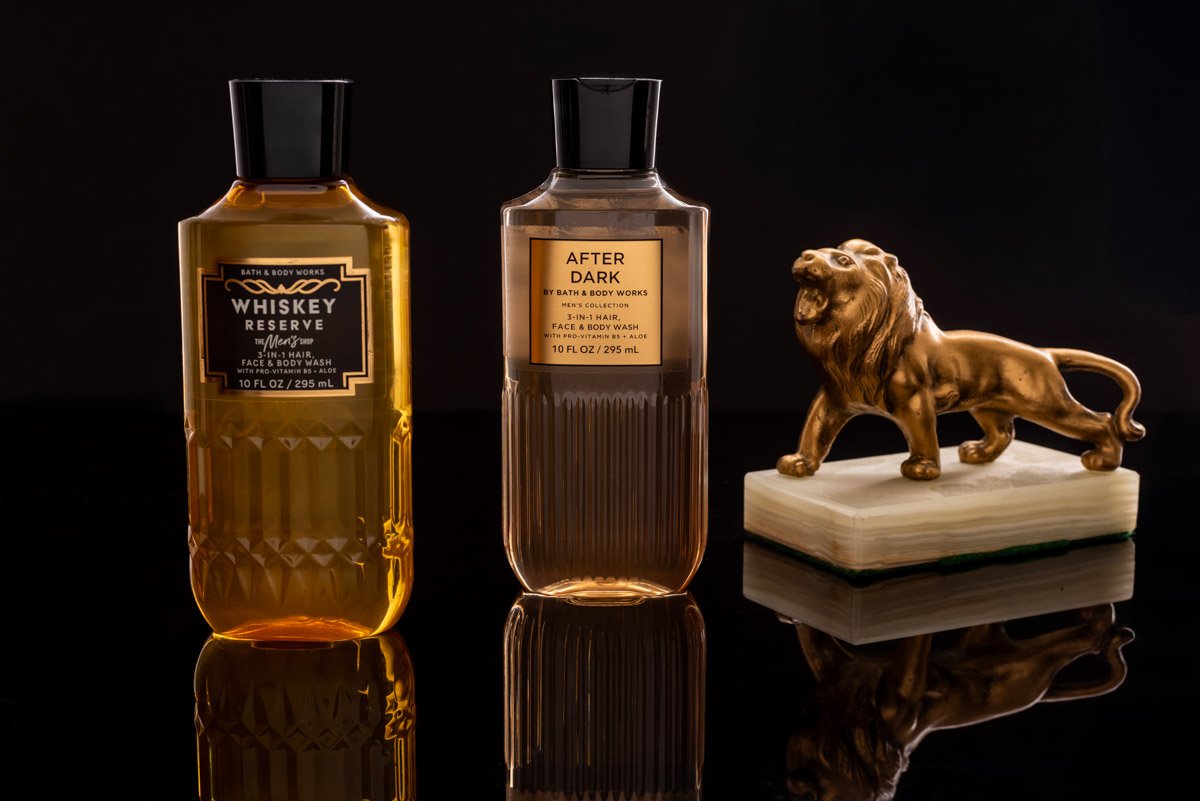
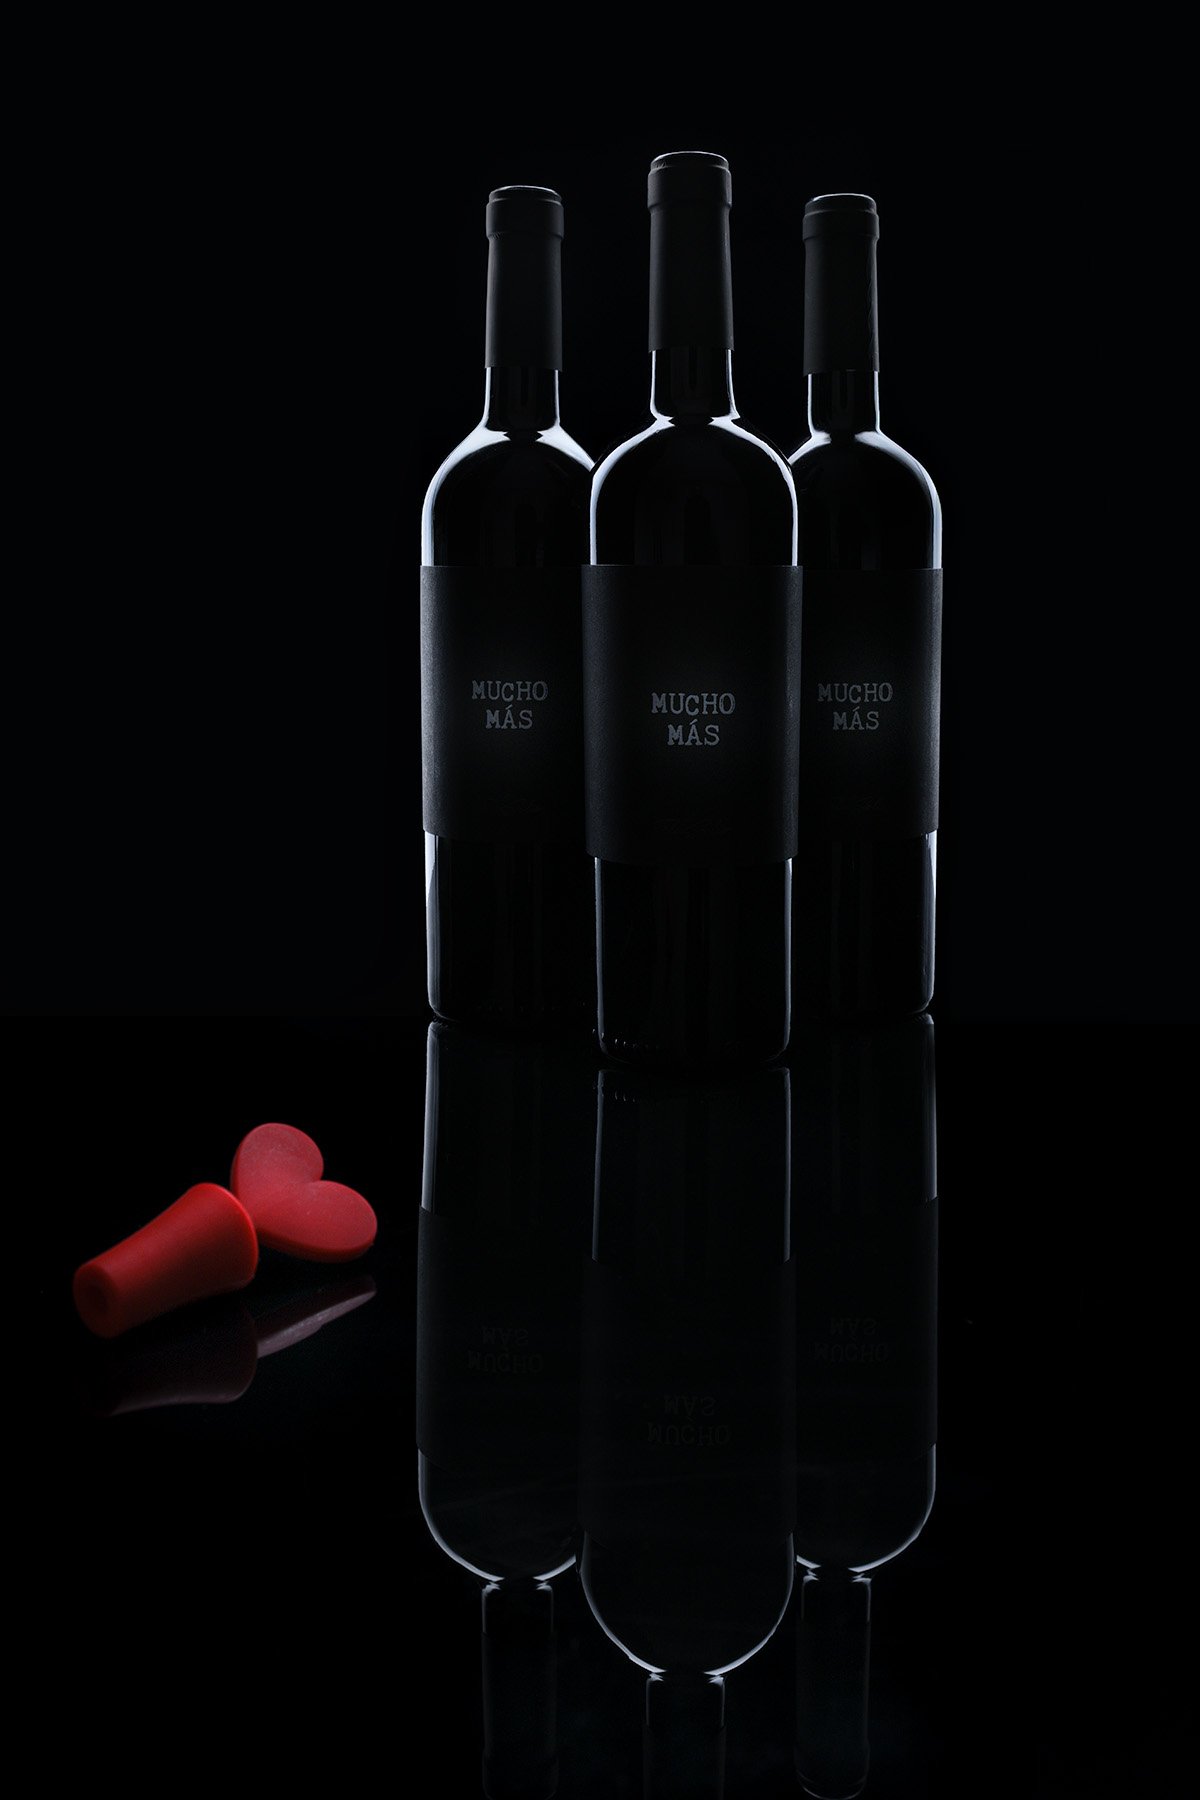
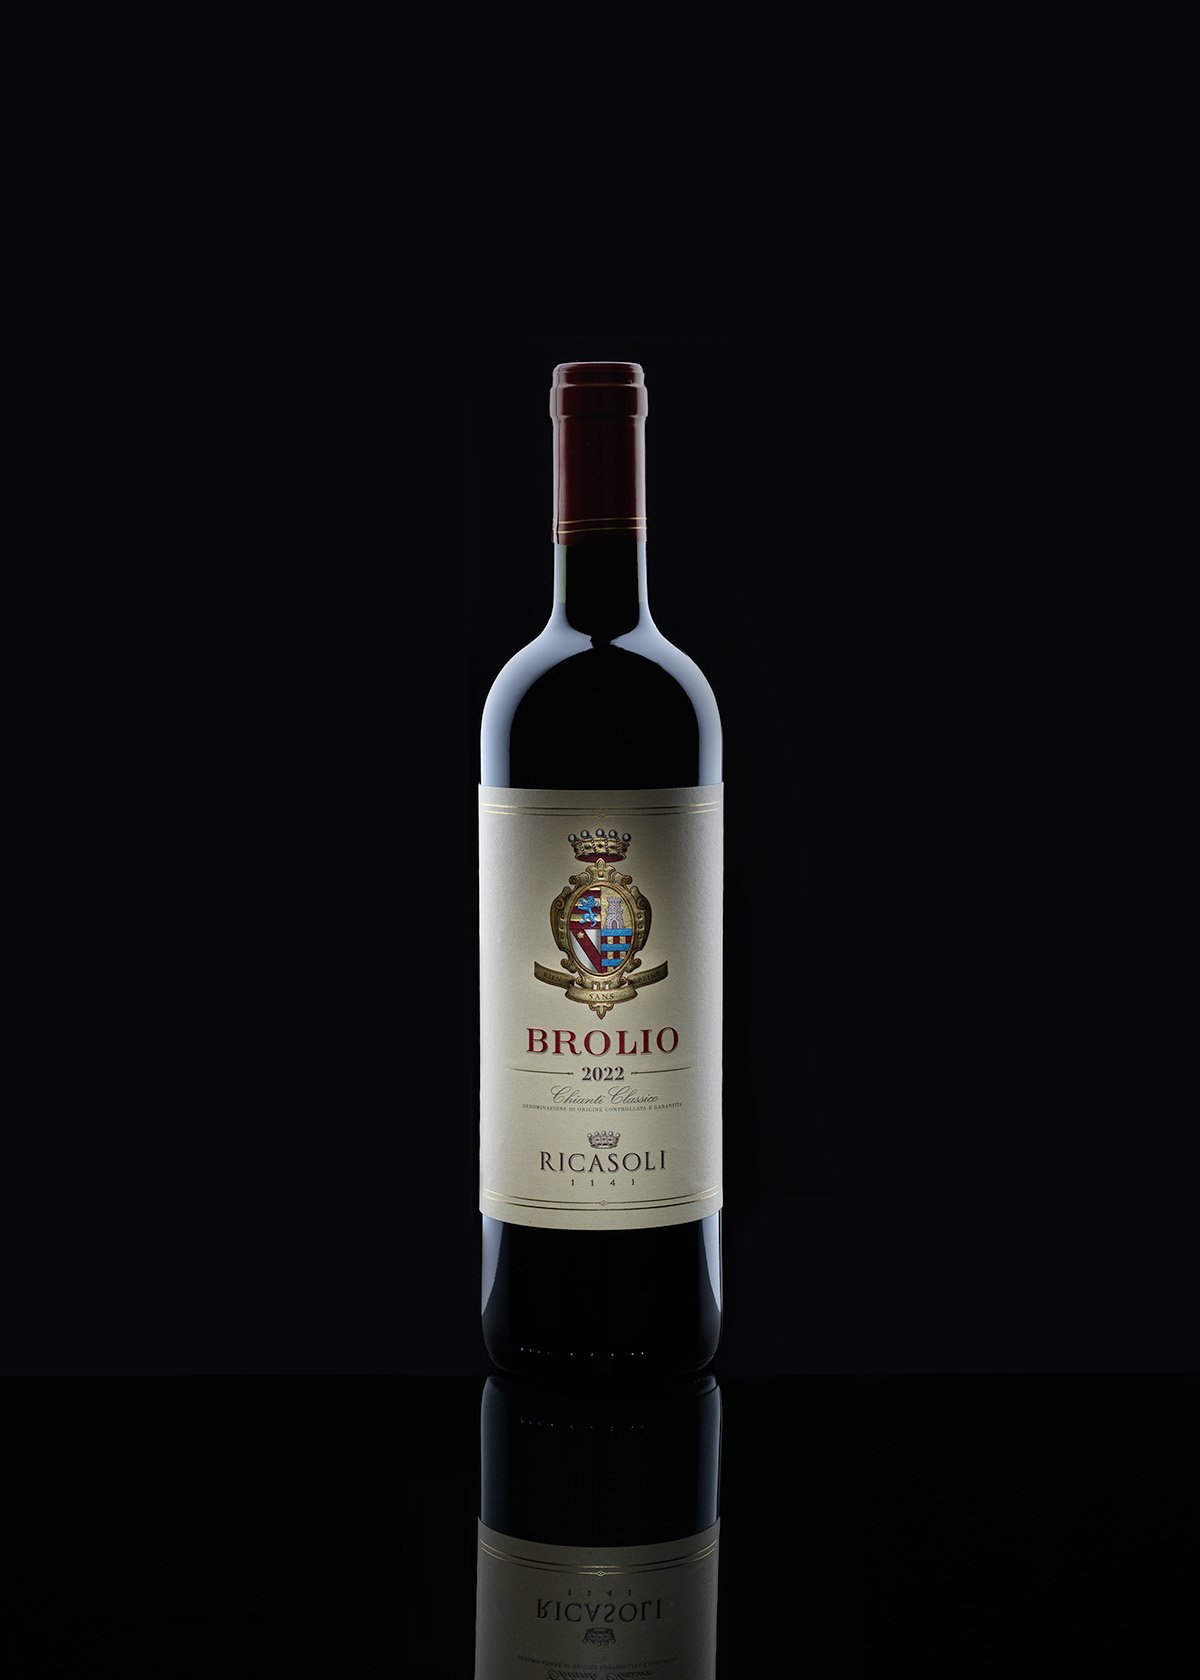
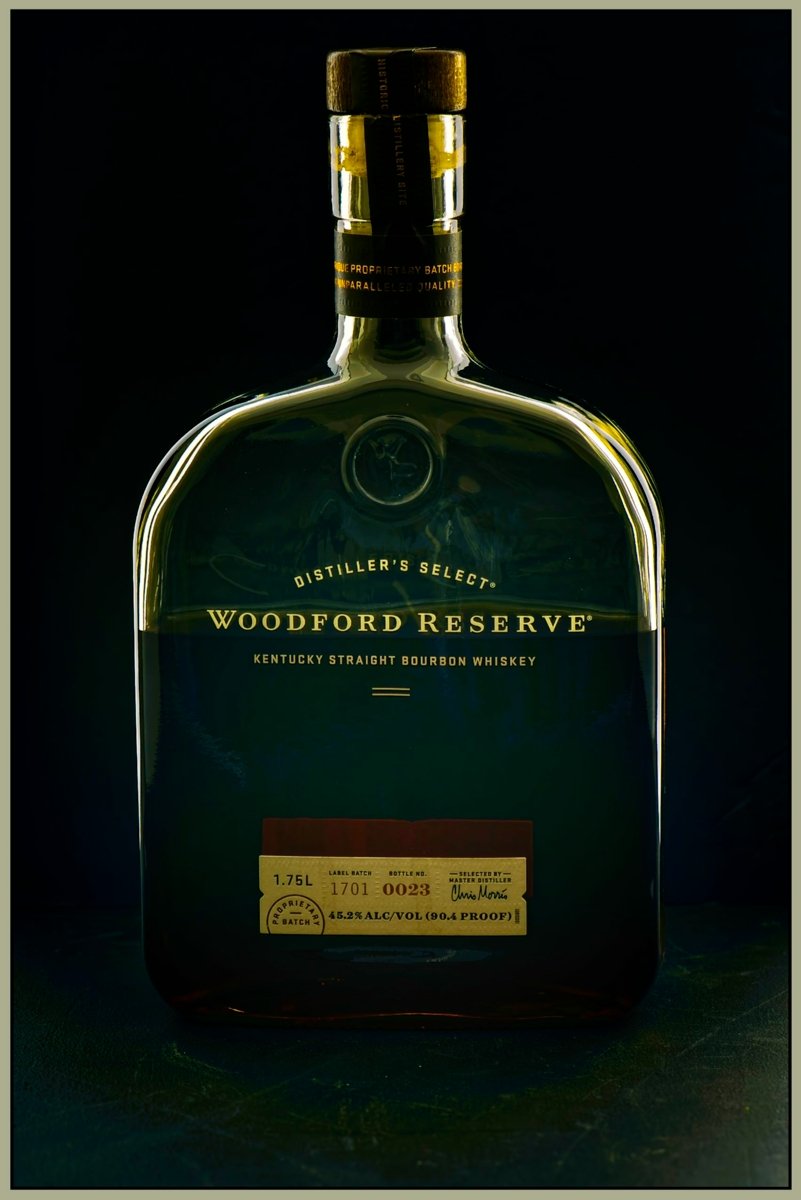
Dark field lighting is one of the most fun and exciting tools you can use for product photography.
We are going to be working with cosmetics and/or perfumes for this assignment.
Short version of this popular light:
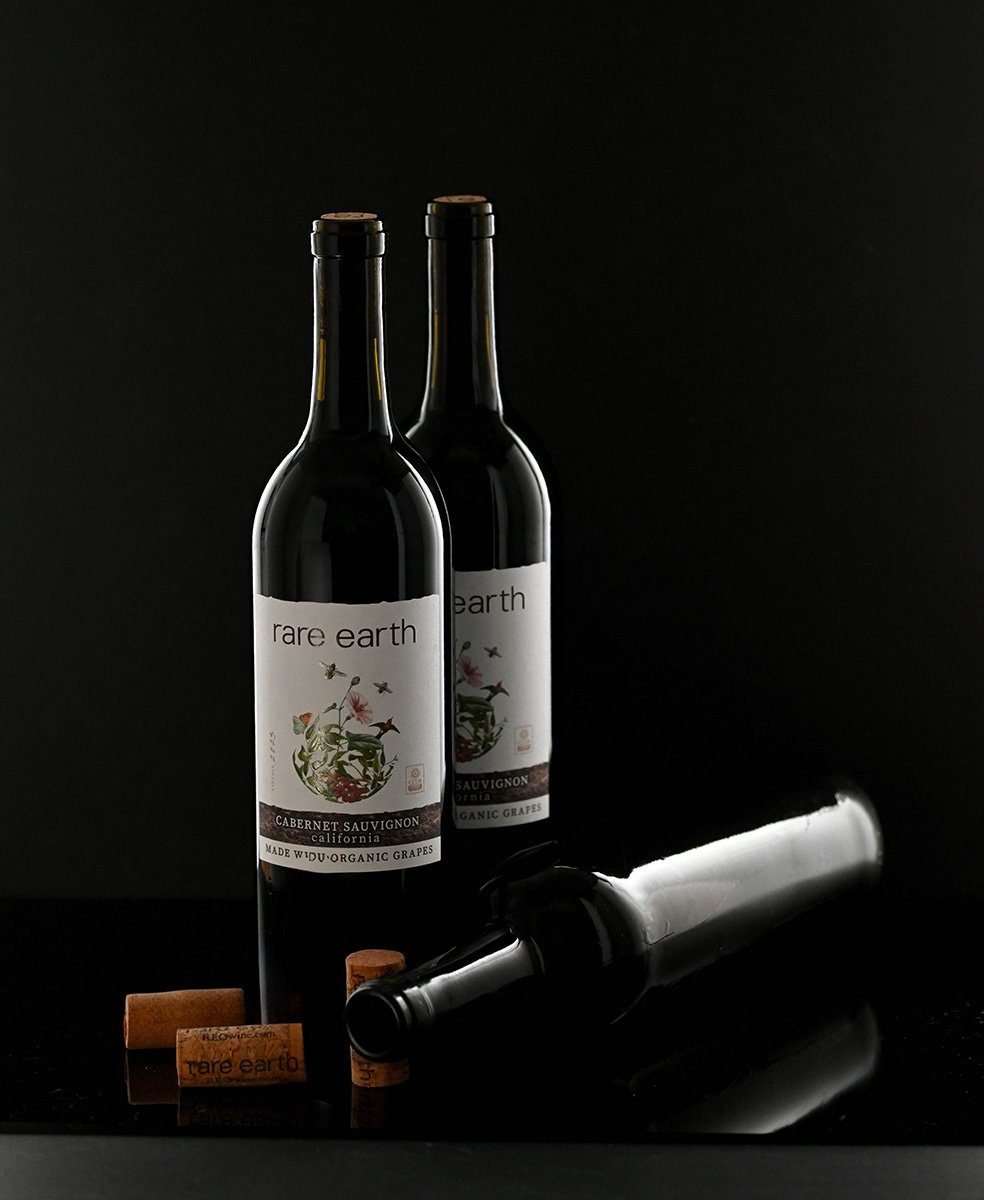
You light what the product reflects, not the product itself. The subject sits in a darker environment, and you carve it out with controlled highlights—usually edges, rims, and selective specular hits. If it reflects light, you decide where and how much.
You control all of the highlights.
Everything else falls to black.
What it’s best at
-
Glass, bottles, metals, glossy packaging
-
Premium, dramatic, “advertising-grade” product work
-
Showing form, edge definition, and material quality without clutter
This is a terrific setup for glamorizing things that need a bit of a bump in dazzle.
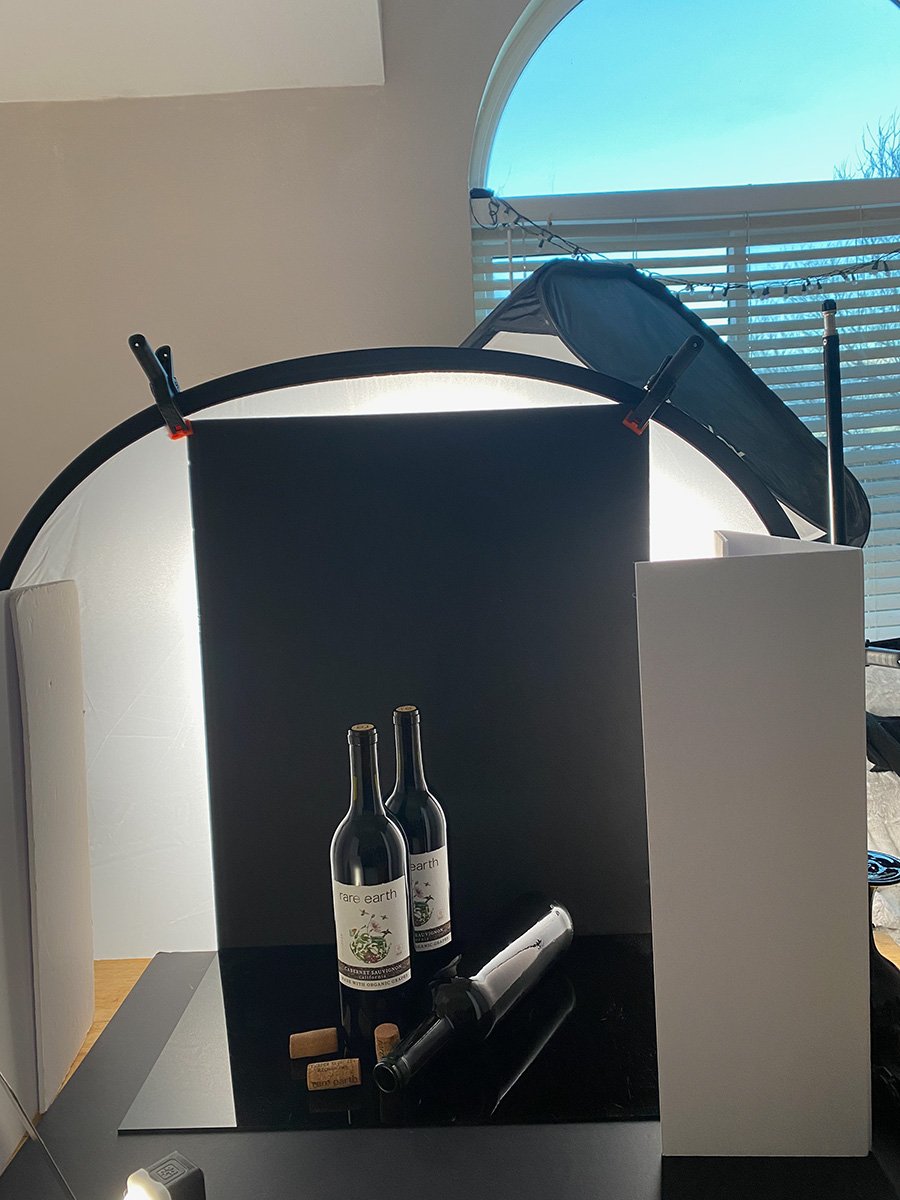
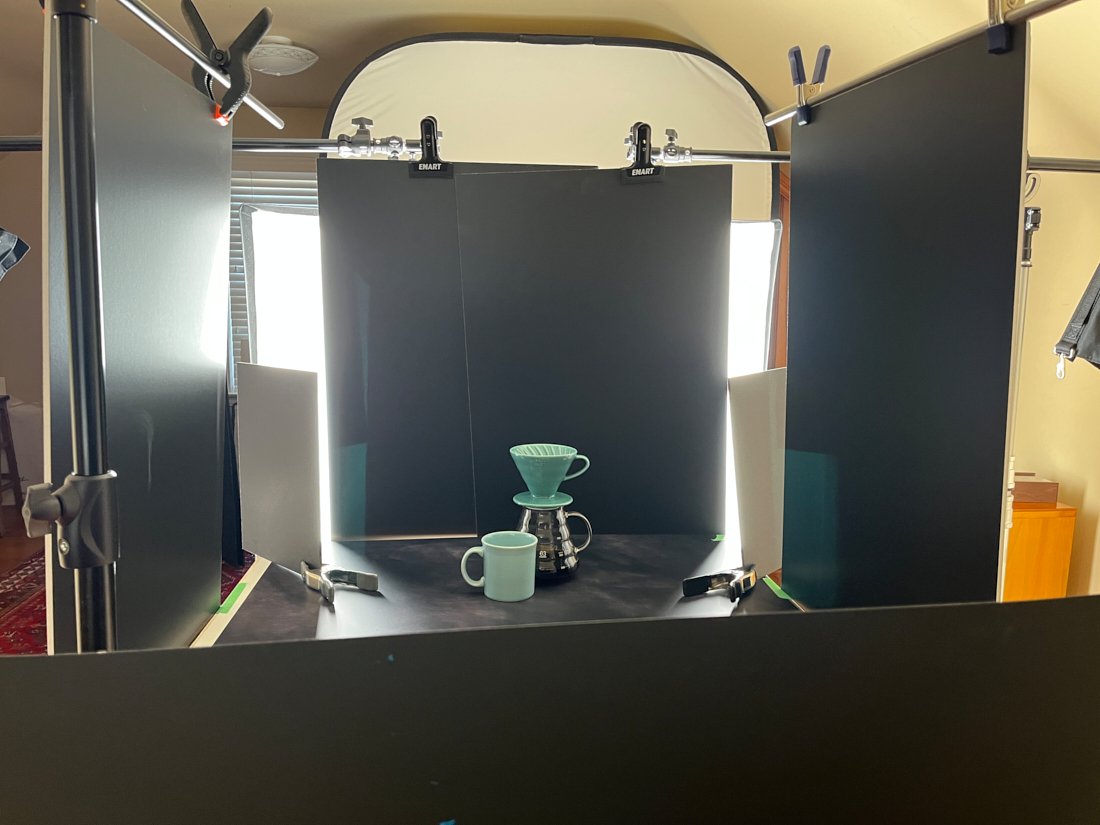
The Dark Field Light:
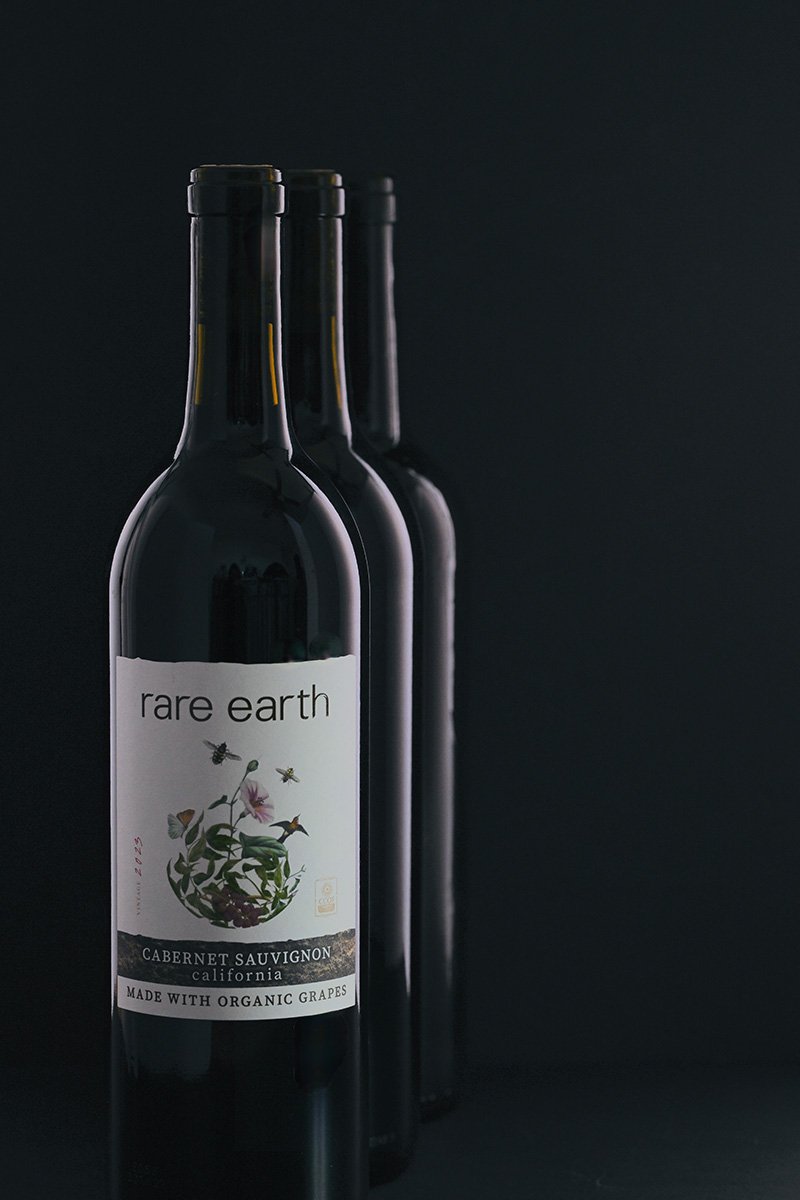
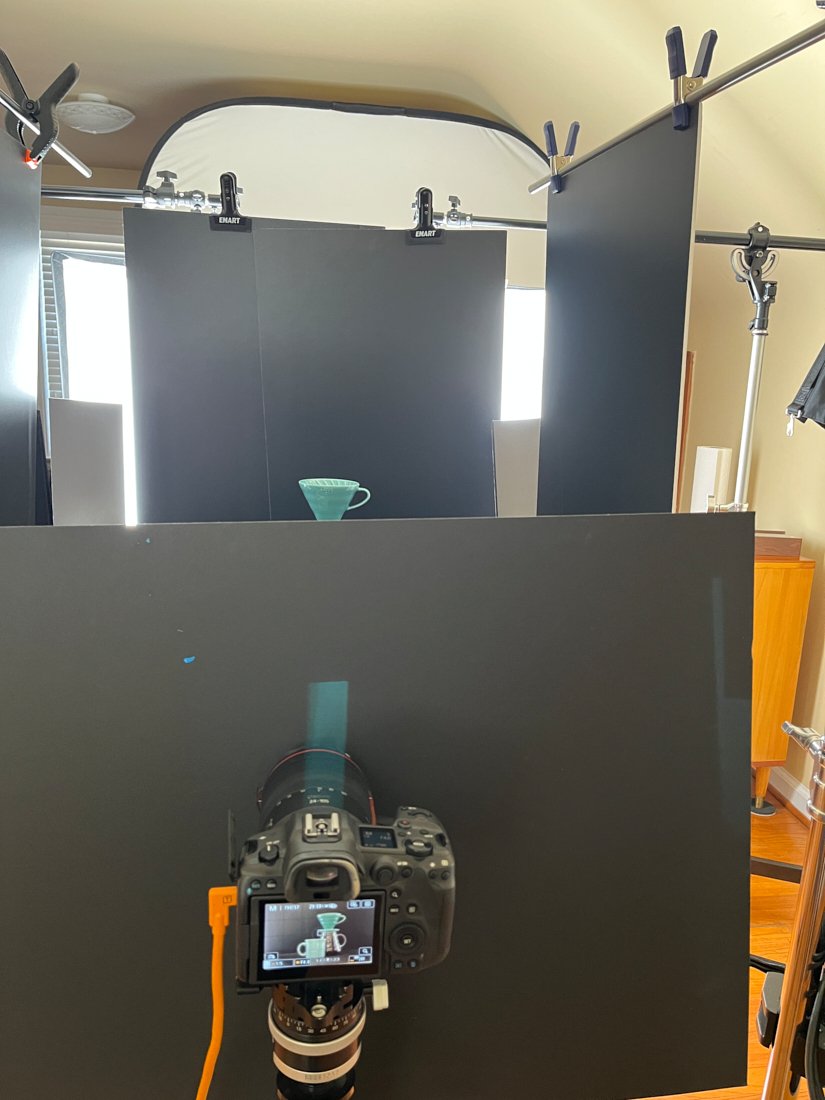
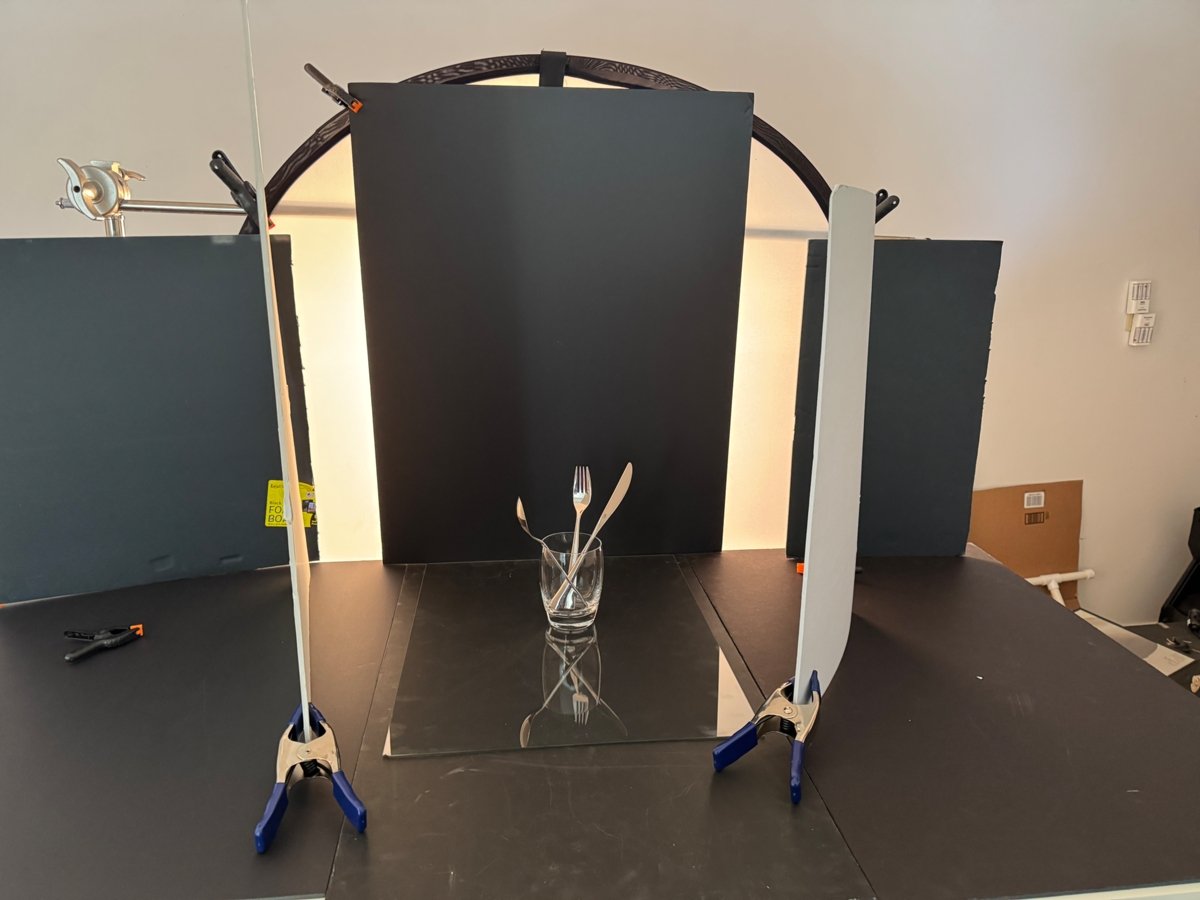
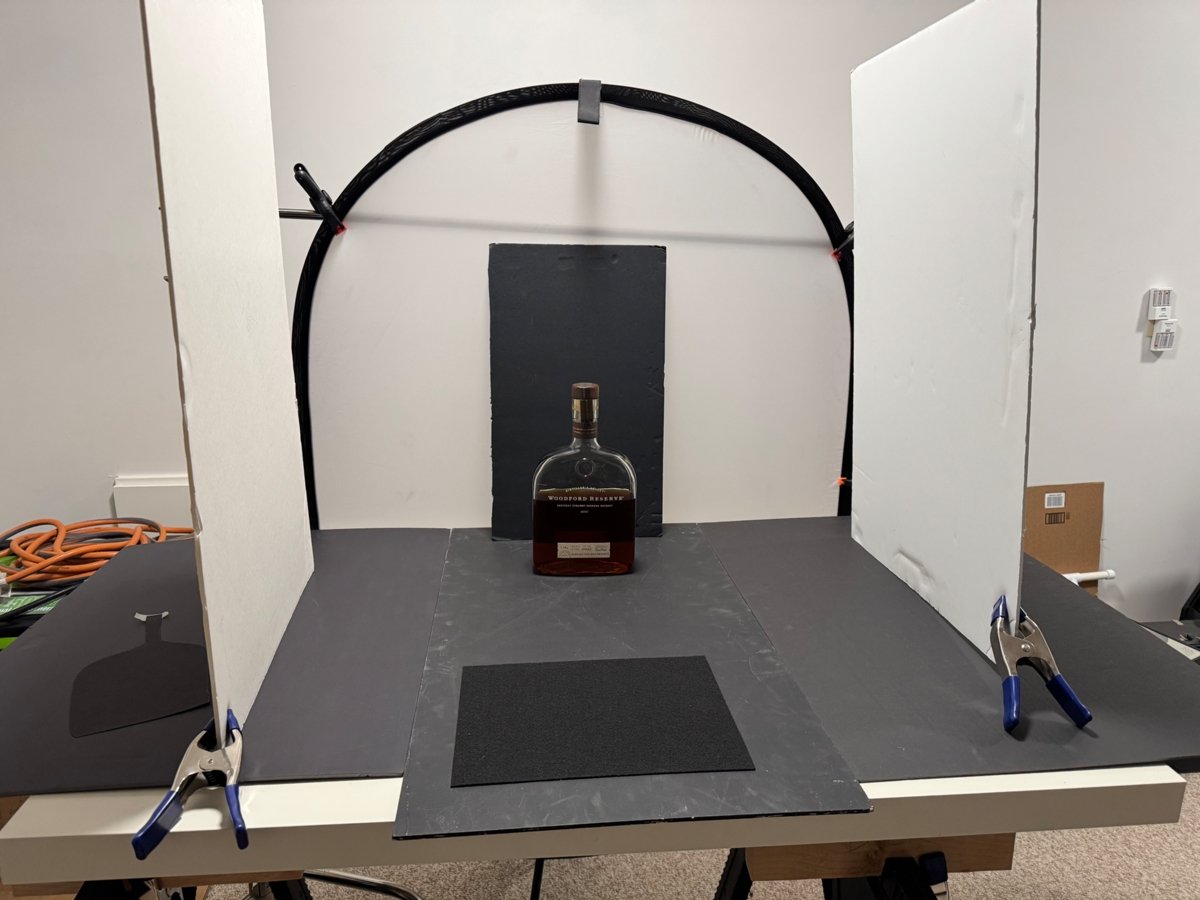
We control the rim light shape by how much of the white we let come around the side of the dark field.
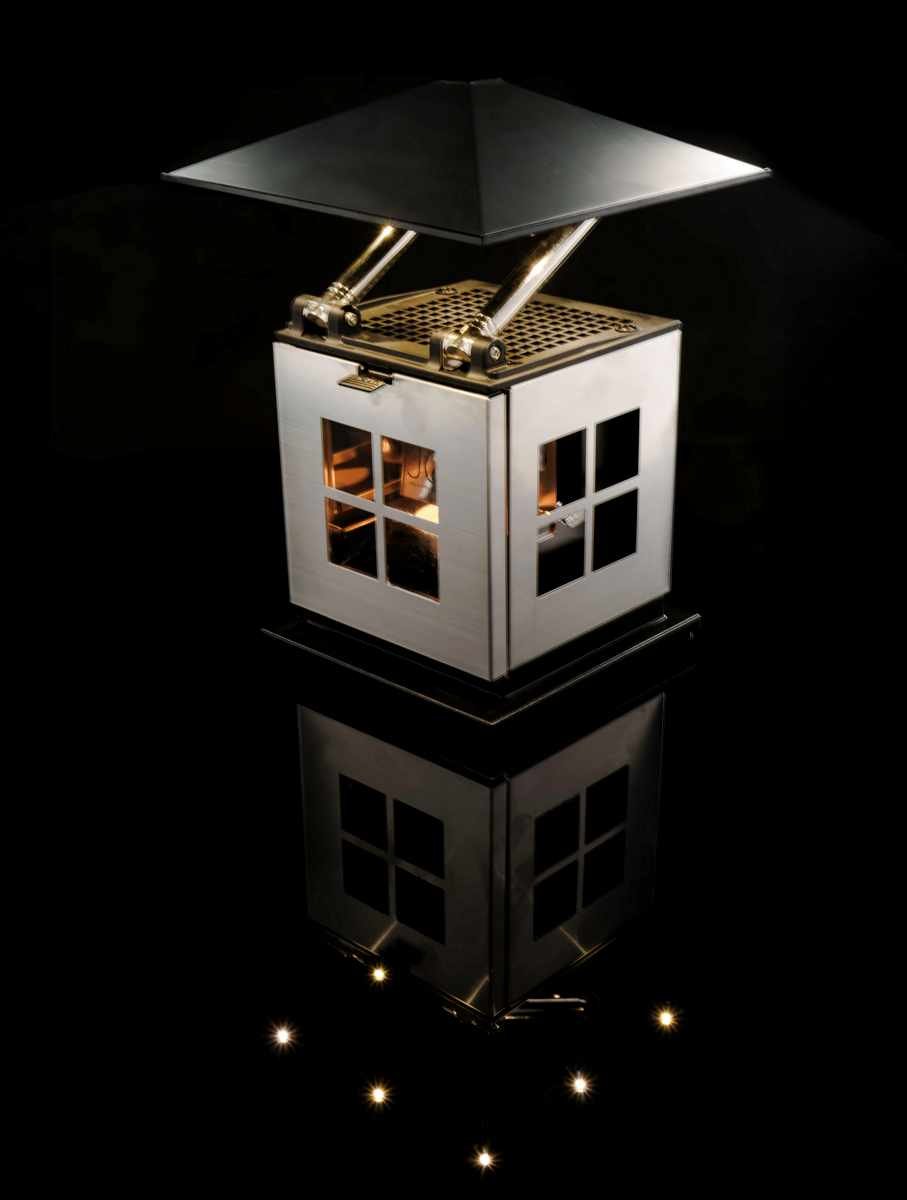
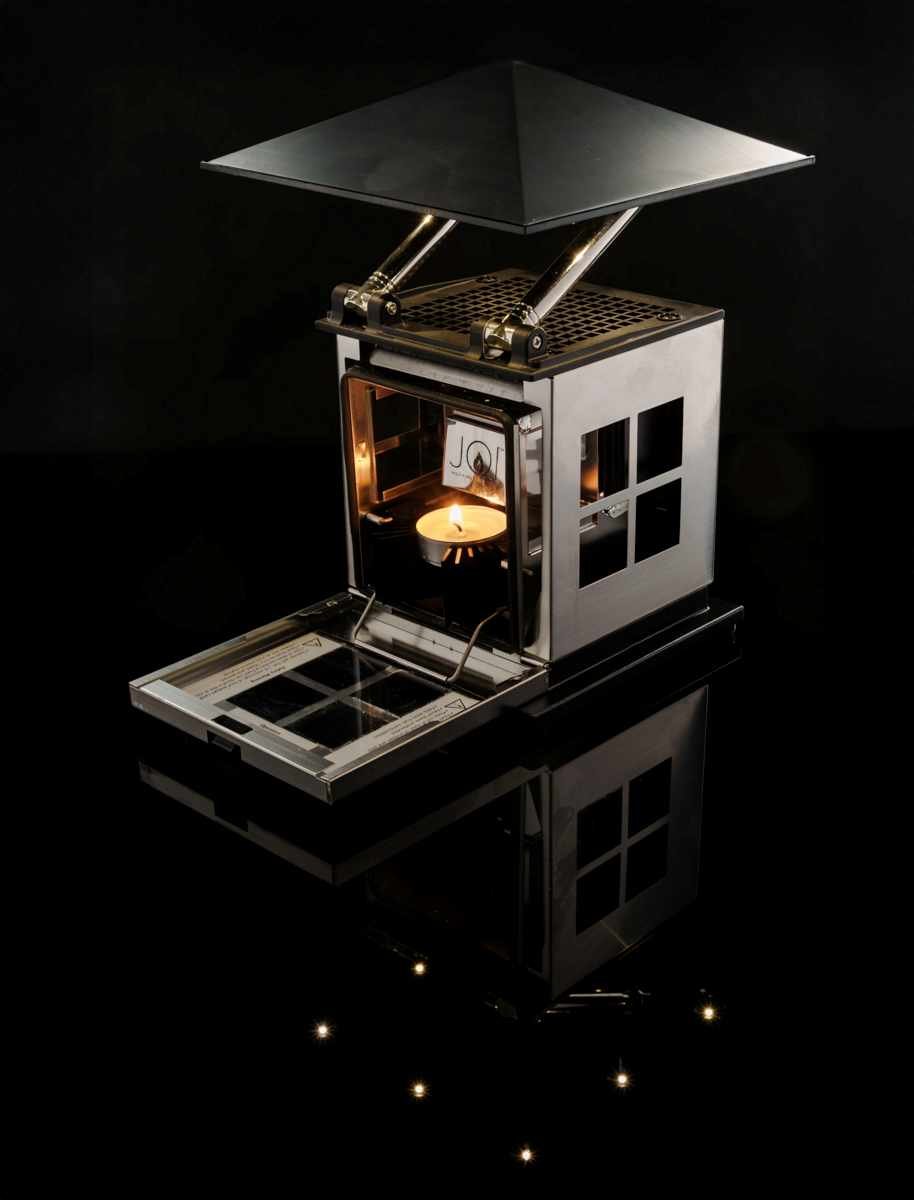
Here is an example of a simple photograph that looks much more difficult.
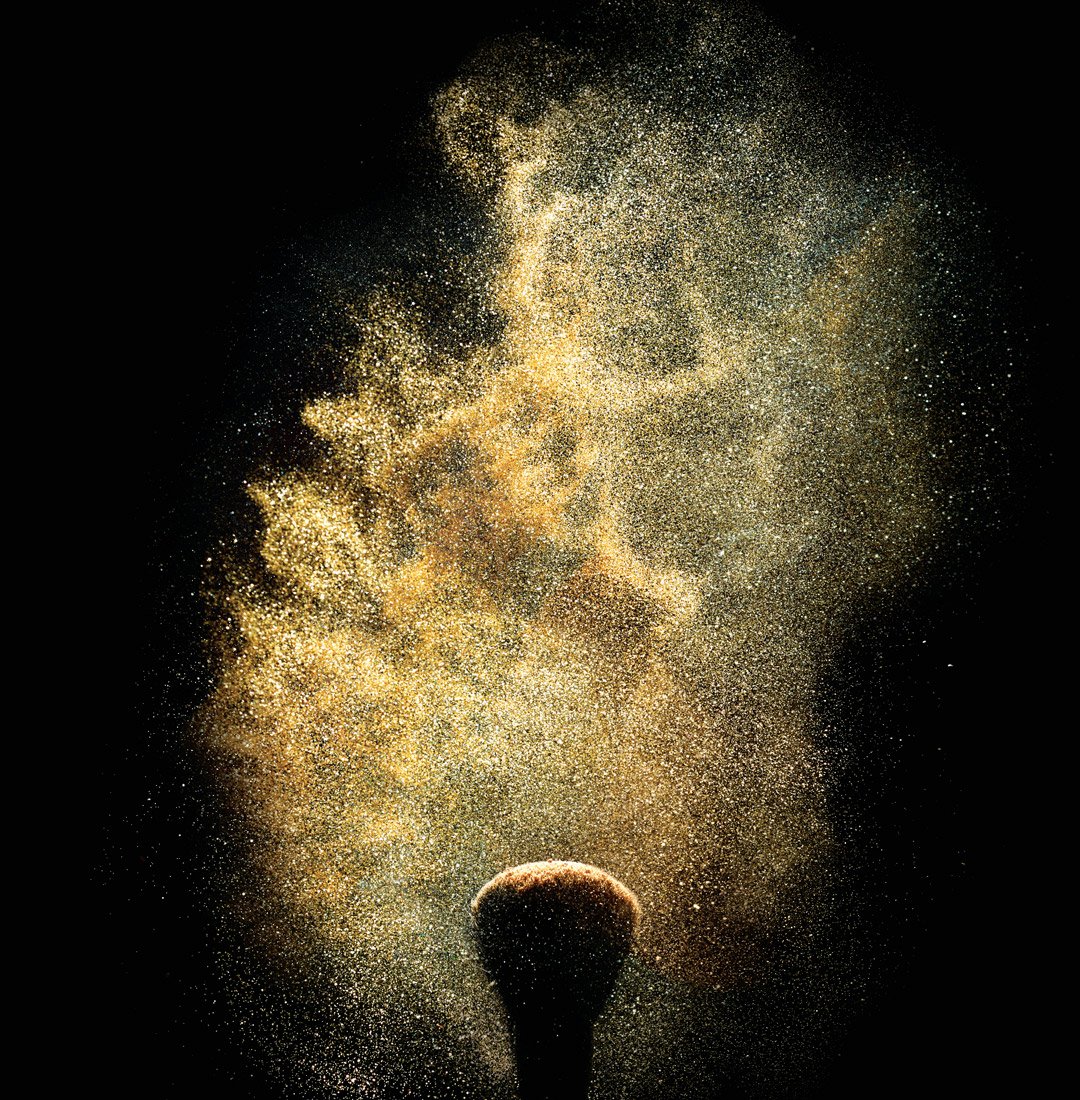
In the above shot, the dark field is small compared to the ring of light around it. This gives it more ppp, and the litttle highlighton the top of the brush.
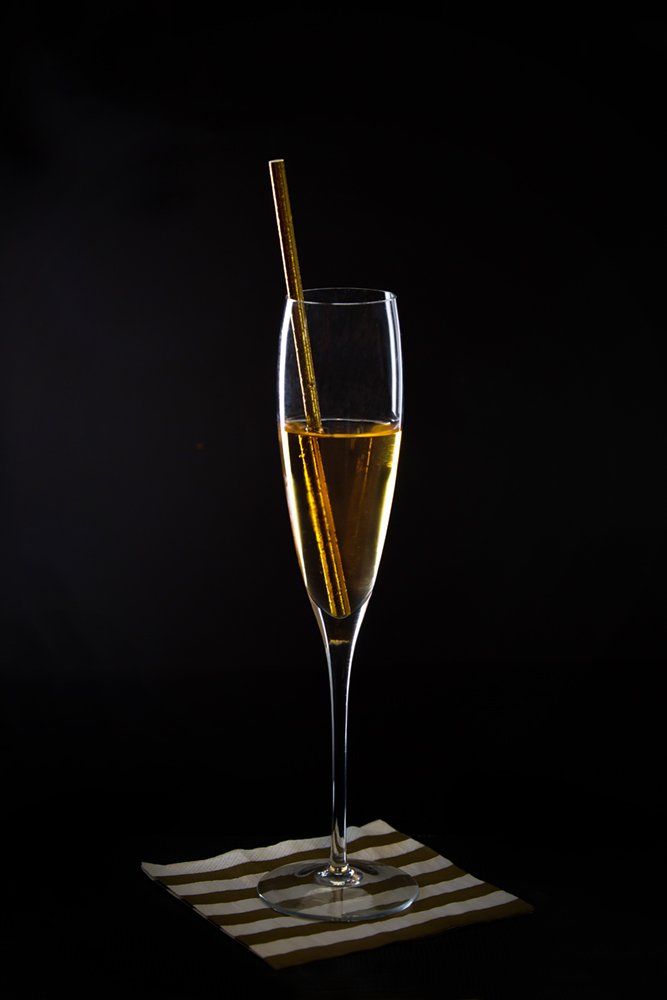
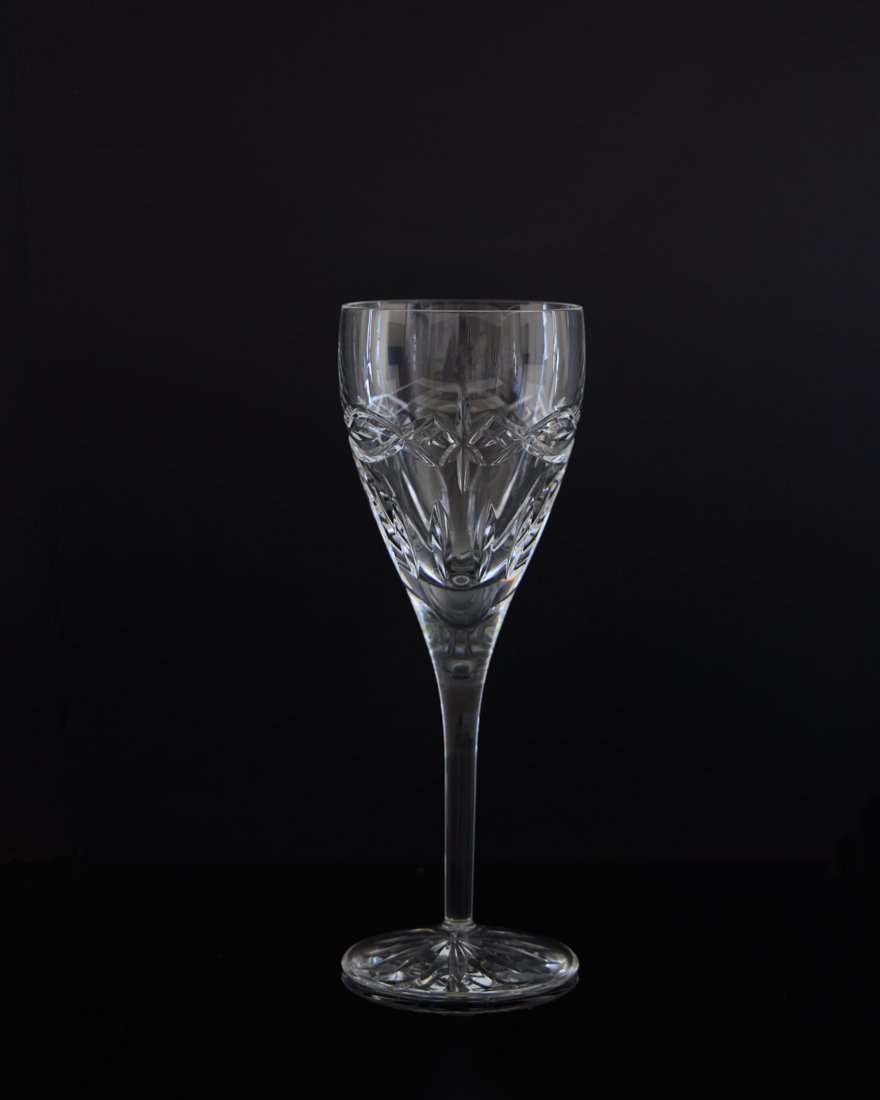
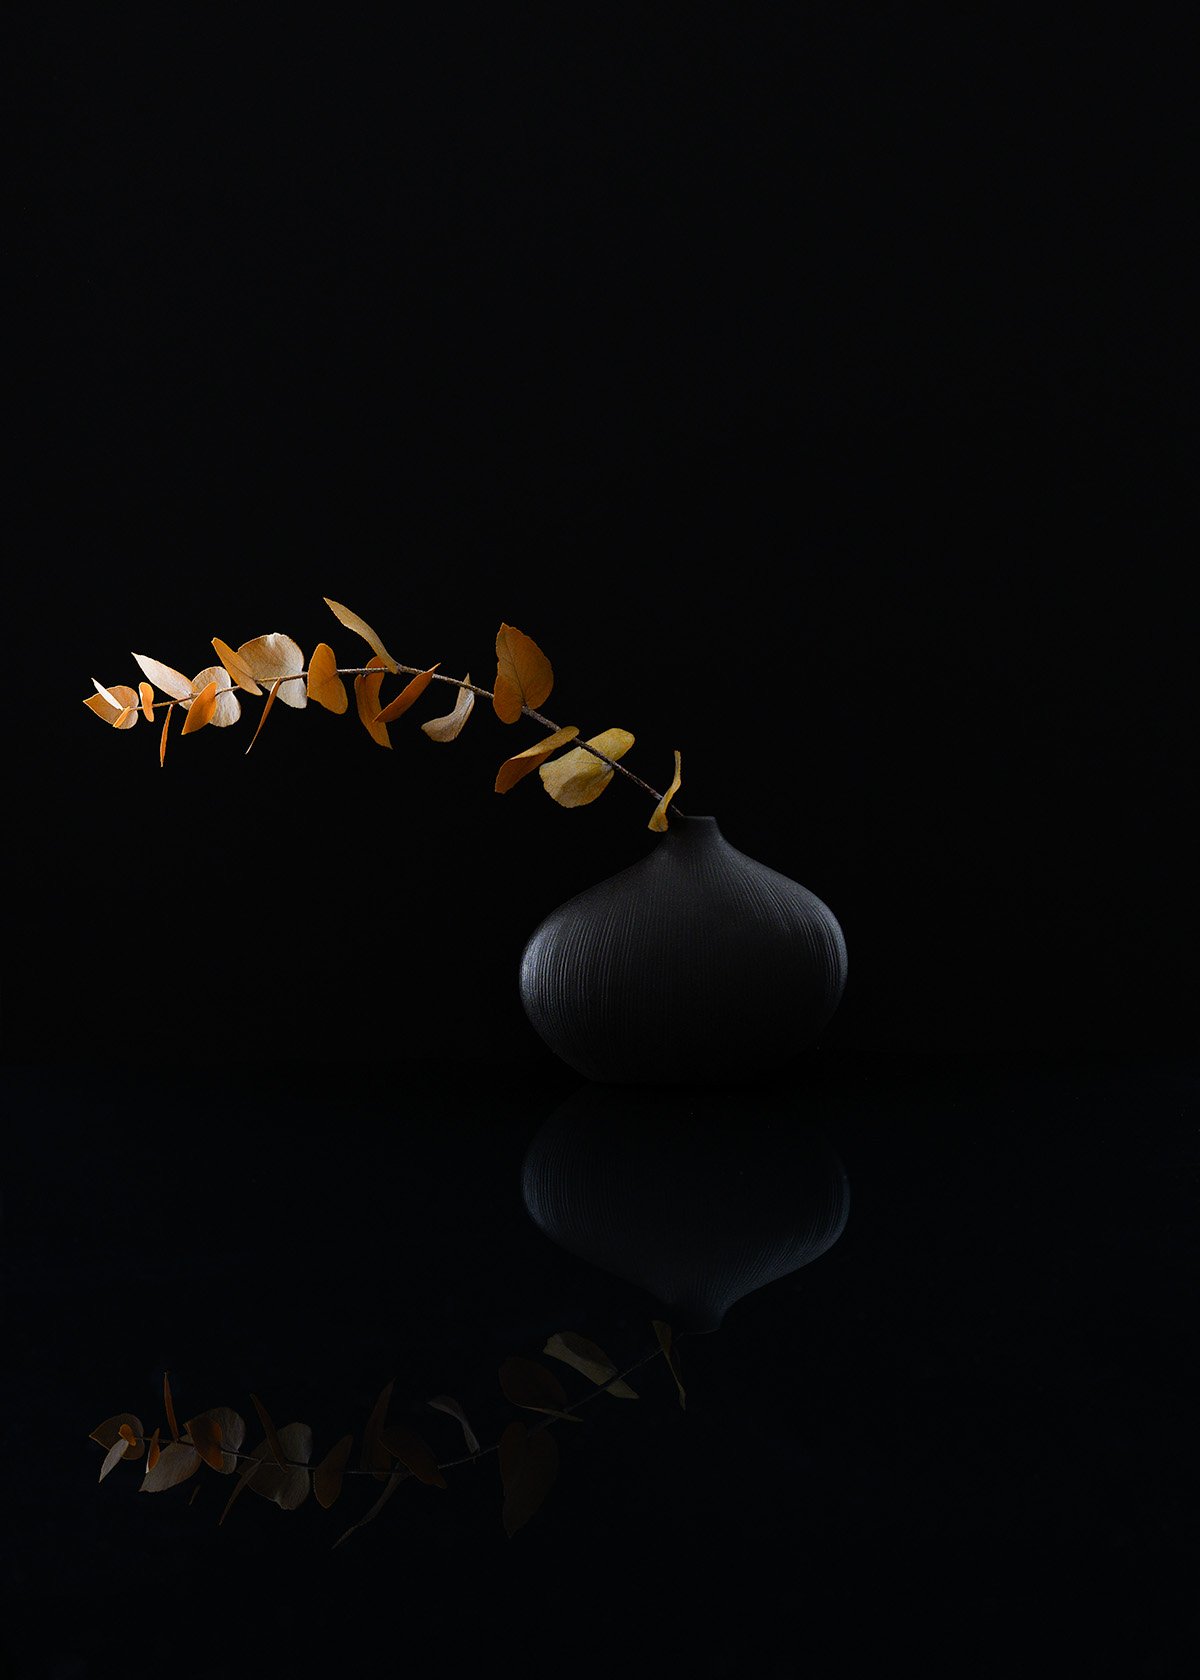
This drink photo shows how elegant the dark field lighting can be when used to create depth and shape.
Bright Field Lighting
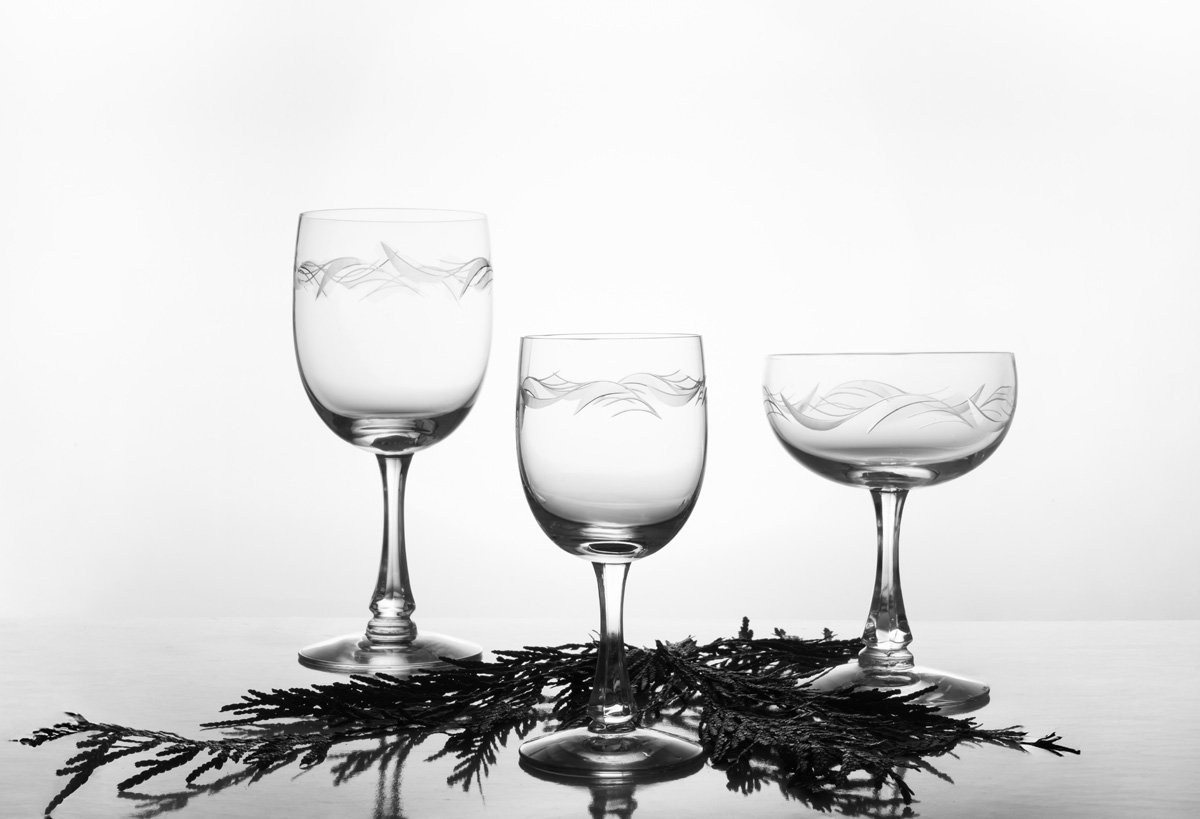
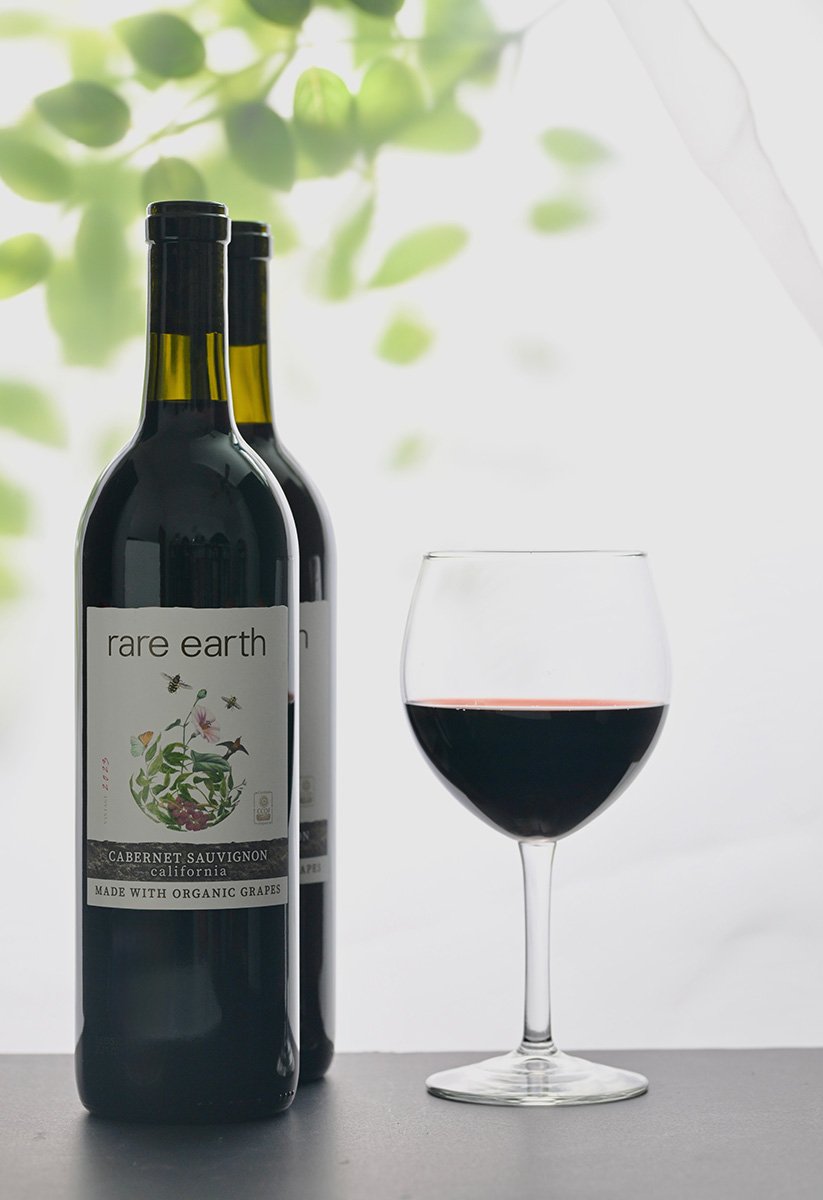
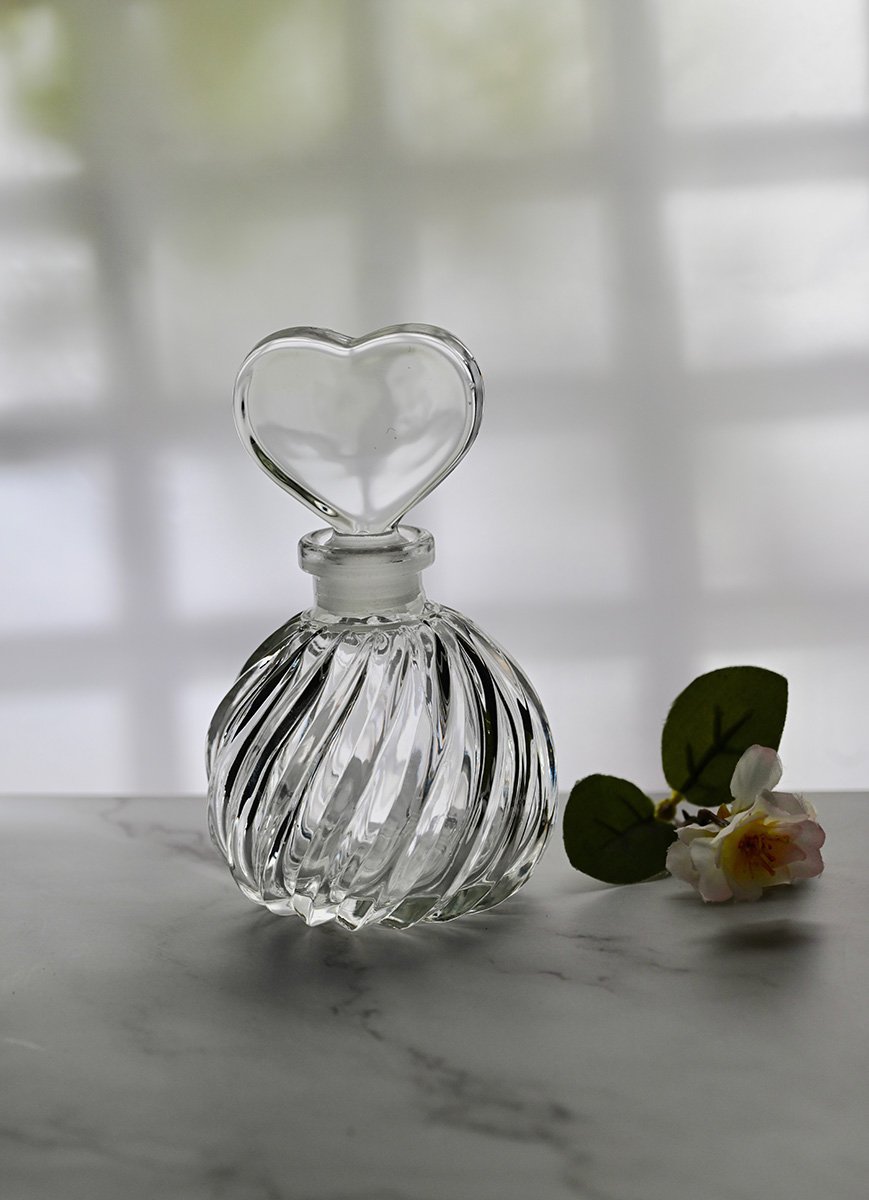
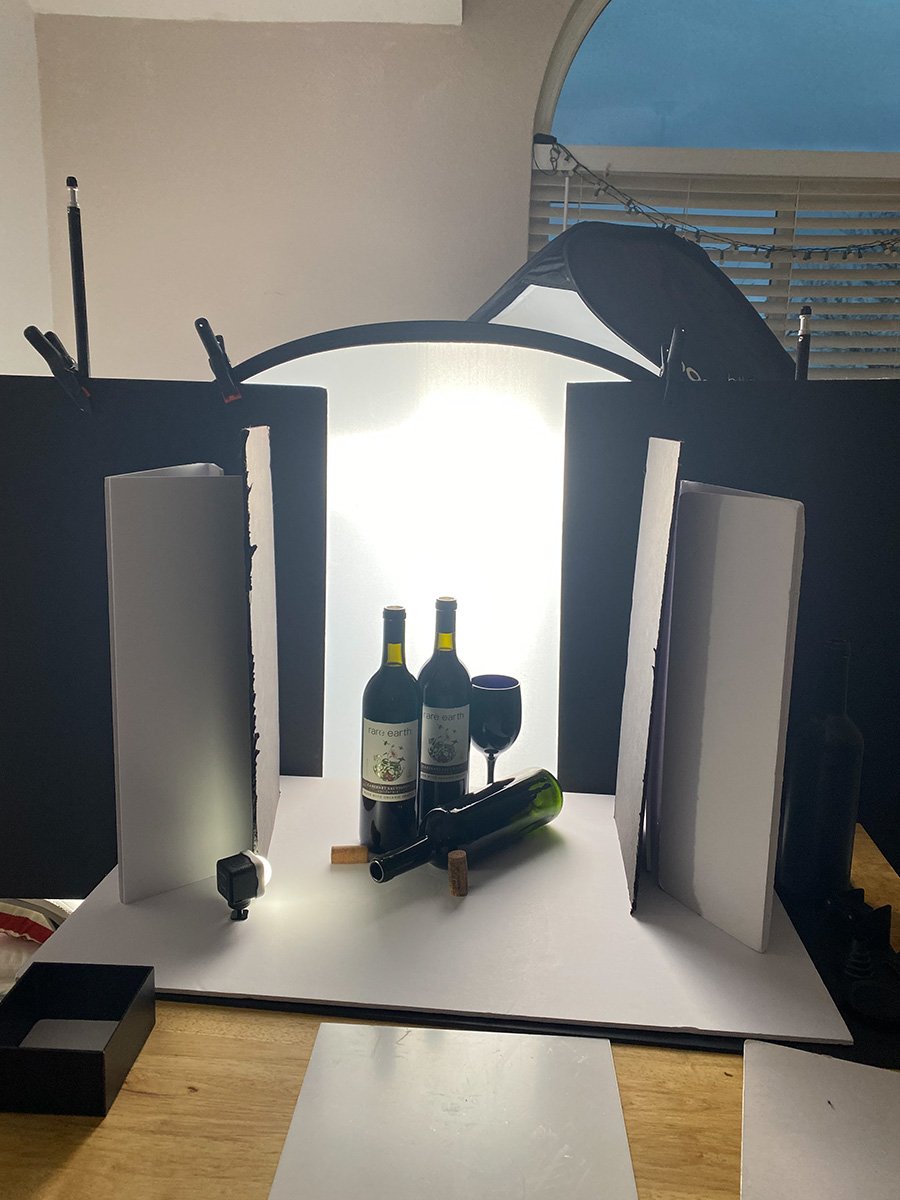
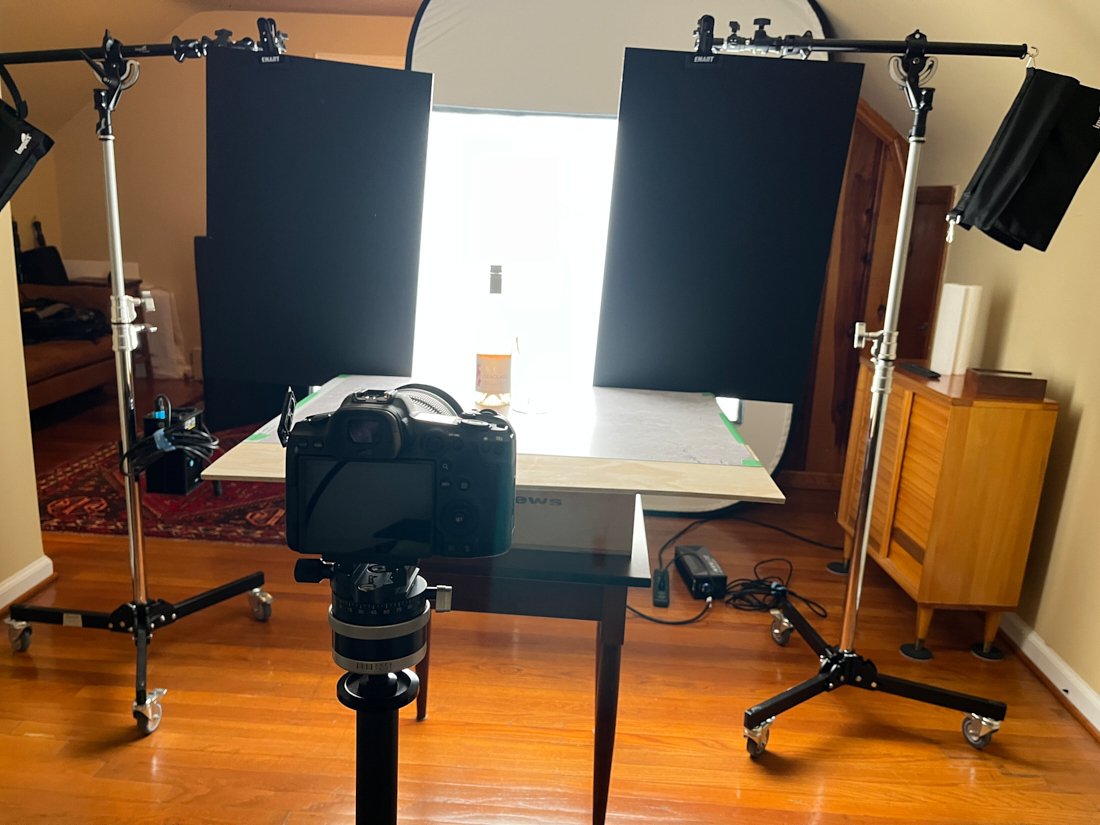
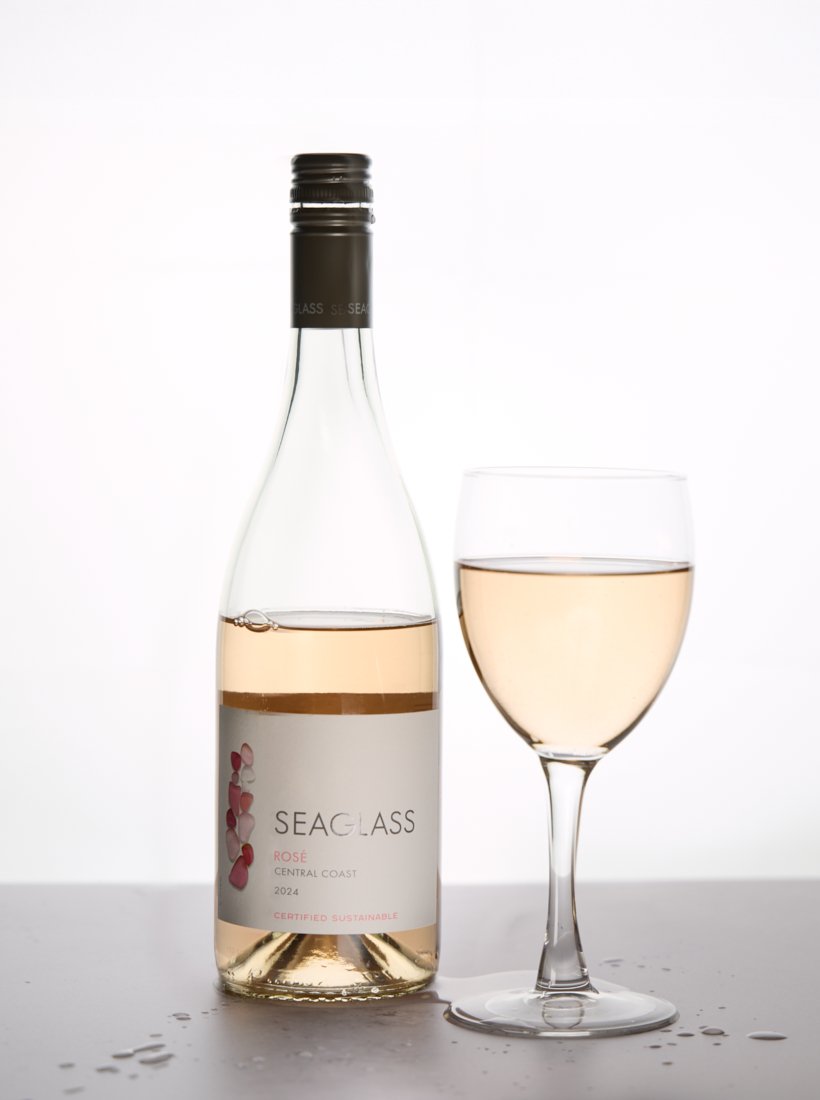
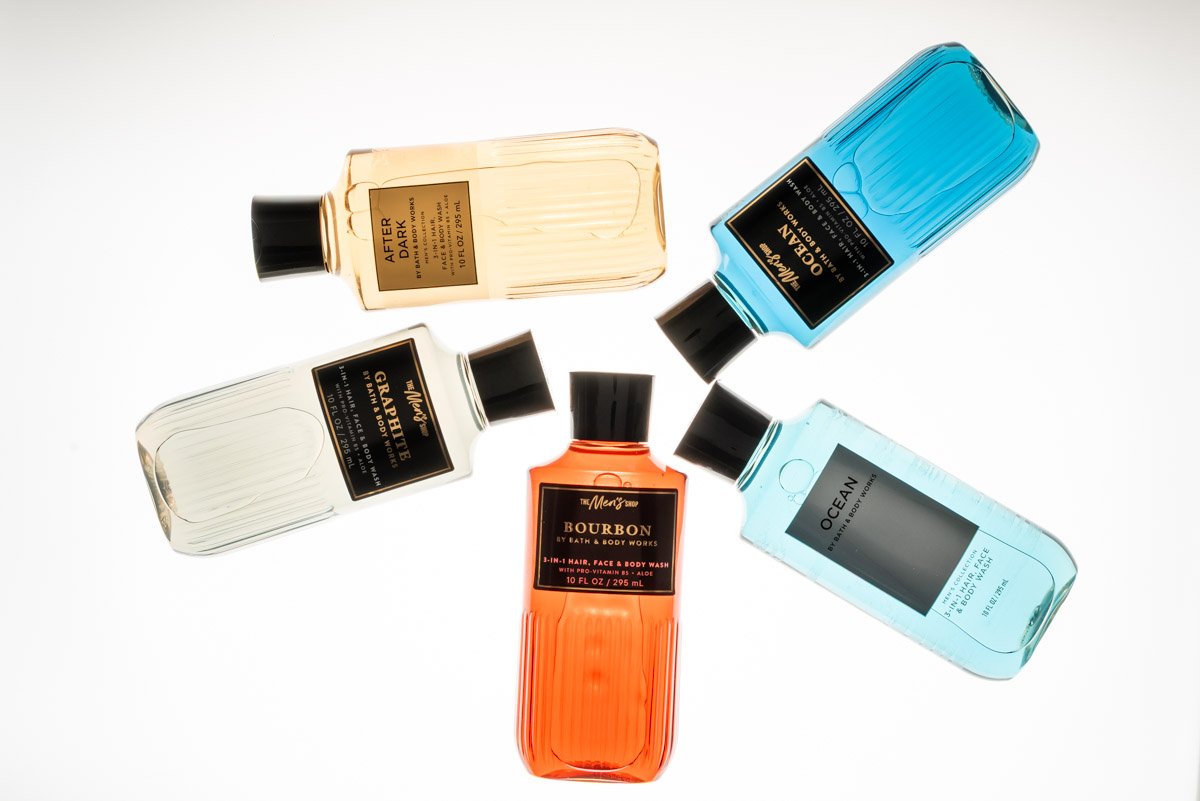
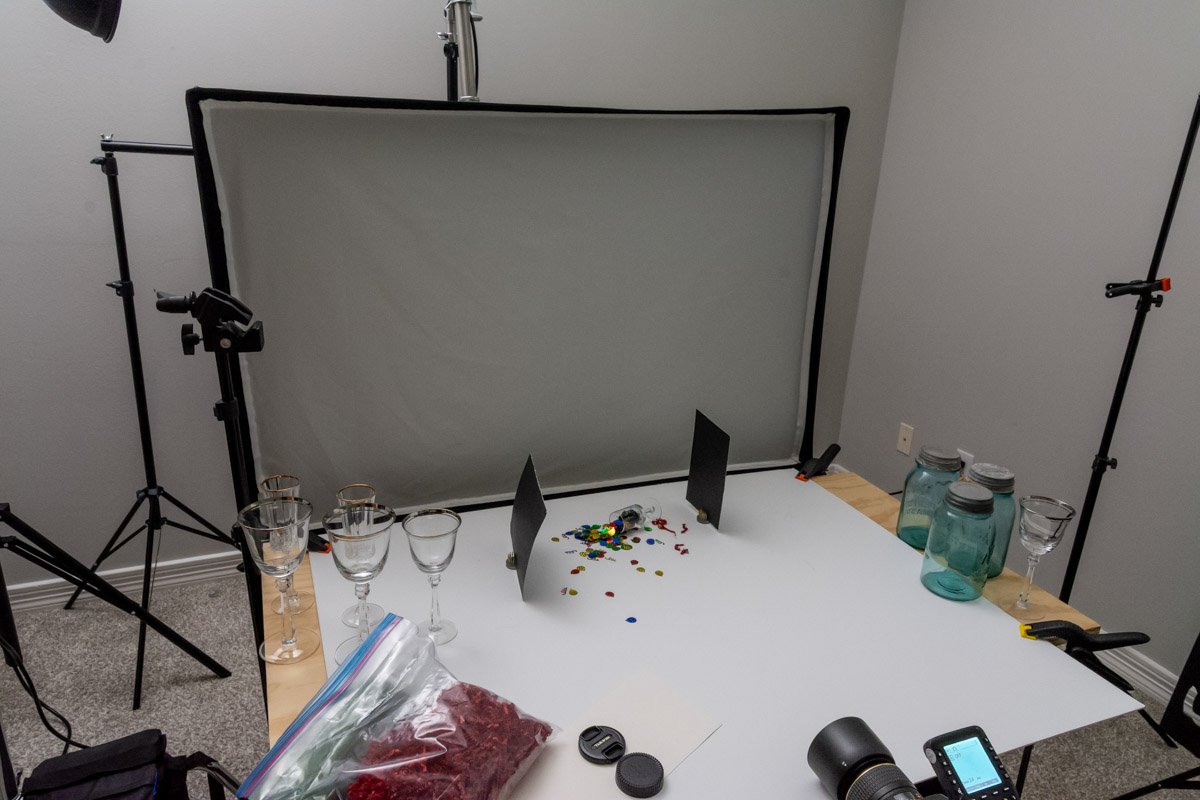
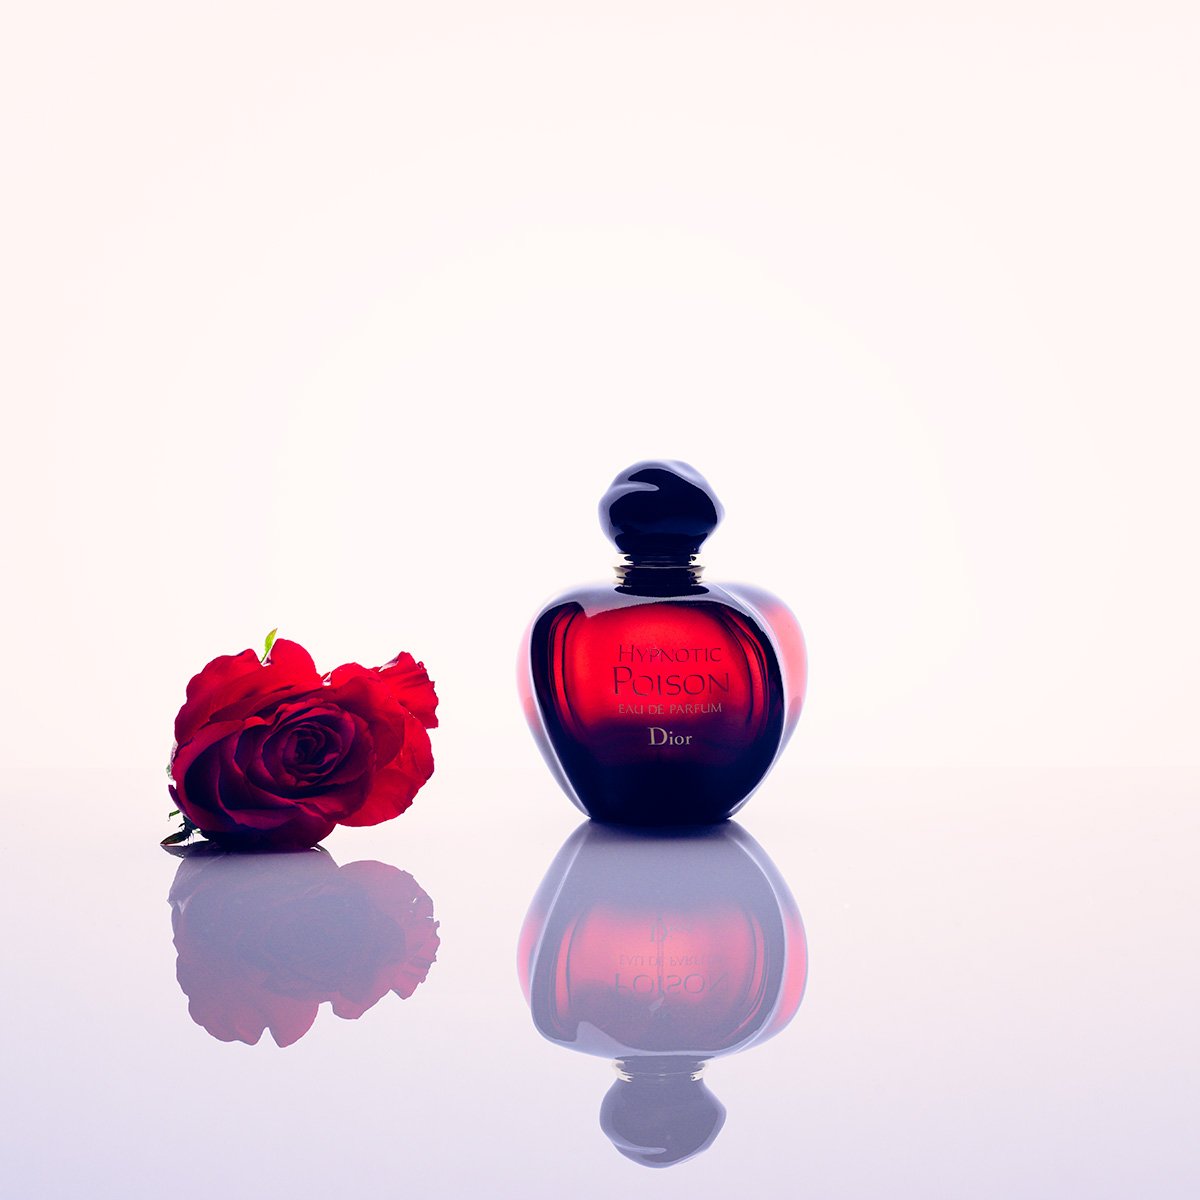
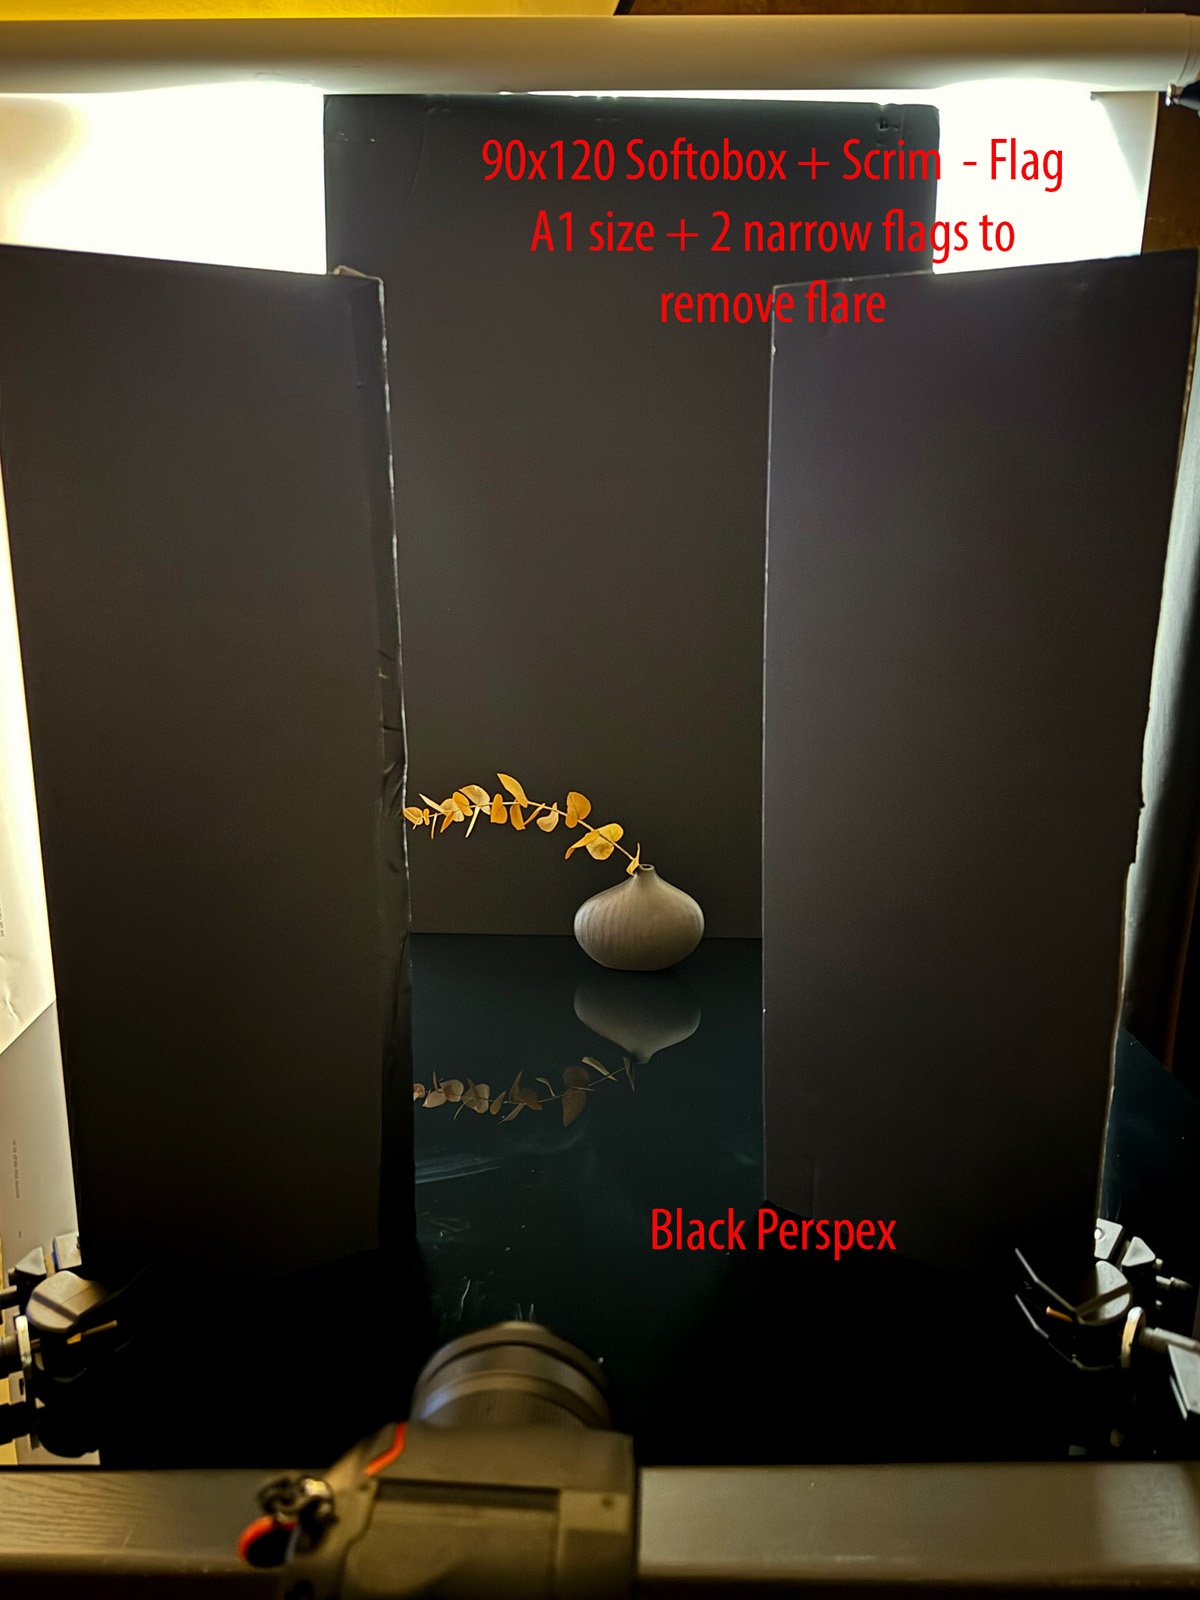
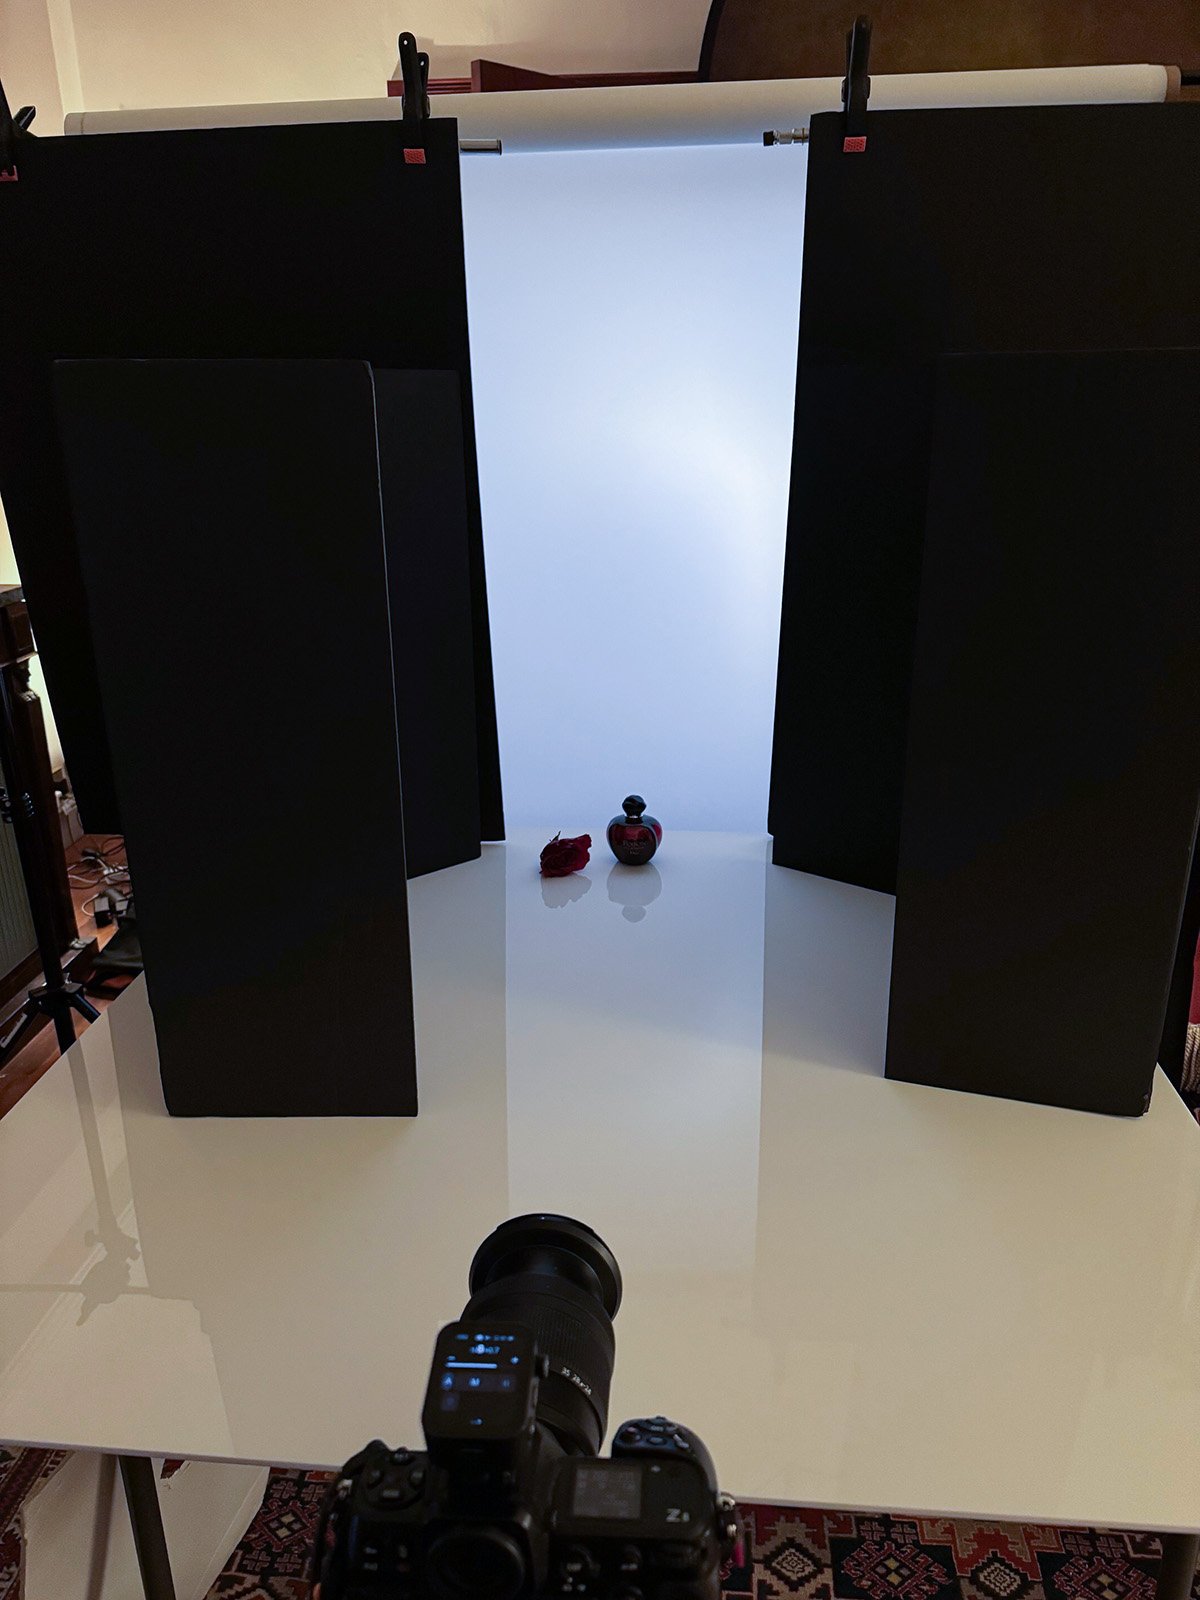
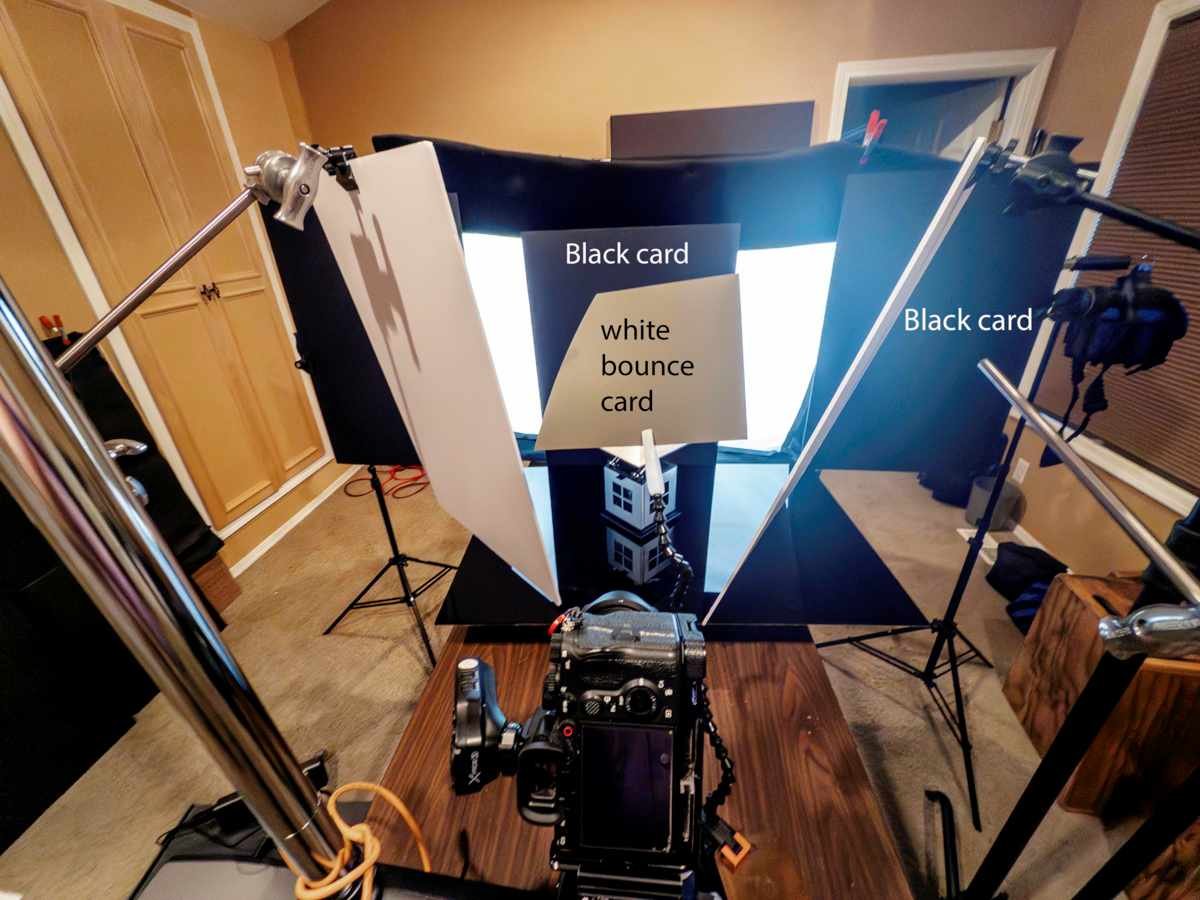
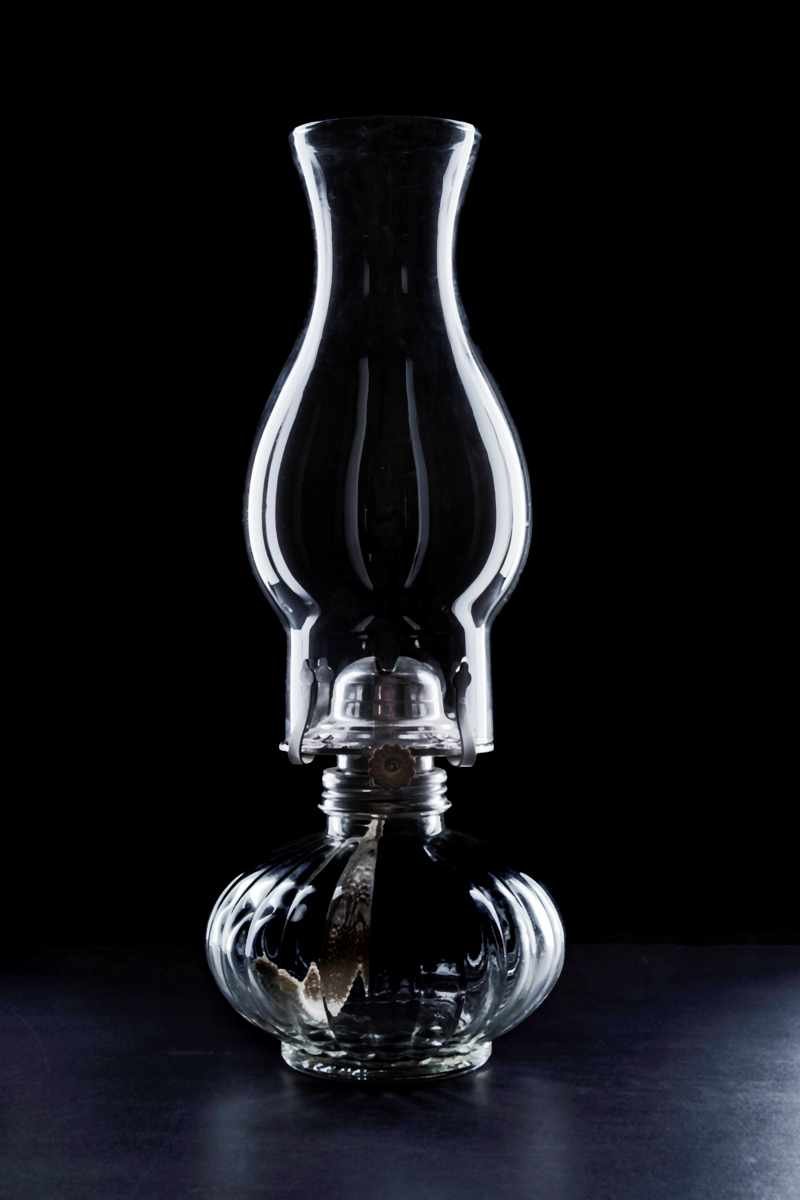
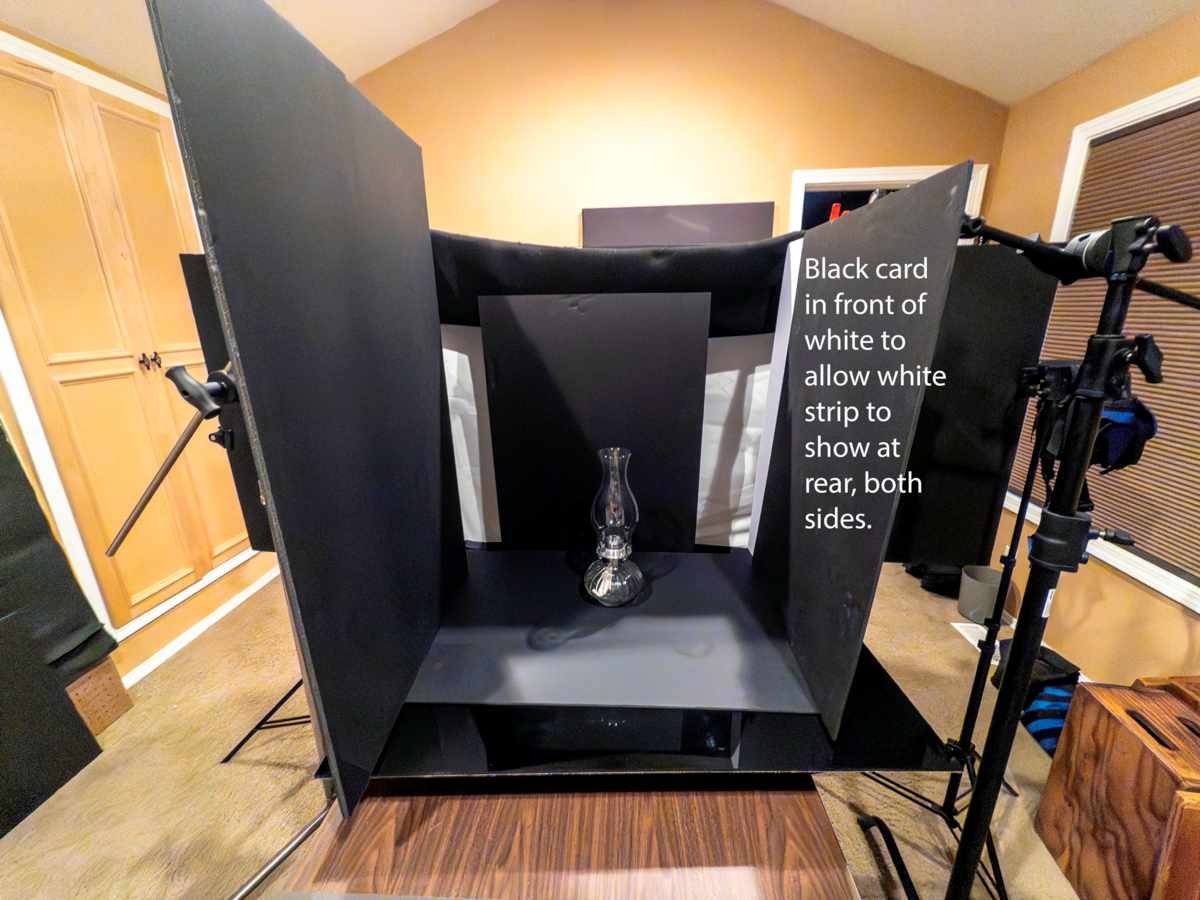
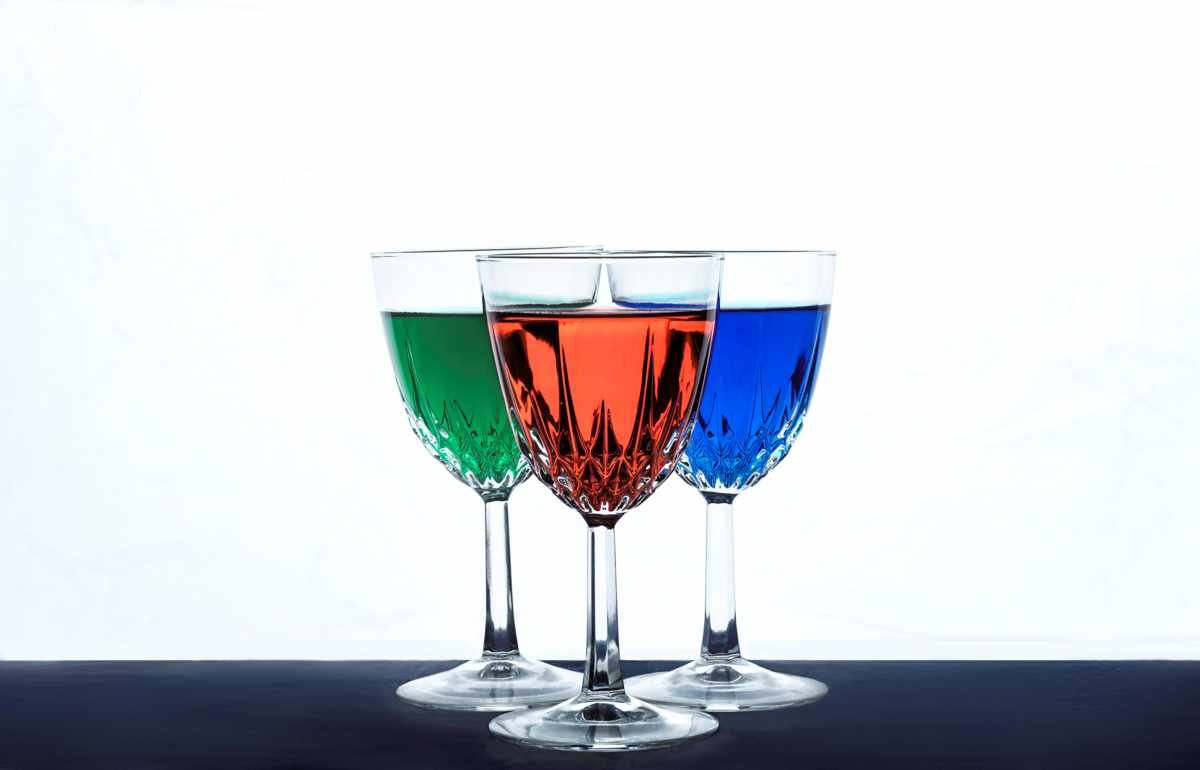
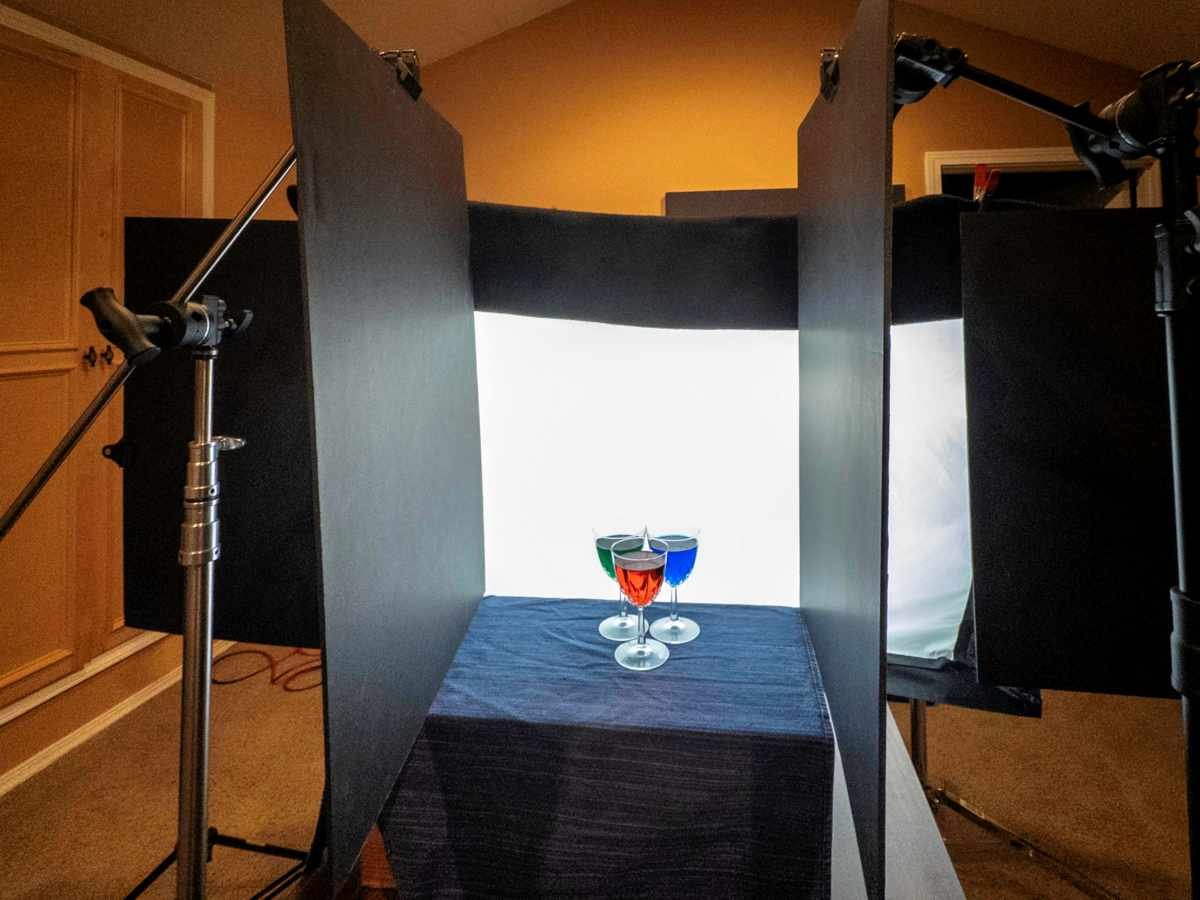
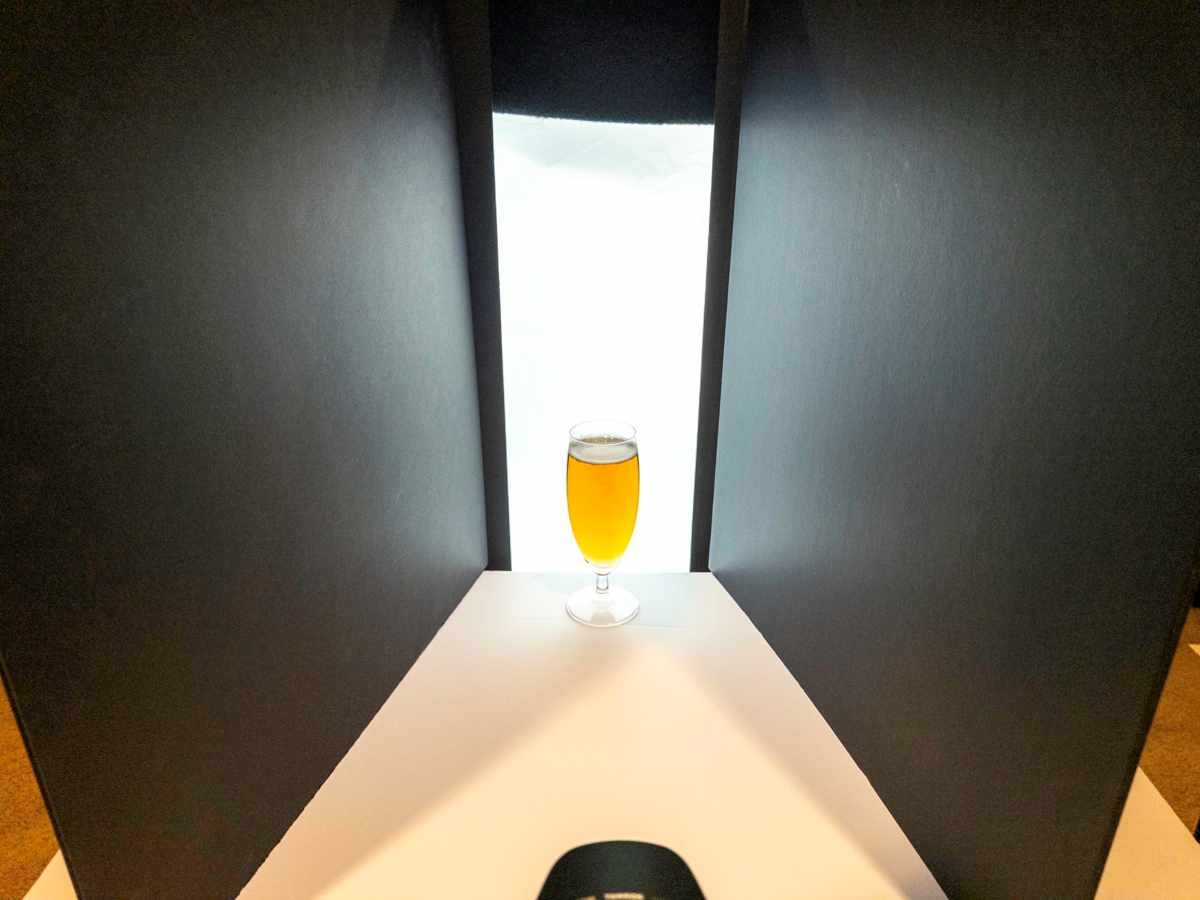
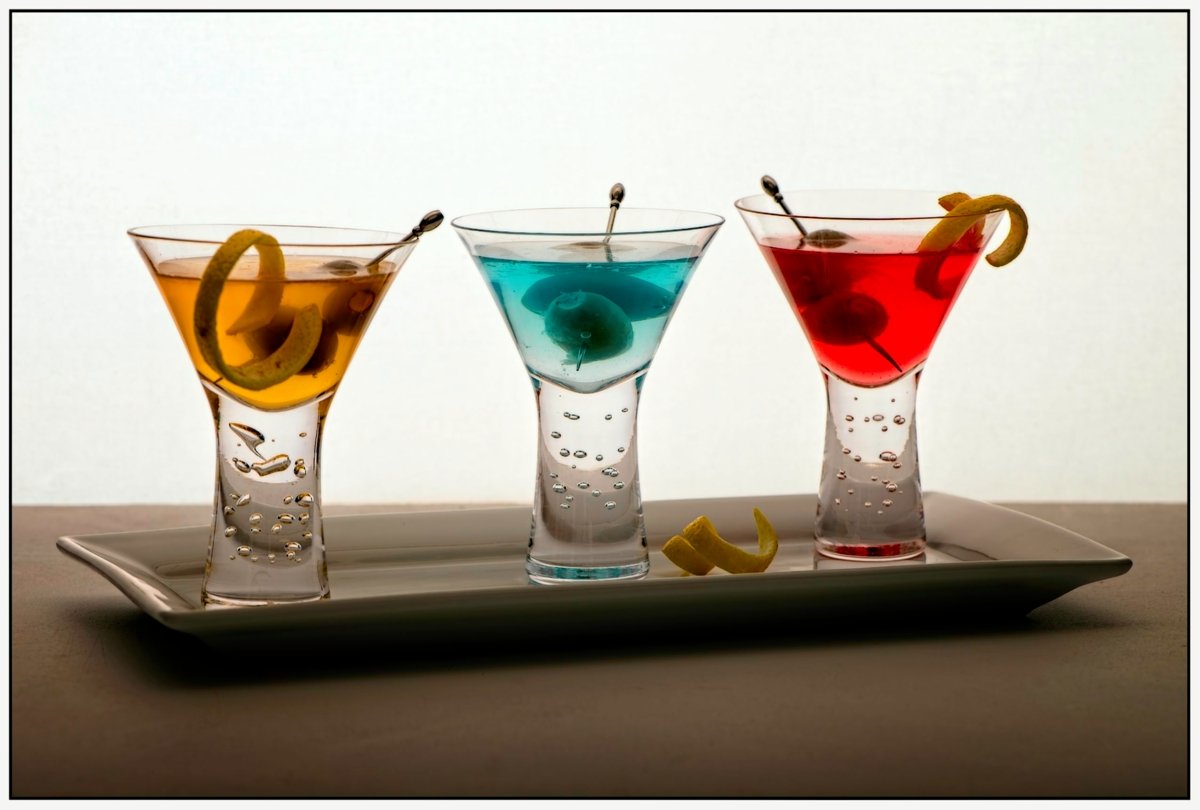
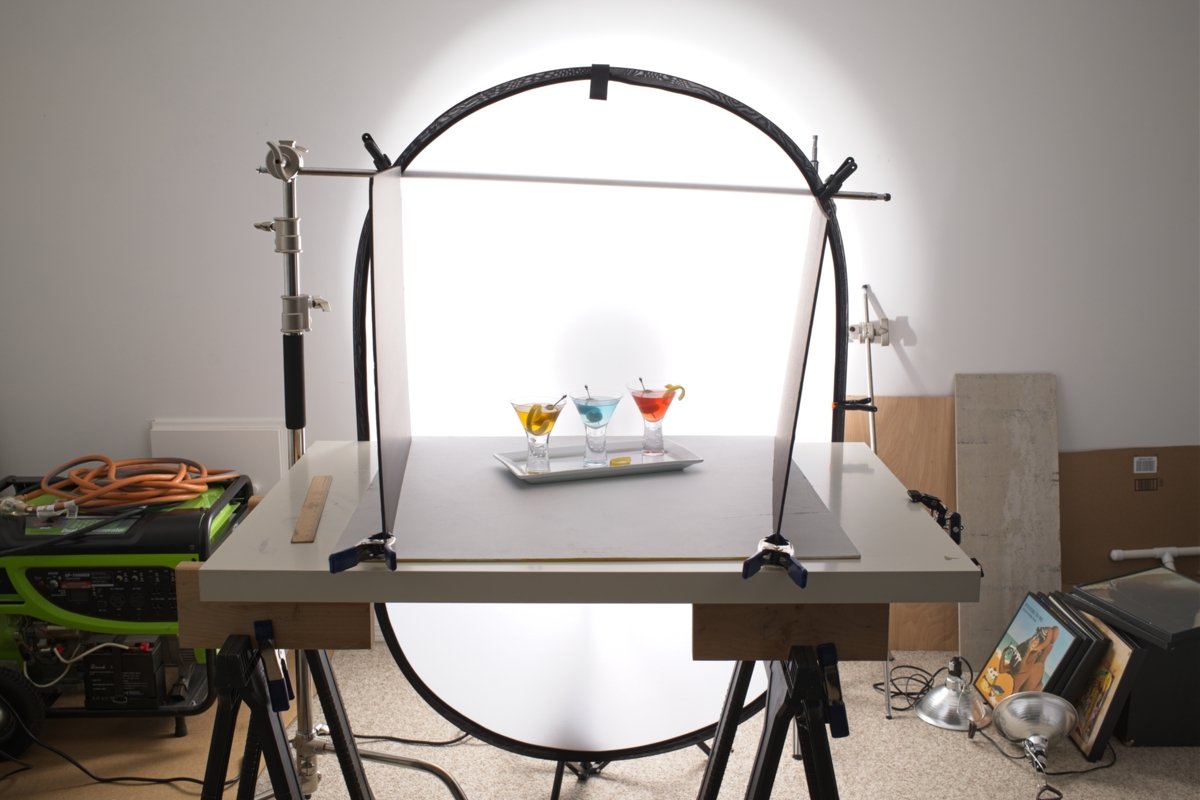
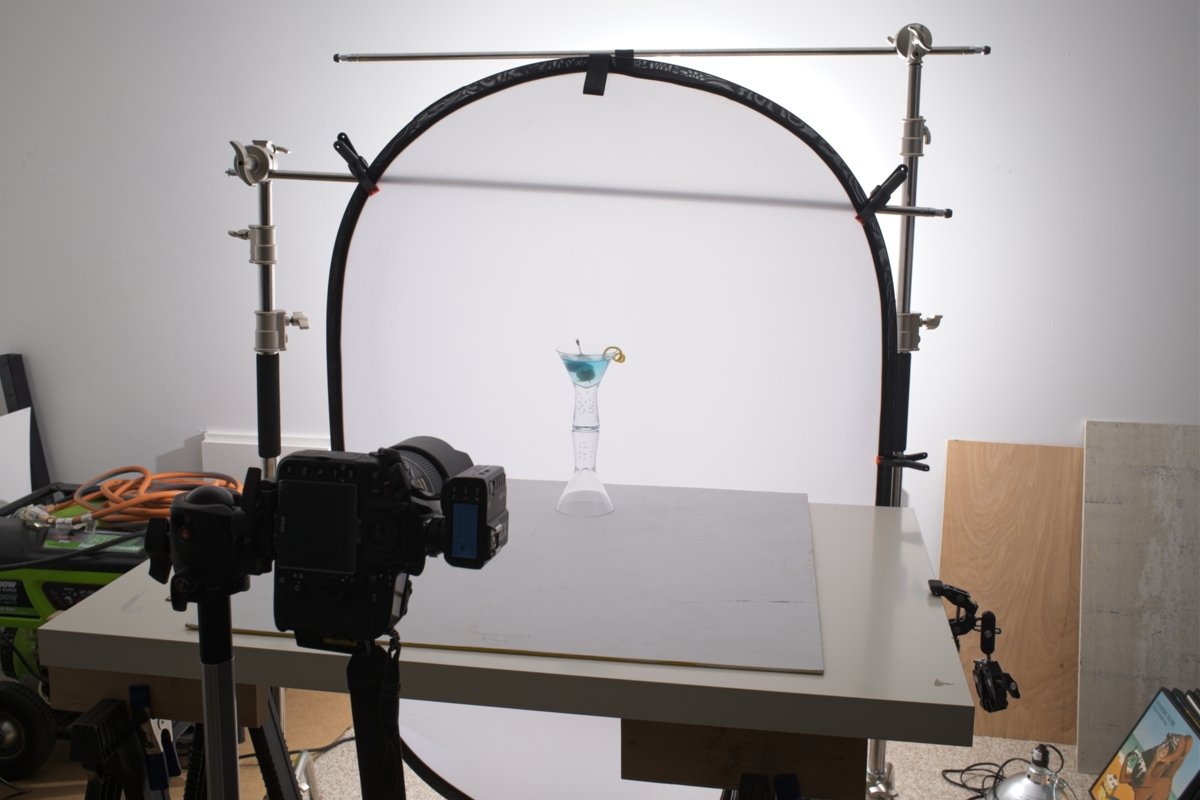
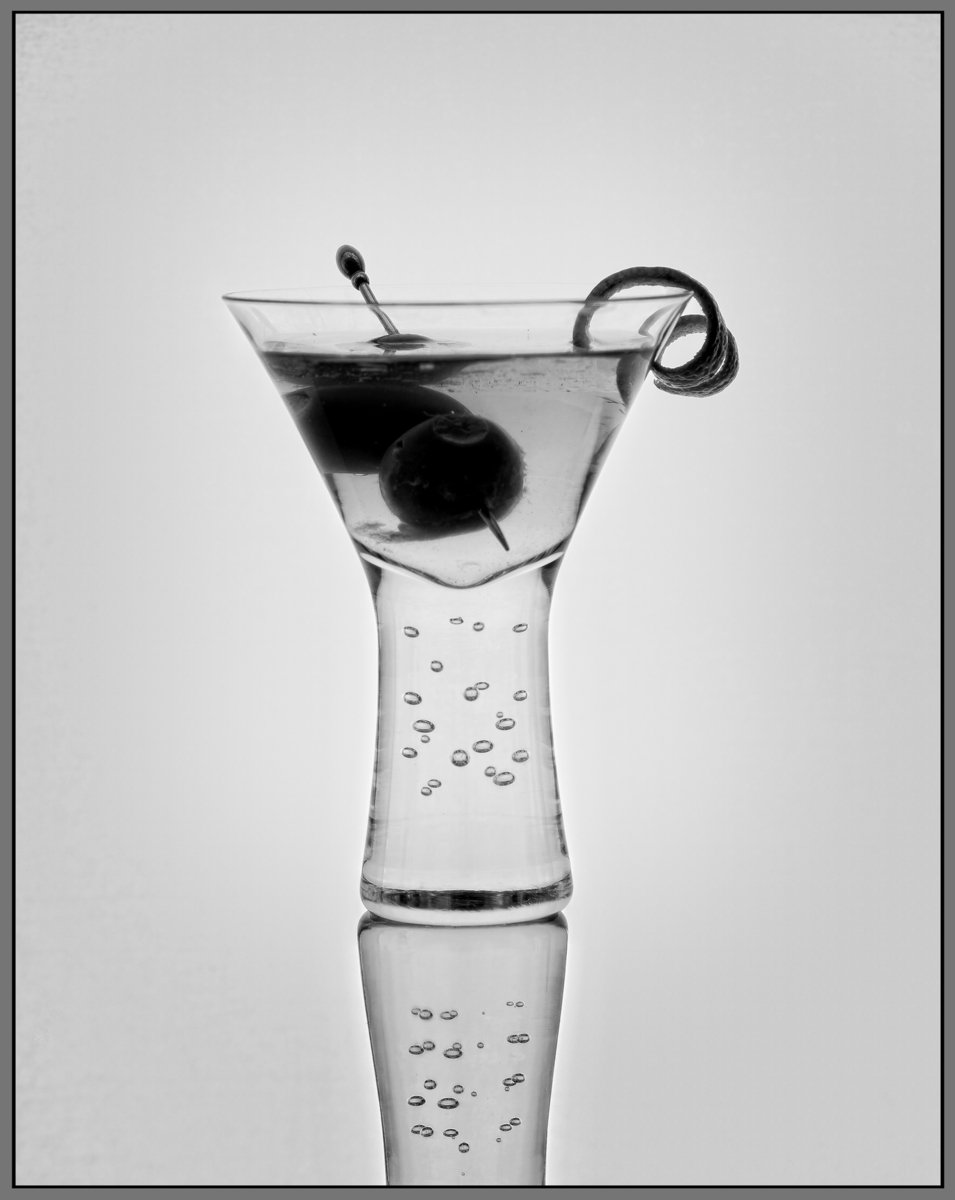
In bright field lighting, we shoot straight into the light and control the edges of the subject with black cards.Thia ia a perfect light for drinks, fragrances, and certain electronic products.
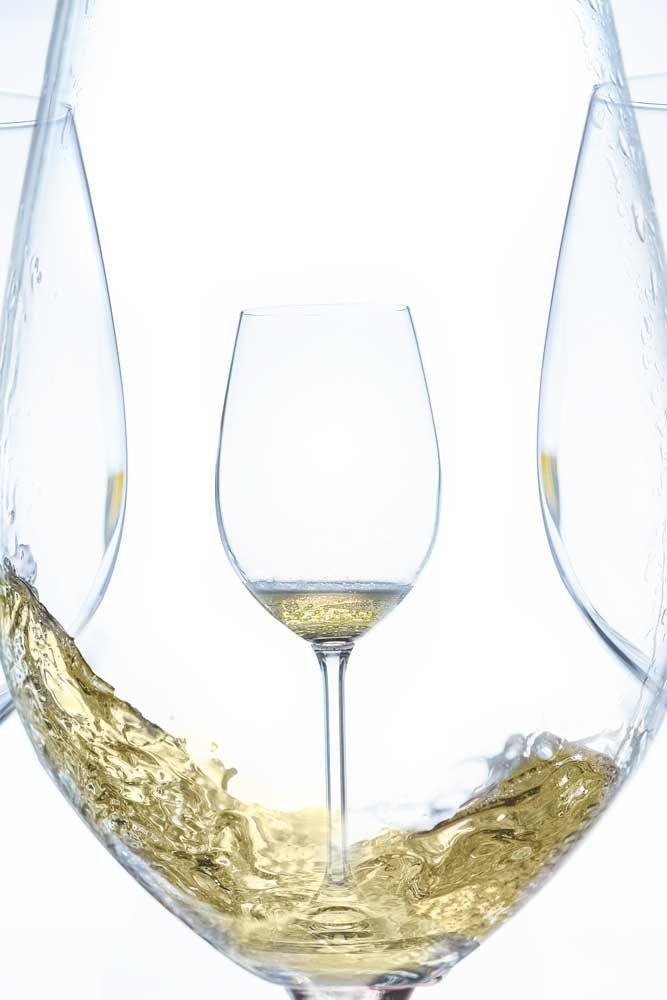
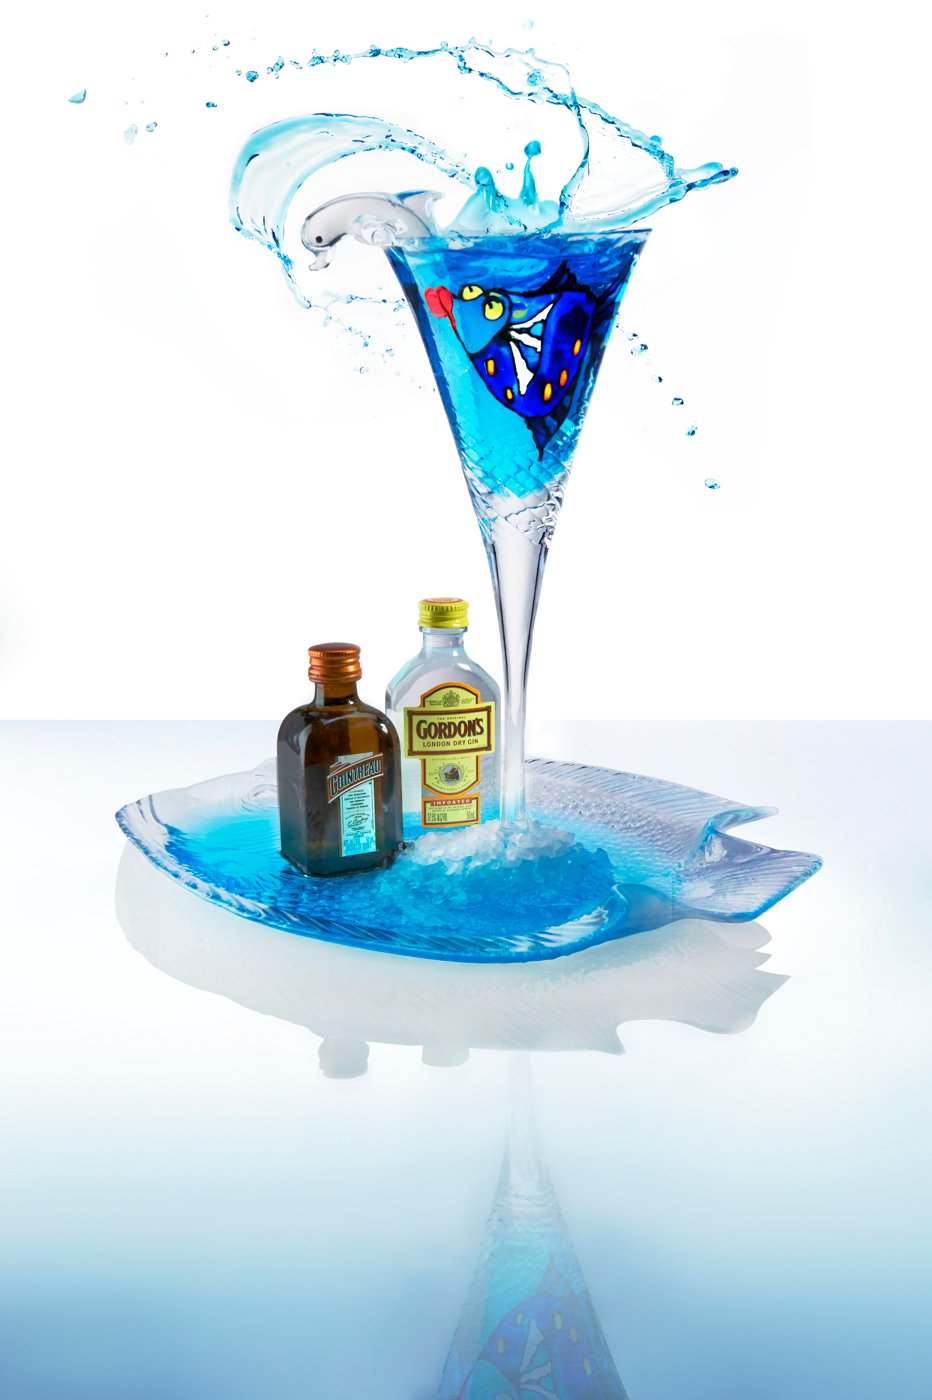
Notice the delicate black lines that help delineate the glass from the white background.
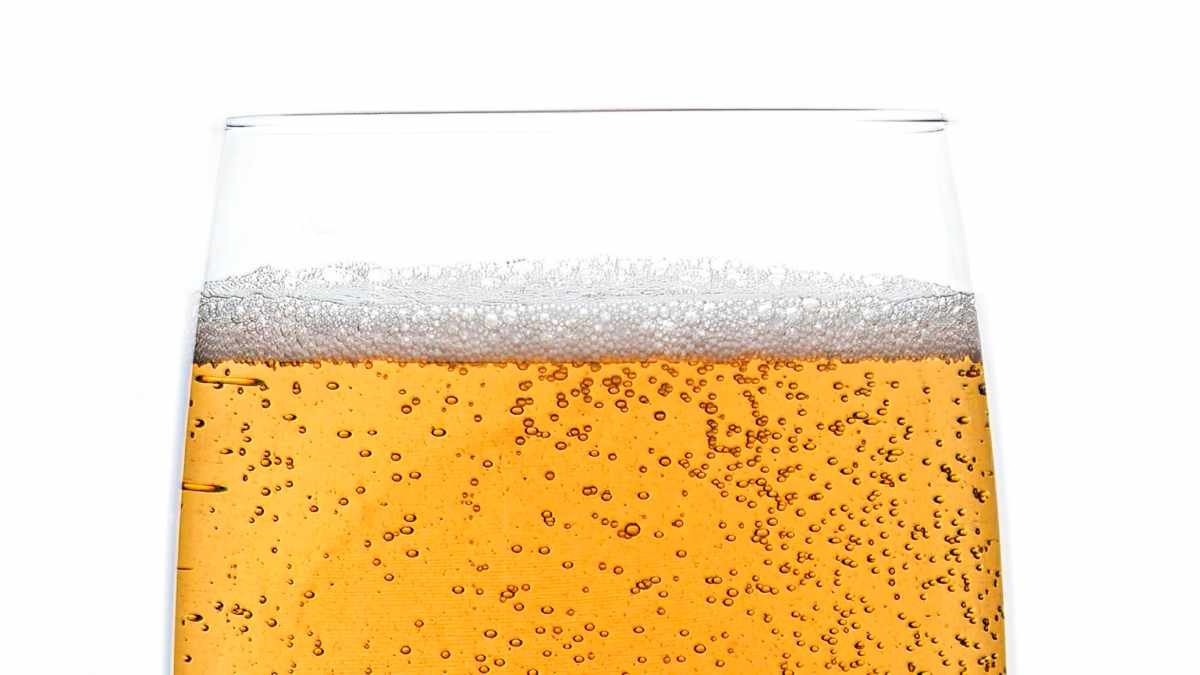
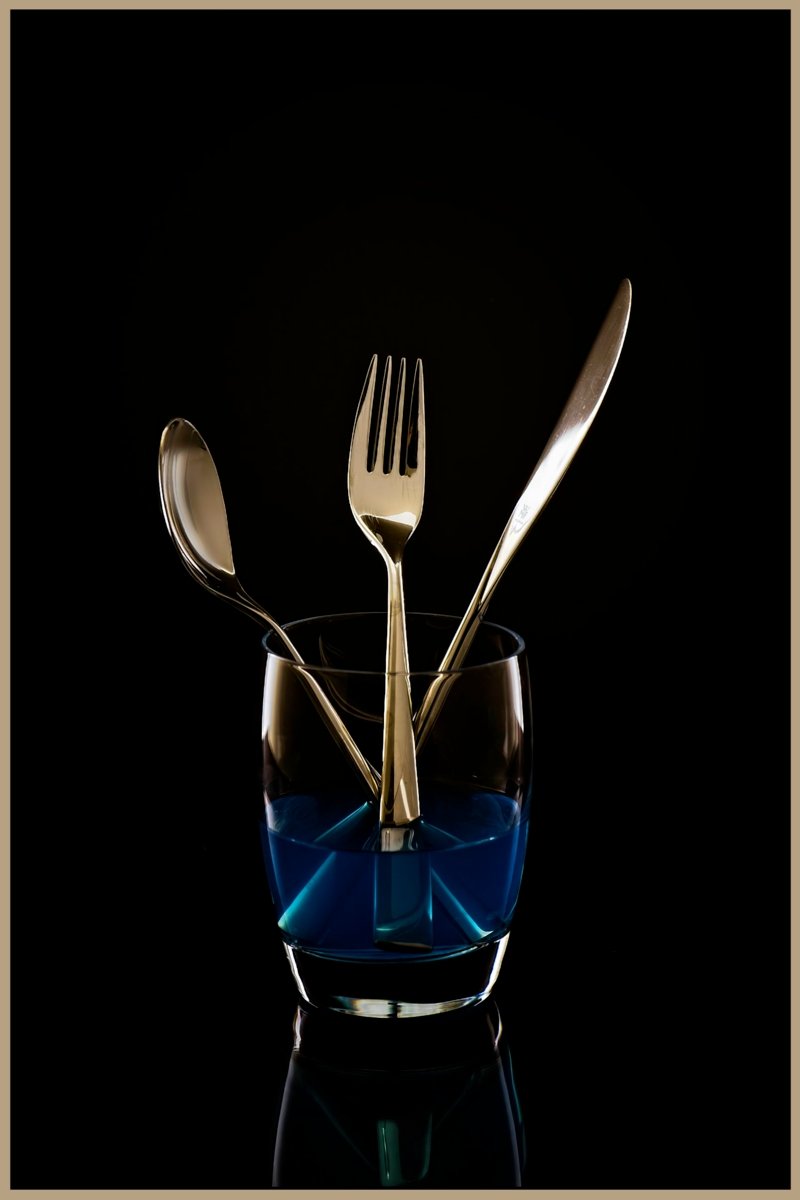
A delicate blend of blue shiny surface with the bright field lighting gives this drink an elegant, high end look.
ASSIGNMENT FIVE:
Four Final Product Shots:
The assignment is to try all of the variations of the dark and bright field lighting shown in the video. Keep notes so you can return to it knowing what can be done
Four finals: Two from bright field and two from dark field.
Products:
fragrances
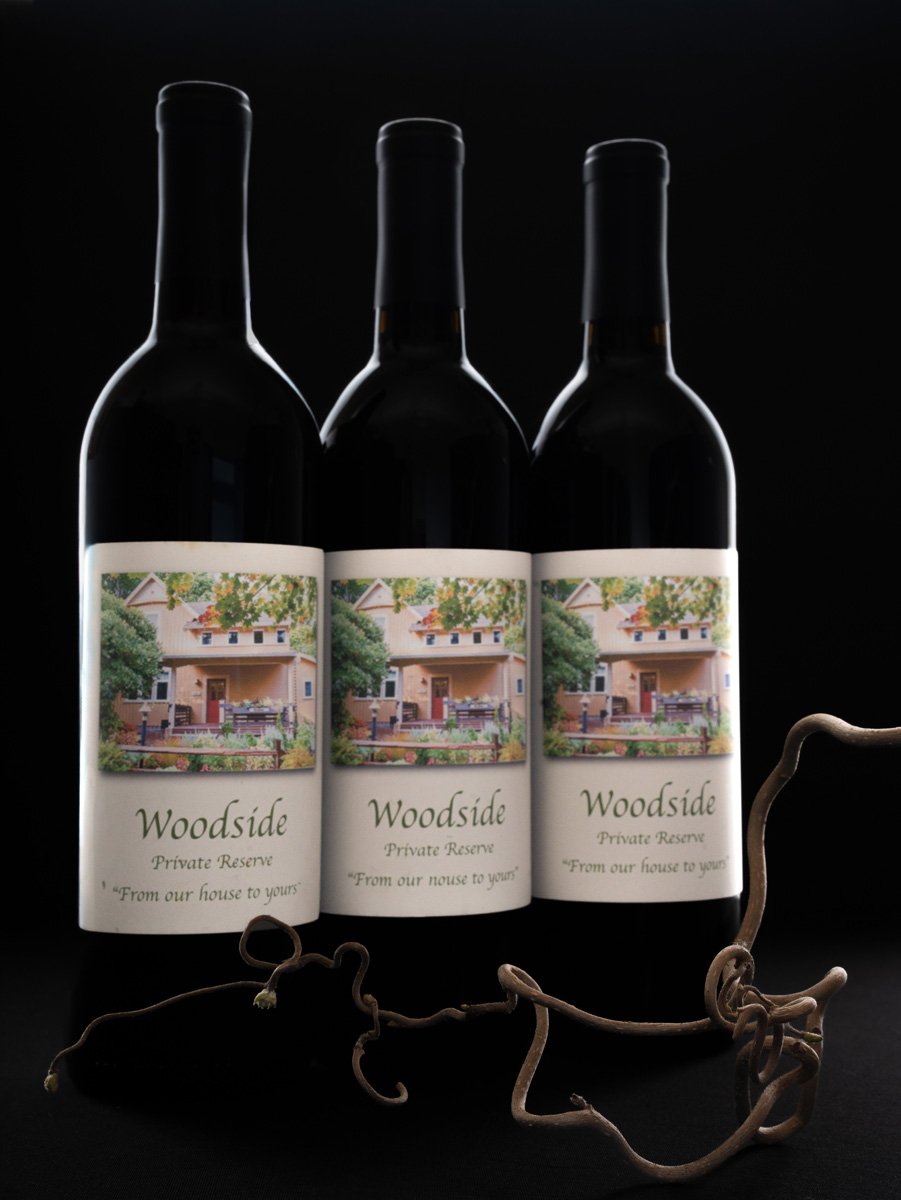
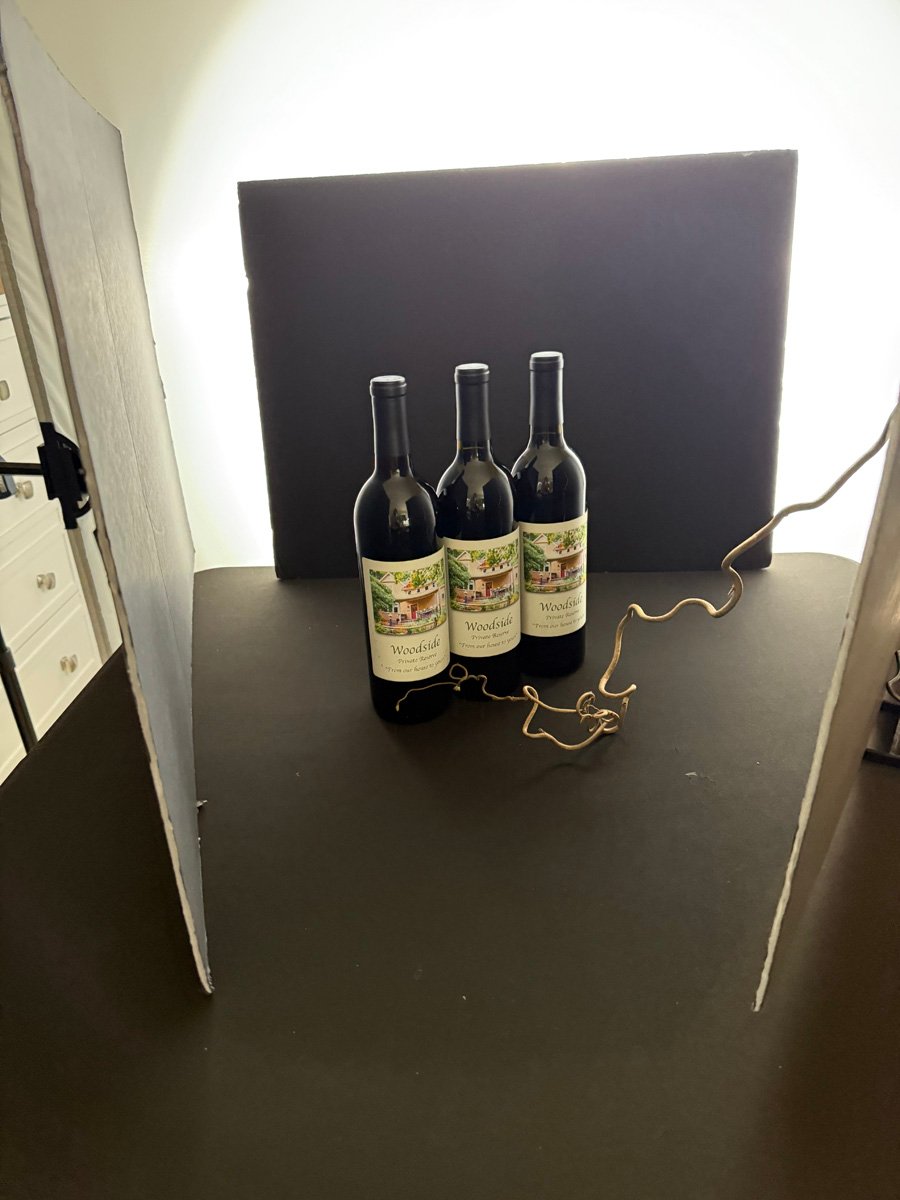
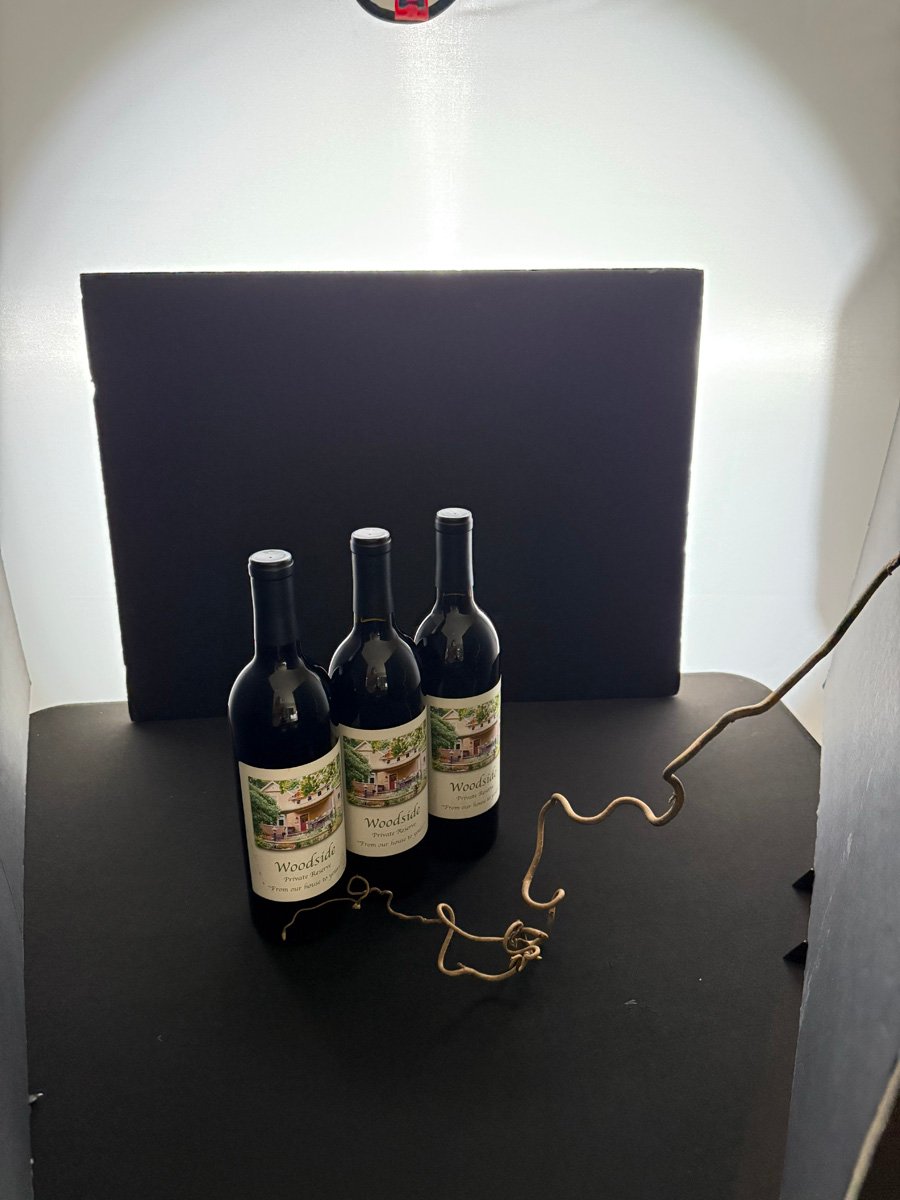
Wine bottles (must be three)
Electronics
Kitchen appliances
Stemware
Stoneware
Cookware.
ASSIGNMENT UPLOAD
1. Must not be larger than 1200 pixels on the longest side.
2. Must be .jpg format
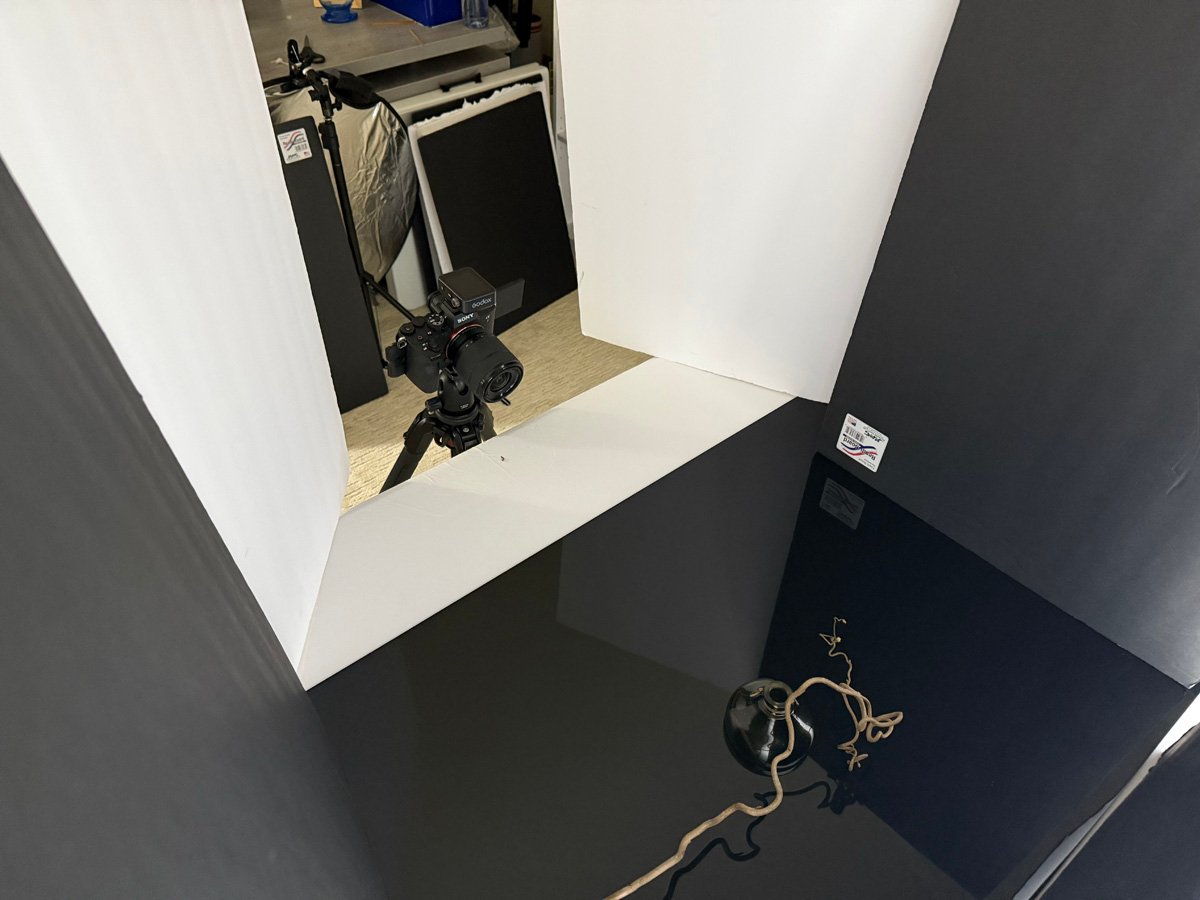
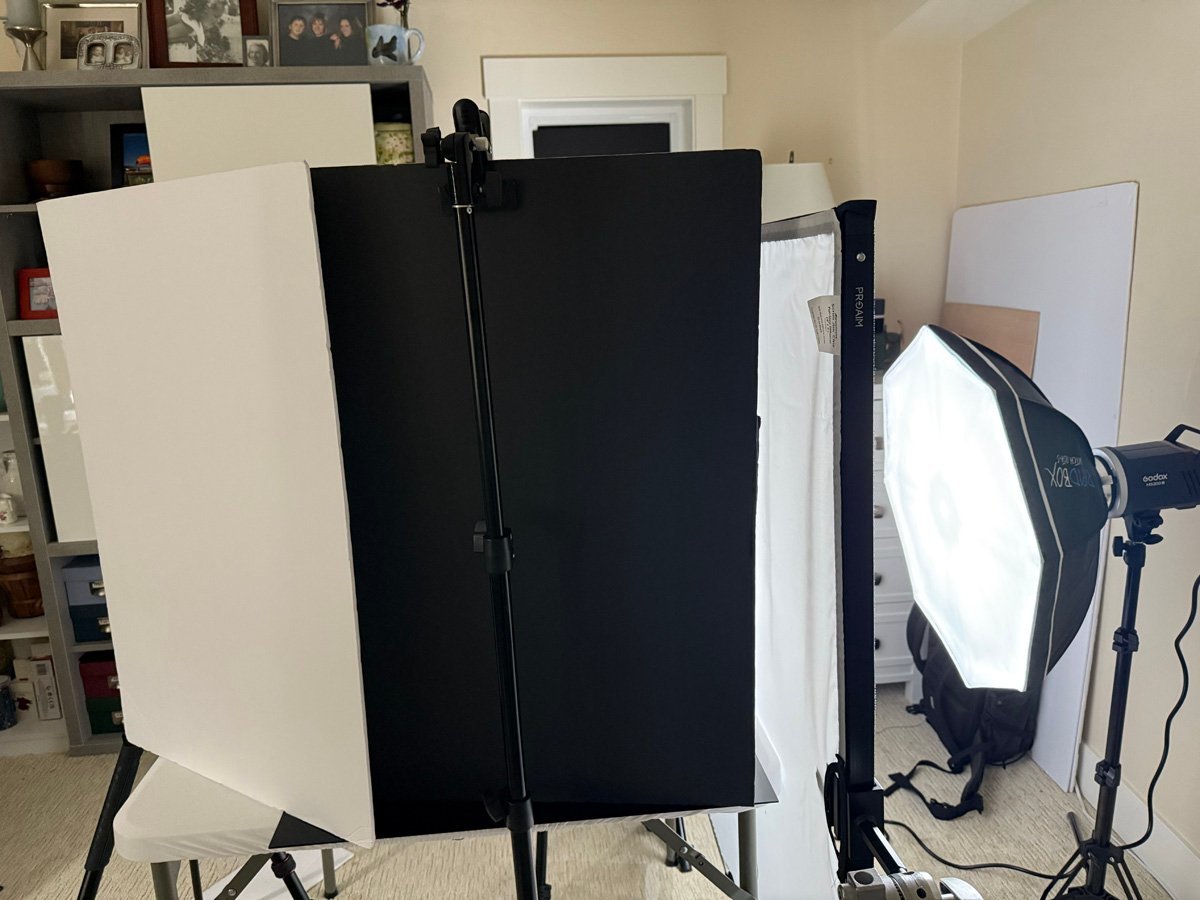
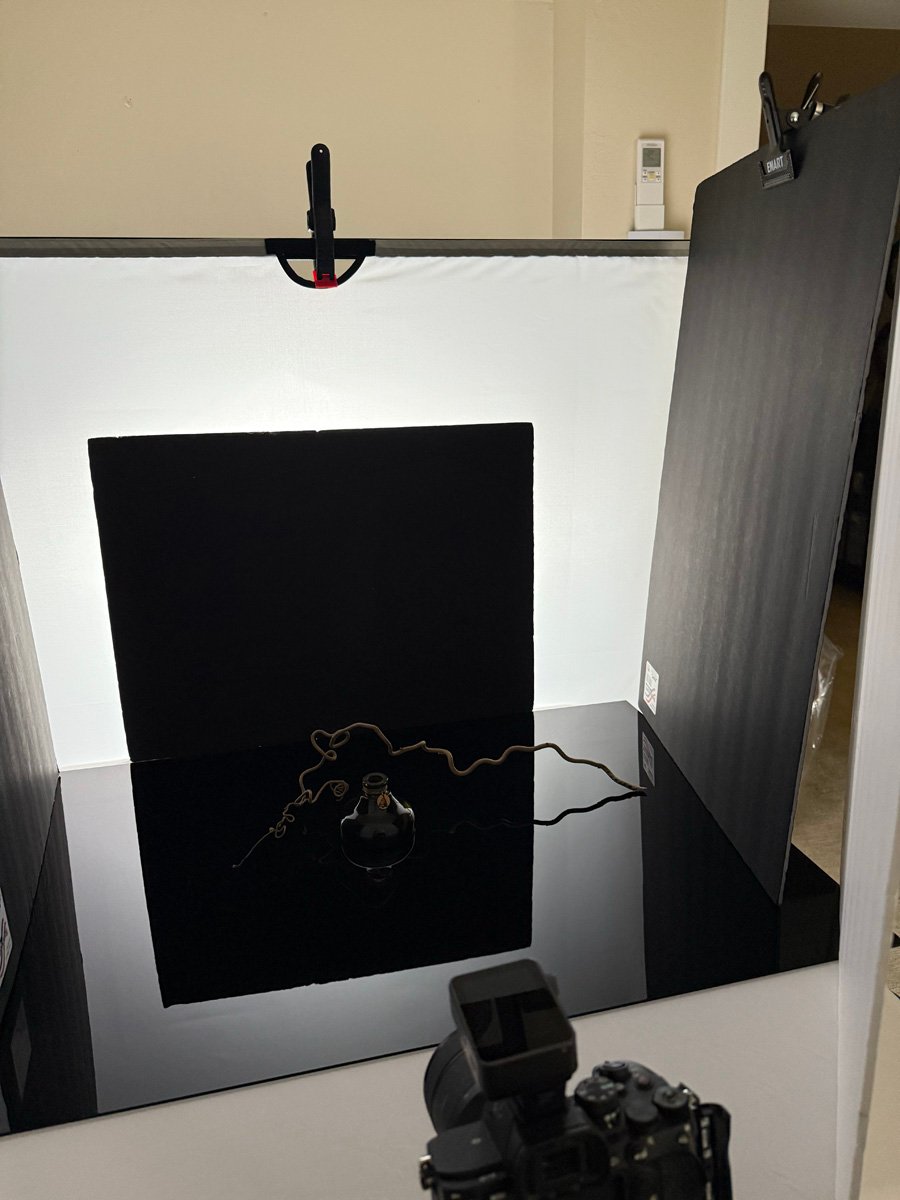
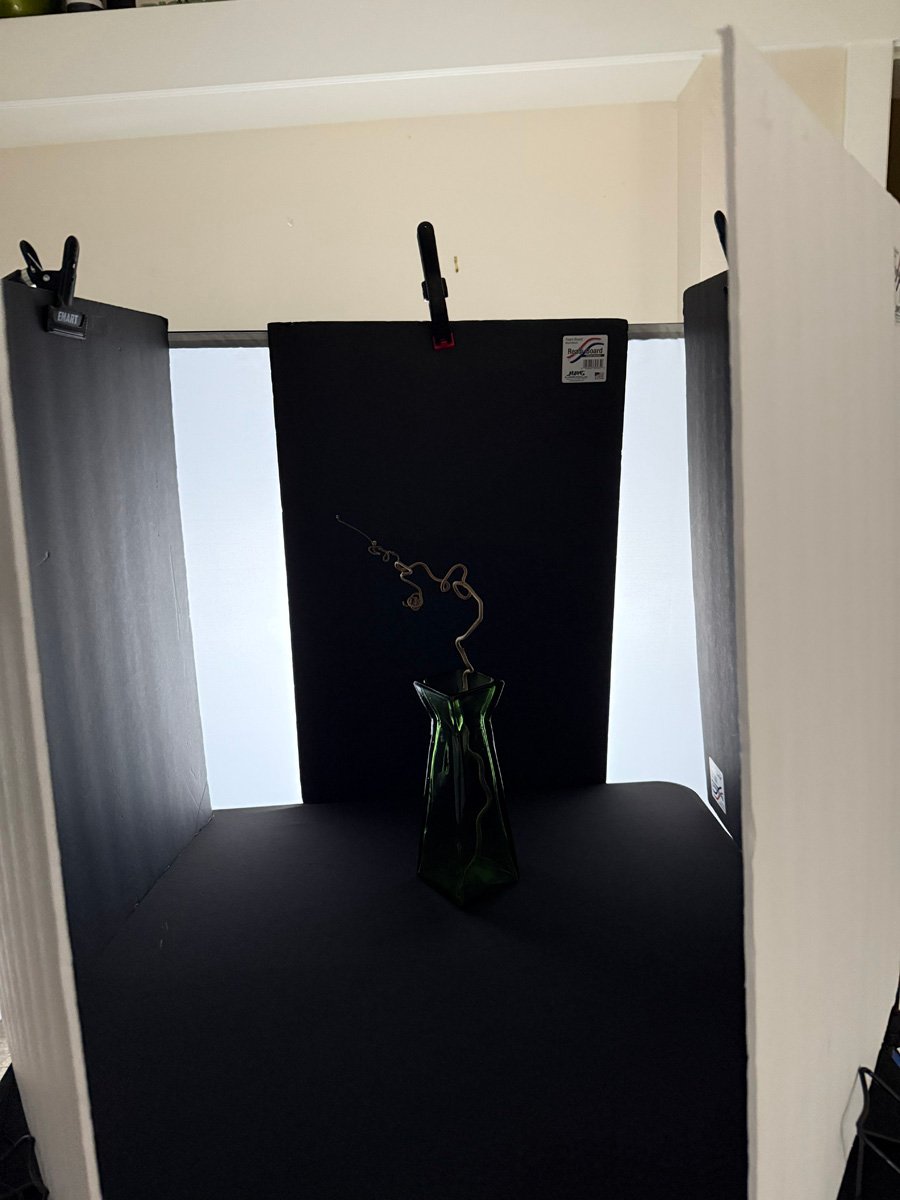
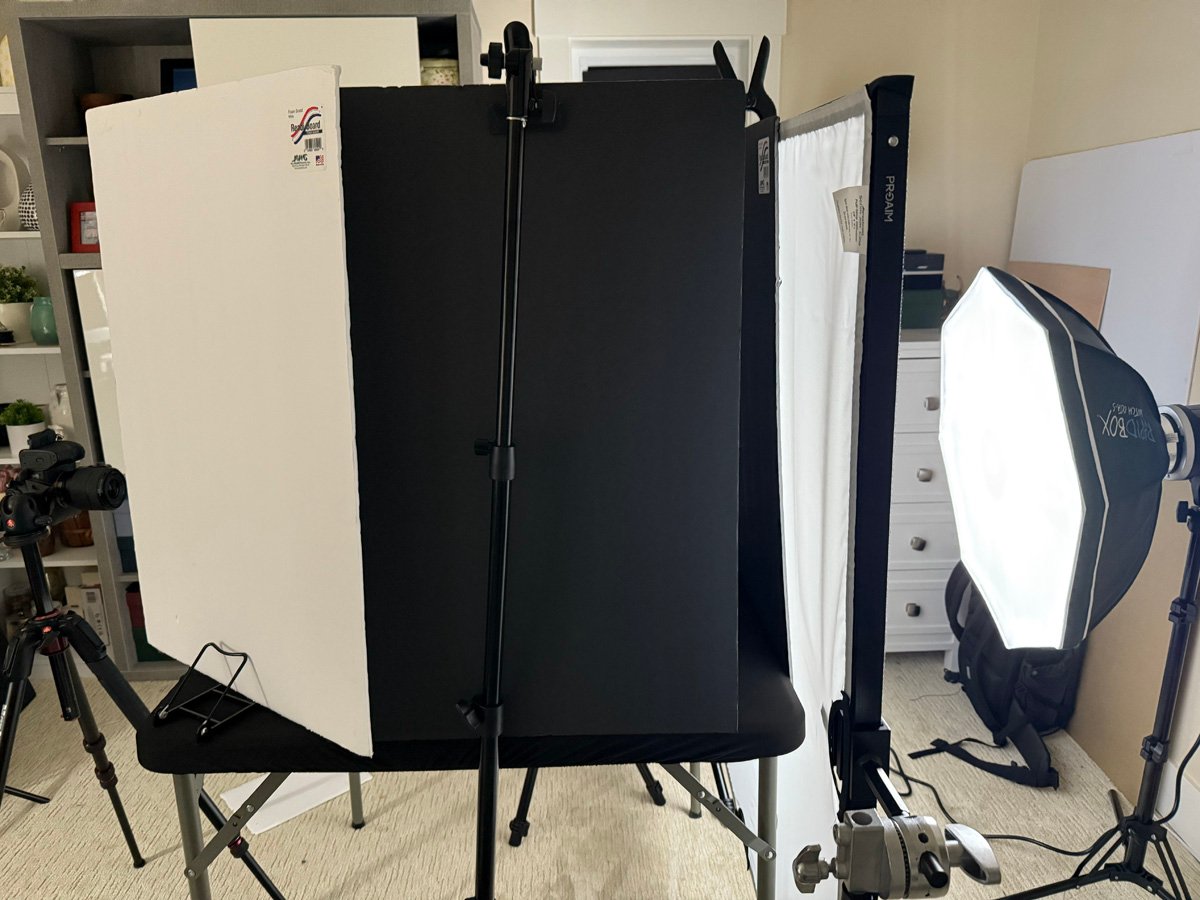
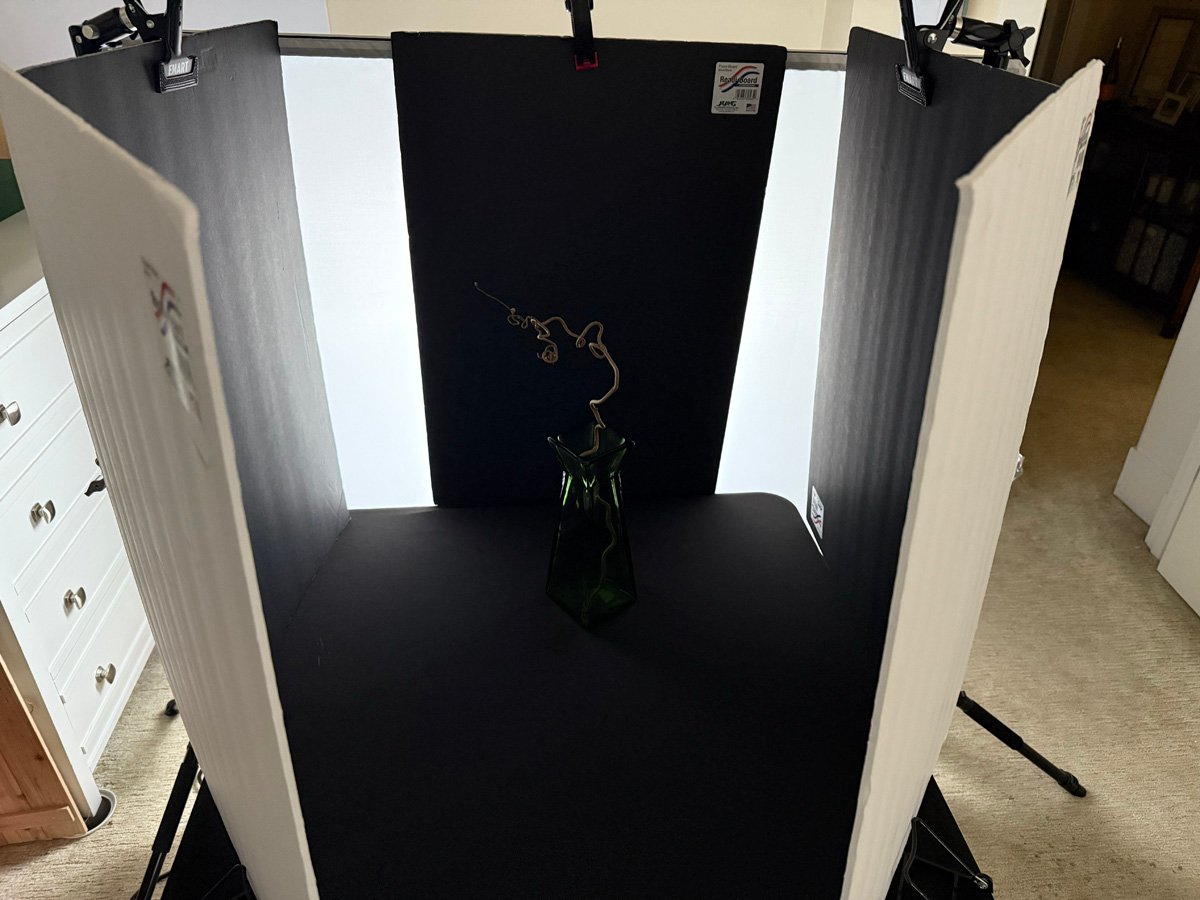
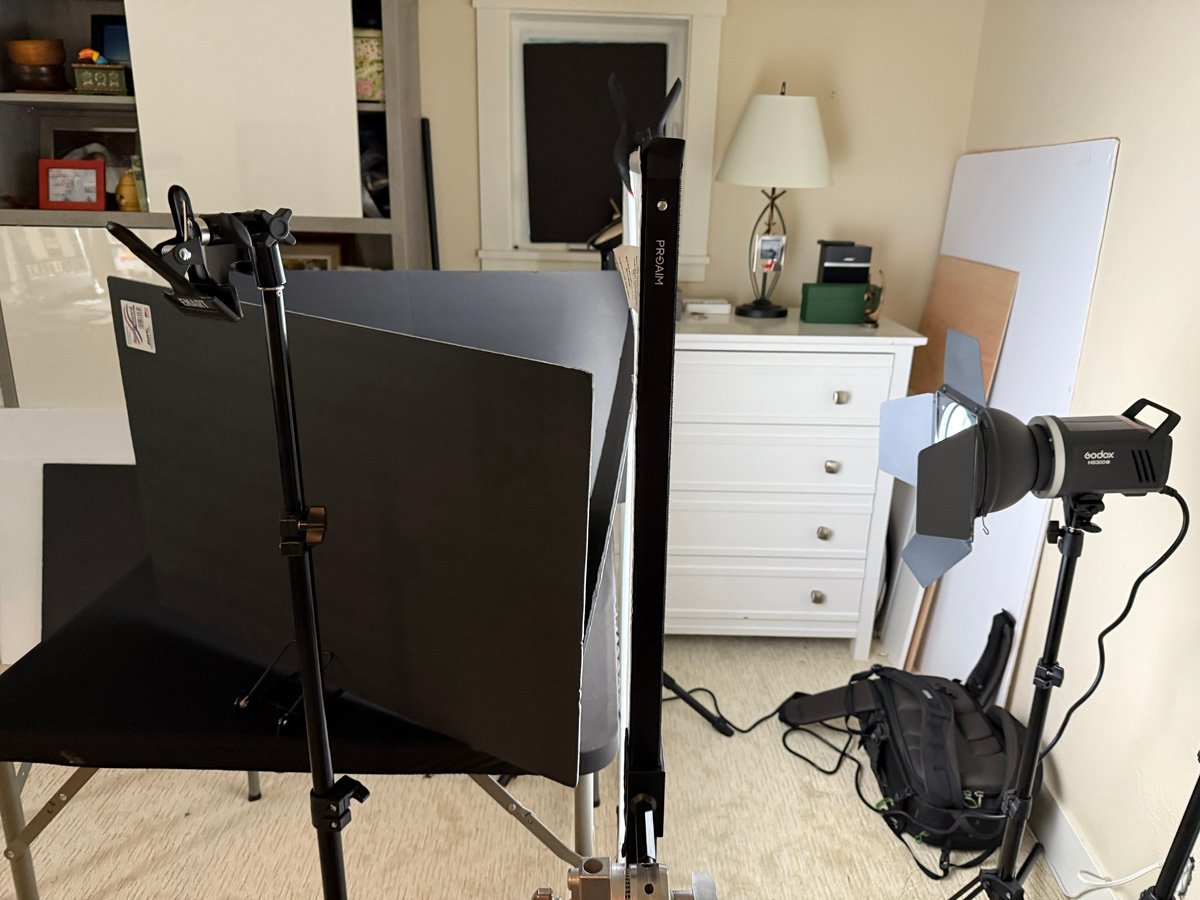
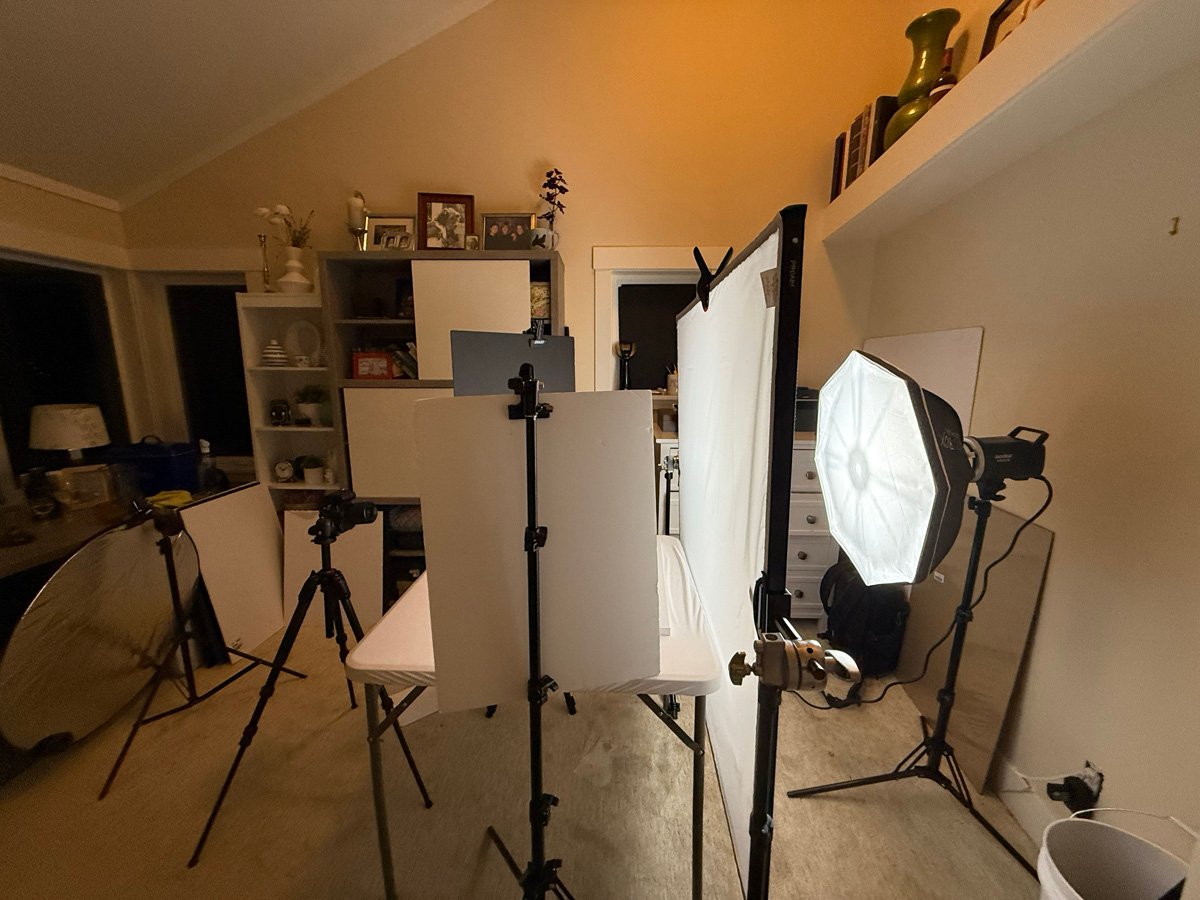
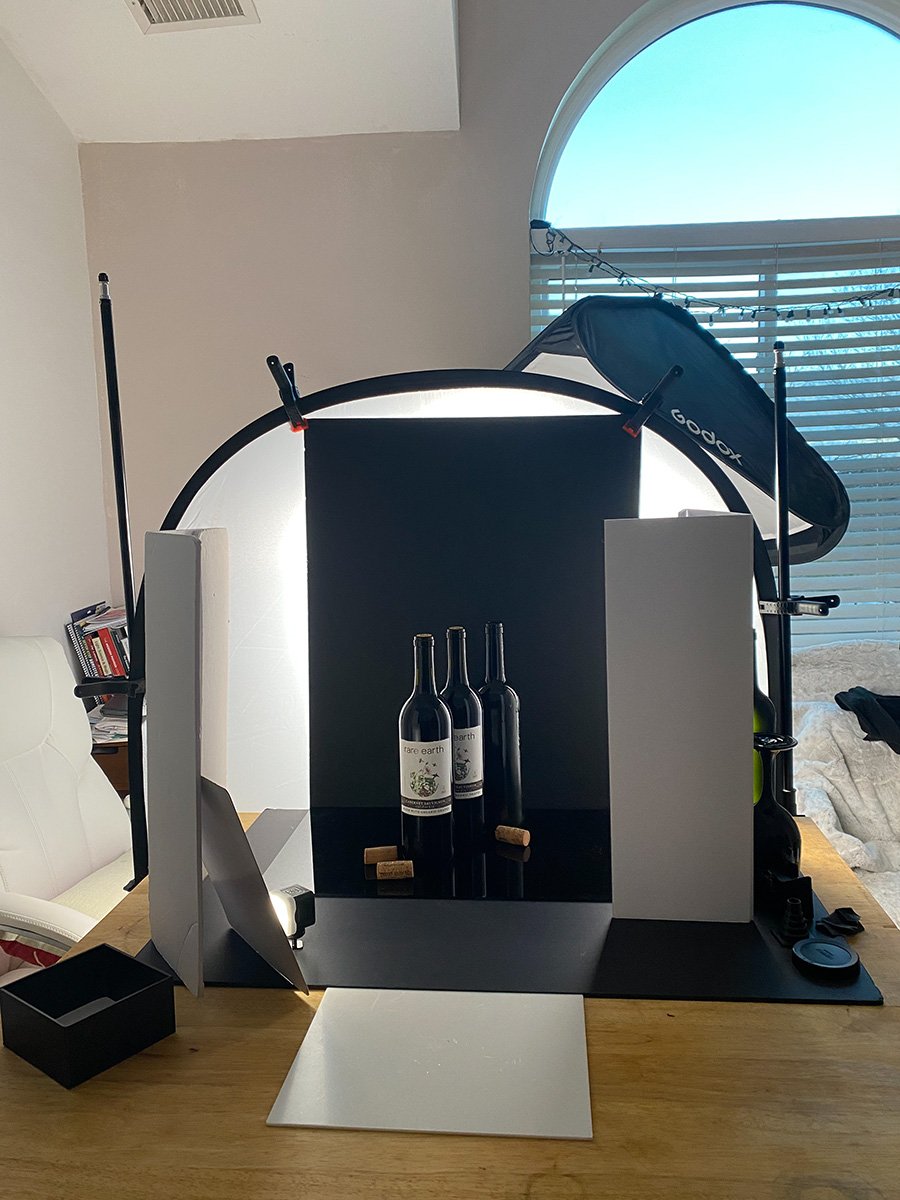
3. Include BTS shots
4. File naming: first-last-assignnumber-1.jpg (don-giannatti-1-a.jpg, don-giannatti-1-b.jpg, etc…
5. Be sure to resize phone shots.
[wordpress_file_upload]
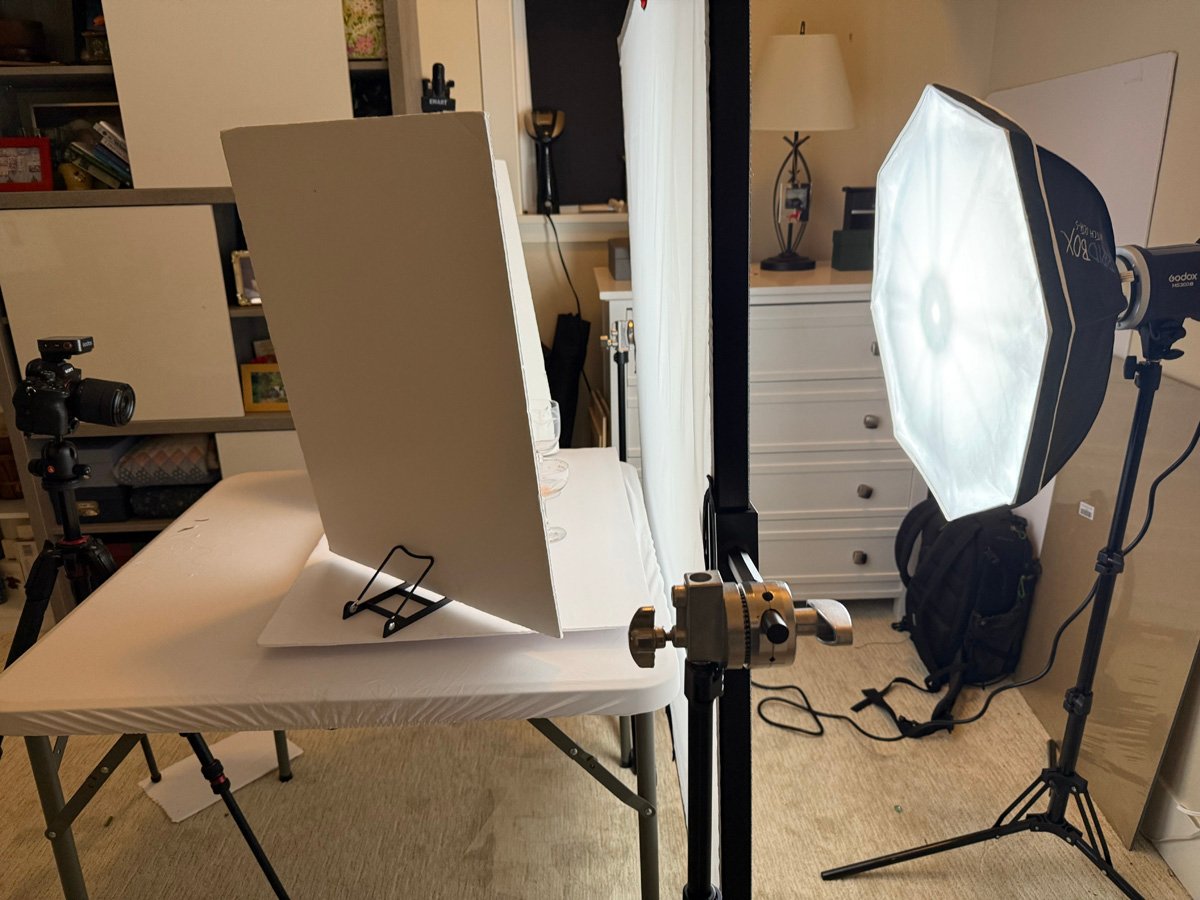
What you will need:
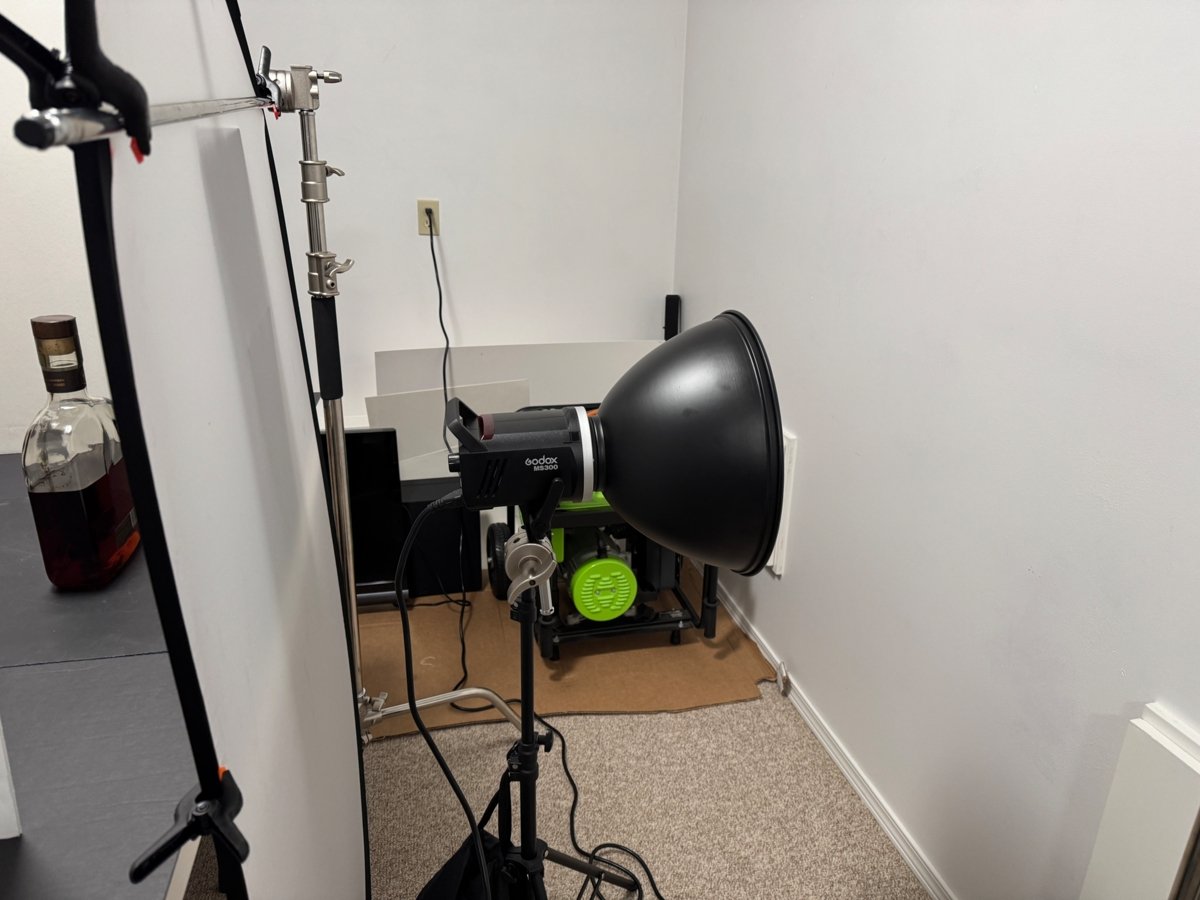
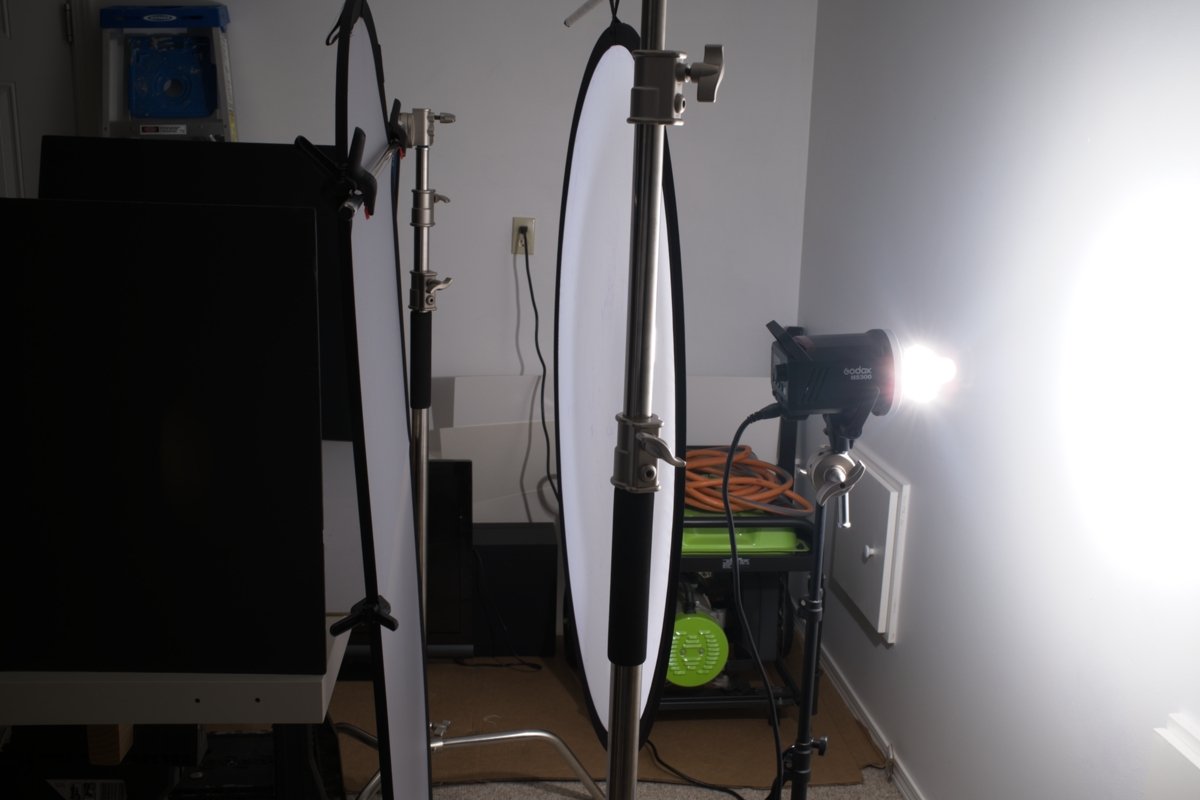
- One big light.
- Scrim
- Tabletop
- Props
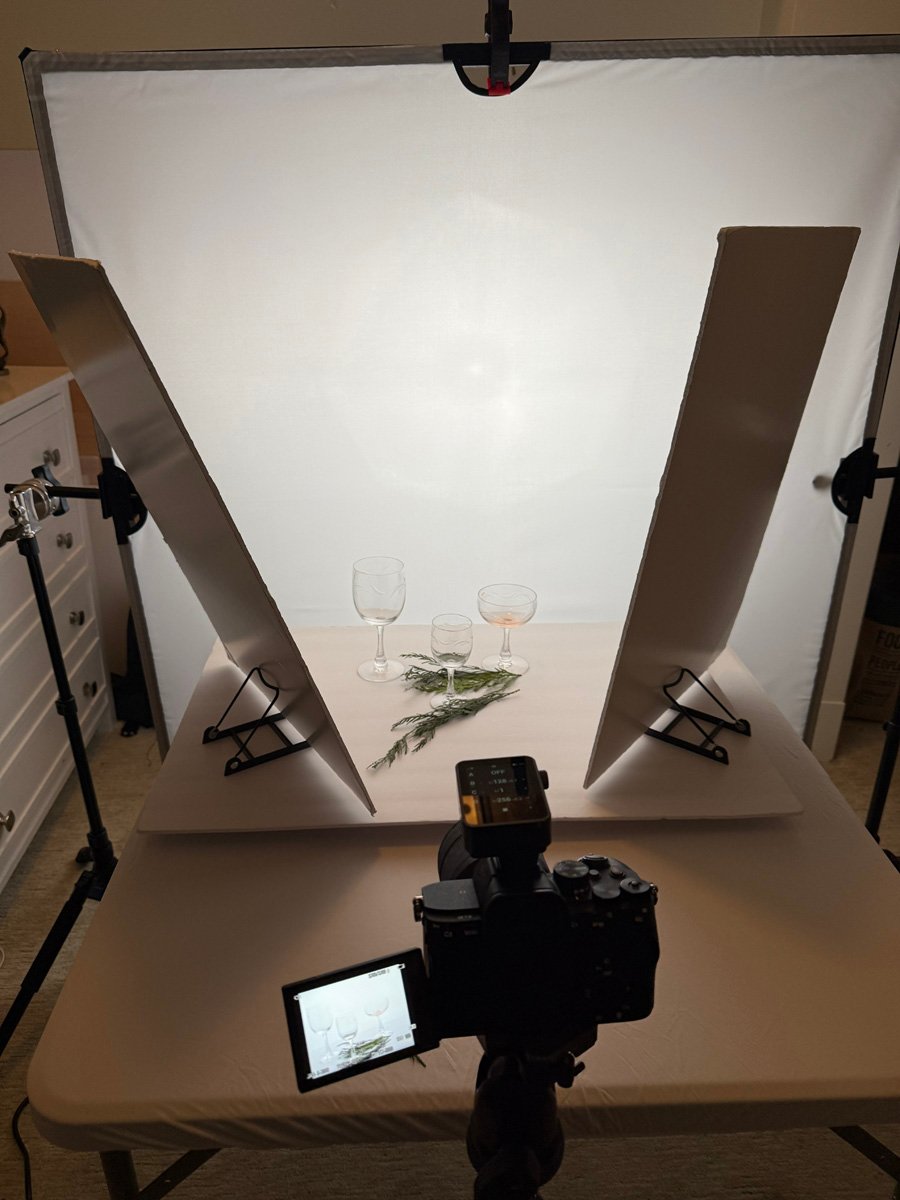
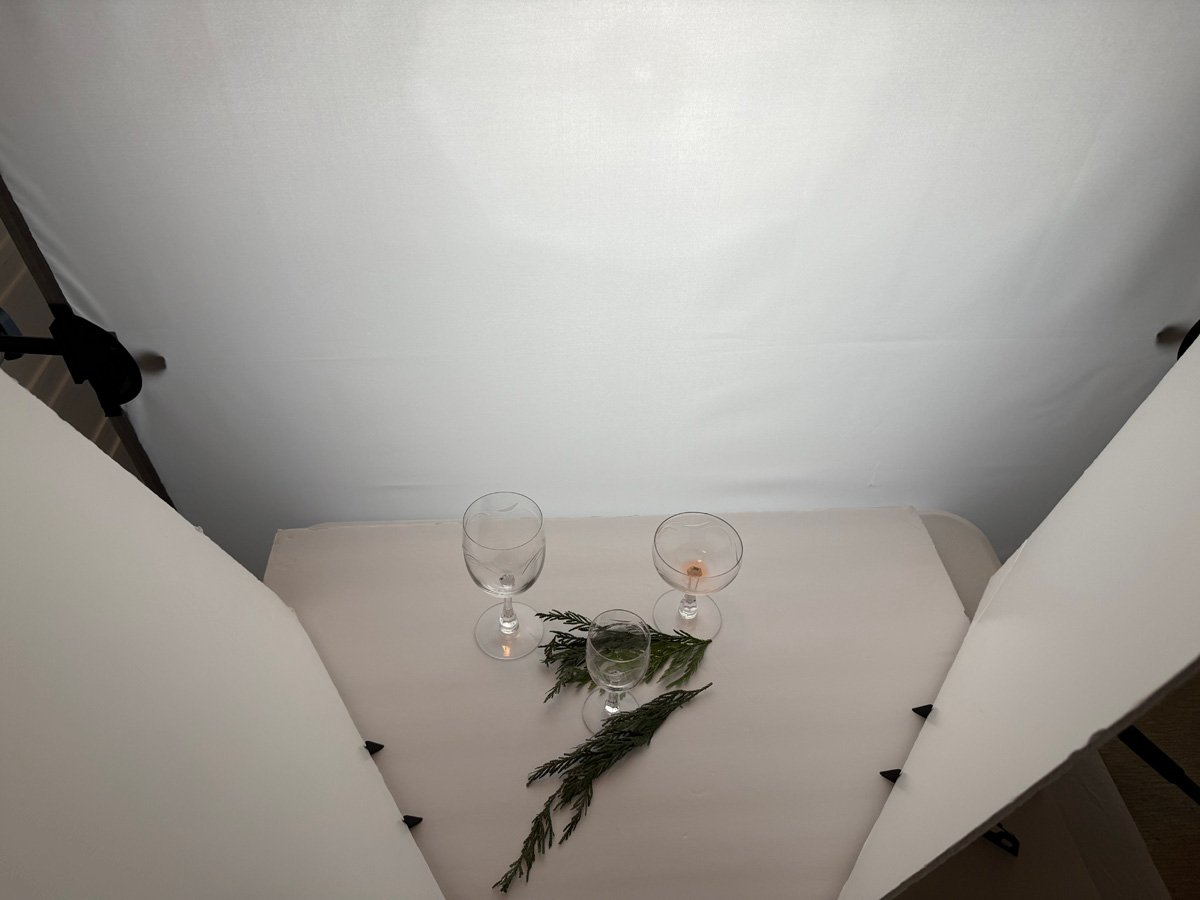
- Reflector ((2)black and (2)white cards) 36″ by 24″ or close
They must match in size. - Stands, boxes to hold up the reflectors… etce.
The Ultimate Guide to Starting Your Creative Business
The Ultimate Guide to Starting Your Creative Business (PDF)
Meeting Recap
Quick recap
The meeting focused on photography techniques and lighting setups, with participants sharing and discussing their work using different lighting methods such as dark field and bright field lighting. Don provided guidance on various photography challenges, including managing reflections, creating smooth highlights, and using gels and diffusers effectively. Participants shared their setups and techniques, with specific discussions on using LED panels, continuous lighting, and strobe lights. Don emphasized the importance of understanding lighting dynamics and suggested ways to improve certain images, such as adjusting the horizon line and using multiple layers in Photoshop. The group also discussed practical solutions for common photography issues, such as controlling background reflections and achieving desired highlight effects.
Next steps
- Don: Create and upload a video demonstrating how to create a fake tilt shift effect in product photography
- All participants: Practice next assignment using spray light, ensuring careful attention to horizon line placement
- Judy: Reshoot product photos at night or using black cloth/background stand to eliminate studio reflections
- Steve: Consider reshooting bottle photo with spray light as mentioned by Don
- All participants: Experiment with different angles and lens positions for the spray light assignment, including shooting up and putting lens right on surface
Summary
Challenges in Lighting Techniques
The group discussed their experiences with dark and bright field lighting setups, with most participants finding the dark field more challenging. Steve raised concerns about reflections in his setup, which Don suggested could be due to environmental control issues or a potential leak in the strobe connector. Don shared his own experience of painting a studio black, which proved difficult and was quickly reversed. The class discussed solutions for capturing the meniscus of wine in a glass, with Don suggesting the use of a white card for reflection control. Luciana Rizzi asked about jagged edges in bottle highlights, which Don attributed to the position of the bottle and suggested Photoshop adjustments as a temporary solution.
Photography Techniques and Feedback
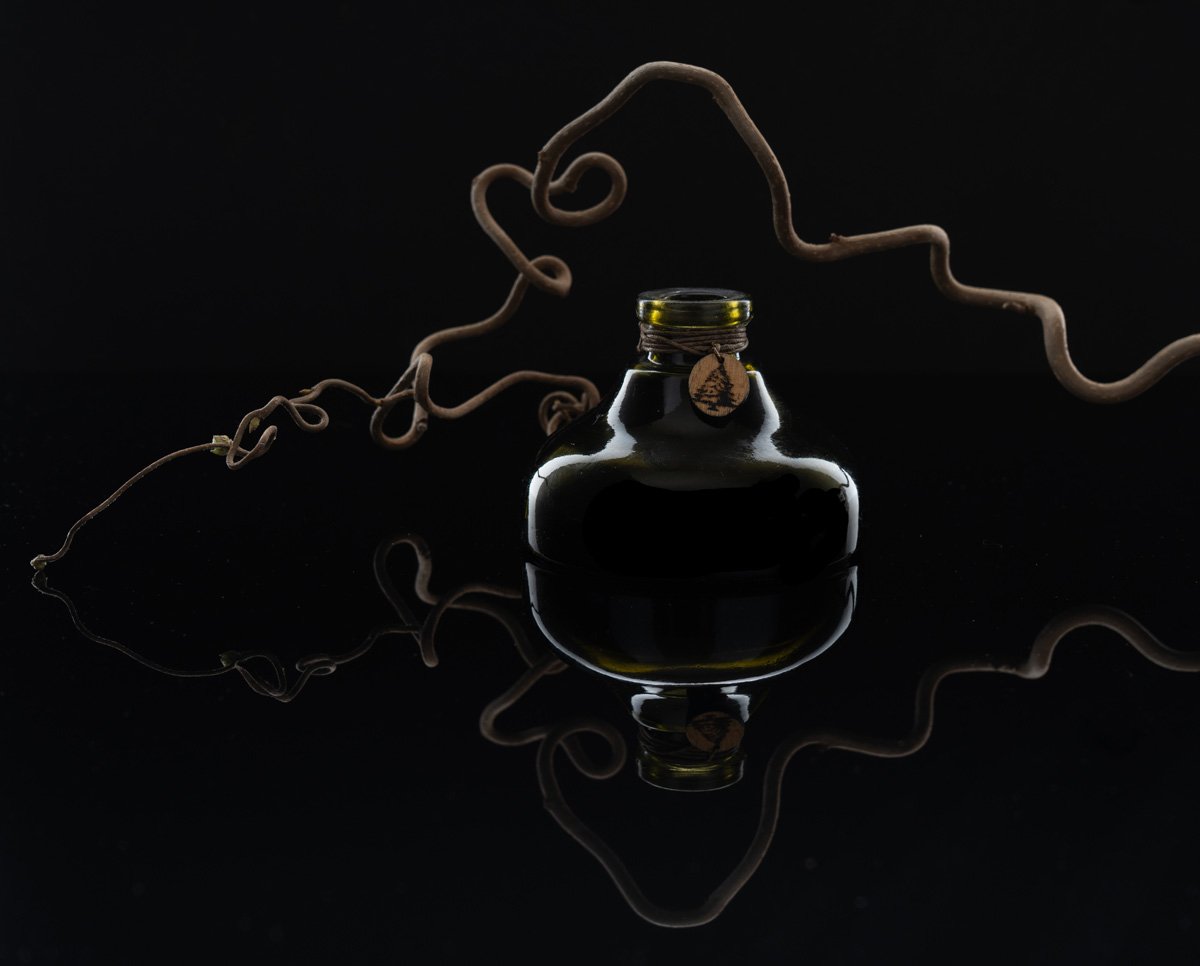
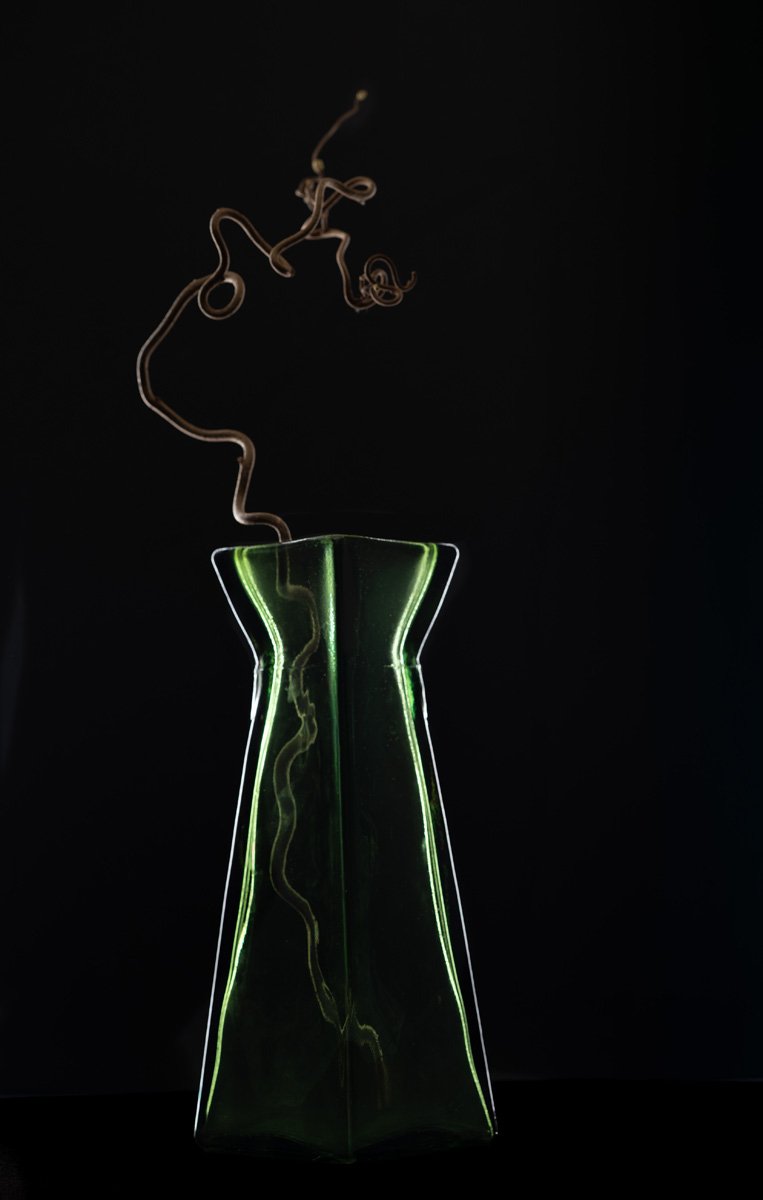
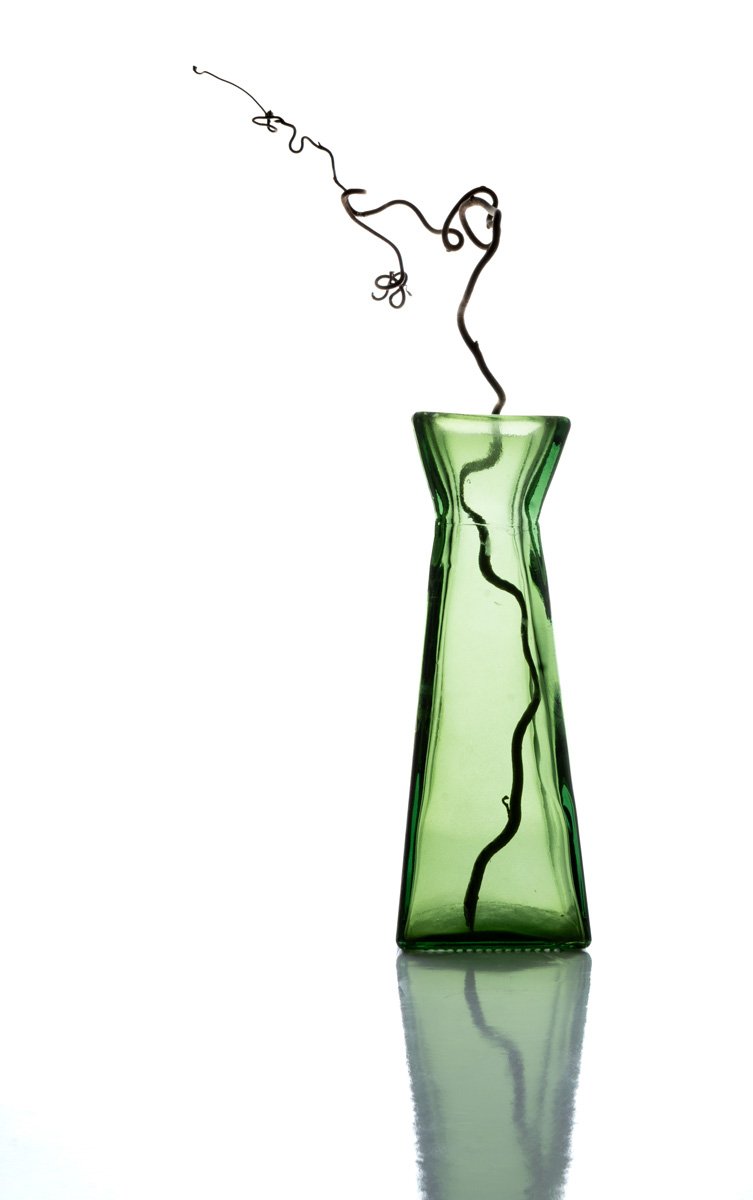
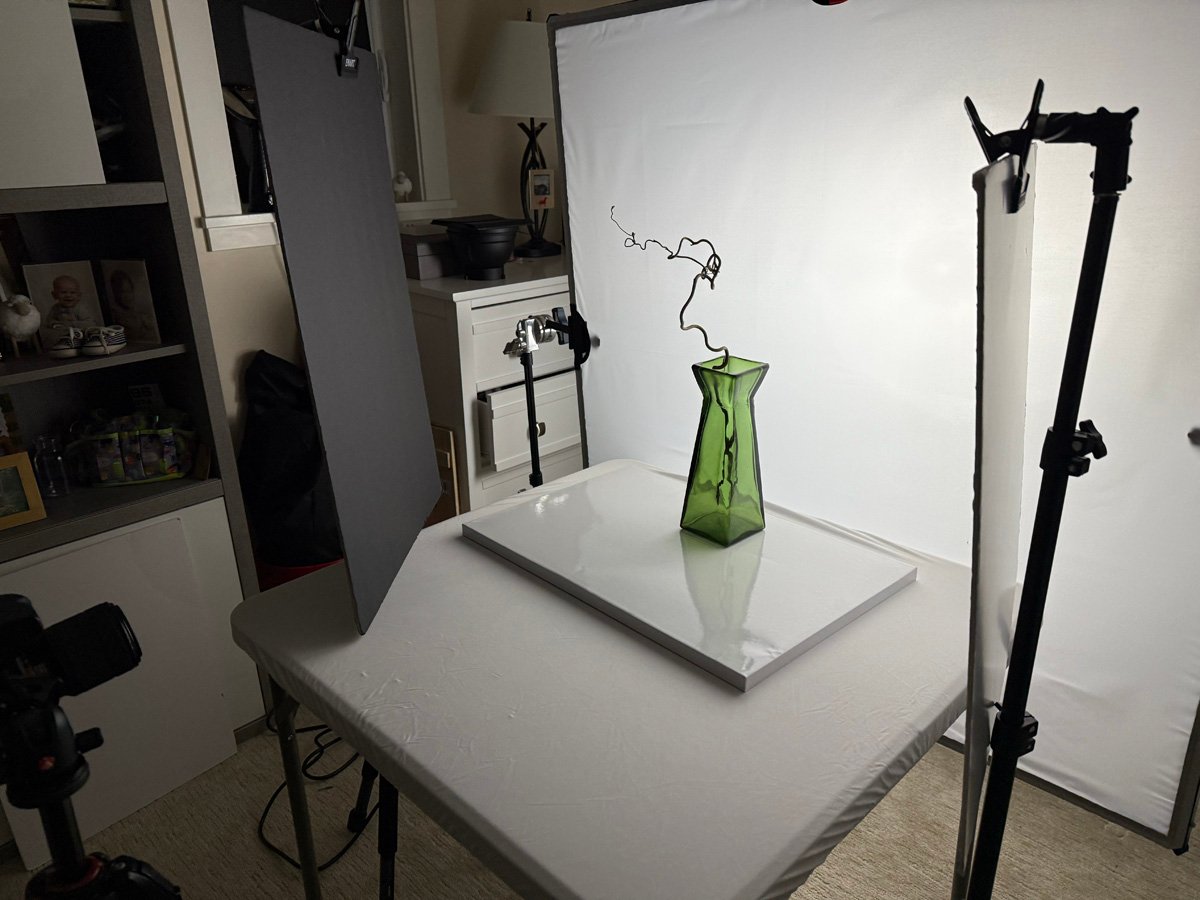
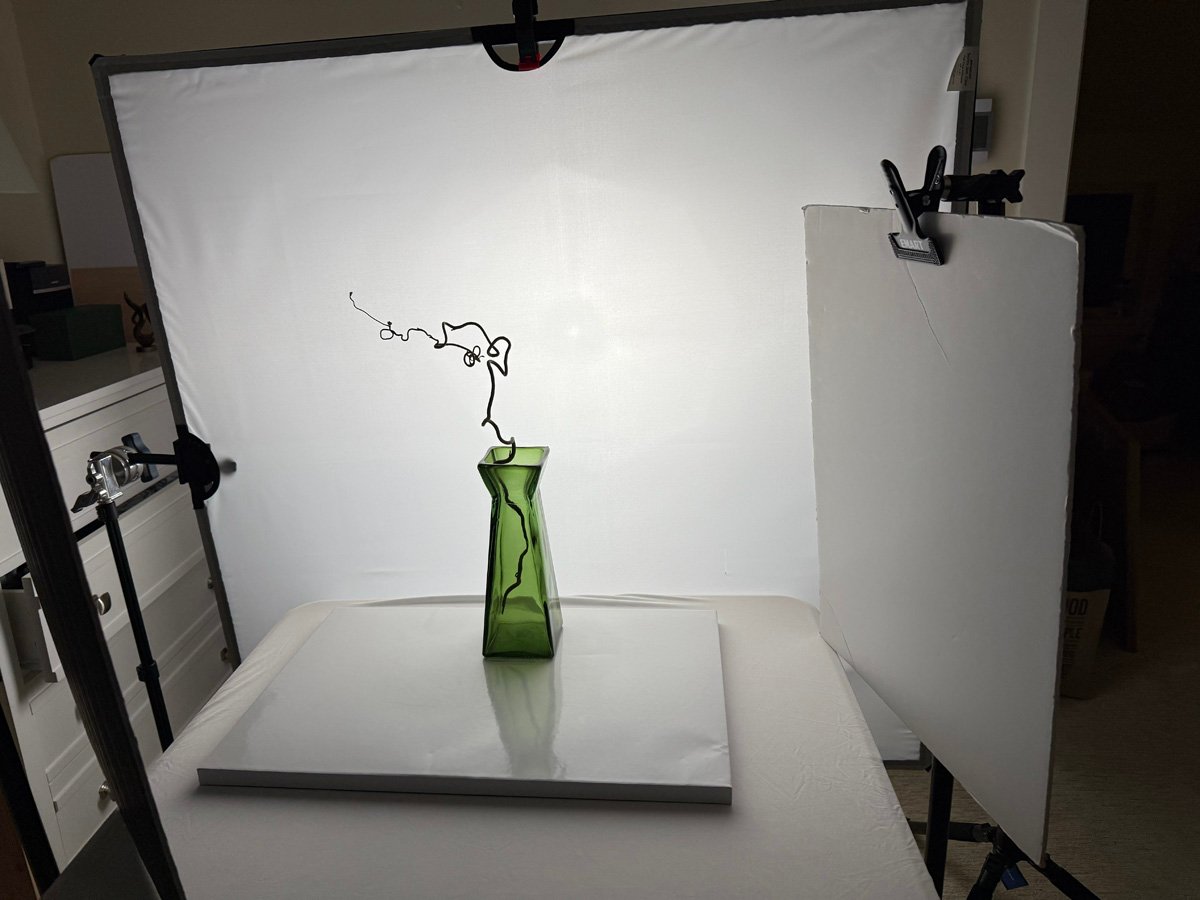
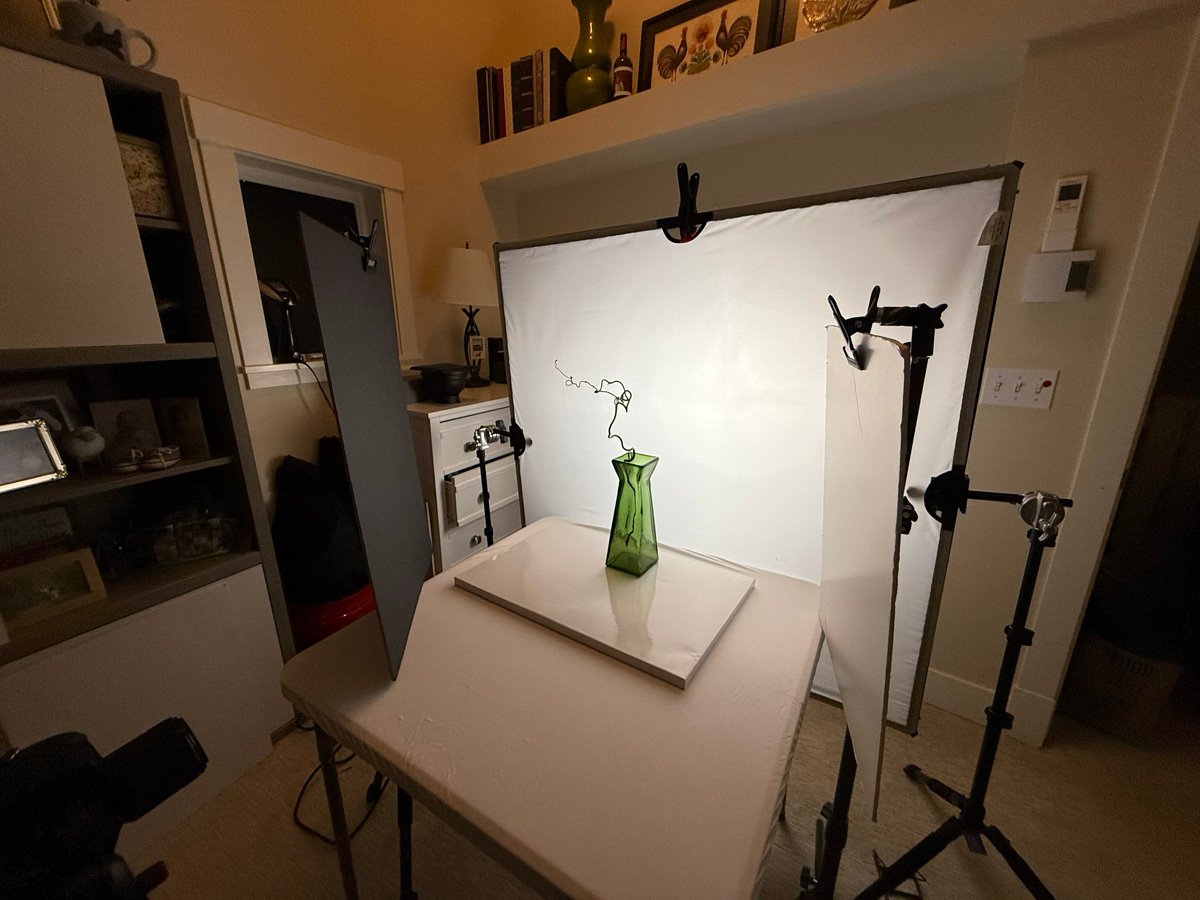
The group discussed photography techniques, focusing on lighting and composition. Christine shared her photos of a contorted filbert tree branch and a green vase, receiving feedback from Don on how to adjust the exposure and highlight certain elements. Don praised Christine’s use of notes and consistency in her setup, comparing it to his own learning process with large format film cameras. The conversation highlighted the importance of documentation and repeatability in photography, with Don suggesting a technique for capturing additional frames at different exposures.
Crystal Collection Photography Project
Christine shared her photography project involving her mother’s crystal collection, which she is documenting as part of a personal project to create family memorabilia books. Don provided technical guidance on photographing the items using picture frame holders and explained a technique for adjusting lighting and layering in Photoshop to achieve desired effects. The group discussed the practical aspects of using frame holders for displaying items, with Don suggesting they could be found on Amazon and recommending adding weights to keep them stable.
Product Photography Techniques Discussion
The group discussed photography techniques for product shots, particularly focusing on drop and pop photography where multiple items are photographed quickly for a bulk fee. Don explained that for such shoots, photographers should aim for perfect setups that don’t require extensive post-processing, using JPEG and RAW formats, and suggested giving clients USB drives with the final images. The discussion included detailed reviews of various lighting setups and photography techniques, with Inge sharing her experience using LED lighting and discussing how to achieve desired contrast levels in her shots.
Lighting Techniques and Troubleshooting
The group discussed lighting techniques and issues. Don advised Luciana on how to avoid vertical stripes in her LED panel lighting by using double diffusion and maintaining proper spacing. Inge shared her experience working with a white background, noting challenges with achieving pure white and using a branch for creating shadows. Don explained various ways to use gels in lighting, emphasizing the importance of proper placement to avoid melting and damage. Judy mentioned an issue with studio reflections in her photo and expressed the need to reshoot.
Photography Lighting and Post-Processing
Don advised Judy on improving her lighting setup for photography, suggesting she use a black sheet or cloth to block out window light and recommended a background stand kit. He explained that continuous lighting would make it challenging to eliminate reflections, and suggested using an 8×10 black board to adjust the lighting on etched glass. Inge shared her experience with the updated Photos app on her MacBook, which now includes features like reflection removal and color grading. Judy and Don discussed adjusting the white balance and contrast in her photos, and Don noticed a horizon line issue that Judy could address in her composition.
Product Photography Lighting Techniques
The group discussed photography techniques, focusing on product shots and lighting. Don provided feedback on various photos, including suggestions for reducing background reflections and adjusting spacing between objects. Judy and Robinson shared their setups and challenges, with Don offering solutions and explanations. The conversation also touched on the pros and cons of different lighting methods and the importance of controlling ambient light.
Photography and Slab City Insights
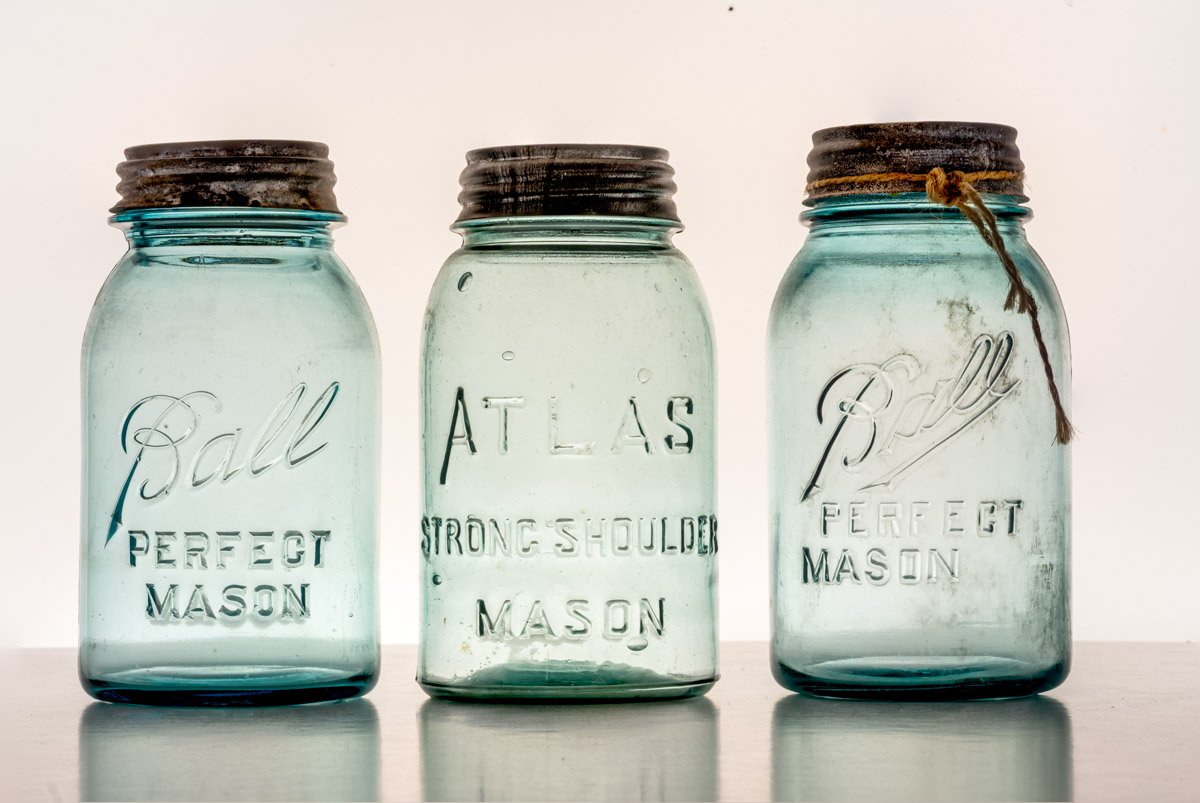
Robinson shared his experience purchasing a Strobe Pro Expedition pack from Canada, noting its high shipping cost of $591 to Texas. Don and others admired Robinson’s photography work, particularly a composite image featuring soft colors and an old jar transformed into a piece of art. The group discussed the unique properties of Slab City near the Salton Sea, with Don describing it as an off-grid community with no facilities or sewer systems.
Photography Techniques and Pricing Discussion
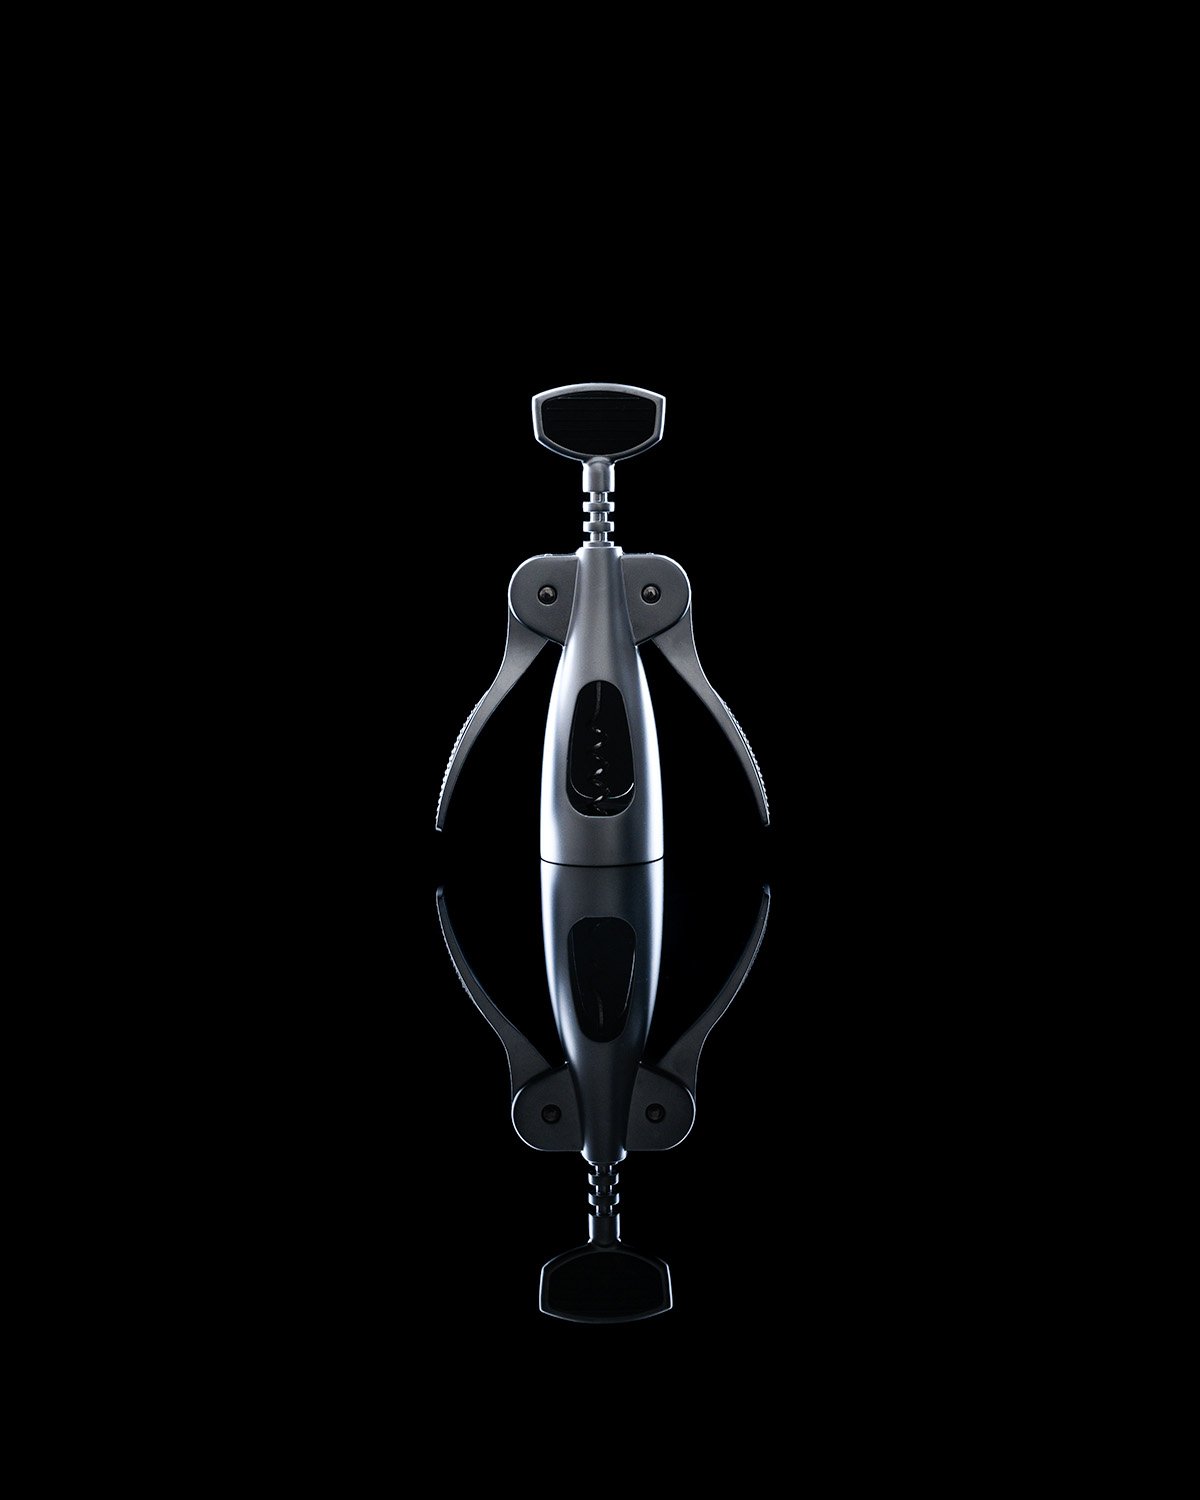
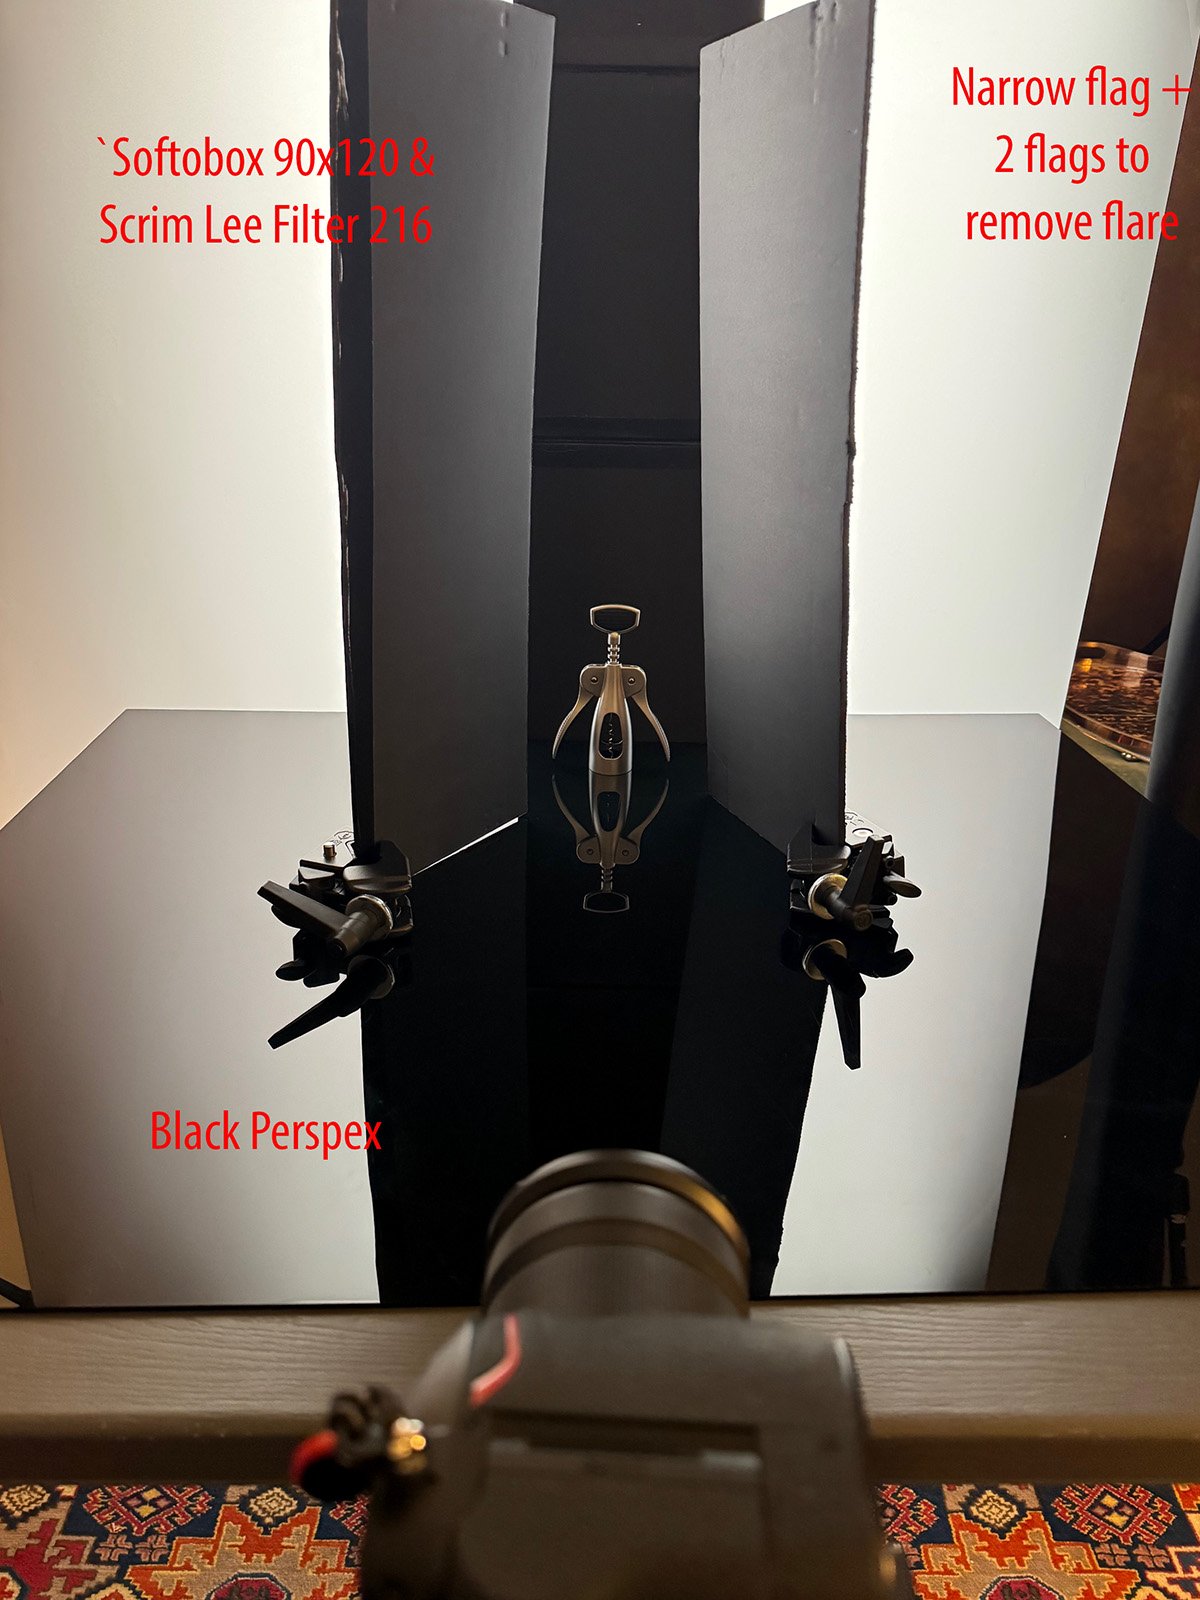
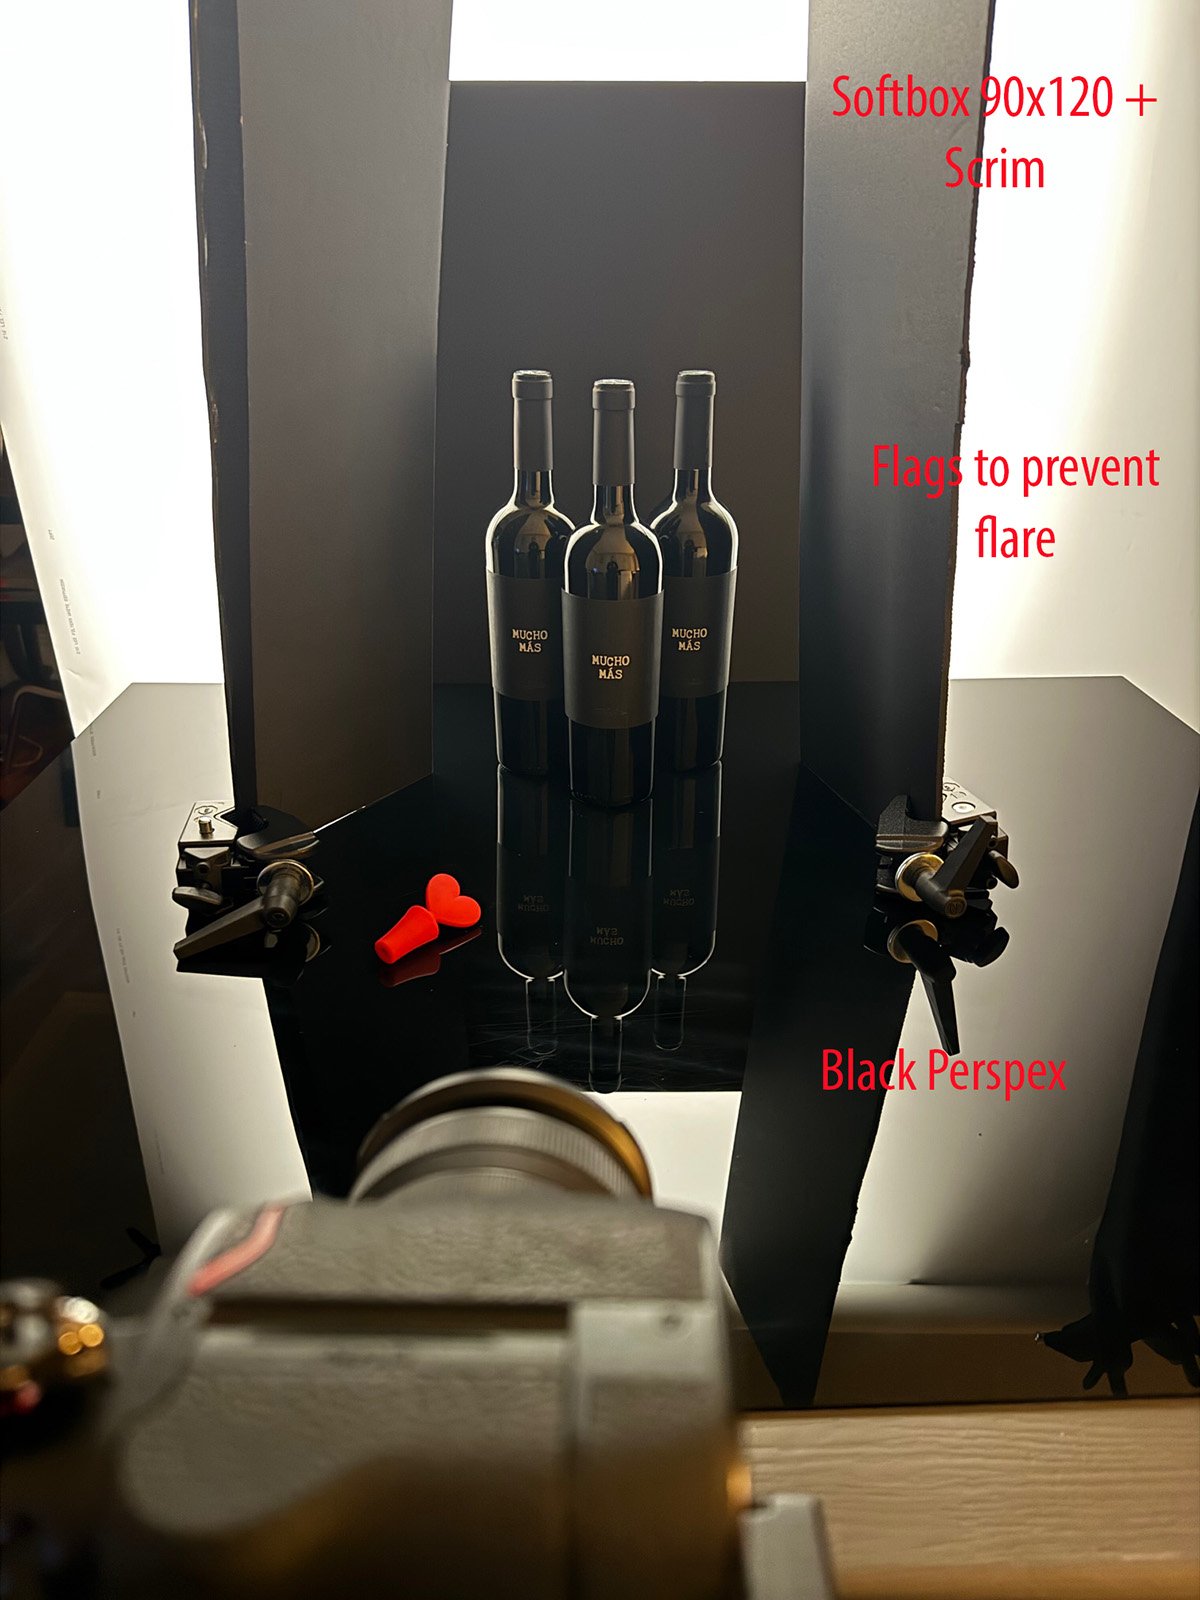
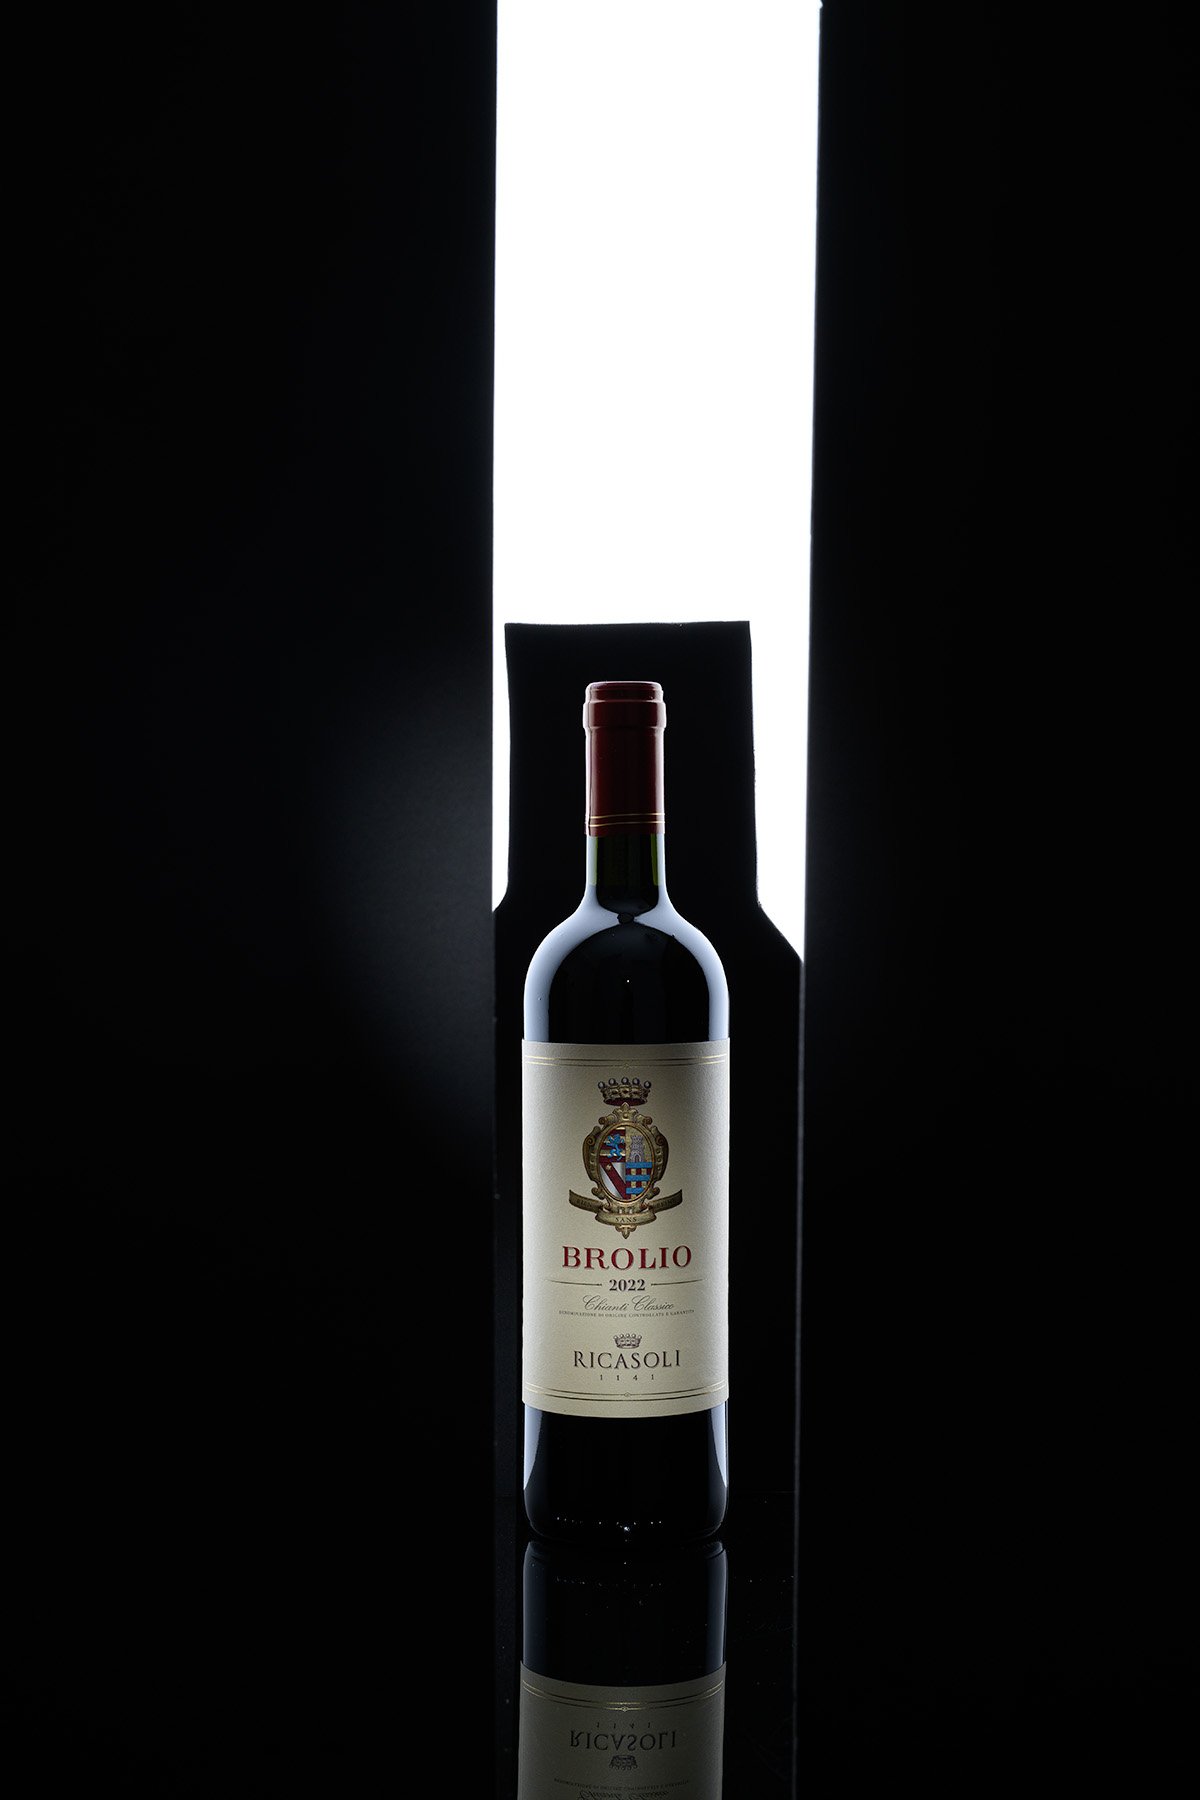
Luciana presented her photography work, including a vertical shot of a textured wine opener and a bottle photograph with dynamic lighting. Don provided feedback on her technique, particularly regarding highlight placement and depth of field, and suggested using black gaffer’s tape to create crisp edges. They discussed the value of photography depending on its intended use, with Don explaining that a simple pub photo could be worth $250-350 while a high-end campaign shot could be worth $40,000 despite similar technical execution.
Product Photography Lighting Techniques
The class focused on product photography techniques, with Robert demonstrating various lighting setups using LED lights and white cards to achieve desired effects. Don provided feedback and suggestions for improving the shots, including adjusting card placement and using Photoshop post-processing techniques. Students shared their own photos and learned about controlling reflections, using black cards for edge definition, and creating fake reflections. Don announced plans to create a video tutorial on creating a tilt-shift effect without a tilt-shift lens.
Class Two
