8 WEEK CLASS: NOVEMBER 2025
One Big Beautiful Light: Week Seven
Portraits with Big Natural Light
Bounced light, open sky, and scrimmed sunlight
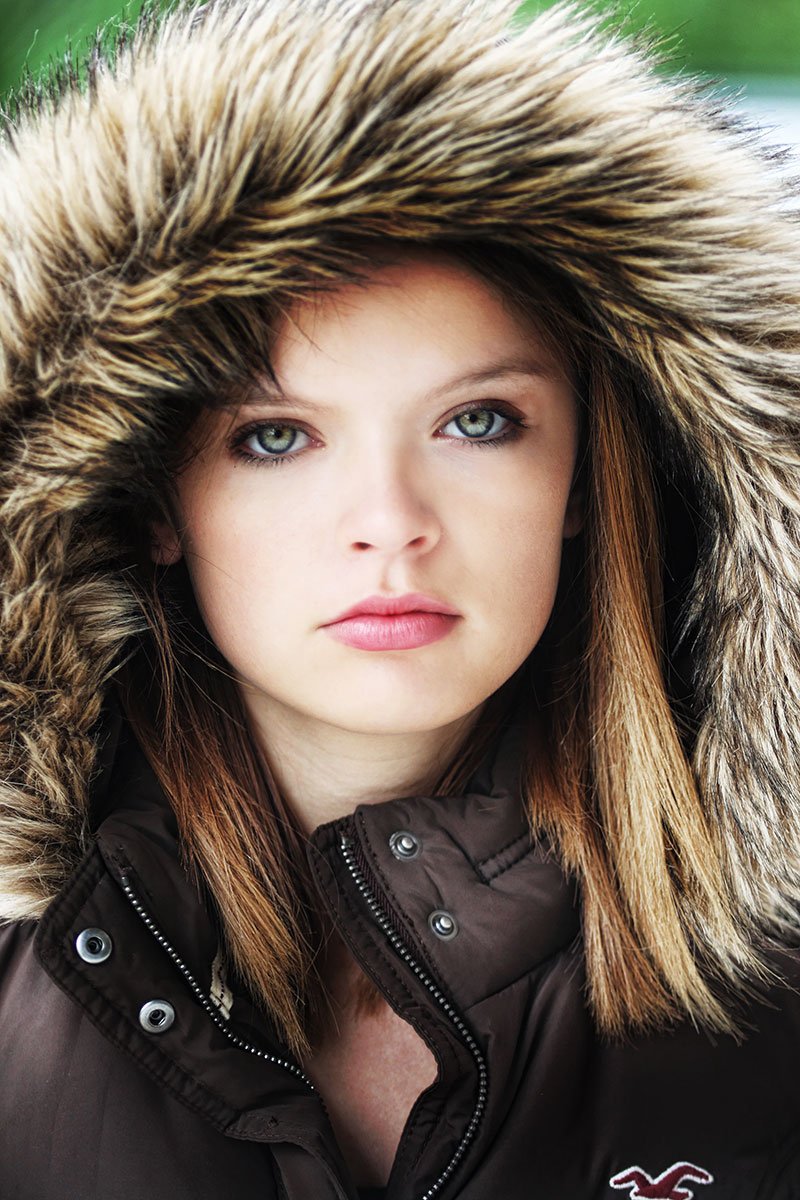
Being deliberate with your lighting means making sure all of the bases are covered.
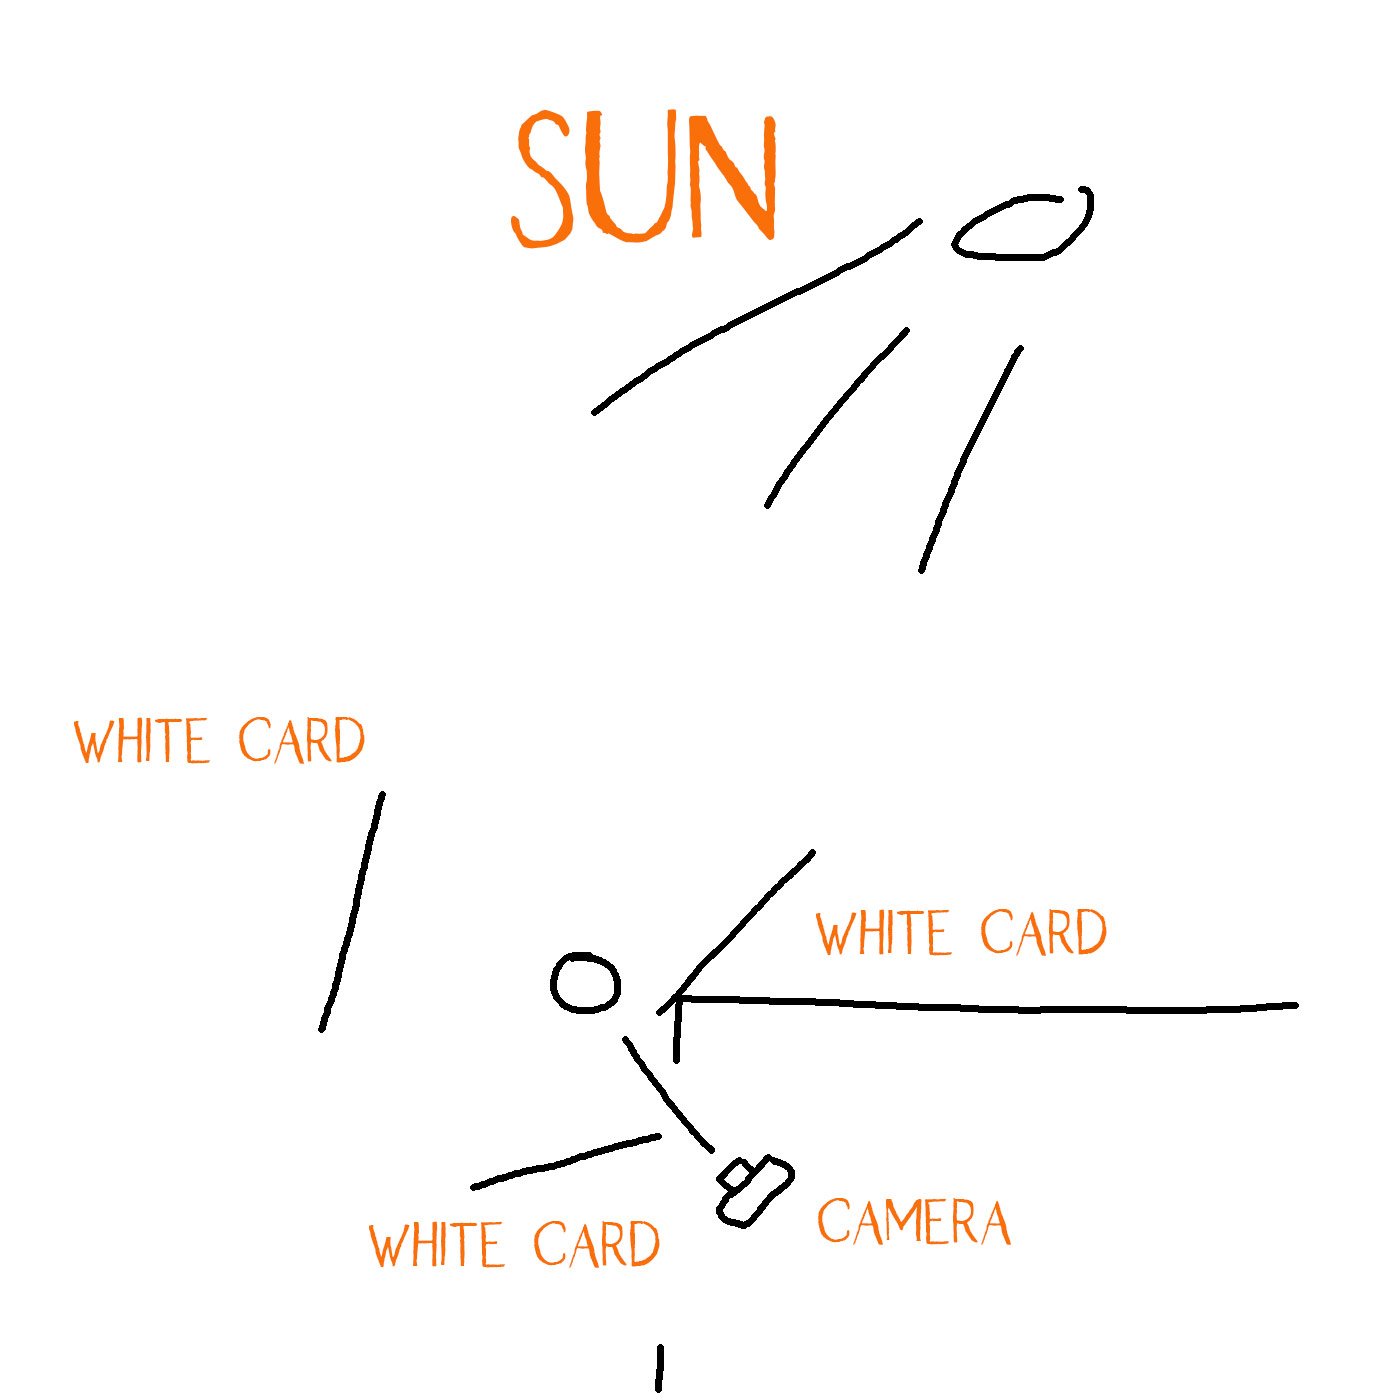
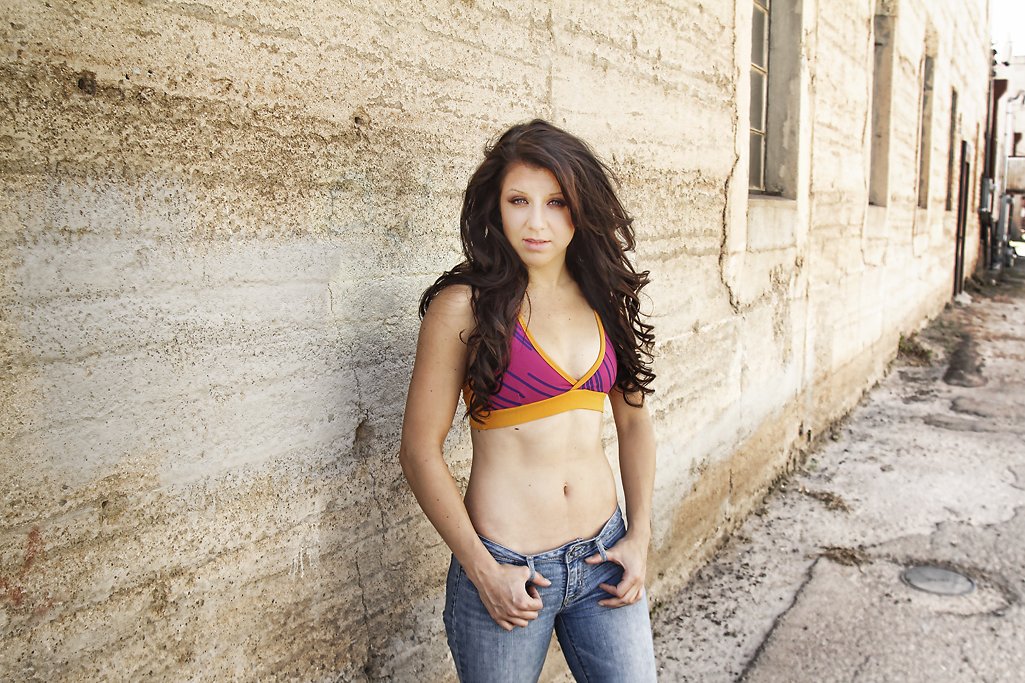
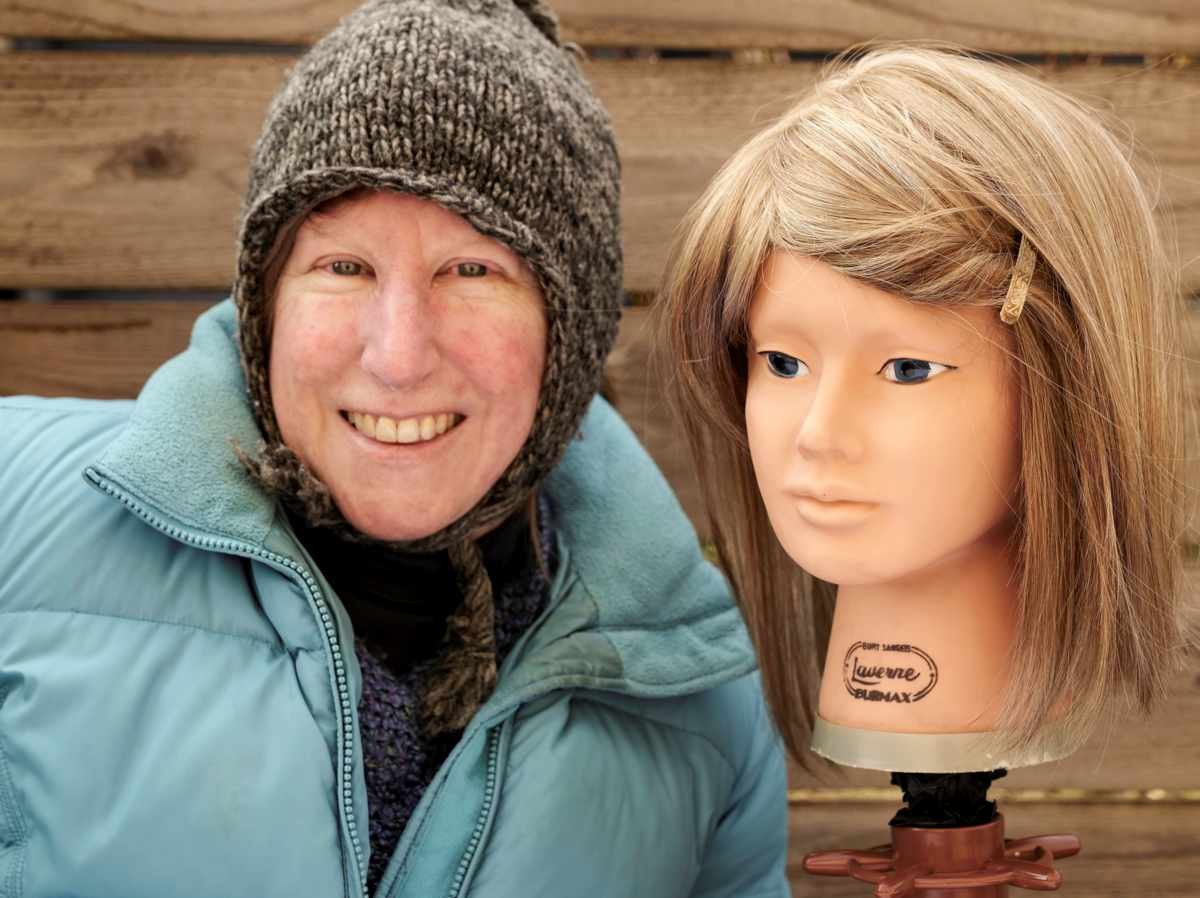
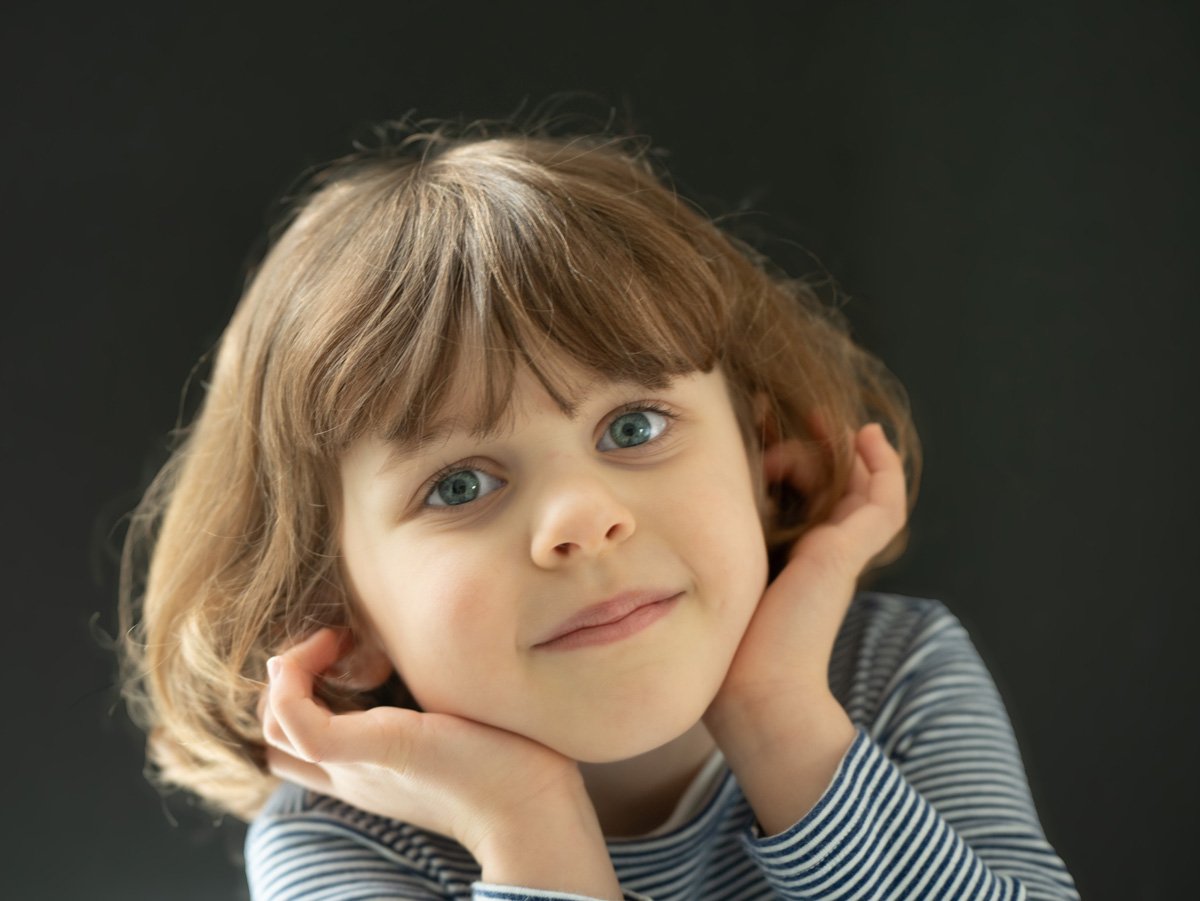
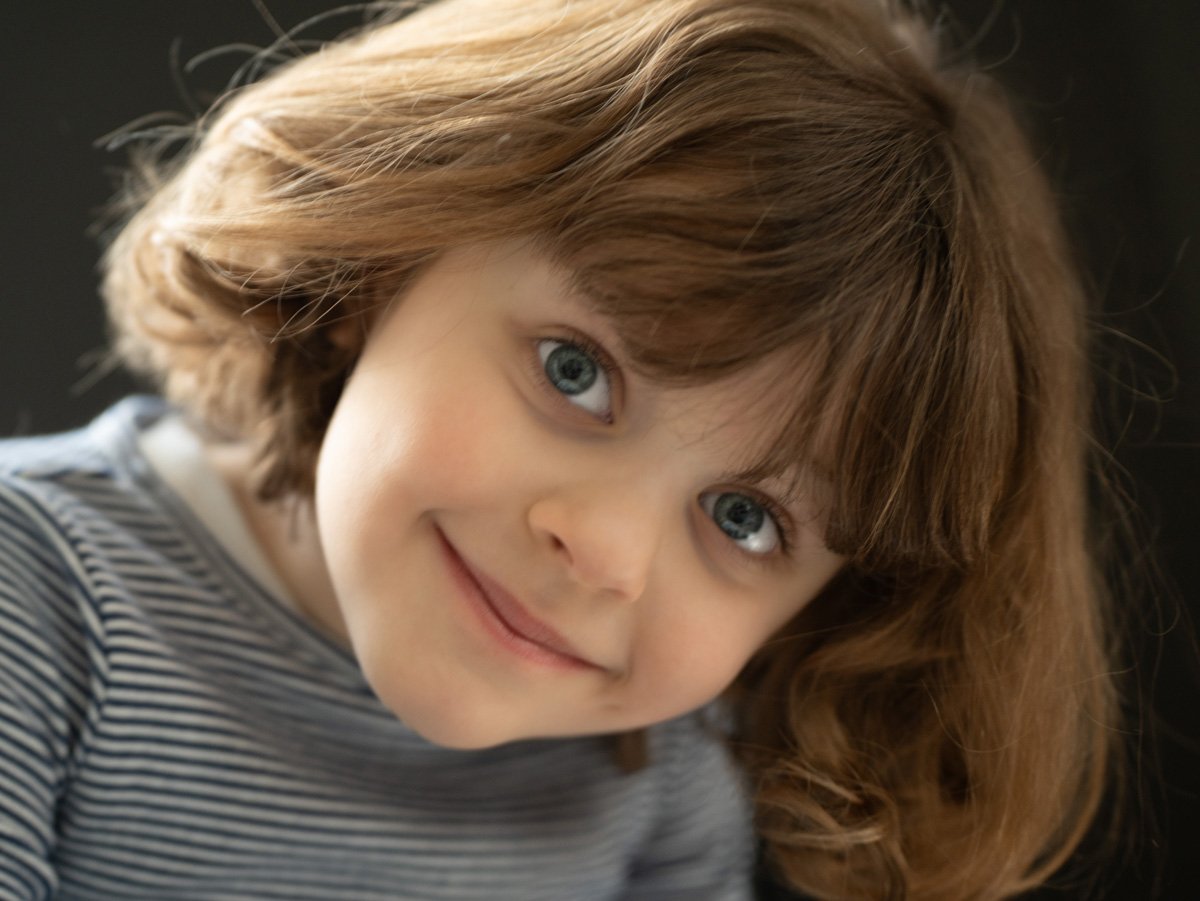
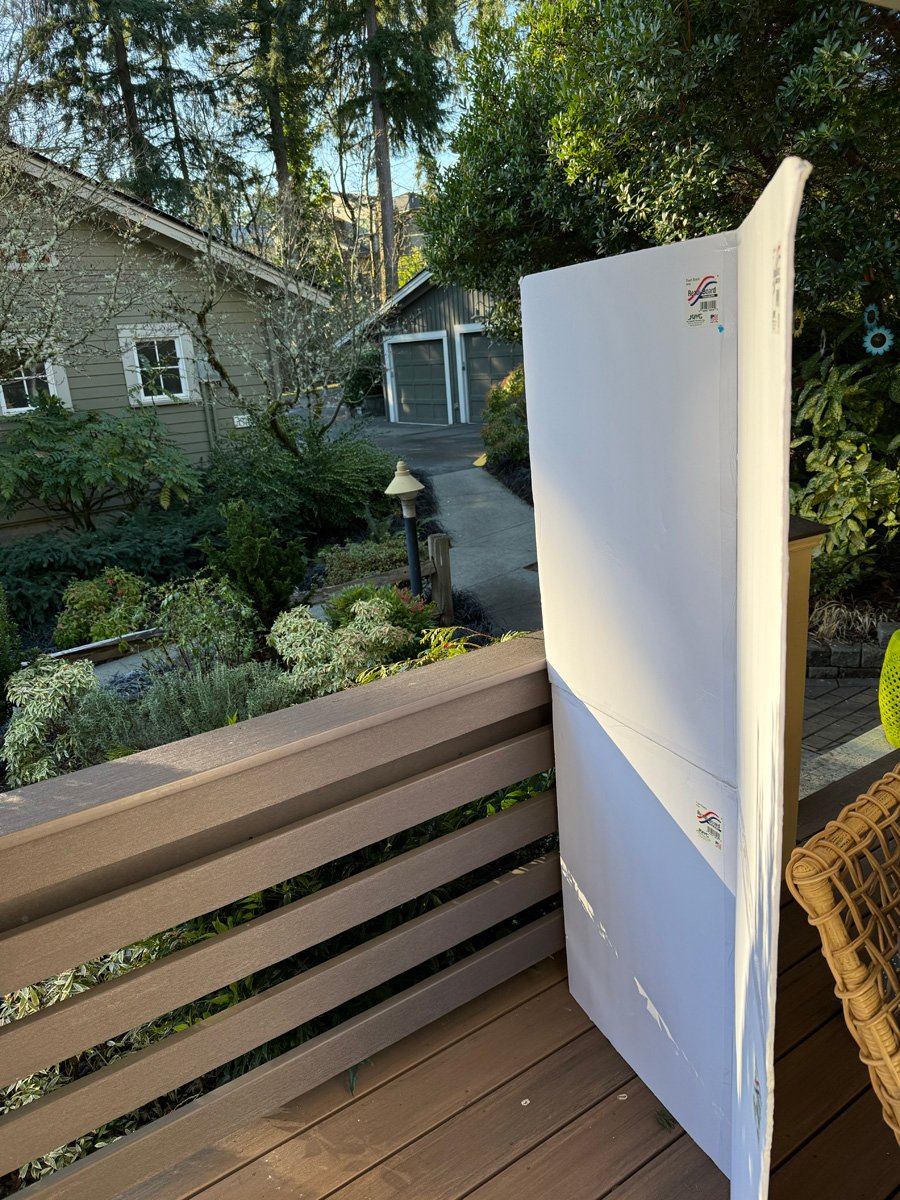
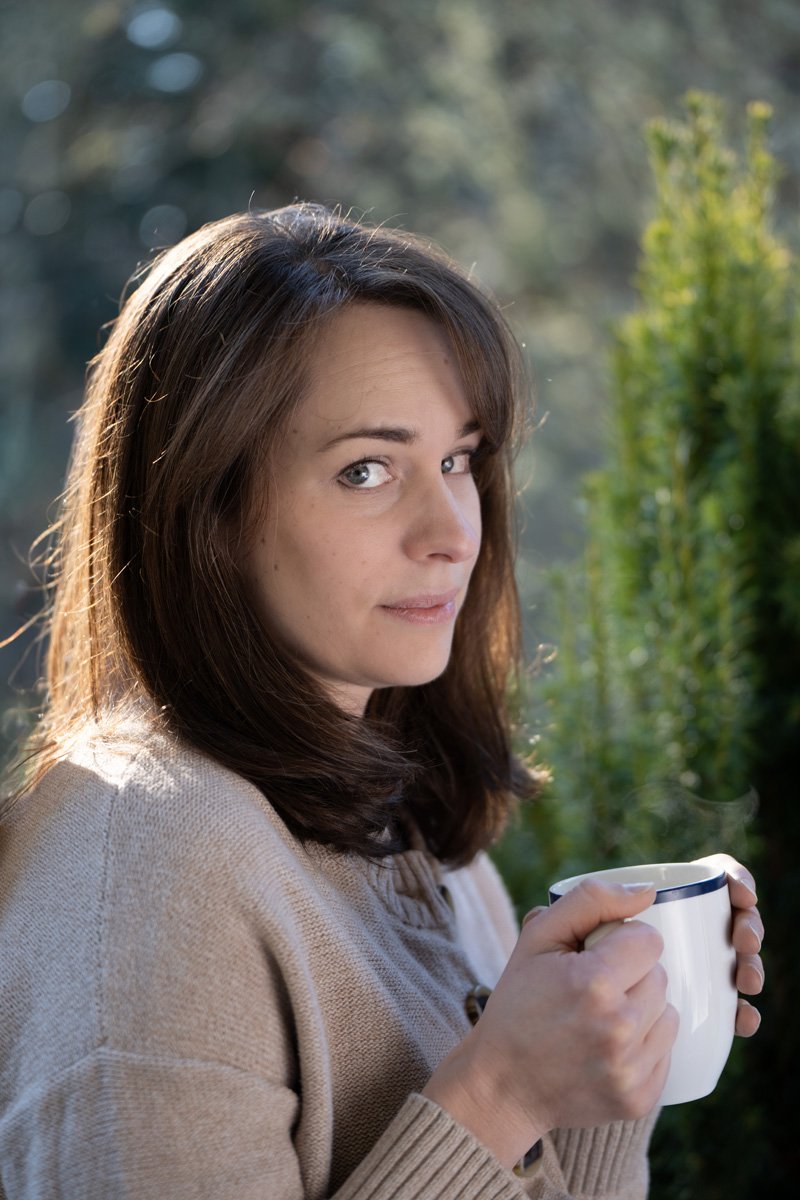
You can see in her eyes that there is also a bounce card below her chest to keep the dark pavement from reflecting under her eyes and chin.
Surrounding your subject with white cards – even in the shade – can be extremely effective, but it also can cut out any sort of natural look and I do like to add a bit of ‘modeling’ to the light.
So in this shot I made sure that there was more reflected light on camera left than camera right, while still maintaining soft, pretty light.
ASSIGNMENT SEVEN:
2 or 3 Final Product Shots:
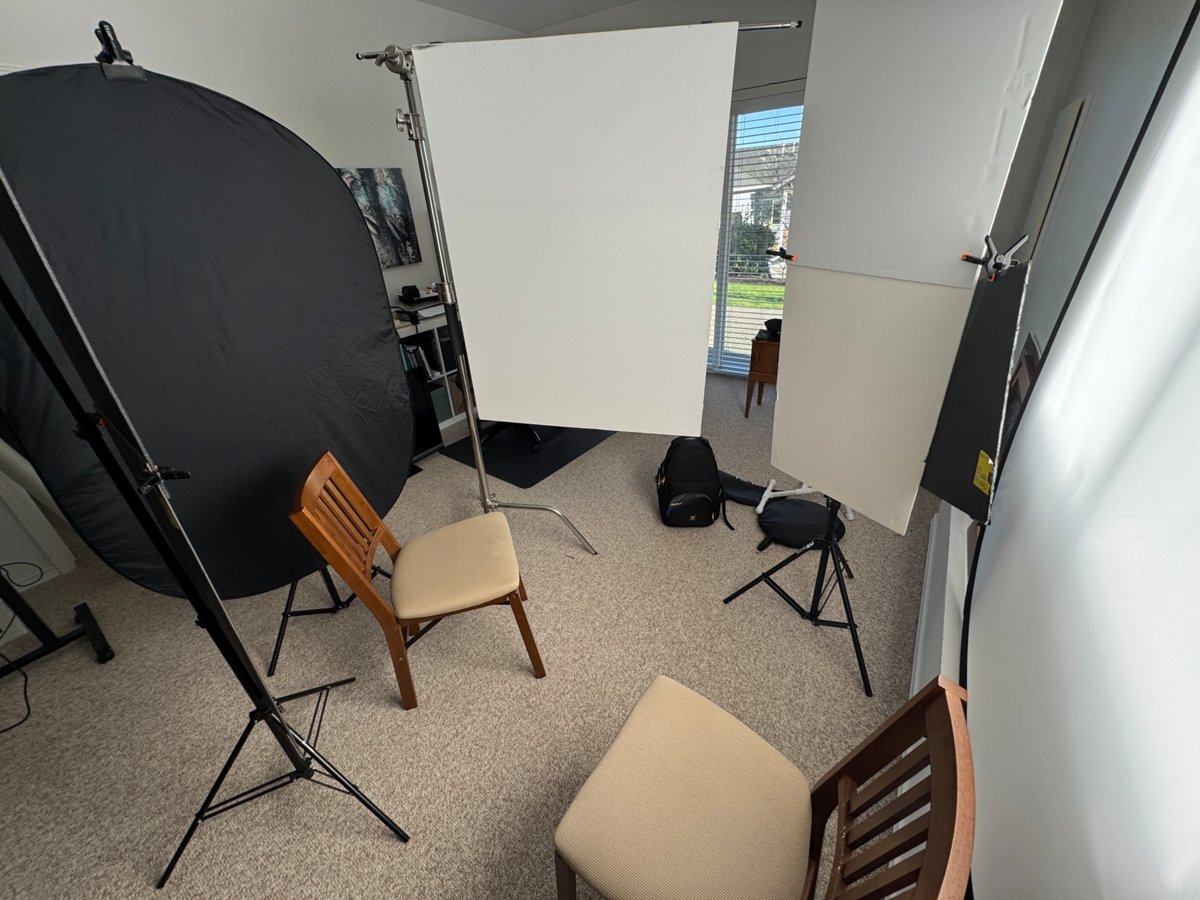
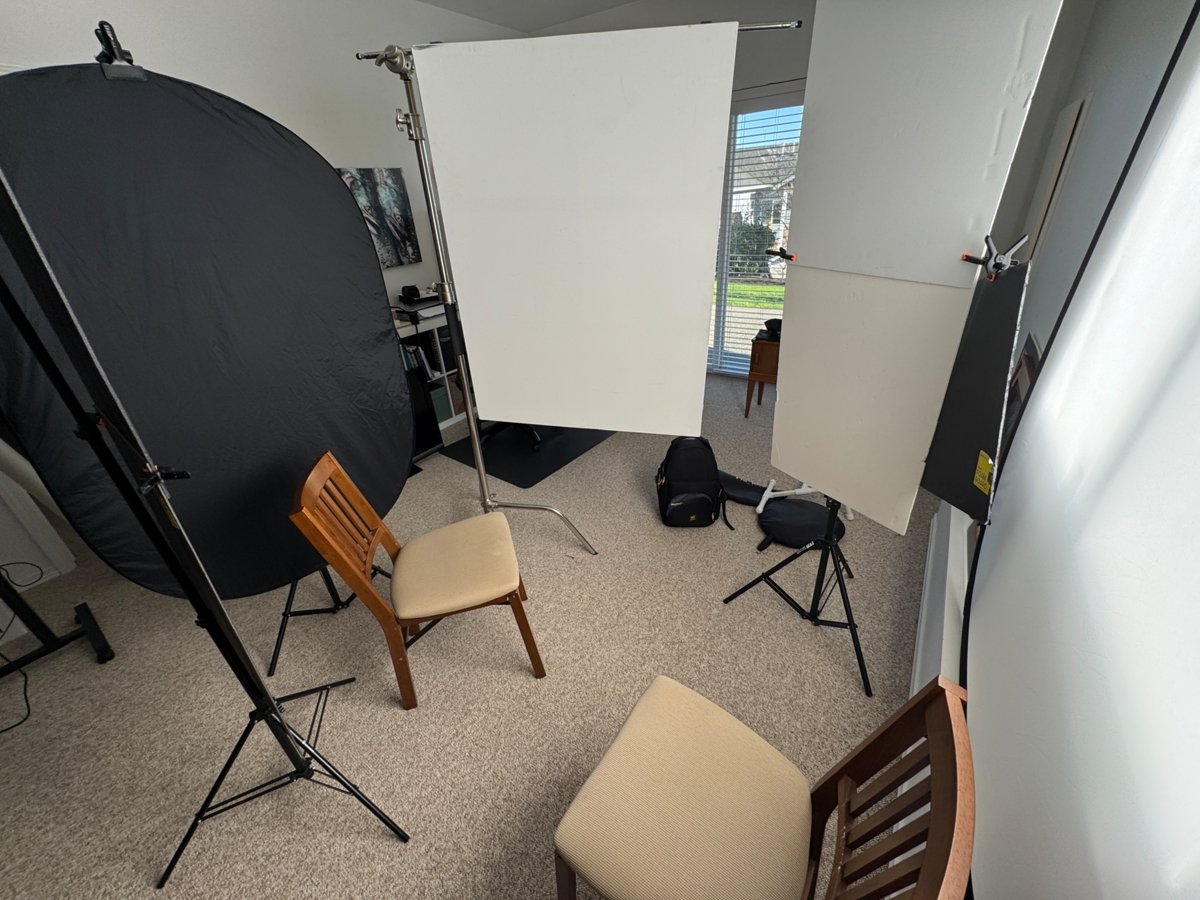
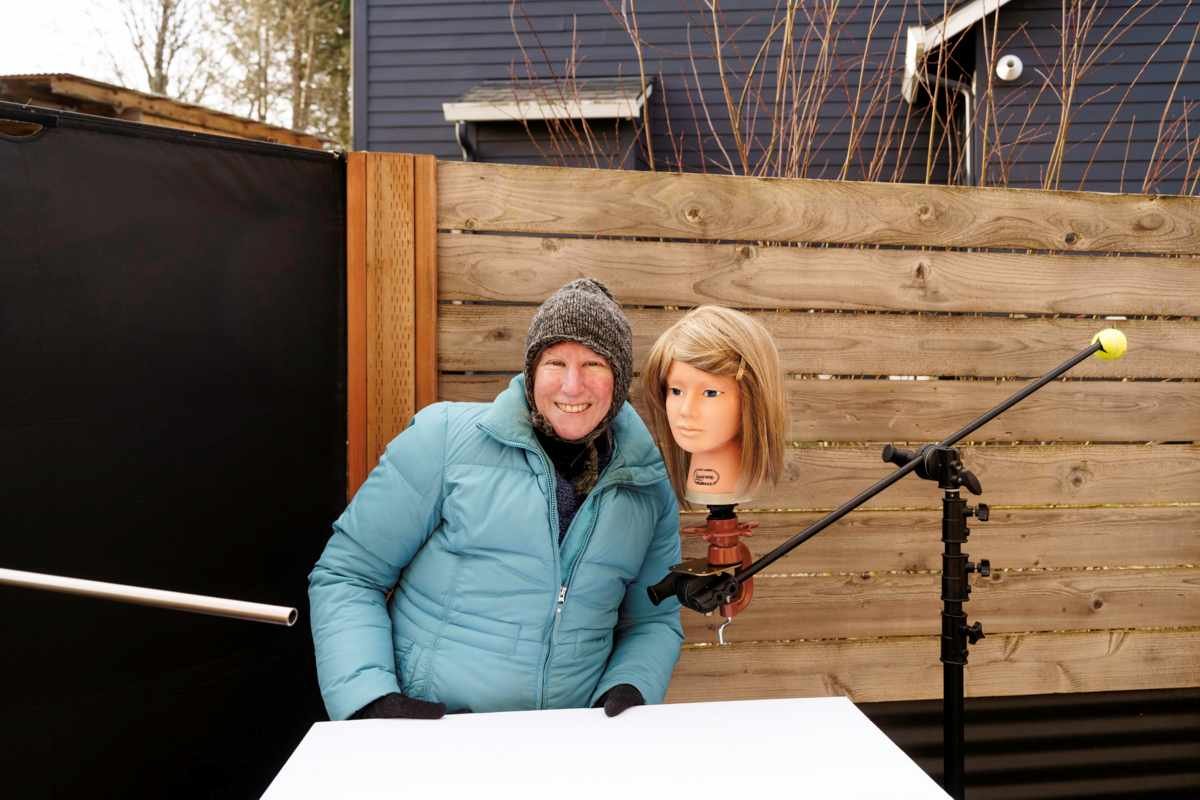
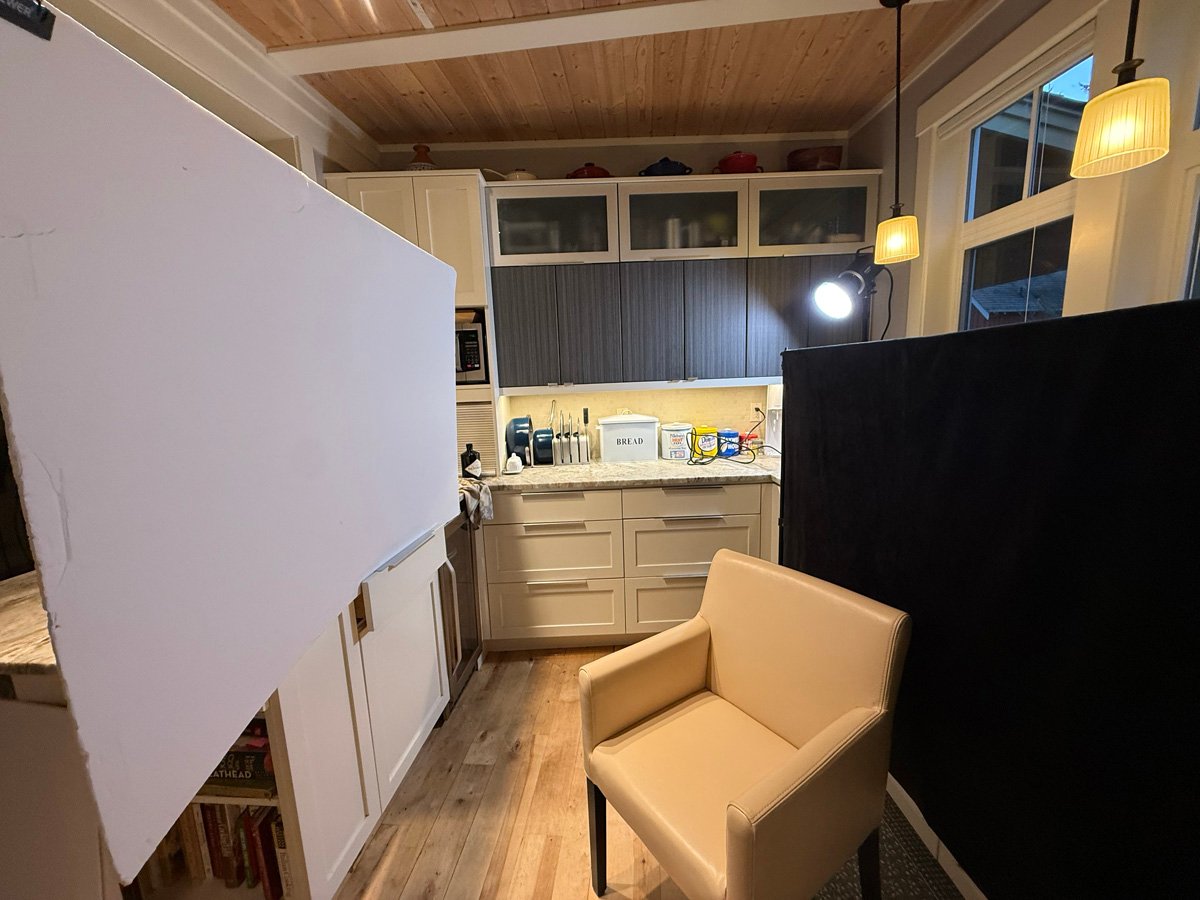
Spemd an hour with a subject, a large white building for the light source, your cards (black and white), and sculpt the light on the face. Remember to photograph the setups as you go. Three final images / three setups, please.
ASSIGNMENT UPLOAD
1. Must not be larger than 1200 pixels on the longest side.
2. Must be .jpg format
3. Include BTS shots
4. File naming: first-last-assignnumber-1.jpg (don-giannatti-1-a.jpg, don-giannatti-1-b.jpg, etc…
5. Be sure to resize phone shots.
[wordpress_file_upload]
What you will need:
- One big light.
- Scrim
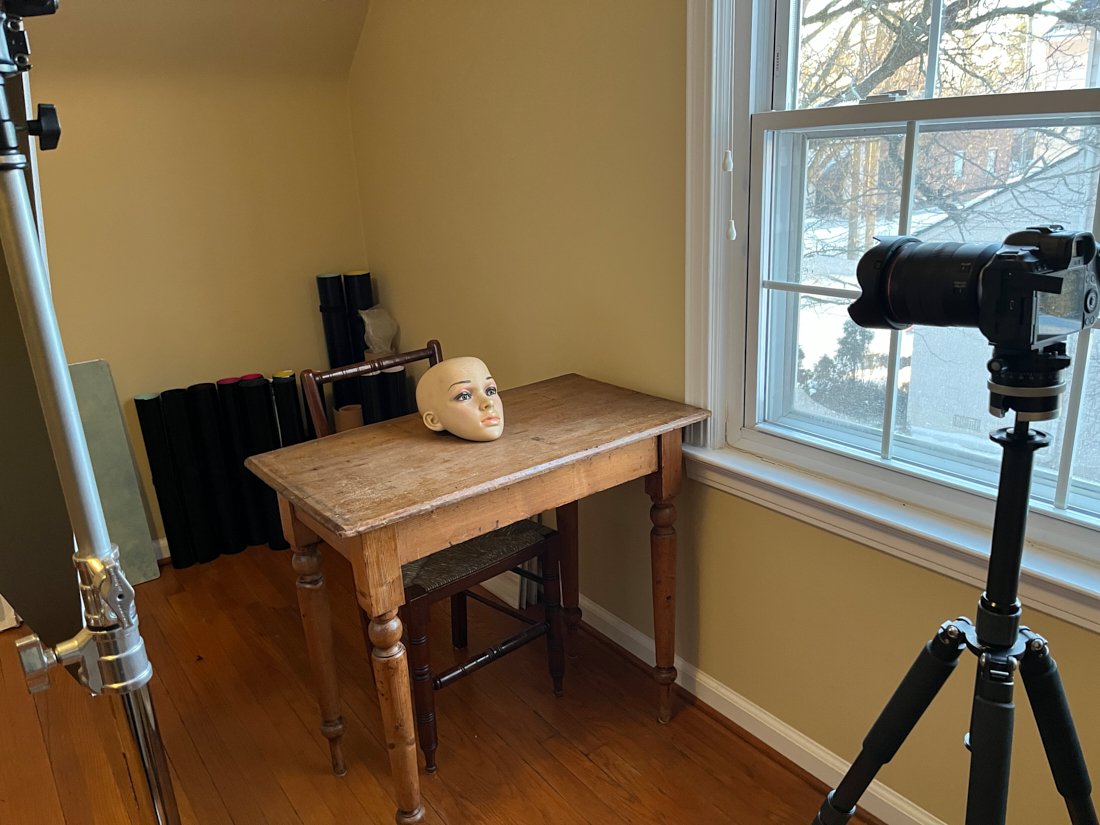
- Tabletop
- Props
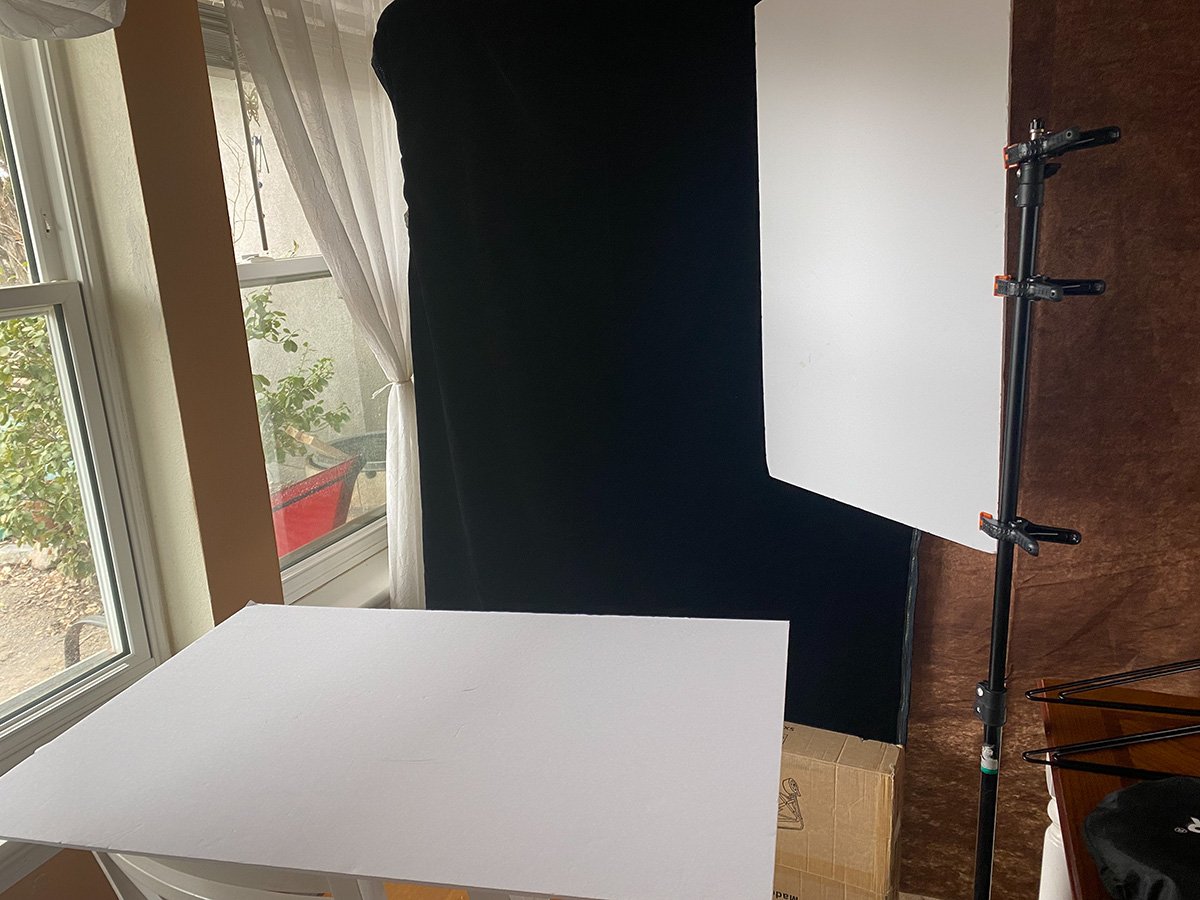
- Reflector ((2)black and (2)white cards) 36″ by 24″ or close
They must match in size. - Stands, boxes to hold up the reflectors… etc.
Big, soft light is cheating in the best possible way. It forgives. It wraps. It makes people look human instead of carved out of concrete. If your students understand that, they’re already ahead.
First rule: the size of the light relative to the subject matters more than the power.
A huge light source close to the face is soft. A tiny light far away is hard. Period. That’s physics, not style. Windows, white walls, V-flats, foam core, even a garage door painted white can become a light source if you aim your main light into it.
Bright walls are free softboxes.
When you bounce into a big white wall, you turn that entire wall into your key light. Now your subject isn’t being hit by a point source, they’re being wrapped by a surface that might be 8 or 12 feet wide. That’s why the light feels gentle and dimensional instead of punchy and contrasty.
Don’t aim the light at the person, aim it at the space around the person.
Bounce cards are steering wheels.
A large bounce card placed near the shadow side of the face does three things:
- Softens shadows
- Opens up eye sockets
- Adds catchlight control
Small card = subtle fill
Big card = big fill
Close card = stronger effect
Far card = gentler effect
Distance controls intensity more than power ever will.
White vs. black cards
White reflects and fills.
Black absorbs and sculpts.
Use black just as intentionally as white.
Black cards give you jawline definition, cheekbone shape, and mood without touching the main light.
Angles matter more than brightness
Move the bounce card in an arc around the subject instead of sliding it forward and back.
The angle of reflection changes the face faster than increasing power.
This is where “lighting” becomes “shaping.”
One wall + one bounce = instant portrait studio
Setups don’t need to be complex:
- Light ? wall
- Wall ? subject
- Bounce cards on the shadow side
That’s it. Three elements. Gorgeous portraits.
What they should watch for:
- Flat light = bounce too centered
This is where flags and black, shaping cards can help. - Muddy light = too many bounces fighting each other
There is such a thing as too many lights. - Dead eyes = bounce too low or too far away
We should always see the iris. - No shape = remove some fill, don’t add more light
Here is where finessing the fill becomes the best play.
And here’s the big philosophical takeaway:
Not only are you lighting faces, you’re lighting the space those faces occupy.
Once you stop aiming lights at people and Start using the natural light that is all around you, the bounce from walls, and even open sky, your portraits will be so much better.
This little video will introduce you to the idea of large light sources, even as large as the open sky.
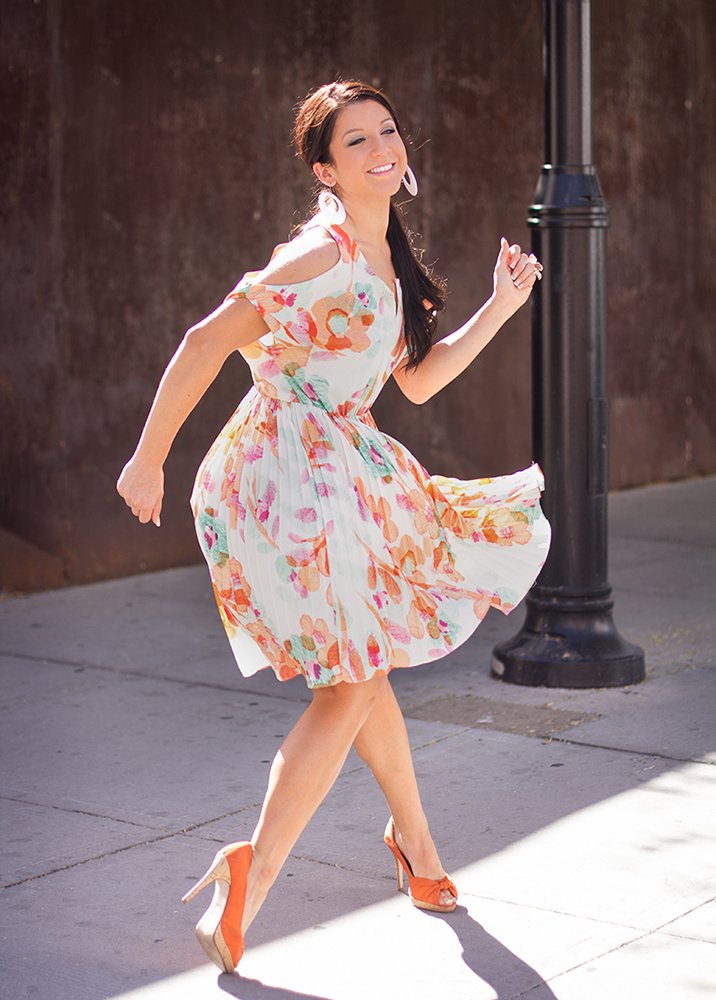
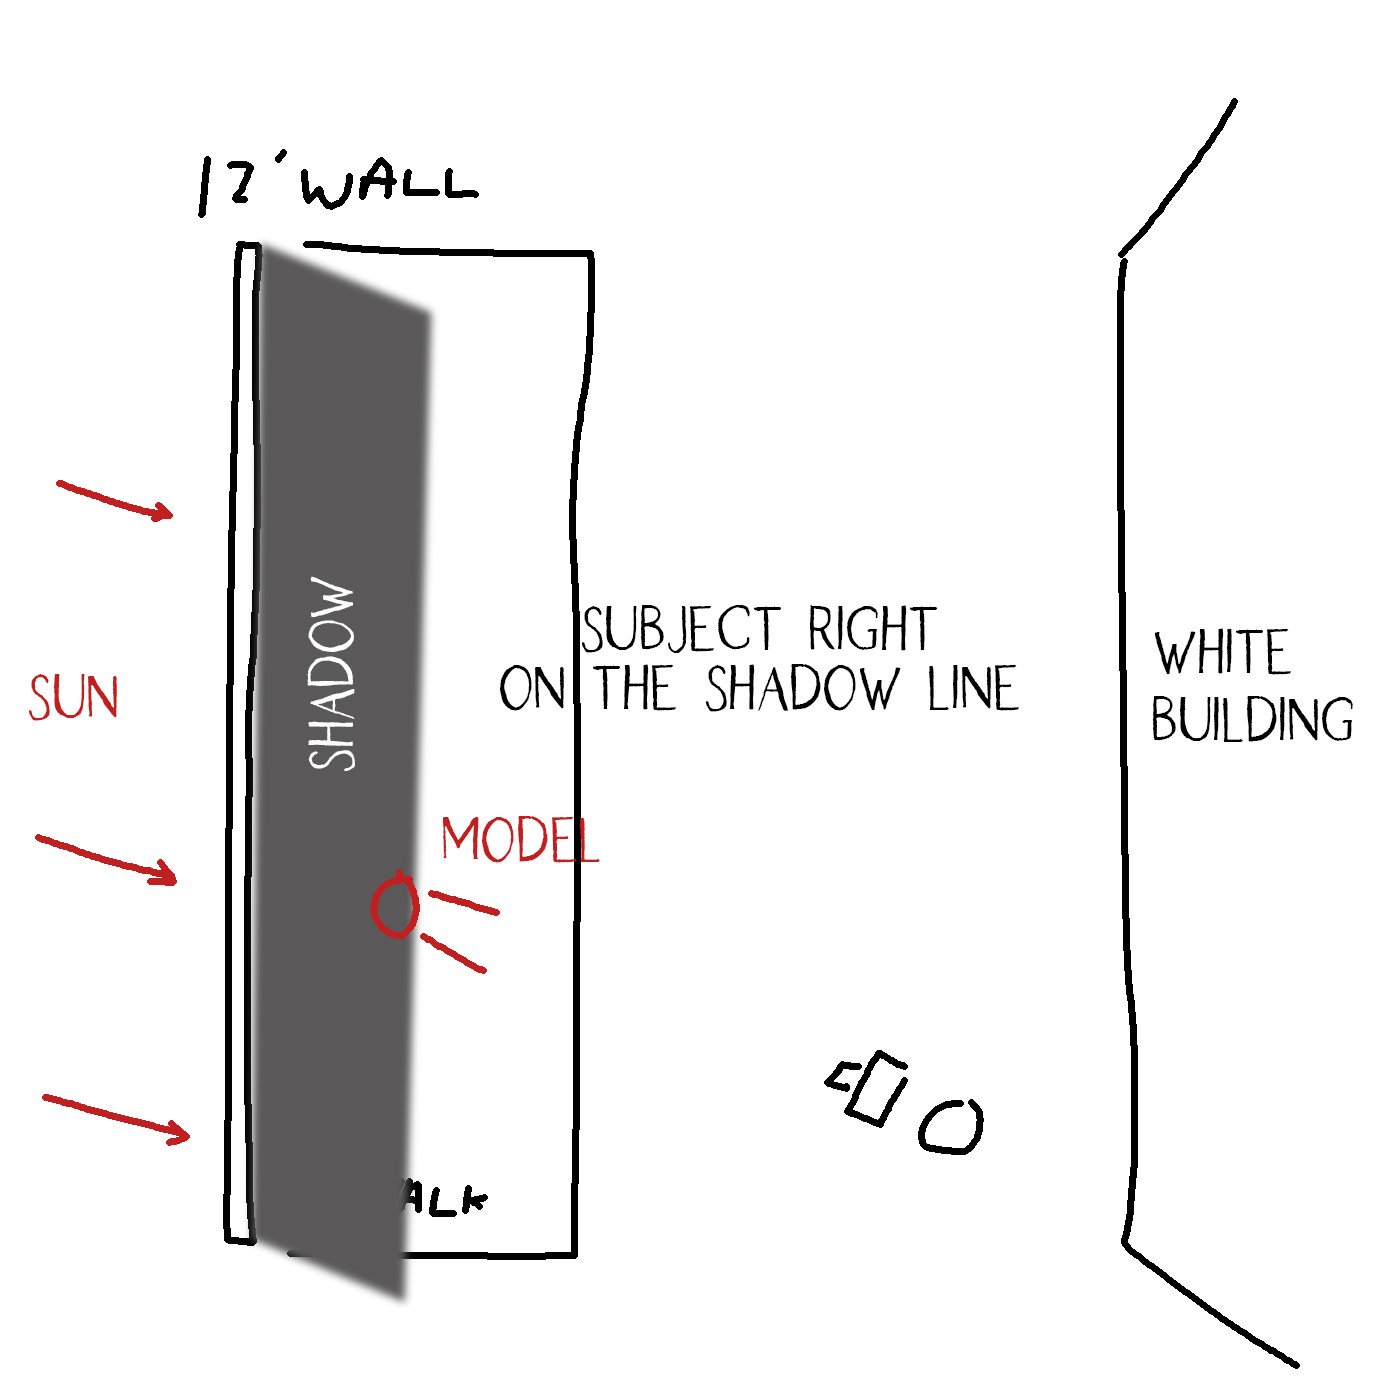
This one of my favorite, if not outright favorite, lighting schemes outside.
I find a huge bright wall (gray, white, very light tan), and then look across from it for something to create a shadow. Working on the shadow line gives me both, huge soft front light, AND a rim, or backlight kicker.
I can use direct sunlight, as in the photo on the left, or put a diffuser over the top of the subject for a softer, more muted edge light.
The possibilities for this lighting are endless.
Add in flags, cukis, shiny boards, huge diffusion… so many different things can be used with imagination.
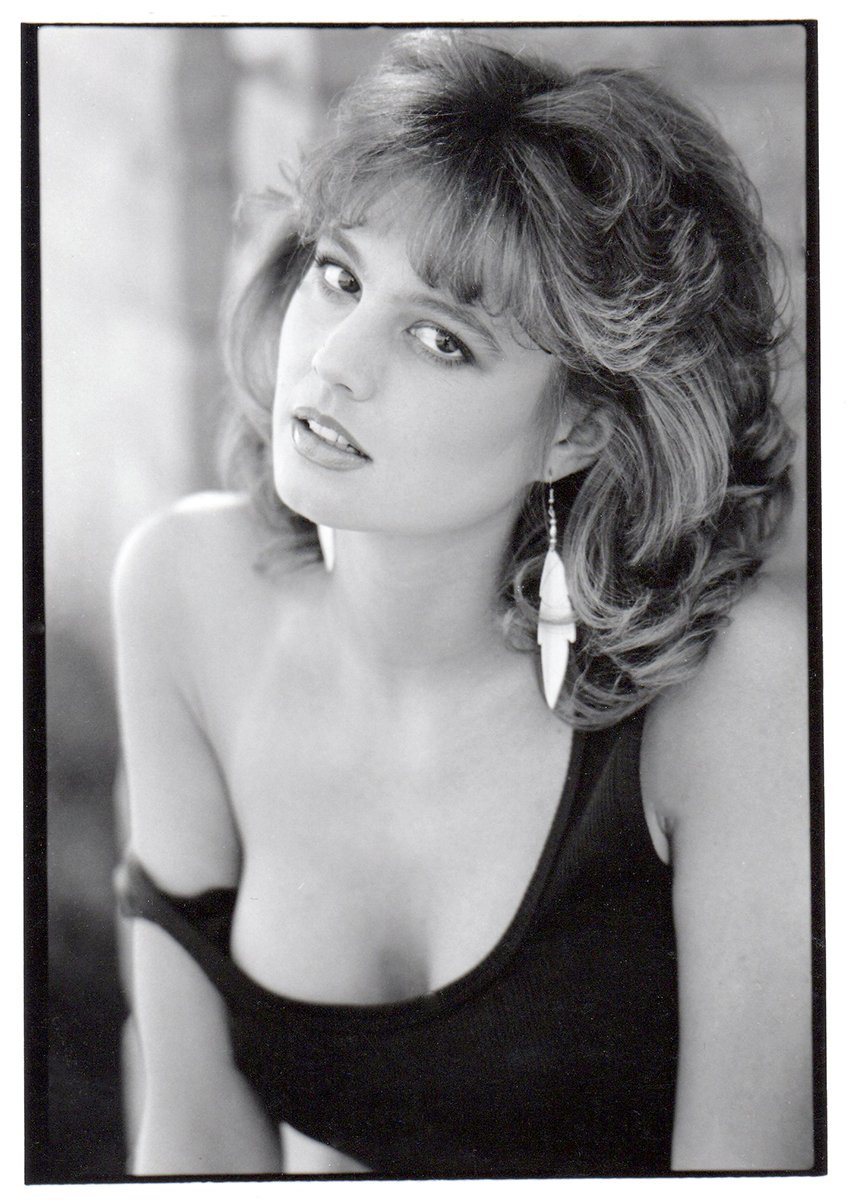
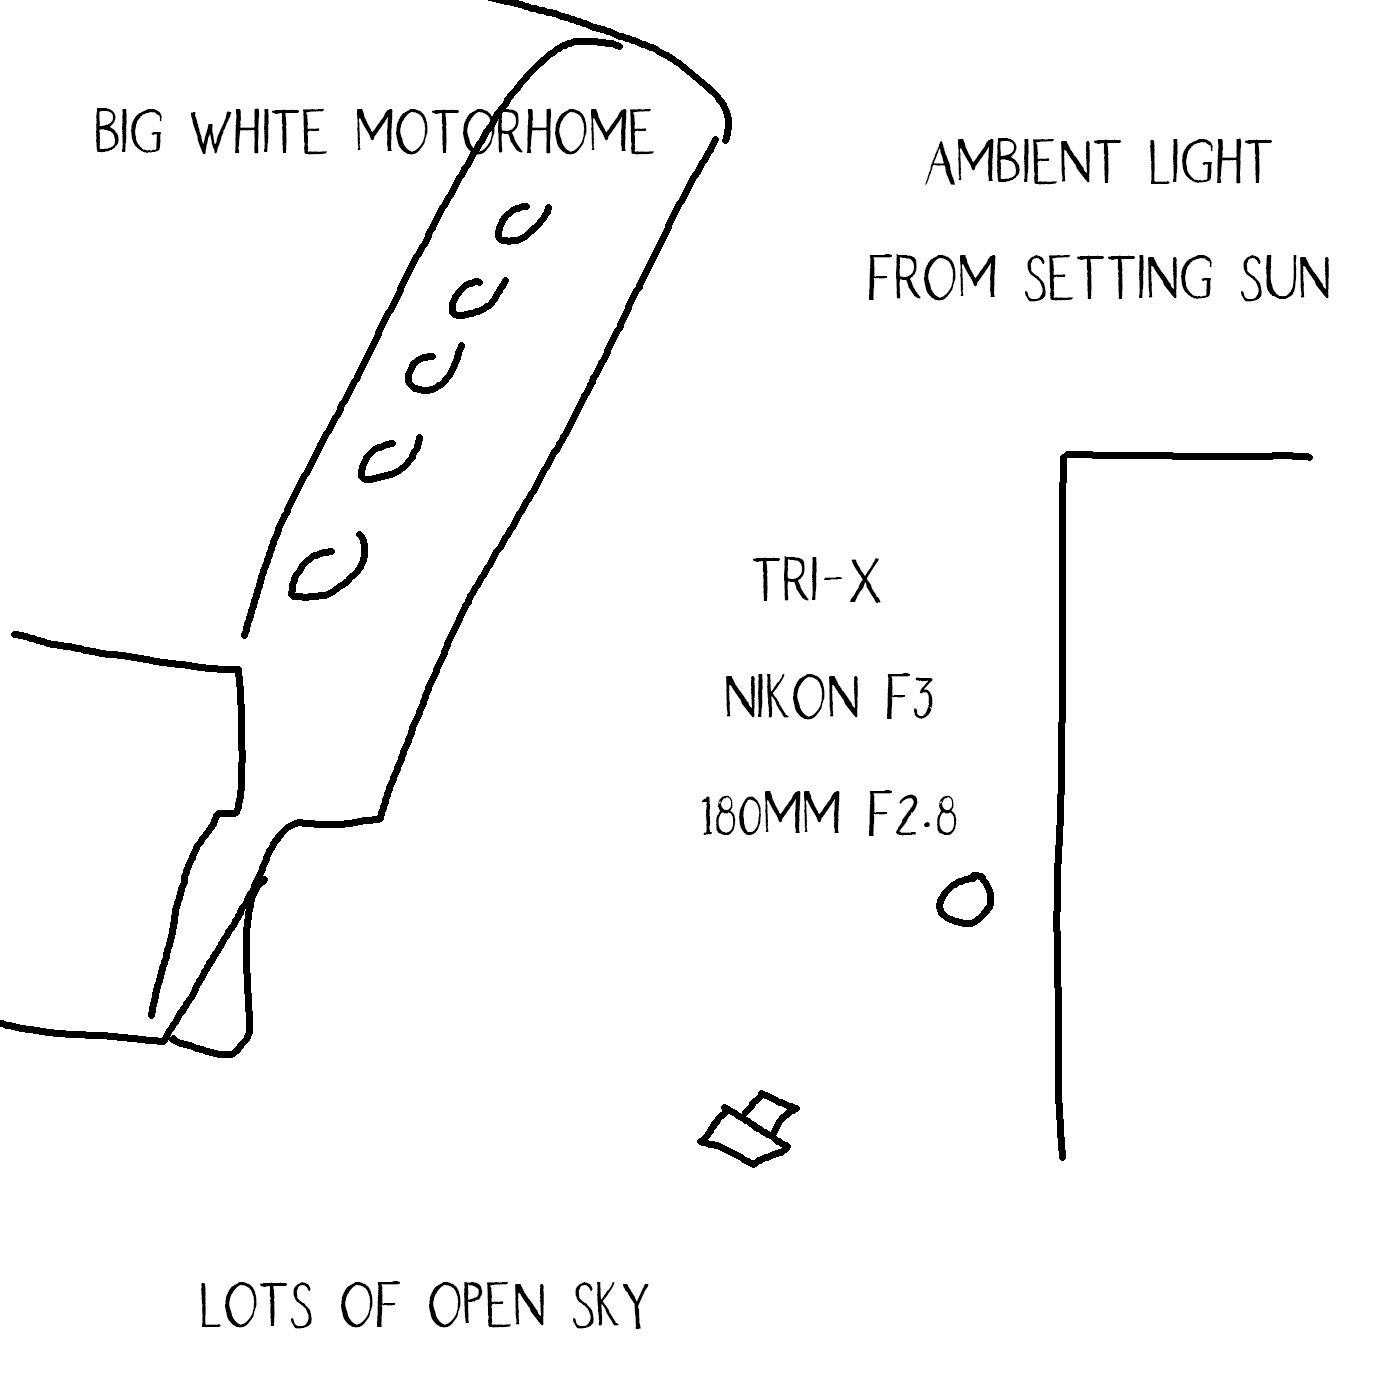
This shot is over 40 years old and was taken on a Nikon F3 (brand new at the time) in the front of my studio on the west side of Phoenix.
There was a huge motorhome (also new at the time) parked at an angle and it was a very bright panel that just lit up the side of her face.
Behind me is a lot of bright, open sky, and some white buildings in the distance.
The sun had just set, so this was all ambient light.
I thought it would be cool to show you I have been doing this stuff for a long, long time.
This shot is over 40 years old and was taken on a Nikon F3 (brand new at the time) in the front of my studio on the west side of Phoenix.
There was a huge motorhome (also new at the time) parked at an angle and it was a very bright panel that just lit up the side of her face.
Behind me is a lot of bright, open sky, and some white buildings in the distance.
The sun had just set, so this was all ambient light.
I thought it would be cool to show you I have been doing this stuff for a long, long time.
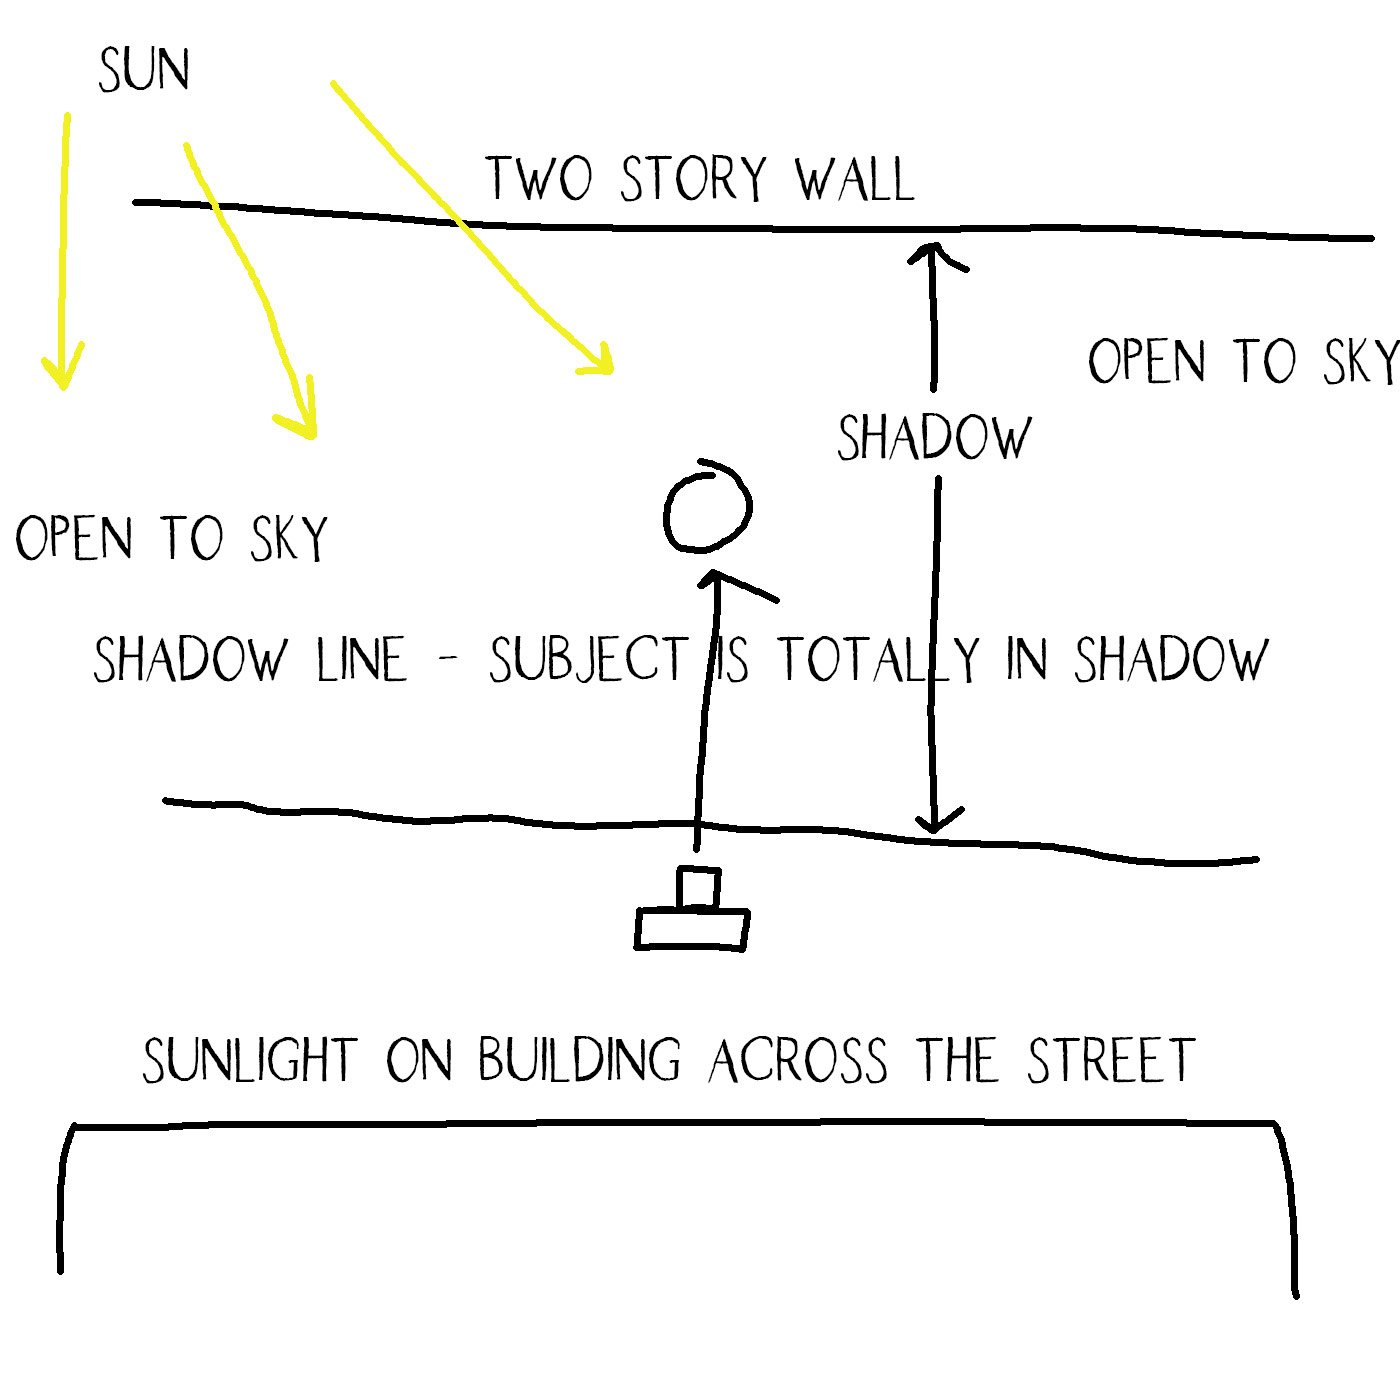
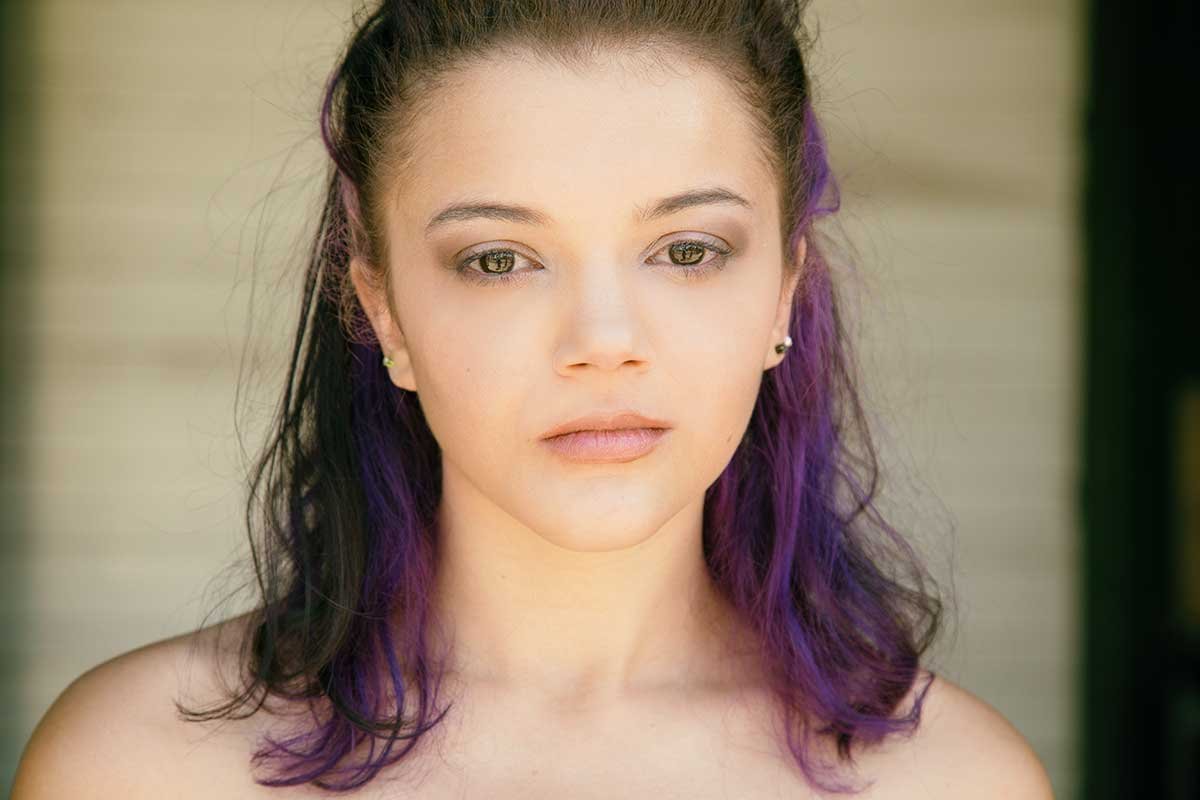
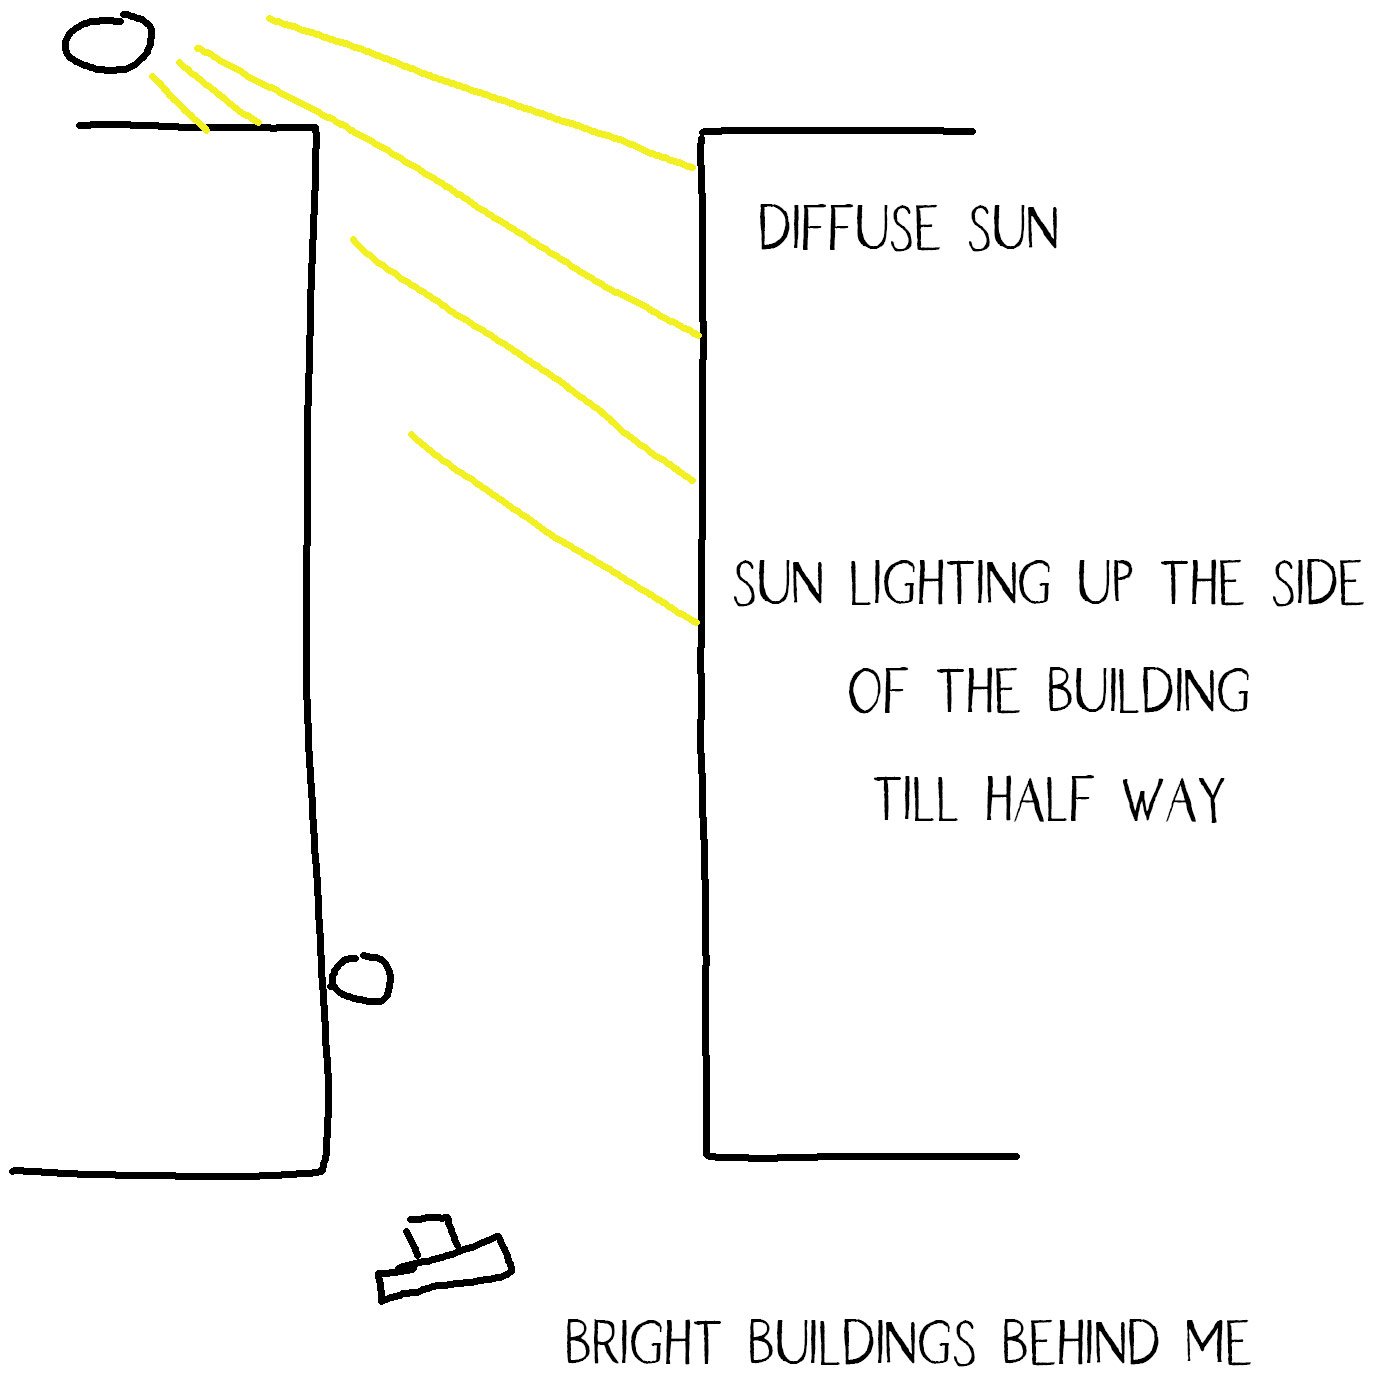
We were in a little courtyard in Virginia.
The model had a small two story building behind her and I had a small white building behind me.
The street was concrete so it was a bit brighter than the usual thoroughfare.
Sun from behind, but I kept her in total shadow so there would not be any light on her shoulders and hair.
I wanted soft all the way around and I got it.
Meeting Notes
Quick recap
The group discussed their upcoming two-week project focused on creating content using a single light source without formal assignments. Members shared their experiences and techniques for outdoor and indoor photography, including various lighting setups and equipment modifications to handle different weather conditions. The discussion concluded with demonstrations of portrait lighting techniques using V-cards, soft umbrellas, and natural light, along with plans for the next meeting to feature students’ own photography work.
Next steps
- All participants: Create and photograph personal projects (using one light, any subject) over the next two weeks and prepare up to 5 images to share at the meeting in three weeks’ time.
- Don: Schedule and post the date/time for the next meeting (in three weeks) on the group page.
- All participants: (Optional but encouraged) Experiment with outdoor lighting and observe how light changes, as suggested by Robert.
- All participants: (Optional but encouraged) Try using flags, black/white cards, and other light modifiers in upcoming shoots, as discussed during the meeting.
Summary
Outdoor Lighting Challenges and Tips
The group discussed their upcoming two-week project where they will create content using one light, with no formal assignment, and reconvene afterward to share their work. They shared experiences about shooting outdoors during cold weather, with some members having to switch to indoor locations due to inclement conditions. Steve demonstrated his outdoor setup using a 7-foot backdrop and modified umbrella technique, while Don shared a tip about using a shower curtain as a makeshift diffuser for outdoor lighting.
Outdoor and Indoor Photography Techniques
The group discussed various photography techniques and setups, with Steve and Robert sharing their outdoor photography experiences using iPhone and professional equipment. Robert demonstrated how he used natural light and reflectors to capture portraits, while Steve learned to avoid using paper backgrounds outdoors. The discussion concluded with Luciana sharing her indoor photography setup using a large white diffuser, as she was unable to work outdoors due to weather conditions.
Photography Setup and Creative Techniques
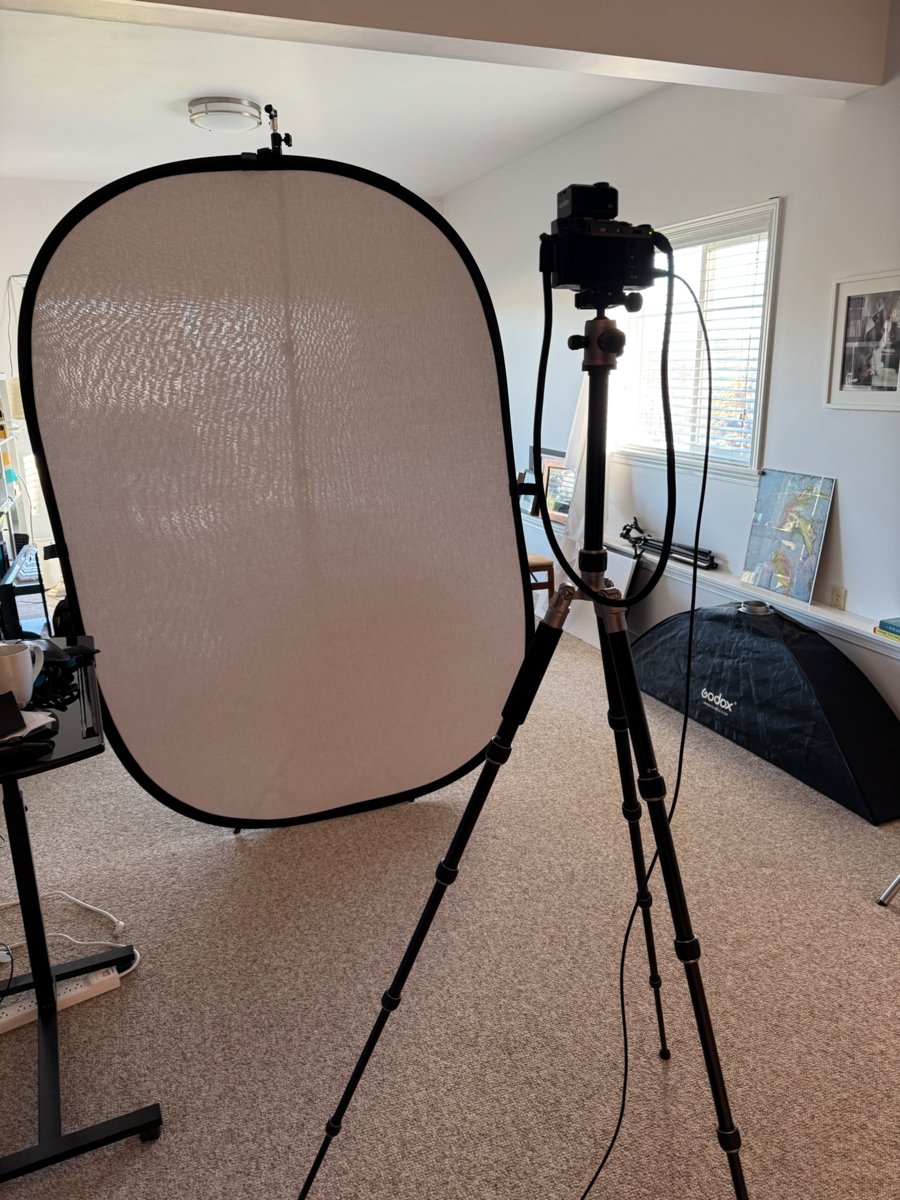
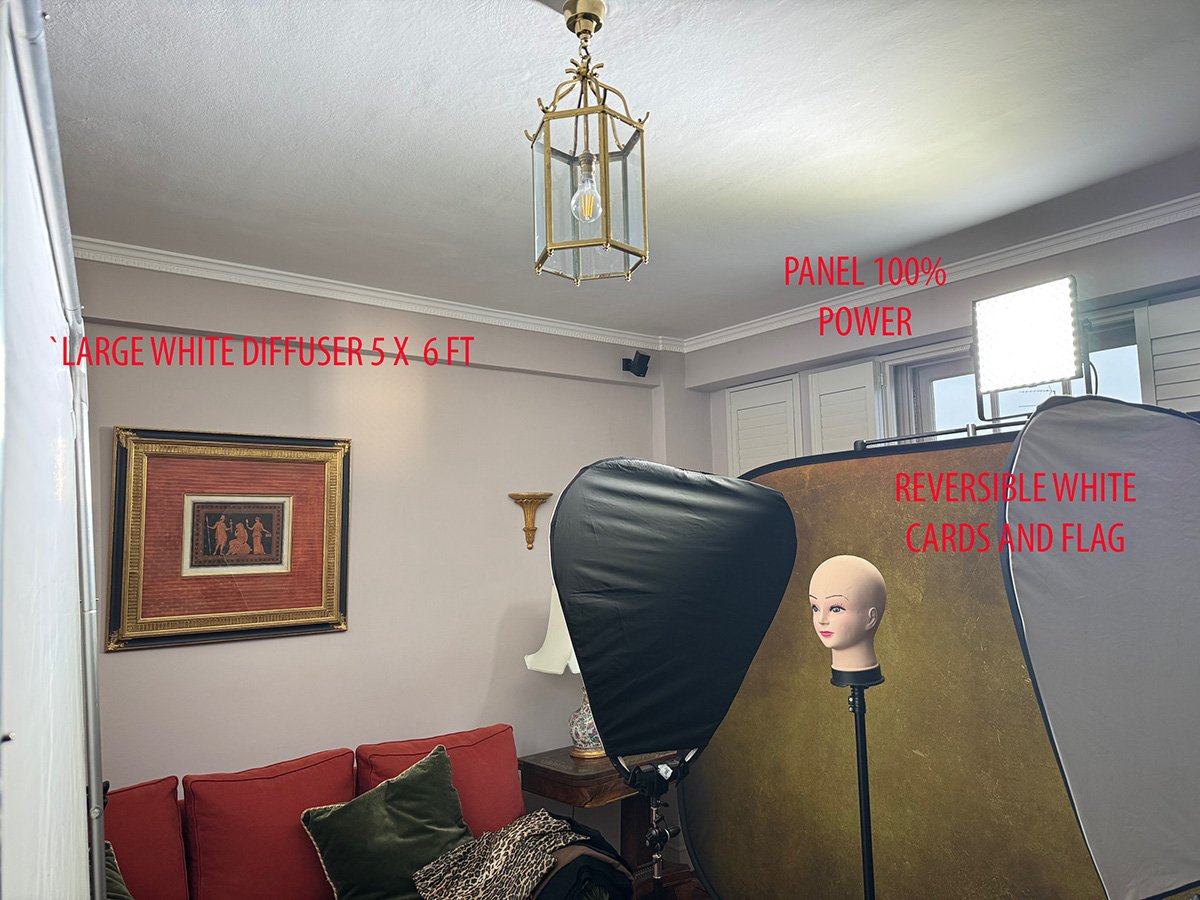
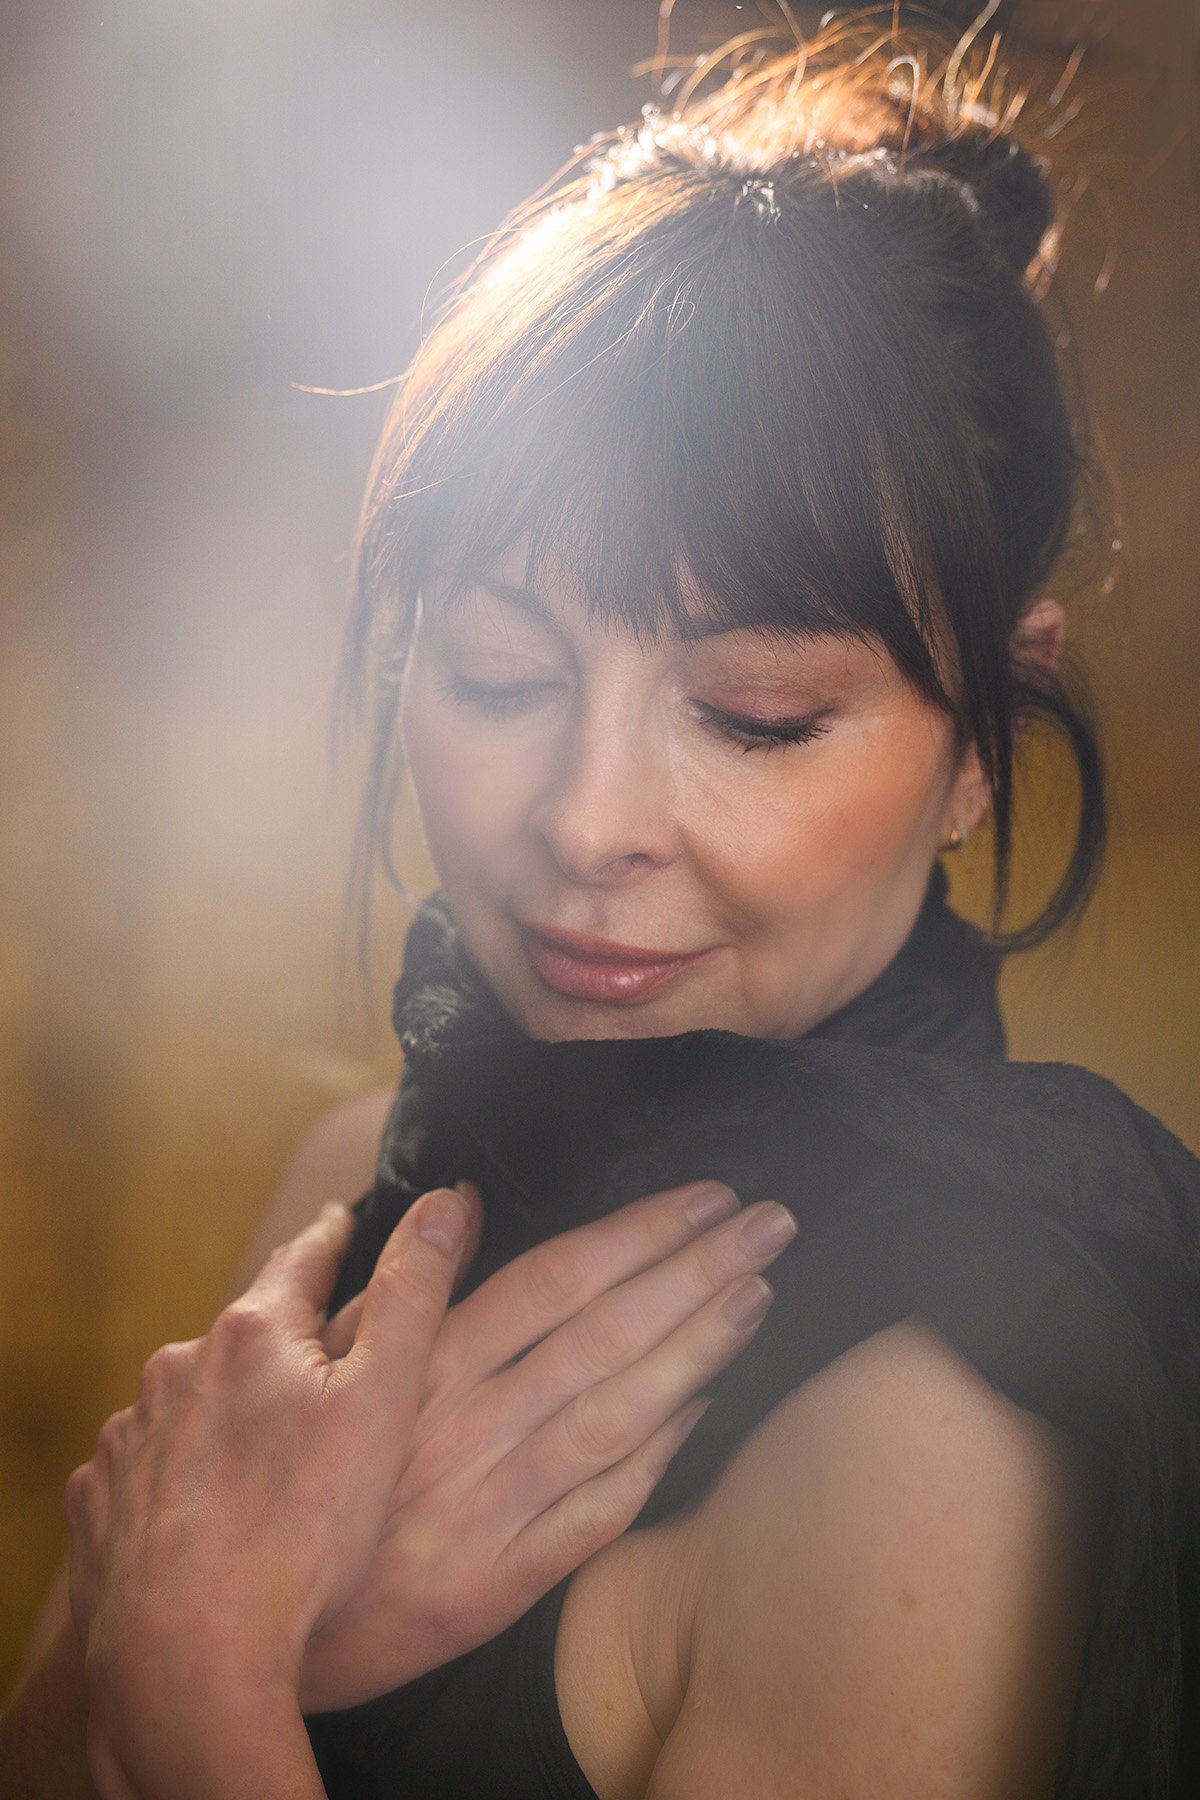
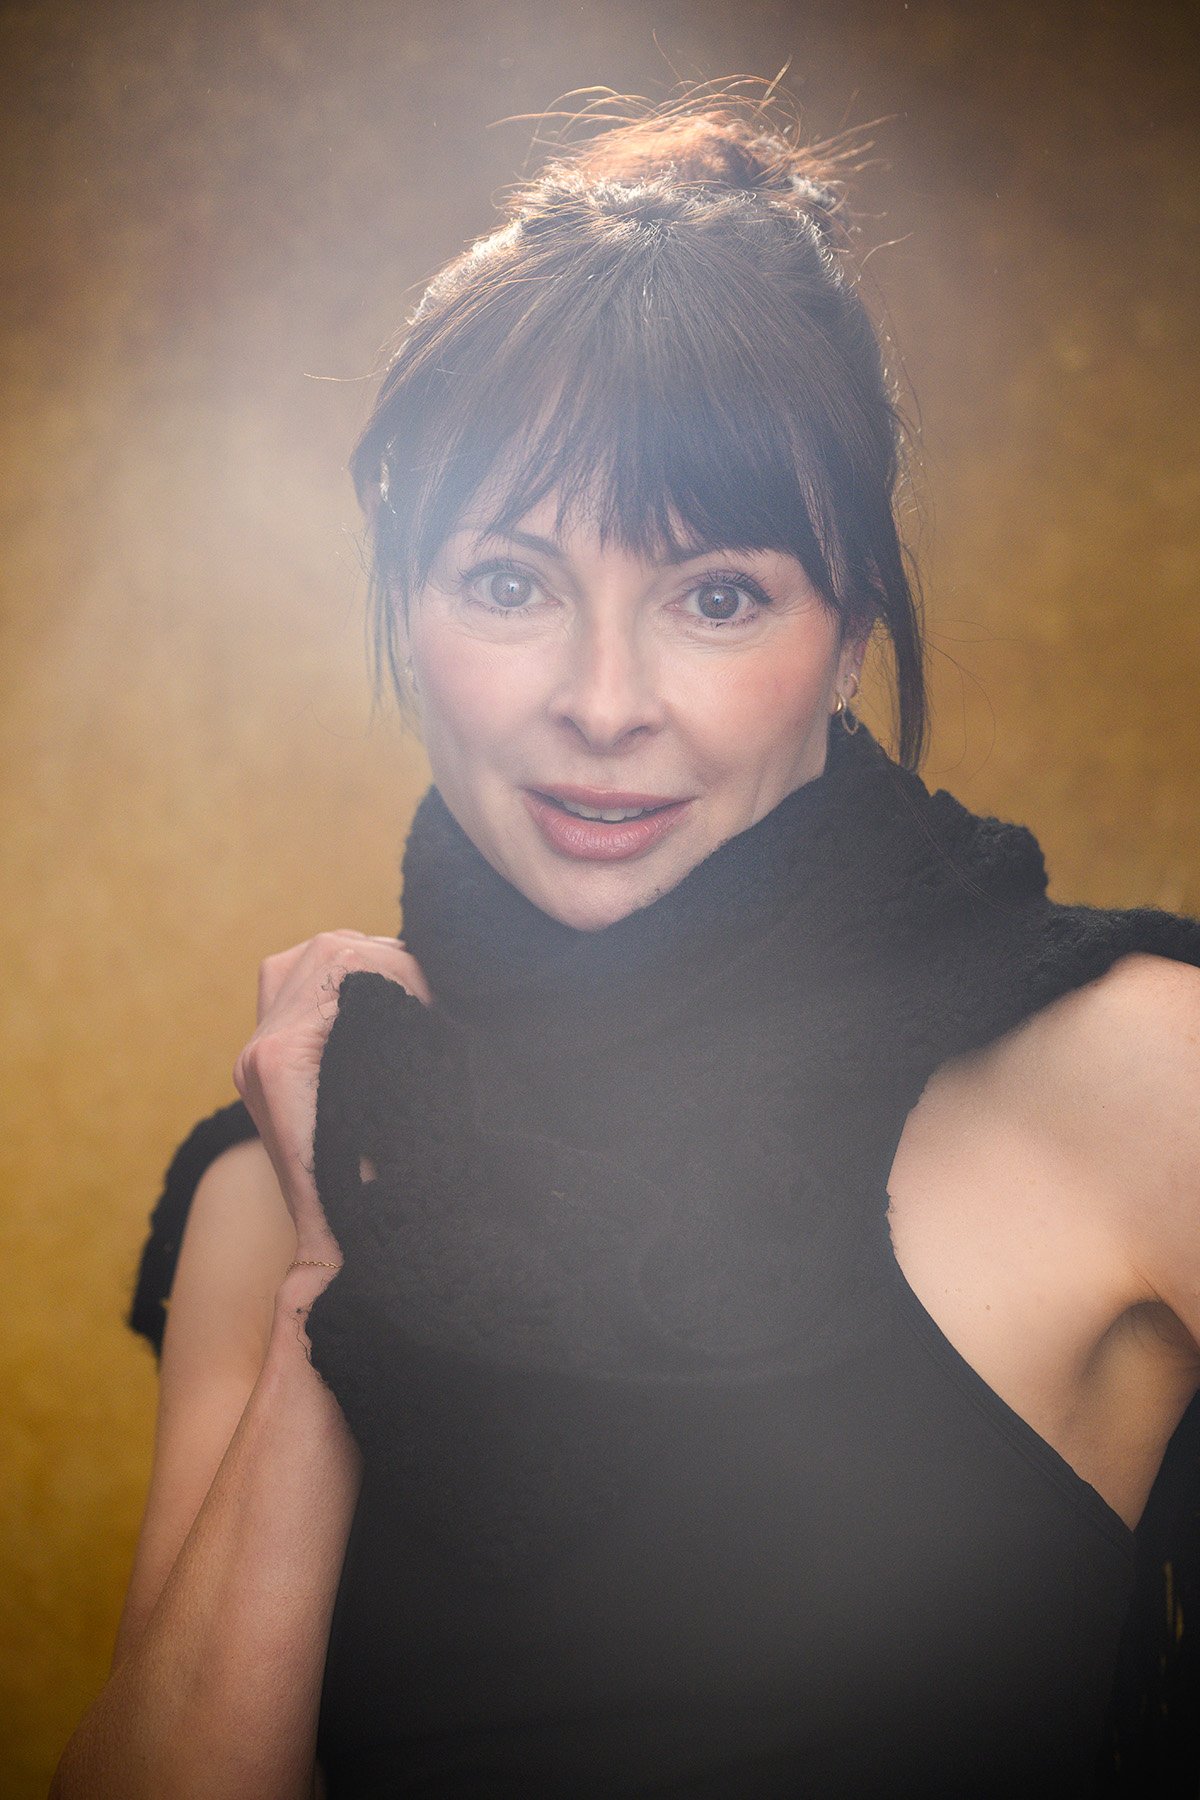
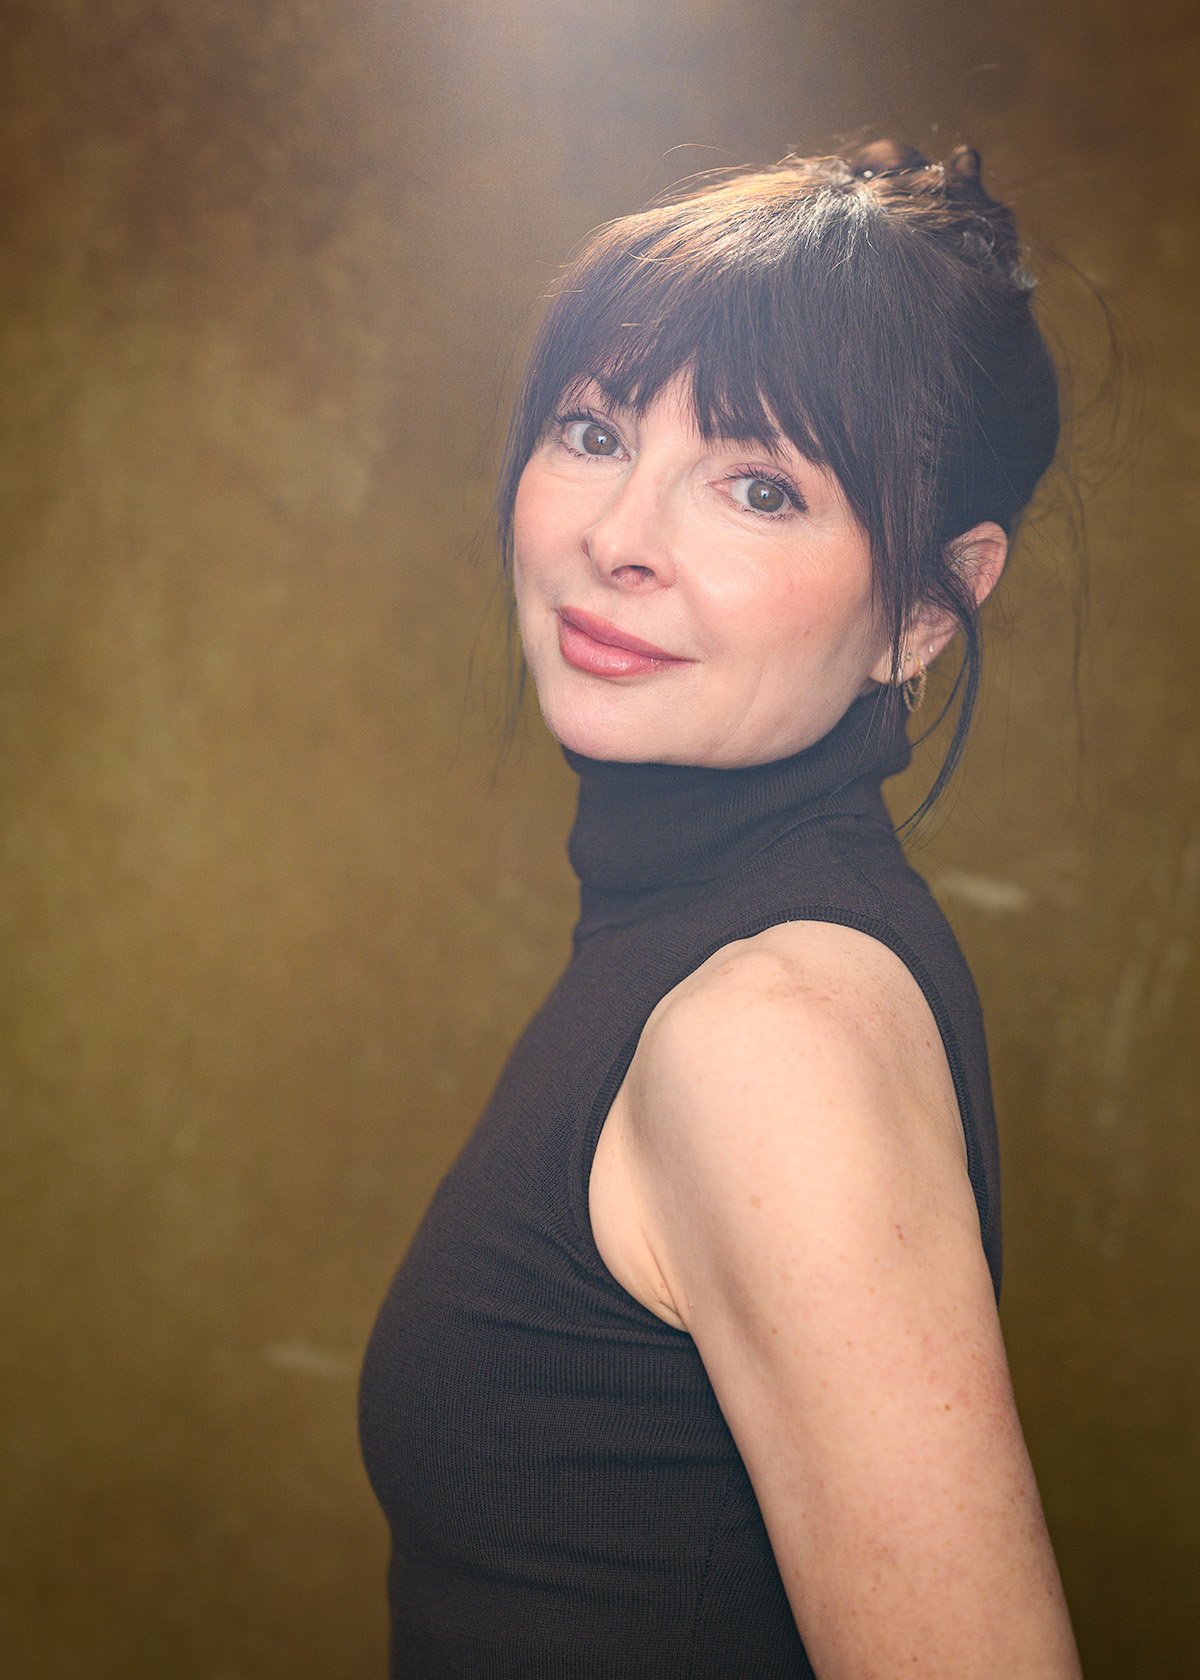
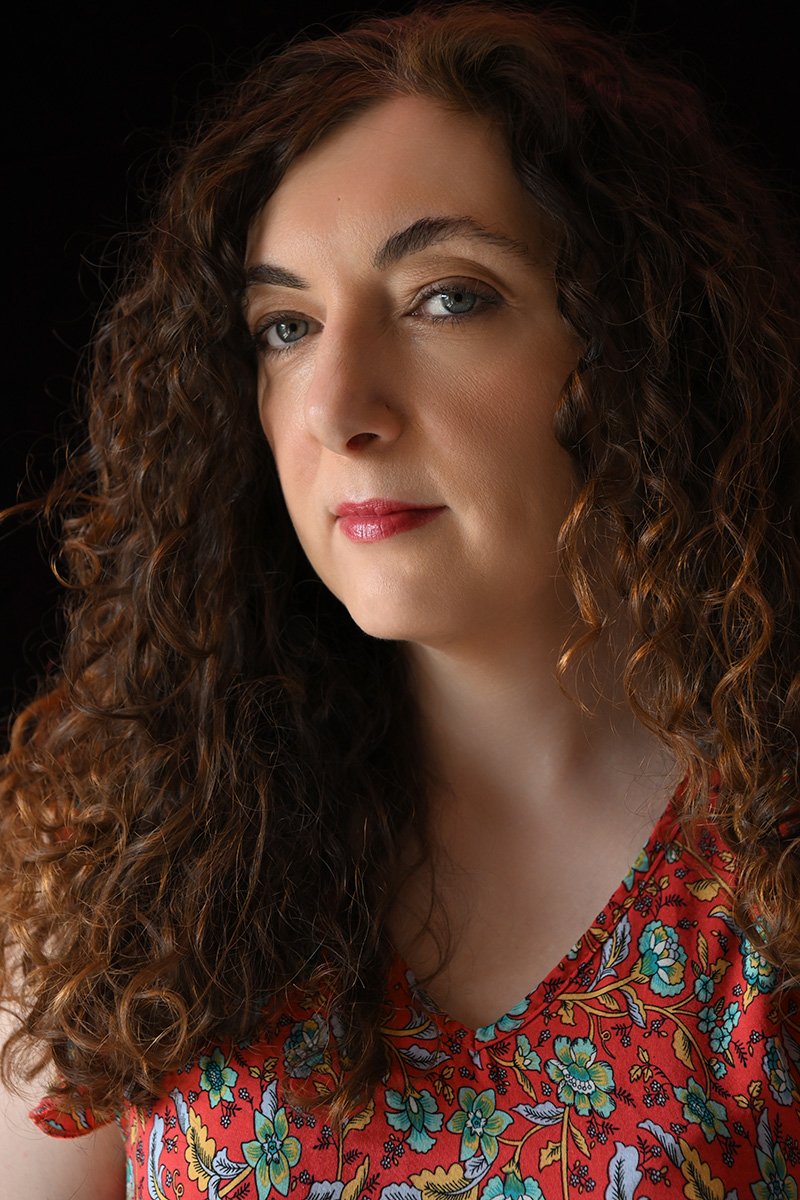
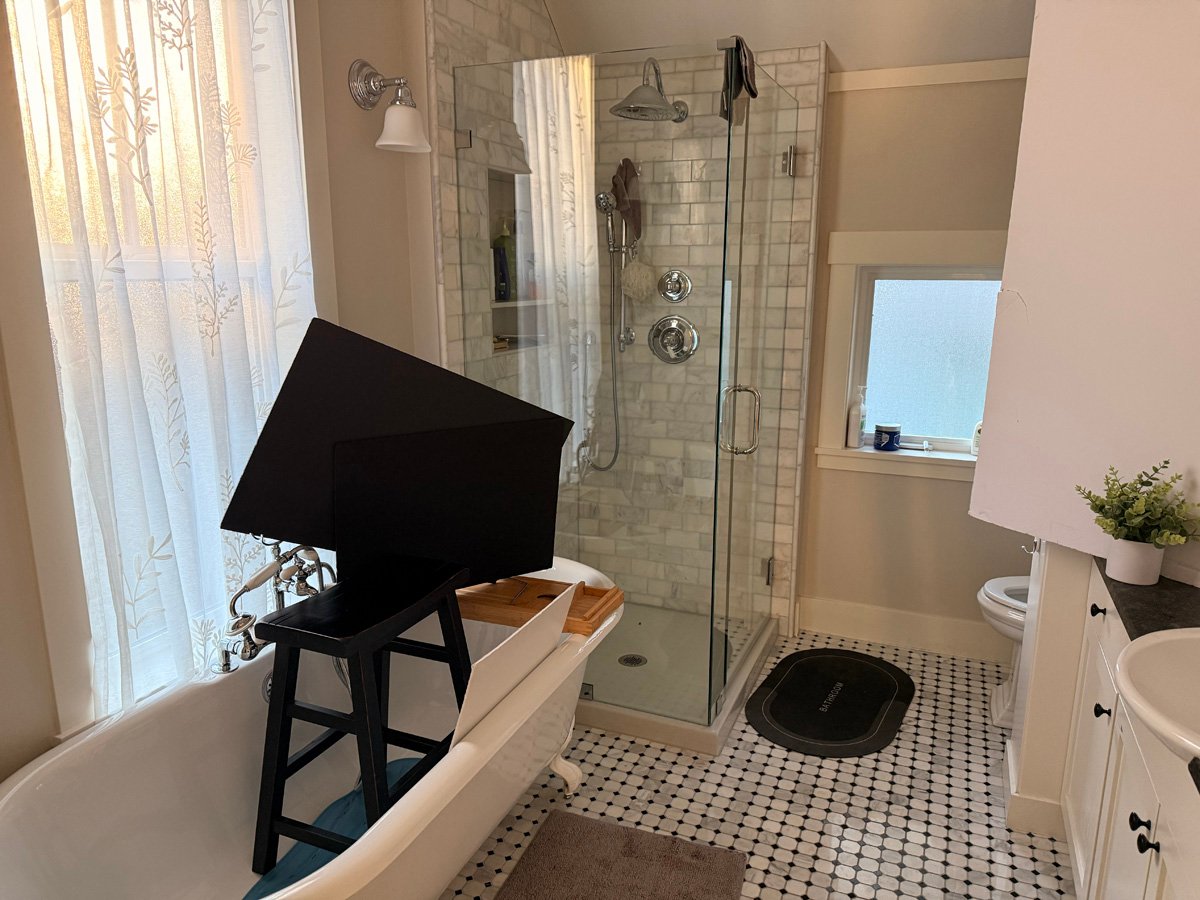
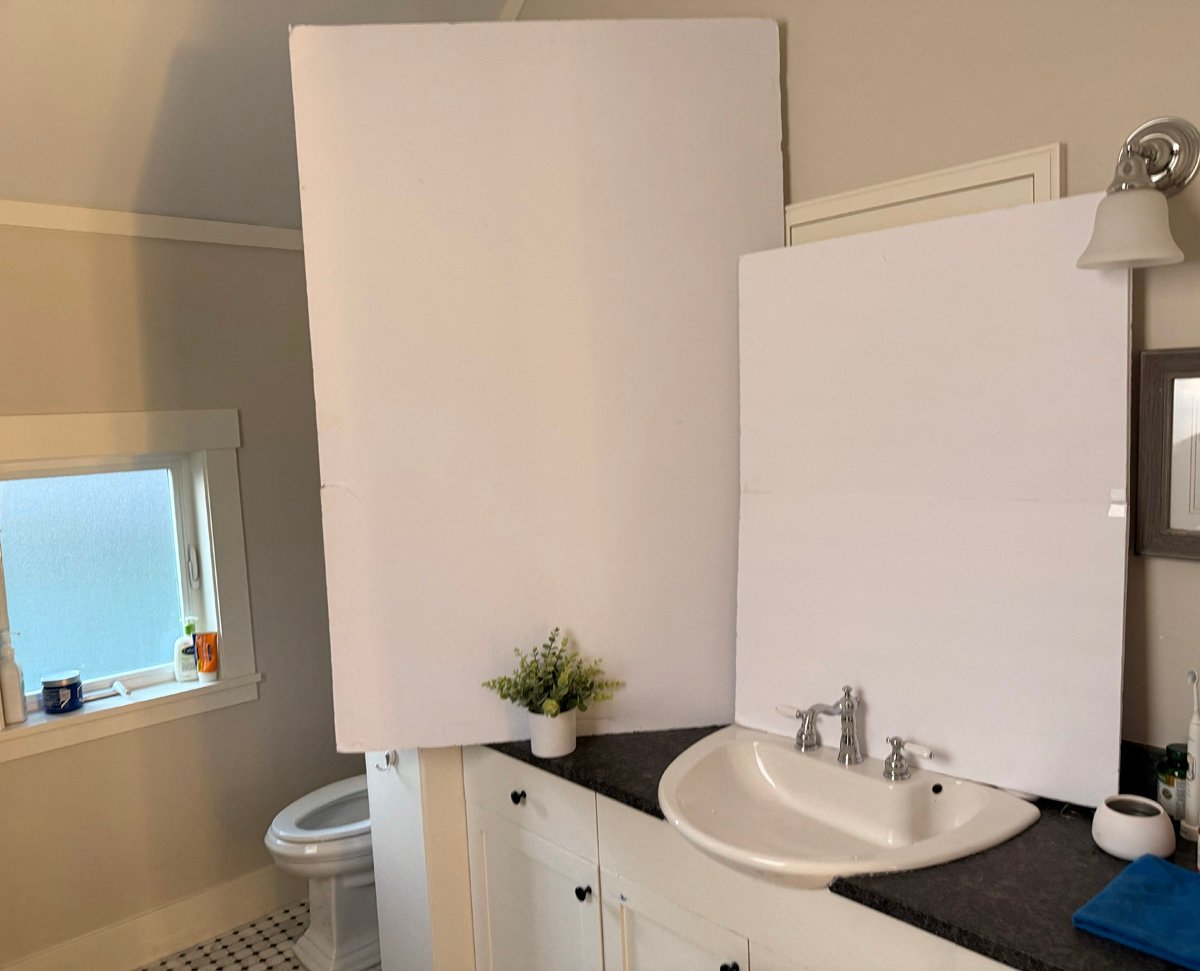
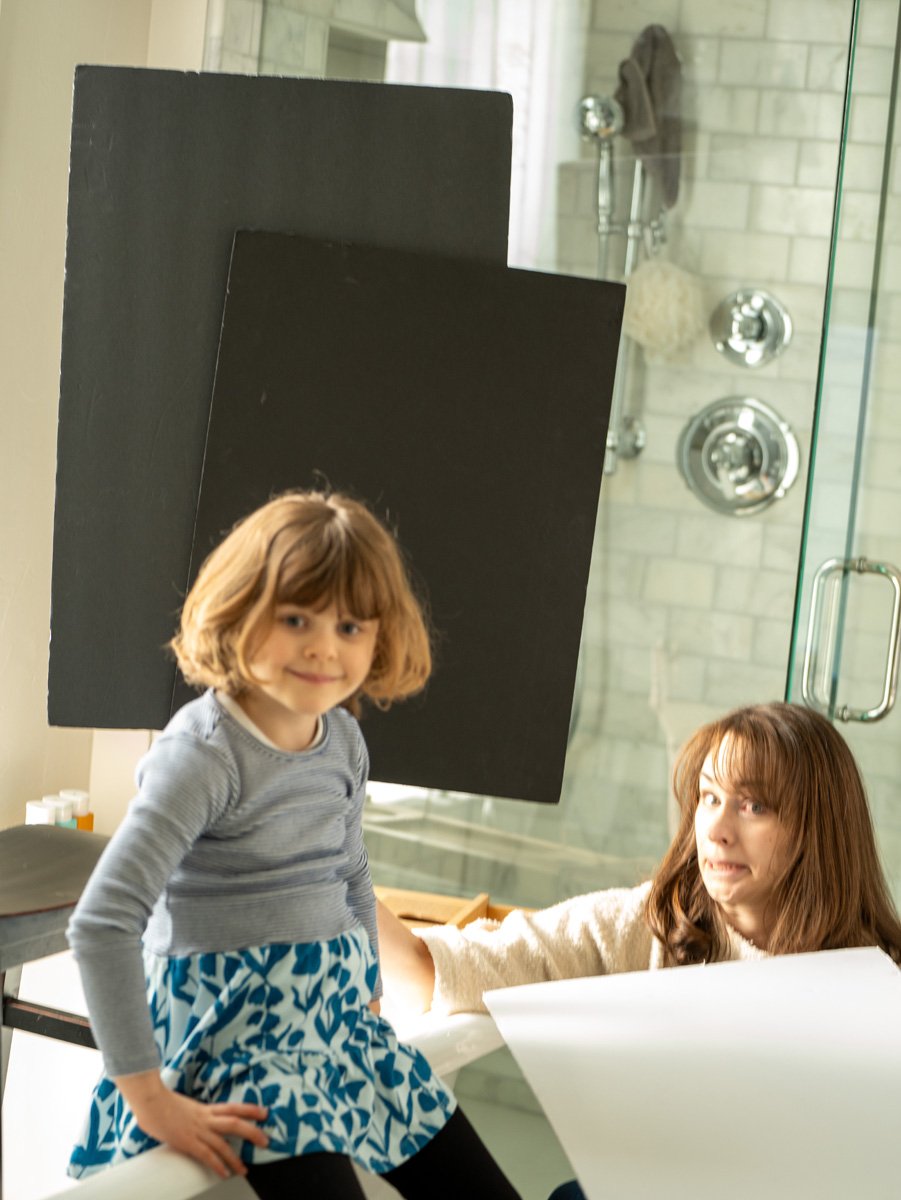
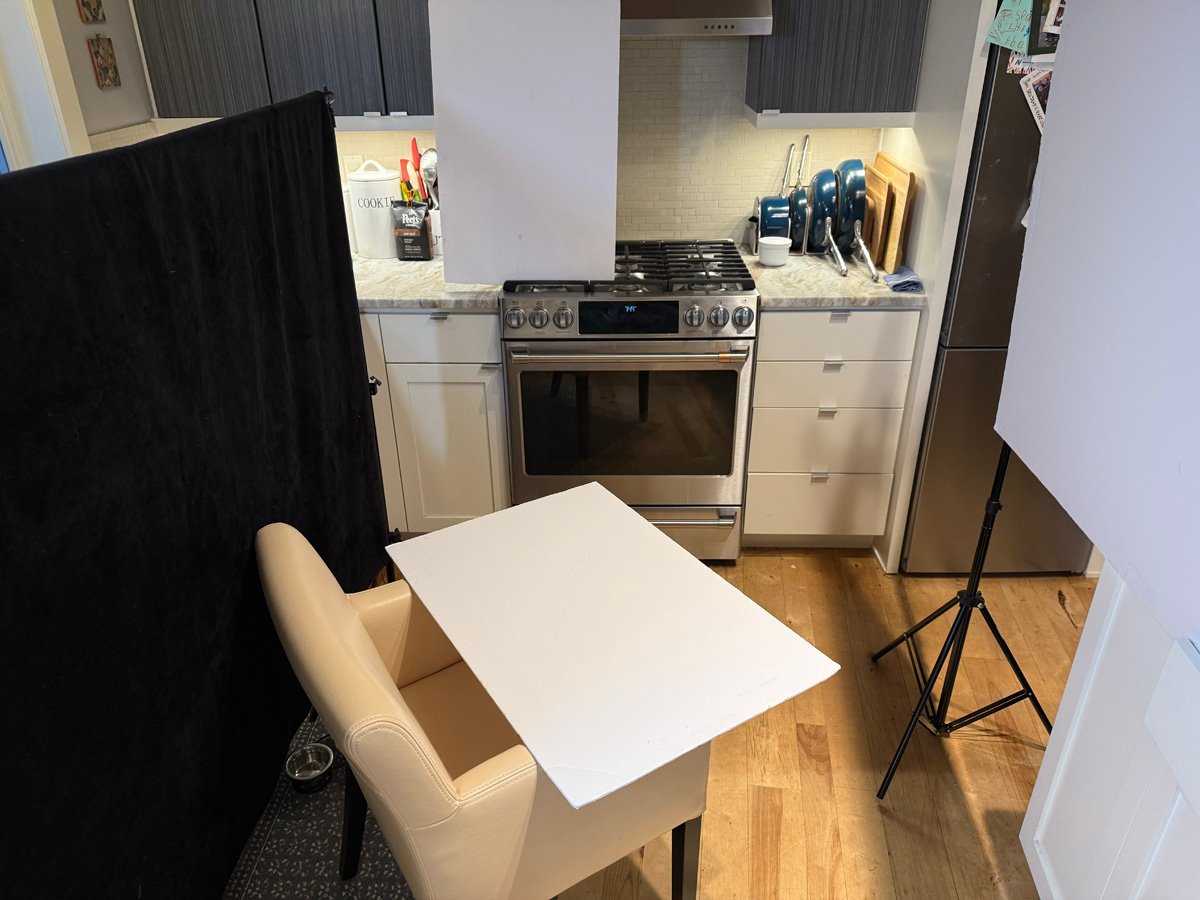
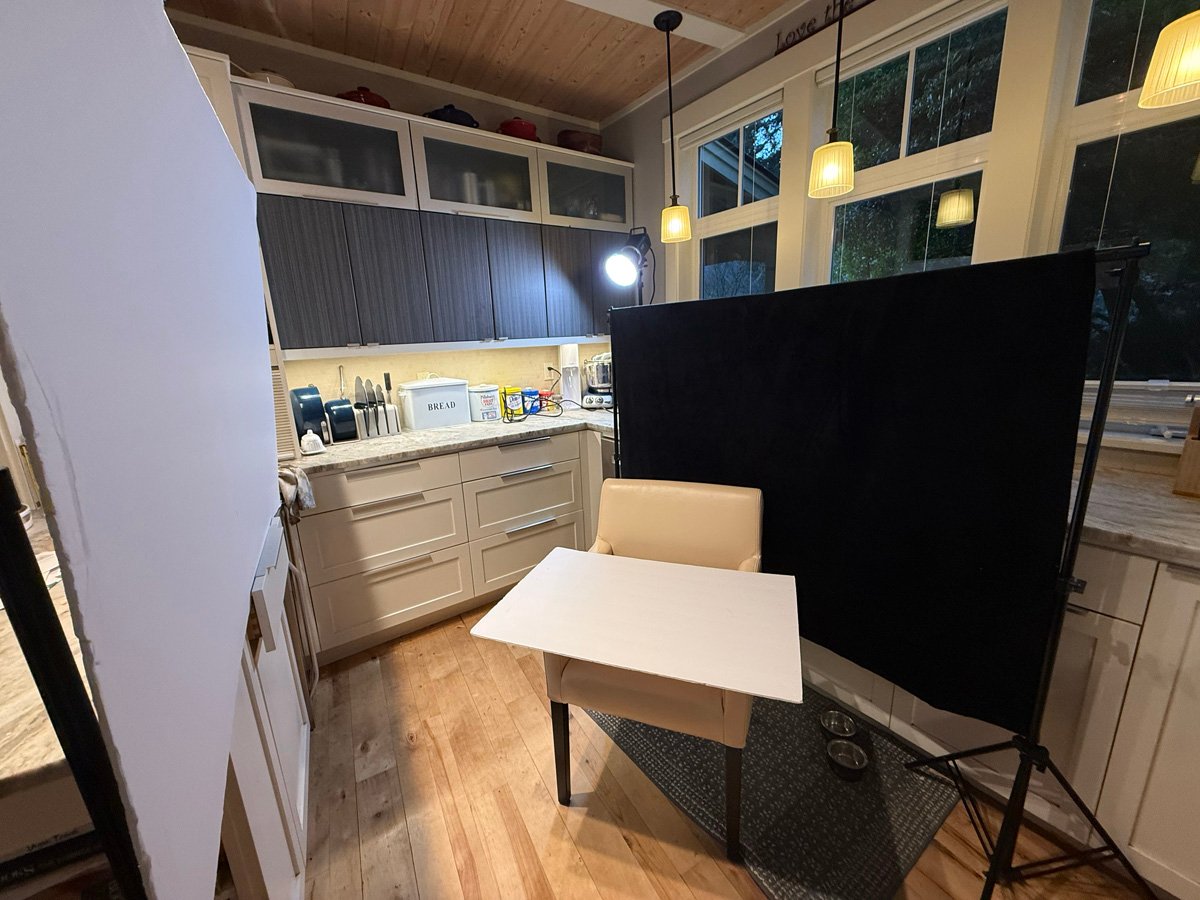
Luciana discussed her photography setup, explaining how she used a panel light to illuminate a white diffuser and capture images of her model against a backdrop with reversible black and white flags. She described the creative process, including the intentional use of flare to achieve an artsy look and the challenges of working in a limited space. Don provided tips on reducing flare by using a card or a shoebox to block unwanted light from hitting the camera lens.
Outdoor Photography Lens Recommendations
Don discussed lens choices for outdoor photography, recommending the 85mm or 100mm focal length to avoid flare issues with the sun, and praised the 200mm lens for its compression and aesthetic qualities. He shared that flare can be used creatively, noting its presence in recent Star Trek movies shot with anamorphic lenses, and suggested using a black card to block flare when it’s unwanted.
Portrait Lighting Techniques Discussed
The group discussed lighting techniques for photography, with Judy sharing her experience using window light and a fill card to capture a portrait. Don praised Judy’s work and provided tips on avoiding reflections in glasses, suggesting techniques like tilting the glasses or adjusting the lighting angle. Judy mentioned using a Canon 50mm 1.2 lens at ISO 2000 and a tripod for stability. The conversation highlighted the importance of natural lighting and proper equipment setup in portrait photography.
Portrait Lighting Techniques Discussion
Don and Inge discussed lighting techniques for portrait photography, focusing on controlling light direction to maintain a consistent look. Inge shared photos of her daughter taken indoors due to cold weather in Albuquerque, and Don provided feedback on lighting setup and the use of white cards to shape light. Christinelarson joined the conversation, mentioning her use of a 70mm lens at f/2.8 and the placement of white boards for additional lighting control.
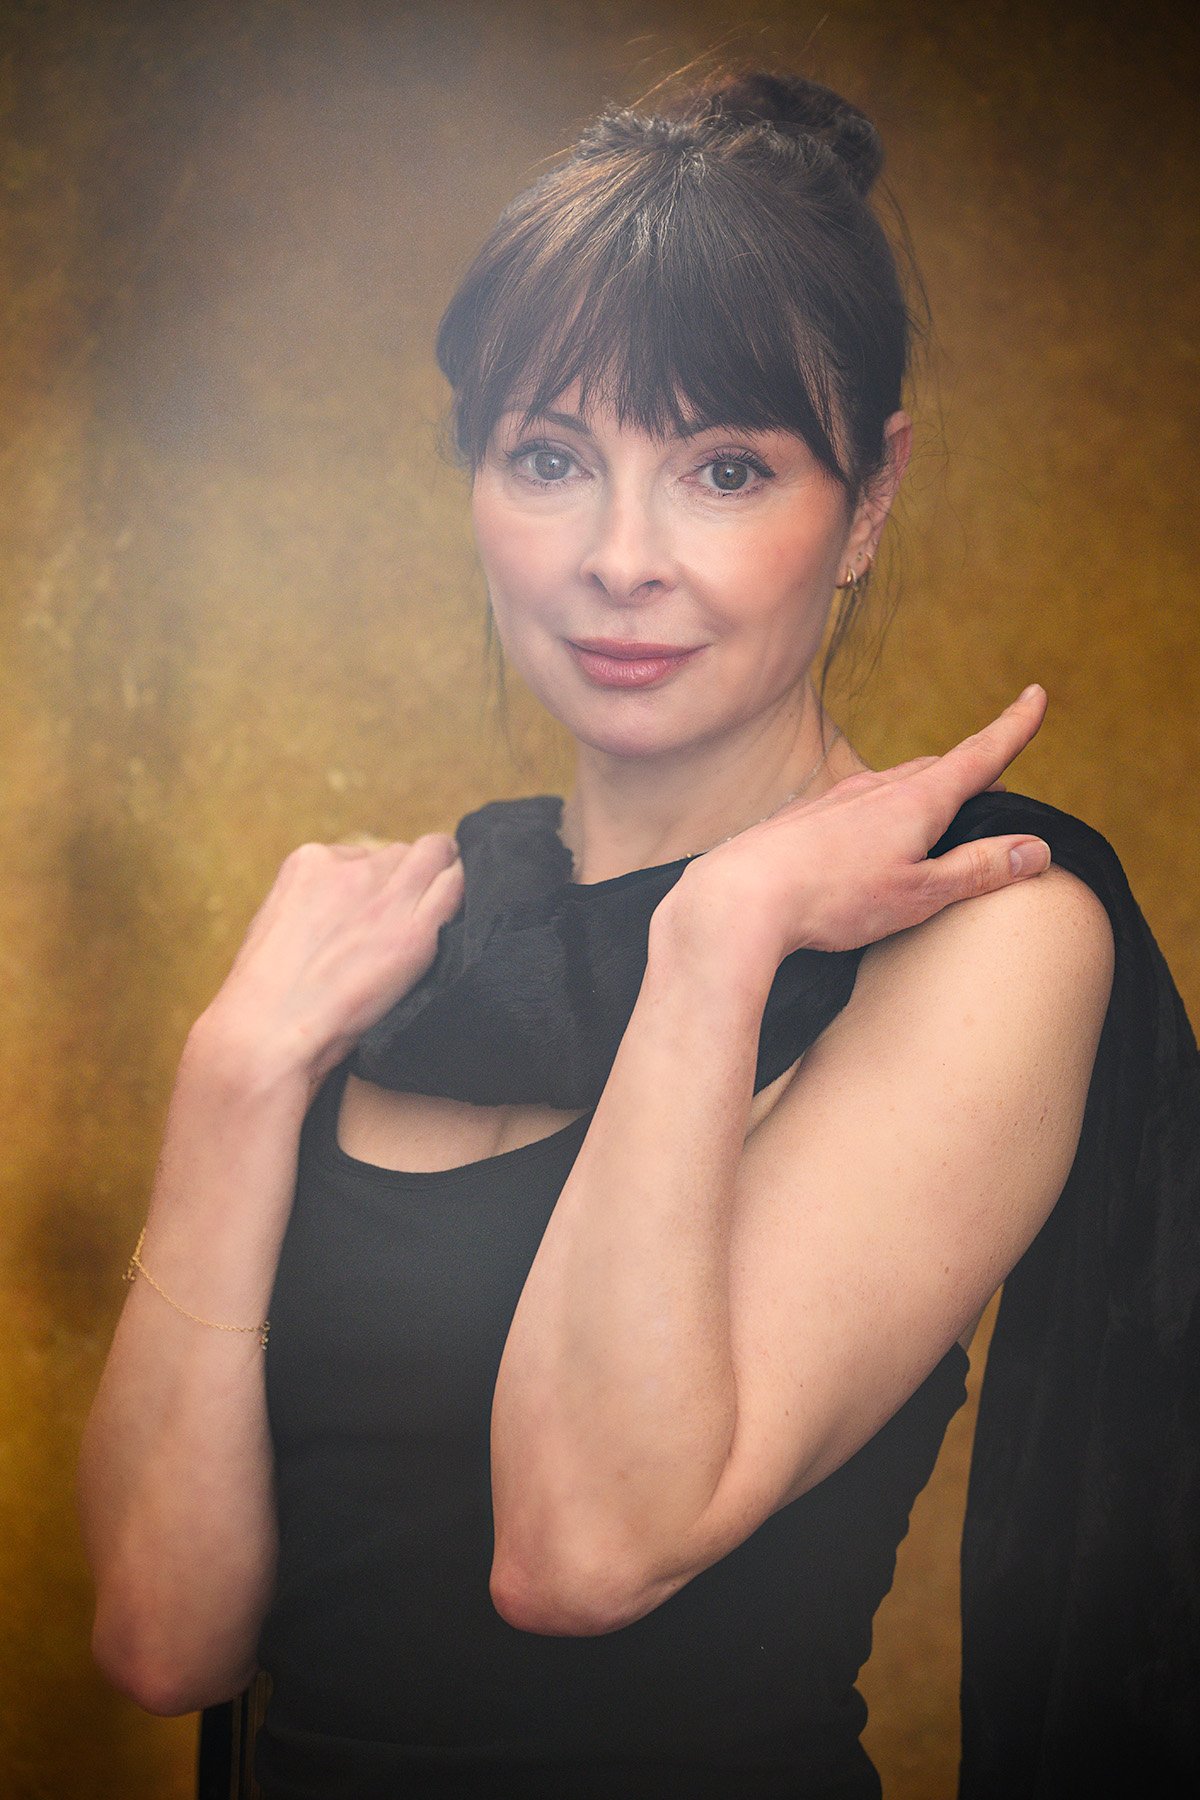
Admiring Christinelarson’s Lighting Techniques
The group discussed and admired photos taken by Christinelarson, featuring her granddaughter Nora and daughter Emily. They noted the beautiful lighting setup, including natural light coming through a window and artificial light highlighting the subjects. Christinelarson explained how she captured the photos, including using black cards and a whiteboard to create different lighting effects. The group praised the photos’ composition and lighting, particularly the hair light and steam from coffee.
V-Card Portrait Lighting Technique
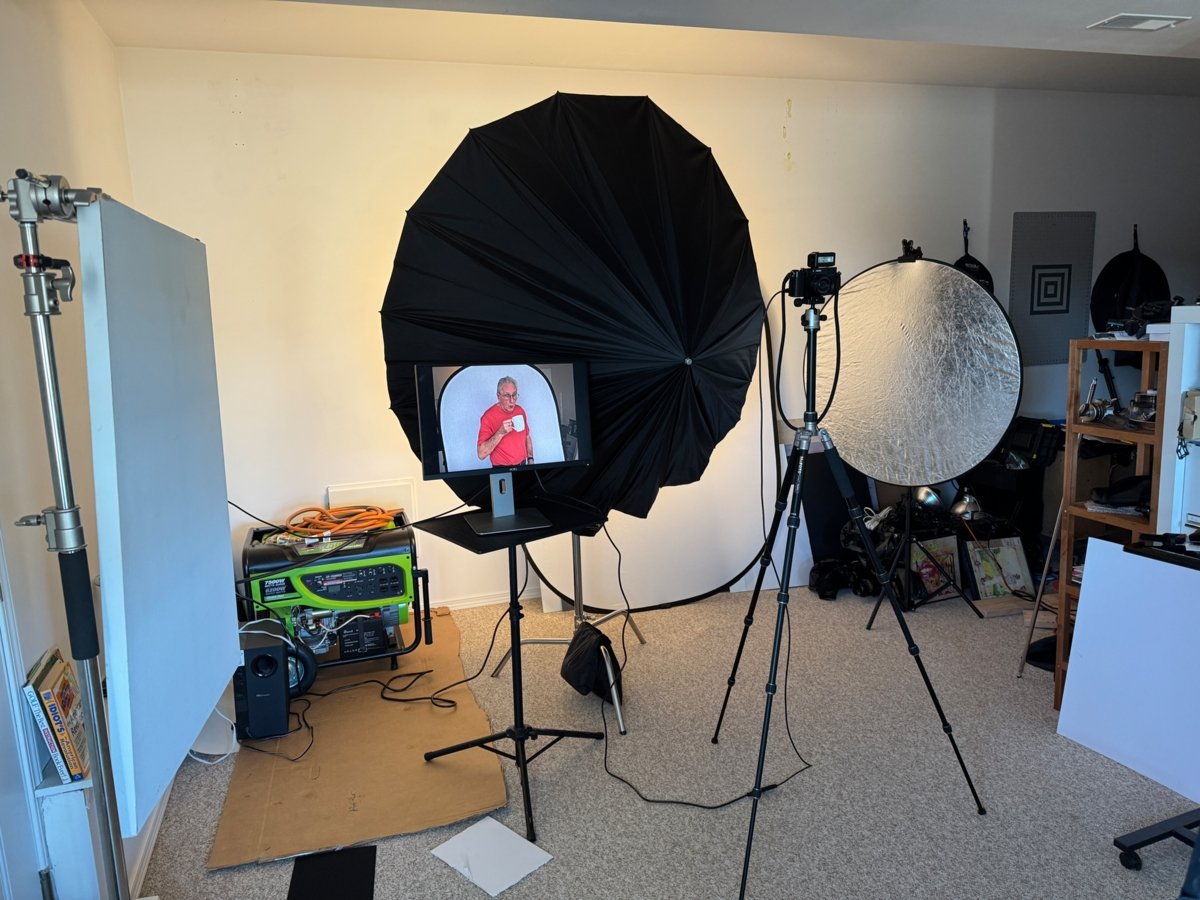
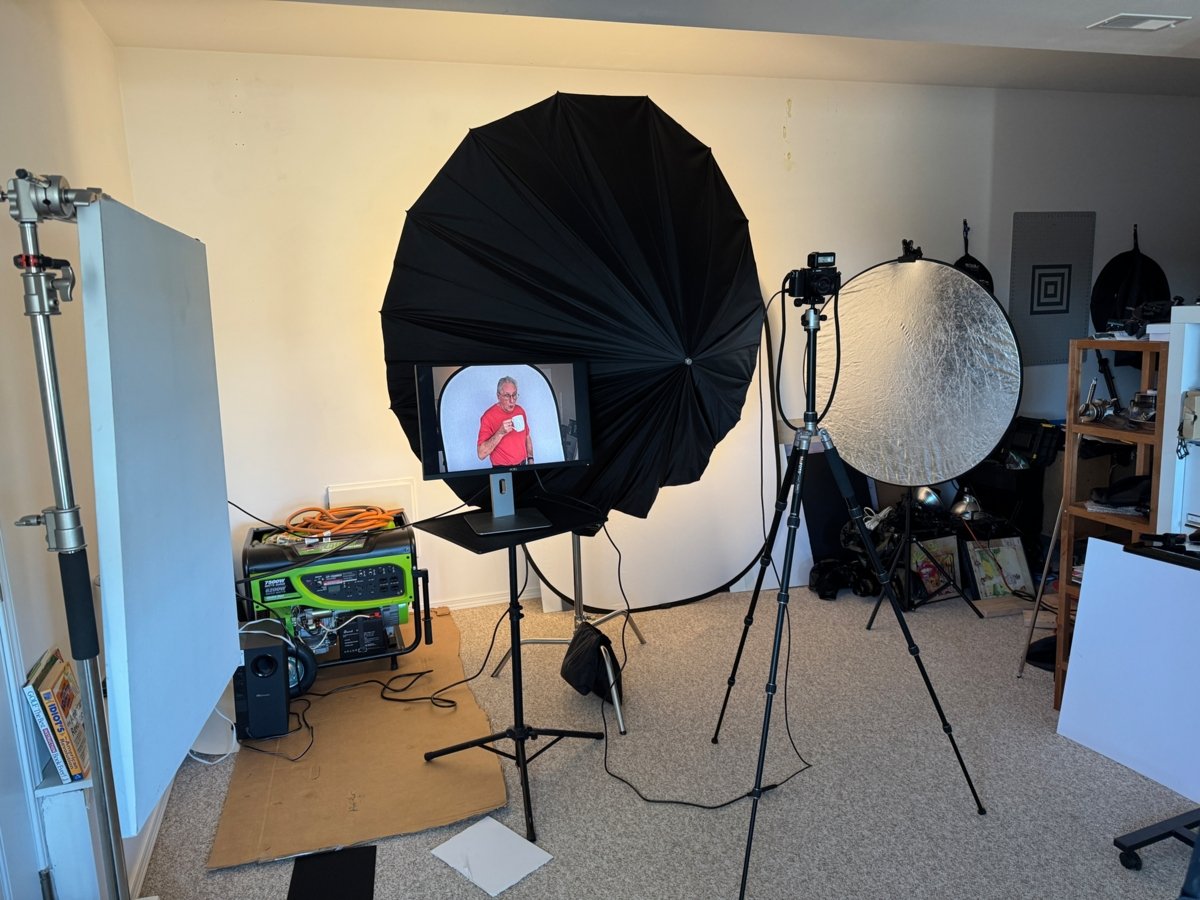
Don demonstrated a lighting technique using V-cards and a soft umbrella to create beautiful portrait lighting, explaining how to shoot through a narrow slot between the cards to achieve soft, even lighting. He showed examples of both studio and natural light setups, noting that the technique works well in shade but can be challenging in direct sunlight due to the intense reflection. The group discussed the limitations of the V-card setup, including its inability to create significant facial modeling, and Don confirmed that the next meeting would feature students’ own work, with a focus on portraiture or product photography.





-

- Evoto
-

- Evoto



asdfasdfasdf
Class Two
