8 WEEK CLASS: NOVEMBER 2025
One Big Beautiful Light: Week Six
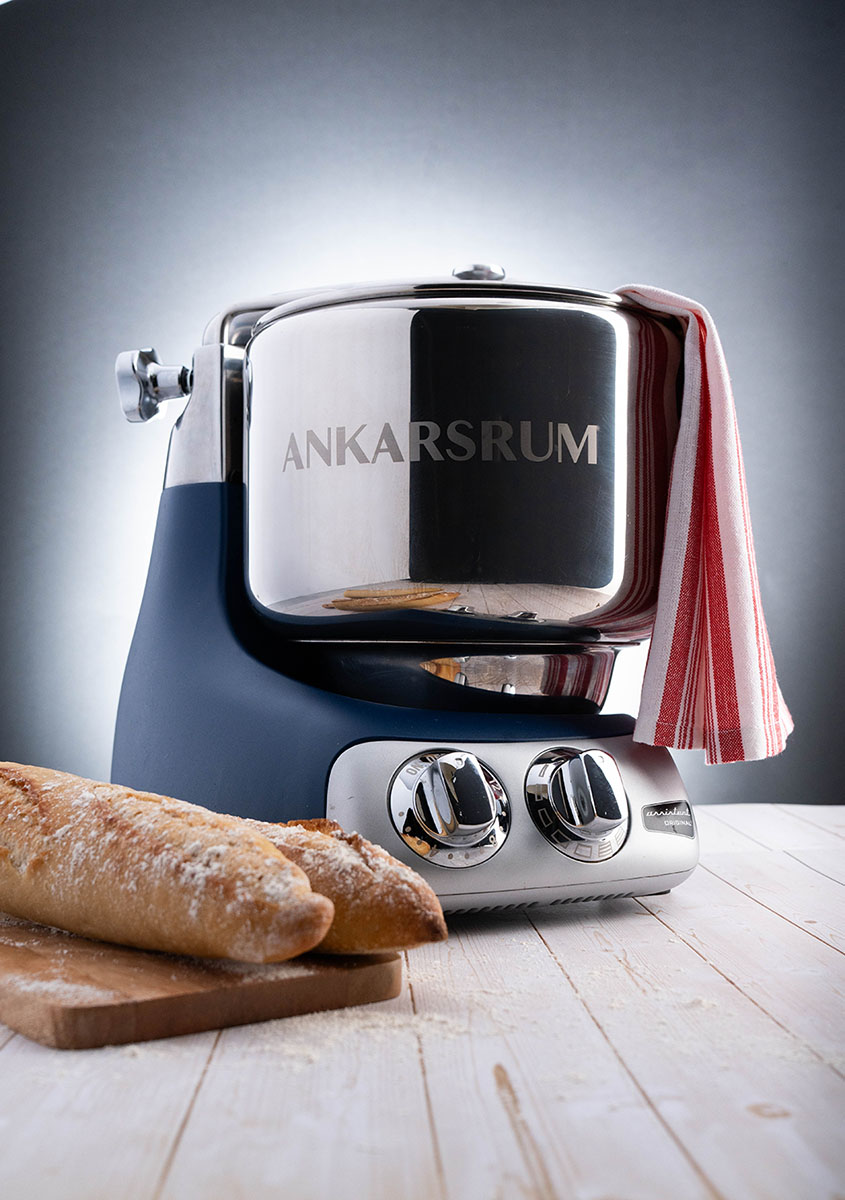
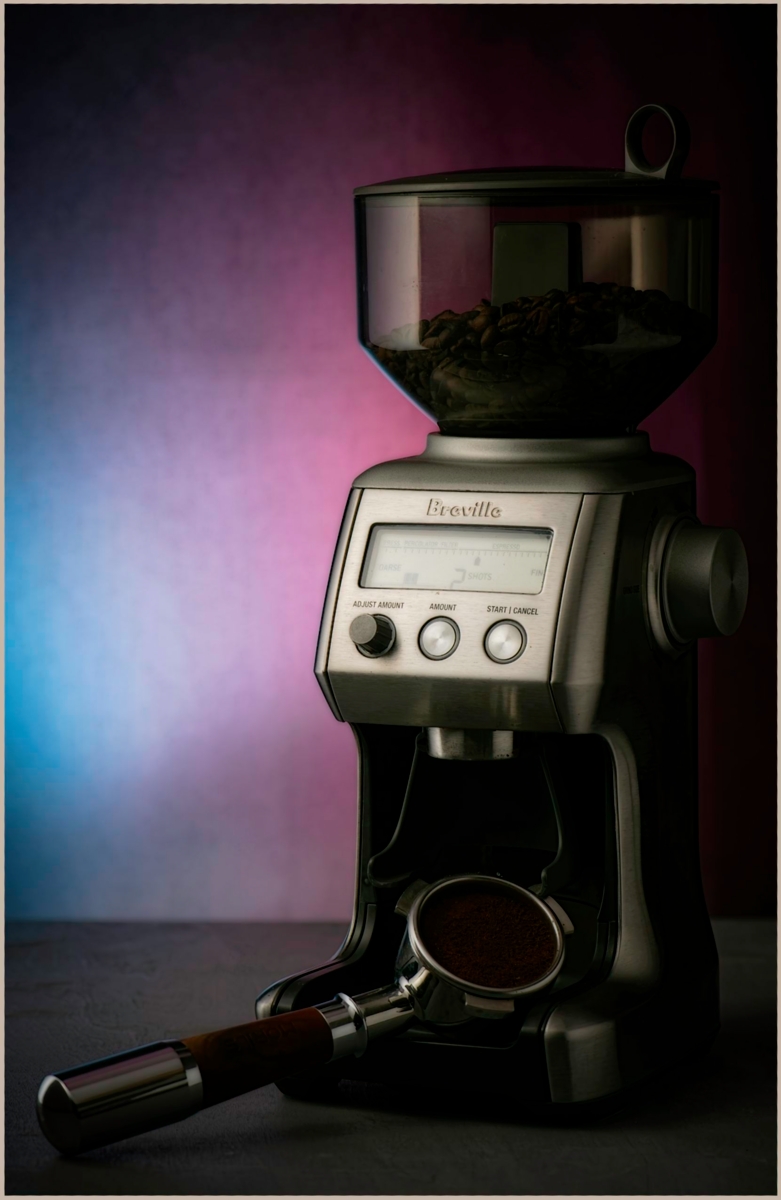
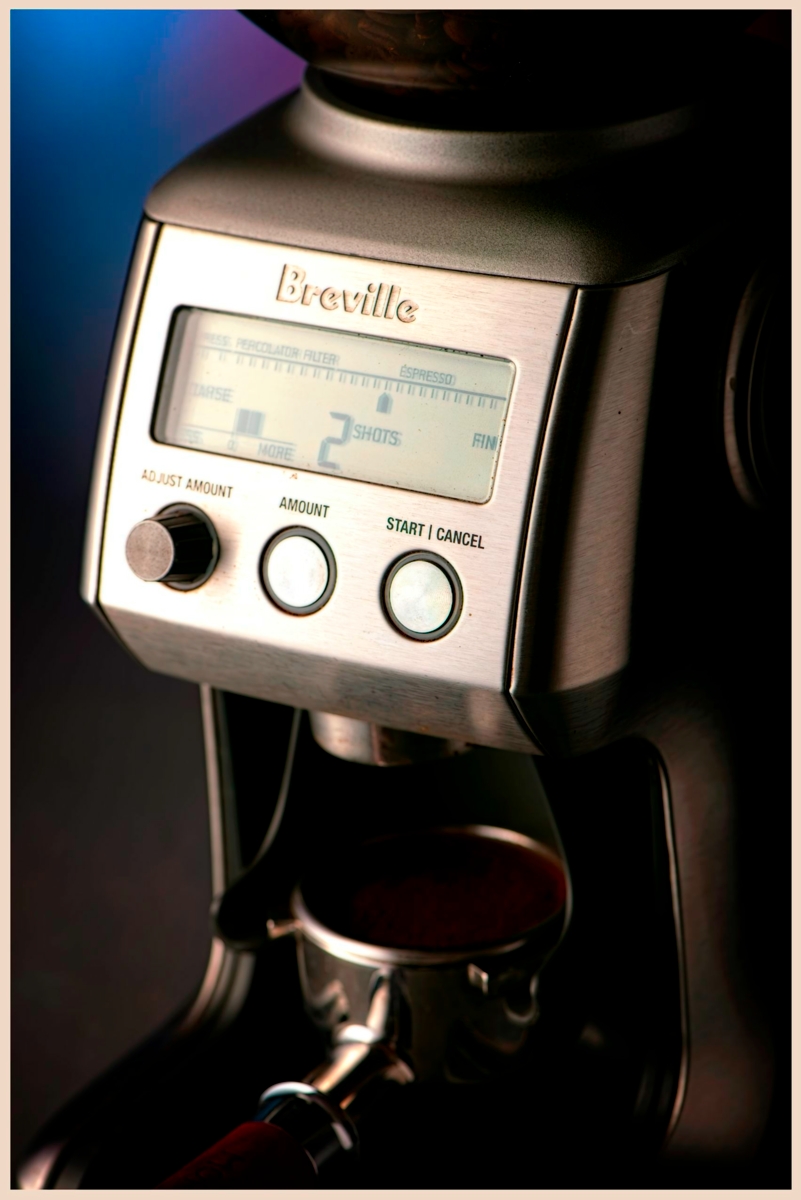
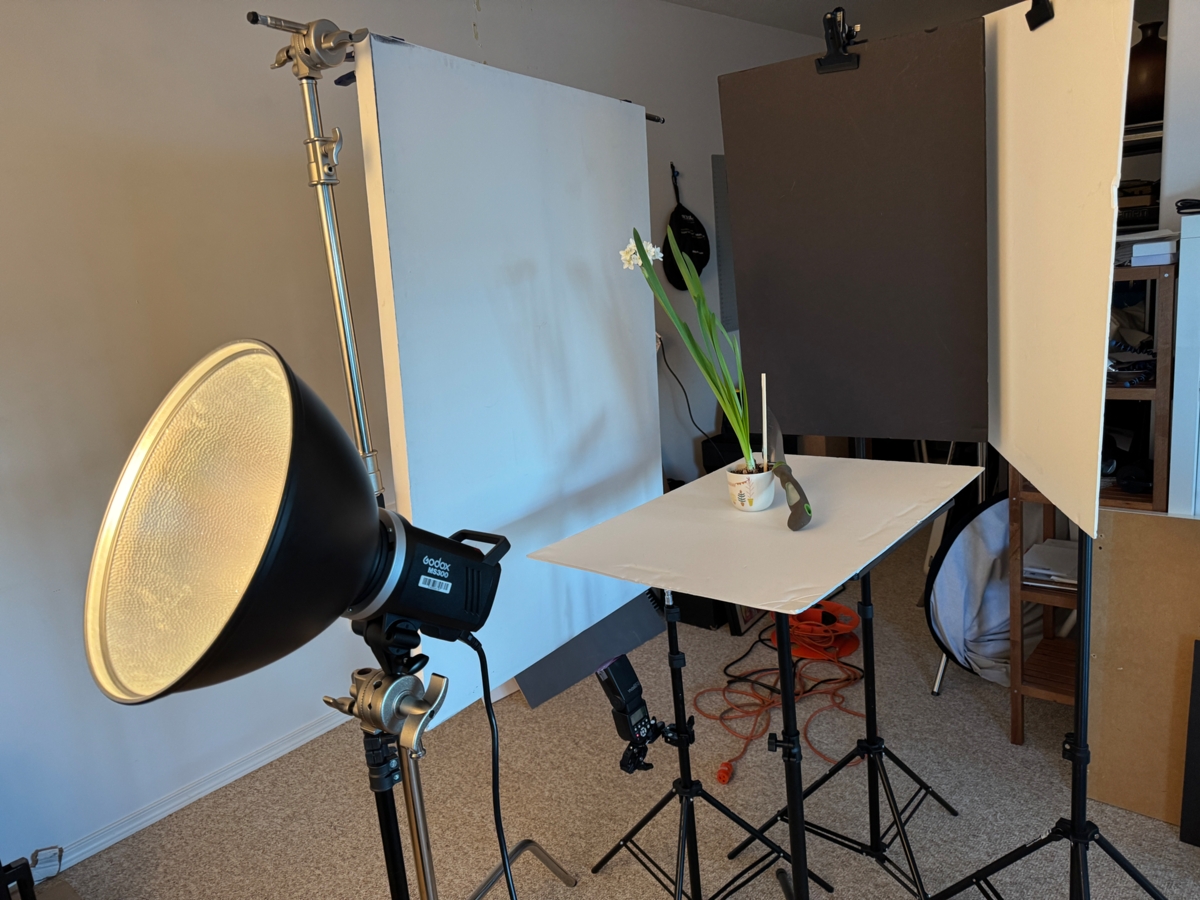
Product Photography…
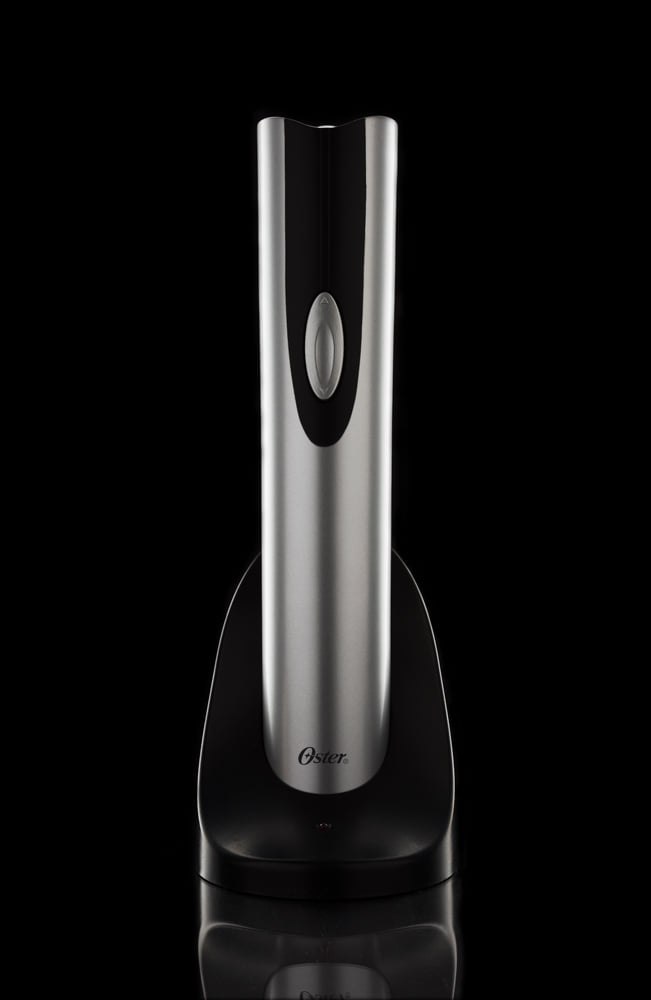
Often includes a mix of shiny and a diffuse surface.
1. Pick the why before the how
Before you touch a light:
-
What is this product selling?
-
Power? Precision? Comfort? Elegance?
-
Who is this for: An engineer, barista, home cook, minimalist?
One sentence. If you can’t say it, the image will fail.
Lighting choices should serve the idea, not show off the setup.
2. Control the highlight like it’s the subject
With one light, highlights are the composition.
-
Rotate the product before moving the light
-
Watch the highlight travel across the surface
-
Stop when the highlight describes form, not when it’s “bright enough.”
If the highlight is boring, the photo will be boring. Period.
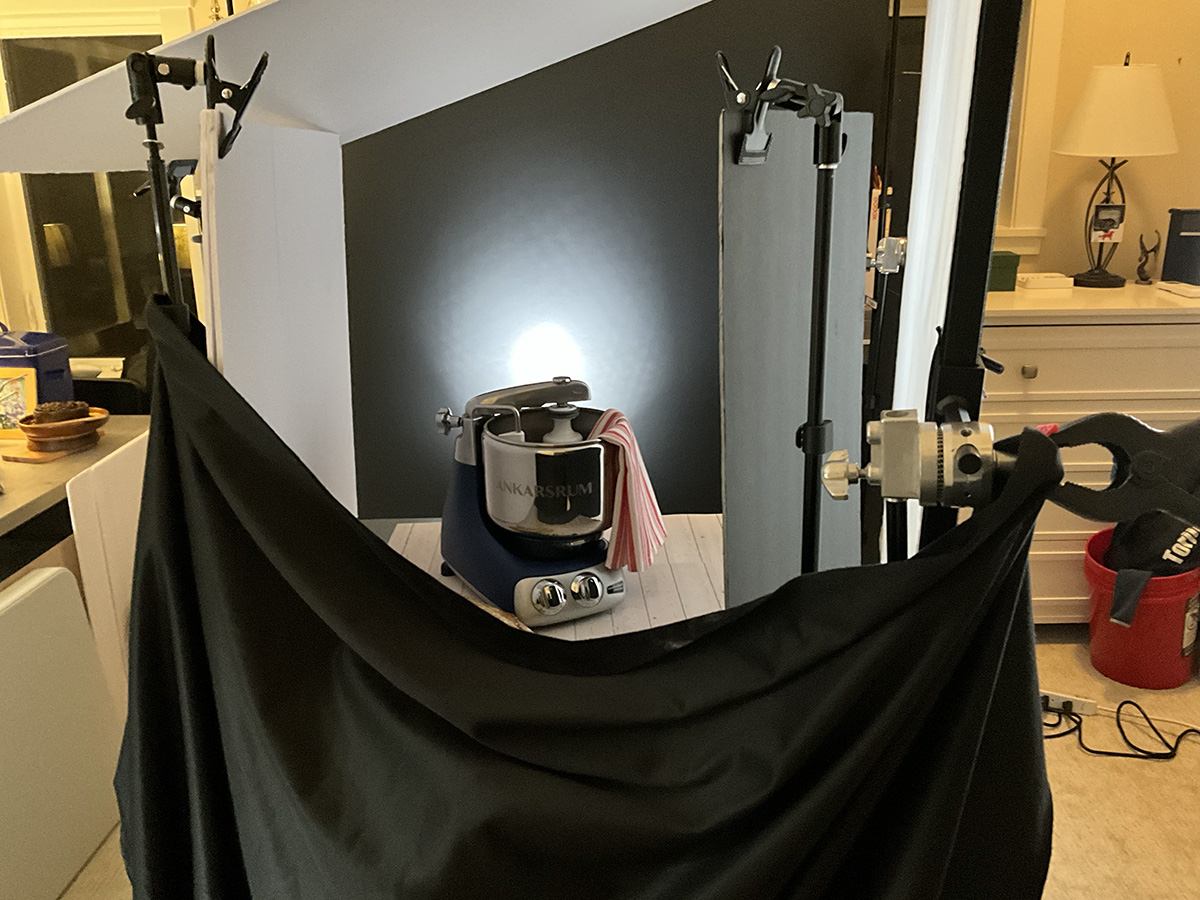
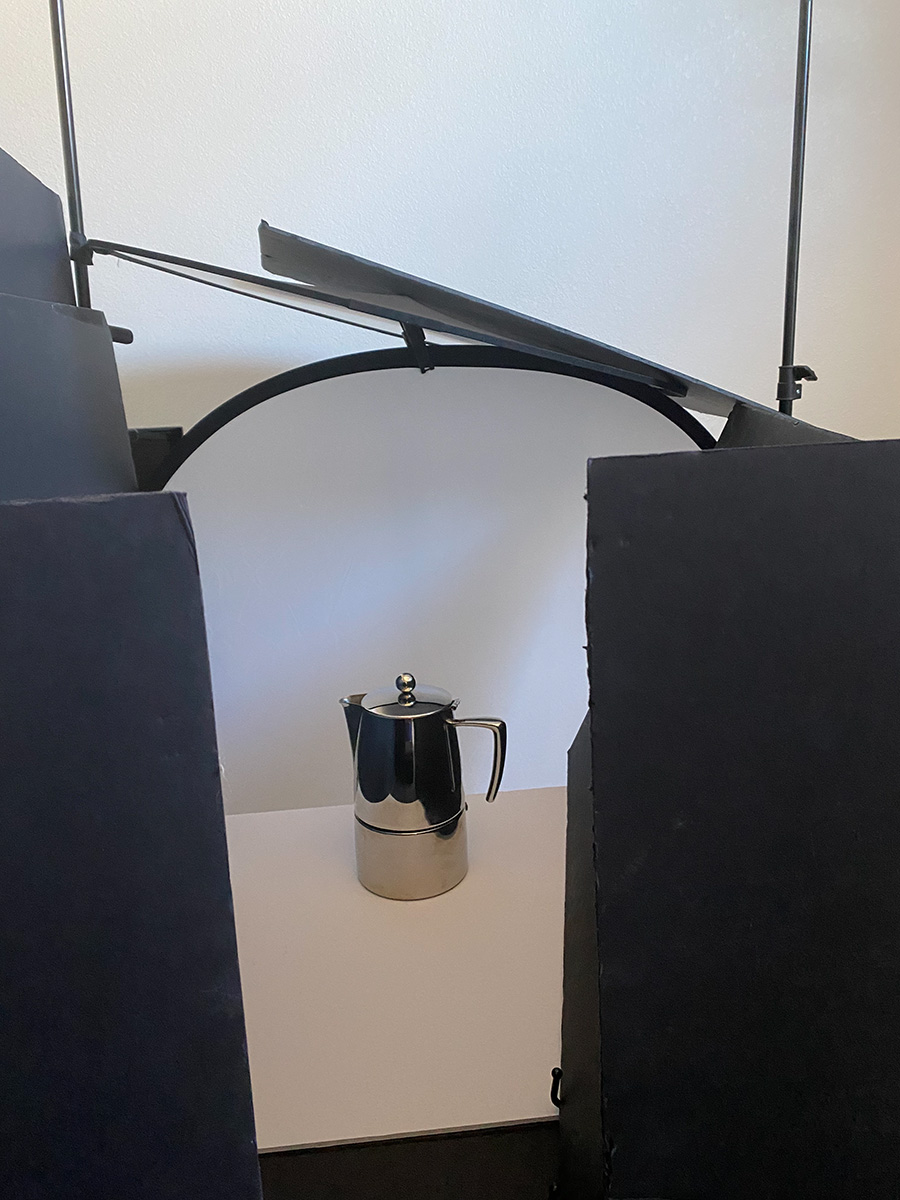
3. Use black cards more aggressively than wxpected
Most photographers underuse black.
Try this:
-
Bring a black card closer than feels safe
-
Let it eat light
-
Use it to carve edges, kill spill, and add dimension.
If everything is evenly lit, nothing matters.
4. White cards are scalpels, not floodlights
White fill should solve a visual problem, not “help the main light.”
-
Small and medium card
-
Close to the product
-
Sometimes what is needed is just enough lift to separate detail from shadow
If you can see the fill working, it may be too much.
5. Shoot for edges, not objects
Edges sell shape.
Encourage them to:
-
Look for rim separation
-
Protect the silhouette
-
Let one side fall off into shadow if it strengthens the outline
A clean edge reads as visual direction.
6. Let something go dark on purpose
This may be the hardest lesson.
-
One area should almost disappear
-
One area should carry the most visual weight.
-
One area should simply be supported.
If everything is important, nothing is.
Think lighting hierarchy.
7. Simplify the set until it feels uncomfortable
Then simplify once more.
-
One hero object
-
One supporting prop max
-
No “just in case” elements
If you feel the urge to add something, ask:
What problem am I trying to fix?
What will this prop bring to the image?
How will the prop contribute to or detract from the main subject?
Will the composition support it?
Most of the time, the problem is lighting, not styling.
8. Crop slightly tighter than feels safe
Wide shots forgive mistakes. Tight shots expose them.
I Encourage:
-
Cropping in-camera (only for this class)
-
Filling the frame
-
Making the product commit
Cropping is brave, and bravado is rewarded by dynamic images.
9. Move the light by inches, not feet.
With this kind of subject, small moves matter more than big ones.
-
Raise or lower the light a few inches
-
Shift angle by small degrees, not wide variation
-
Check and recheck reflections every time.
This teaches precision, not luck.
10. The Goal is Clarity
“Perfect” is vague. Clear is professional.
Ask yourself:
-
Is the product readable at thumbnail size?
-
Does the viewer know where to look first?
-
Does the lighting feel intentional?
If yes, stop shooting.
Overworking kills good images.
ASSIGNMENT SIX:
2 or 3 Final Product Shots:
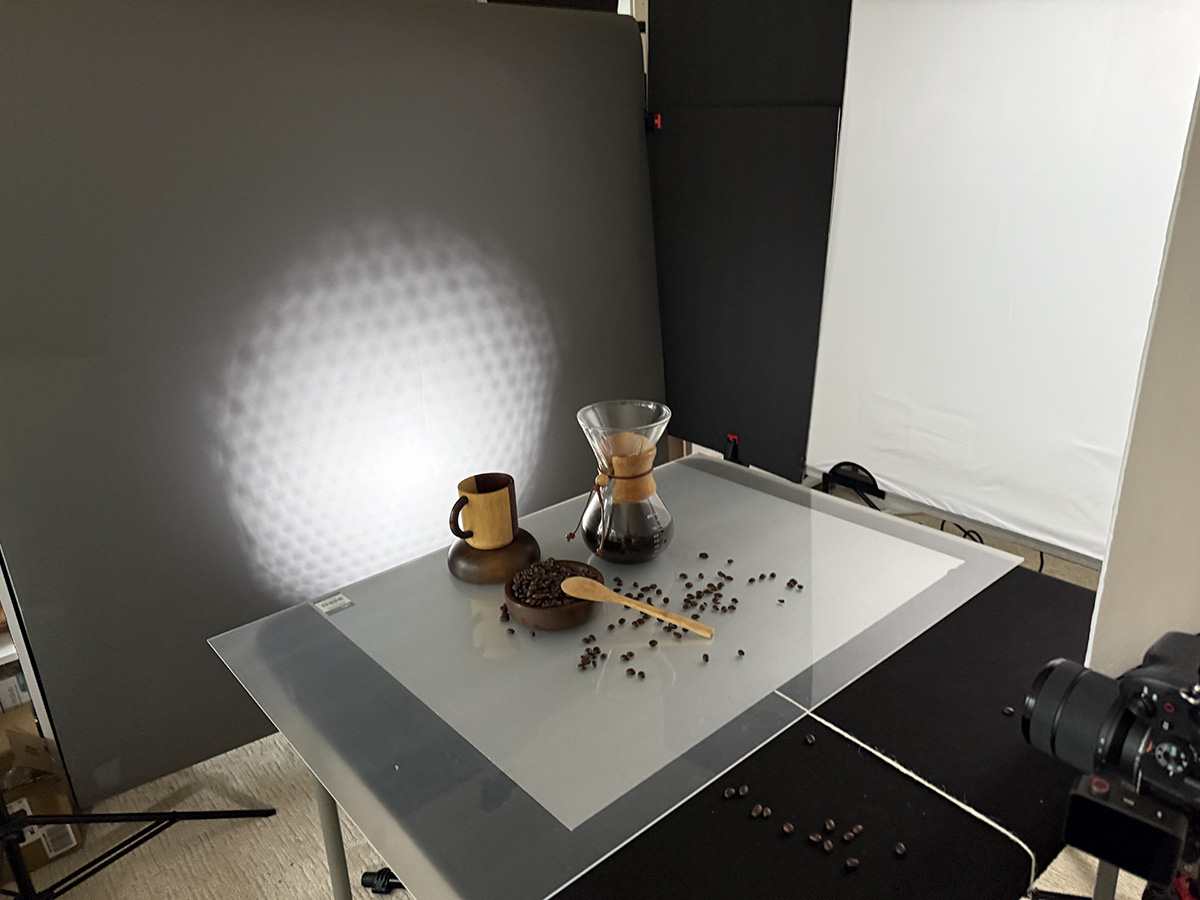
This is an exploratory assignment to stimulate creativity in set building.
Creating the lighting for this shoot can be any of our previous setups, or a combination of your own design.
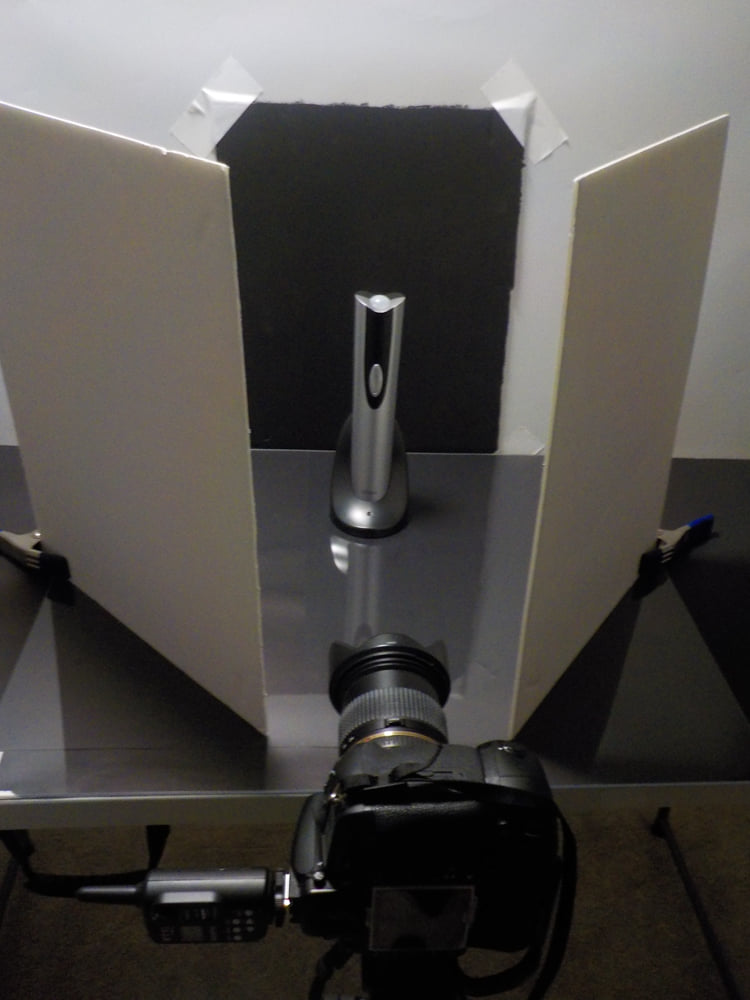
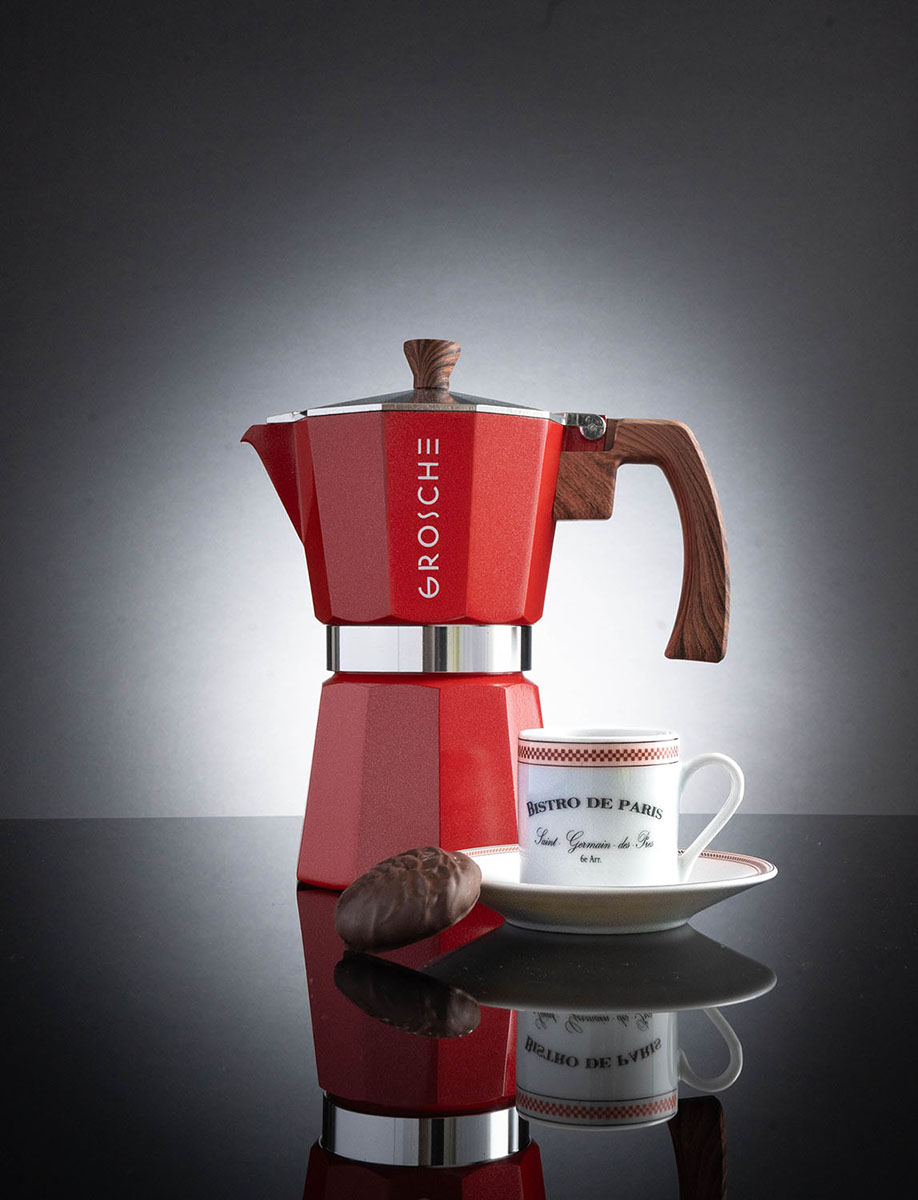
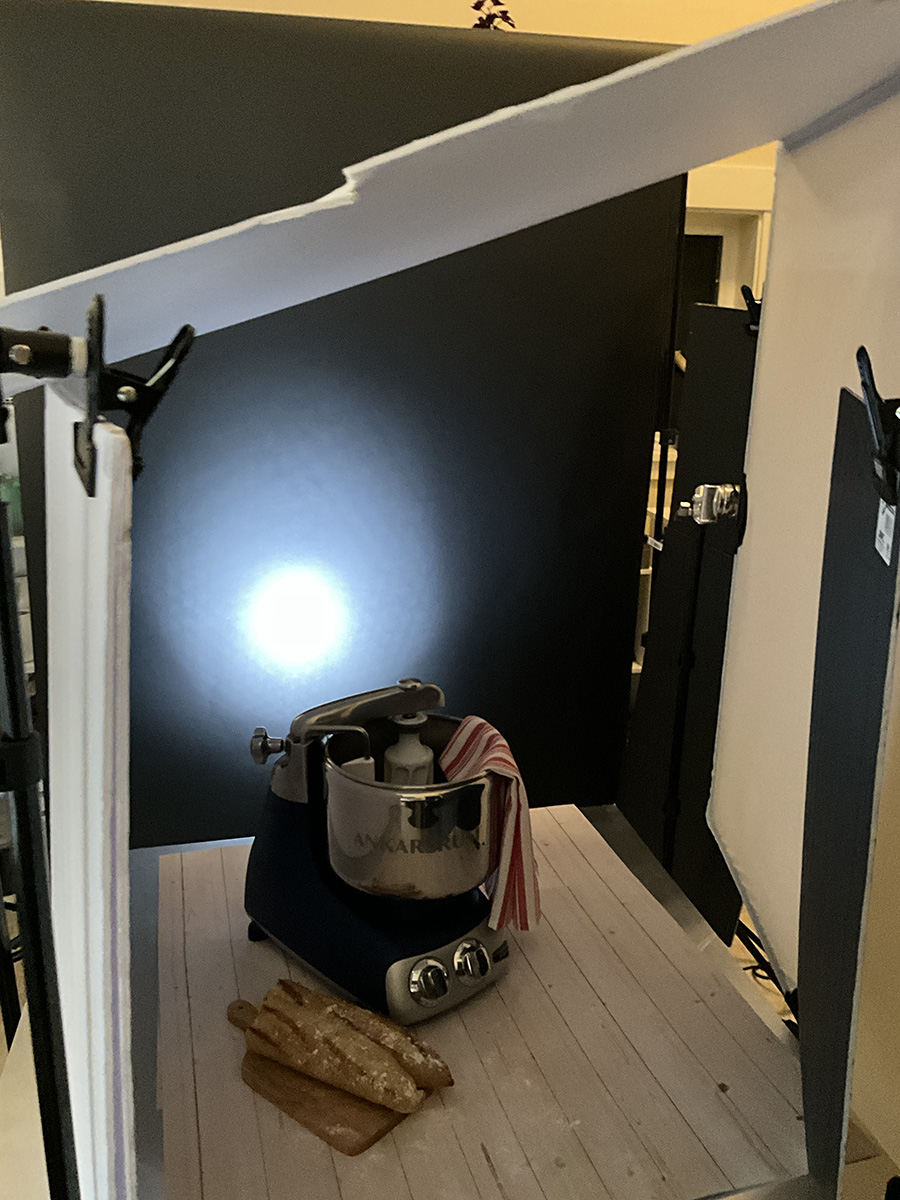
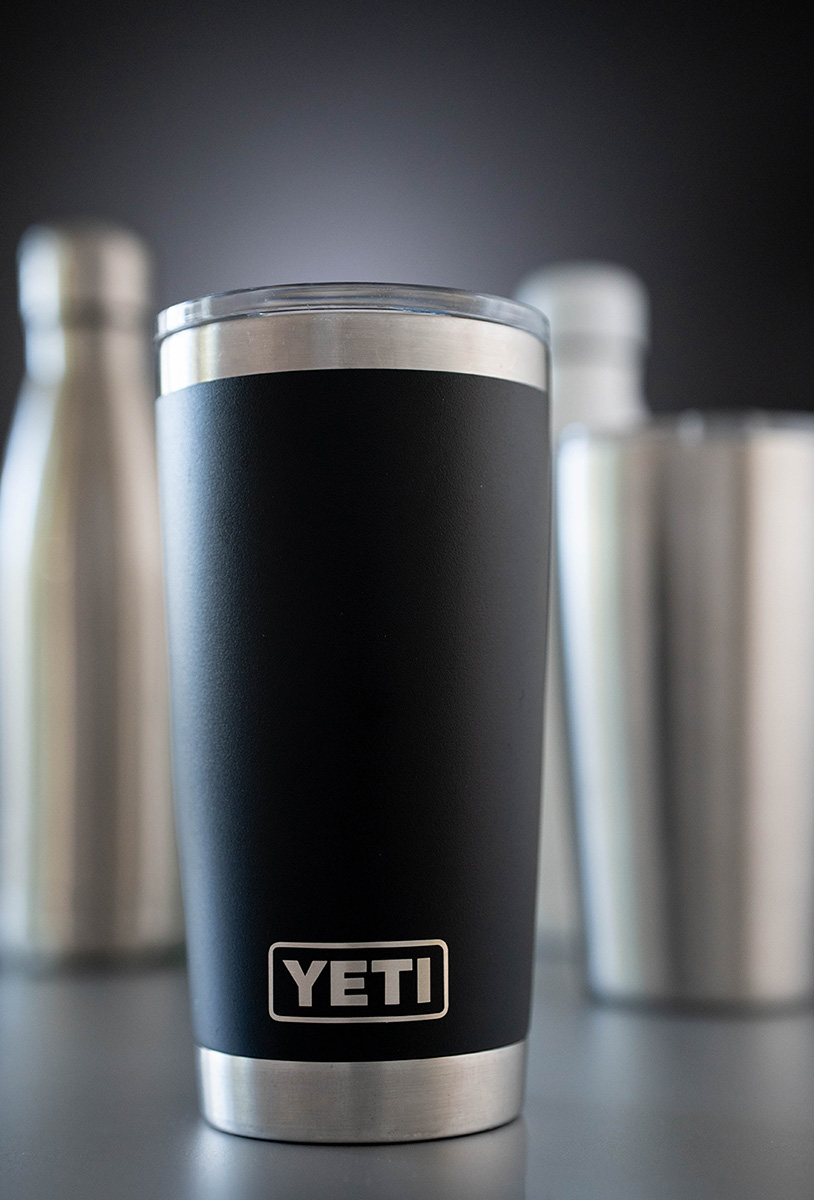
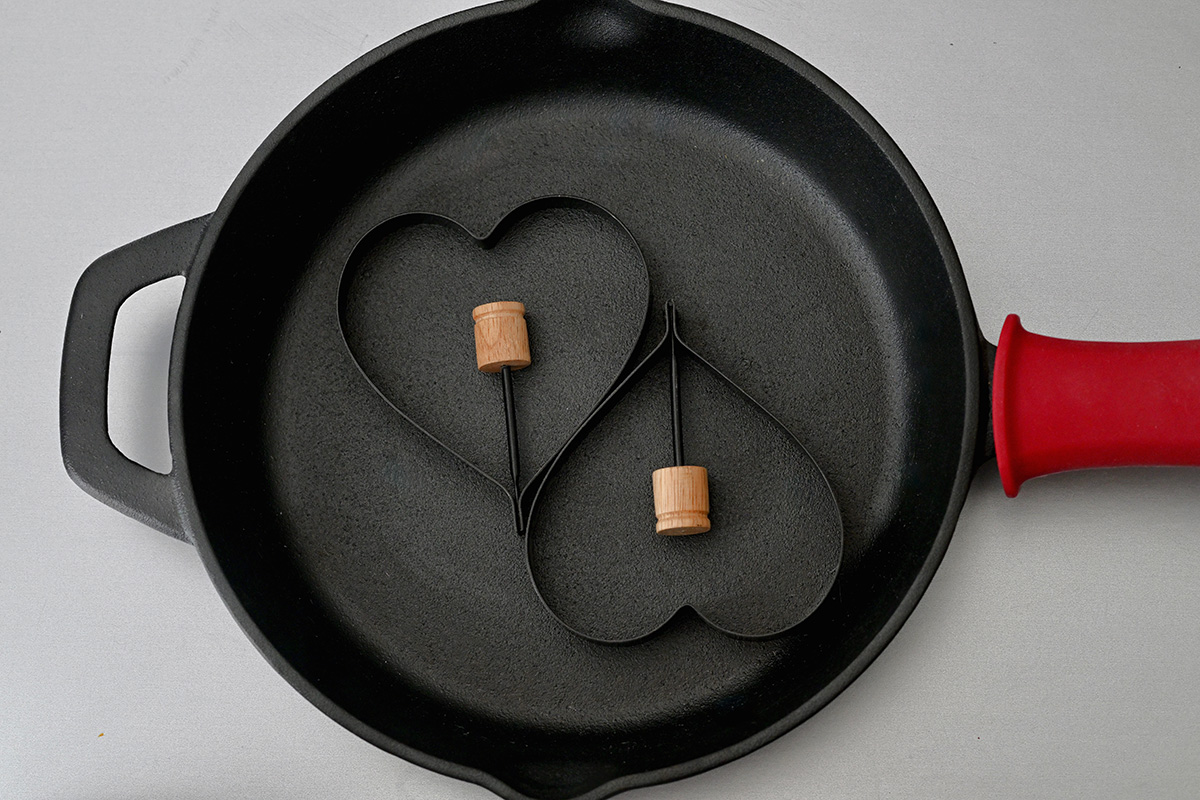
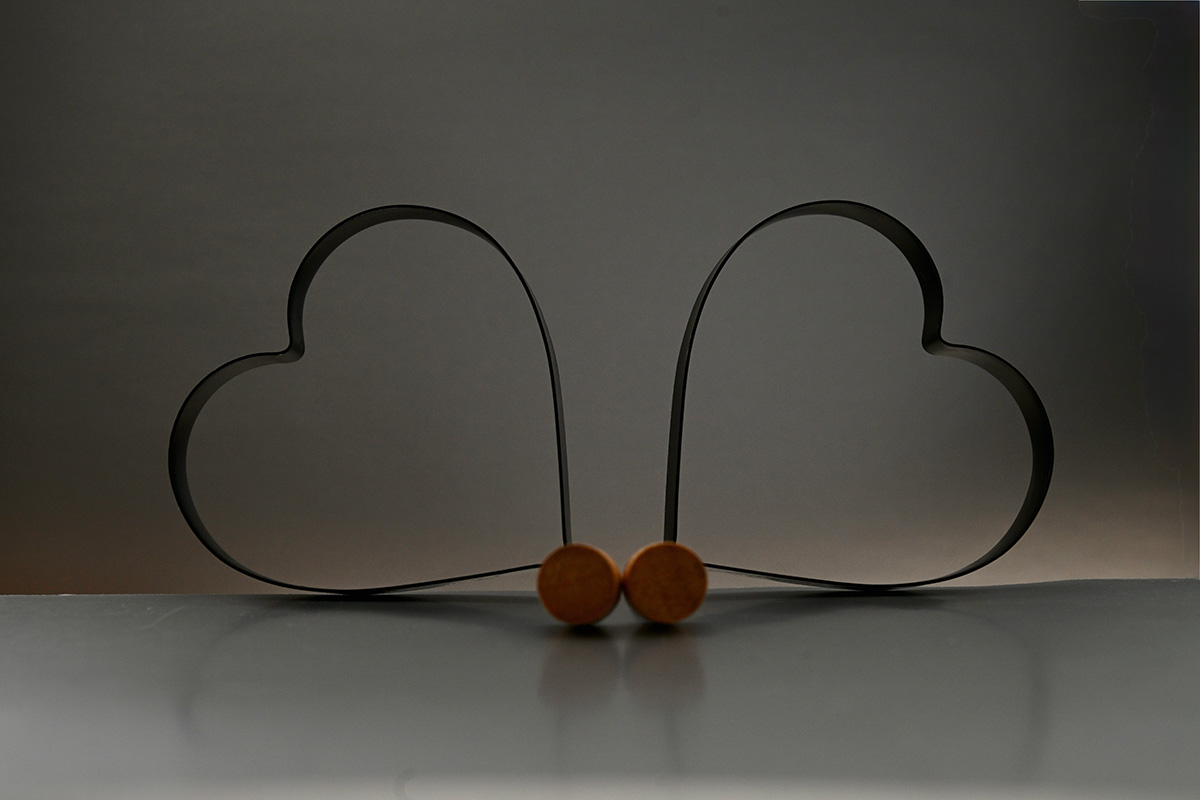
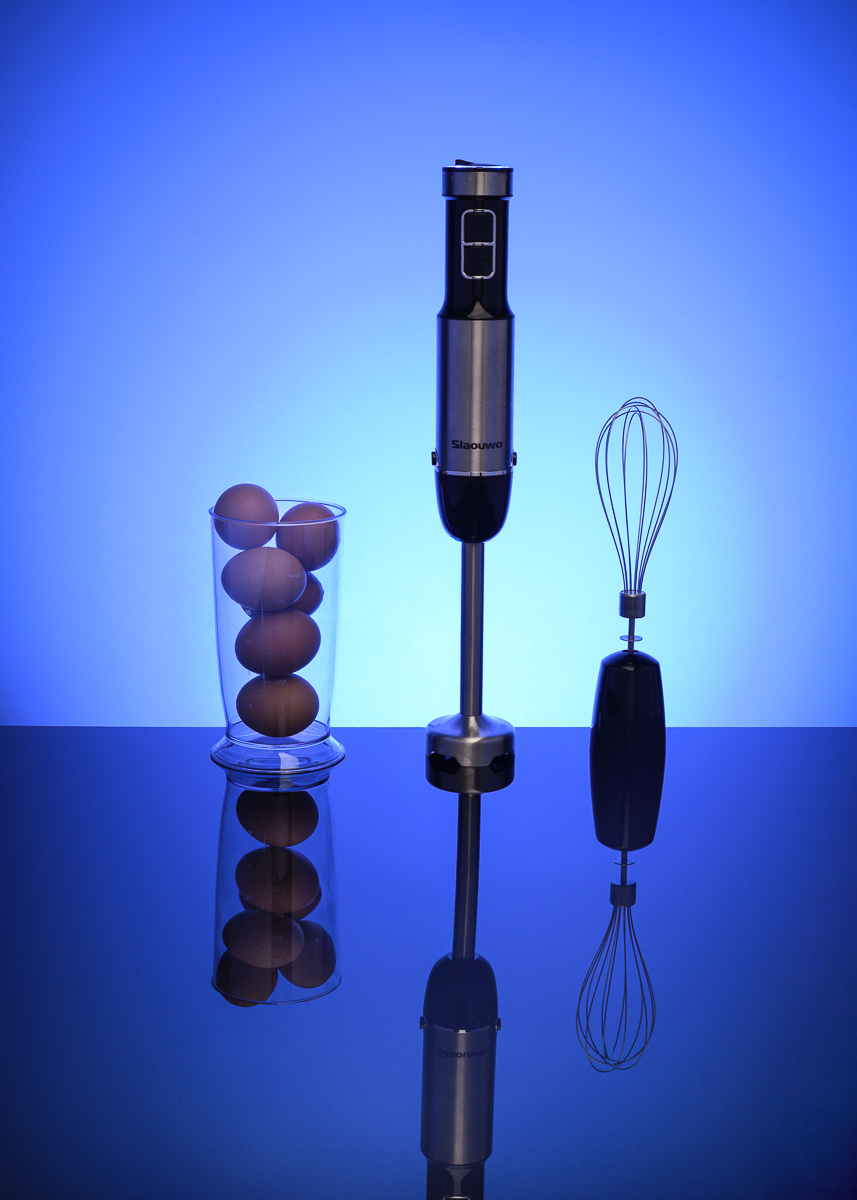
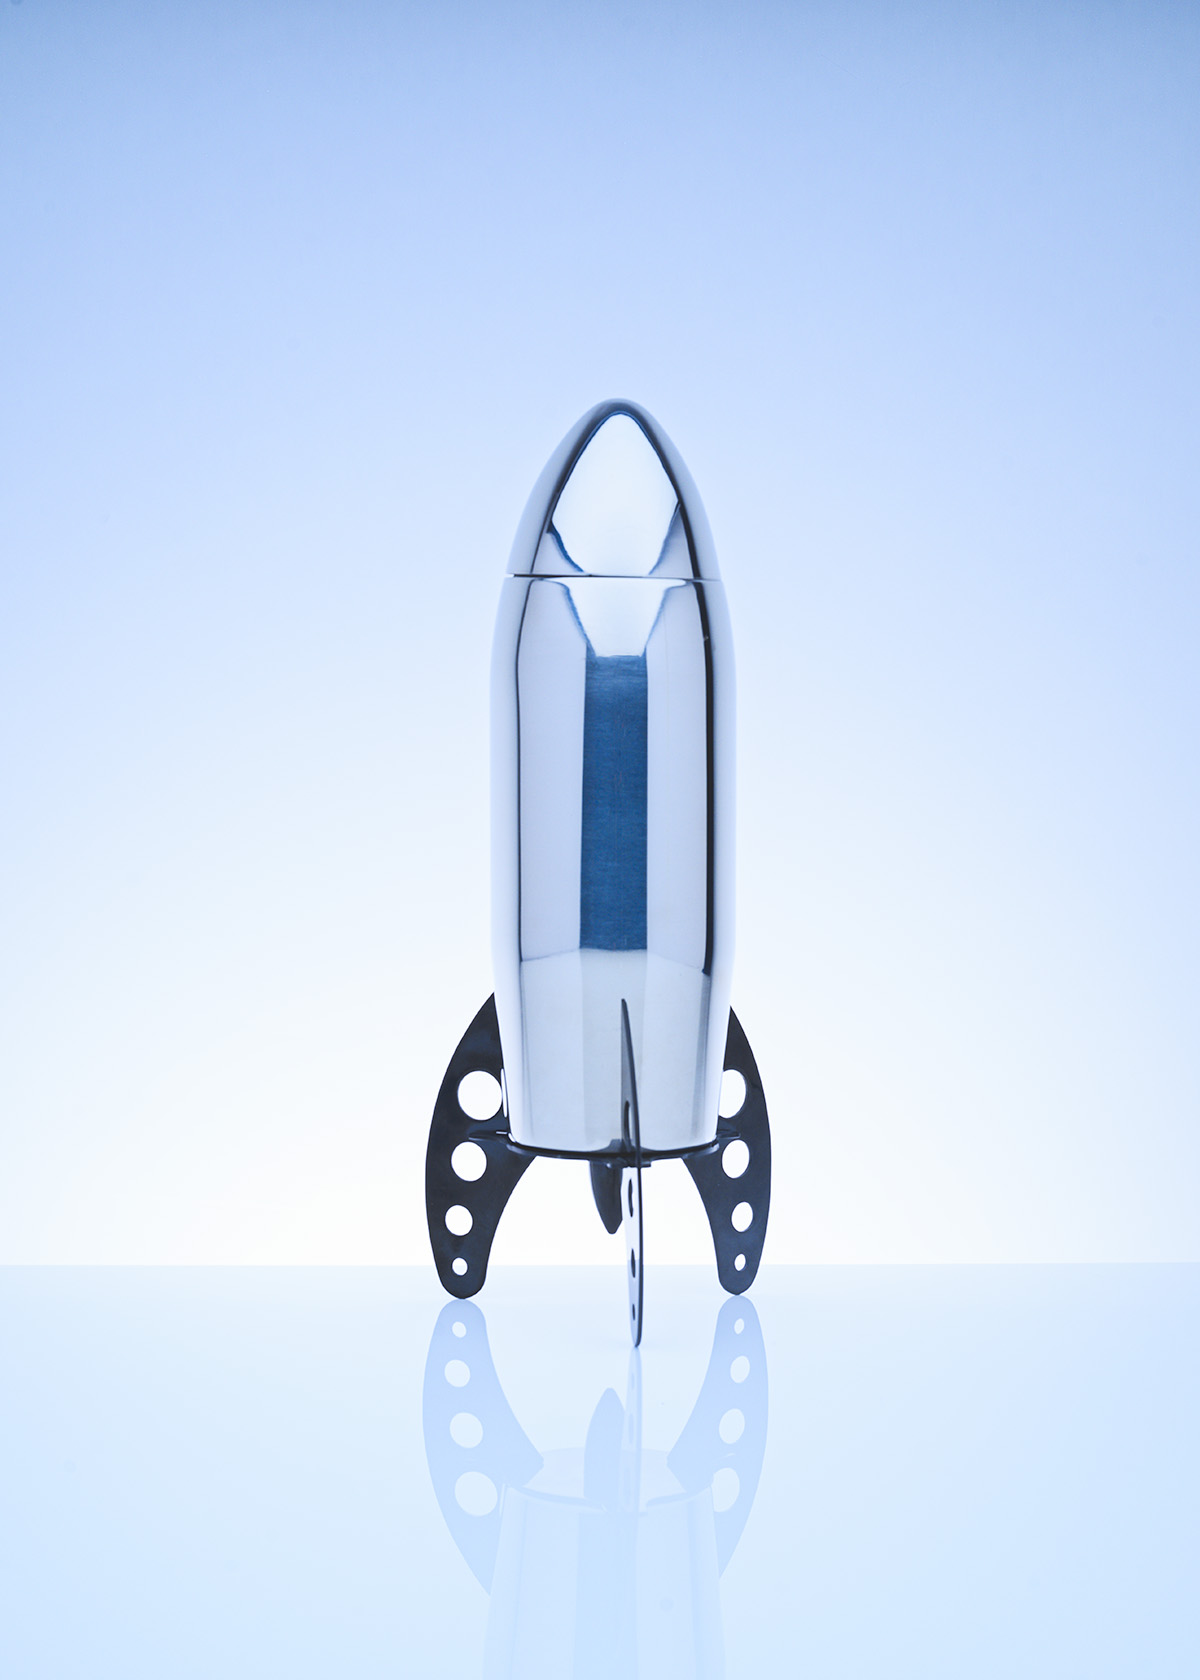
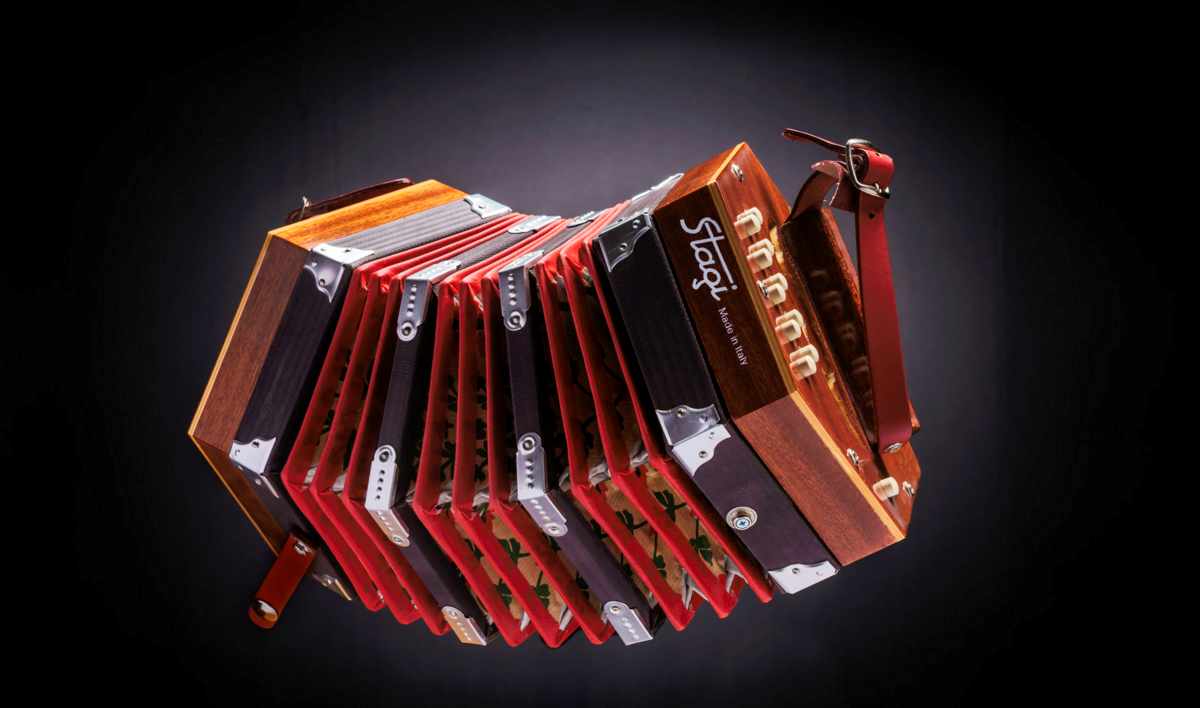
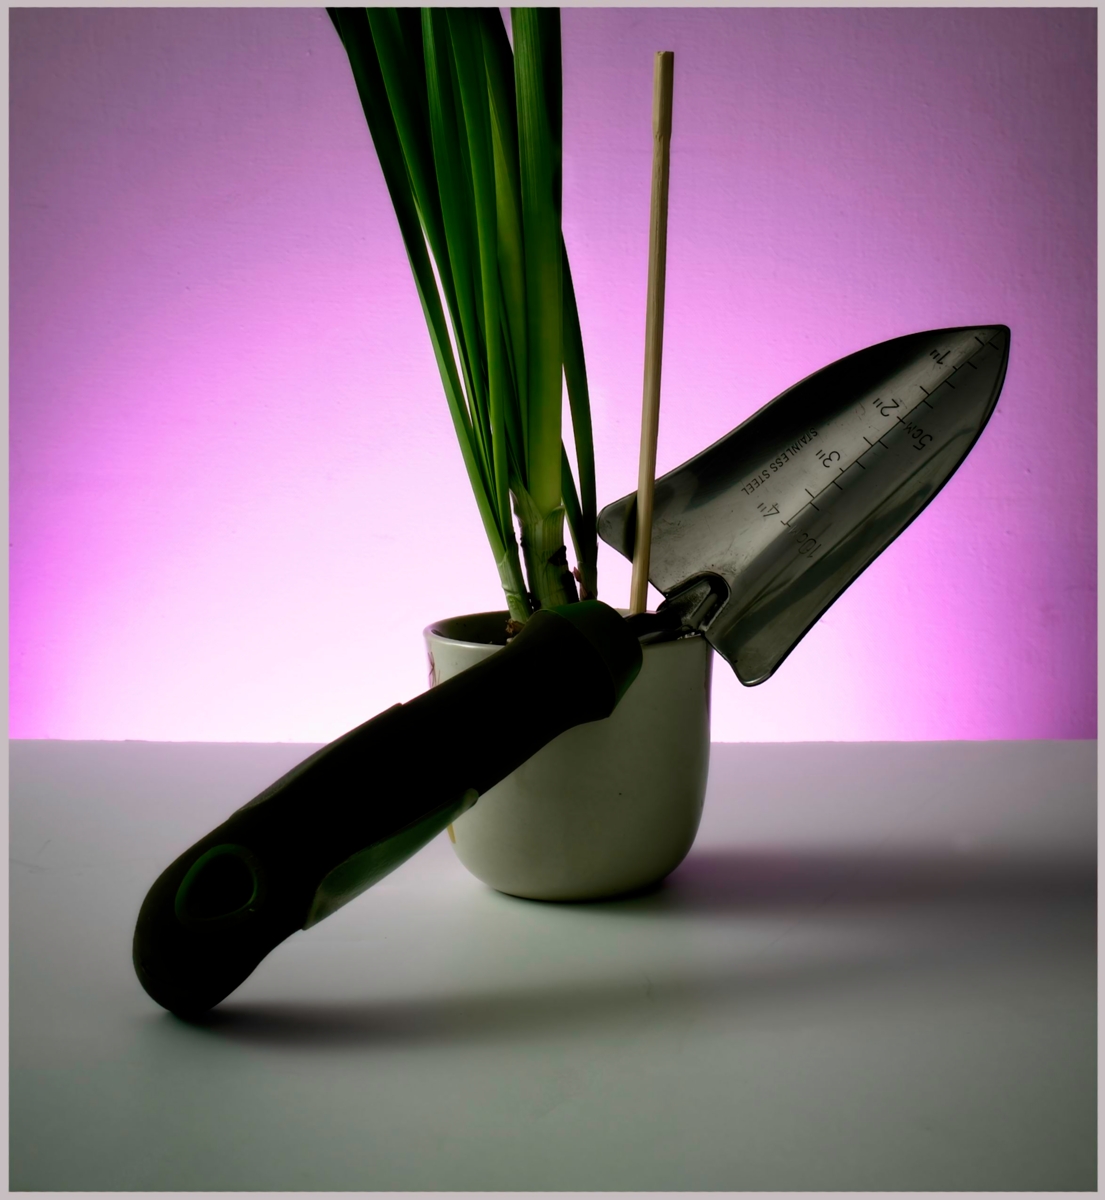
Products:
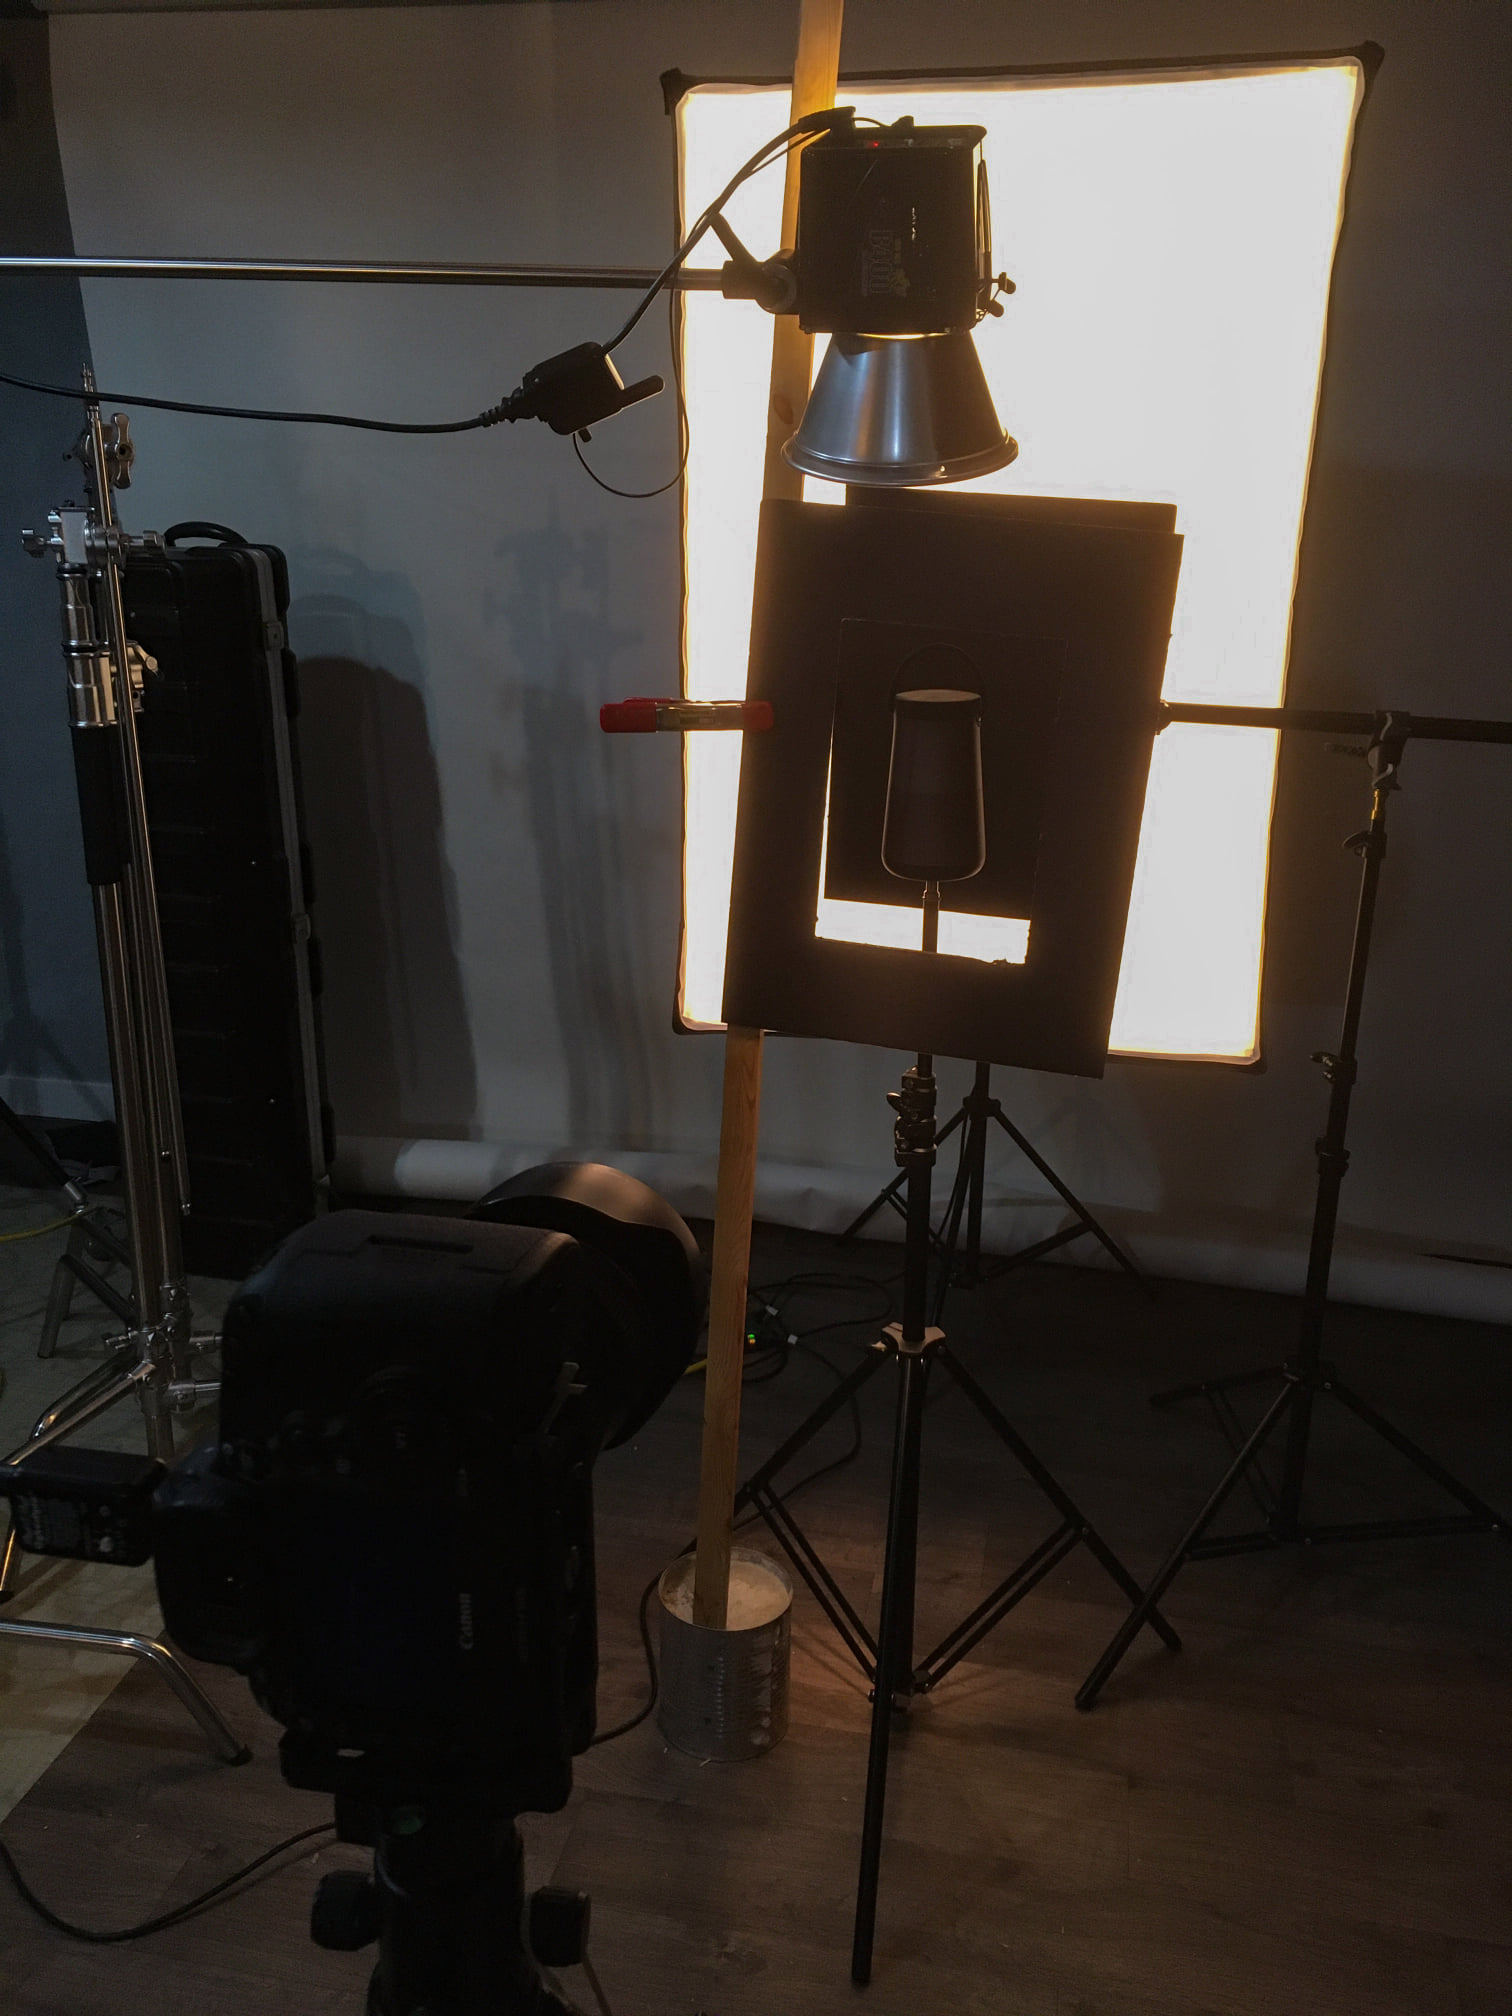
Something that has a bit of shiny and a bit of diffused surface.
Something like below.


ASSIGNMENT UPLOAD
1. Must not be larger than 1200 pixels on the longest side.
2. Must be .jpg format
3. Include BTS shots
4. File naming: first-last-assignnumber-1.jpg (don-giannatti-1-a.jpg, don-giannatti-1-b.jpg, etc…
5. Be sure to resize phone shots.
|
Upload files
|
|
|
|
|
|
|


|
|
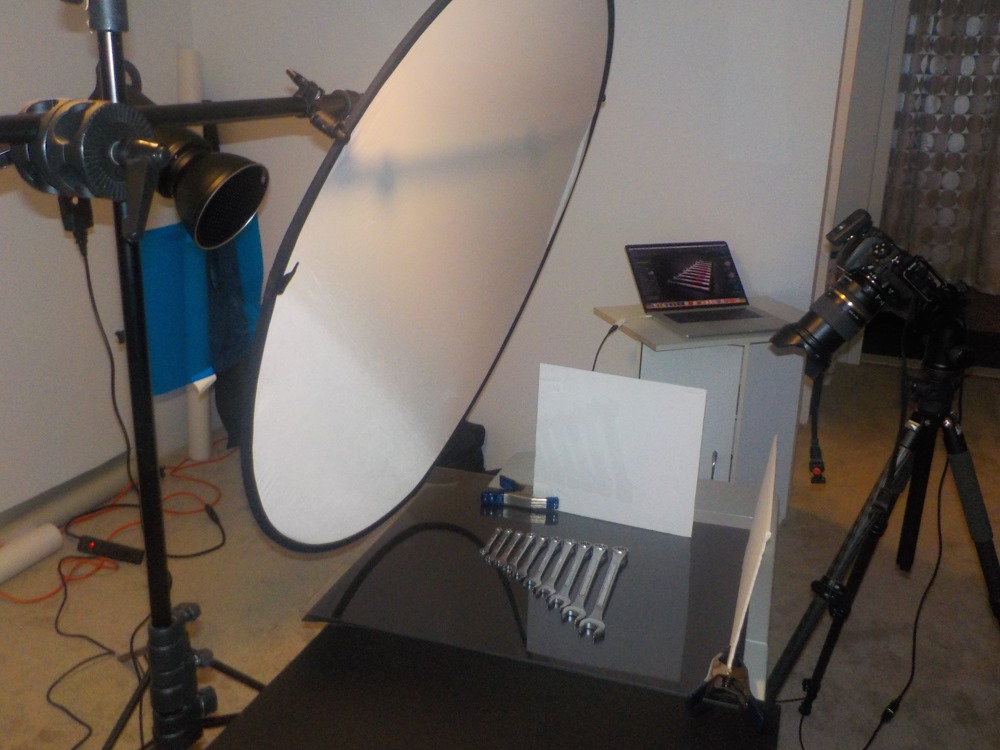
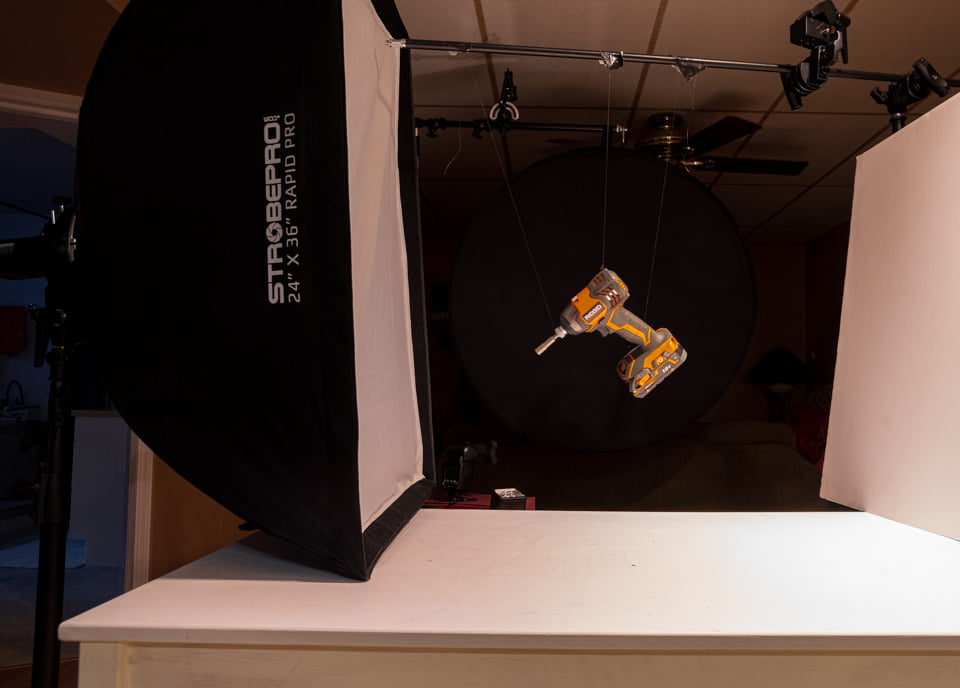
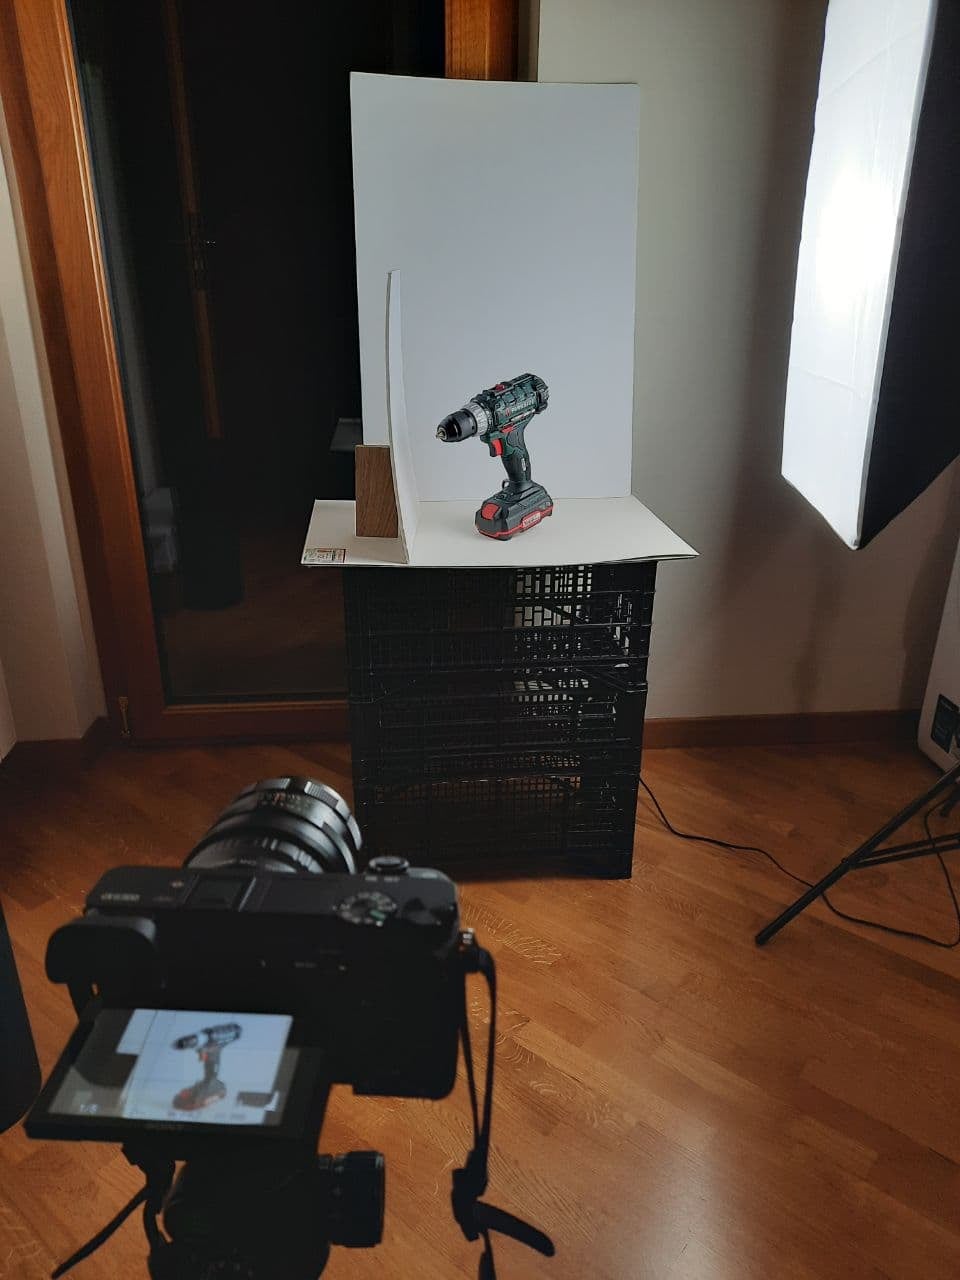
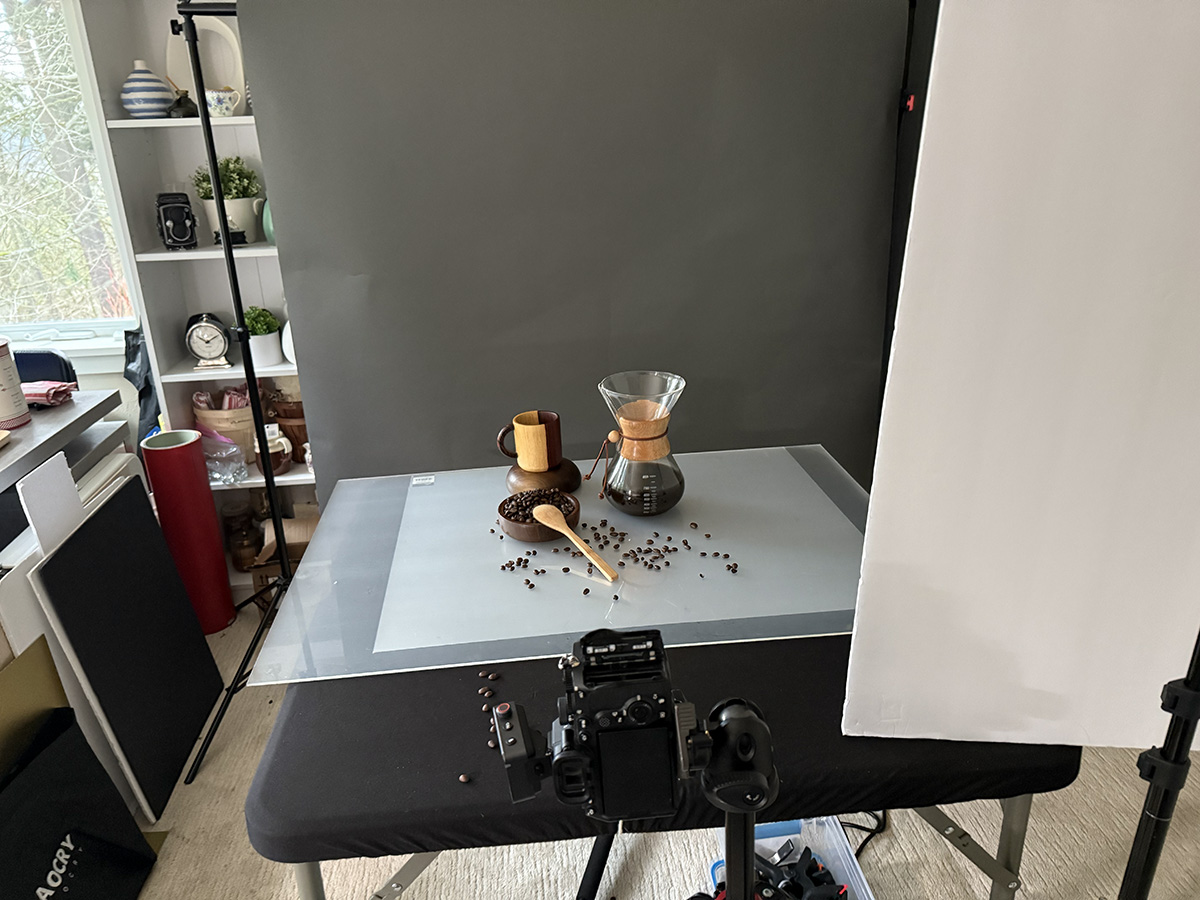
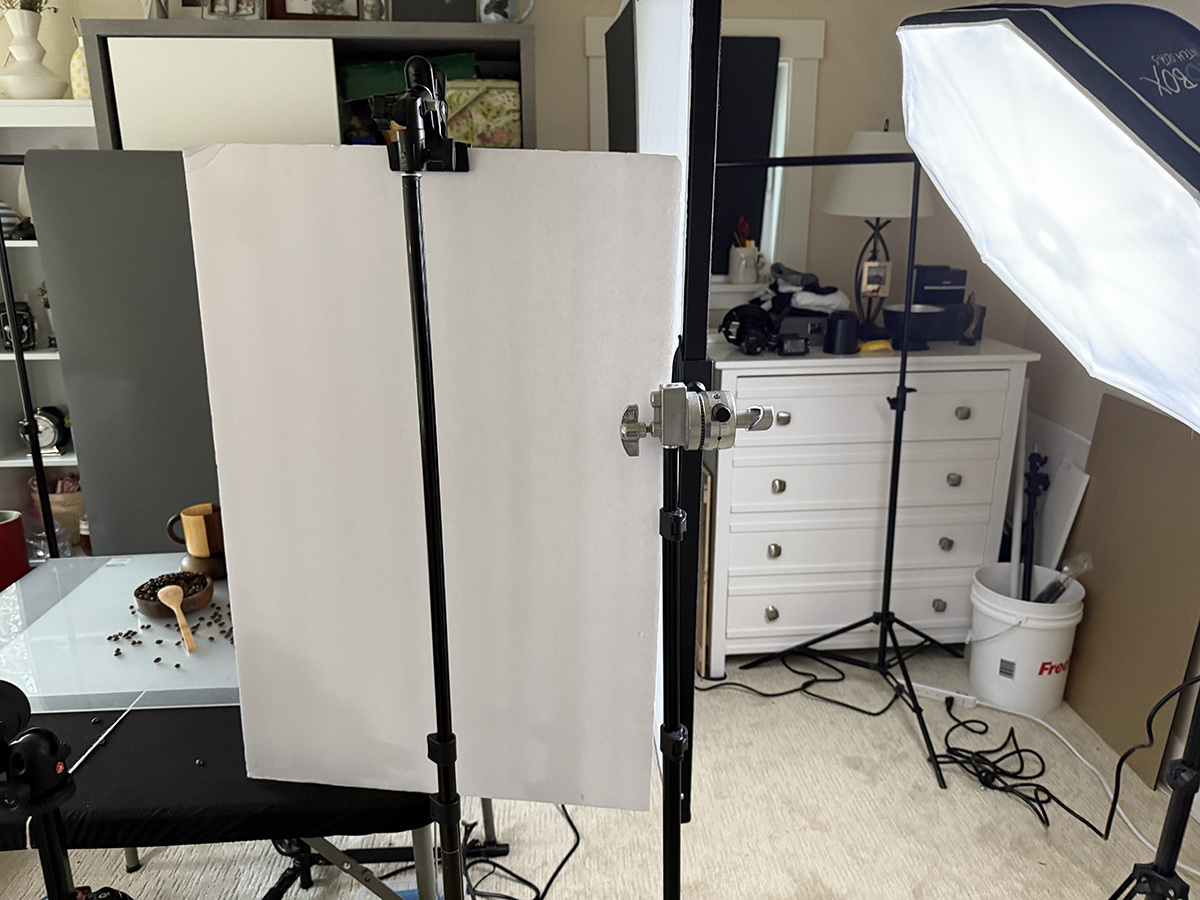
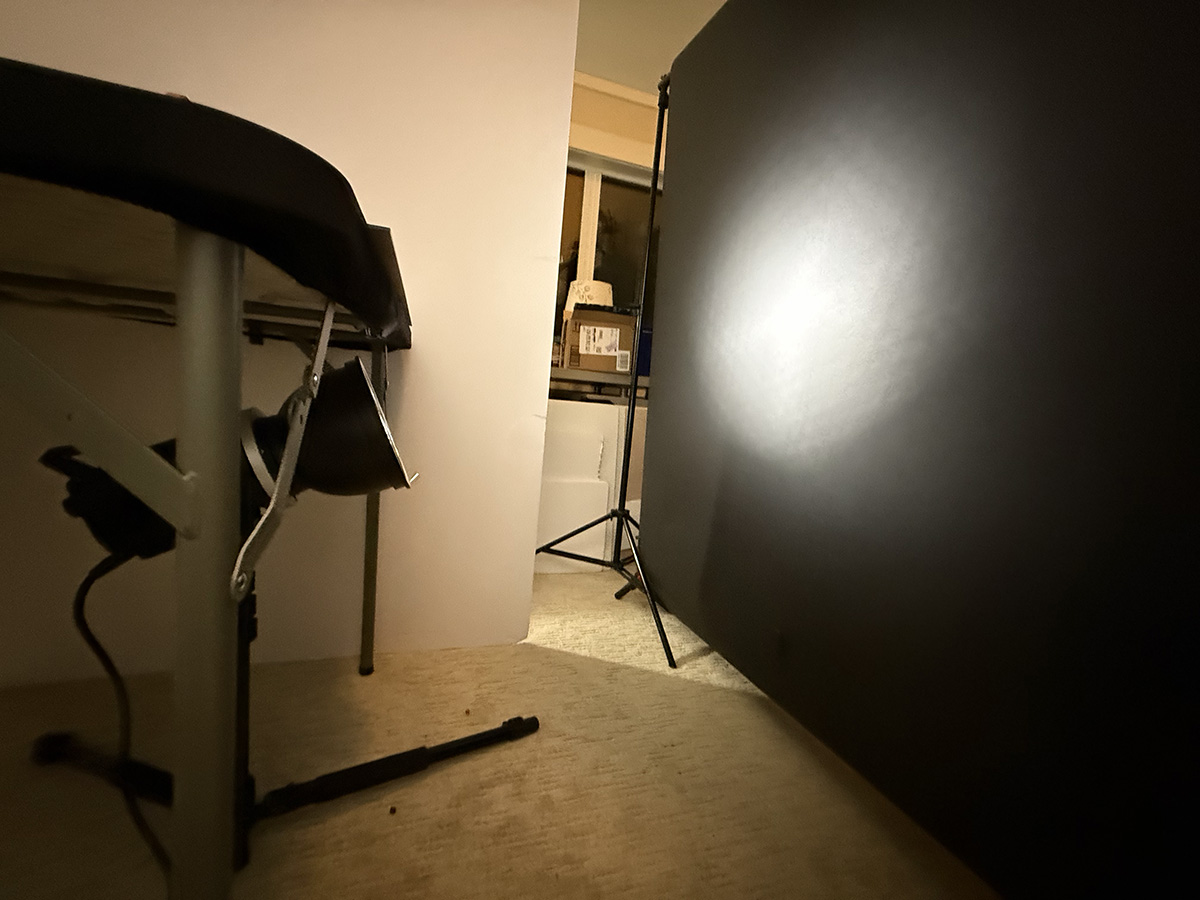
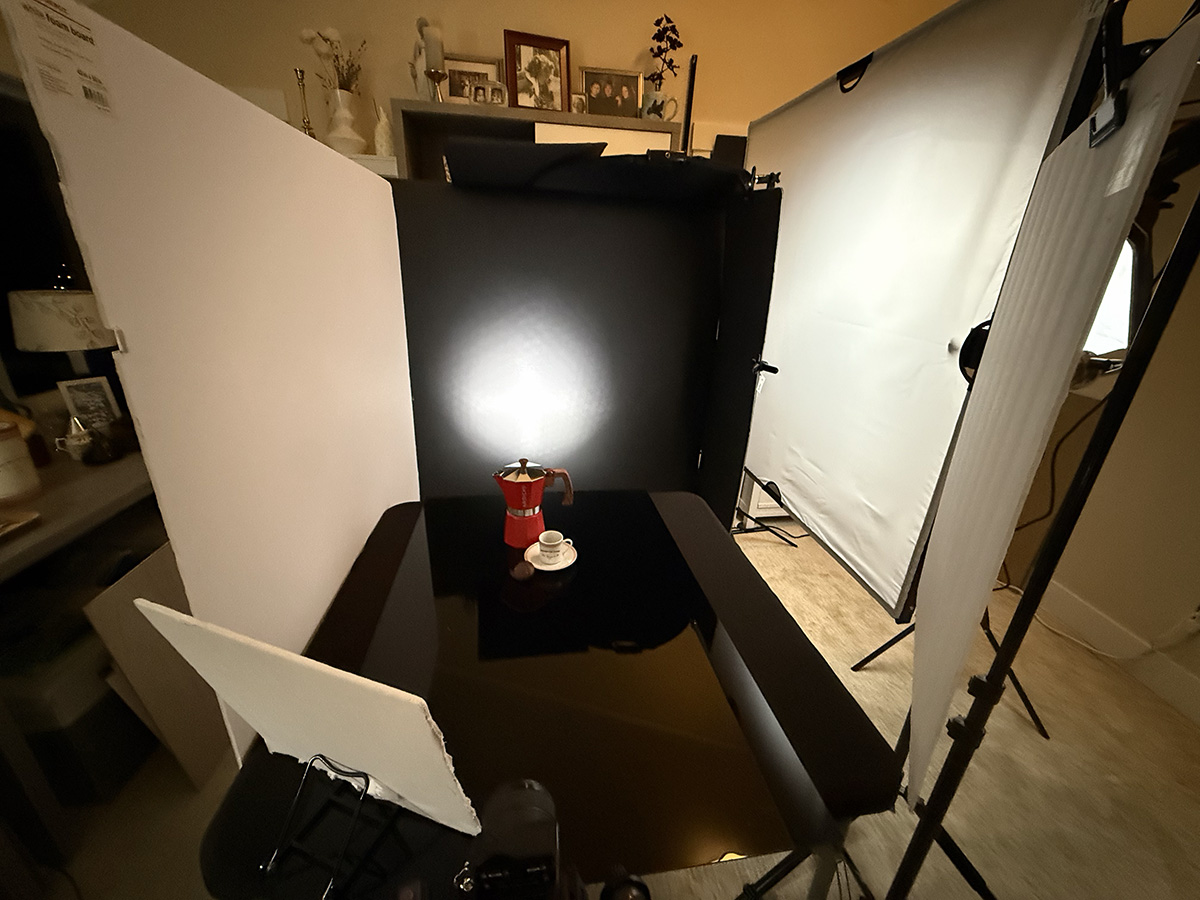
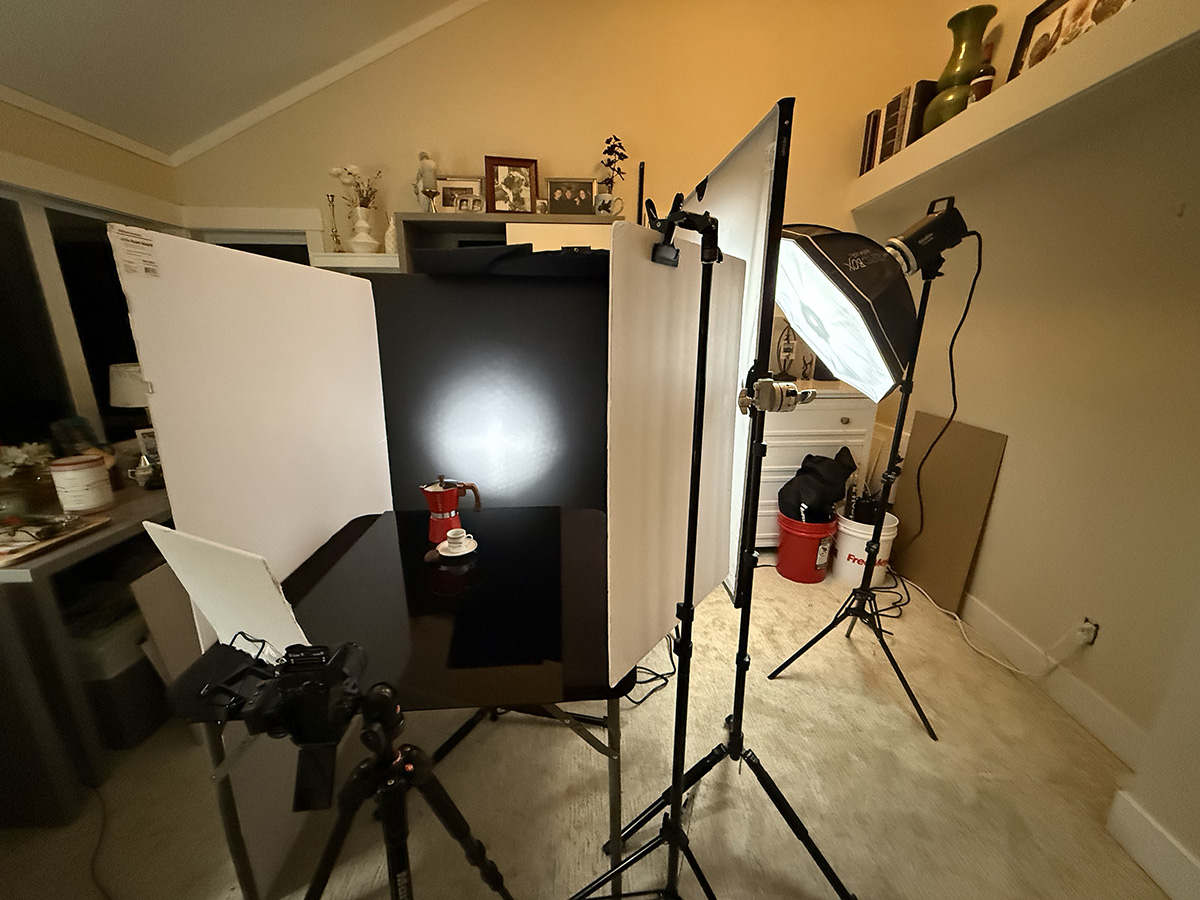
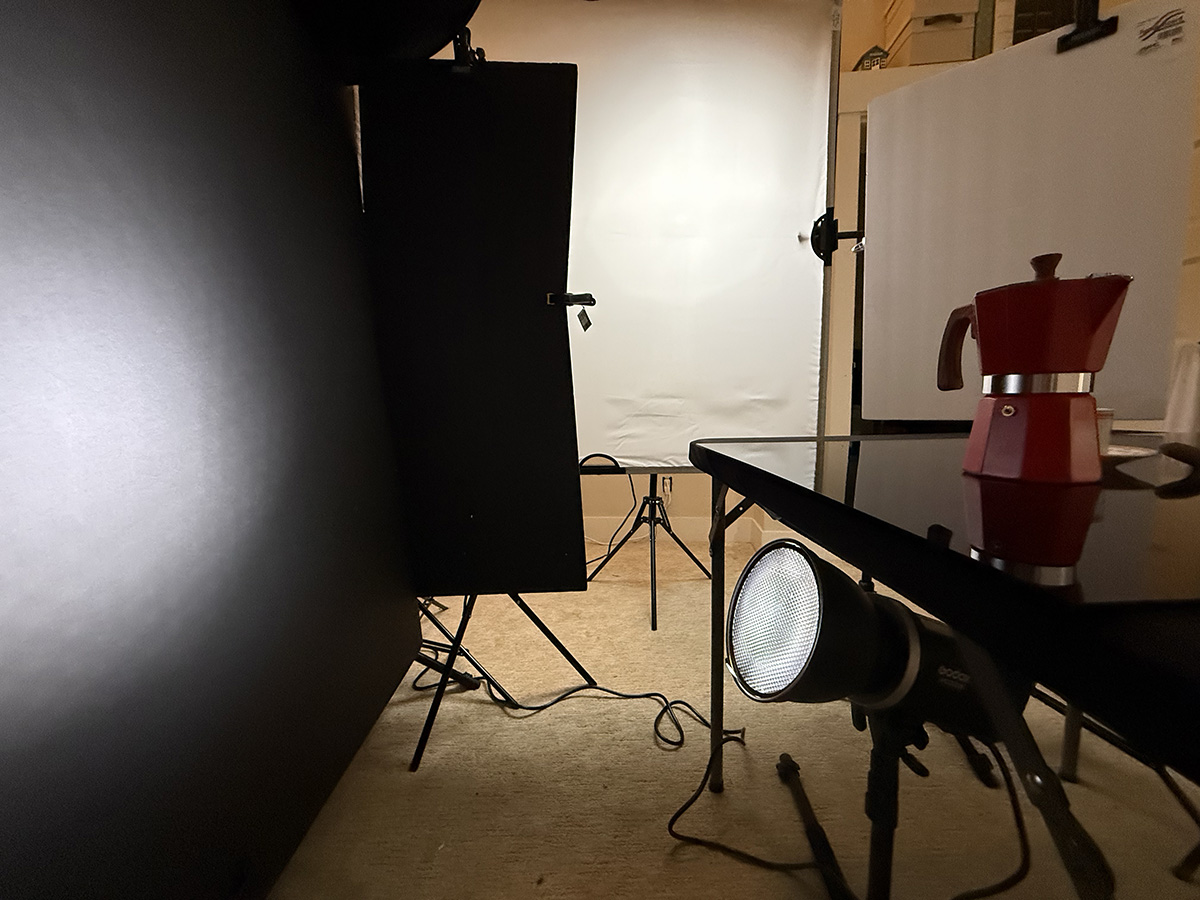
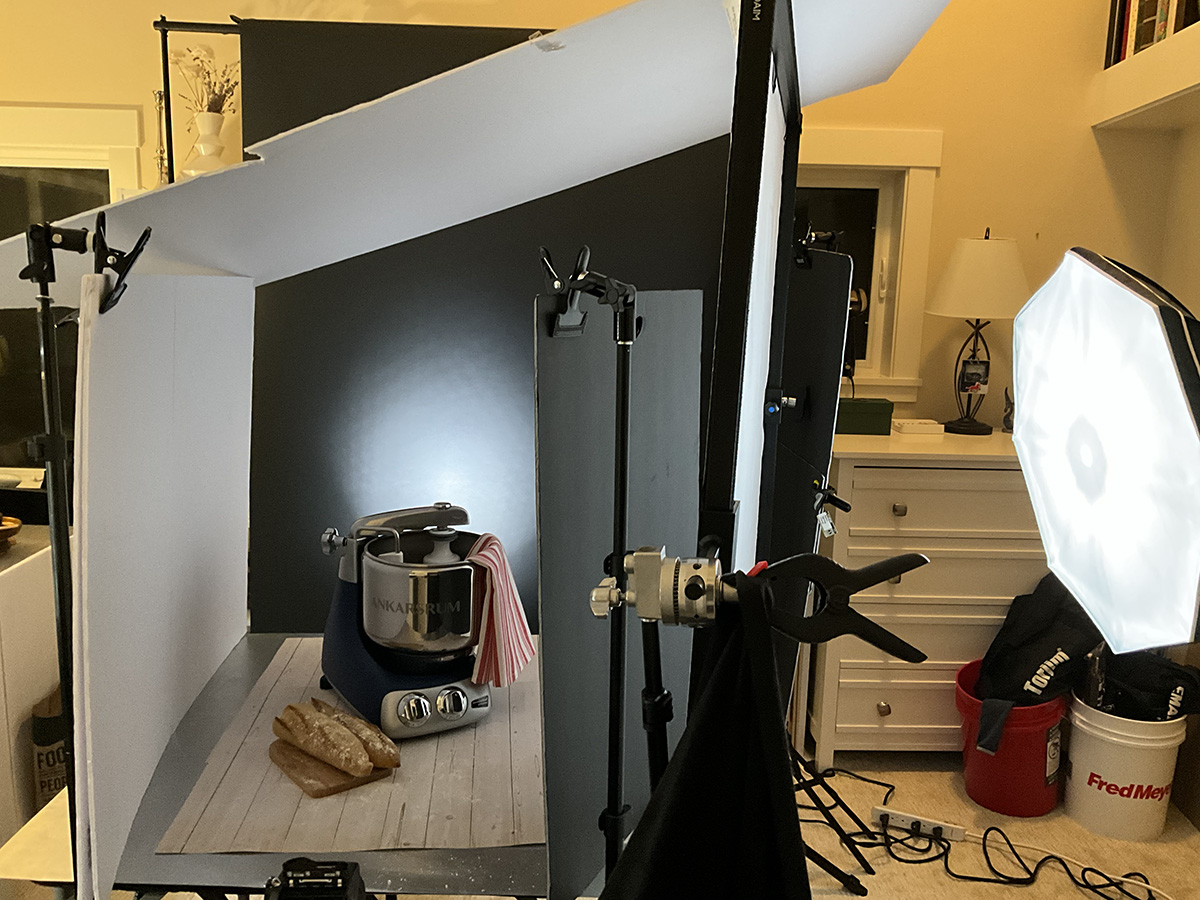
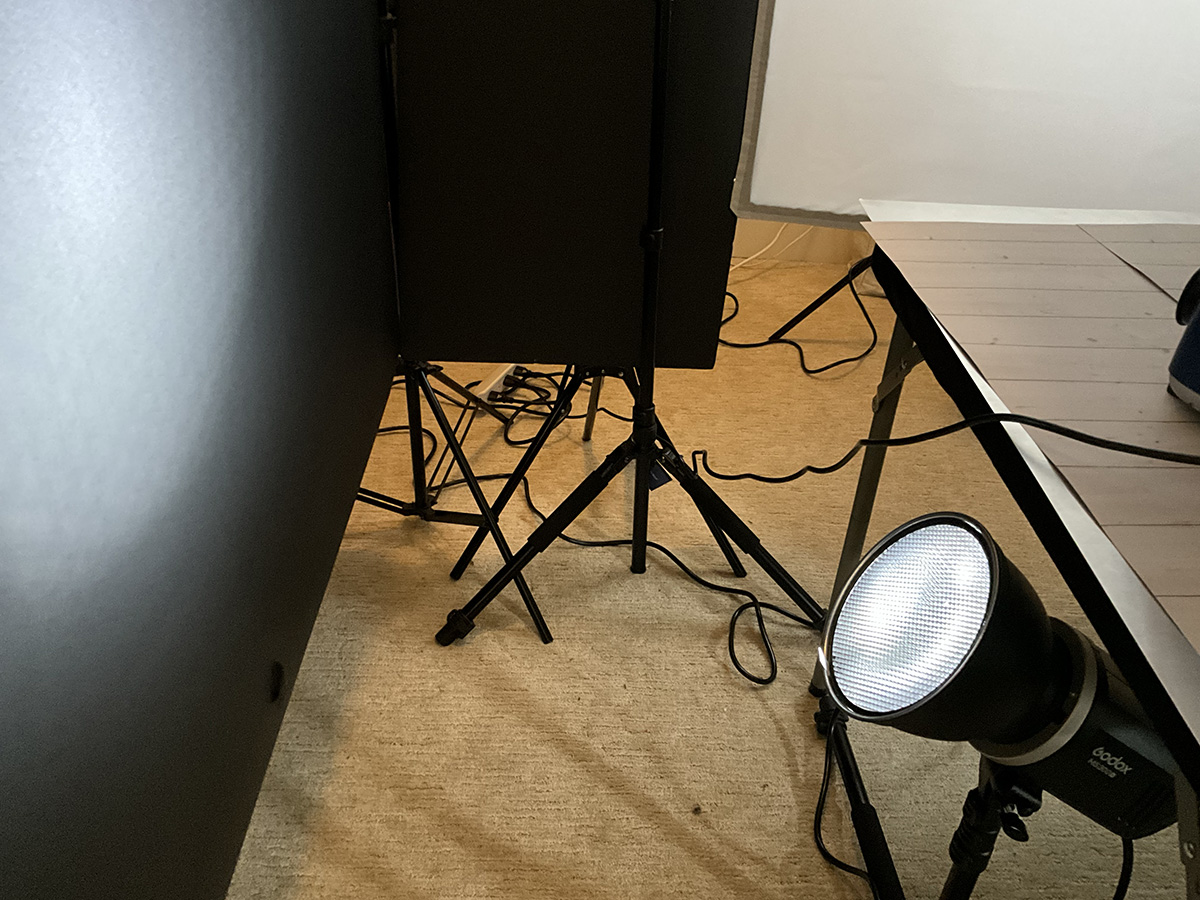
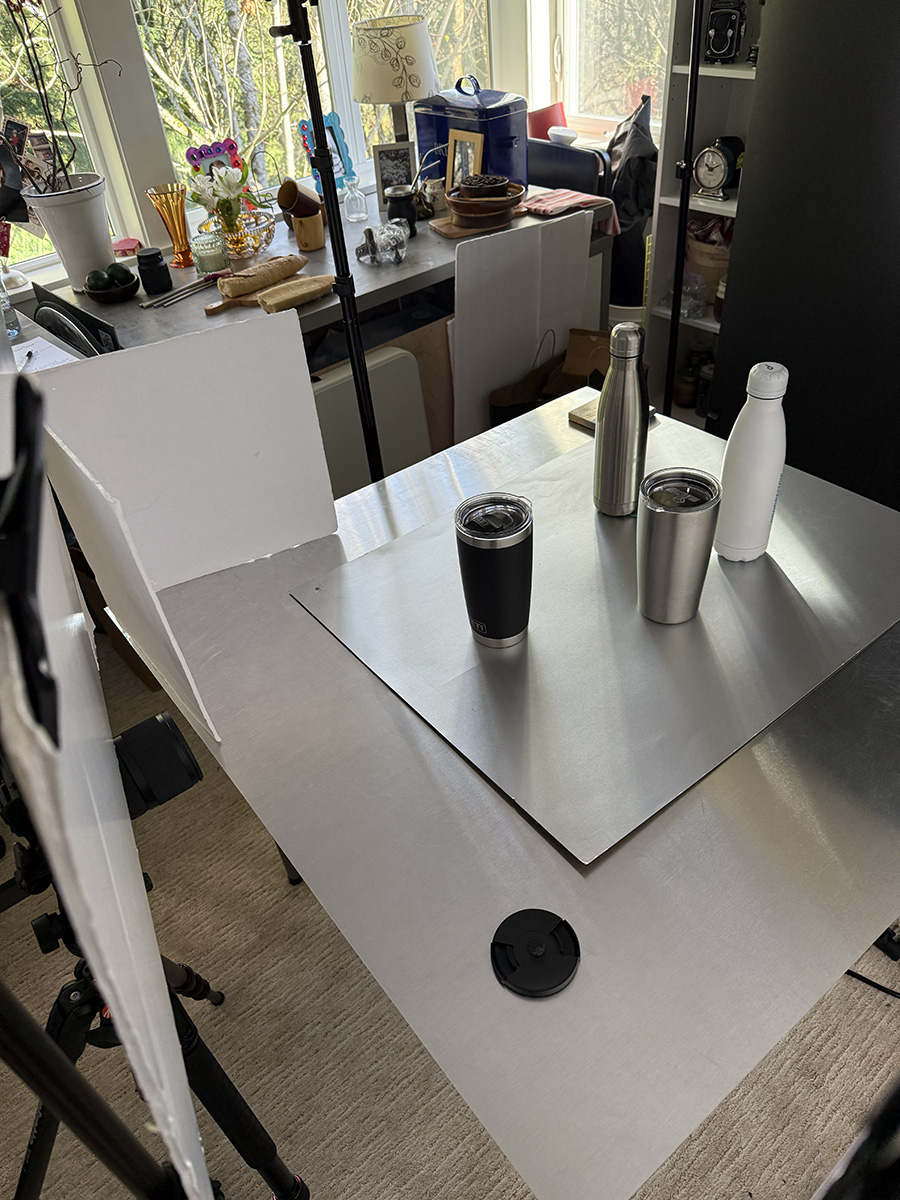
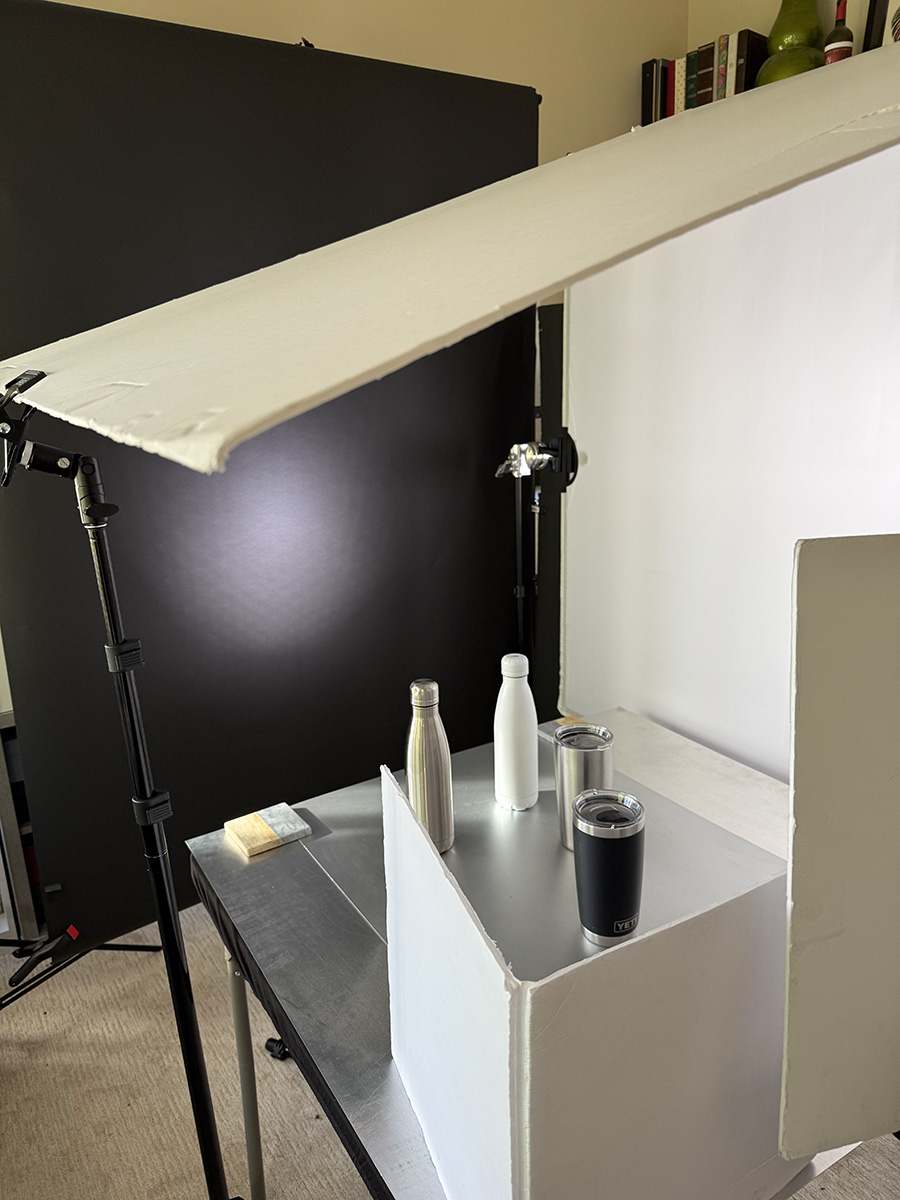
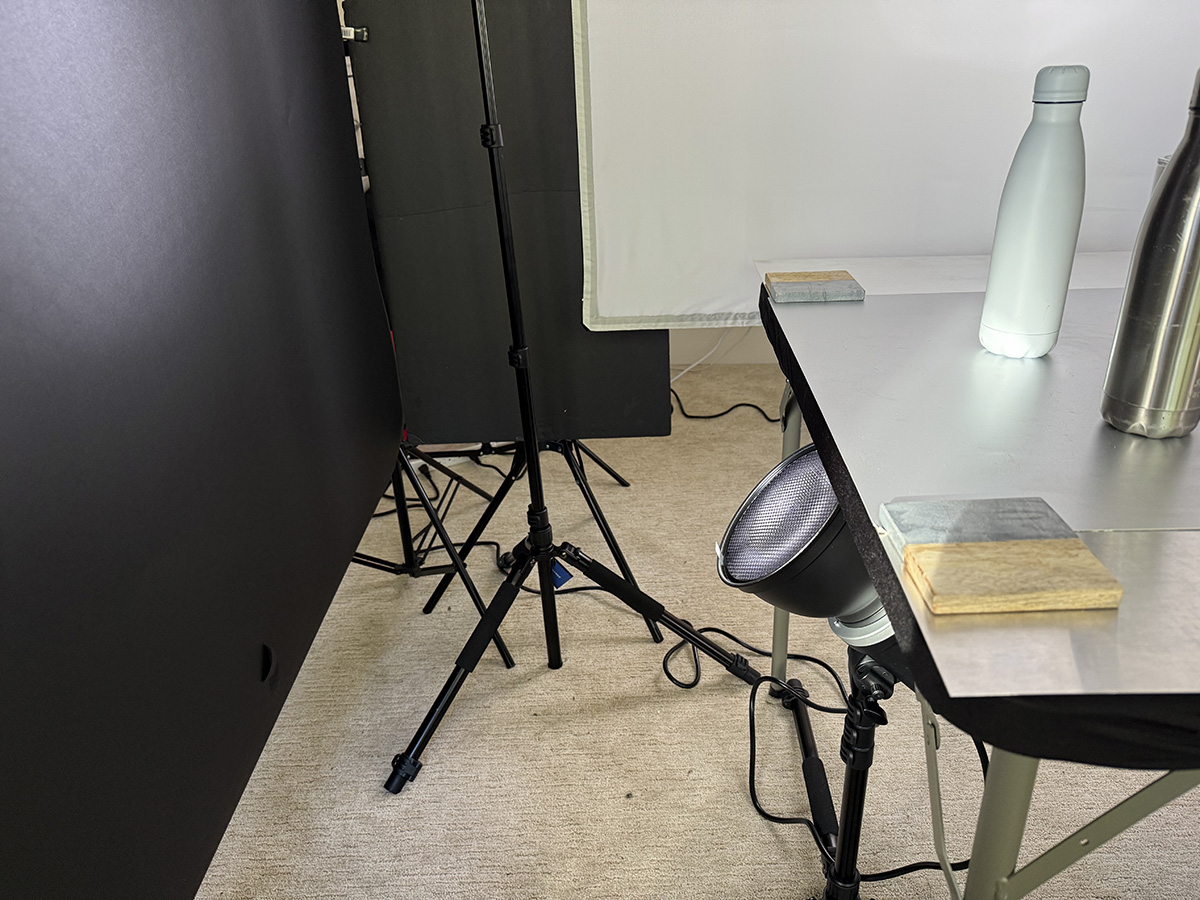
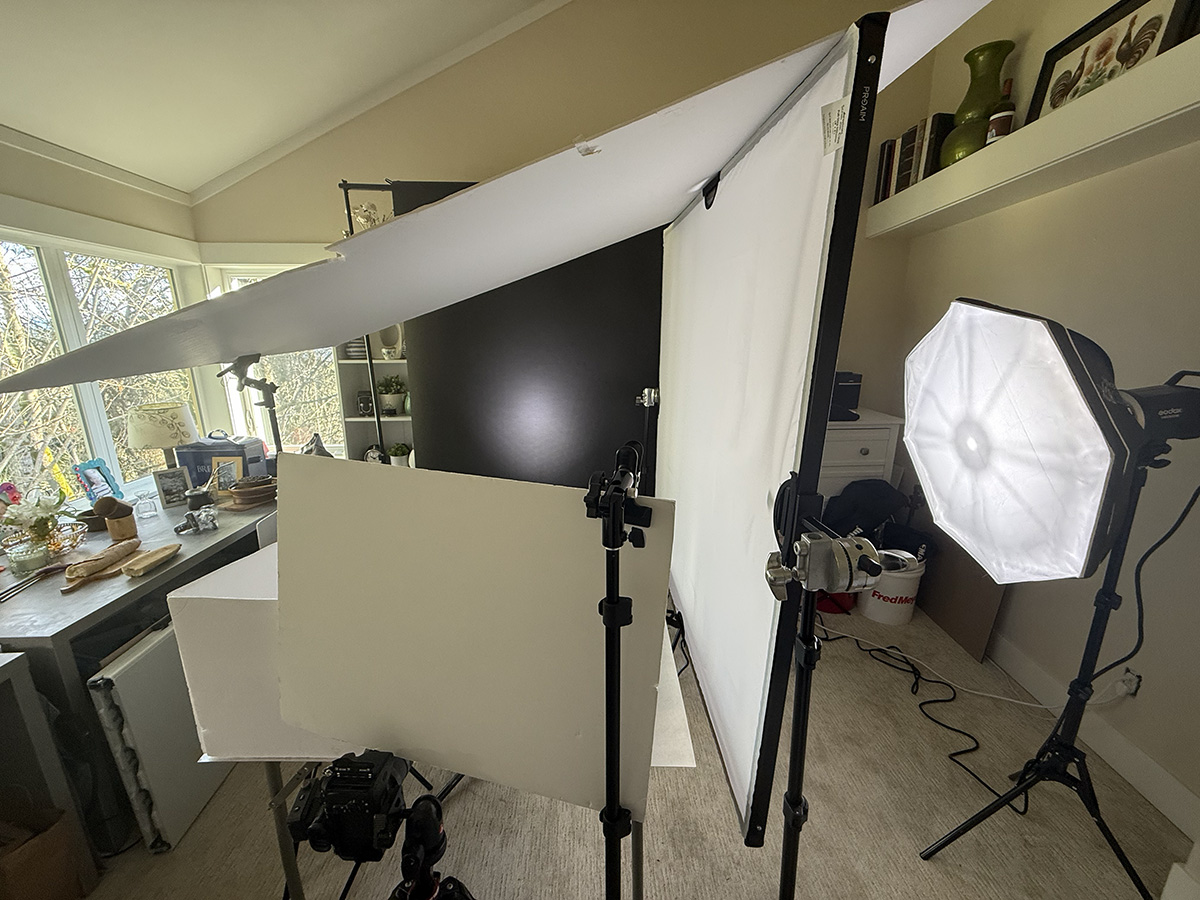
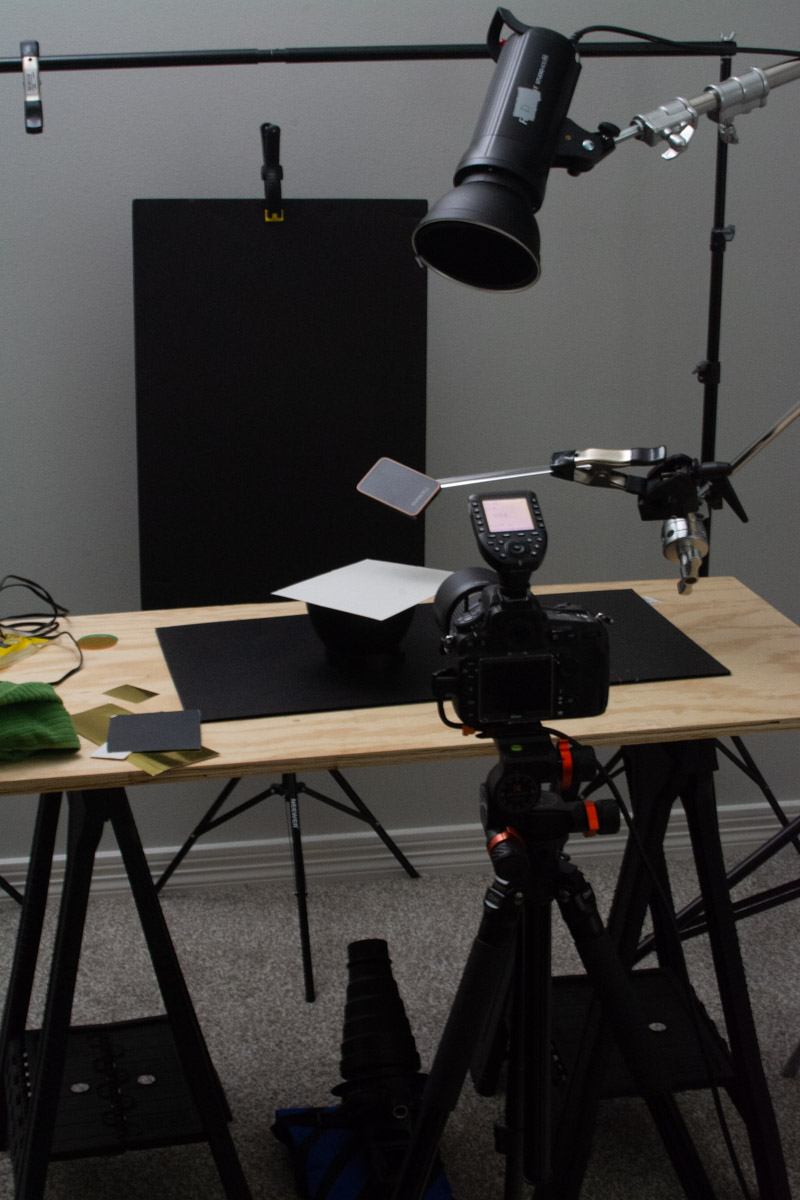
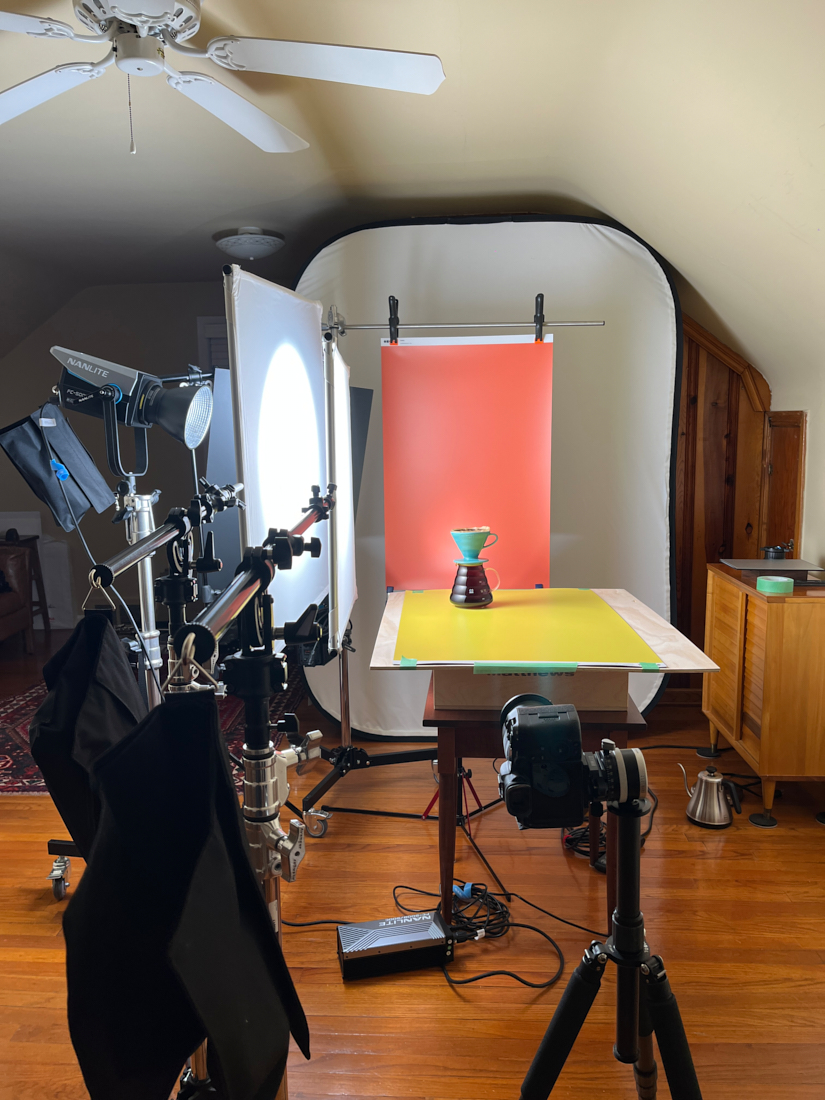
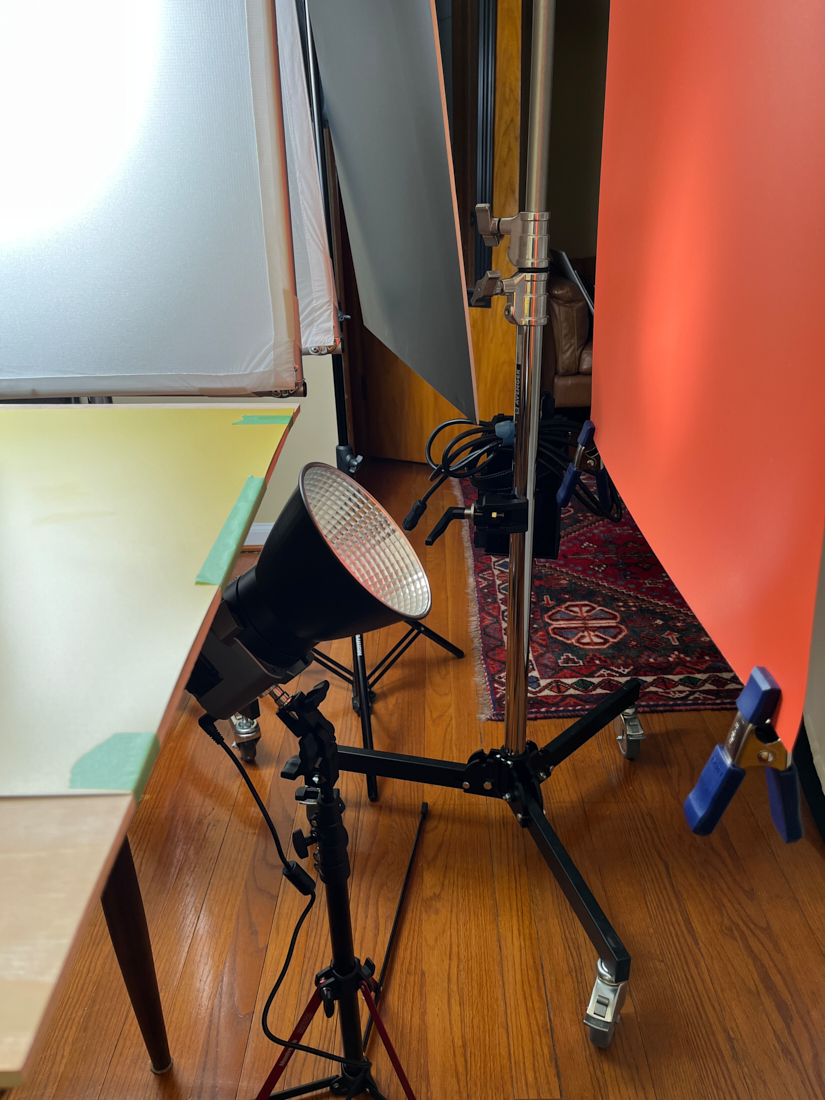
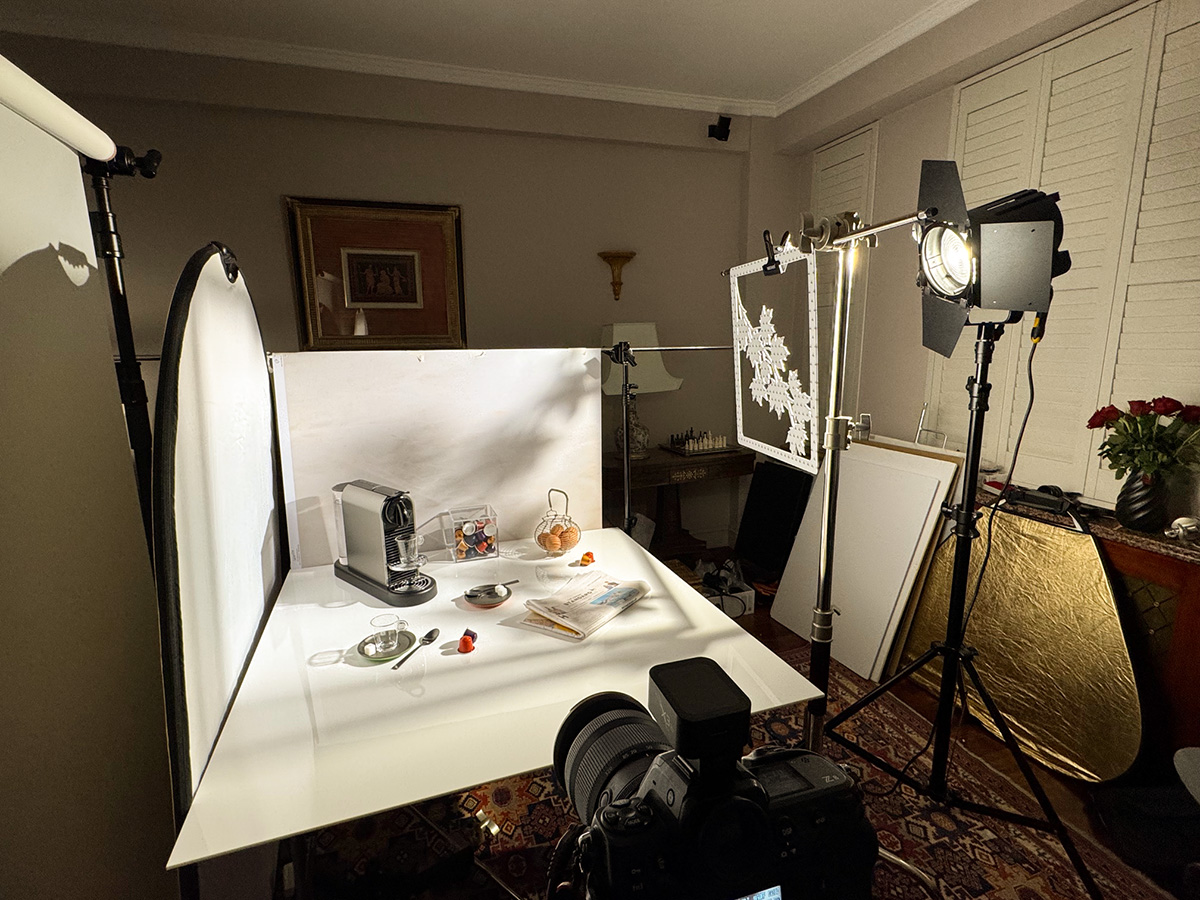
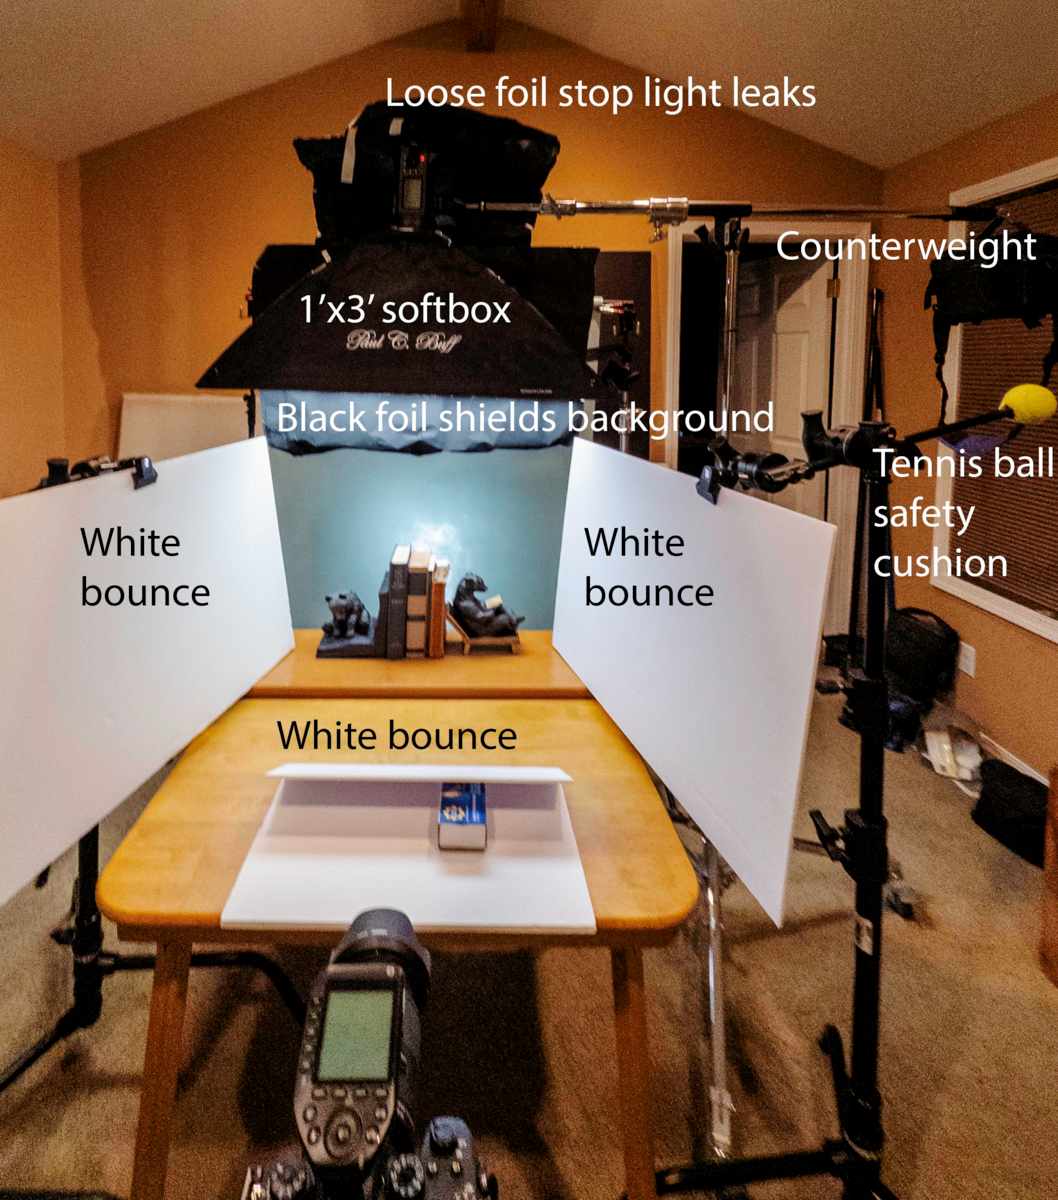
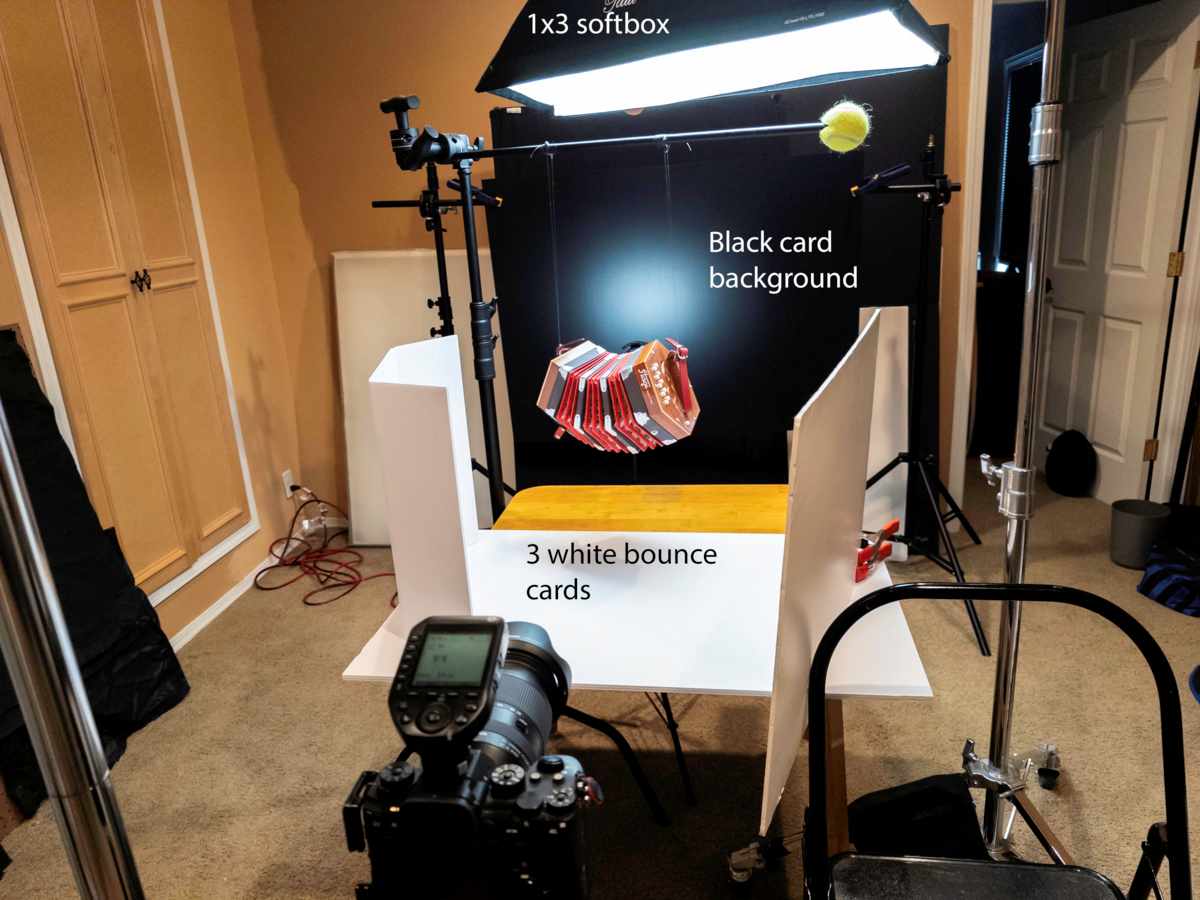
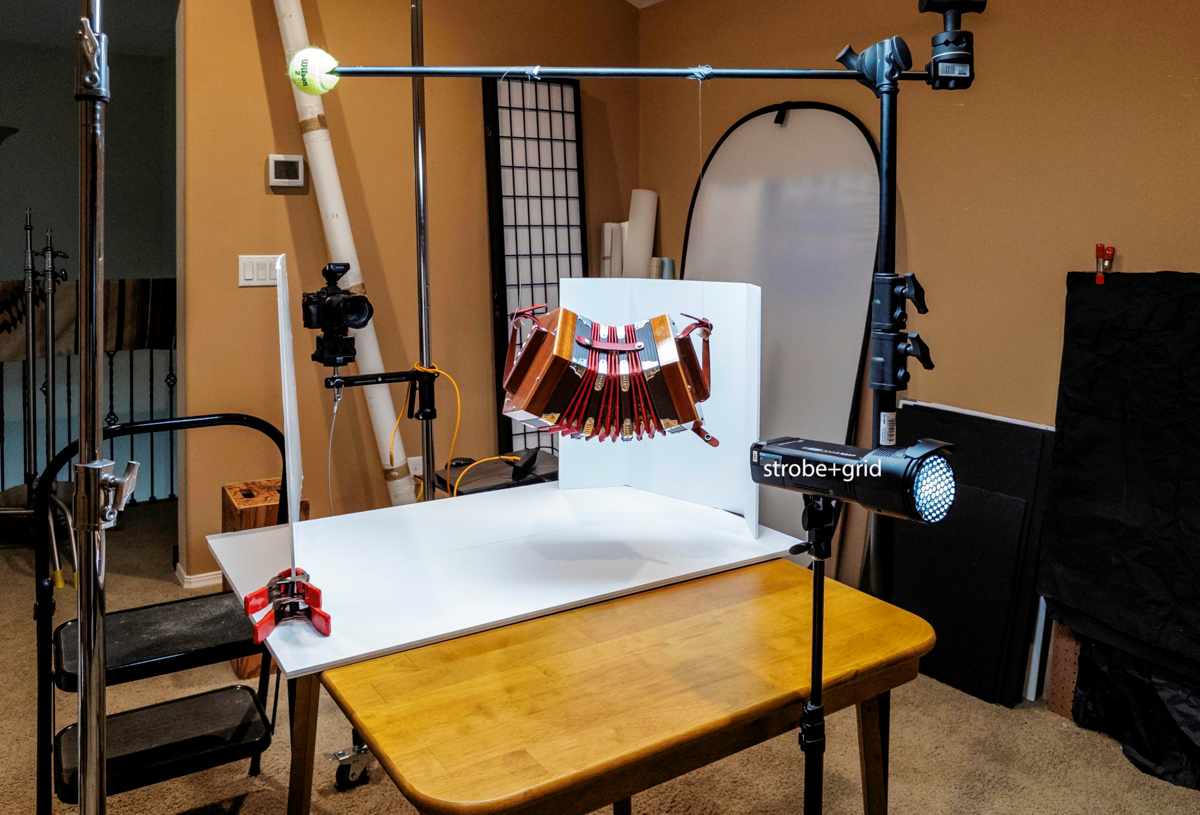
What you will need:
- One big light.
- Scrim
- Tabletop
- Props
- Reflector ((2)black and (2)white cards) 36″ by 24″ or close
They must match in size. - Stands, boxes to hold up the reflectors… etce.
The Ultimate Guide to Starting Your Creative Business
The Ultimate Guide to Starting Your Creative Business (PDF)
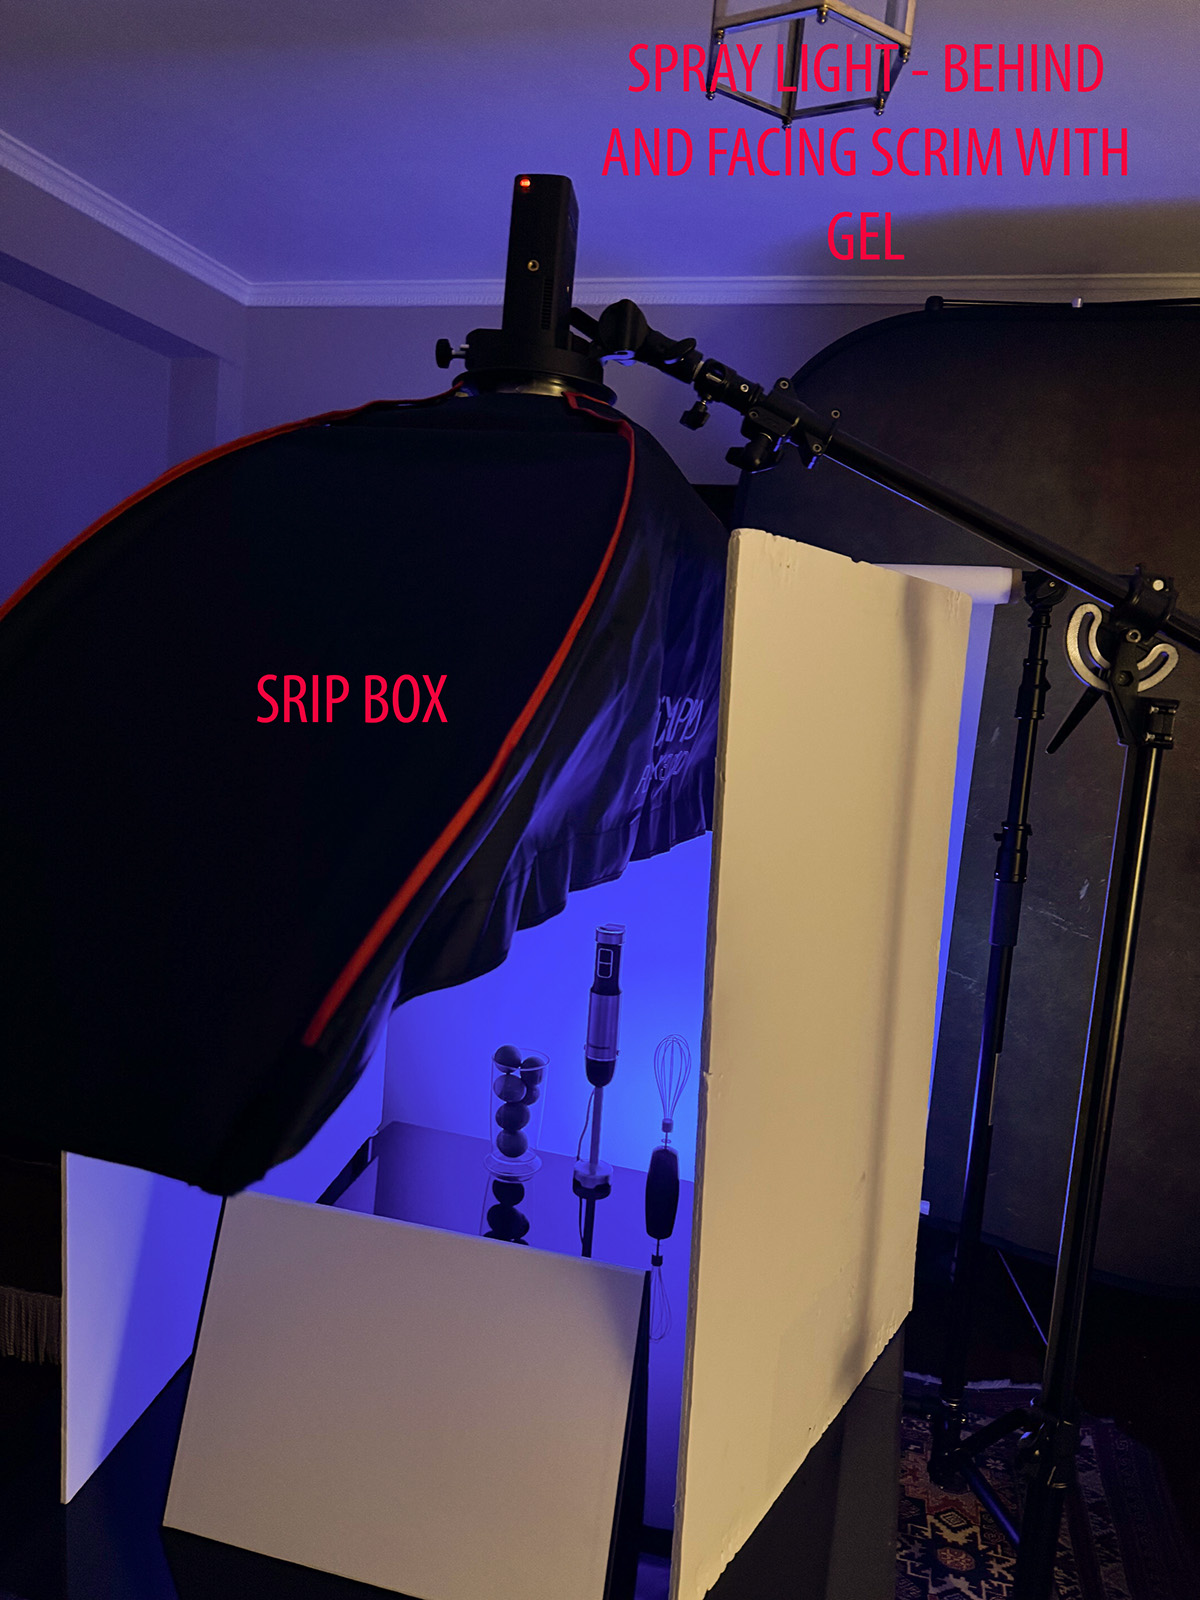
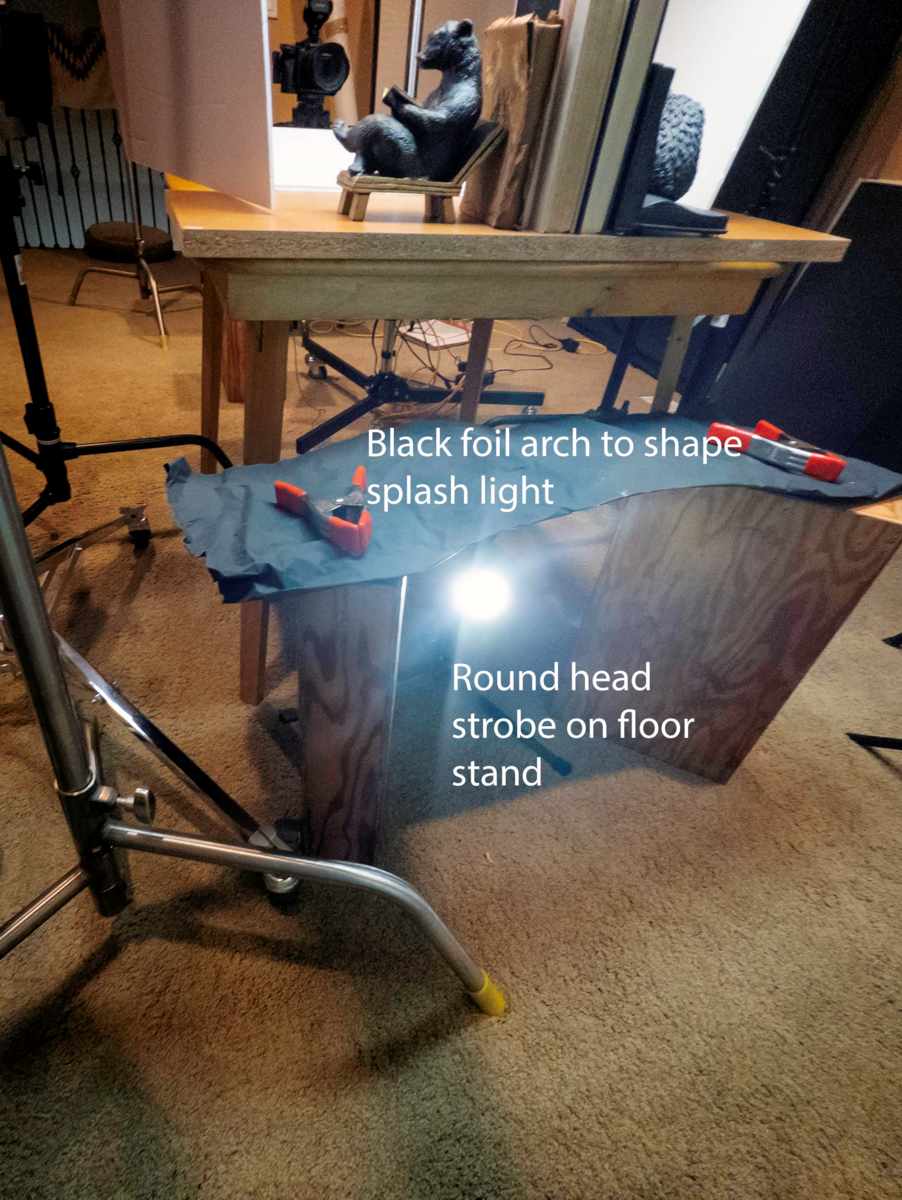
Concerning a spray light.
Spray lights are not considered “lighting” for the product, they are part of the background.
You are free to use spray lights, or background lights that do not affect the subject.
This would include a bottom spray, focused light on the background, Cukis and backlit scrims (In a spray use, not a backlit set like a bright or dark field.
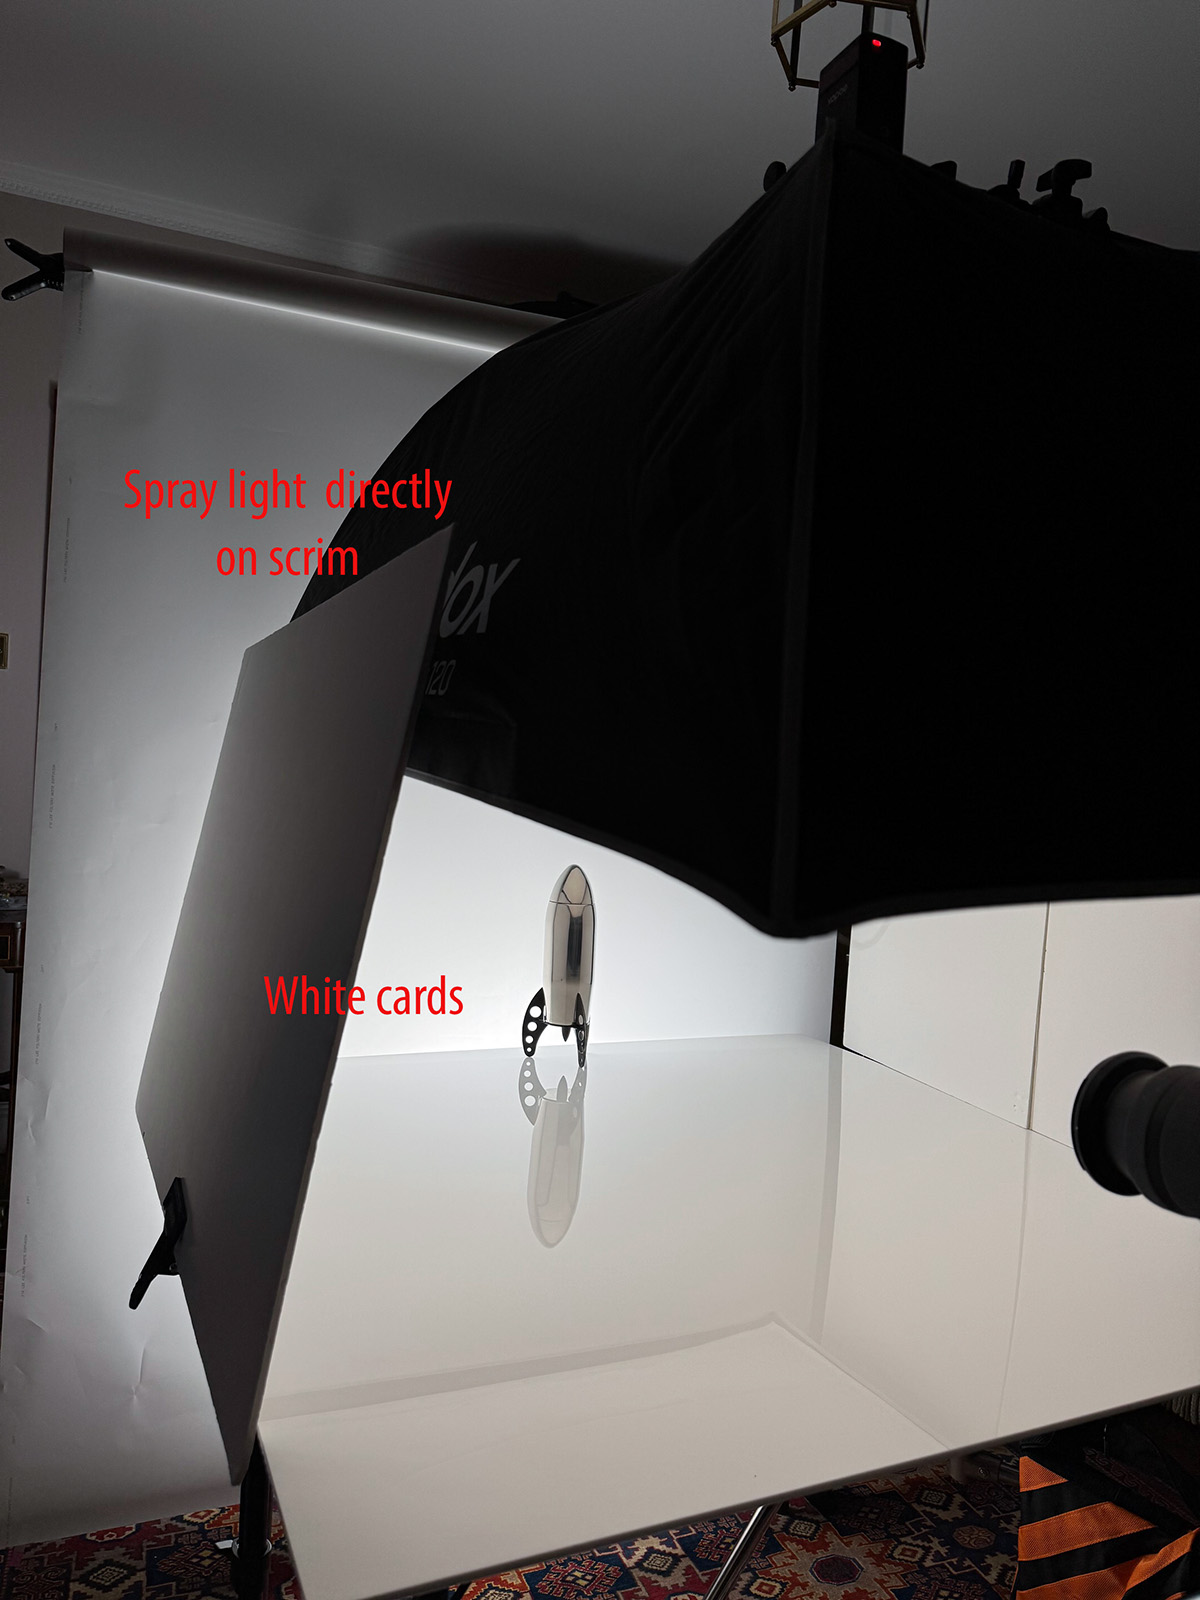
White Backgrounds:
It is also acceptable for you to use a light on a white background to make it a clean white. Keeping your light from falling on the set is the job of flags.

Think of different angles as well.


AI Recap
Quick recap
Next steps
- Don: Create and upload a video demonstrating how to create a fake tilt shift effect in product photography
- All participants: Practice next assignment using spray light, ensuring careful attention to horizon line placement
- Judy: Reshoot product photos at night or using black cloth/background stand to eliminate studio reflections
- Steve: Consider reshooting bottle photo with spray light as mentioned by Don
- All participants: Experiment with different angles and lens positions for the spray light assignment, including shooting up and putting lens right on surface
Summary
Challenges in Lighting Techniques
Photography Techniques and Feedback
Crystal Collection Photography Project
Product Photography Techniques Discussion
Lighting Techniques and Troubleshooting
Photography Lighting and Post-Processing
Product Photography Lighting Techniques
Photography and Slab City Insights
Photography Techniques and Pricing Discussion
Product Photography Lighting Techniques


Class Two
