
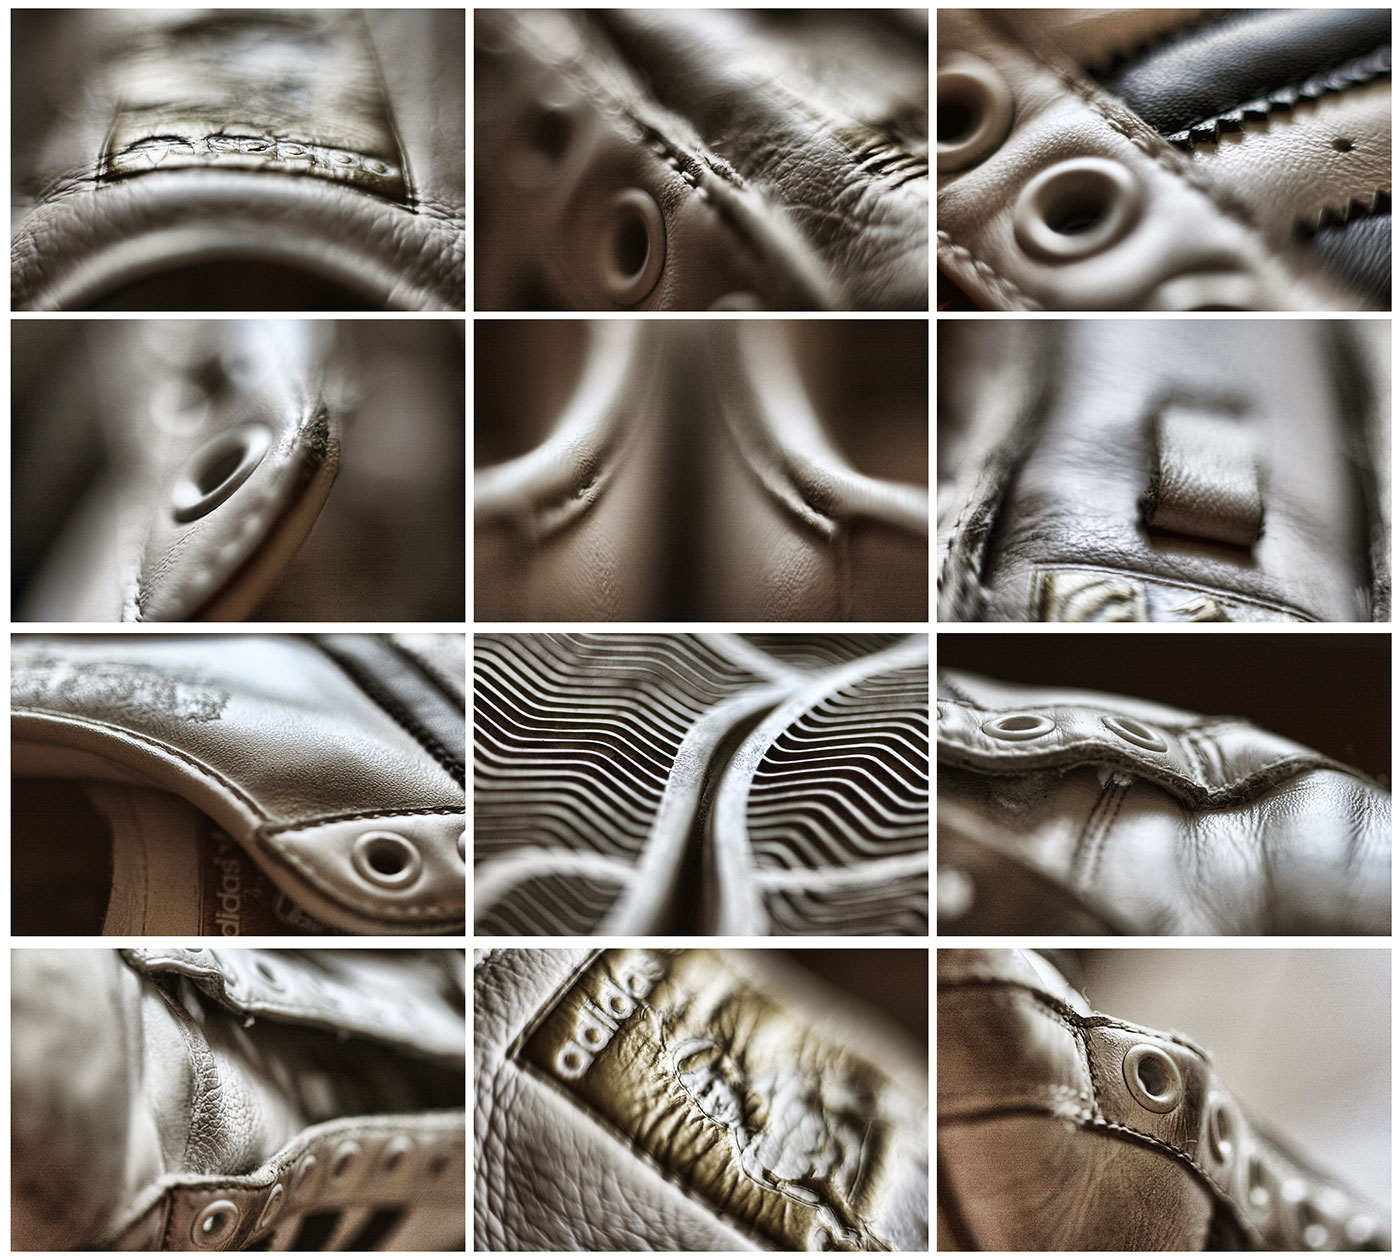
EVERYTHING REFLECTS.
Let me say that again. Everything reflects.
Some things reflect more than others. Some surfaces are more reflective than others.
But since everything reflects, we are sometimes presenting what that subject reflects rather than ‘bouncing’ light into a dark area.
In portraiture, I think of providing the shadow side of the face something to reflect back to me rather than ‘filling’ as in creating light on a dark surface. The reason is that the cheek and chin and hair on the shadow side can be made to reflect the object I have placed there if it will indeed be within the angle of reflection to my camera.
I believe I get more control that way. The brighter the ‘reflectors’ the brighter the reflections back to me. Moving the reflector away from the subject increases the distance, and the reflection becomes less bright.
One of the chief reasons that things reflect the way they do is the surface of the subject. Smooth surfaces may reflect absolutely, with lots of contrast, while adding texture will cut down on the reflection of the light and actually cause it to be presented with less contrast.
It is this nature of the subject that I focus on first when deciding what kind of light to use.
I will say this before we go on… there is NO one way or right way or best way do make images. There is your way and my way and her way and his way and on and on. I will present to you what I do and you are free to take it and modify/adjust/deconstruct/start over or discard what I do. It’s OK. In fact it is what I want you to do. Take this information and make it yours. Utilize subject centric lighting in your own way and make better photographs.
Surfaces have a couple of distinct parameters for us to explore: rough, smooth matte, shiny and combinations of all three sometimes. And each one of them reflects light back to us in different and particular ways.
Shiny, glossy surfaces, matt surfaces, and textured surfaces.
We will first look at textured surfaces.
Texture is what I see first when I start to look at a subject. I just do. Of course color and shape and all play into it, but the light has its way with texture, and I notice how it is presented back to the camera. In nature it can help me decide the angle of my camera to subject and in the studio it helps me decide on what kind of lights/modifiers I will be using.
I can choose to either enhance or mitigate texture by using the angle of the light as it is presented to the subject and back to me. A very rough wood wall with light scraping down across it shows a lot of texture, and I can use that angle of light to reveal that texture to my viewers. If I decide to lessen the contrast I can wait for a cloud to come between the sun and the subject, or go around the subject to see if there is texture wood in the shade. It will still be a texture, but it will have less contrast between the bright part of the texture detail and the shadow side.
The cloud lowers the contrast just as being in the shade does. In simple form, the light source becomes larger than the detail of the texture, but we will discuss this further in the next chapter.
If the light is on either horizon, I can change the look of the texture by changing where I put the light in relation to the subject – in relation to the camera.
Light from the side shows more texture. Light from the camera means less texture. The reason is that there is more contrast between the highlights and the shadows cast on the sidelight than there is with the light coming from the same direction as the camera. The light behind the camera actually doesn’t show shadow to the camera (angle of incidence = angle of reflection) while the sidelight throws shadows and creates contrast.
Texture shows the viewer how rough an area is, or what kind of surface they would find if they were there. It delineates the shape of details and it gives us information beyond what we would see on the surface. Old things have lots of texture from the weather or the sun. Areas that are full of texture have lots of visual energy. The eye knows that the light is playing on something that shows itself with character and charm. Cookies have to have texture, as does old barn wood. We want to see the texture in an old book as we want to see it in a pasta dish or leather jacket.
In the picture below, I am using a hard light to emphasize the texture of the pods. A small light source placed at a side angle to the pods and camera gives me highlight and shadow with very little transition between.
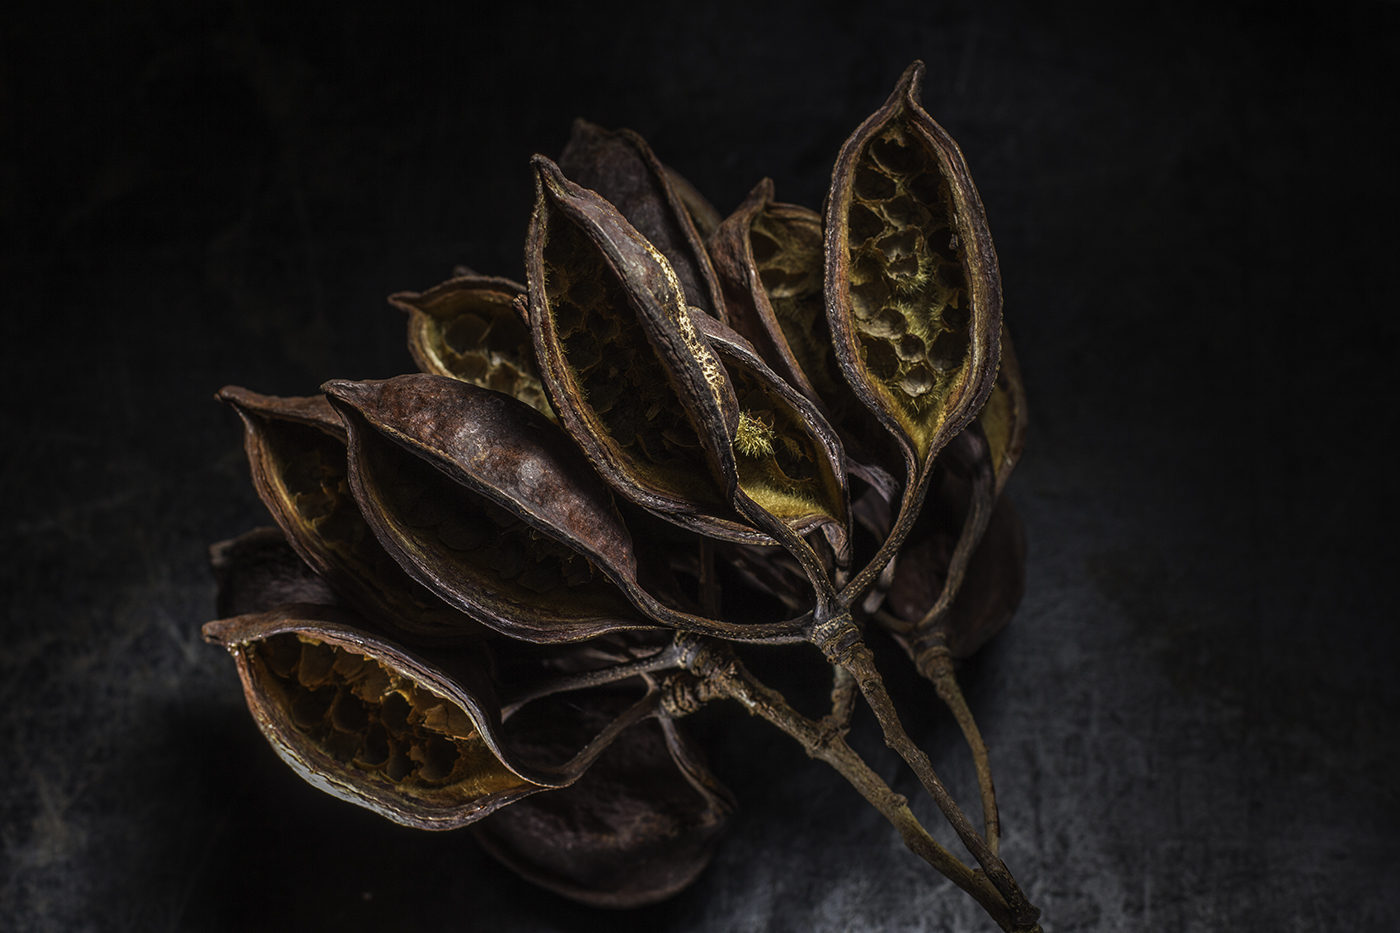
You can see the side light in the stems and the rim of light that is created by the quick fall off from reflection of the light source to the shadow.
Texture gives us context, and it is nearly unconsciously understood. We have seen what light does to texture our whole lives, so when we go to photograph it, we are naturally drawn to those times of day and places where the texture is well rendered.
But there are places where texture may not be as welcome. A subject’s face or skin may not be considered a good thing when rendered with a lot of texture. Unless, of course, they are quite interesting with the texture rendered. Age is something we can show with texture – and along with that inspiration, wisdom and the universal knowledge of what aging does to us all.
The old brick wall that Jamie is running on shows lots of texture due to the sidelight (top light) giving us edges and shadows.
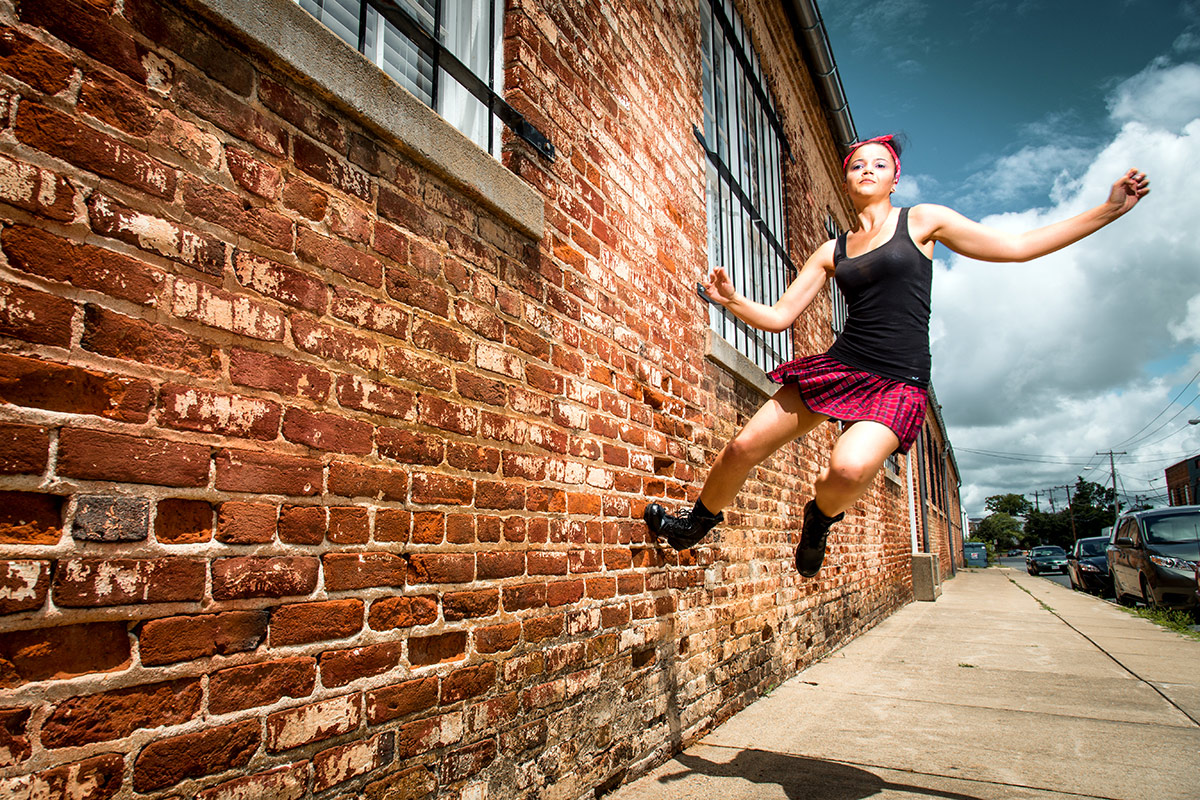
A close inspection shows us the highlights on top of the bricks and then the many indentations exacerbated by highlight and shadow with a fast fall off. This is created by using a small light source – the sun – and a large subject – the wall.
We want our things to be rendered as we expect them to be in real life. Water is wet, rough-hewn wood should look like it is a splinter waiting to happen, glassware should be very smooth, and skin should be smooth and attractive.
Sure there are examples of things being rendered in an un-natural state – and that’s fine. I am talking in a generality here, and one with a lot of history to back it up. While there may be an example of two of rough, scary skin on teenage girls, the vast majority will reject that image instantly.
This shot of cracked earth exhibits many of the properties of a subject / light relationship. Notice how much texture is shown due to the small light source side lighting the cracked earth. The sun is a small light source, and you see no soft, wrapping light, In addition, there is a bright spot in the middle of the image created by the specular – although it is a bit diffused, the dried mud is still reflective enough to show us a reflection of the sun at the same angle from camera. If I moved left or right, I would change where that bright spot was because it was locked into the same angle as my camera from the other side.
I chose to place my exposure one stop less than the recommended exposure to increase the feeling of a vignette.
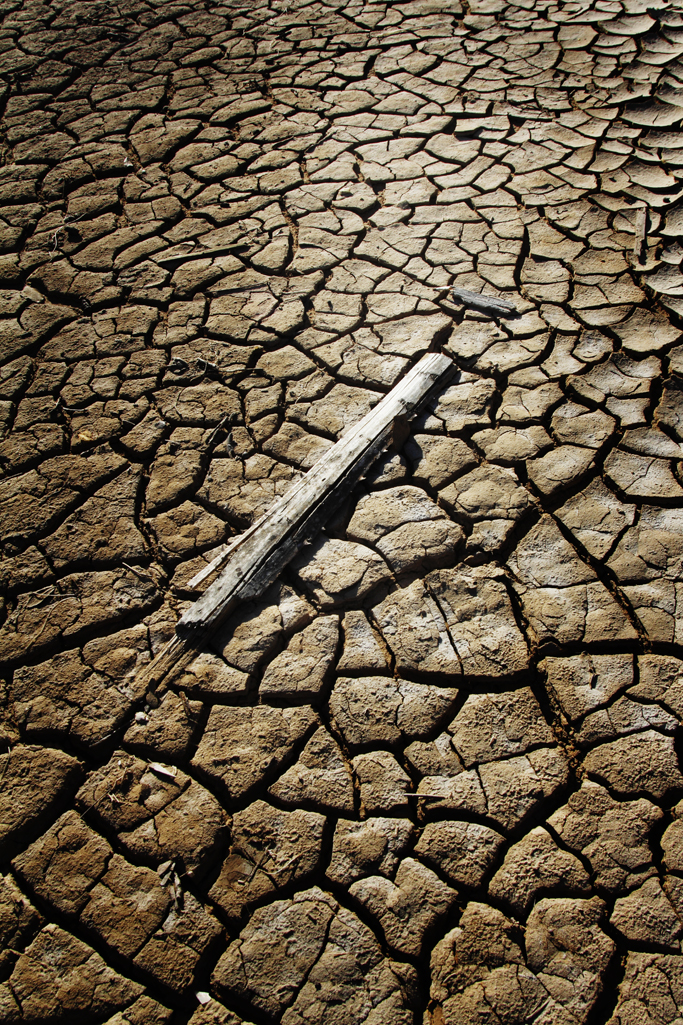
Small lightsource, at a side (back) angle and a slightly reflective surface gives us more to work with than just a dried mud slab.
Texture is also shown by the angle of incidence rule. If we choose to include the light as a part of the composition, for instance, we may choose to include its direct reflection back into the lens. A highlight on a shiny surface will show us how shiny it is by the relationship of the light and the surface around it. A less smooth surface may make a softer reflection of the light source, and that will also tell us about the surface texture.
In this detail of an alto saxophone, the light is coming from the top back and it leaves small speculars on the areas that are efficient (shiny) and emphasizes the texture of the old keys and metal discoloration.
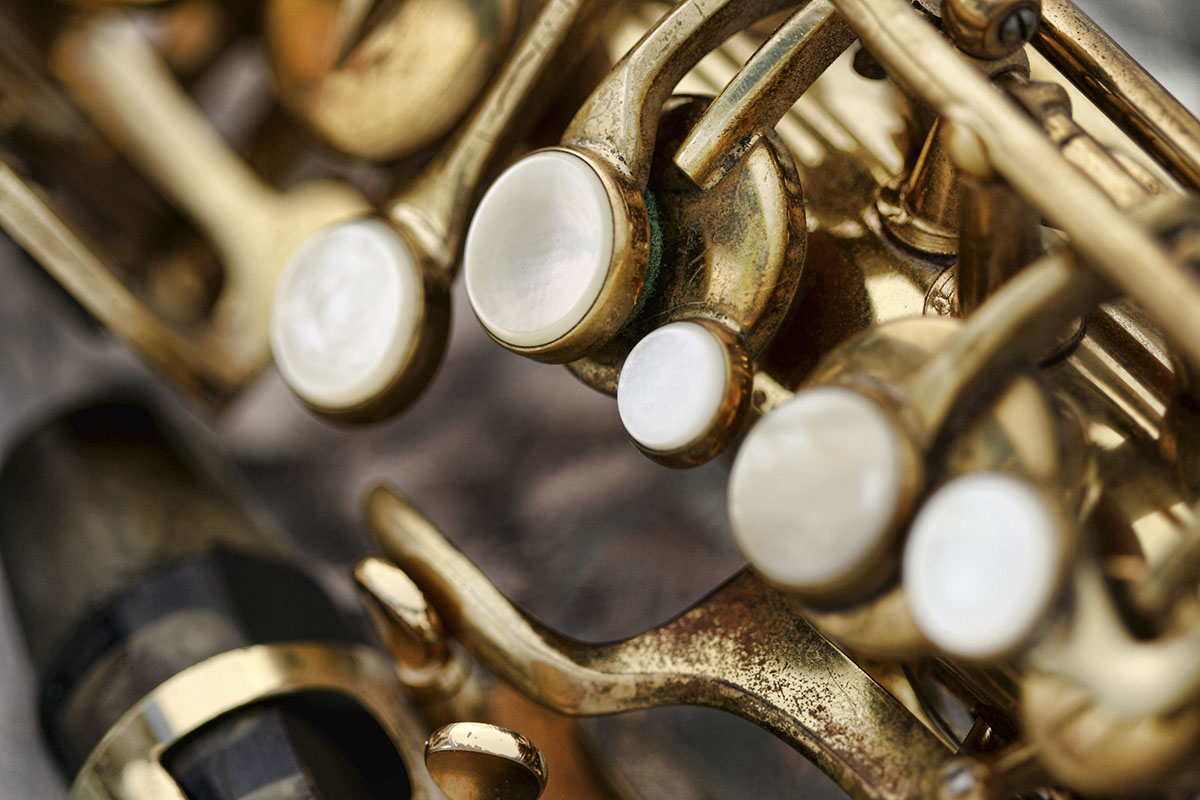
There are many places where we can use the reflection of the light source to create a cool looking gradation or highlight to create some interest as a point of composition as well.
The main point of this composition is the light on the wooden tools. By making sure the matte textured tools have a soft, directional light without any fill, the texture of the wood shows clearly in the image.

Ways to create texture:
Sidelight.
Top light.
Hard light (small source).
Backlight can also be used in many situations.
ASSIGNMENT
- Shoot a textured item (product / thing) to show the texture and find ways to mitigate or lessen the texture. Hint – front light nearly always kills texture, and sidelight nearly always makes it stronger.
- Take a single textured item – like a shoe – and using your flashes or studio lighting, create as many different texture shots as you can using only one light – no fill.
- Look for texture in nature and shoot images that emphasize and also lessen the texture just by walking around the subject to see different angles of light to subject to camera.
So You Want to Be a Photographer?
https://www.youtube.com/watch?v=dlhPK0cJ978

Seven Product Shots Deconstructed For You
Enjoy the video. Lots to talk about. https://www.youtube.com/watch?v=BbAWDQJUFBM

Is Posting to Social Media the Same as Working For Free?
https://www.youtube.com/watch?v=LtOmKlxRwDc
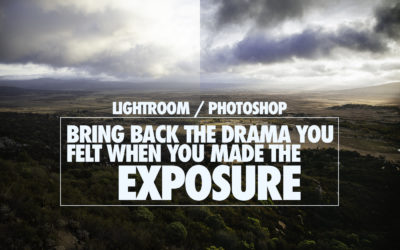
Bring Back the Drama That May Have Been Lost in Exposure
https://www.youtube.com/watch?v=_GaT66Rut1c
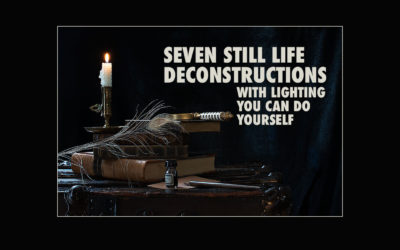
Still Life Images Deconstructed: Lighting You Can Do
Here are some still life shots with the lighting deconstructed for you. Take these ideas and make some still life art. https://www.youtube.com/watch?v=BVtv_uFkvDw&t=2s IMAGES: [gallery link="file" columns="4"...

Creative Portraits: Images Inspired by Skrebneski
These are a few portraits made by my students in the 8 Week Portrait Workshop. We look at many different photographers and study their style, their approach, and the ways they use portraiture to convey their art. Ours is not to steal or copy, but to be inspired by....
In Search Of…
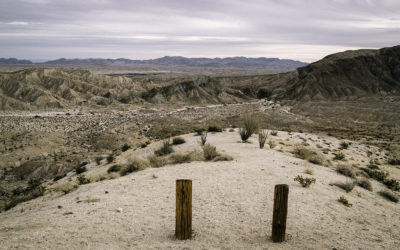
IN SEARCH OF Tuesday morning I got up later than expected for my drive to San Diego. My short journey/road trip was to see Dan Winters, a favorite photographer of mine, do a talk on his photography. The venue was the Museum of Photographic Arts in Balboa Park, so...
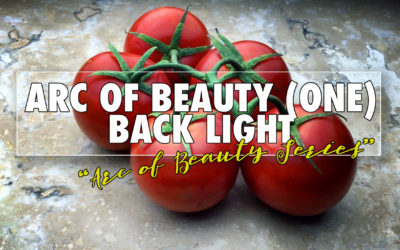
The ARC of Beauty: A Lighting Tutorial
https://www.youtube.com/watch?v=wQ3cU6w3w6s&t=1s

Using Cheap Lights for Food and Still Life Photography
https://www.youtube.com/watch?v=IPtYC4YsS5Y

Thinking in Black and White for Better Monochrome Images
BLACK AND WHITE SHOULD BE MORE THAN AN AFTERTHOUGHT TO COLOR PHOTOGRAPHY https://www.youtube.com/watch?v=e9x0o5zZr_w A mediocre picture becomes more alive when it is reduced to tones and design. [gallery columns="2" link="file"...
Dennis Dunbar: Professional Photo Retoucher, Los Angeles
https://www.youtube.com/watch?v=pt3XyyuAraU Dennis is a highly sought after digital retoucher in Los Angeles. He sat down with me for a chat about the business of retouching and what it is like to work with photographers and movie studios. Contact Dennis at his...

FIVE SIMPLE THINGS TO DO TO FIND MORE CLIENTS
Try these for a real boost to your client list SEO. Yes, SEO. It is so very important these days. I know we keep hearing that SEO is dead, but that is really just BS. It is alive and kicking. If you are unable to do it well, hire someone who can. I found a few very...
7 Assumptions We Make About Professional Photographers
https://www.youtube.com/watch?v=AIUZtk9ntF0

Three Books That Will Boost Your Success Quotient
These are three books that I think every photographer should read. I believe it is best to read them in order left to right, but do it any way you want to do it. They are full of practical examples, actionable processes and scripts to get you thinking...
Protected: 8 Week Food Workshop: INFO
Password Protected
To view this protected post, enter the password below:
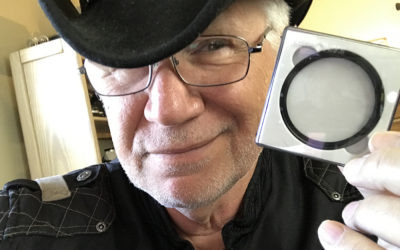
A Premium Filter System from K&F Concepts
Filters come in all shapes and sizes... and qualities. This is a premium product, clear, well made, and a bit thinner than most of the cheap filters out there. I use them when I am on the motorcycle, and when trekking. Usually I take them off when I shoot,...
Lighting Class: Classic Side Light (Part One)
https://www.youtube.com/watch?v=b2qmiime7KI
Review: The Under $100 35MM, F2.0 Lens by Yongnuo
https://www.youtube.com/watch?v=tOdjllTzp0w I saw this lens on Amazon and thought, "Oh what the heck. It's less than a $100 and if it sucks, so what." It doesn't suck. It's fast, clean, full-frame, and bright. Pretty sharp where it counts. It...

Lighting Class: Classic Beauty Lighting
Using one main light, and reflector boards, a photographer can do an amazing classic headshot lighting. https://www.youtube.com/watch?v=u47J3TAkyZ0 Here are the work slides for you: And these are my...

Lighting Class: Bottles (Learning to see Reflected Light)
https://www.youtube.com/watch?v=_J4TXq9WmHA https://www.youtube.com/watch?v=j8sY8vYY7r0
Does It Really Take 10,000 Hours To Become a Good Photographer?
When Malcolm Gladwell wrote his book, "Outliers" he had a chapter devoted to the "10,000 hours" rule that intimated that it took 10,000 hours of practice to become good at something. I think this single criterion has been fairly criticised by people who think that it...

BLACK FRIDAY IS FREE at Lighting Essentials
SPEND BLACK FRIDAY WITH DON GIANNATTI Well, that was a lot of fun. Had a few technical glitches, learned what not to do next time and how to what I want to do better. Next time coming soon. Really soon. We recorded each session and the videos are here on the page for...
8 Week Video Class Five
Assembling Assets: A Roll / B Roll / Audio This week we are going to go a little deeper into the shoot experience. The next video we do will be one a bit more advanced than what we just did. We are going to blend several features together to make a video...
The Image Is The Thing
Becoming a “Photographer” - or being a “Photographer”… what does that mean, really? Does it mean that you now have a top of the line camera? Does it mean a bag of lenses? Does it mean an awesome set of studio lights? Or a light meter? Boom? Storbs? (inside joke,...