
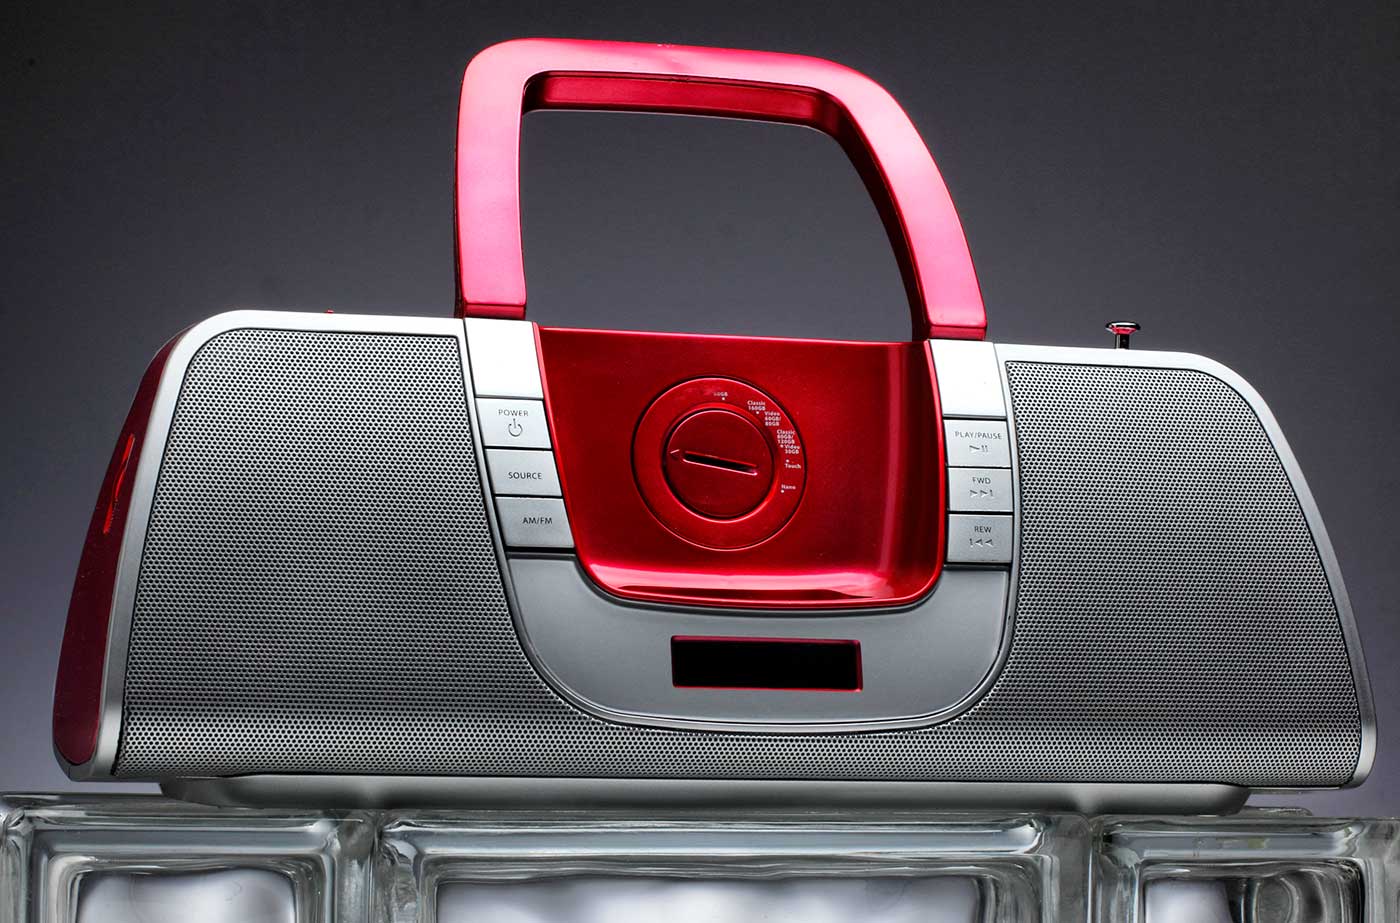
Lighting Principle Number Four: The Angle of the Light to the Subject and the Camera
Law of Physics: Angle of Incidence equals the Angle of Reflection.
This is an axiom that a lot of people hear and repeat without taking careful note of what it means to their photography.
And yet it is one of the most basic and important physical rules of subject centric lighting.
What does it mean and how can we use this to our advantage?
It means that if the light is angled toward a subject, the reflection of that light will be presented back to the camera at the same angle.
Think of the game of billiards or pool. If you hit a ball into the wall at a 30% angle, the ball will come off that wall at a 30% angle. And that completes a triangle. Understanding that triangle is key to making quicker, smarter lighting decisions.
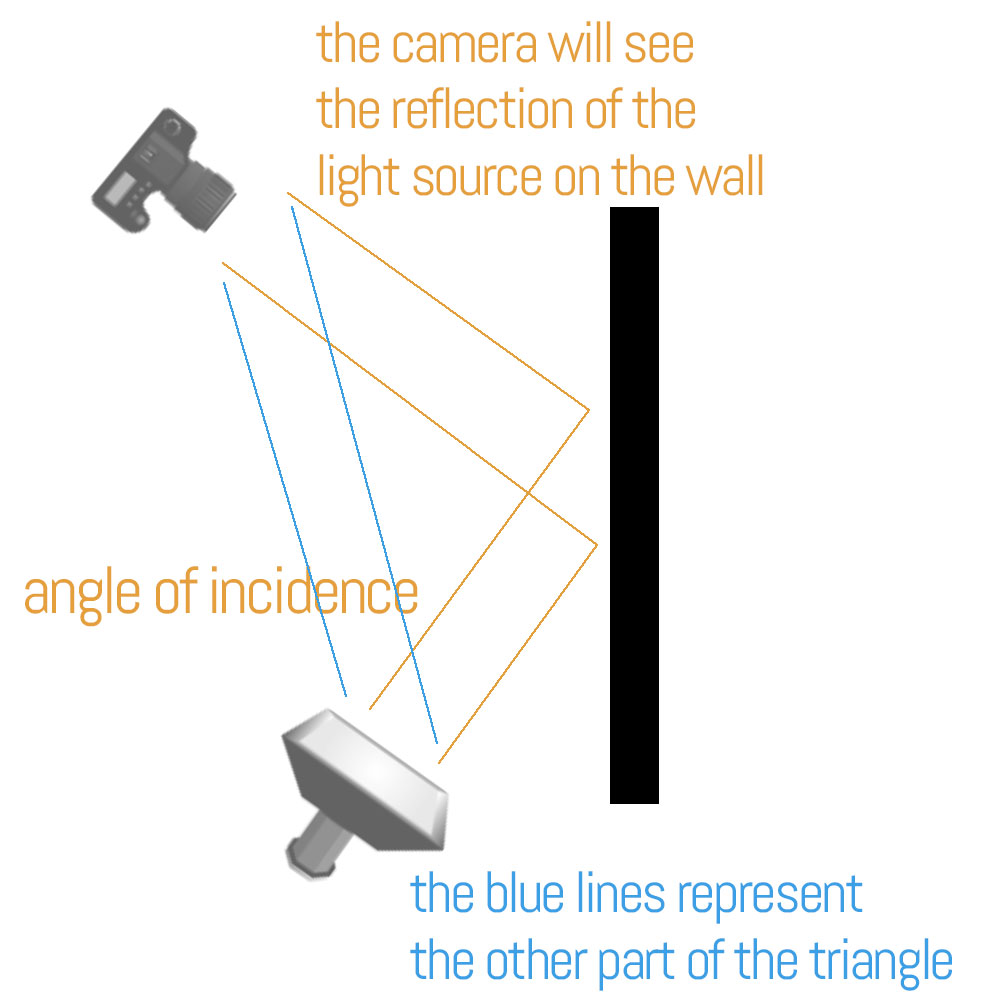
It means that you have to be able to judge the angle of the light as it strikes the subject and understand what that light will do once it strikes the subject. If there is something being reflected in your subject, look at the camera angle from the other side and you will find what it is.
EVERYTHING REFLECTS. EVERYTHING.
Some things reflect more than others, but everything you see is simply the reflection of the light from its surface.
I call it ‘presentation’, and when I discuss lighting, I use the word presentation to talk about how the light looks to the viewer.
Once we realize that the angle of the light source to the subject, and the incident angle of that light source to the subject is going to present to us in ways we can control, lighting becomes so much easier to create.
Think of the way the light strikes hair on a slightly backlit portrait. The reason the hair becomes so much brighter is because it is round in shape, and somewhere on that round, shiny hair is going to be that same angle of incidence that the camera is seeing.
An example.
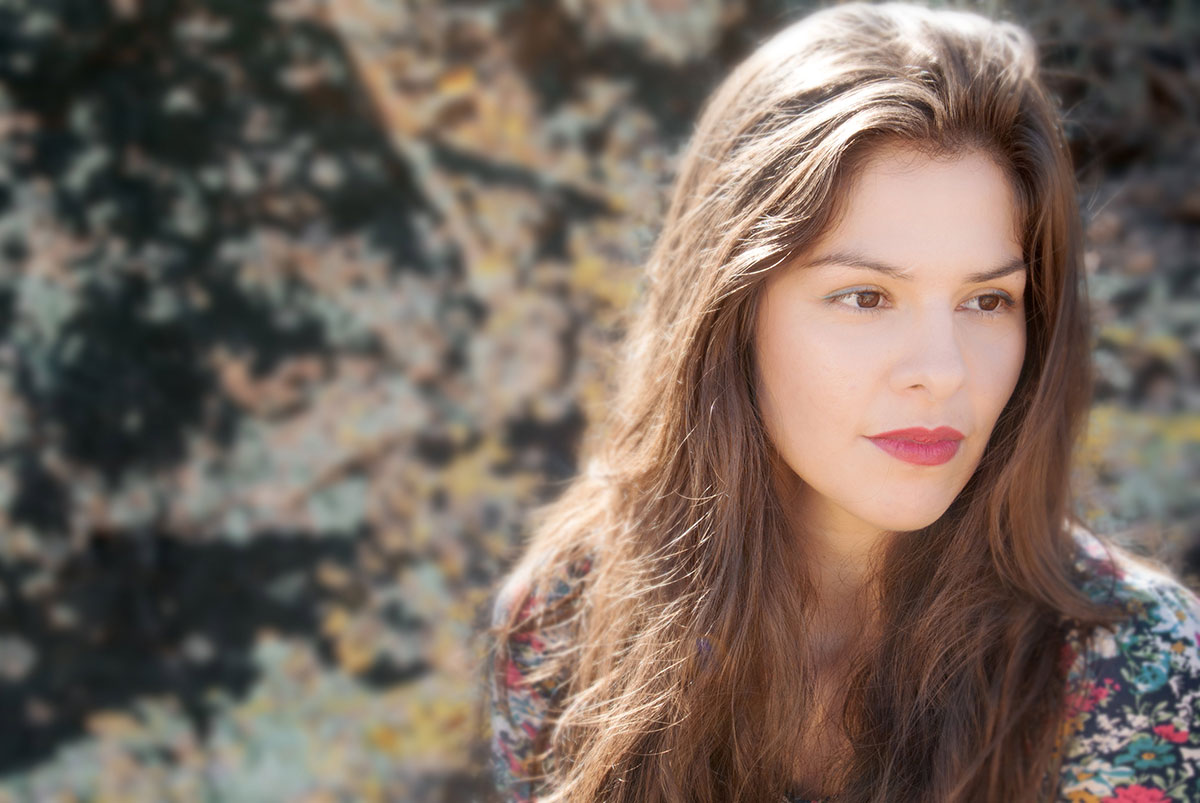
You can see how bright that hair is with the sun shining on it, and each tiny hair reflecting that sun back to the camera.
In the image below, I used a large softbox in order to get a shiny, reflective area off of the wall behind the subject and create a gradient to the background. You can see in the illustration that the angles of reflection come back to the camera on the left side of the model, but not on the right side of the model. The wall is a semi-gloss wall and provides a nice, soft reflection of the light source.
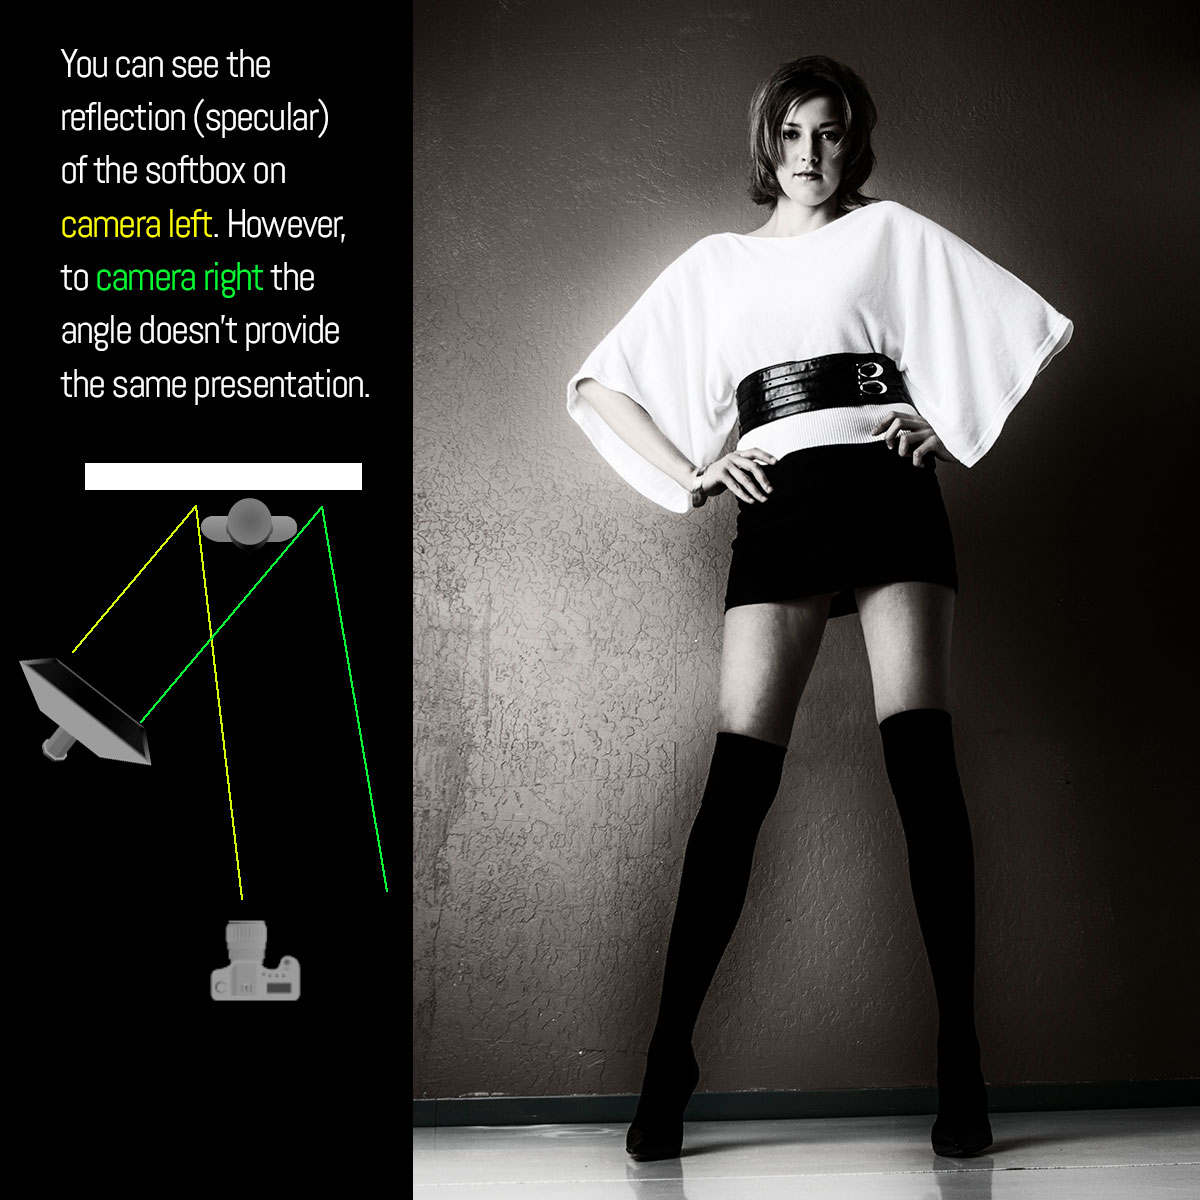
Let’s take a closer look at that triangle that is formed by the light to the subject, the subject to the camera, and the light to the camera.
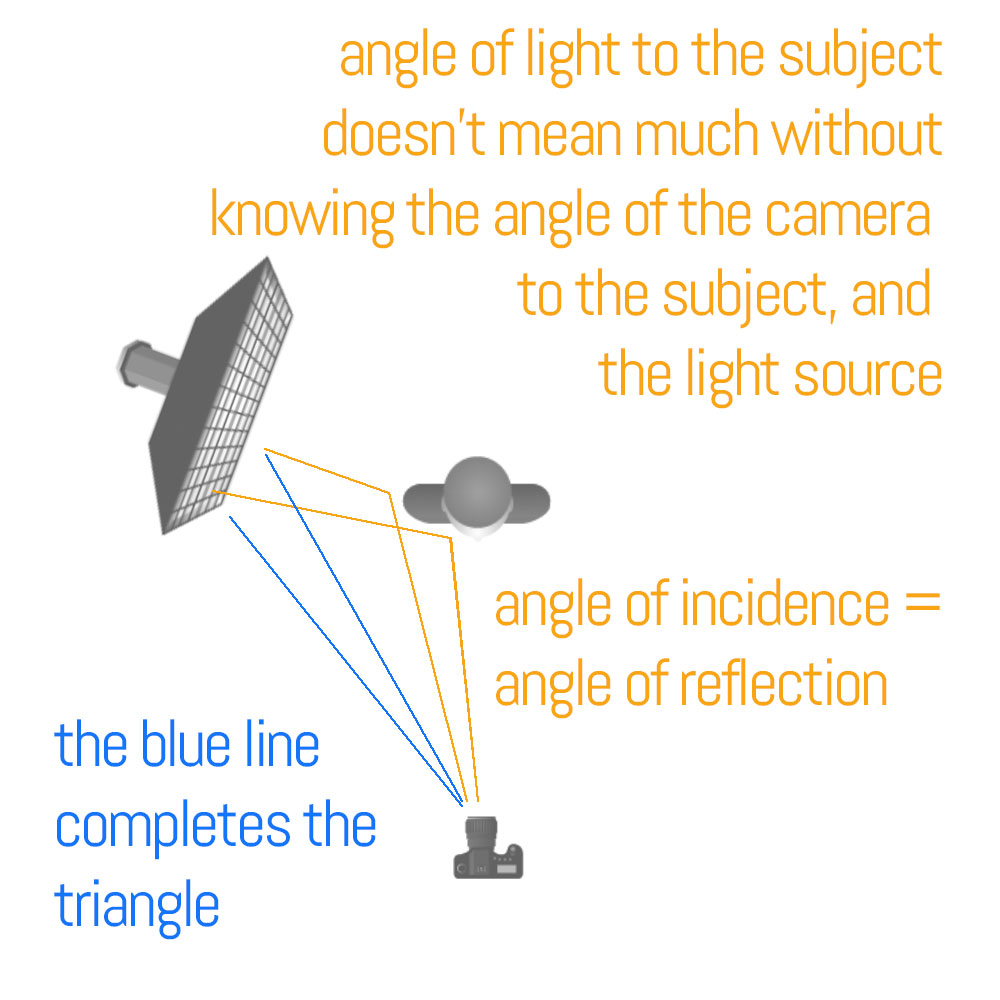
It is being able to see that triangle (shown above with the blue line) and to then visualize the presentation of the light that makes it easier to control. Once you begin to see those angles, and the way they will present back to the camera, lighting can become much more of a finessed technique rather than a flailing exercise.
Let’s talk about direction.
There are three major directions of light and one that doubles as a direction. I will explain.
This is front lighting. The light comes from the side of the camera, and it can be angled quite a bit (90 degrees). The presentation is full angle of incident / angle of reflection, and you can control that fall of incidence by where you place the camera in relationship to the light and to the subject angle.
Front light:
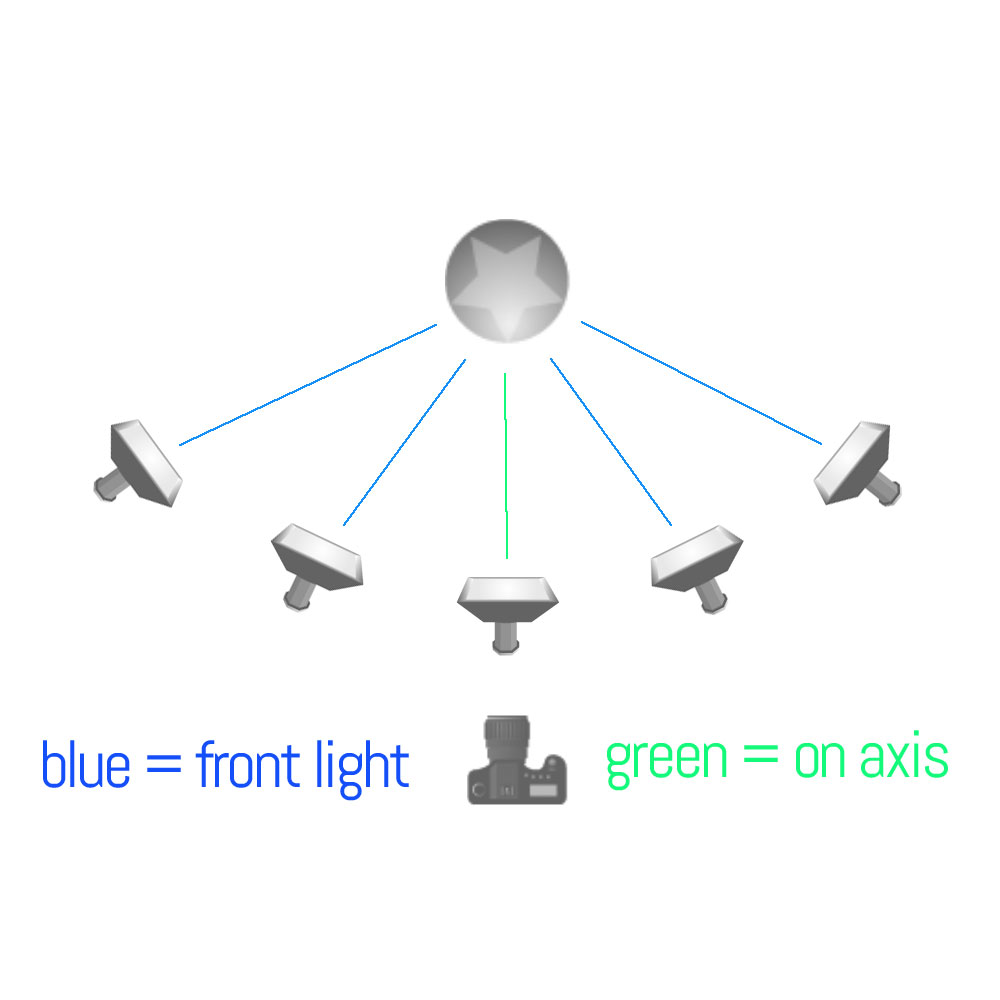
You can see that from right to left there is 180 degrees of placement that will allow you to have front light. There is one point in the middle, however, that is at the same angle as the camera. We call that “on-axis” lighting and is a favorite of beauty and fashion shooters.
On-axis lighting is from the position angle of the camera to the subject, not necessarily at the distance of the camera. That means there is no triangle (horizontally) from light to subject to camera. As you can imagine the reflection is straight back into the camera. A wide, soft light with few shadows.
In the diagram below we see side lighting and backlighting. Side lighting is as its name suggests, directly from the side of the subject creating a 90-degree angle to the camera angle.
When we move the lights farther back from sidelighting, we have backlight. Backlight has all the same angle variations as does the front lighting.
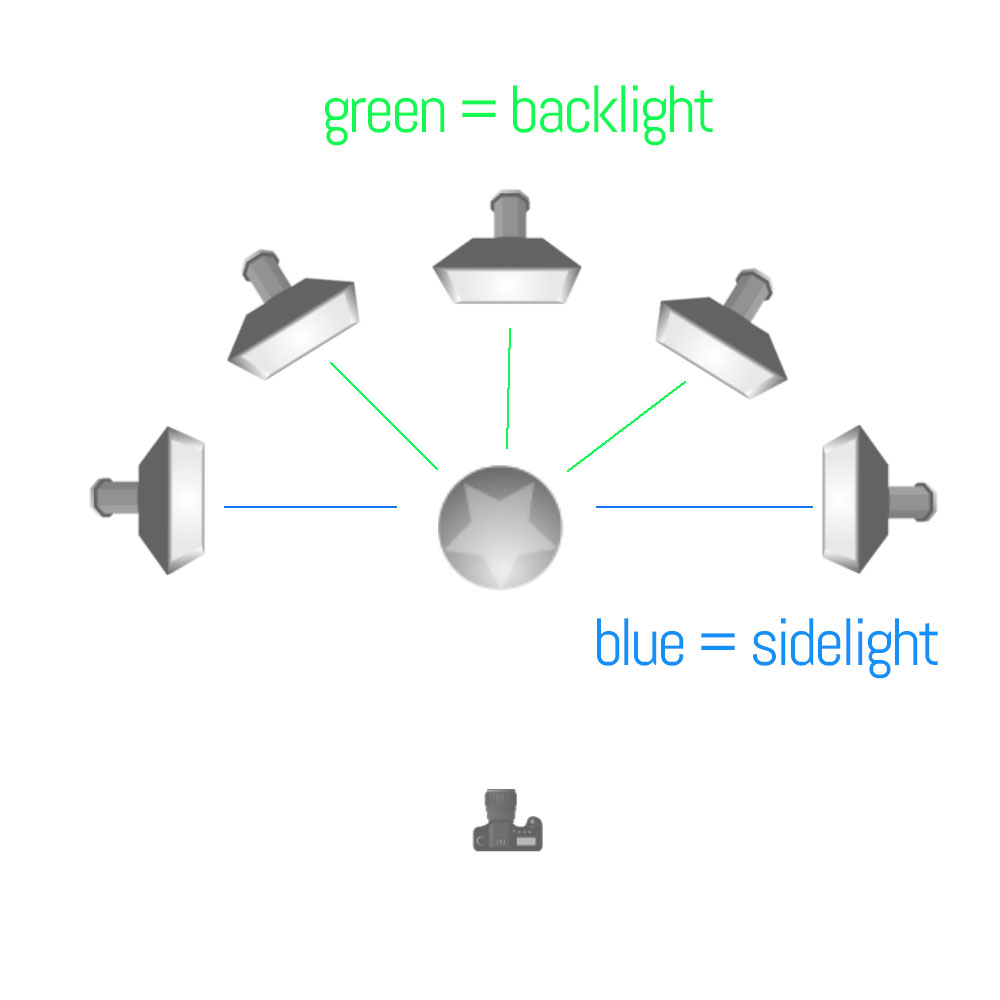
Top lighting from directly above is the same as side lighting if it is at a 90-degree angle to the subject/camera. If it is slightly in front it is front light, and slightly behind it is backlight.
Front Light One
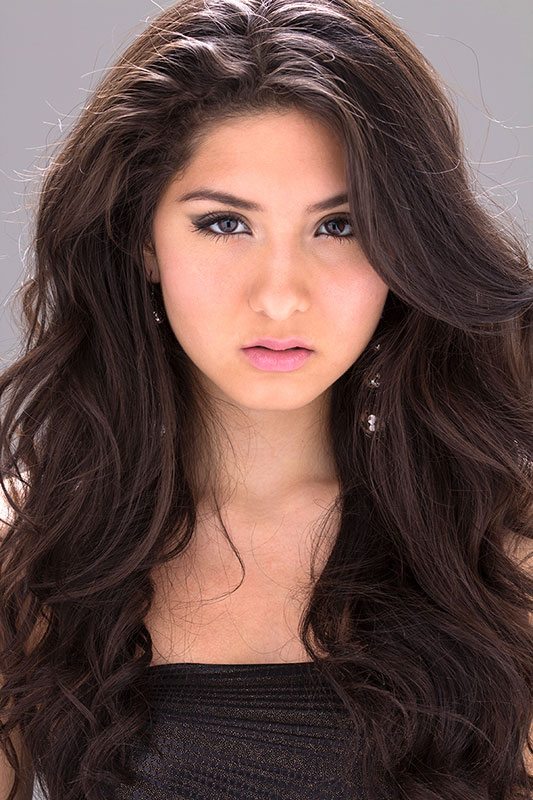
Front Light Two
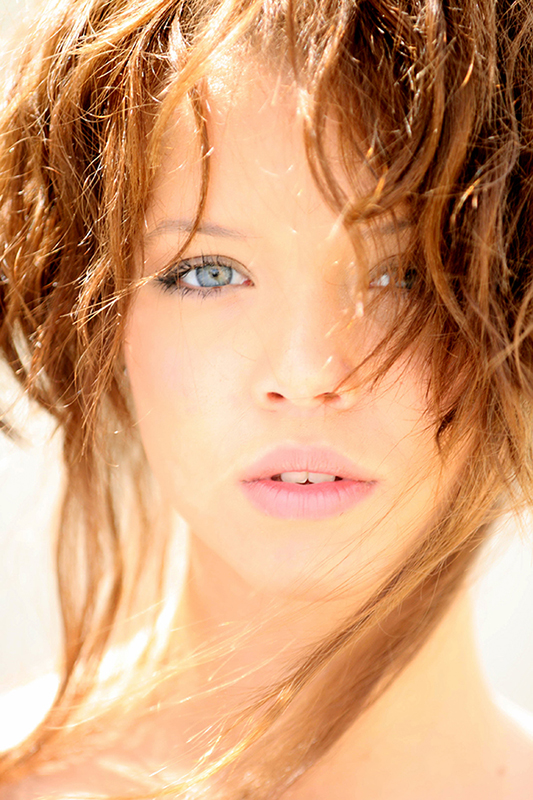
Side Light One
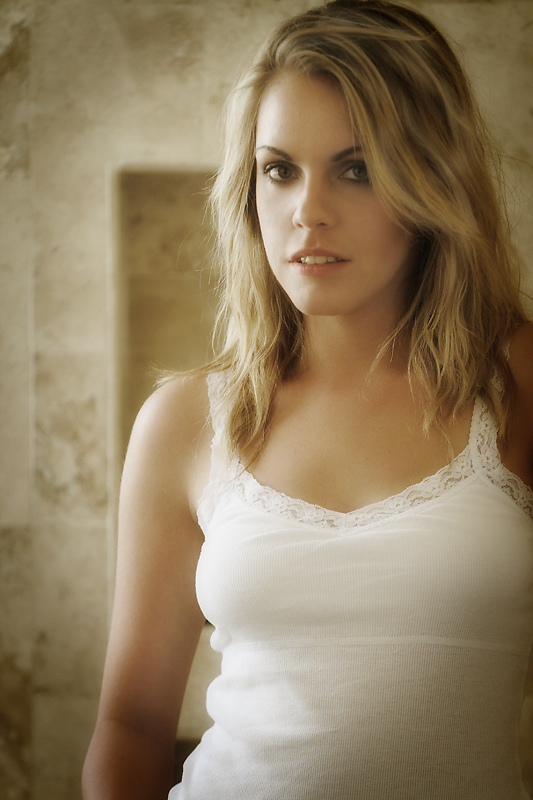
Side Light Two
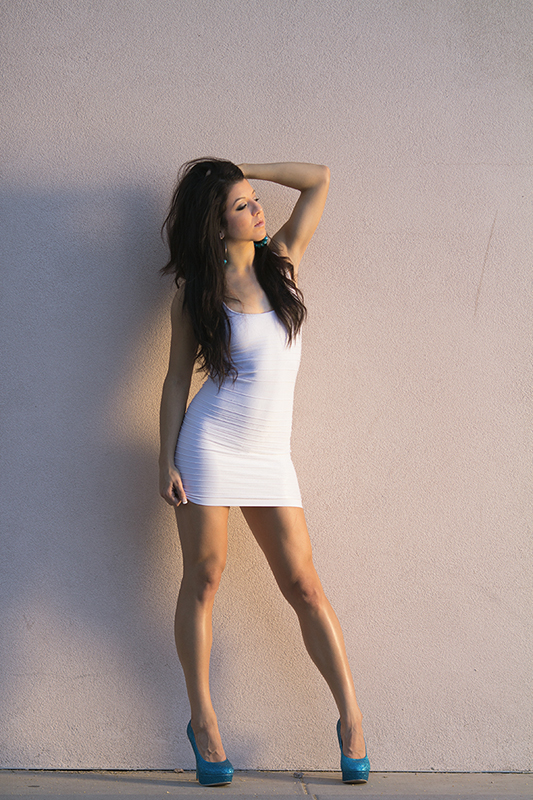
As you can see above, the angle of the light to the subject, and to the camera, makes a big difference when you are working toward making the shot look a specific way.
Let’s wrap it up:
The four different properties of lighting are:
- Size of the light source in relationship to the subject.
- Distance of the light source from the subject.
- Color of the light, and its relationship (if any) to the prevailing ambient.
- Angle of the light source to the subject, and to the camera.
And NONE of them are the most important – they are all equally important. We don’t think of them in an hierarchical way, we think of them in a holistic, symbiotic way. Change one, you may have to indeed change another. Change that one, and you may have to alter two others to make it work for you.
All of this only matters to you if you know what you want your image to look like. Do you want soft light, or do you want hard-edged light? Do you want a mixed light image that looks natural, or do you want to play with color temps in a creative way? If we move our light closer or farther away, what does that do to the look of the image? Do we need to bring out texture, or is a flatter look our goal?
These questions are usually not asked in order in our brains. All of them are asked at the same time, and we react to these creative decisions by utilizing the tools we have for creating them.
And now, with these basics, we can begin to create the images to present OUR vision of the subject in front of our lens.
ASSIGNMENTS:
- Find a subject that allows you to move around it and make images from all the different lighting positions. Do this either early in the morning or late in the afternoon so the sunlight is closer to your head height to the subject.Shoot front light, side light, back light, axis light. Study the images to see how the subject changes in the different lighting positions. Print the images and make notations on how it, and the background, look to you. What changes do you see?
- Using your flash or continuous lights, do the same thing with a subject inside. You can choose something as a still life, or – if you are a people shooter – grab a subject and start moving that light from on-axis to back.Note that when your light is backlight ONLY, the subject is quite dark, possibly even silhouette. You can adjust for that or not – your call. but remember that your adjustments will play the same role as the main light in the angle of light to subject to camera.
Lighting Basics, Class Two
The Lighting Angle: Part One Now that we are starting to understand the metering a bit better, we are going to look at how the angle of the light can create different presentations - AND different exposure situations. The camera is a fixed position. It is where the...
“Tungsten”
Photographer Anders Ericksson, Sweden. A combination of several photographs, Anders Eriksson creates a 'magical' moment of light. The bulb was shot alone in order to get the edge lighting exactly right. A strip light was used to light either side and then the two...
Lady in Blue
Photographer Girish Bashavar, Ohio In this photograph by Girish Balshavar of Dayton, Ohio, the model is lit with one large source to camera left, and slightly below the subjects elbow. The light source, a softbox, is only a little out of frame and providing...
Through the Rainy Glass
Photographer Anna Gunn and Filipe Martins, Portugal. A thin sheet of glass was sprayed with water to provide a bit of an out of focus foreground and create a mood for this stylish portrait by Anna and Filipe. To create the feel of a rainy day, they used a large...
“Firemen”
Photographer Julie Clegg, Seattle. A main light softbox from slightly to camera left provides the overall illumination. Julie added a fill card to camera right, and it is just out of frame. Directly behind the center fireman there is a gridded spot to add very...
Bob Knill’s “Moody Style”
Photographer Bob Knill, Maryland. Bob Knill of Frederick, Maryland wanted a very dark, moody portrait. Using a main light consisting of a 5-in-one scrim (the inside of a 5-in-one reflector system) with a speedlight he created a very earthy, dark but sublime...
One Light Glamour
Photographer Alicia Bonaterre (Trinidad) For this shot, Alicia used a single strobe in a dish reflector from slightly to the left of her camera. The hard light provides a wonderful highlight on the models legs and sculpts her form well. Using a single hard light is...
Lighting Basics, Class One: Light and Exposure
WELCOME TO THE CLASS... ENJOY LEARNING. This is Lighting Basics... a way to get a fundamental instruction in the art and science of photography. It is geared toward beginners, and those who are mid level but have not had formal training of any kind. Please do all the...
Lighting Basics: The Introduction
It's February 1, 2014. This begins the "Year of Teaching" for me. I may or may not be doing any workshops, but I love to teach so here goes. What this year long series will be: A comprehensive look at what I call "Subject Centric Lighting" - the understanding that the...
And We Are Back
That medical issue took more out of me than I was willing to admit. But I am back - and so is Lighting Essentials... a new post every day. Lighting, gear, photography and fun... What's gonna be new? Watch and see. We will have a new photograph, complete with lighting...

Going Back to Go Forward: REBOOTING Lighting Essentials
As many of you know, I had a pretty rocky third quarter with some serious health issues. They took the wind out of my sails, so to speak, and I had limited energy to work on the things that I loved. Lighting Essentials is one of my favorite things, but I had to keep...
Protected: Social Media Photo Sharing Sites: Your Experiences.
Password Protected
To view this protected post, enter the password below:
The “Help Me Pay My Docs Off” Sale… LOL
The "Help Me Pay My Docs Off" Sale As many of you know, I was hospitalized for a week in August for a severe blood clot, and a PE which resulted in a heck of a lot of clots in my lungs. I am on the mend, and things are getting back to normal... but I also have...
“Everyone is a Photographer Now…”
Photography: A recent quote by photographer Mary Ellen Mark has had some angst-driven controversy: "“People are bidding on something that has no value. I thought it was a joke, so I just took a cell phone picture of a real photograph. It is easy to take a good picture...
Impatient Patience
Impatient Patience...Keeping The Momentum While Learning the Ropes You know how you think about things around the edges, trying to formulate the thoughts into some kind of pattern that makes sense and can be challenged and won from various angles? You do? Cool, then...
An Excerpt From New E-Book
Chapter Eight Becoming Exceptional As we move toward the beginning of our business plan, I want to take this time to discuss becoming exceptional. Being exceptional means you are a cut above. Maybe two. Being exceptional means you do things differently, and better....
Camera Phones and the Future
Photography: "Everyone is now fully aware that professional Dslr are going to be replaced by mobile phone cameras. It is just a question of time. Already, this year, there has been more phone cameras sold than point and shoots. One main reason: Phone cameras can now...
What’s Wrong With Photography? Nothing… Its Photo Writers We Should Question
A review of an article written for F-Stoppers by Lee Morris. The Nikon DF Represents Everything Wrong With Photography Or does it? I have a bad distaste for the bullshit club. The elitists who sit on the sidelines telling others what 'should be' without getting in the...
Just How Easy Is It To Be a Photographer?
(Originally Published in "In The Frame" my weekly Sunday Dispatch. If you are not subscribed, there is a place to do it just to the right of this article.) I recently received an eamail that made my day. It promised me a six figure income in photography and with...
First Roadtrip: Flagstaff and Jerome
I have not had the chance to do much roadtripping lately. The docs wanted me to stay pretty close to home for a while, but heading up to Flagstaff is only a couple of hours - well within the four hour limit. I wanted to catch some fall foliage, something I have never...
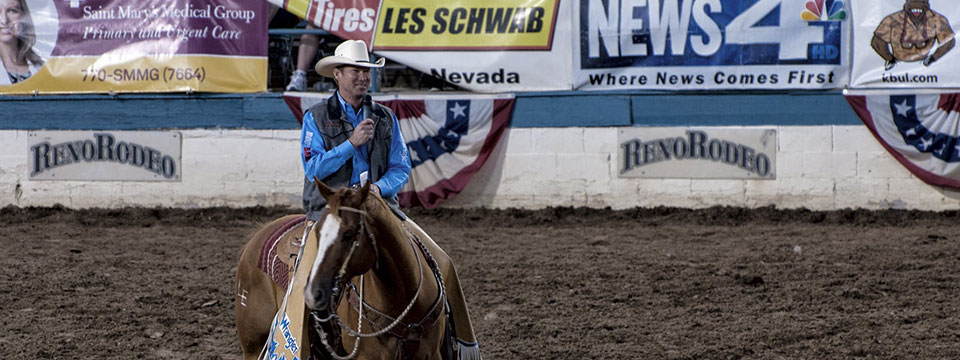
Kyle Jones Shoots the Reno Rodeo
Project 52 Member Kyle Jones shot the rodeo in Reno recently. Kyle is a photographer of many interests and talents. He is working on building a book and getting out in the Reno market by the first of the year. This fun shoot is one of the stories he is working on for...
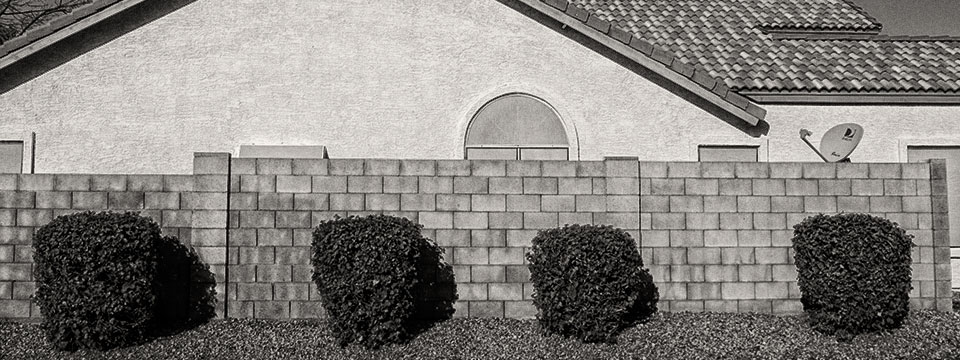
My Neighborhood
I have been recovering and walking... lots of walking. The immediate neighborhood is of course the most logical place, so I traverse the streets around my home a couple of times per day. When my friend Antony Northcutt asked to see some images from people's...
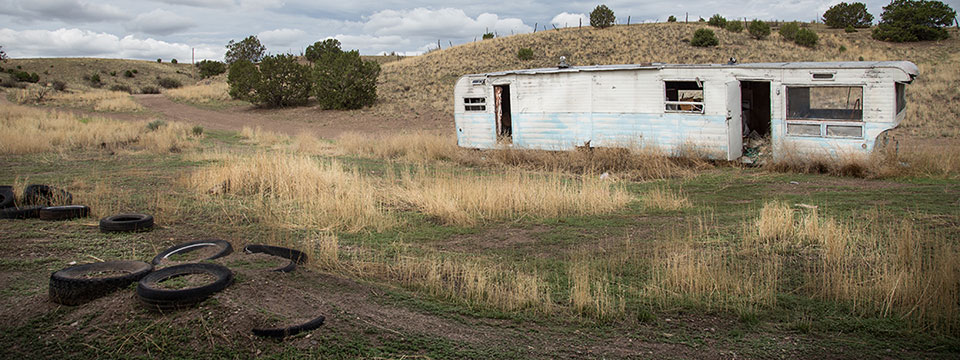
Life: Rebooting and Re-Evaluating
I dodged the bullet and my health is steadily improving. I am beginning to get clear headed again, the recent fogginess resulting from lungs that were not sufficient to make oxygen for the brain. The docs say the heart came through it with flying colors, even...
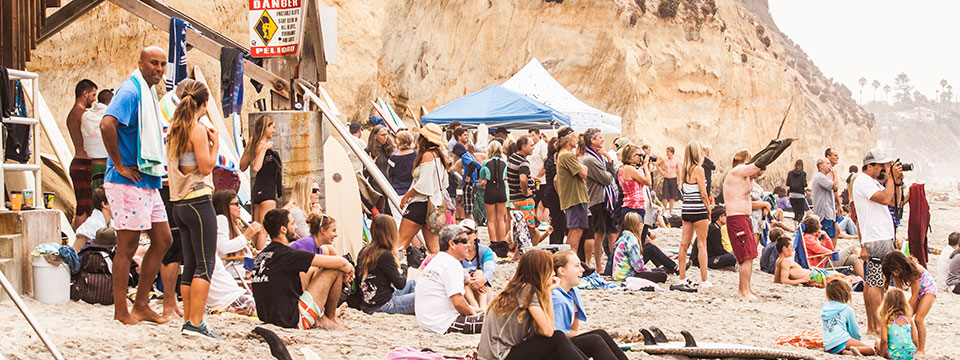
Mike Moore: Surf Meet
Project 52 member, Mike Moore's Project. I live in Encinitas California. It is a small but growing city 25 miles north of San Diego. Known for its legendary surf spots, Pipes, Swami’s and Stonesteps to name a few, Encinitas is often described as laid-back and funky....