
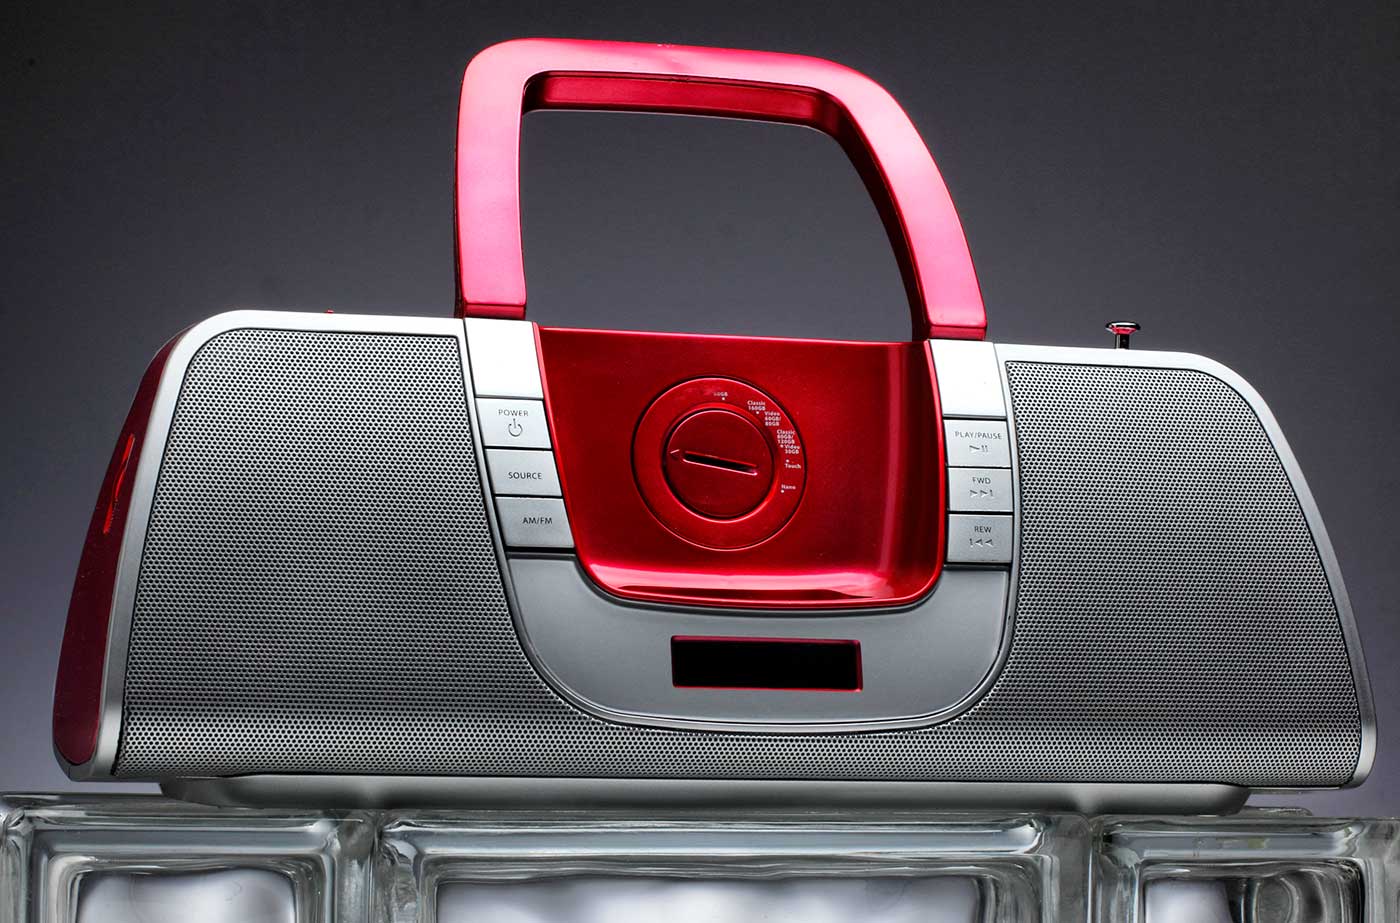
Lighting Principle Number Four: The Angle of the Light to the Subject and the Camera
Law of Physics: Angle of Incidence equals the Angle of Reflection.
This is an axiom that a lot of people hear and repeat without taking careful note of what it means to their photography.
And yet it is one of the most basic and important physical rules of subject centric lighting.
What does it mean and how can we use this to our advantage?
It means that if the light is angled toward a subject, the reflection of that light will be presented back to the camera at the same angle.
Think of the game of billiards or pool. If you hit a ball into the wall at a 30% angle, the ball will come off that wall at a 30% angle. And that completes a triangle. Understanding that triangle is key to making quicker, smarter lighting decisions.
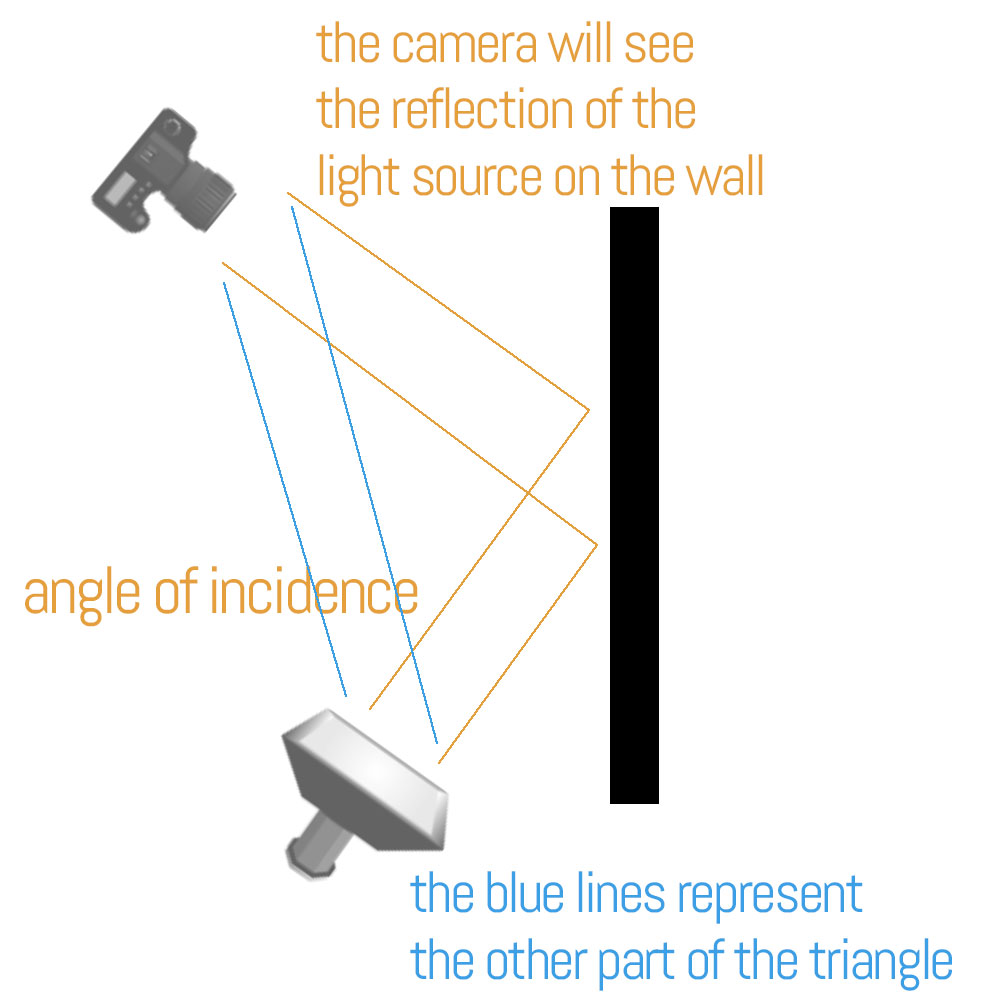
It means that you have to be able to judge the angle of the light as it strikes the subject and understand what that light will do once it strikes the subject. If there is something being reflected in your subject, look at the camera angle from the other side and you will find what it is.
EVERYTHING REFLECTS. EVERYTHING.
Some things reflect more than others, but everything you see is simply the reflection of the light from its surface.
I call it ‘presentation’, and when I discuss lighting, I use the word presentation to talk about how the light looks to the viewer.
Once we realize that the angle of the light source to the subject, and the incident angle of that light source to the subject is going to present to us in ways we can control, lighting becomes so much easier to create.
Think of the way the light strikes hair on a slightly backlit portrait. The reason the hair becomes so much brighter is because it is round in shape, and somewhere on that round, shiny hair is going to be that same angle of incidence that the camera is seeing.
An example.
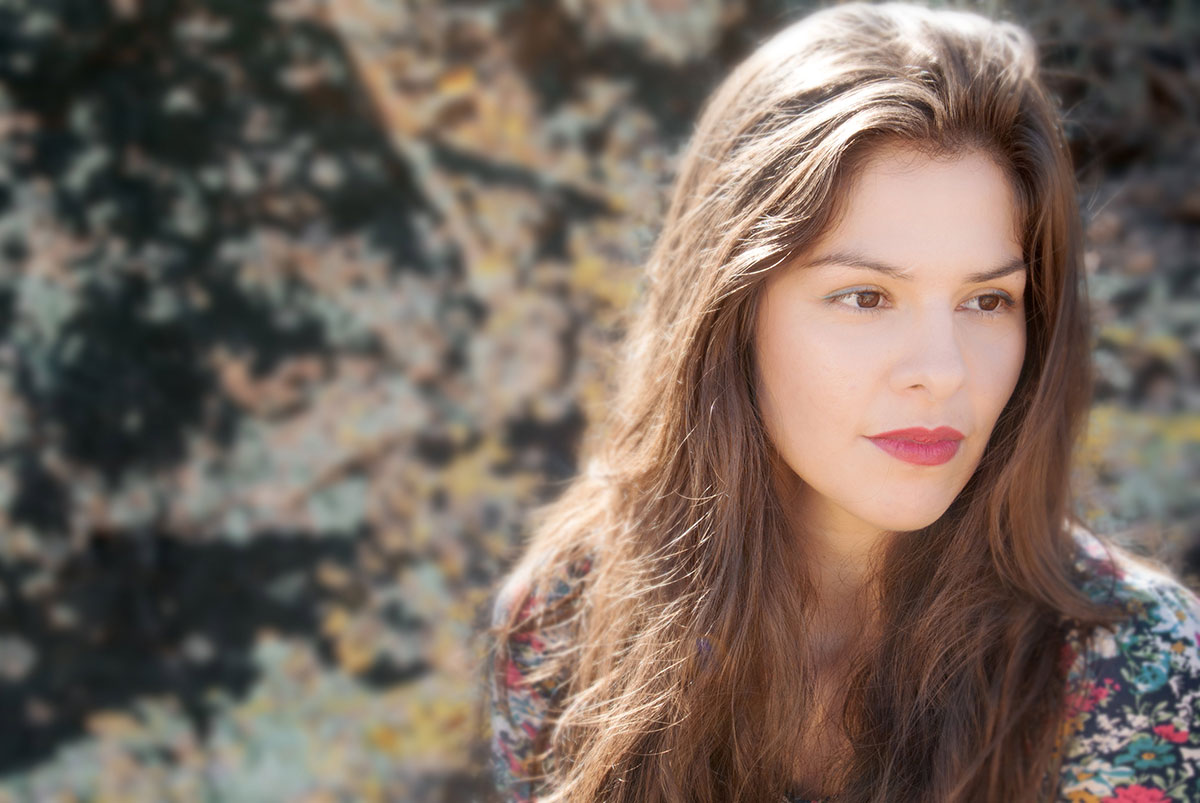
You can see how bright that hair is with the sun shining on it, and each tiny hair reflecting that sun back to the camera.
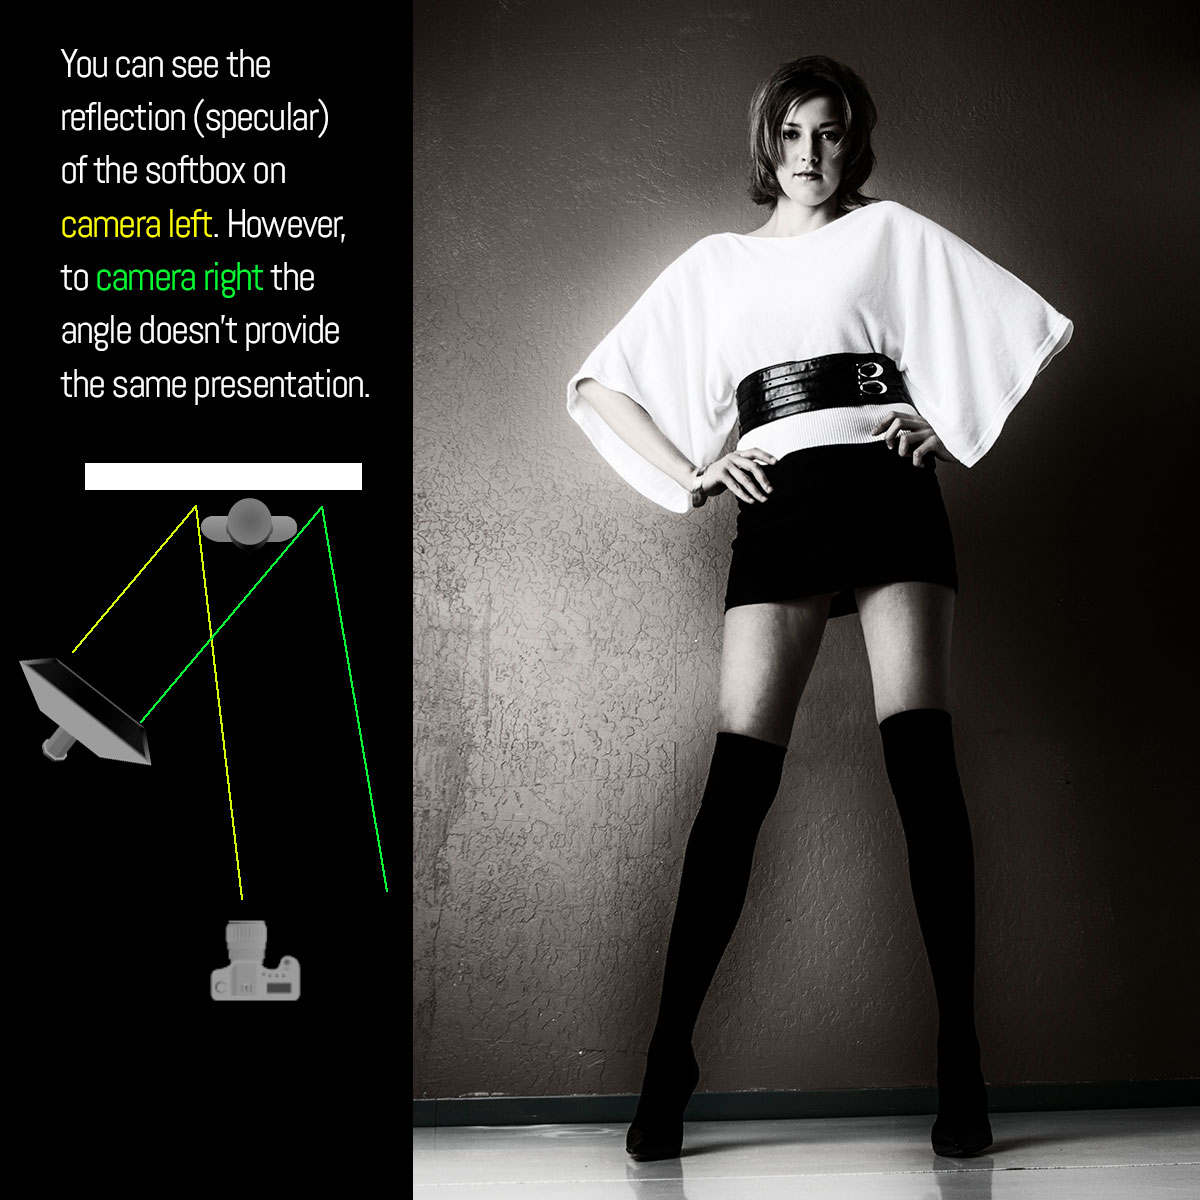
In the image below, I used a large softbox in order to get a shiny, reflective area off of the wall behind the subject and create a gradient to the background. You can see in the illustration that the angles of reflection come back to the camera on the left side of the model, but not on the right side of the model. The wall is a semi-gloss wall and provides a nice, soft reflection of the light source.
Let’s take a closer look at that triangle that is formed by the light to the subject, the subject to the camera, and the light to the camera.
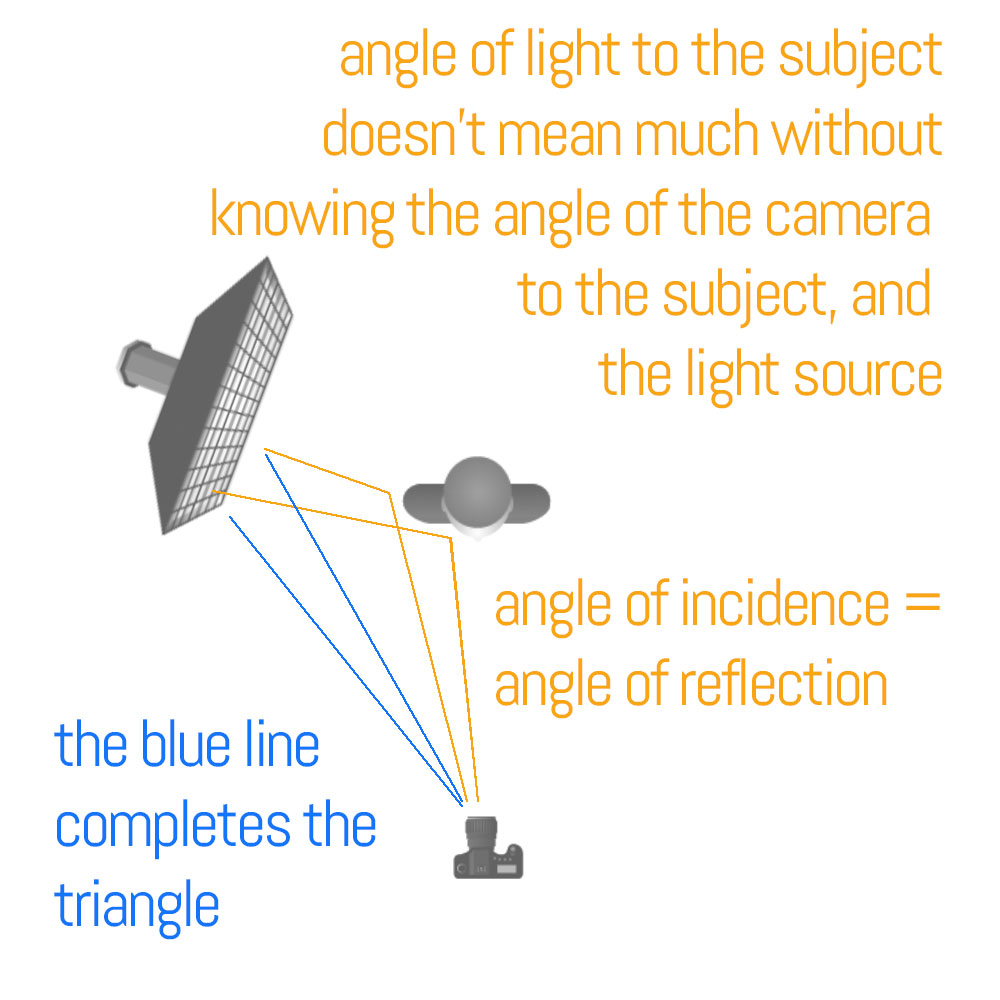
It is being able to see that triangle (shown above with the blue line) and to then visualize the presentation of the light that makes it easier to control. Once you begin to see those angles, and the way they will present back to the camera, lighting can become much more of a finessed technique rather than a flailing exercise.
Let’s talk about direction.
There are three major directions of light and one that doubles as a direction. I will explain.
This is front lighting. The light comes from the side of the camera, and it can be angled quite a bit (90 degrees). The presentation is full angle of incident / angle of reflection, and you can control that fall of incidence by where you place the camera in relationship to the light and to the subject angle.
Front light:
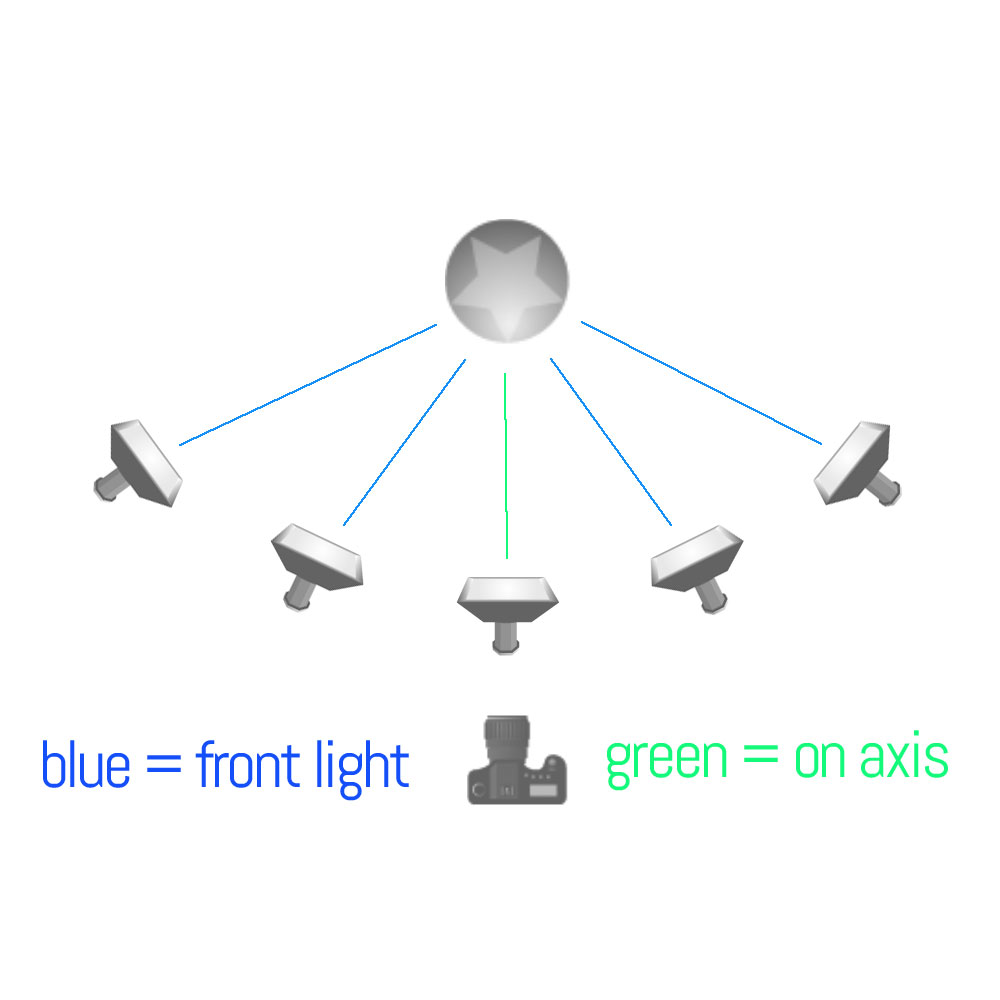
You can see that from right to left there is 180 degrees of placement that will allow you to have front light. There is one point in the middle, however, that is at the same angle as the camera. We call that “on-axis” lighting and is a favorite of beauty and fashion shooters.
On-axis lighting is from the position angle of the camera to the subject, not necessarily at the distance of the camera. That means there is no triangle (horizontally) from light to subject to camera. As you can imagine the reflection is straight back into the camera. A wide, soft light with few shadows.
In the diagram below we see side lighting and backlighting. Side lighting is as its name suggests, directly from the side of the subject creating a 90-degree angle to the camera angle.
When we move the lights farther back from sidelighting, we have backlight. Backlight has all the same angle variations as does the front lighting.
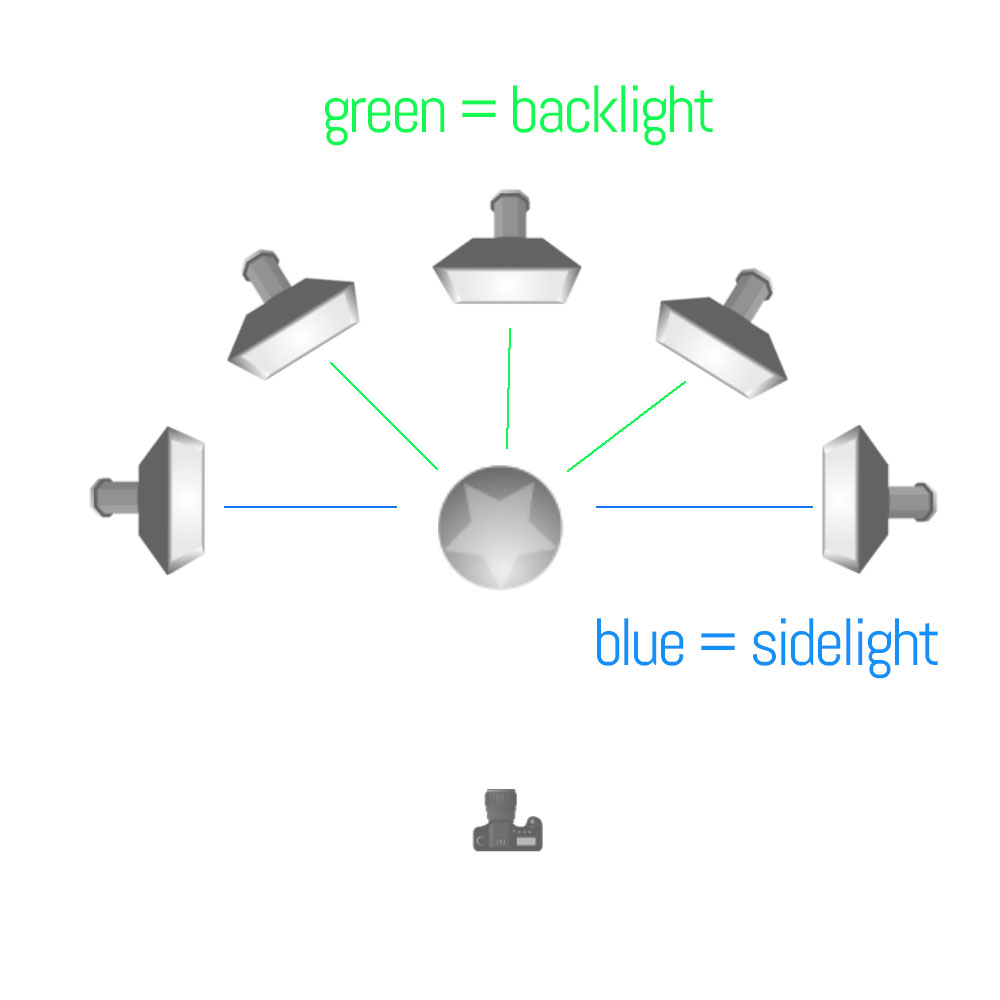
Top lighting from directly above is the same as side lighting if it is at a 90-degree angle to the subject/camera. If it is slightly in front it is front light, and slightly behind it is backlight.
Front Light One
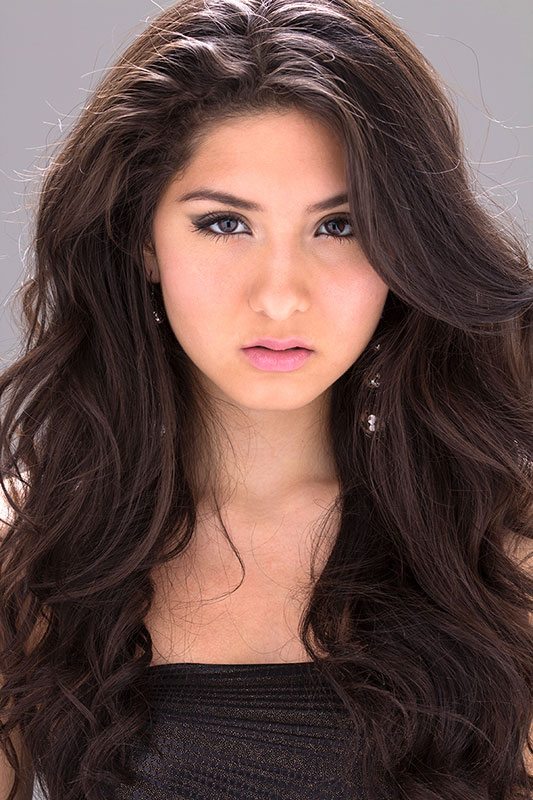
Front Light Two
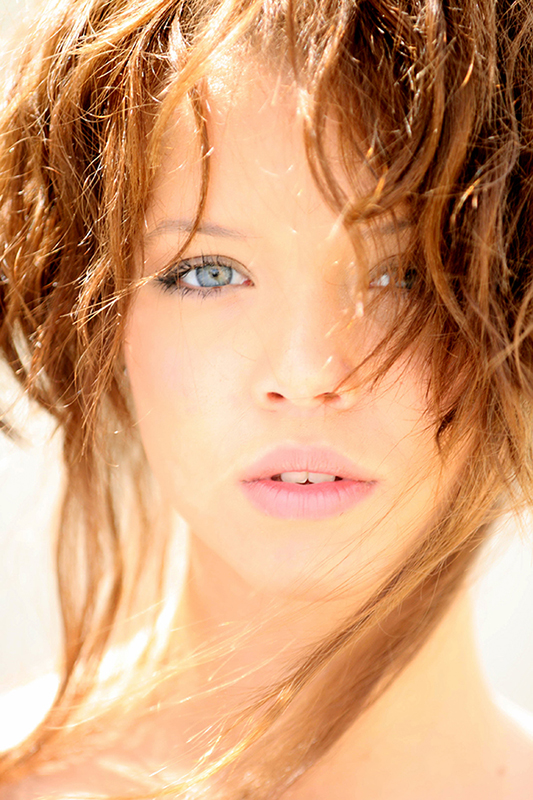
Side Light One
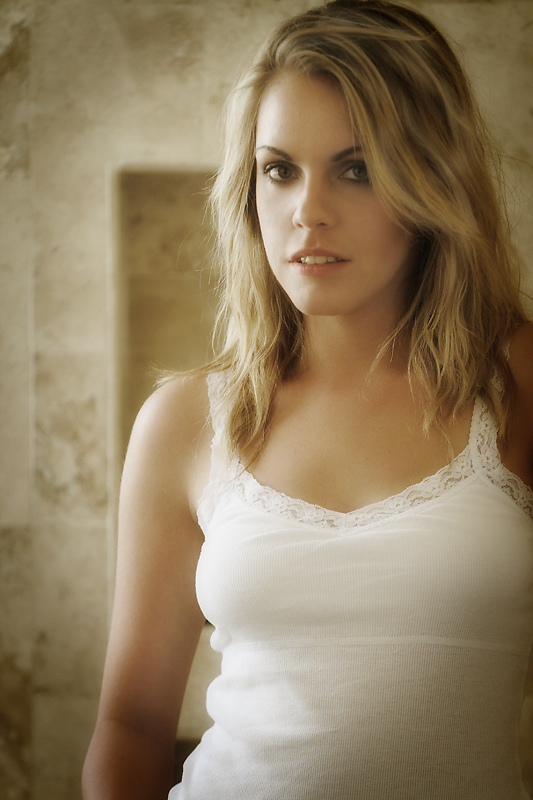
Side Light Two
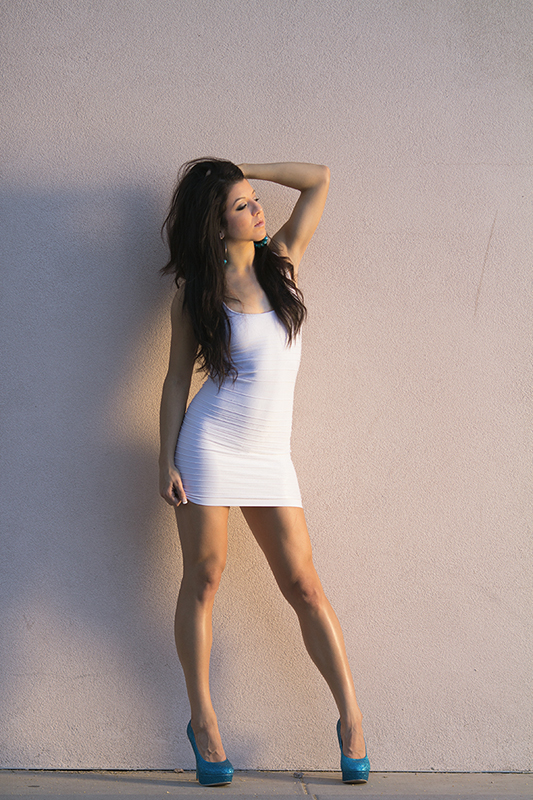
As you can see above, the angle of the light to the subject, and to the camera, makes a big difference when you are working toward making the shot look a specific way.
Let’s wrap it up:
The four different properties of lighting are:
- Size of the light source in relationship to the subject.
- Distance of the light source from the subject.
- Color of the light, and its relationship (if any) to the prevailing ambient.
- Angle of the light source to the subject, and to the camera.
And NONE of them are the most important – they are all equally important. We don’t think of them in an hierarchical way, we think of them in a holistic, symbiotic way. Change one, you may have to indeed change another. Change that one, and you may have to alter two others to make it work for you.
All of this only matters to you if you know what you want your image to look like. Do you want soft light, or do you want hard-edged light? Do you want a mixed light image that looks natural, or do you want to play with color temps in a creative way? If we move our light closer or farther away, what does that do to the look of the image? Do we need to bring out texture, or is a flatter look our goal?
These questions are usually not asked in order in our brains. All of them are asked at the same time, and we react to these creative decisions by utilizing the tools we have for creating them.
And now, with these basics, we can begin to create the images to present OUR vision of the subject in front of our lens.
ASSIGNMENTS:
- Find a subject that allows you to move around it and make images from all the different lighting positions. Do this either early in the morning or late in the afternoon so the sunlight is closer to your head height to the subject.Shoot front light, side light, back light, axis light. Study the images to see how the subject changes in the different lighting positions. Print the images and make notations on how it, and the background, look to you. What changes do you see?
- Using your flash or continuous lights, do the same thing with a subject inside. You can choose something as a still life, or – if you are a people shooter – grab a subject and start moving that light from on-axis to back.Note that when your light is backlight ONLY, the subject is quite dark, possibly even silhouette. You can adjust for that or not – your call. but remember that your adjustments will play the same role as the main light in the angle of light to subject to camera.
Find and Keep Commercial Photography Clients: A Free Training Series.
What We Learn from Studying Master Photographers

P52 Member Adi Talwar Shooting for the NYT
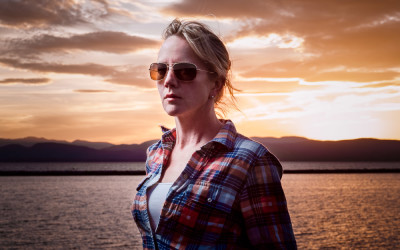
Some Amazing Portraits from The Current Class
“Monsoons”
https://vimeo.com/mikeolbinski/monsoon2 I live where Monsoons create havoc a few months out of the year. Mike Olbinski, a photographer here in Phoenix is an amazing storm shooter, and this video he did of this past monsoon season is a killer. His video will keep you...
What Riding a Motorcycle Taught Me About Life (and Photography)
Challenging Times; A Few Ideas to Positively Impact Your Business
Here are a few ideas that I use to impact my business quickly and also help me move from a creative block. A few years ago I wrote about the things I do when given a chance to jump out and spend a little time on a project. That list is still pretty timely, so here it...
The “Dating Game”
Five Things to Share on a Wednesday
What’s It Like on a P52 Annual Meetup/Roadtrip
I could try to explain what it is like, but we had a videographer on the trip with us last time. https://www.youtube.com/watch?v=urSQqCGRKkM
Because Jerry… (and it’s Friday)

Shooting to Layout: A Point of Purchase Display
One of the most difficult parts of commercial photography is shooting to layout. A designer or art director has an approved layout, and your shot must work within the elements on the page. We see it a lot in catalog, advertising, collateral, and web oriented...
A WordPress Plugin for Photographers
Because… Natalia (and it’s Friday)
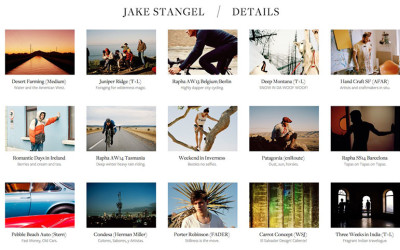
Jake Stangel on Starting Out as a Professional Photographer
Jake Stangel is one of my favorite photographers. I love the fresh way he shoots, and his no-nonsense approach to making images that reveal more than what may meet the eye in the real world. First: here is an hour talk he gave at CCA, and it is really good. (Below is...
Shooting to Layout: P52 Members are “Cooking” with heat!
The assignment was given with a "napkin" layout. A very simple sketch similar to what we get from AD's from time to time. Then the photographers got to download the layout - and shoot to that layout exactly. It is one of my favorite assignments because we get to see...
A Few More Portraits
The 8 Week Portrait Classes are now finished. I added a bonus photographer on for each of them (9 photographers per class) and this is the gallery of inspired images from the bonus photographer for the 8 Week II class, Mark Tucker. We look at the work of the...
Ten Things to Remember As You Begin Your Photographic Odyssey
Ten Things to Remember As You Begin Your Photographic Odyssey I stopped doing what I was doing and began to be a photographer one day. I had been around photographers, but I didn’t have any clue what being a "professional" really meant. I simply started out as a...
Portraits, Portraits!
More amazing portraits from the last portrait group. Just so impressed with the hard work and growth that was the hallmark of all these classes. [gallery link="file" columns="4"...
Catherine Vibert Delivers Social Media Headshots
P52 Alum and member Catherine Vibert explains the necessity of having a perfect headshot for Social Media. This kind of client centric marketing will create an interest in those needing to have the best headshots they can get. And - that is EVERYBODY on social media...
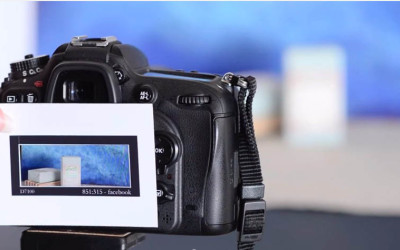
An Easy Tool for Shooting to Format
Project 52 Alums Anna and Filipe (McGunn Media) have created a set of templates (mattes) for shooting to formats that are many times required - especially by social media. They have made them available free on their site as well, so you can download them if you need...
Large Format Shooters: This Looks Really Interesting
GALAXY HYPER SPEED Direct Positive Photo Paper I love shooting large format cameras, but the hassle of developing 4x5 and 8x10 negatives can be daunting unless one has a full darkroom. Paper is easy... safelight and some trays and you got it. This project will bring...

Portraits from the Portrait Workshop
Last week we saw a bunch of amazing portraits come in from the students in the 9 Week Portrait Class 102.