
Lighting Principle Number Four: The Angle of the Light to the Subject and the Camera
Law of Physics: Angle of Incidence equals the Angle of Reflection.
This is an axiom that a lot of people hear and repeat without taking careful note of what it means to their photography.
And yet it is one of the most basic and important physical rules of subject centric lighting.
What does it mean and how can we use this to our advantage?
It means that if the light is angled toward a subject, the reflection of that light will be presented back to the camera at the same angle.
Think of the game of billiards or pool. If you hit a ball into the wall at a 30% angle, the ball will come off that wall at a 30% angle. And that completes a triangle. Understanding that triangle is key to making quicker, smarter lighting decisions.
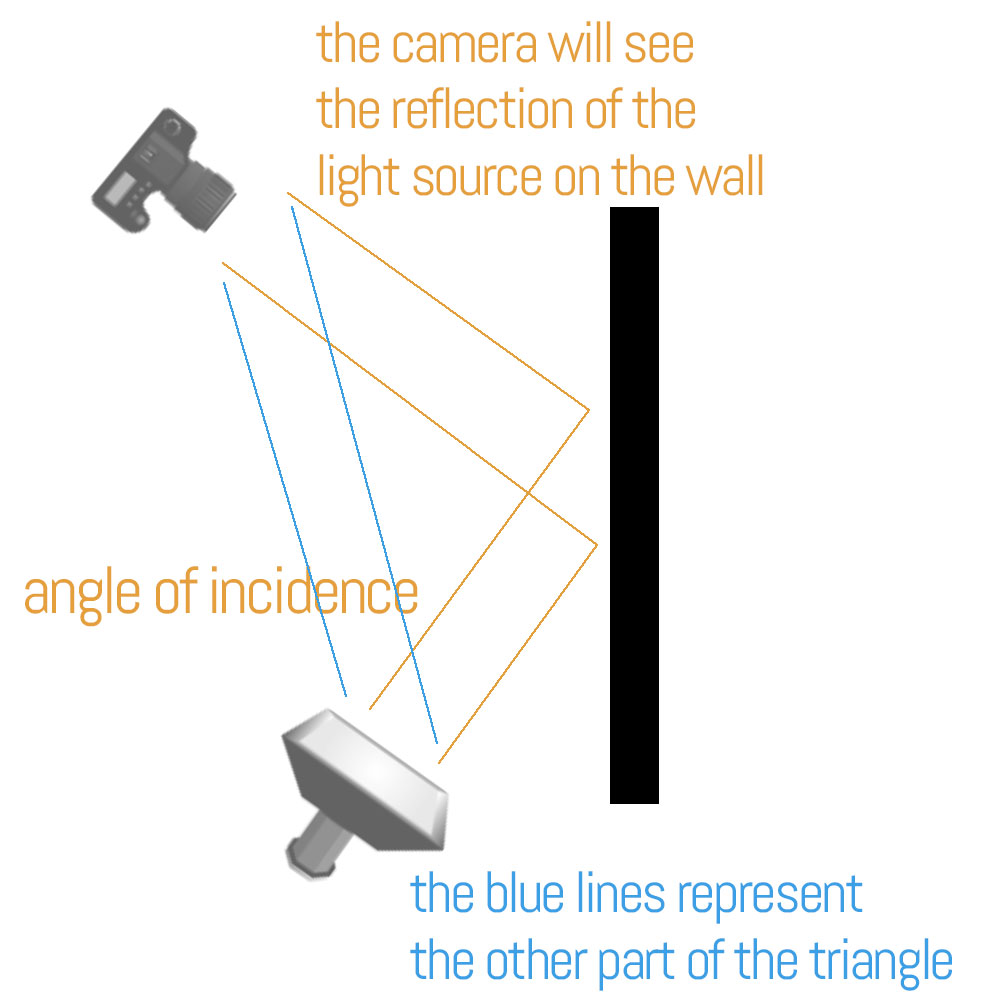
It means that you have to be able to judge the angle of the light as it strikes the subject and understand what that light will do once it strikes the subject. If there is something being reflected in your subject, look at the camera angle from the other side and you will find what it is.
EVERYTHING REFLECTS. EVERYTHING.
Some things reflect more than others, but everything you see is simply the reflection of the light from its surface.
I call it ‘presentation’, and when I discuss lighting, I use the word presentation to talk about how the light looks to the viewer.
Once we realize that the angle of the light source to the subject, and the incident angle of that light source to the subject is going to present to us in ways we can control, lighting becomes so much easier to create.
Think of the way the light strikes hair on a slightly backlit portrait. The reason the hair becomes so much brighter is because it is round in shape, and somewhere on that round, shiny hair is going to be that same angle of incidence that the camera is seeing.
An example.

You can see how bright that hair is with the sun shining on it, and each tiny hair reflecting that sun back to the camera.
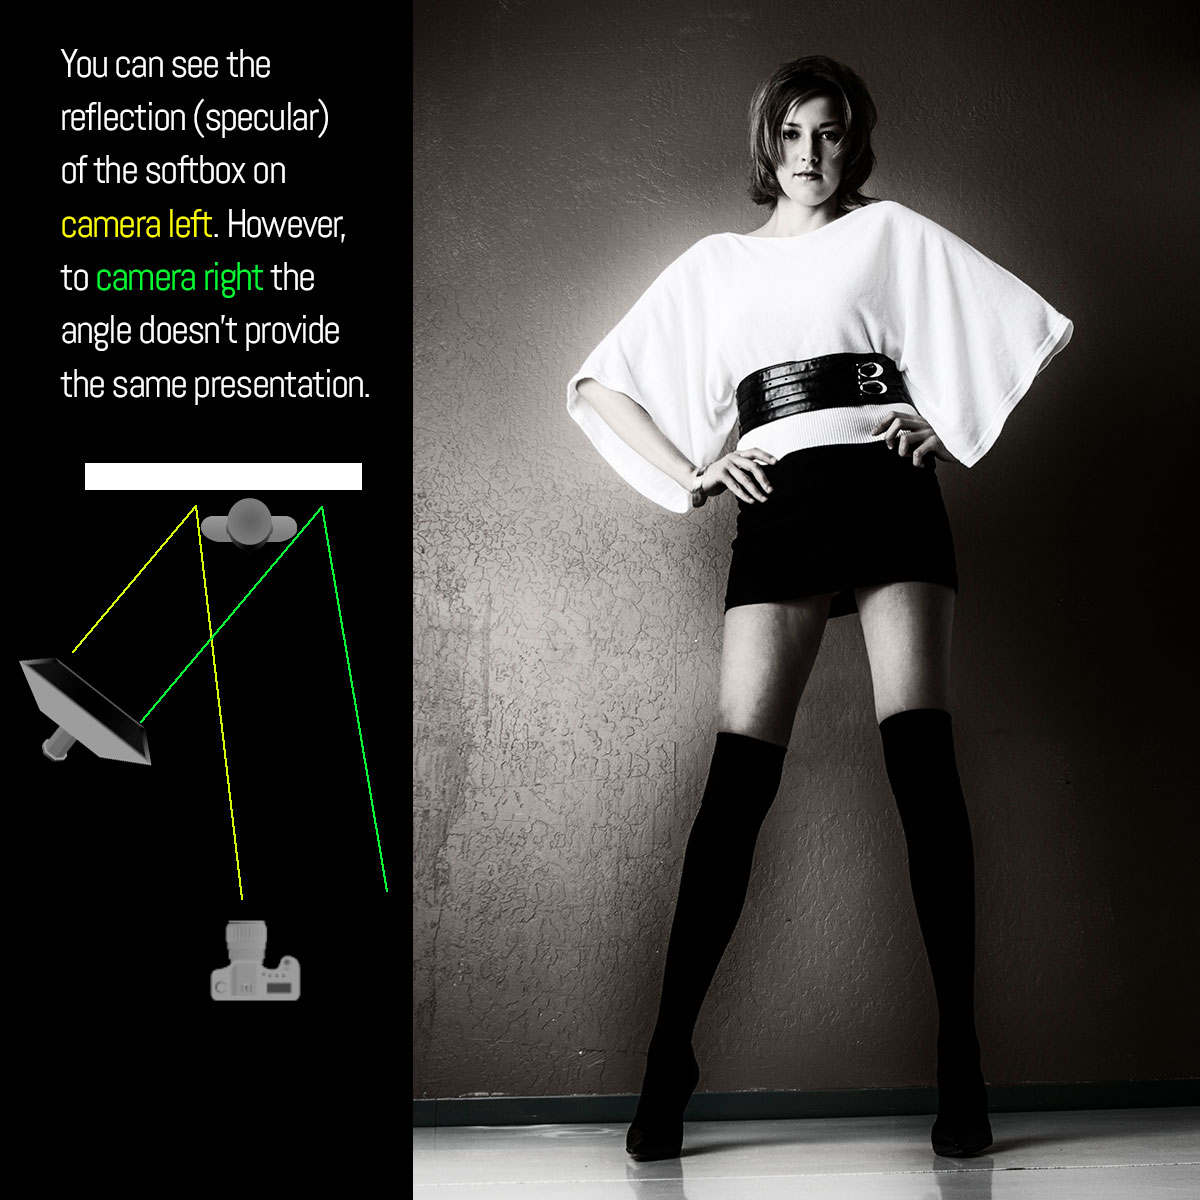
In the image below, I used a large softbox in order to get a shiny, reflective area off of the wall behind the subject and create a gradient to the background. You can see in the illustration that the angles of reflection come back to the camera on the left side of the model, but not on the right side of the model. The wall is a semi-gloss wall and provides a nice, soft reflection of the light source.
Let’s take a closer look at that triangle that is formed by the light to the subject, the subject to the camera, and the light to the camera.
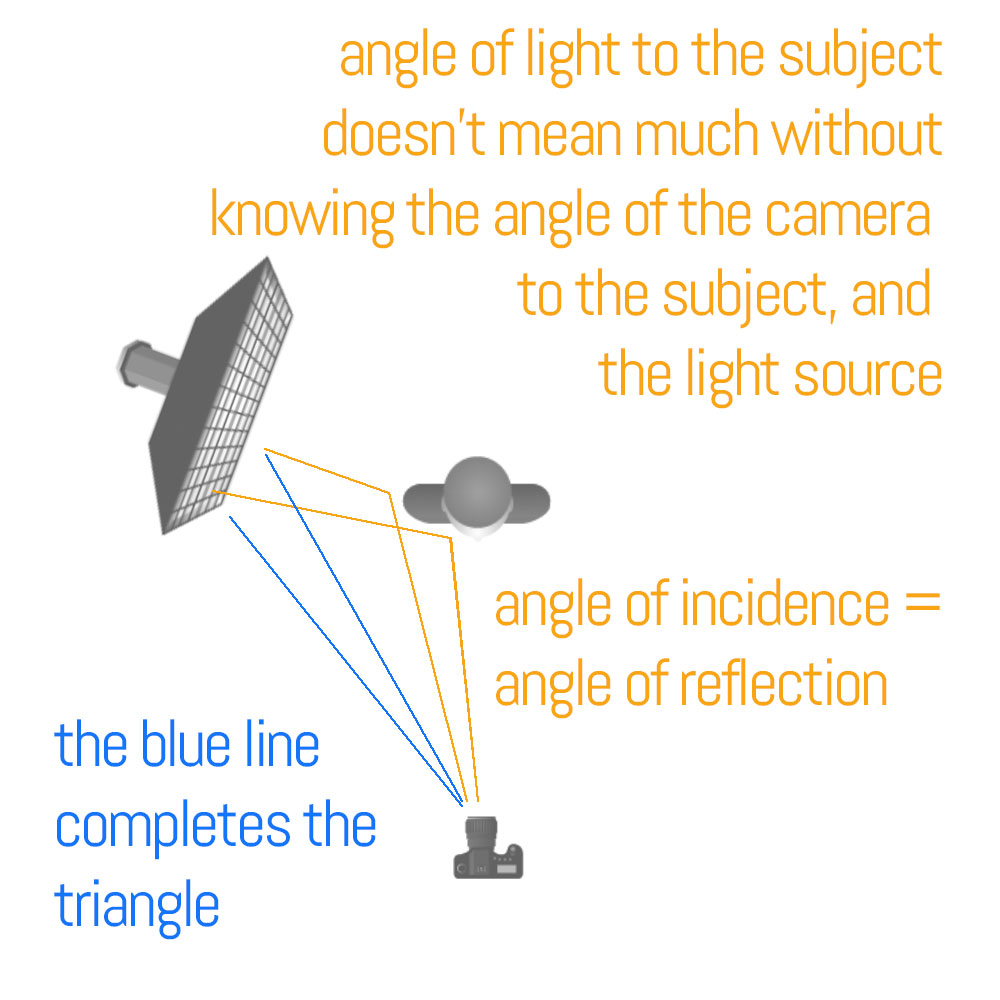
It is being able to see that triangle (shown above with the blue line) and to then visualize the presentation of the light that makes it easier to control. Once you begin to see those angles, and the way they will present back to the camera, lighting can become much more of a finessed technique rather than a flailing exercise.
Let’s talk about direction.
There are three major directions of light and one that doubles as a direction. I will explain.
This is front lighting. The light comes from the side of the camera, and it can be angled quite a bit (90 degrees). The presentation is full angle of incident / angle of reflection, and you can control that fall of incidence by where you place the camera in relationship to the light and to the subject angle.
Front light:
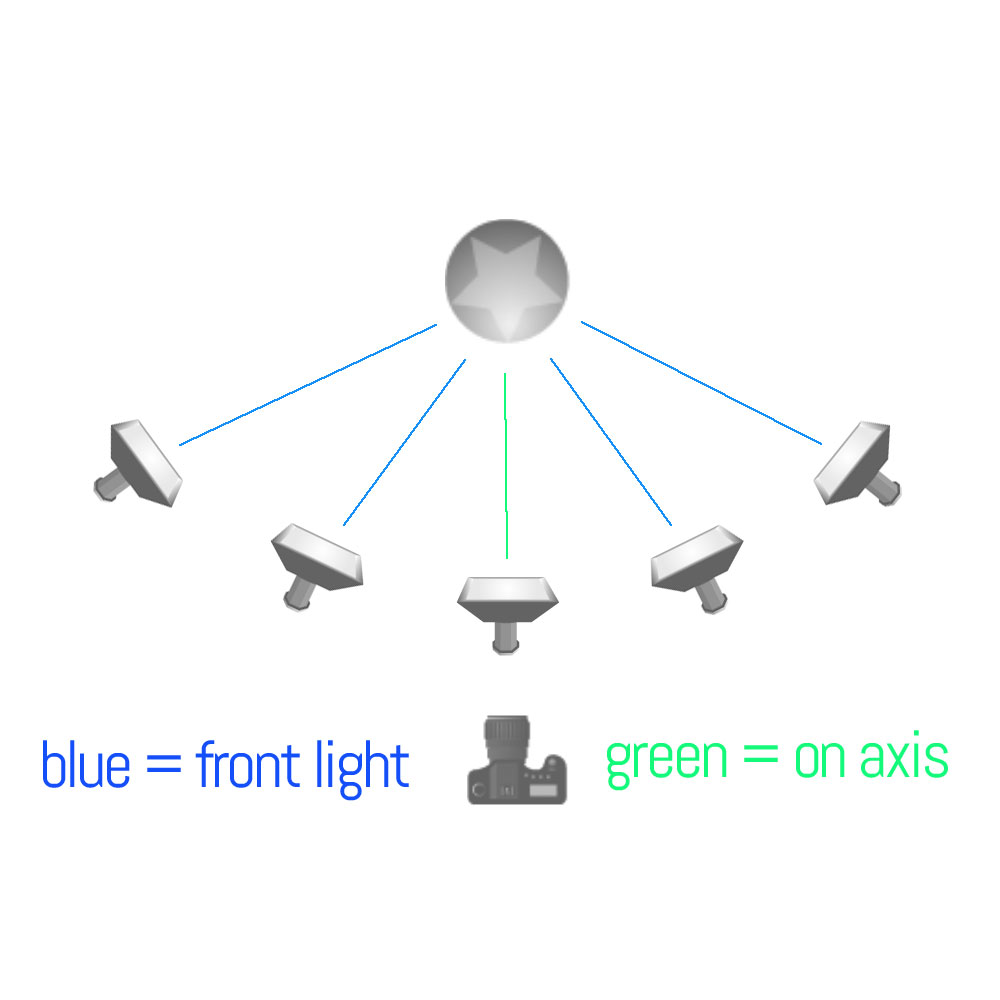
You can see that from right to left there is 180 degrees of placement that will allow you to have front light. There is one point in the middle, however, that is at the same angle as the camera. We call that “on-axis” lighting and is a favorite of beauty and fashion shooters.
On-axis lighting is from the position angle of the camera to the subject, not necessarily at the distance of the camera. That means there is no triangle (horizontally) from light to subject to camera. As you can imagine the reflection is straight back into the camera. A wide, soft light with few shadows.
In the diagram below we see side lighting and backlighting. Side lighting is as its name suggests, directly from the side of the subject creating a 90-degree angle to the camera angle.
When we move the lights farther back from sidelighting, we have backlight. Backlight has all the same angle variations as does the front lighting.
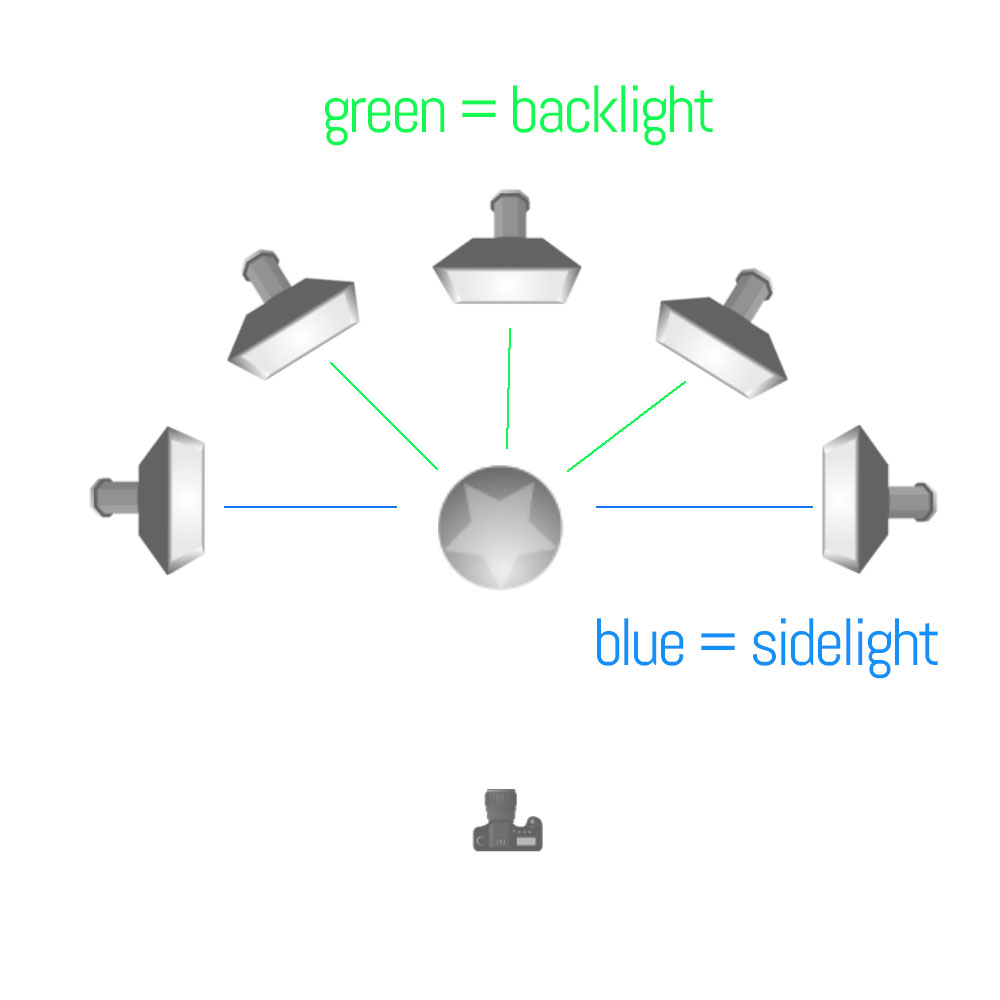
Top lighting from directly above is the same as side lighting if it is at a 90-degree angle to the subject/camera. If it is slightly in front it is front light, and slightly behind it is backlight.
Front Light One
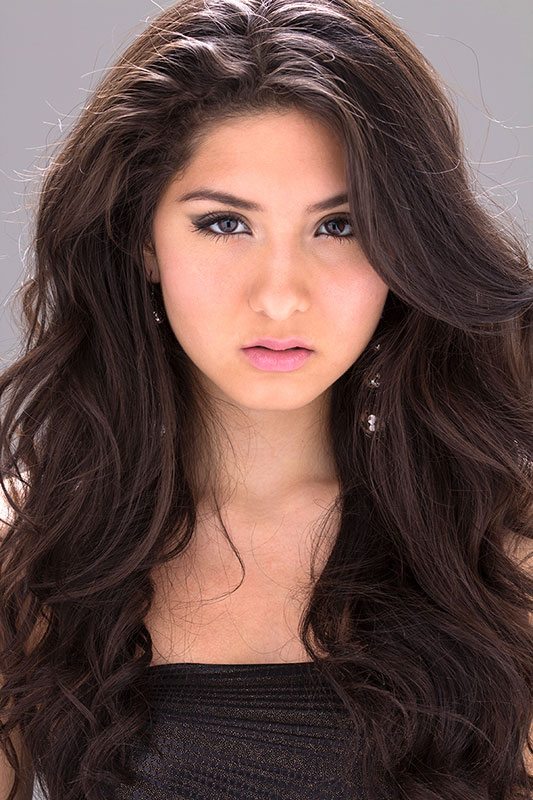
Front Light Two
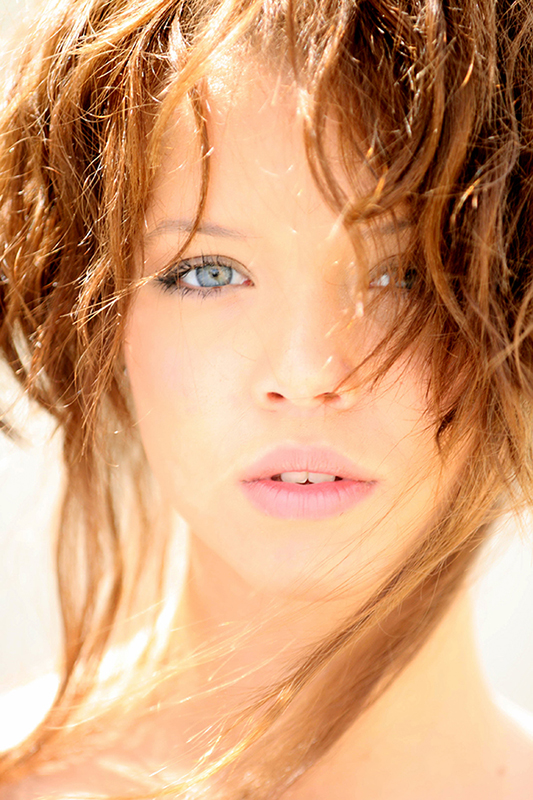
Side Light One
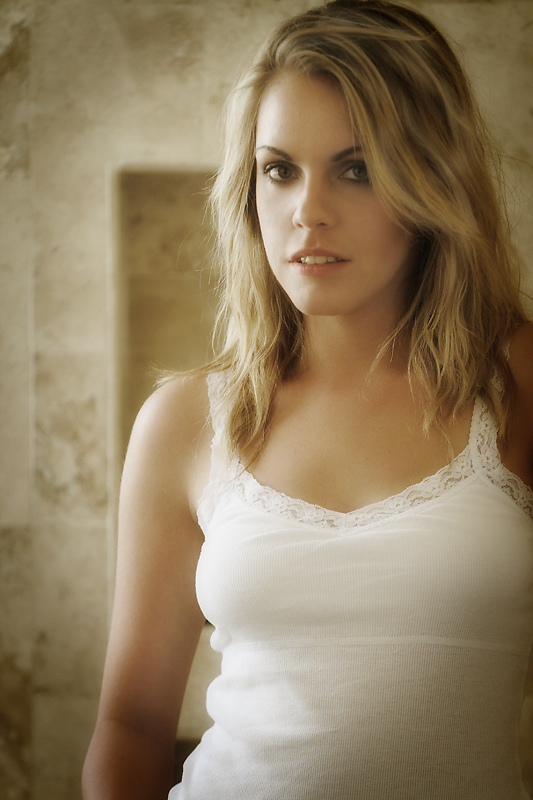
Side Light Two
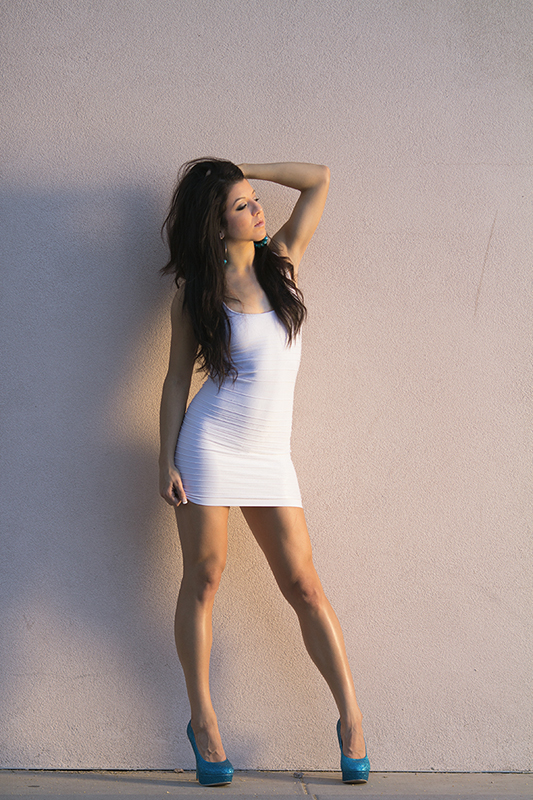
As you can see above, the angle of the light to the subject, and to the camera, makes a big difference when you are working toward making the shot look a specific way.
Let’s wrap it up:
The four different properties of lighting are:
- Size of the light source in relationship to the subject.
- Distance of the light source from the subject.
- Color of the light, and its relationship (if any) to the prevailing ambient.
- Angle of the light source to the subject, and to the camera.
And NONE of them are the most important – they are all equally important. We don’t think of them in an hierarchical way, we think of them in a holistic, symbiotic way. Change one, you may have to indeed change another. Change that one, and you may have to alter two others to make it work for you.
All of this only matters to you if you know what you want your image to look like. Do you want soft light, or do you want hard-edged light? Do you want a mixed light image that looks natural, or do you want to play with color temps in a creative way? If we move our light closer or farther away, what does that do to the look of the image? Do we need to bring out texture, or is a flatter look our goal?
These questions are usually not asked in order in our brains. All of them are asked at the same time, and we react to these creative decisions by utilizing the tools we have for creating them.
And now, with these basics, we can begin to create the images to present OUR vision of the subject in front of our lens.
ASSIGNMENTS:
- Find a subject that allows you to move around it and make images from all the different lighting positions. Do this either early in the morning or late in the afternoon so the sunlight is closer to your head height to the subject.Shoot front light, side light, back light, axis light. Study the images to see how the subject changes in the different lighting positions. Print the images and make notations on how it, and the background, look to you. What changes do you see?
- Using your flash or continuous lights, do the same thing with a subject inside. You can choose something as a still life, or – if you are a people shooter – grab a subject and start moving that light from on-axis to back.Note that when your light is backlight ONLY, the subject is quite dark, possibly even silhouette. You can adjust for that or not – your call. but remember that your adjustments will play the same role as the main light in the angle of light to subject to camera.
March Madness: 31; Making the Subject Look Cold
Making The Subject Look Cold By Pablo Minier (This is the last of the March Madness tutorials. If you want to take them all in, just click the March Madness graphic on the right and it will take you to a list page. We hope you enjoyed these little tutorials and got...
March Madness: 30; Building a Successful Instagram for Paying Clients
Building a Successful Instagram for Paying Clients By Virginia Smith Is it just about getting as many followers as you can? As far as Instagram goes (and even twitter) it's better to focus on up and coming brands, brands that are trending or that interact with their...
March Madness: 29; A Different Approach to Table Top
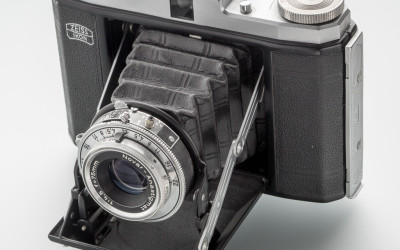
A Different Approach to Table Top By Thomas Poehler A very common assignment when it comes to table top product photography is to capture a product in a neutral setting. Often you are asked to have white seamless background with no or without shadows and reflections....
March Madness: 28; Showing Motion
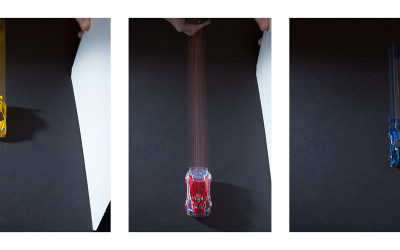
Showing Motion In a Still Image by Sarah Flannery Our most recent P52 assignment was a to portray the concept of "speed." The image was to be used in billboards and magazine ads for a local motorcycle and bicycle delivery company. I quickly came to the conclusion...
March Madness: 26; Make Better Travel Photos
Make Better Travel Photos by Chad Lue Choy https://www.youtube.com/watch?v=LASP0aGapus
March Madness: 26; Photographing Cosmetics
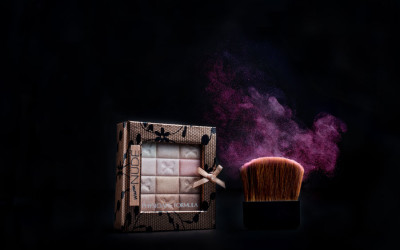
PHOTOGRAPHING COSMETICS By Anjali Fong ASSIGNMENT: Shoot an ad for a local cosmetics company. Use something as a prop to help stage the cosmetic(s) you choose to shoot. Perhaps a stone, or a flower, or a lovely piece of wood. Set off the cosmetic item with a single,...
March Madness: 25: One Thing About One Thing
How would you say just one thing in an image? by John McAllister Moreover, how can you convey a wide-ranging concept such as 'just one thing' that is both immediately understood and eye-catching? For me, it's starting with the creation of a list of descriptive...
March Madness: 24; Steaming Coffee Still Life
Shooting a Steaming Cup of Coffee By Teresa SteMarie This image was made to respond to a P52 conceptual photography assignment with the task of say one thing about one thing. Concept The concept I chose was to show that the coffee was HOT. To emphasize the hot...

March Madness: 23; Retouching a Headshot
Portrait/Head shot Retouching Tutorial: By Alex Baker Most portraits need some amount of retouching in Photoshop to help them look their best, and to an extent, many clients expect it. The most important thing to remember when retouching is to do everything on a...
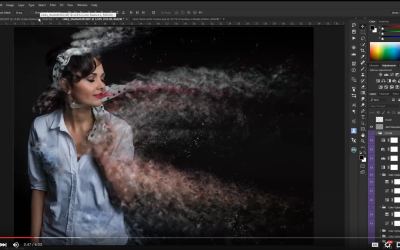
March Madness: 22; Making an Action in Photoshop
How to Create a Photoshop Action by James Kern https://www.youtube.com/watch?v=DVUXzHbJVAk
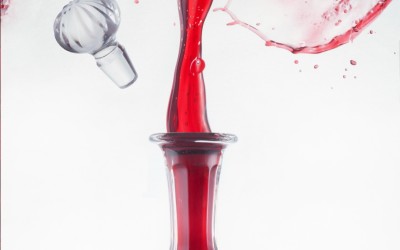
March Madness: 21; A Unique Pour Shot
The Beauty of the Pour by John McAllister Freezing the movement of liquid will always captivate the viewer. Each snap of the shutter creates a unique image. Take a moment to think about the multitude of variables involved in the simple act of pouring a wine into a...
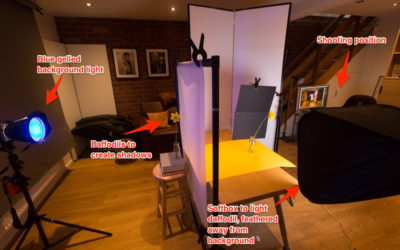
March Madness: 20; Making the Image by Making the Shadow
David Travis is a Project 52 member, and a quite wonderful photographer. For the Still Life Class, the assignment was to create powerful images using a "point source" light which would create a powerful shadow. In fact, the shadow should define the subject in many...
March Madness: 19; On Going Pro After Working Corporate
GOING PRO? Quitting the day job for a life as a freelancer? OK... but here is something to think about. You can quit that soul-sucking cubicle job, but can you let it go? I think that is going to be the toughest challenge you face. Corporate life and the life of a...

March Madness: 18; Photographing Chocolate
The P52 Assignment Brief: Chocolate. Bret Doss “A square image that screams chocolate, with a bit of an editorial look if possible.” That is the extent of the brief; the rest is up to me. It allows a lot of possibilities, of course, which is both wonderful and...
March Madness: 17; Building a Backdrop for Table Top Photography
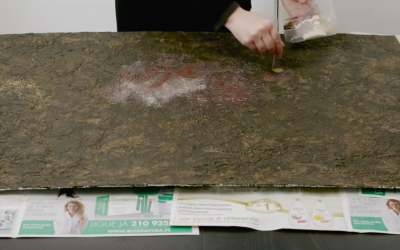
How to create a background for table top photography by McGunn Media. https://www.youtube.com/watch?v=B6Igq7Ig-bg&feature=youtu.be
March Madness: 16; Photographing a CD Cover
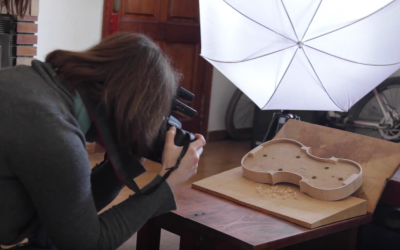
SHOOTING A CD COVER By Alex Baker I was asked by a local string quintet to create some images to be used for their debut cd which they recorded in December. I've made a few album covers before and although you can go in pretty much any direction, there are a few...
March Madness 15: Introduction to a Lightroom Edit
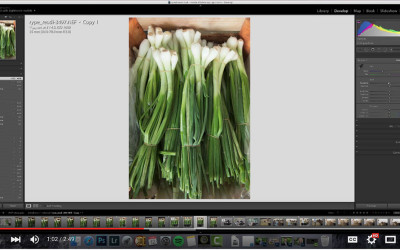
An introduction to the basics of Lightroom by Brian Miller: https://www.youtube.com/watch?v=jXYYHZ7FRWo
March Madness: 14: Blowing Up a Balloon
THE EXPLODING BALLOON SHOT By James Kern https://www.youtube.com/watch?v=aJUTECg0GgI Images:
March Madness: 13; Fun with Forks
The Fork Shot By Tammy Bogestrand – www.tammybogestrand.com The assignment (Assignment 27) was to create a shot with a fork (or forks) for a company dealing in ”change”. Food as props were to be avoided. Other props were fine, as long as the Fork was the star....
March Madness: 12; Travel Photography Tips
Planning Your Travel Photos by Craig Ferguson www.craigfergusonimages.com With summer coming up a lot of you are probably busy making plans to get away for a well-deserved vacation somewhere. I thought it would be useful to look at a few ways you can plan ahead of...
March Madness: 11; Still Life with Flower
The P52 Assignment Brief: Still Life with Flower. Bret Doss “A color, vertical (portrait) oriented still life image with ordinary objects, diffuse main light source, that must contain at least one flower, but the flower(s) must not be the subject of the image. The...
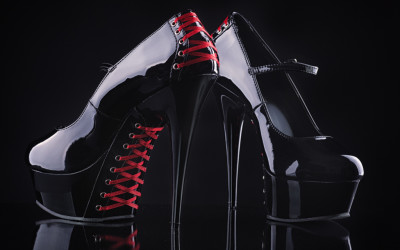
March Madness: 10; Photographing Women’s Shoes
Shooting Women's Shoes John McAllister Photograph some high heel shoes? How hard can that be? I immediately called my fashion-conscious daughter to provide a selection of her favourite heels. I soon realised the design and construction of shoes present a far more...
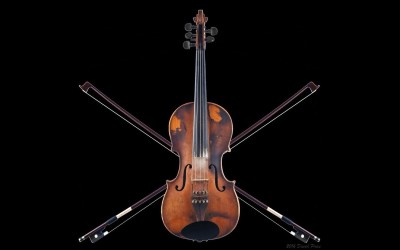
March Madness: 09; Violin Pirate Flag
Violin Pirate Flag By David Price Photographed January 2016 Years ago, some friends and I were messing around, experimenting if you will, with some concept photographic sketches and some writing. We got onto the idea of an extended piratical adventure and ran with it....
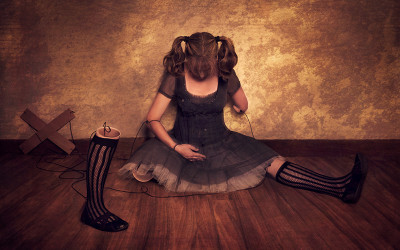
March Madness: 08; The Making of “Broken Doll”
The Making of "Broken Doll" By Carla McMahon (NOTE: This image won the Annual Kelby One Photo & Design Contest) This is a composite of about 5/6 images. My camera was on a tripod and every image was taken from the exact same angle and focal length. First an image...