The Fork Shot
By Tammy Bogestrand – www.tammybogestrand.com
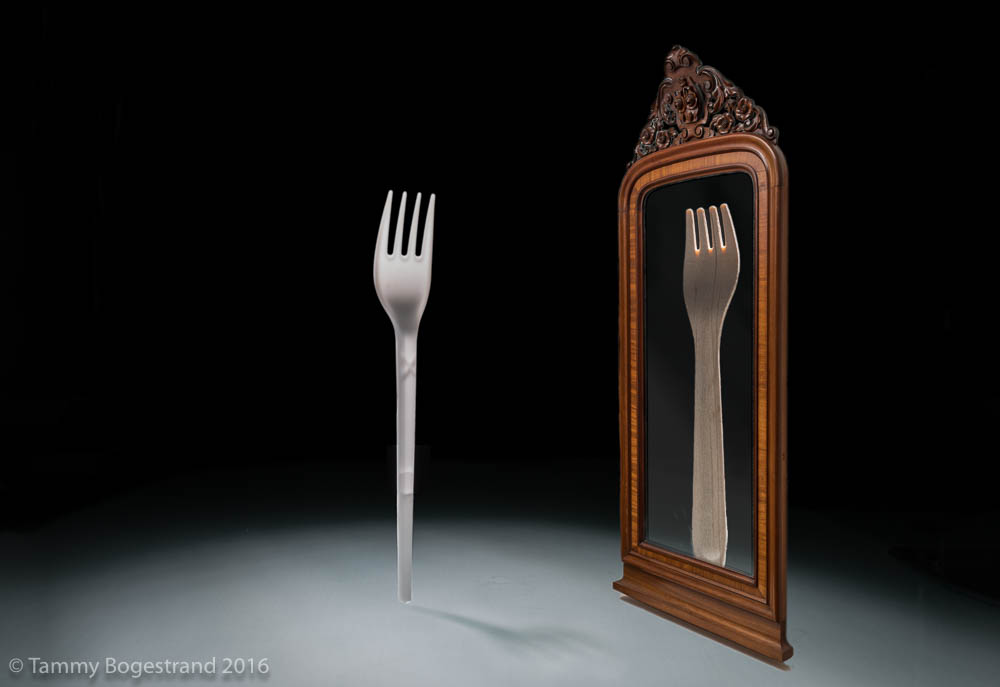
The assignment (Assignment 27) was to create a shot with a fork (or forks) for a company dealing in ”change”. Food as props were to be avoided. Other props were fine, as long as the Fork was the star.
Originally I was going to shoot the fork in front of a small mirror. I had made a quick sketch on a bit of paper (which I cannot find) with a fork in front of a square mirror looking at its reflection. I would shoot it outside, and there would be grass and clouds…according to my sketch. Due to the weather here in Denmark…I decided for a simpler shot indoors.
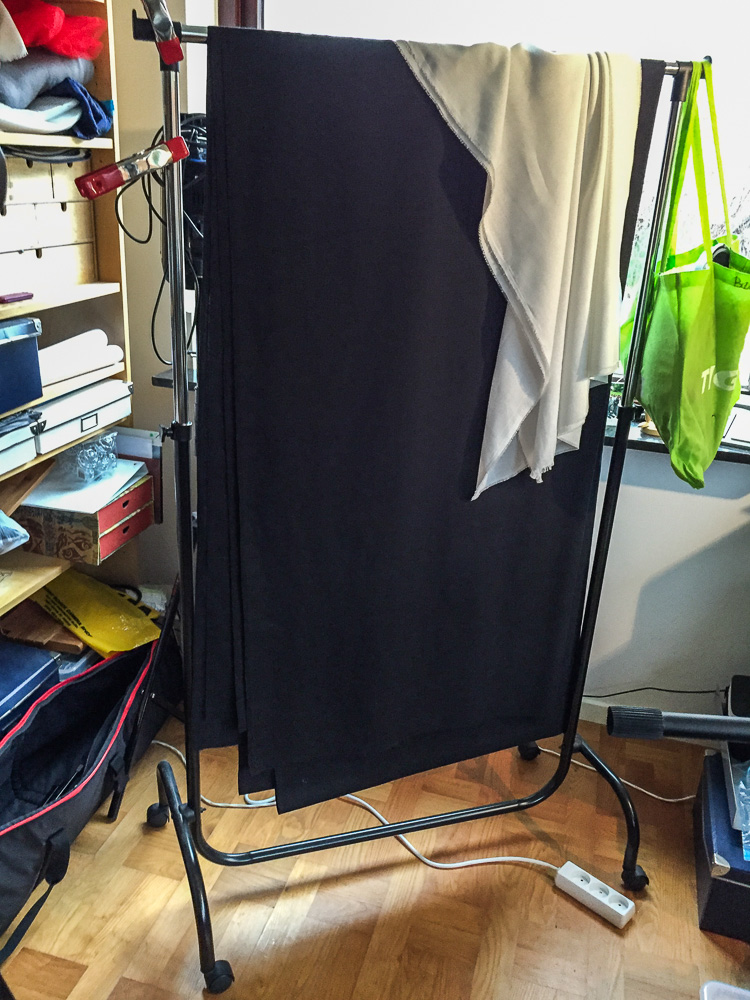
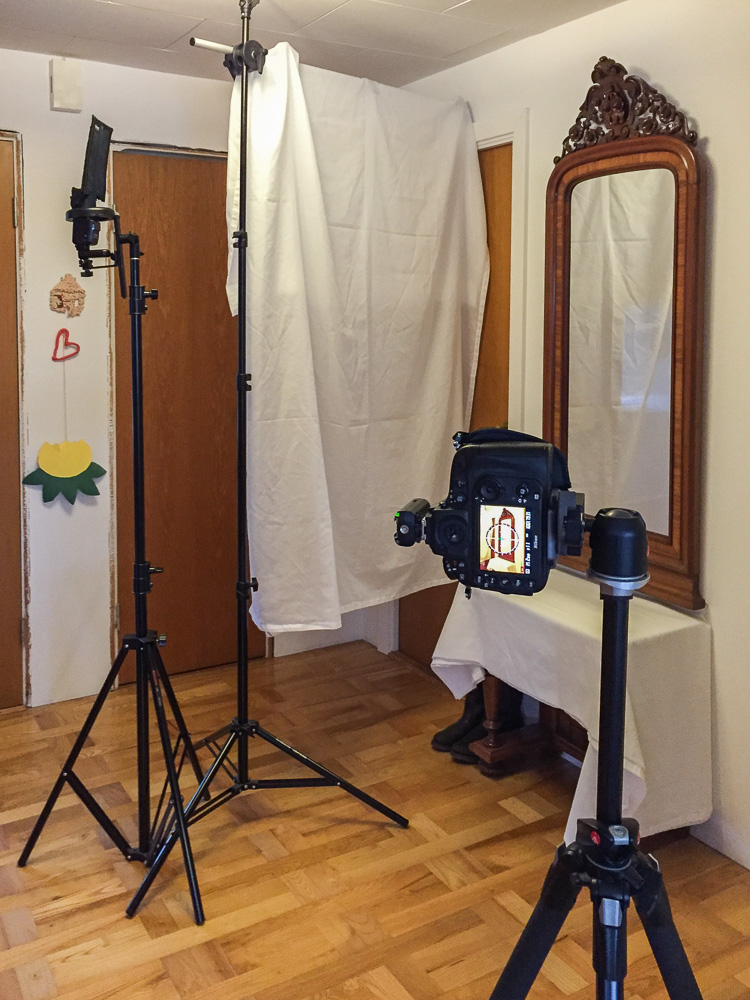
Side note: Before showing the setup, a bit about my tabletop ‘gear’. Apart from a strobe and a couple of Speedlights, I have a backdrop-and-everything-else holder. It is a very cheap clothing rack. I’m thinking of upgrading to IKEA’s model.
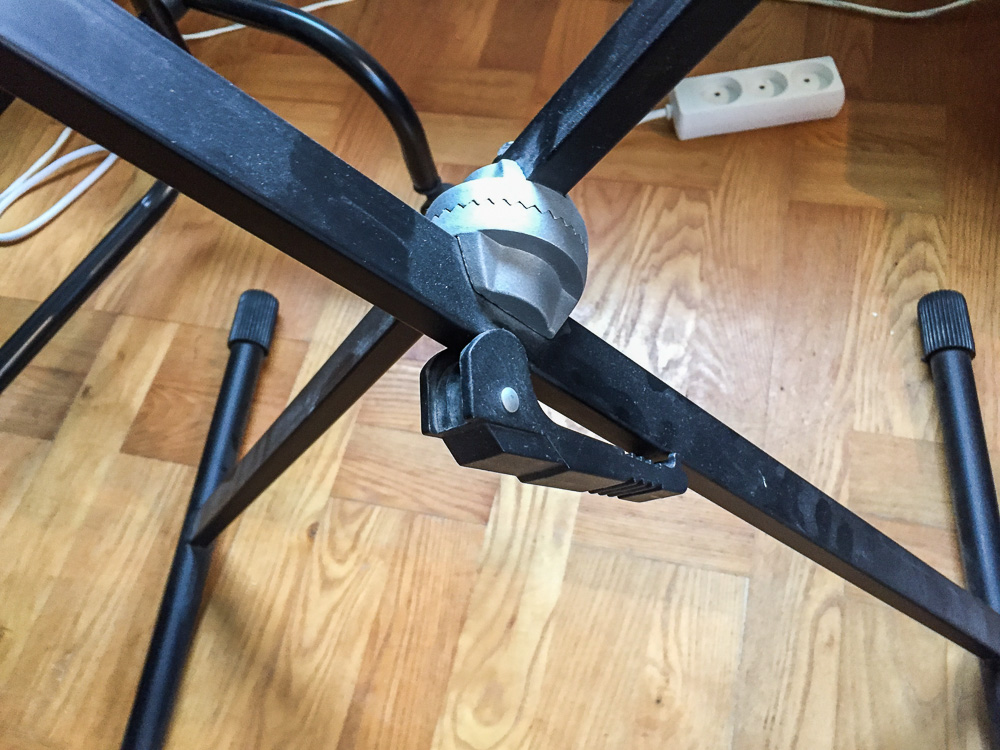
And this is my tabletop stand. It is actually a keyboard stand. My son played the keyboard up until he got an electric piano. The keyboard is packed away, and I use the stand. It packs away and transports nicely, and is very adjustable.
Back to the shoot.
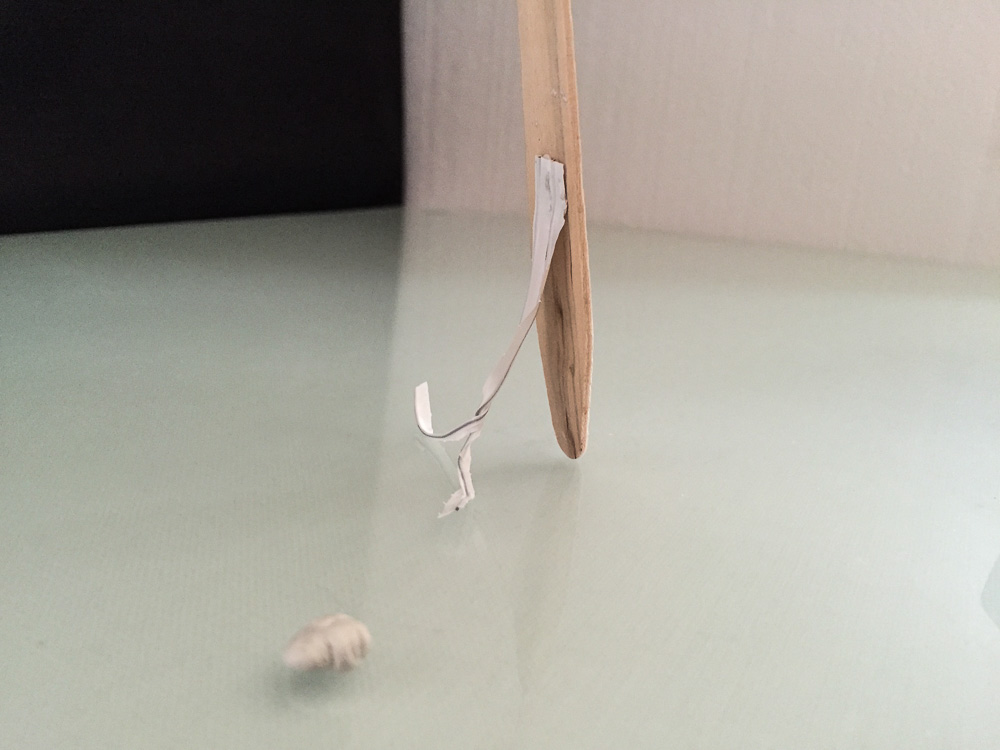
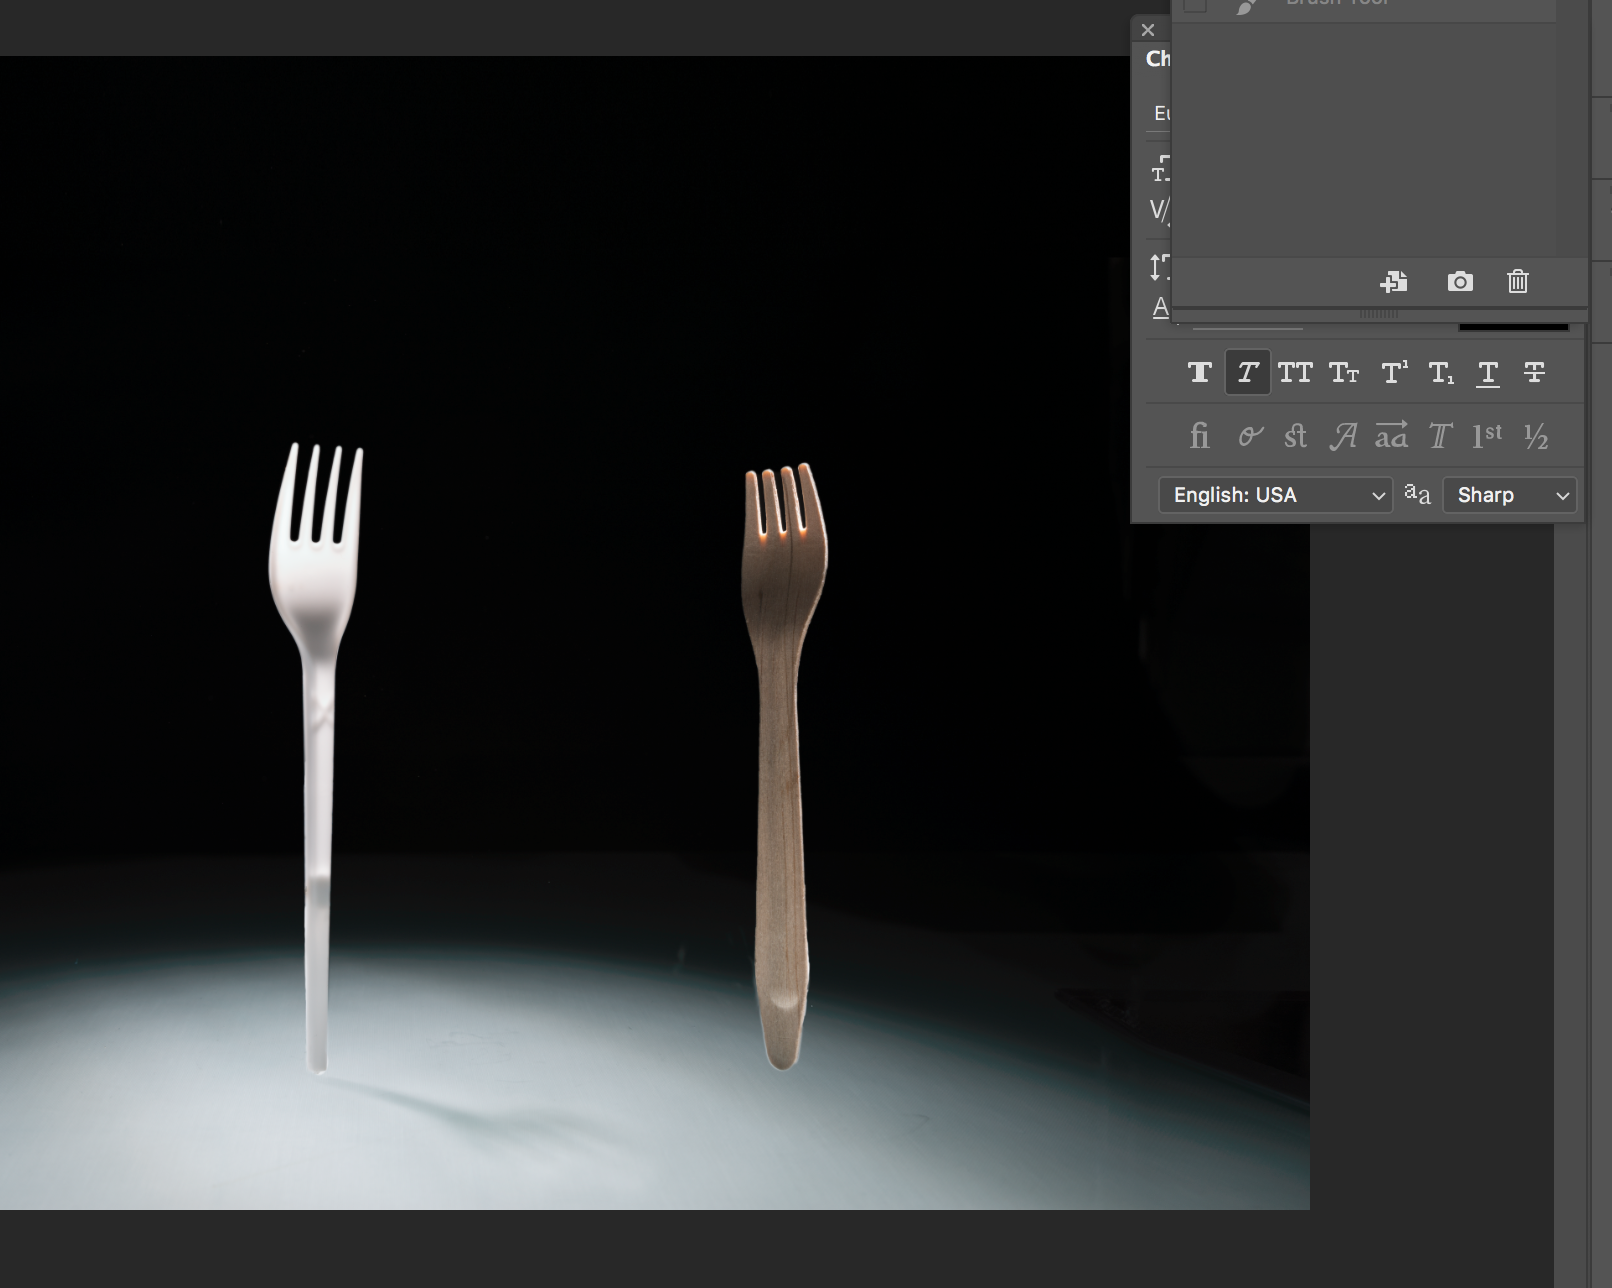
I knew I wanted the forks to stand up. I knew I was going to use two different forks. My idea – the story – was that this regular plastic fork wanted to be a more environmentally responsible, biodegradable wooden fork. I knew the plastic fork would be looking like the subject, and the wooden fork would be “the reflection”. (Turns out, the fork actually had body image issues!)
I wanted a ‘spotlight’ on the fork, and was going to set both forks up facing each other, but that would mean the light on the fork in the reflection would be wrong. So I shot both forks in the exact same position, knowing that I could flip the wooden fork in Photoshop, creating a “reflection”.
I used a black cloth backdrop, a single Speedlight with a Rogue gridded snoot (to create a spotlight effect) and a white reflector board on the right (to open shadows from the front). The surface is frosted glass (a “whiteboard” from the thrift shop) with a white cloth underneath.
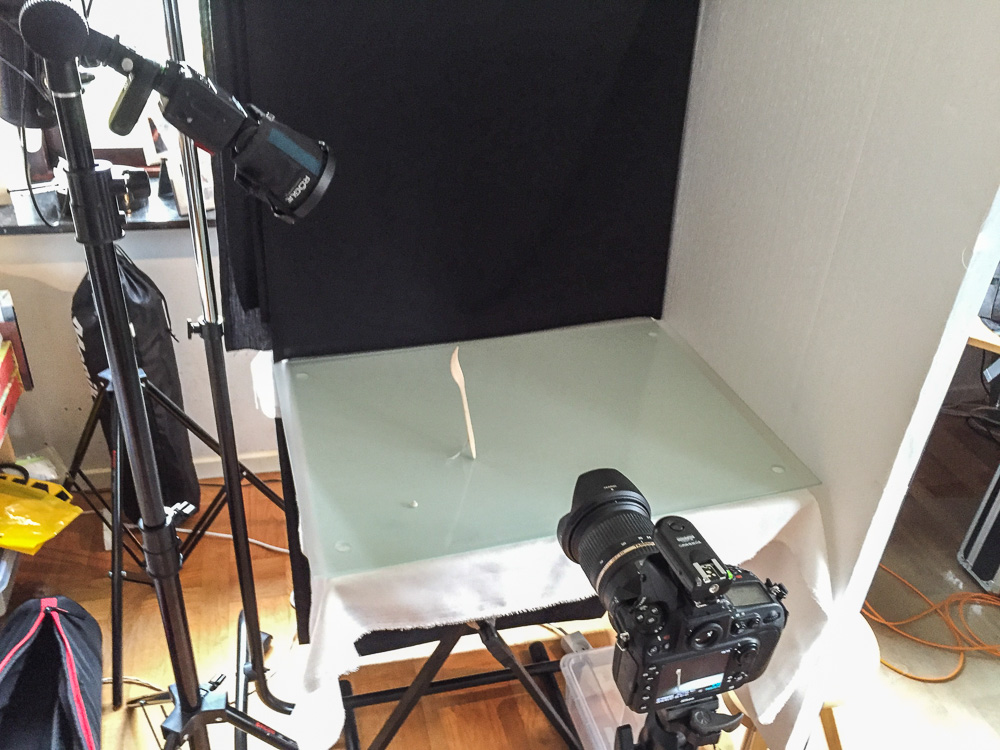
To get the forks to stand up, I used those twisty things and sticky tack (I use sticky tack for lots of stuff.):
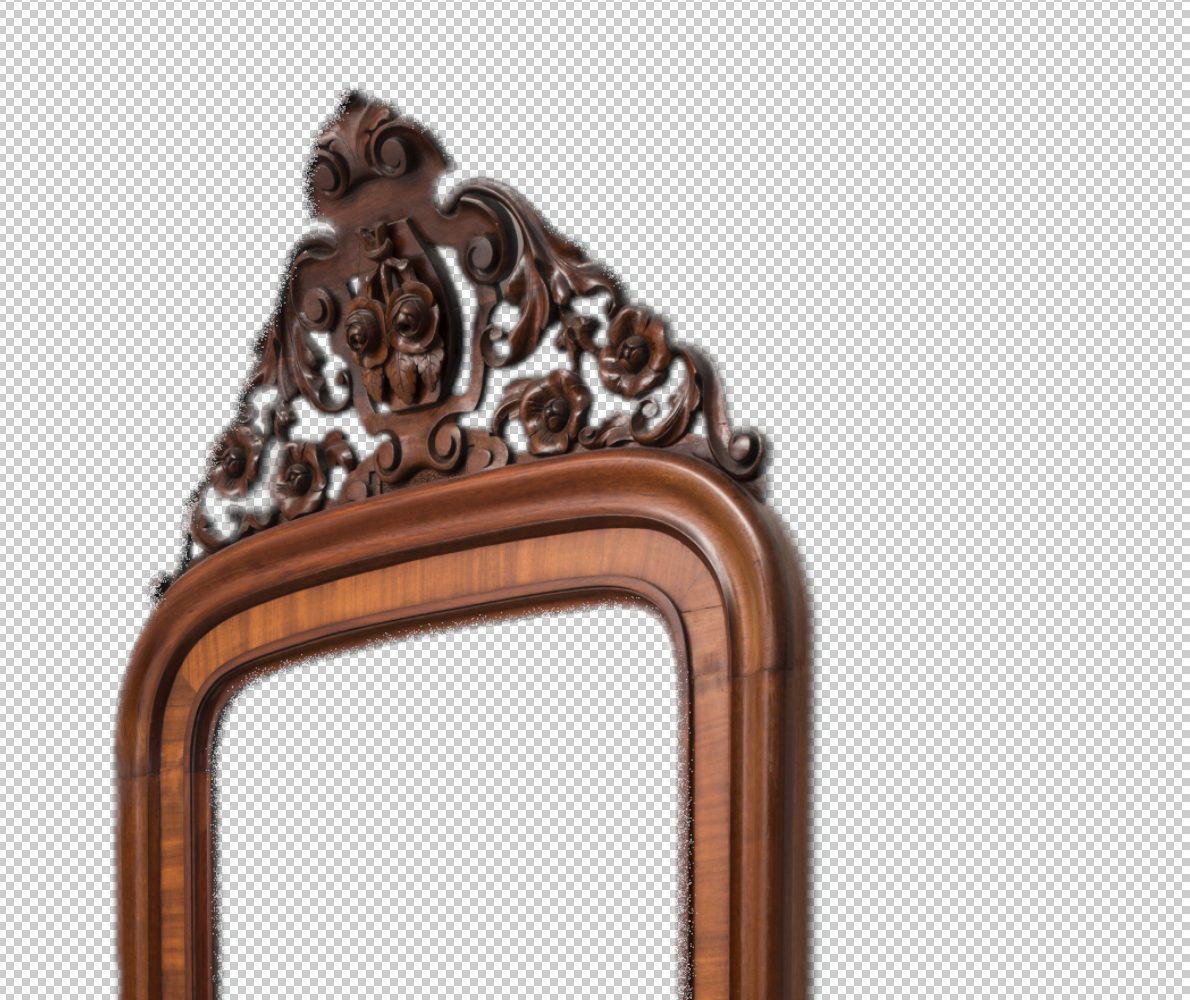
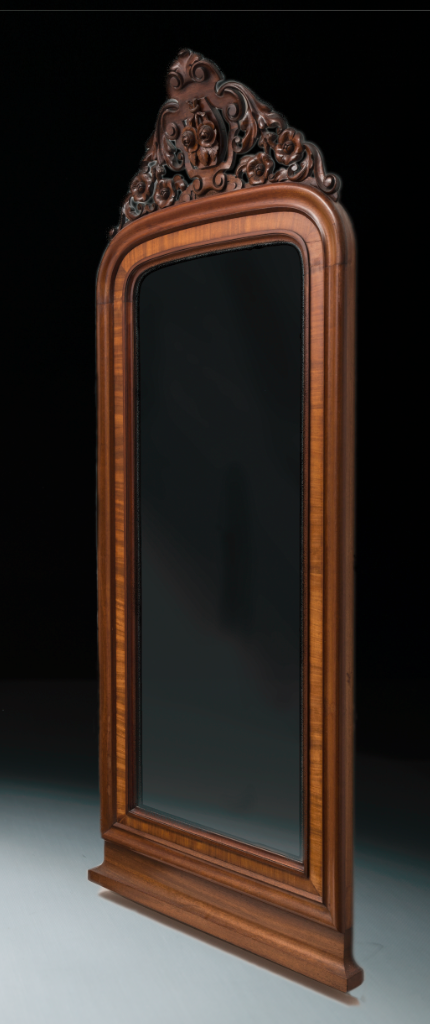
So now I needed the mirror. We have a mirror in our hallway. A large (heavy) family heirloom. I have wanted to use this mirror for quite some time for something really different. This was that time.
I needed to have light appearing to come from above. I setup a Speedlight to point straight up and illuminate our white ceiling. The Speedlight was flagged, so as not to light the mirror directly. I hung a white cloth to help reflect some light into the wood of the mirror. As an added bonus, the white cloth made the reflection very light, making it much easier to mask out the inside of the mirror in Photoshop.
As I knew I wanted the mirror to hover in the image, so I added a white cloth to the table below the mirror. Now I could use that shadow to my advantage in Photoshop.
In Photoshop it was now simply putting the pieces together. The most difficult part was masking out the intricate woodwork on the top part of the mirror and to make the mirror believable in the image. Having it look Photoshopped was NOT an option.
The forks were added. Here they are after flipping the wooden fork and masking off twistys:
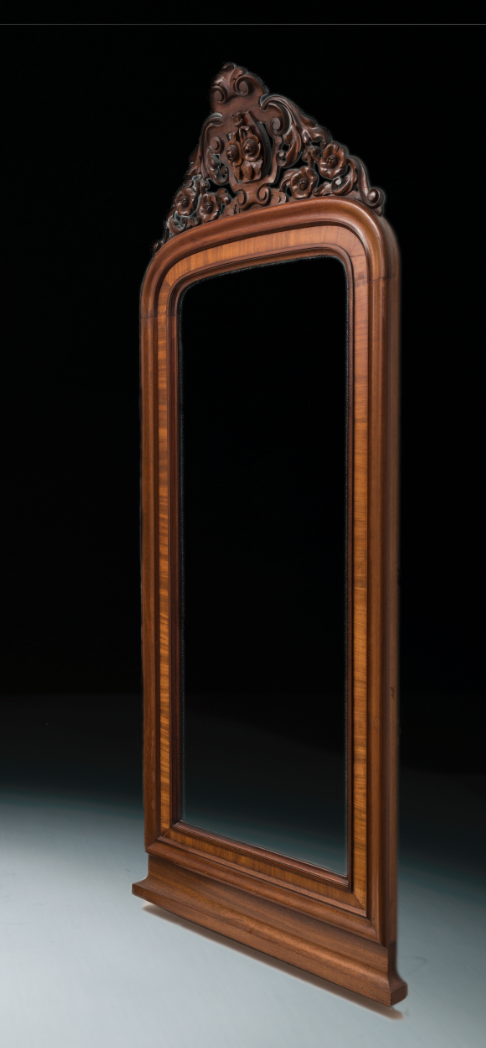
After adding the mirror, I added a bit of graduated haze to the glass part of the mirror to make it appear more like glass. You can see the difference here:
Mirror with haze;
Mirror without haze;
And all of the pieces put together made the final image you see at the beginning of this BTS.
Easy-peasy!
See more of Tammy’s work on her website.


