
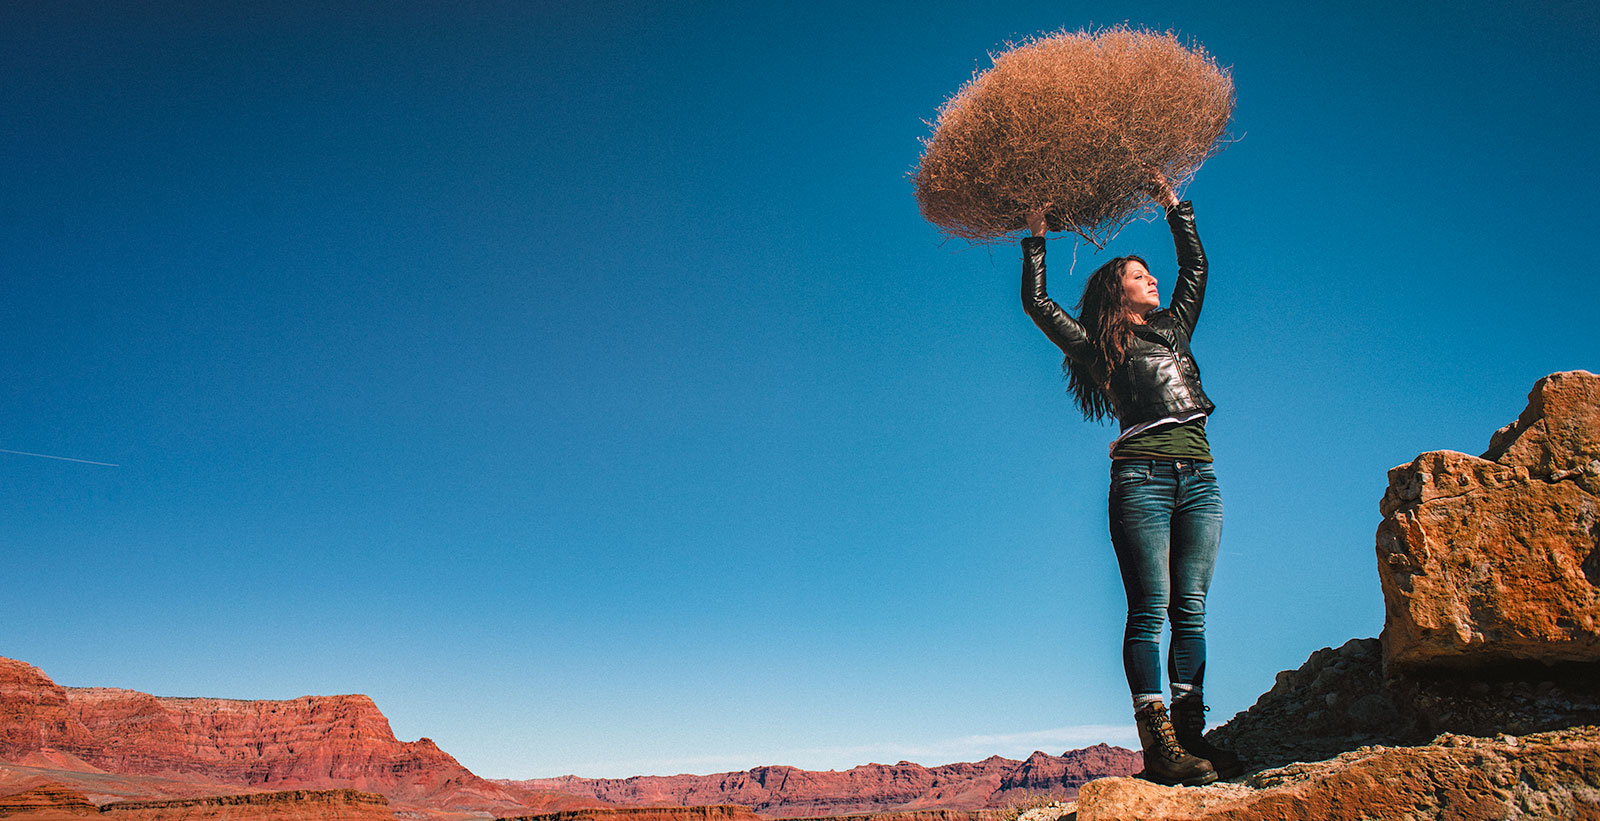
LIGHTING PRINCIPLE THREE: THE COLOR OF LIGHT
We see light usually as a white source, or at least a neutral source.
It isn’t. neutral, it has a color to it and that color can influence all the parts of your image, from shadows to highlights. We don’t see the color of light because our brain changes it to a neutral “white” color as we see it.
Here is a wonderful article that explains the way that the color of light affects your image. Read it now.
When we look at the color of the scene in front of us we can change it globally by changing our color balance in the camera, or using a filter. What “globally’ means is that everything in the photo is changed to the same setting. All the colors are altered by this global change to the color of the light.
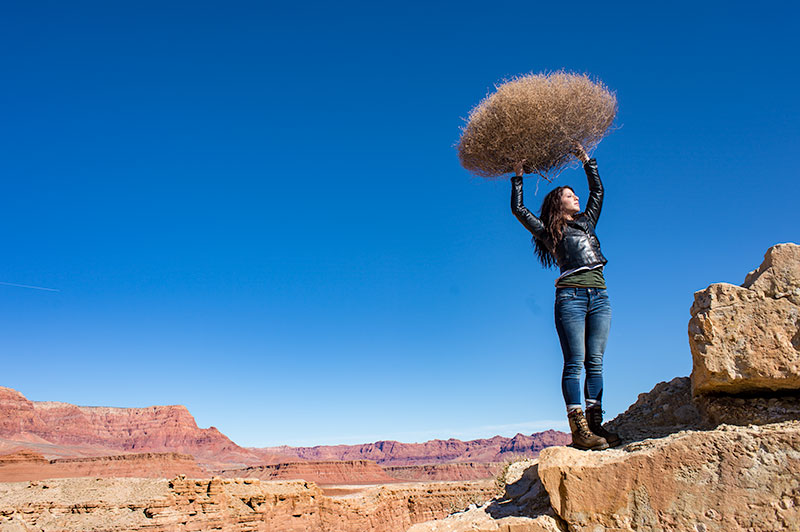
On the left is a photograph taken near Mable Canyon. The sun was quite bright, and there was a bit of warmth to the image because of all the warm browns and oranges of the topography all around us.
This image is as shot. I have applied global changes to the color of the light source so you can see what that does to the image.
Below from left to right:
Daylight / Shade / Tungsten / Flourescent
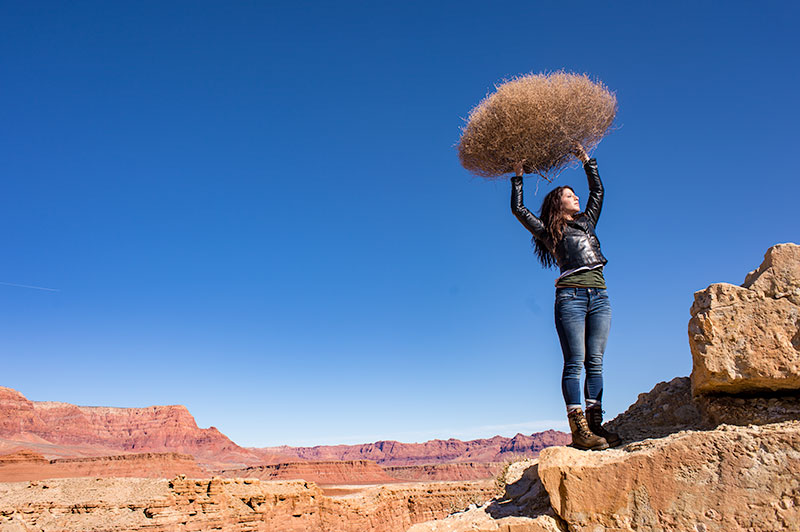
DAYLIGHT
Changing from As Shot to Daylight shows very little difference, although the daylight color balance makes it a bit more warm.
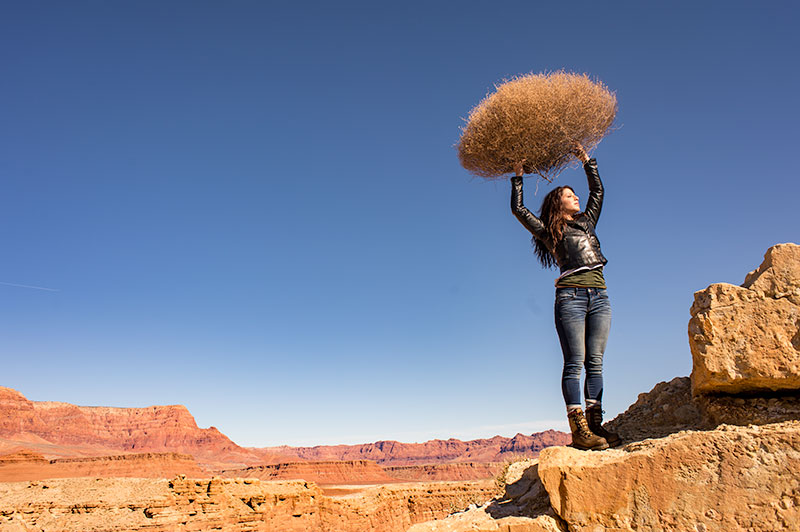
SHADE
Since the color of the light in the shade is a bit more blue, we add some warmth to the overall image to compensate for it. In this shot you can see the global warmth is not going to work because the image was not shot in the shade.
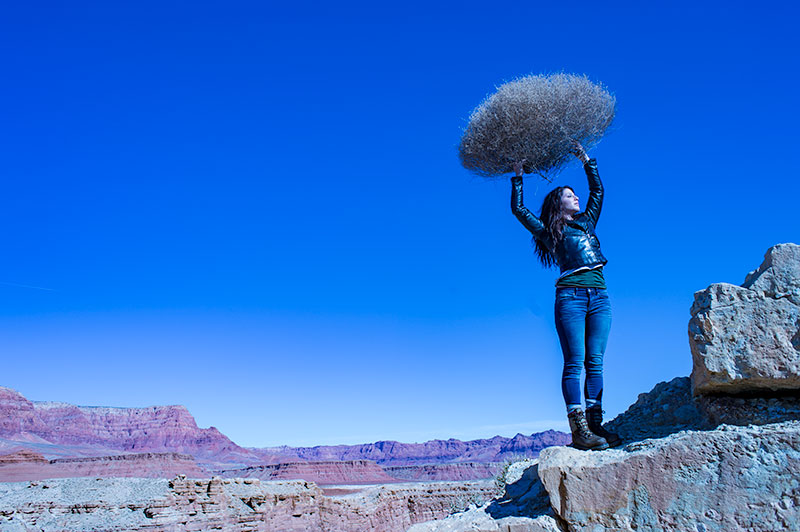
TUNGSTEN
Tungsten light is very orange, so when we apply a tungsten color balance to a shot that is not too orange, we get this very blue looking shot. This is a good reminder of just how ‘warm’ tungsten light is if it takes this much blue to make it correct.
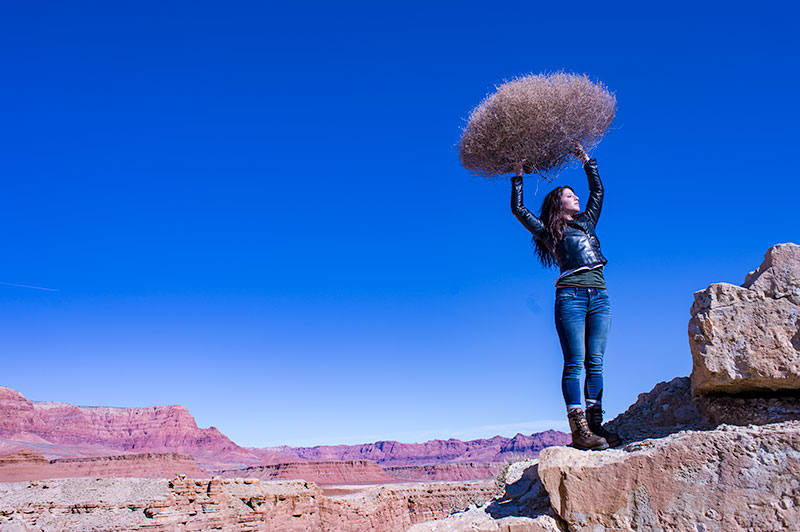
FLUORESCENT
Fluorescent light is blue/green so it makes it difficult to compensate for. In this application of the fluorescent color balance, we can see the sky going a deep blue, while the desert mountains behind become more magenta.
LOCAL LIGHT SOURCE MATCHED TO AMBIENT
Working with a secondary light source that may be a different color presents us with a challenge. We cannot change the image globally because adding a correction to the image to correct for the different light source will affect the entire image.
We must then change the different light source to the ambient (or overwhelming light) in order to ‘balance’ the subject in the ambient setting.
The ambient setting is the overwhelming light that we usually cannot change: the sun, a large warehouse, a home. Bringing in our own lights means we must know how to match what we bring to what is there.
ASSIGNMENTS FOR THIS CLASS:
- Using the color settings on your camera, take the same image with each of them. Shoot with Daylight, Shade, Tungsten, Flourescent at least and do this in places where those colors exist. In other words, shoot some images outside, inside with regular household lamps, and some place that has Flourescent. (NOTE: Many big box stores use a light source known as Mercury Vapor. Mercury Vapor is blue/green so it is very difficult to adequately address. We can add magenta to offset the green, but that turns the blue part of the light to purple. If we address the blue with something warm, we add that to the green part of the light.For Mercury Vapor correction, try “auto” on your camera setting. It is the best I have found for correcting most of that blue/green color shift.
- Using a strobe (speedlight), take a photograph of someone while the sun is going down behind them. Do not alter the strobe setting, just let it keep making the shot as the light turns warmer and warmer. You will then see how “blue” the light source seems coming from the flash.You may have to change the settings as the light gets dimmer, but I think you will see the changes pretty well.
We will be addressing color balance in all of the upcoming classes.
Find and Keep Commercial Photography Clients: A Free Training Series.
What We Learn from Studying Master Photographers
P52 Member Adi Talwar Shooting for the NYT
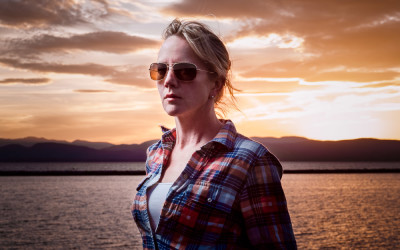
Some Amazing Portraits from The Current Class
“Monsoons”
https://vimeo.com/mikeolbinski/monsoon2 I live where Monsoons create havoc a few months out of the year. Mike Olbinski, a photographer here in Phoenix is an amazing storm shooter, and this video he did of this past monsoon season is a killer. His video will keep you...
What Riding a Motorcycle Taught Me About Life (and Photography)
Challenging Times; A Few Ideas to Positively Impact Your Business
Here are a few ideas that I use to impact my business quickly and also help me move from a creative block. A few years ago I wrote about the things I do when given a chance to jump out and spend a little time on a project. That list is still pretty timely, so here it...
The “Dating Game”
Five Things to Share on a Wednesday
What’s It Like on a P52 Annual Meetup/Roadtrip
I could try to explain what it is like, but we had a videographer on the trip with us last time. https://www.youtube.com/watch?v=urSQqCGRKkM
Because Jerry… (and it’s Friday)

Shooting to Layout: A Point of Purchase Display
One of the most difficult parts of commercial photography is shooting to layout. A designer or art director has an approved layout, and your shot must work within the elements on the page. We see it a lot in catalog, advertising, collateral, and web oriented...
A WordPress Plugin for Photographers
Because… Natalia (and it’s Friday)
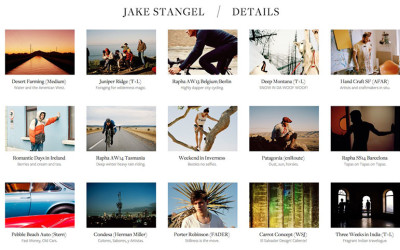
Jake Stangel on Starting Out as a Professional Photographer
Jake Stangel is one of my favorite photographers. I love the fresh way he shoots, and his no-nonsense approach to making images that reveal more than what may meet the eye in the real world. First: here is an hour talk he gave at CCA, and it is really good. (Below is...
Shooting to Layout: P52 Members are “Cooking” with heat!
The assignment was given with a "napkin" layout. A very simple sketch similar to what we get from AD's from time to time. Then the photographers got to download the layout - and shoot to that layout exactly. It is one of my favorite assignments because we get to see...
A Few More Portraits
The 8 Week Portrait Classes are now finished. I added a bonus photographer on for each of them (9 photographers per class) and this is the gallery of inspired images from the bonus photographer for the 8 Week II class, Mark Tucker. We look at the work of the...
Ten Things to Remember As You Begin Your Photographic Odyssey
Ten Things to Remember As You Begin Your Photographic Odyssey I stopped doing what I was doing and began to be a photographer one day. I had been around photographers, but I didn’t have any clue what being a "professional" really meant. I simply started out as a...
Portraits, Portraits!
More amazing portraits from the last portrait group. Just so impressed with the hard work and growth that was the hallmark of all these classes. [gallery link="file" columns="4"...
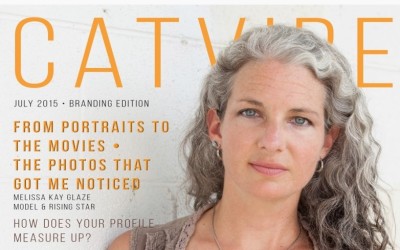
Catherine Vibert Delivers Social Media Headshots
P52 Alum and member Catherine Vibert explains the necessity of having a perfect headshot for Social Media. This kind of client centric marketing will create an interest in those needing to have the best headshots they can get. And - that is EVERYBODY on social media...
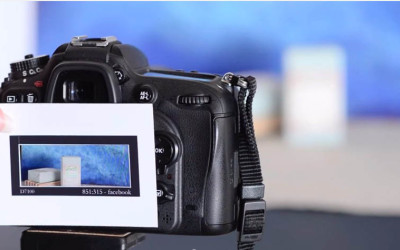
An Easy Tool for Shooting to Format
Project 52 Alums Anna and Filipe (McGunn Media) have created a set of templates (mattes) for shooting to formats that are many times required - especially by social media. They have made them available free on their site as well, so you can download them if you need...
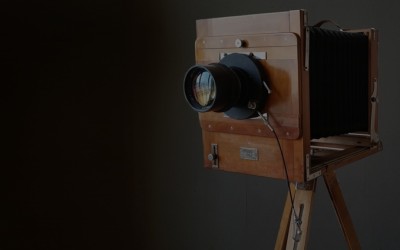
Large Format Shooters: This Looks Really Interesting
GALAXY HYPER SPEED Direct Positive Photo Paper I love shooting large format cameras, but the hassle of developing 4x5 and 8x10 negatives can be daunting unless one has a full darkroom. Paper is easy... safelight and some trays and you got it. This project will bring...

Portraits from the Portrait Workshop
Last week we saw a bunch of amazing portraits come in from the students in the 9 Week Portrait Class 102.