
DISTANCE OF THE LIGHT SOURCE FROM THE SUBJECT
The second principle of light is the distance of the light source from the subject.
One thing for sure, if it is artificial light, the distance of the light source from the subject can change the size relationship, but there are other things that happen as well.
With artificial lights, one of the most important rules is The Inverse Square Law.
And it can be kinda scary that one. First, it’s a law. That seems pretty definite. And of course it has something to do with math – ‘squared[. But the word INVERSE? What the heck is that?
Let’s not sweat that right at the moment.
Let’s just acknowledge it for what it means to us.
Essentially, the Inverse Square Law (ISL) means that the farther the light is from the subject, the less bright it will appear. We know that, right. The closer we get to a light source, the brighter the reflectance of that source from whatever we are bringing close to the light.
Say you are in a very dark room, and there is only one small light in the corner. You are desperately trying to read the calory count on your small bag of Cheetos but it is way too dark where you are. Well – simple, we take the Cheetos bag over to the light and as we get close to the light, we can instantly read that we are never allowed to eat Cheetos again.
Now that is way too simple for any rule, or LAW, especially one that concerns math and something called Inverse.
The ISL is a way of measuring that light fall off and it shows us that there is actually a formula to how much that light falls off. Formulas are great. They are like systems. We can use them over and over to achieve the results we need.
This formula is way simpler than the name implies:
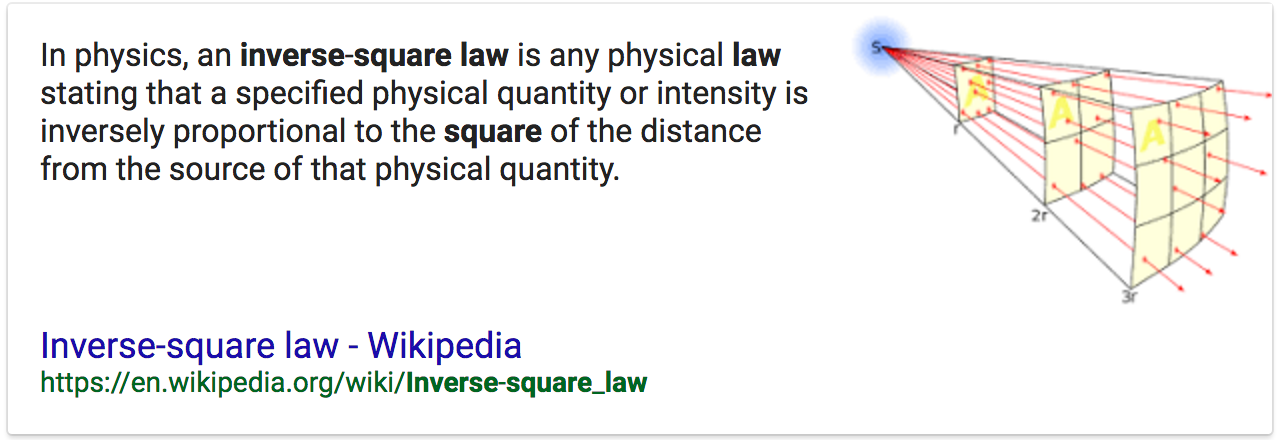
As you can see in the illustration above, at twice the distance the light has to cover four times as much space making it four times less powerful.
Four times less = 2 stops less in f-stops.
So if the light was f-8 on your subject at 4 feet, and you moved the light back to 8 feet, the amount of light on the subject would now equal f-4. If you started at f-4 at 8 ft and moved the light in to 4 ft it would be f-8.
What if instead of moving the light from 8 ft to 4 ft you decided to move it in 6 ft? Well, that would be half way between f-8 and f-4… f-5.6.
Now look at what happens when we apply the rule to a set of distances.
THE IMPORTANCE OF KNOWING RECIPROCALS
A reciprocal is simply understanding the relationships between all the numbers we throw around in photography.
F-stops, shutter speeds, ISO – all work hand in hand with each other to make the image with correct (for you) exposure. Changing any one of these three will necessitate a change in one of the others to compensate.
Let’s look at ISO:
f-4 / 1/125 @ ISO 100
If we change that to ISO 200 one of those above will have to change. Either the f-stop or the shutter speed. Since the ISO is now one stop more powerful, we either have to change to f-5.6 or change the shutter speed to 1/250. Both of these changes have the affect of decreasing the exposure setting one stop due to increasing the ISO by one stop.
Simply knowing the basics of one set will make it easy for you to re-configure for a new set.
I use ISO as my constant. In this case, I will use the settings of Sunny 16 (f-16 at 1/ISO).
ISO is 100 for these reciprocals.
f-16 @ 1/100
f-11 @ 1/200
f-8 @ 1/400
f-5.6 @ 1/800
f-4 @ 1/1600
f-2.8 @ 1/3200
These are committed to rote memory.
Changing the ISO compels me to make associated changes in these figures. If the ISO goes faster, I simply change the f-stop OR shutter speed to correlate to the amount of change in ISO. If the changes go out of the range of my camera, I will change one first, then catch up the other.
Example:
The light is getting a bit low, and I want to shoot with a shutter speed that allows me to hold the camera still. I take a meter reading and find that at ISO 100, my exposure for that shot is f-4 @ 1/15. Well, that aint’a gonna work for me handheld.
So first I decide that f-4 should be f-5.6 because of some Depth of Field issues (which moves the shutter speed down to 1/8), so that means I will have to move the ISO one stop for that aperture change to:
f-4 / ISO 100 @ 1/15 to f5.6 / ISO 100 @ 1/8 (reciprocal, one less stop in shutter speed to correlate with additional stop in aperture.
f-5.6 / ISO 200 @ 1/15
f-5.6 / ISO 400 @ 1/30
f-5.6 / ISO 800 @ 1/60
Learn your reciprocals for faster and more accurate decisions in the field.
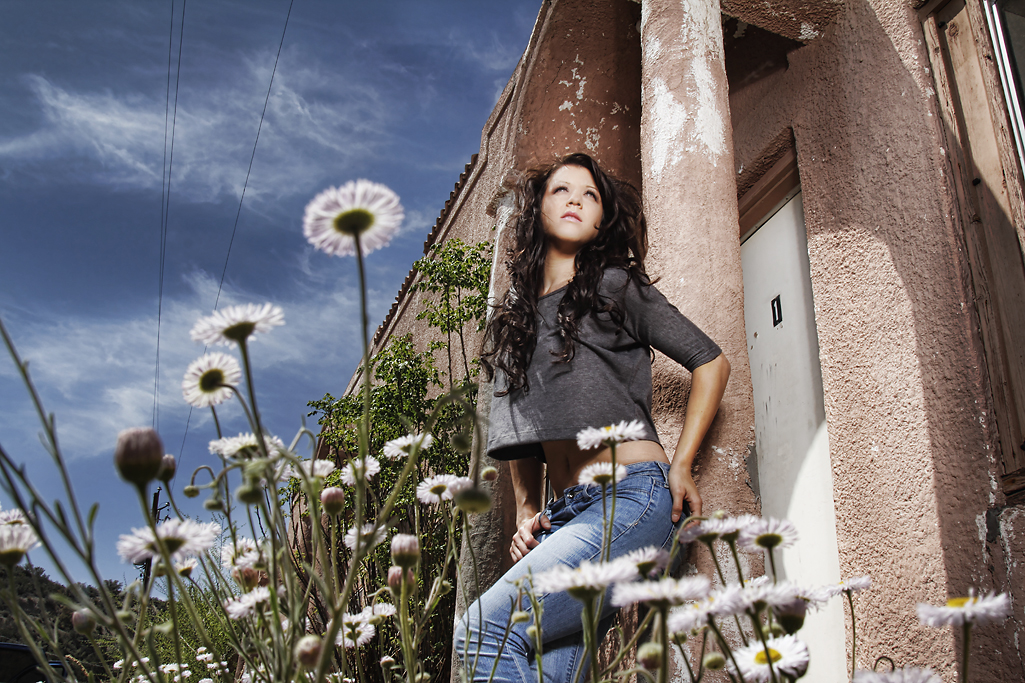
Bri in Miami.
I didn’t want the old building to go too dark behind her so I moved her next to the column. This gave me the ability to move the light in close to her, and let the background fall off fast – but retain the light and the texture right around her so she didn’t ‘pop’ out and look too overly lit.
This is a 4ft softbox with a Profoto 300 WS head and a single diffusion panel in the softbox. It is just above camera viewpoint in this shot – very close to her. You can see the light falling off as it reaches her knees.
I wanted the shot to appear somewhat realistic and not “strobed” so a careful blend of one stop over the ambient was chosen.
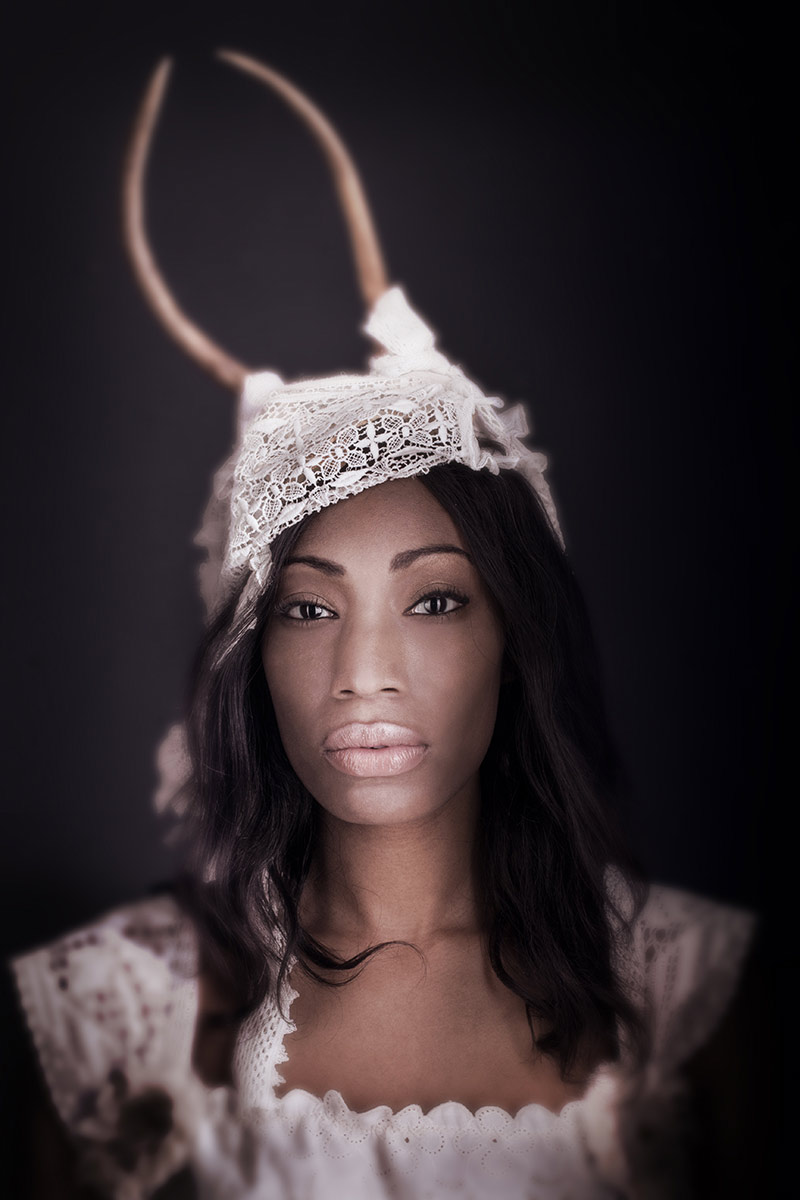
Ivy in the Studio.
My studio had bright white walls in a cove. I didn’t want this image to be on a white background so I moved Ivy far enough away that the light on her had no effect at all on the white wall behind her. It was simply way too underexposed to render at all.
Controlling the exposure through the Inverse Square Law is one of the more important tools you will have at your disposal.
And get this – it doesn’t cost a penny.
ASSIGNMENTS FOR THIS CLASS:
- Using a light source of your own: (studio strobe, speedlight, continuous light) place the light close to the subject and then move the subject AND light source closer to and farther back from a single background. Notice how the image presents itself as you go closer to the background with your subject and light, and what happens when you take subject and light farther away.
- Place camera and background at a fixed point. Then move your subject into the f-16 and make an exposure. Move back to f-11, then f-8, f-5.6, f-4 and if you can f2.8. What happens to the background as you move the subject closer to it and adjust exposure.
- Build your string meter. See below.
Find a piece of good, smallish rope. Clothesline will do nicely.
Put your light on a stand, and run the string straight out from the flash. The flash should be set at 1/8 power if possible. Not full. It should be on “normal” zoom setting neither on telephoto or wide angle.
- Using a meter and a remote flash trigger, find the exposure point for f-4 by going down the rope and aiming the ambient light meter dome directly at the strobe. Keep going until you find the point where f-4 is noted on your meter.
- Using a knot or marker, note that point as f-4.
- Now find the middle of the rope and note it with knot or marker.
- Between the end of the rope and the middle (left side) put a knot or mark in the middle of that area.
- Between the middle of the rope and the end to the right put a knot or marker
- On the right side, now find the middle between the end and the first mark, and knot it or marker
You now have simple rope meter that will be incredibly accurate in all situations.
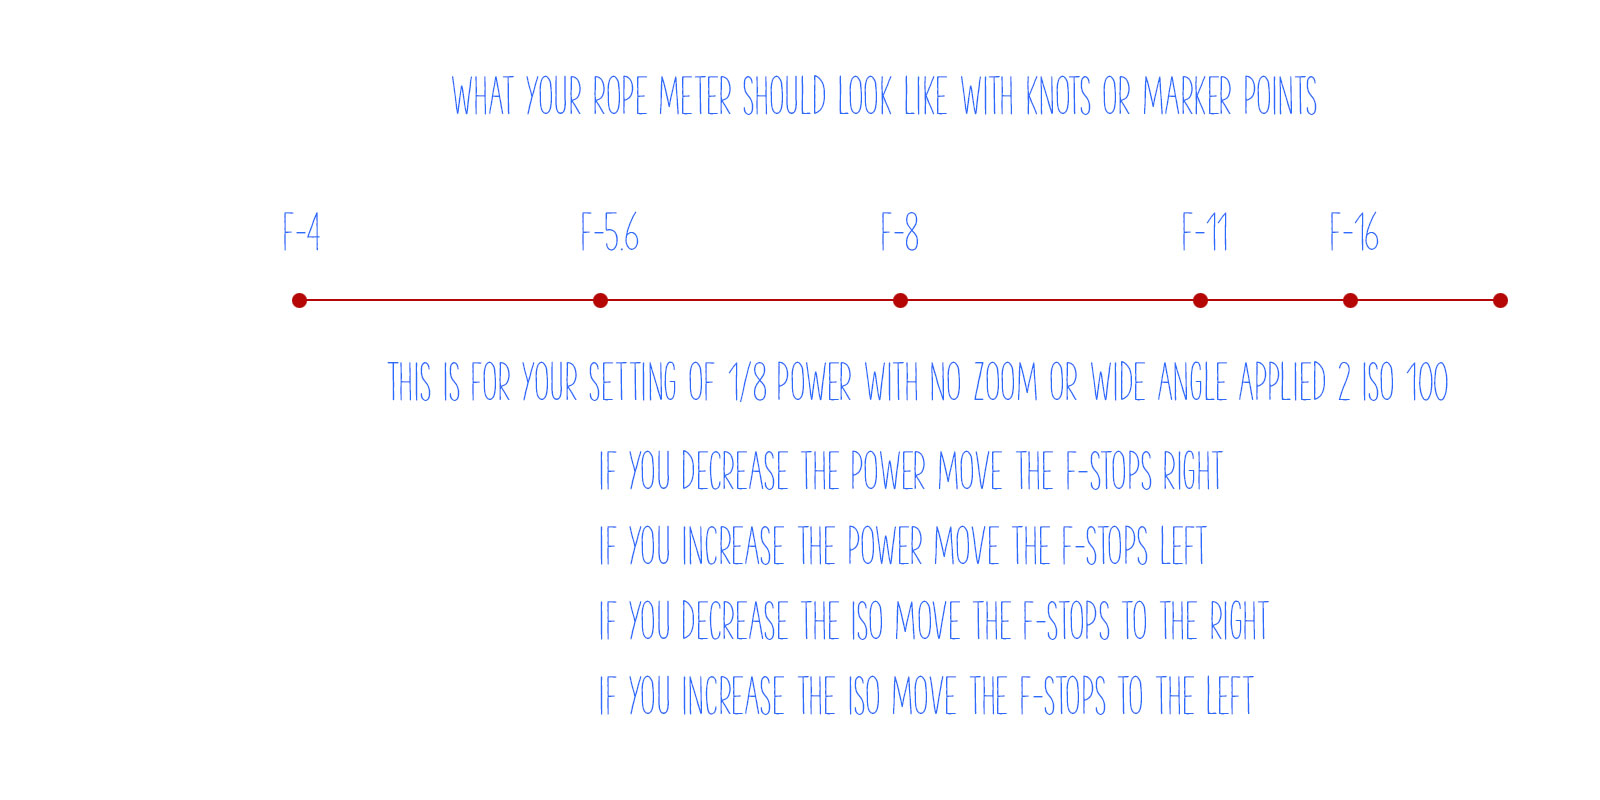
Finding f-4 is the most important part. Use a lightmeter for best results.
If you want to use a gray card, make sure it is at a very slight angle to the light source so it will not have a specular for the camera to see (the reflection of the light source). Shoot at f-4 until you find the distance that will render a single line of pixels in your histogram dead center. That is perfect exposure of a gray card.
Of course, you must fill the lens with the gray card, no extraneous stuff in the viewfinder – just the gray card.
04: Lighting Principle Four: Angle of the Light Source to Subject / Camera
Lighting Principle Number Four: The Angle of the Light to the Subject and the Camera Law of Physics: Angle of Incidence equals the Angle of Reflection. This is an axiom that a lot of people hear and repeat without taking careful note of what it means to their...
05: Subject Properties: Part One
EVERYTHING REFLECTS. Let me say that again. Everything reflects. Some things reflect more than others. Some surfaces are more reflective than others. But since everything reflects, we are sometimes presenting what that subject reflects rather than ‘bouncing’ light...
Announcing Lighting Essentials V4
Here we start the new year with a bang... a big bang. Lighting Essentials has always been a quiet site for a select group of serious photographers and that will not change. However, I have decided on some new content ideas for the upcoming year. MY LIGHTING WORKSHOP A...
06: Subject Properties: Part Two
Matte Surfaces These are surfaces that are not as rough as texture, but not smooth either. Skin, cloth, natural leather, finished woods and many food items are examples. Most of what we deal with in our daily lives would fall under the Matte surface example. Matte...
07: Subject Properties: Part Three
Shiny or Glossy surfaces: The third of our major surface efficiencies is glossy or very shiny surfaces. The complete opposite of the textured surface, the glossy surface will record the reflection of the light source absolutely. That means we have to be very careful...
08: Controlling The “Presentation of Light”
Subject Centric Lighting: The Five Areas of Light Presentation Cover image by Project 52 student, Gabriel Alvarez. When the lighting choices we have made are used, the light is 'presented' back to the camera in expected, and controlled ways. There are five parts of...
Arc of Beauty: Side to Back Lighting
Have You Considered the "Arc of Beauty" in your lighting? (Image by Tracy Sutherland) We are going to take a high-level view of lighting today and discuss what I call the "Arc of Beauty". And while no lighting scheme is going to be directly discussed, what we are to...

Merry Christmas / Happy Holidays to All
My CreativeLIVE Table Top Class to be rebroadcast!
What does this mean to you? It means you can watch it free, no charge, toll exempt, dinero not necessary! Consider it a Holiday Gift from the great folks at CreativeLIVE and your host here at LE. From the CL class page: Basic Product Photography. Don Giannatti returns...
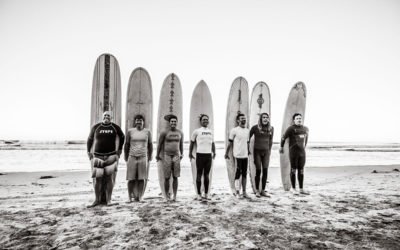
Mike Moore: Surf Shoot
Mike Moore is a Project 52 alumni, and has been building his business in Encinitas, CA for a few years. His specializes in food and lifestyle, especially beach lifestyle. This is a personal project Mike shot at a surf event in Encinitas, CA. 1.) Tell us a little about...
The Games We Play; Find the Shot Before Moving On
One of the things I like to do is to play visual games. I have several to share with you, but this one is one that anyone can do. Anywhere, any time. First; I believe that if we are to call ourselves photographers, we must photograph. Make pictures. Make images....
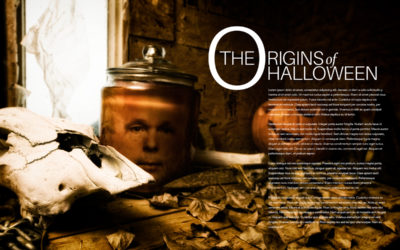
The Origins of Halloween, 2016
Just before Halloween (October 31, 2016) the assignment for the Project 52 students was to shoot to layout for this fictitious piece. The magazine layout is a two page (spread, or "double truck") and calls for the photographer to be very cognizant about what is on the...

Photographing Chocolate: A Sweet Challenge
Photographing chocolate is very challenging. For one thing, humidity and temperature can play a big part in what the chocolate looks like. And chocolate is very susceptible to damage from fingerprints, casual bumping against other product, and time. Working with...
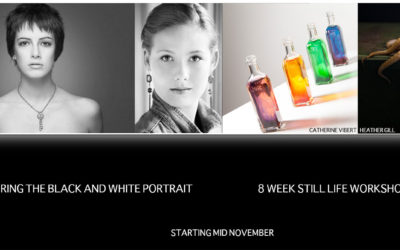
Two Workshops in November: Portrait and Still Life
For the last time this year, I am running this very popular class on Black and White Portraiture. Lots of information on shooting people and converting the images to monochrome (black and white, sepia, toned etc...). Please check out the page for a lot more...
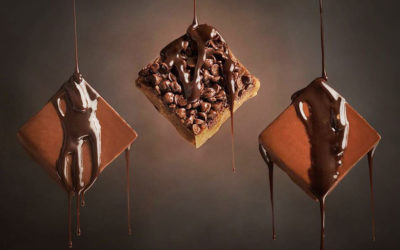
Attention to the Details
Paying attention to the tiniest of details is one of the jobs of a commercial photographer. And rarely do details matter more than when shooting chocolate. Chocolate dust, scratches, fingerprints, and the chalky white of damaged edges can draw the eye to the problems...
What Is A “Photographer” Anyway?
Photograph of me making a photograph on my iPhone in Rocky Mountain National Park by Grey Gibbs Recently, my friend and fellow artist Jerry OConnor and I took a drive/ride to Superior, AZ to do a little video of me blabbing about being a "photographer". I wanted to...
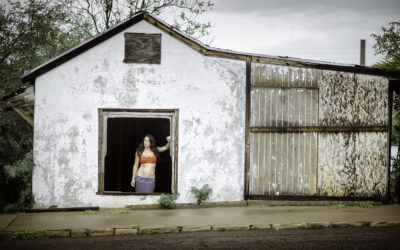
Back to Work… Again
I was truly disappointed that my Alaska trip was cut so dramatically short. I didn't expect it, and I was not really ready to give up on that idea. (I will do it next year, or the year after if I have to.) The back pain forbade me doing any camera work, or walking...
July Portrait Challenge Entries
The 8 Week Portrait Classes had a July challenge of a "summer portrait". Winner was decided by photographer Nick Giron, a very good portraitist himself. Here are the entries: [gallery link="file" columns="4"...
Off to Alaska
Daily updates at Phoenix to Fairbanks website. I decided last August that this year I would do something big, something challenging. When I told my wife I wanted to do something to really get back in touch with my creative side, she said, "well then, what do you want...
Paula Puffer: “Journeys” – A Show in Houston
"Journeys" Photographs by Paula Puffer Journeys consists of selected images from several bodies of work photographed by Paula Puffer since her mother’s death in 2010. Works that are a part of the show include: Watching Alzheimer’s: Focusing on aspects of Alzheimer’s...
Meet Yechiel Orgel, Commercial Photographer in NYC
I read about Yechiel Orgel in an online publication a few weeks ago, and instantly knew I wanted to meet him and get an interview for Lighting Essentials. This is the interview I read, and please go over for a complete view of how hard and long Yechiel worked at his...
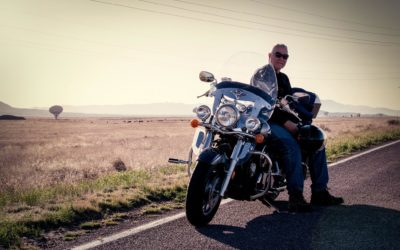
ALL OF MY UDEMY CLASSES ARE NOW FREE
In celebration of my upcoming Alaska roadtrip, I have just made all my courses on UDEMY FREE. No charge. Portrait Photography with Simple Gear Natural Light Beauty and Fashion Photography Real World, No BS Marketing for Photographers Using a Photographic Lightmeter...
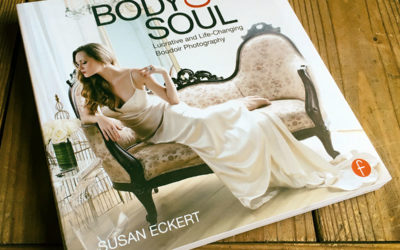
Four Wonderful Books For Photographers
I think this book by Susan Eckart is one of the best photography / business books I have ever read on the business of photography. She is a consumer photographer with a long list of awards and loyal customers, and her experience gives you a rarely seen insight into...
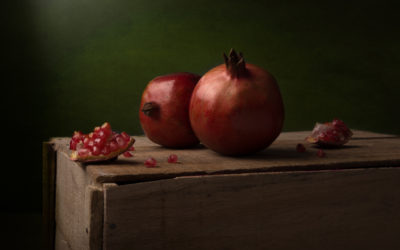
Exceptional Still Life Photography (from the recent Still Life workshop)
We just wrapped up the most recent 8 Week Still Life Class. I wanted to feature a few of the images the students submitted. I will be doing more 8 Week classes when I return from my road trip to Alaska. [gallery columns="4" link="file"...