
DISTANCE OF THE LIGHT SOURCE FROM THE SUBJECT
The second principle of light is the distance of the light source from the subject.
One thing for sure, if it is artificial light, the distance of the light source from the subject can change the size relationship, but there are other things that happen as well.
With artificial lights, one of the most important rules is The Inverse Square Law.
And it can be kinda scary that one. First, it’s a law. That seems pretty definite. And of course it has something to do with math – ‘squared[. But the word INVERSE? What the heck is that?
Let’s not sweat that right at the moment.
Let’s just acknowledge it for what it means to us.
Essentially, the Inverse Square Law (ISL) means that the farther the light is from the subject, the less bright it will appear. We know that, right. The closer we get to a light source, the brighter the reflectance of that source from whatever we are bringing close to the light.
Say you are in a very dark room, and there is only one small light in the corner. You are desperately trying to read the calory count on your small bag of Cheetos but it is way too dark where you are. Well – simple, we take the Cheetos bag over to the light and as we get close to the light, we can instantly read that we are never allowed to eat Cheetos again.
Now that is way too simple for any rule, or LAW, especially one that concerns math and something called Inverse.
The ISL is a way of measuring that light fall off and it shows us that there is actually a formula to how much that light falls off. Formulas are great. They are like systems. We can use them over and over to achieve the results we need.
This formula is way simpler than the name implies:
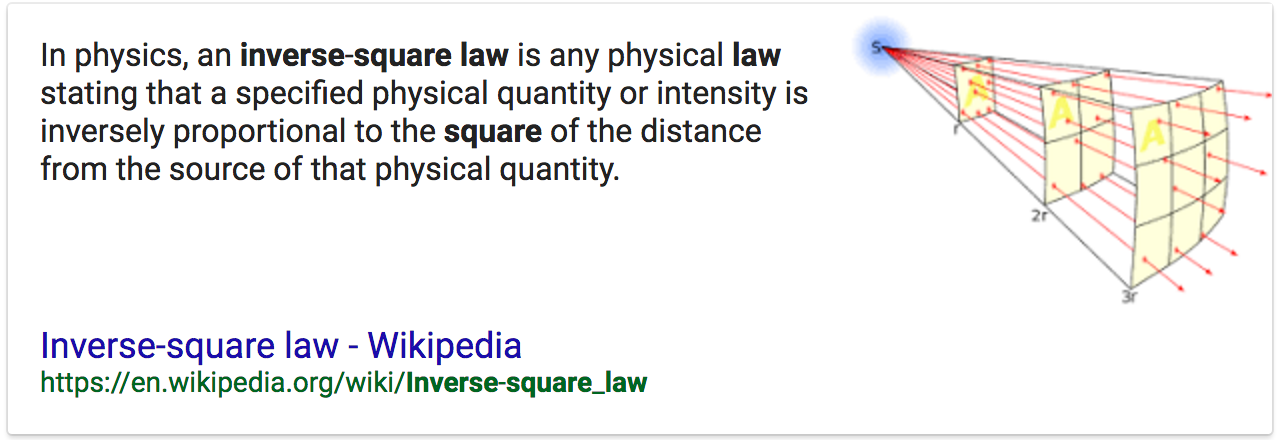
As you can see in the illustration above, at twice the distance the light has to cover four times as much space making it four times less powerful.
Four times less = 2 stops less in f-stops.
So if the light was f-8 on your subject at 4 feet, and you moved the light back to 8 feet, the amount of light on the subject would now equal f-4. If you started at f-4 at 8 ft and moved the light in to 4 ft it would be f-8.
What if instead of moving the light from 8 ft to 4 ft you decided to move it in 6 ft? Well, that would be half way between f-8 and f-4… f-5.6.
Now look at what happens when we apply the rule to a set of distances.
THE IMPORTANCE OF KNOWING RECIPROCALS
A reciprocal is simply understanding the relationships between all the numbers we throw around in photography.
F-stops, shutter speeds, ISO – all work hand in hand with each other to make the image with correct (for you) exposure. Changing any one of these three will necessitate a change in one of the others to compensate.
Let’s look at ISO:
f-4 / 1/125 @ ISO 100
If we change that to ISO 200 one of those above will have to change. Either the f-stop or the shutter speed. Since the ISO is now one stop more powerful, we either have to change to f-5.6 or change the shutter speed to 1/250. Both of these changes have the affect of decreasing the exposure setting one stop due to increasing the ISO by one stop.
Simply knowing the basics of one set will make it easy for you to re-configure for a new set.
I use ISO as my constant. In this case, I will use the settings of Sunny 16 (f-16 at 1/ISO).
ISO is 100 for these reciprocals.
f-16 @ 1/100
f-11 @ 1/200
f-8 @ 1/400
f-5.6 @ 1/800
f-4 @ 1/1600
f-2.8 @ 1/3200
These are committed to rote memory.
Changing the ISO compels me to make associated changes in these figures. If the ISO goes faster, I simply change the f-stop OR shutter speed to correlate to the amount of change in ISO. If the changes go out of the range of my camera, I will change one first, then catch up the other.
Example:
The light is getting a bit low, and I want to shoot with a shutter speed that allows me to hold the camera still. I take a meter reading and find that at ISO 100, my exposure for that shot is f-4 @ 1/15. Well, that aint’a gonna work for me handheld.
So first I decide that f-4 should be f-5.6 because of some Depth of Field issues (which moves the shutter speed down to 1/8), so that means I will have to move the ISO one stop for that aperture change to:
f-4 / ISO 100 @ 1/15 to f5.6 / ISO 100 @ 1/8 (reciprocal, one less stop in shutter speed to correlate with additional stop in aperture.
f-5.6 / ISO 200 @ 1/15
f-5.6 / ISO 400 @ 1/30
f-5.6 / ISO 800 @ 1/60
Learn your reciprocals for faster and more accurate decisions in the field.
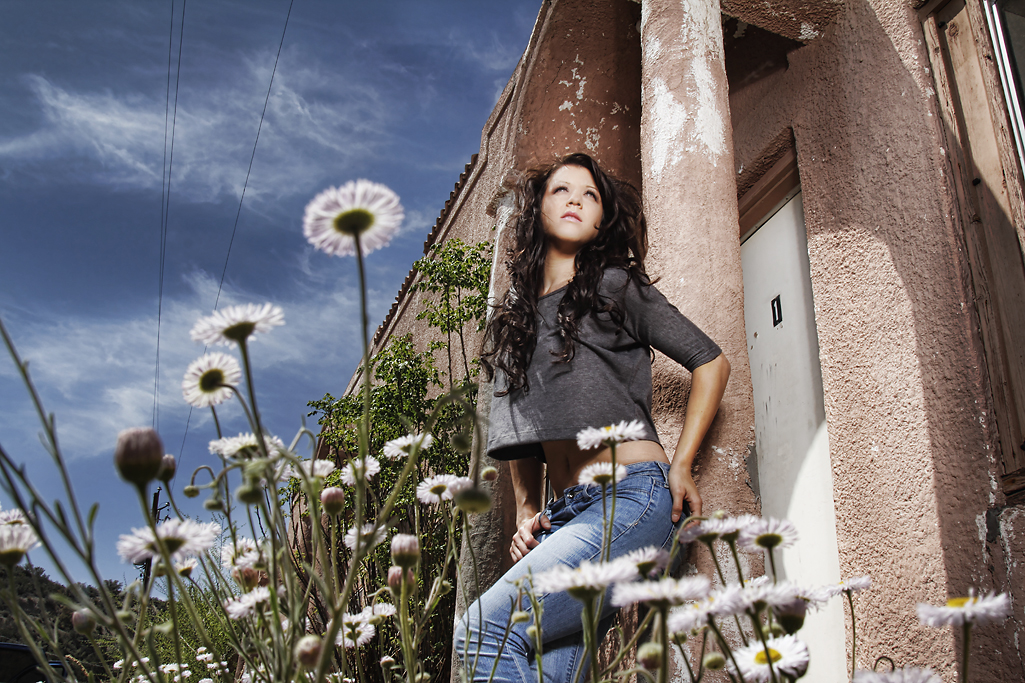
Bri in Miami.
I didn’t want the old building to go too dark behind her so I moved her next to the column. This gave me the ability to move the light in close to her, and let the background fall off fast – but retain the light and the texture right around her so she didn’t ‘pop’ out and look too overly lit.
This is a 4ft softbox with a Profoto 300 WS head and a single diffusion panel in the softbox. It is just above camera viewpoint in this shot – very close to her. You can see the light falling off as it reaches her knees.
I wanted the shot to appear somewhat realistic and not “strobed” so a careful blend of one stop over the ambient was chosen.
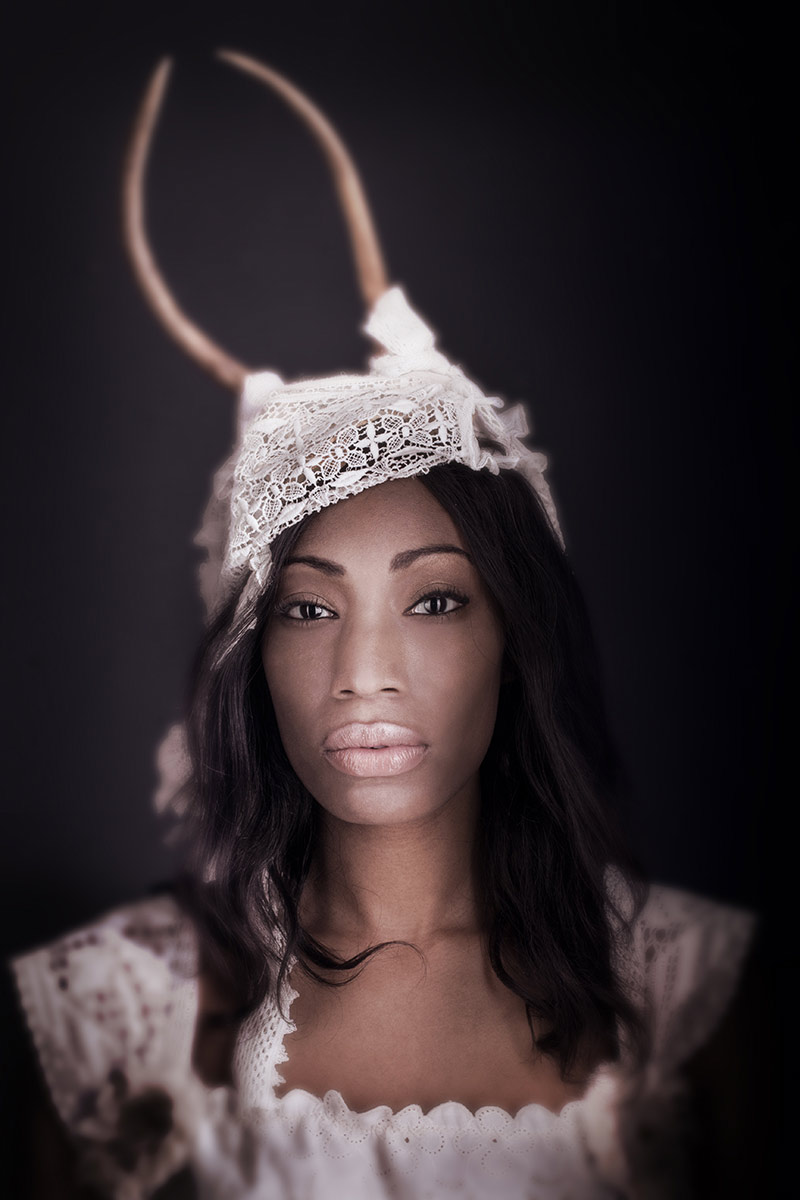
Ivy in the Studio.
My studio had bright white walls in a cove. I didn’t want this image to be on a white background so I moved Ivy far enough away that the light on her had no effect at all on the white wall behind her. It was simply way too underexposed to render at all.
Controlling the exposure through the Inverse Square Law is one of the more important tools you will have at your disposal.
And get this – it doesn’t cost a penny.
ASSIGNMENTS FOR THIS CLASS:
- Using a light source of your own: (studio strobe, speedlight, continuous light) place the light close to the subject and then move the subject AND light source closer to and farther back from a single background. Notice how the image presents itself as you go closer to the background with your subject and light, and what happens when you take subject and light farther away.
- Place camera and background at a fixed point. Then move your subject into the f-16 and make an exposure. Move back to f-11, then f-8, f-5.6, f-4 and if you can f2.8. What happens to the background as you move the subject closer to it and adjust exposure.
- Build your string meter. See below.
Find a piece of good, smallish rope. Clothesline will do nicely.
Put your light on a stand, and run the string straight out from the flash. The flash should be set at 1/8 power if possible. Not full. It should be on “normal” zoom setting neither on telephoto or wide angle.
- Using a meter and a remote flash trigger, find the exposure point for f-4 by going down the rope and aiming the ambient light meter dome directly at the strobe. Keep going until you find the point where f-4 is noted on your meter.
- Using a knot or marker, note that point as f-4.
- Now find the middle of the rope and note it with knot or marker.
- Between the end of the rope and the middle (left side) put a knot or mark in the middle of that area.
- Between the middle of the rope and the end to the right put a knot or marker
- On the right side, now find the middle between the end and the first mark, and knot it or marker
You now have simple rope meter that will be incredibly accurate in all situations.
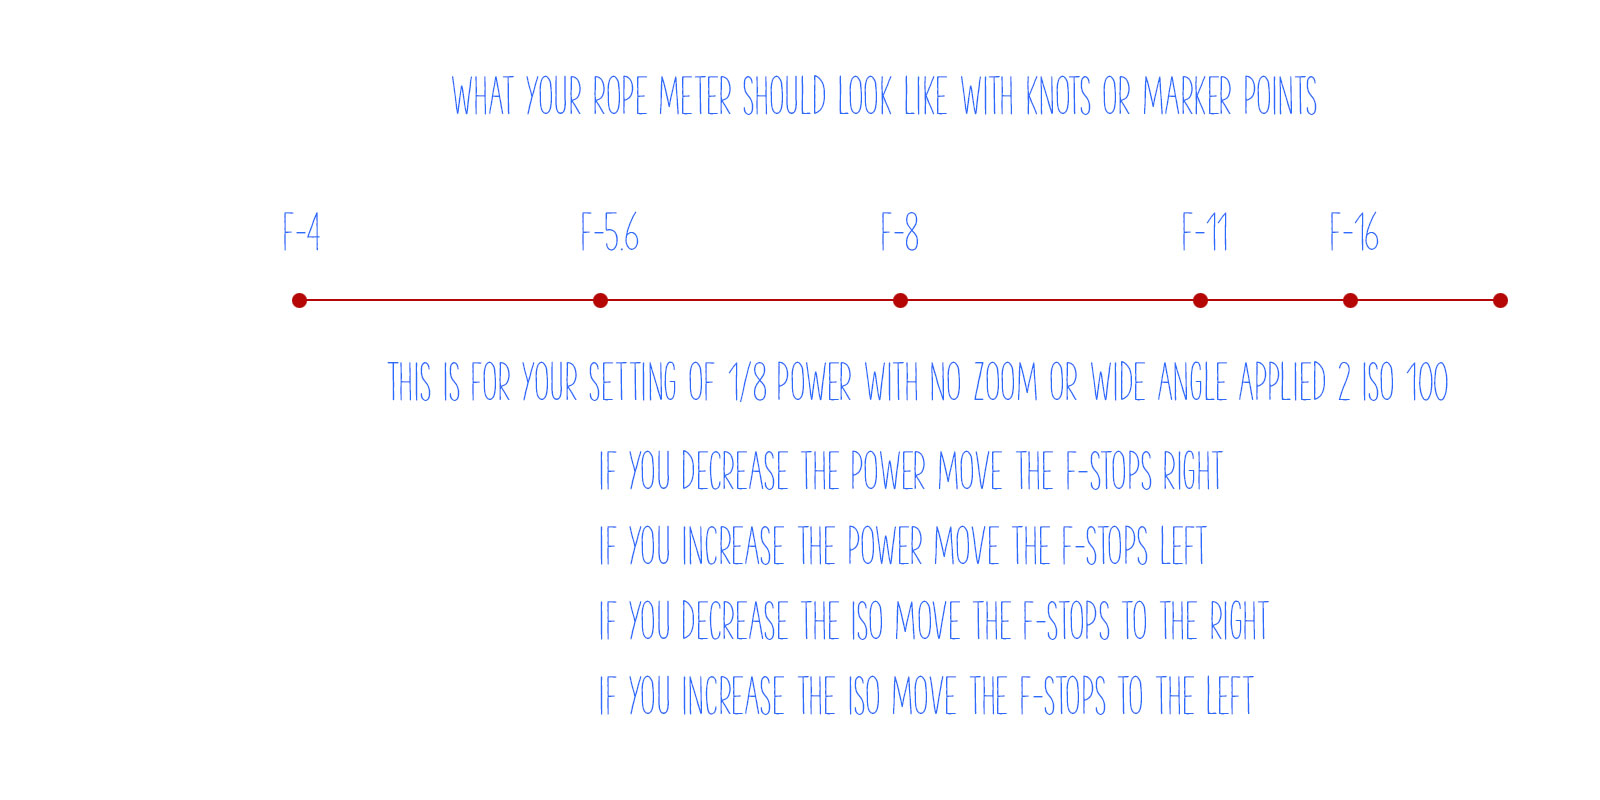
Finding f-4 is the most important part. Use a lightmeter for best results.
If you want to use a gray card, make sure it is at a very slight angle to the light source so it will not have a specular for the camera to see (the reflection of the light source). Shoot at f-4 until you find the distance that will render a single line of pixels in your histogram dead center. That is perfect exposure of a gray card.
Of course, you must fill the lens with the gray card, no extraneous stuff in the viewfinder – just the gray card.
March Madness: 31; Making the Subject Look Cold
Making The Subject Look Cold By Pablo Minier (This is the last of the March Madness tutorials. If you want to take them all in, just click the March Madness graphic on the right and it will take you to a list page. We hope you enjoyed these little tutorials and got...
March Madness: 30; Building a Successful Instagram for Paying Clients
Building a Successful Instagram for Paying Clients By Virginia Smith Is it just about getting as many followers as you can? As far as Instagram goes (and even twitter) it's better to focus on up and coming brands, brands that are trending or that interact with their...
March Madness: 29; A Different Approach to Table Top
A Different Approach to Table Top By Thomas Poehler A very common assignment when it comes to table top product photography is to capture a product in a neutral setting. Often you are asked to have white seamless background with no or without shadows and reflections....
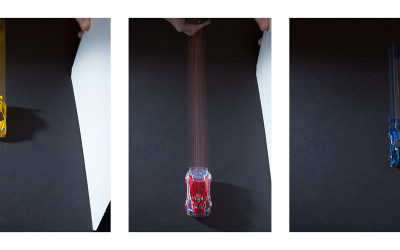
March Madness: 28; Showing Motion
Showing Motion In a Still Image by Sarah Flannery Our most recent P52 assignment was a to portray the concept of "speed." The image was to be used in billboards and magazine ads for a local motorcycle and bicycle delivery company. I quickly came to the conclusion...
March Madness: 26; Make Better Travel Photos
Make Better Travel Photos by Chad Lue Choy https://www.youtube.com/watch?v=LASP0aGapus
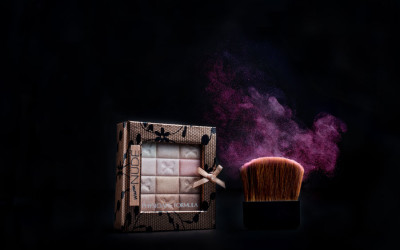
March Madness: 26; Photographing Cosmetics
PHOTOGRAPHING COSMETICS By Anjali Fong ASSIGNMENT: Shoot an ad for a local cosmetics company. Use something as a prop to help stage the cosmetic(s) you choose to shoot. Perhaps a stone, or a flower, or a lovely piece of wood. Set off the cosmetic item with a single,...
March Madness: 25: One Thing About One Thing
How would you say just one thing in an image? by John McAllister Moreover, how can you convey a wide-ranging concept such as 'just one thing' that is both immediately understood and eye-catching? For me, it's starting with the creation of a list of descriptive...
March Madness: 24; Steaming Coffee Still Life
Shooting a Steaming Cup of Coffee By Teresa SteMarie This image was made to respond to a P52 conceptual photography assignment with the task of say one thing about one thing. Concept The concept I chose was to show that the coffee was HOT. To emphasize the hot...

March Madness: 23; Retouching a Headshot
Portrait/Head shot Retouching Tutorial: By Alex Baker Most portraits need some amount of retouching in Photoshop to help them look their best, and to an extent, many clients expect it. The most important thing to remember when retouching is to do everything on a...
March Madness: 22; Making an Action in Photoshop
How to Create a Photoshop Action by James Kern https://www.youtube.com/watch?v=DVUXzHbJVAk
March Madness: 21; A Unique Pour Shot
The Beauty of the Pour by John McAllister Freezing the movement of liquid will always captivate the viewer. Each snap of the shutter creates a unique image. Take a moment to think about the multitude of variables involved in the simple act of pouring a wine into a...
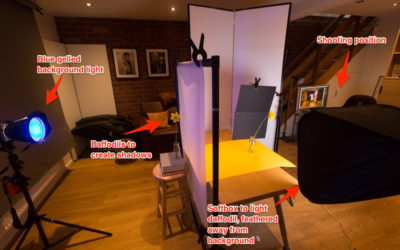
March Madness: 20; Making the Image by Making the Shadow
David Travis is a Project 52 member, and a quite wonderful photographer. For the Still Life Class, the assignment was to create powerful images using a "point source" light which would create a powerful shadow. In fact, the shadow should define the subject in many...
March Madness: 19; On Going Pro After Working Corporate
GOING PRO? Quitting the day job for a life as a freelancer? OK... but here is something to think about. You can quit that soul-sucking cubicle job, but can you let it go? I think that is going to be the toughest challenge you face. Corporate life and the life of a...

March Madness: 18; Photographing Chocolate
The P52 Assignment Brief: Chocolate. Bret Doss “A square image that screams chocolate, with a bit of an editorial look if possible.” That is the extent of the brief; the rest is up to me. It allows a lot of possibilities, of course, which is both wonderful and...
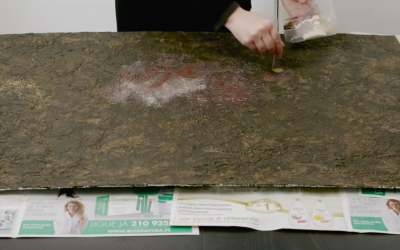
March Madness: 17; Building a Backdrop for Table Top Photography
How to create a background for table top photography by McGunn Media. https://www.youtube.com/watch?v=B6Igq7Ig-bg&feature=youtu.be
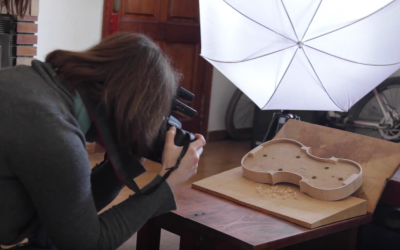
March Madness: 16; Photographing a CD Cover
SHOOTING A CD COVER By Alex Baker I was asked by a local string quintet to create some images to be used for their debut cd which they recorded in December. I've made a few album covers before and although you can go in pretty much any direction, there are a few...
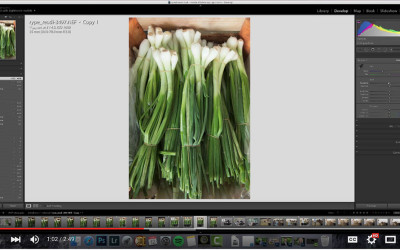
March Madness 15: Introduction to a Lightroom Edit
An introduction to the basics of Lightroom by Brian Miller: https://www.youtube.com/watch?v=jXYYHZ7FRWo
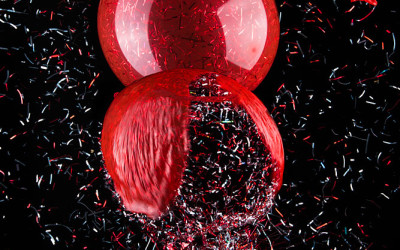
March Madness: 14: Blowing Up a Balloon
THE EXPLODING BALLOON SHOT By James Kern https://www.youtube.com/watch?v=aJUTECg0GgI Images:
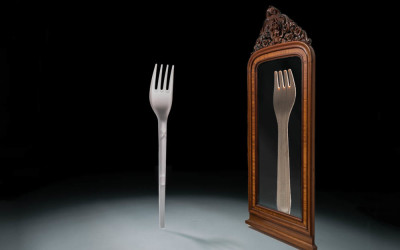
March Madness: 13; Fun with Forks
The Fork Shot By Tammy Bogestrand – www.tammybogestrand.com The assignment (Assignment 27) was to create a shot with a fork (or forks) for a company dealing in ”change”. Food as props were to be avoided. Other props were fine, as long as the Fork was the star....
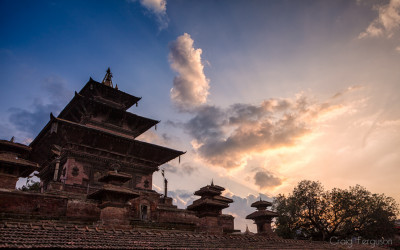
March Madness: 12; Travel Photography Tips
Planning Your Travel Photos by Craig Ferguson www.craigfergusonimages.com With summer coming up a lot of you are probably busy making plans to get away for a well-deserved vacation somewhere. I thought it would be useful to look at a few ways you can plan ahead of...
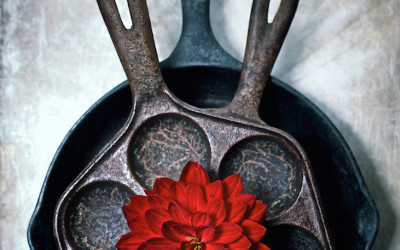
March Madness: 11; Still Life with Flower
The P52 Assignment Brief: Still Life with Flower. Bret Doss “A color, vertical (portrait) oriented still life image with ordinary objects, diffuse main light source, that must contain at least one flower, but the flower(s) must not be the subject of the image. The...
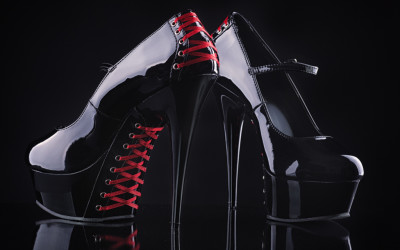
March Madness: 10; Photographing Women’s Shoes
Shooting Women's Shoes John McAllister Photograph some high heel shoes? How hard can that be? I immediately called my fashion-conscious daughter to provide a selection of her favourite heels. I soon realised the design and construction of shoes present a far more...
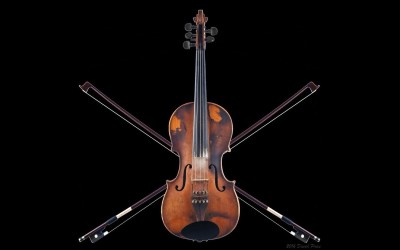
March Madness: 09; Violin Pirate Flag
Violin Pirate Flag By David Price Photographed January 2016 Years ago, some friends and I were messing around, experimenting if you will, with some concept photographic sketches and some writing. We got onto the idea of an extended piratical adventure and ran with it....
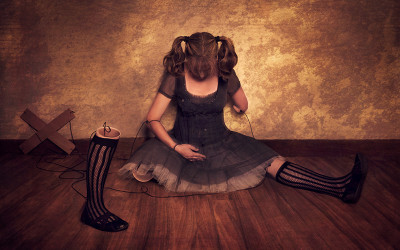
March Madness: 08; The Making of “Broken Doll”
The Making of "Broken Doll" By Carla McMahon (NOTE: This image won the Annual Kelby One Photo & Design Contest) This is a composite of about 5/6 images. My camera was on a tripod and every image was taken from the exact same angle and focal length. First an image...