AI Notes
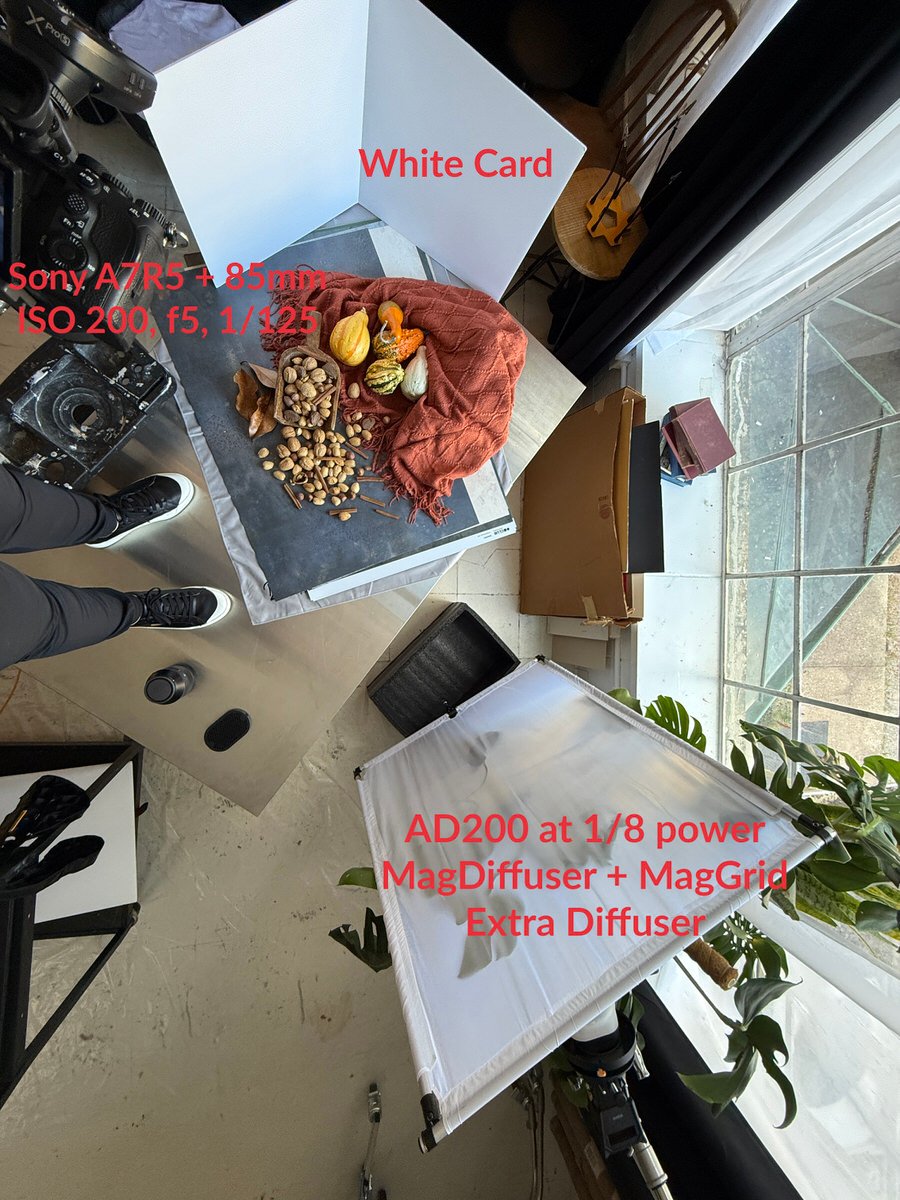
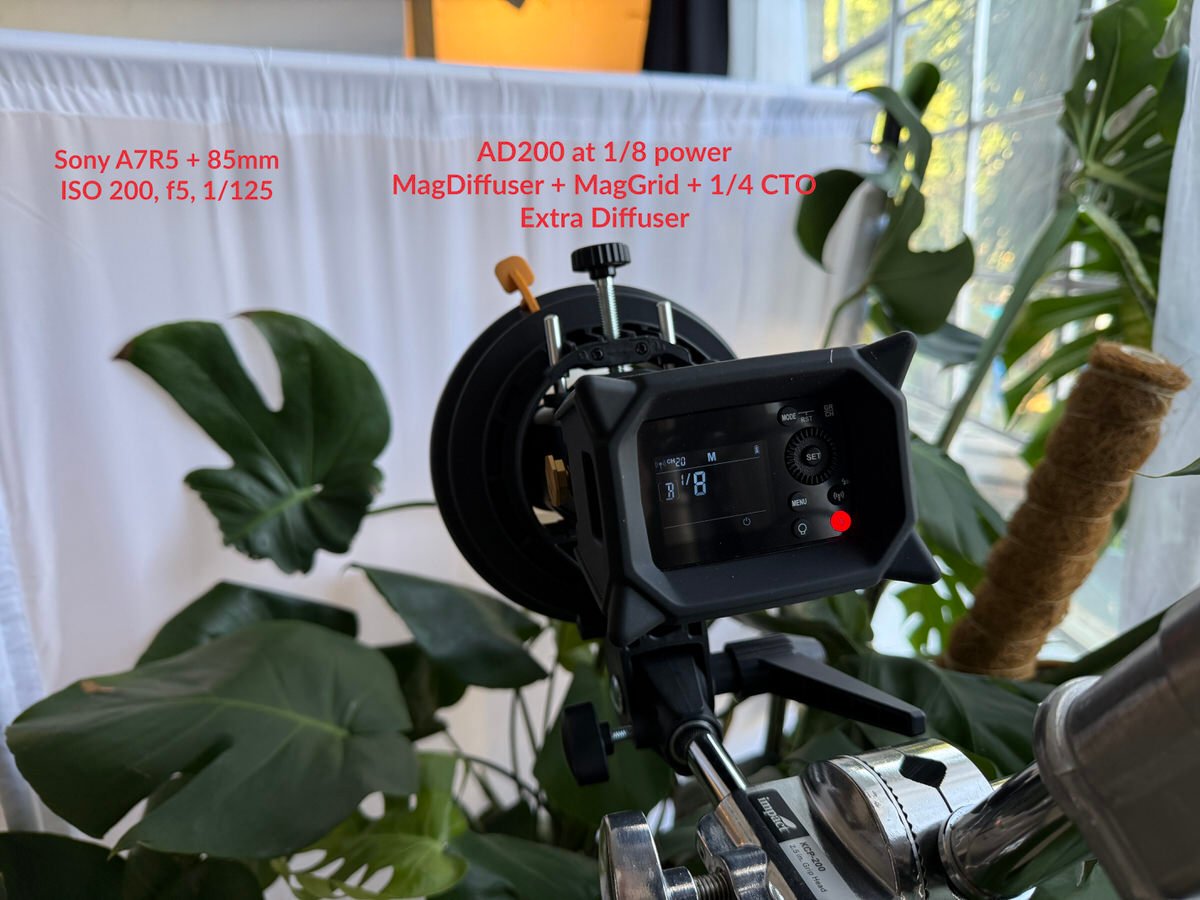
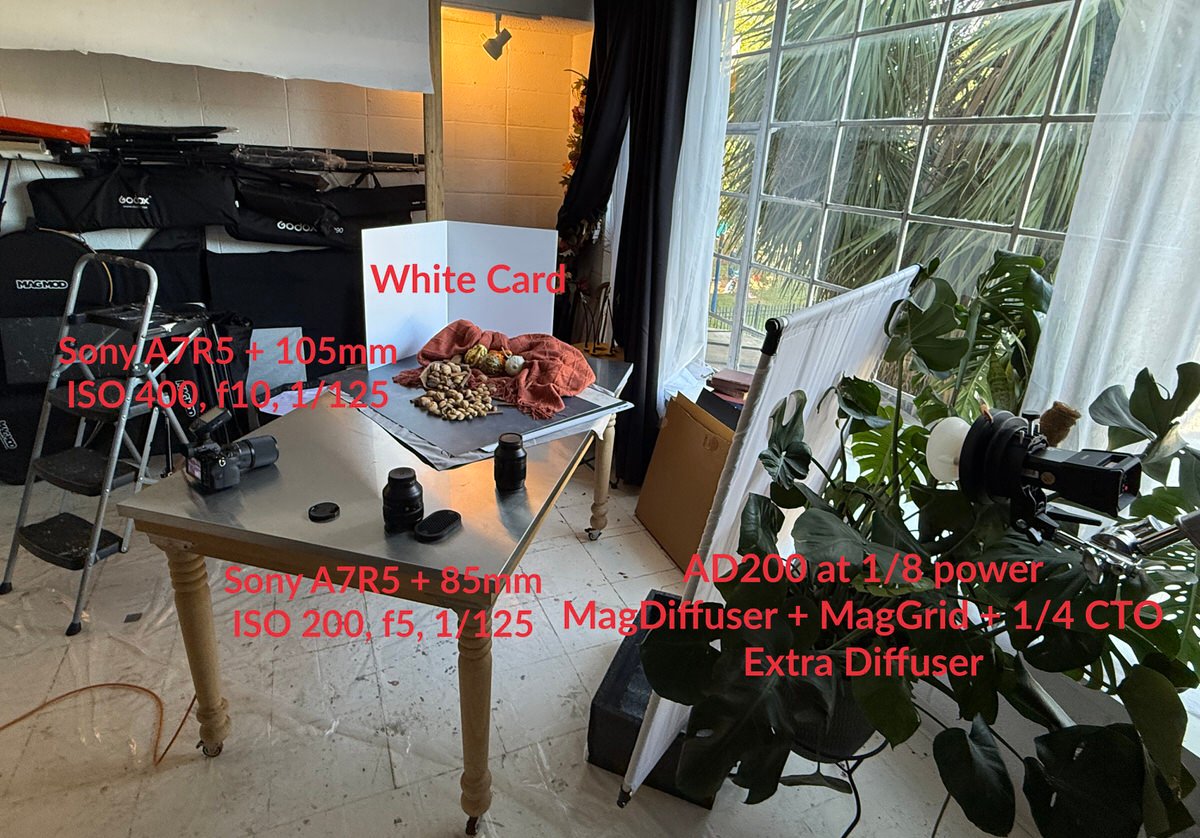
Meeting assets for the SATURDAY CLASS STILL LIFE are ready!
Meeting summary
Quick recap
The group discussed various photography techniques and equipment, including the use of AI browsers, lighting setups, and tilt-shift lenses for achieving specific effects in images. They reviewed and provided feedback on several members’ photos, focusing on composition, lighting, and post-processing improvements. The conversation ended with discussions about creating personalized photo books as holiday gifts and exploring potential book projects for flower photography, with emphasis on marketing and limited-edition printing strategies.
Next steps
- Don to upload the composition video by Monday.
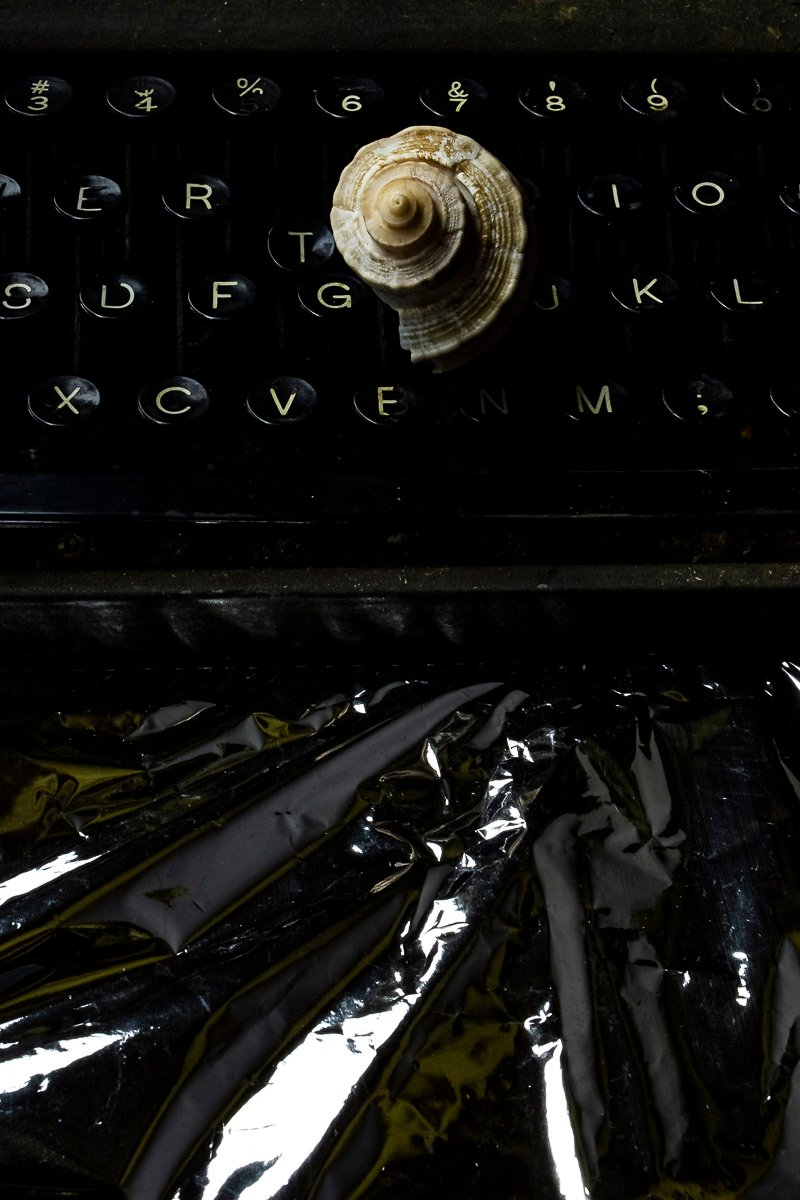
- Elizabeth to reshoot her typewriter image with old wood surface instead of shiny material.
- Elizabeth to use Lightroom to enhance the shell in her typewriter image using object selection.
- Elizabeth to use a linear gradient to reduce brightness in the corner of her typewriter image.
- Mikala to experiment with different aperture settings for her texture shots.
- Mikala to try focus bracketing with her Sony a7C camera.
- Julie to try using a shift lens for her flower photography to improve the horizon line.
- Julie to consider creating a limited edition book of flower photography with unique prints.
- Andrée to try posting the spaghetti image in vertical and diagonal orientations.
- Laura and Don to set up a time between Thanksgiving and Christmas to work on Laura’s website.
Summary
AI Browser Competition and Challenges
Don discussed the new ChatGPT Atlas browser, which offers detailed Instagram analysis and other web features. He expressed frustration with the browser’s interface and noted that it lacks some of his Chrome extensions. The group discussed the growing competition among AI browsers and search engines, with Don suggesting that only one global AI can ultimately succeed. Don also mentioned a pushback against AI imagery in advertising, as consumers prefer realism and truth over AI-generated content.
Photography Tips and Equipment Discussion
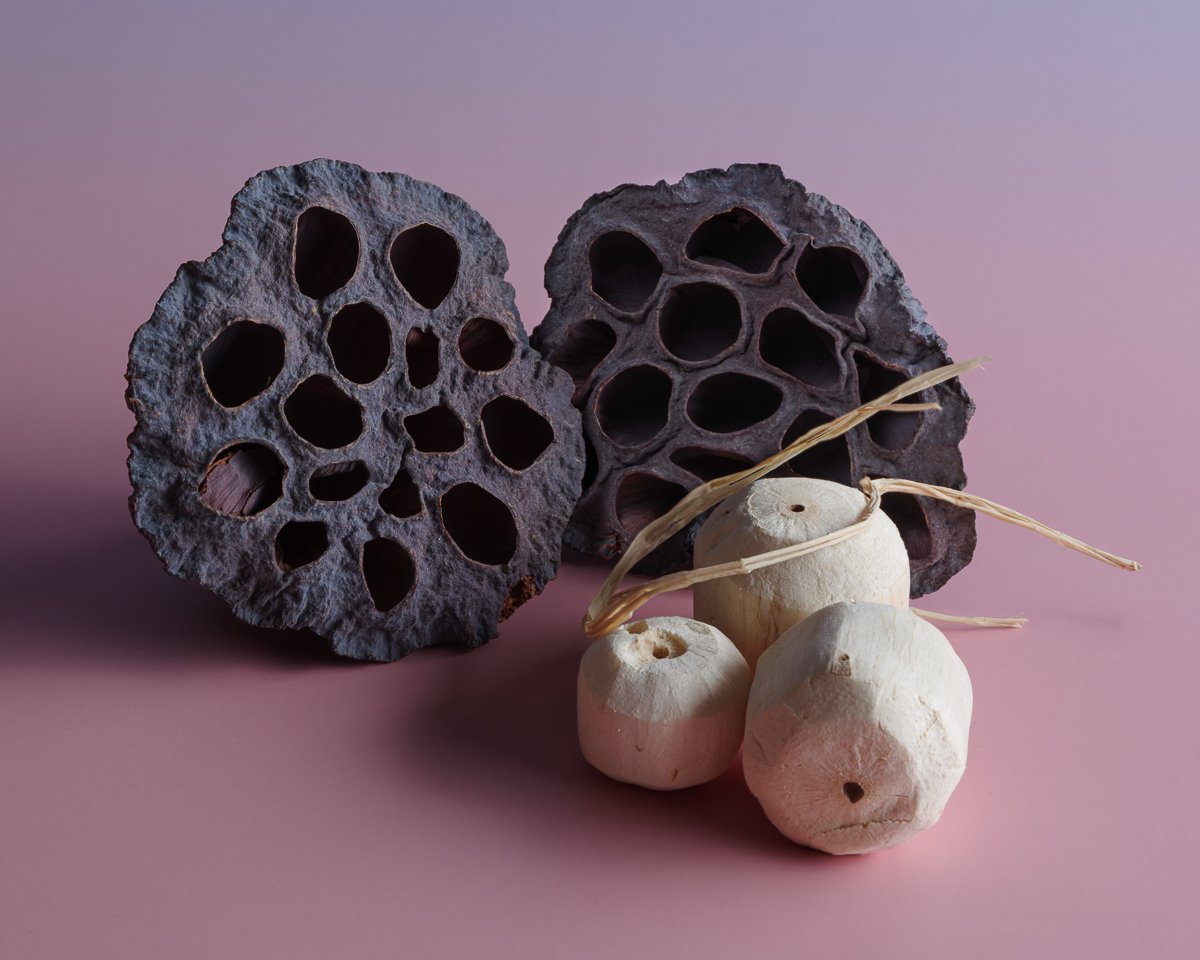
Don and Jan discussed Jan’s photography setup and composition, with Don providing feedback on improving Jan’s photos. They talked about lighting equipment, including Alien Bees and Pocket Wizards, with Don sharing a story about a photographer who spent too much money on equipment. The group also admired Bob’s photo using colored paper for a gradient effect.
Photography Techniques and Feedback
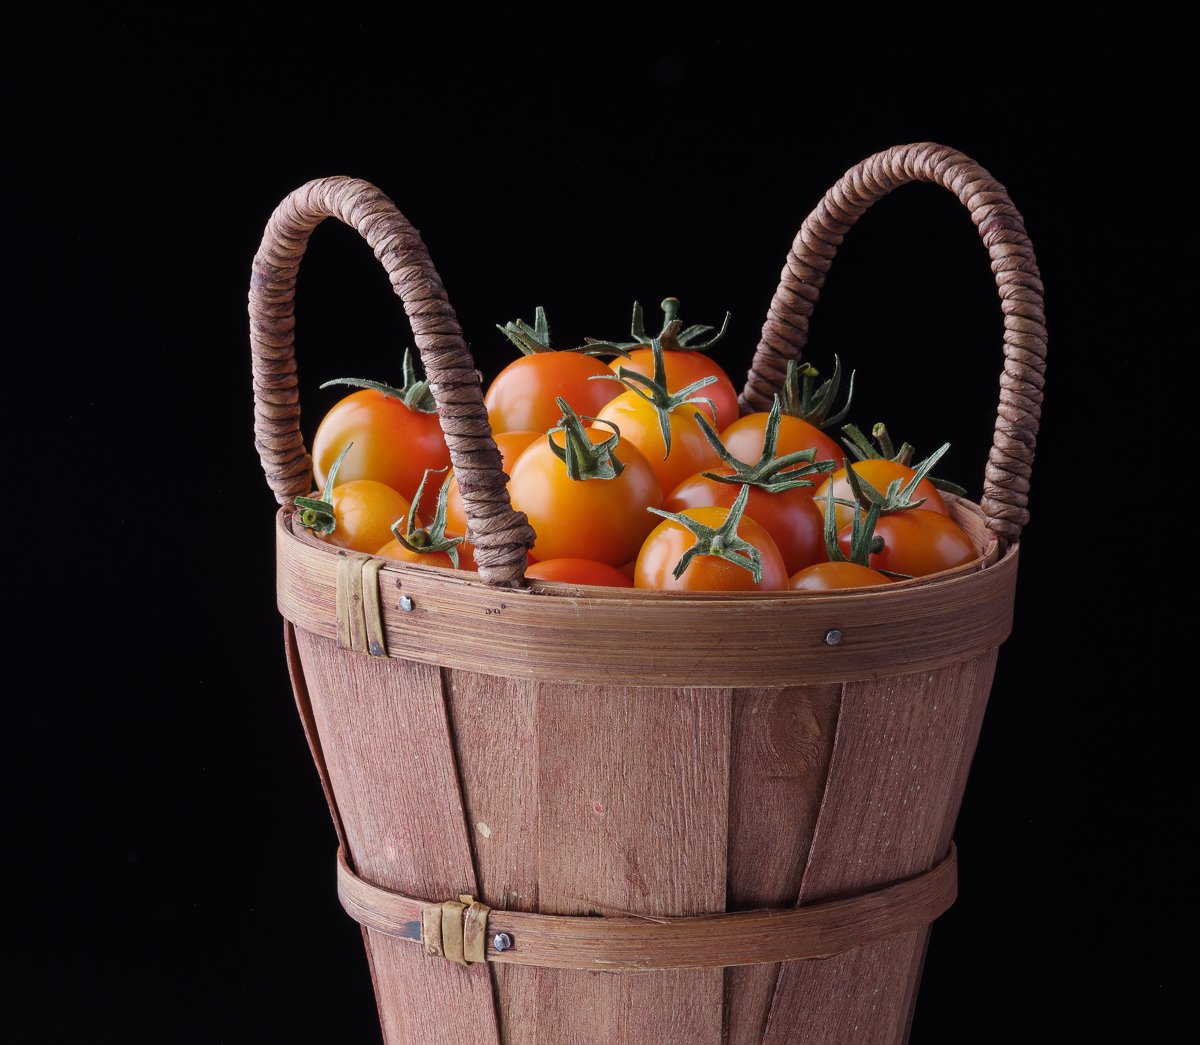
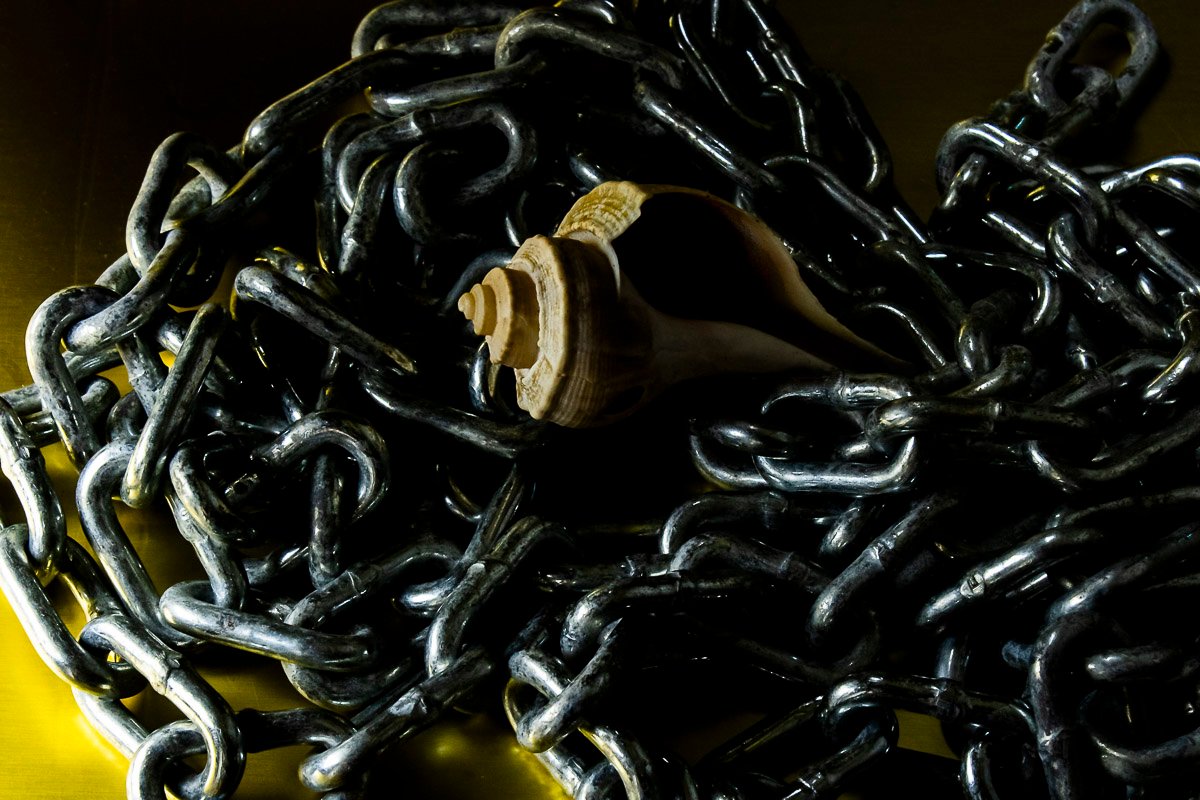
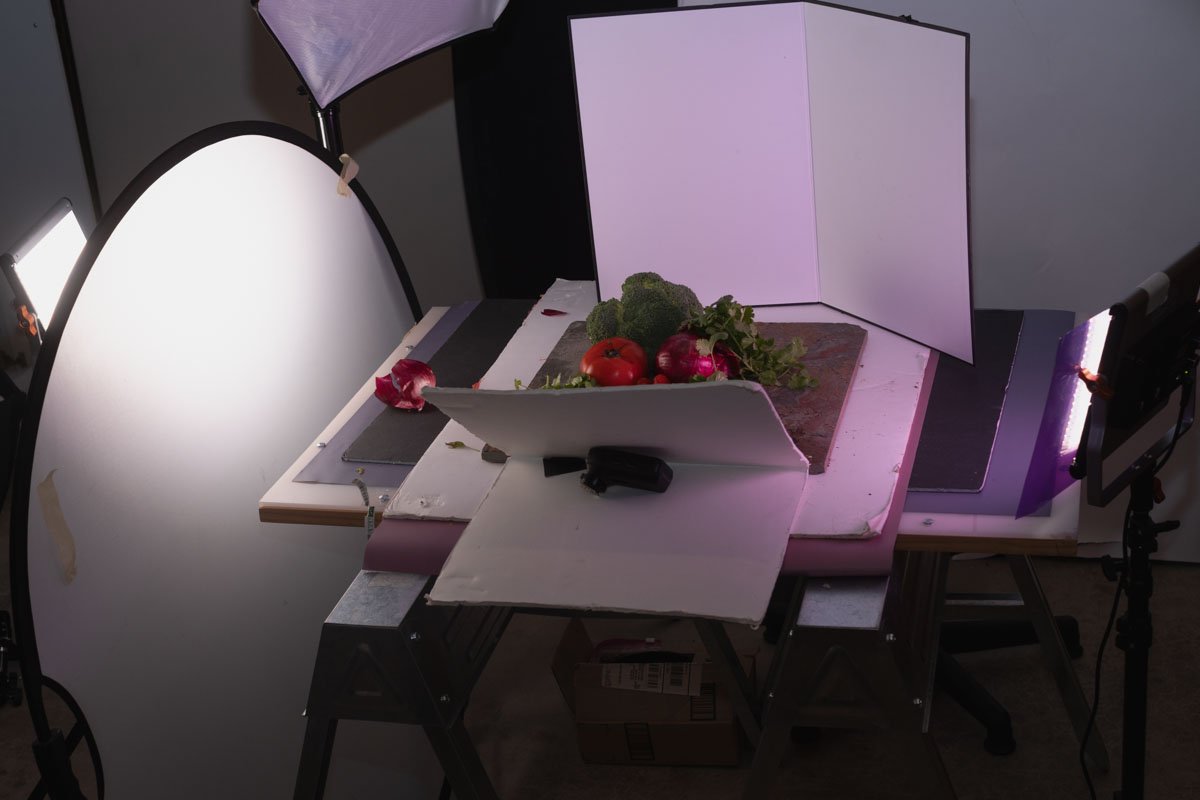
Don and Bob discussed a photography technique involving burning and dodging to enhance film-like qualities in images. Bob presented a photo of tomatoes and wood, which Don praised for its contrast and attention to detail. Elizabeth shared a photo of a typewriter and seashell, which Don suggested could be improved by adjusting lighting and composition in post-processing. The group also briefly discussed the challenges of photographing in a location with motion-sensor lighting.
Topics: Food, Photos, and Collections
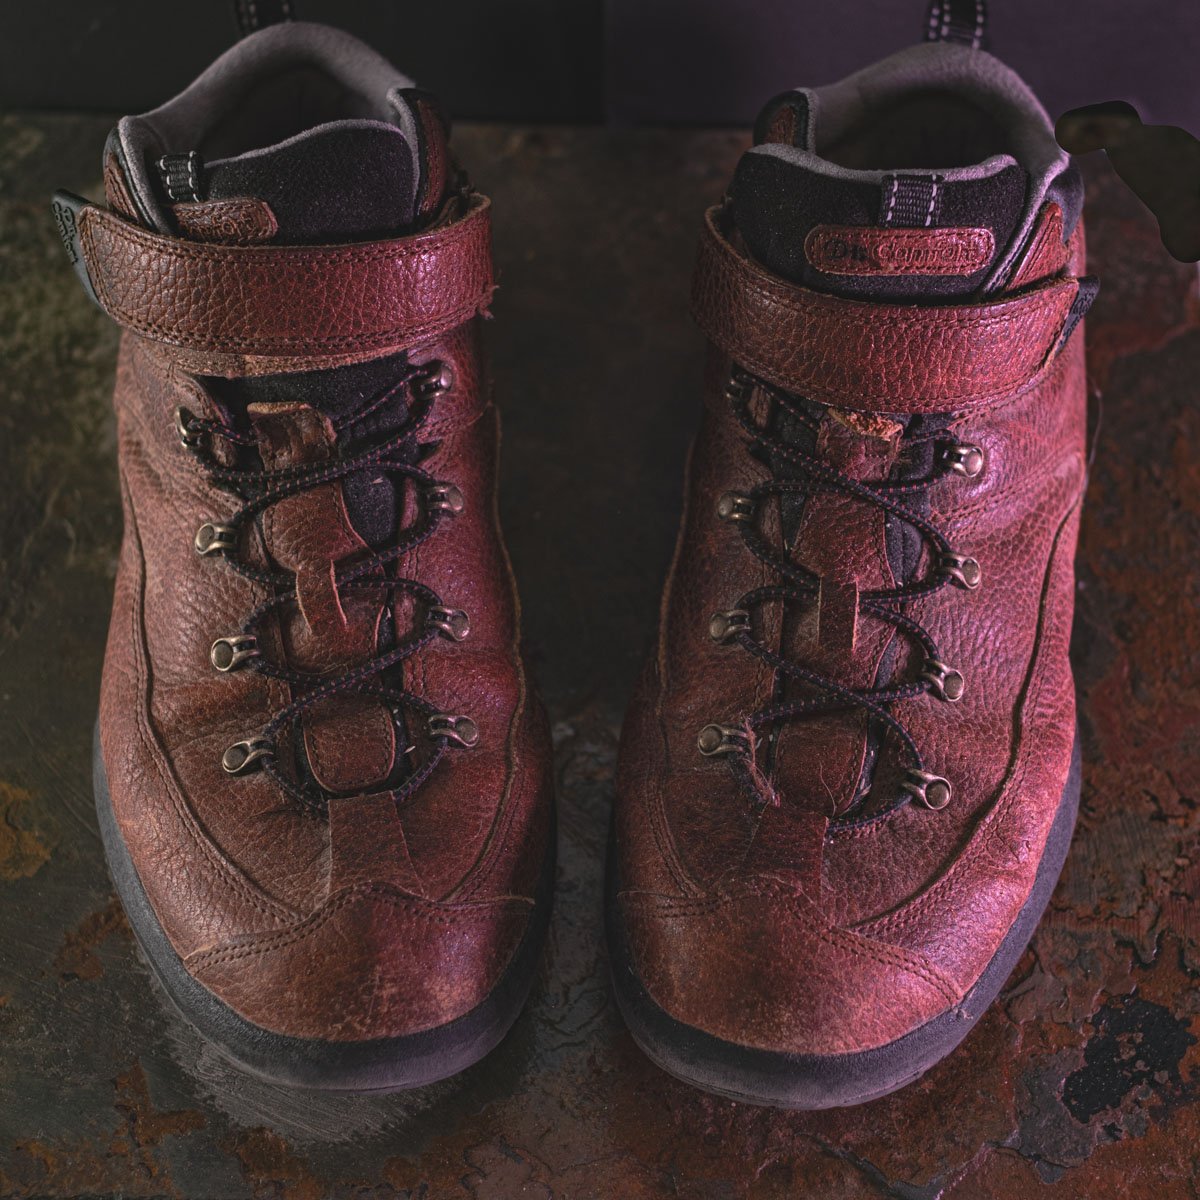
The group discussed various topics, including food, photography, and personal collections. Don and others shared thoughts on dipping broccoli in salsa, while Jay presented a photo shoot featuring worn shoes and found objects, using different lighting setups. The conversation also touched on collecting rocks and cactus bones, with Don mentioning plans for a future installation.
Website Design and Portfolio Planning
Don and Laura discussed website design, with Laura explaining that Cadence is similar to Divi and works with WordPress’s Gutenberg backbone. They agreed to work on Laura’s website between Thanksgiving and Christmas, as Laura needs eye surgery in the coming weeks. Don encouraged the group to create personalized photo books through Blurb as holiday gifts, and suggested Laura highlight her studio’s natural light in her portfolio and website, potentially creating a “My Big Window” feature.
Exploring Mikala’s Creative Photography
The group discussed Mikala’s photography, including her behind-the-scenes shots and abstract images featuring urban scenes and close-up textures. Don suggested creating a book of Mikala’s random shots with the title “Random AF,” which she found amusing since her sister’s initials were AF. They also explored the concept of composition focusing on emotion rather than traditional rules. Don advised Mikala to experiment with different aperture settings and mentioned the possibility of focus stacking, which she learned her Sony A7C camera can do through focus bracketing. The conversation concluded with praise for Mikala’s creative use of out-of-focus elements to add depth and interest to her photos.
Flower Photography Book Project
The group discussed various photography projects and creative ideas, including a conversation about Julie’s flower photography and potential book projects. Don advised Julie to create a limited-edition book of 40 flowers, each paired with a unique print, priced at $250, rather than continuing with calendars. He emphasized the importance of marketing and storytelling for such a project, suggesting print-on-demand for the books and high-quality printing for the included prints.
Photo Book Marketing Strategies
Don discussed the economics of photo books, noting that Edition 1 requires buying four books at a time but only selling three, and highlighted the high value of limited-edition books by famous photographers like Helmut Newton and Ellen von Unworth. He emphasized that photo books can be a profitable marketing tool, with an average print run of 1,000 books and an 80% sales rate, and suggested using techniques like GoFundMe for pre-selling books. Don also provided technical advice on improving a photo’s composition by adjusting the horizon line and suggested using a tilt-shift lens for a unique effect.
Tilt-Shift Photography Techniques Explained
Don explained the use of tilt-shift lenses for photography, highlighting their ability to correct perspective and eliminate distortion. He demonstrated how to achieve a “poor man’s tilt shift” effect by shooting straight across and cropping the image. Don also discussed the benefits of shift lenses in the studio, particularly for focus stacking and lighting. The group briefly touched on techniques for photographing large pieces of art without distortion, emphasizing the importance of distance and using a target on the wall.
Photography Techniques and Feedback
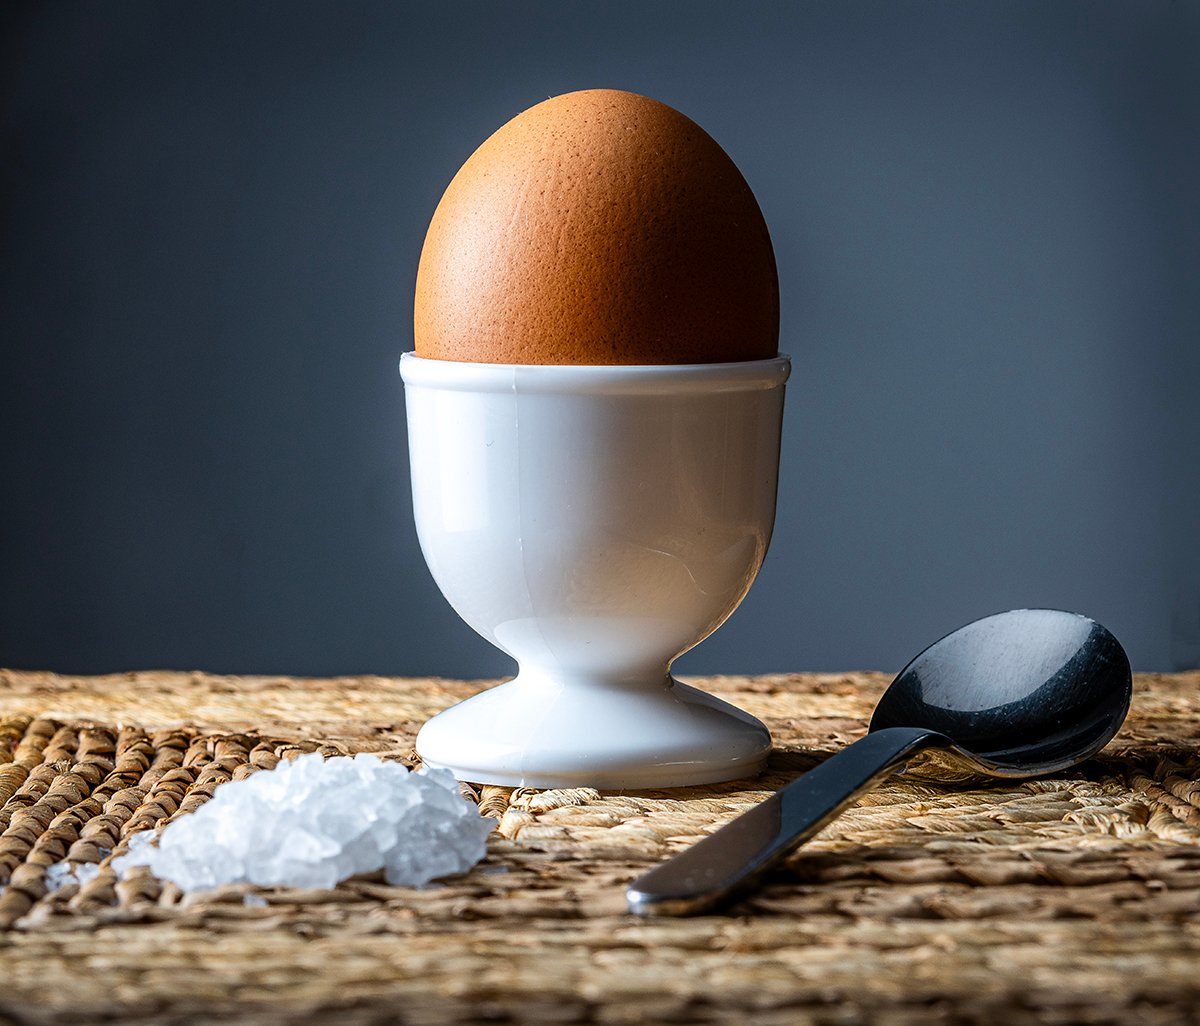
The group discussed photography techniques and equipment, including the use of an apochromatic lens and a copy stand setup. They reviewed several photos, including Patricia’s egg cup shot and Andrée’s spaghetti photo, providing feedback and suggestions for improvement. Don advised on lighting and composition, suggesting that Patricia should have taken two separate shots for the egg and spoon. The group also addressed an issue with a corrupted photo file, which Andrée agreed to check and resize. Don announced that a video on composition would be uploaded on Monday.
ASSIGNMENT SIX: TEXTURES AND BACKGROUNDS
SURFACES AND BACKGROUNDS FOR YOUR STILL LIFE WORK
TEXTURES, BACKGROUNDS, AND SURFACES: are some of the most important tools a still life photographer can keep around the studio. From high gloss plastic to rugged old barn wood to tile and sand, the more the still life shooter has to work with, the better chance he/she will have to find that perfectly complimentary component.
With still life photography, you don’t have to have vast quantities of materials, just enough to cover smaller areas. NOTE, for product and larger items, that will be necessary, but for this class, we only need a small footprint.

TEXTURES
Textures in nature make great textures for a stil-life shooter. Rocks, wood, leaves, and sand can all be used to build a convincing context for a still life image.
Choosing the one that is right for your photography is a combination of research, skill, and perseverance. It also helps to have a large trunk for bringing home all kinds of stuff people throw out. Heh.
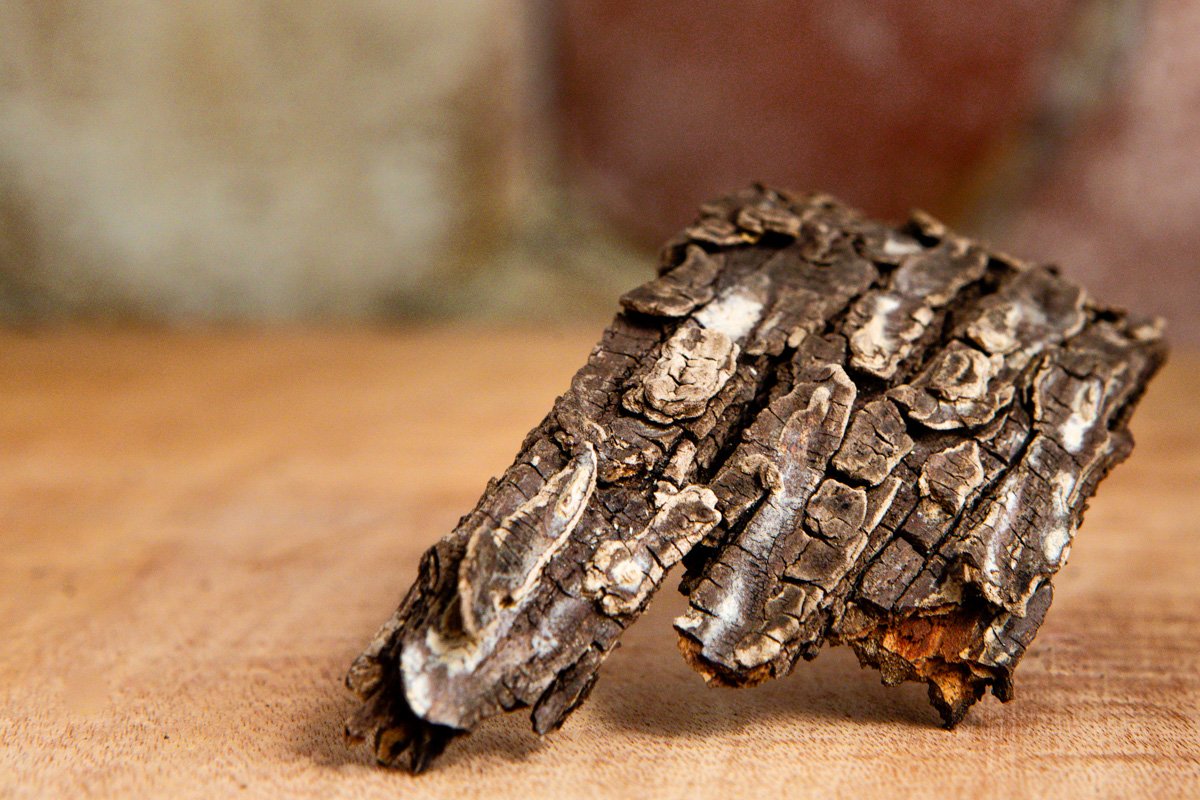
An old cabinet may be sitting on the curb because the top is worn out, scratched, and discolored. All you need is the top. The rest of it may or may not be of any value to a still-life shooter. Same with an old dinette set, or workman’s table. These items have patina and style and can be wonderful backgrounds full of texture for your images.
LIGHTING FOR TEXTURE
To show texture on an item, we must create a highlight and a shadow. Front light provides neither. So that means we need side light or back light to see the texture. That is fine because that is where we want to use our lights in most any traditional still life anyway. (I am careful to say traditional still life, as some of the photographers we will be looking at may have different ways of doing it.)
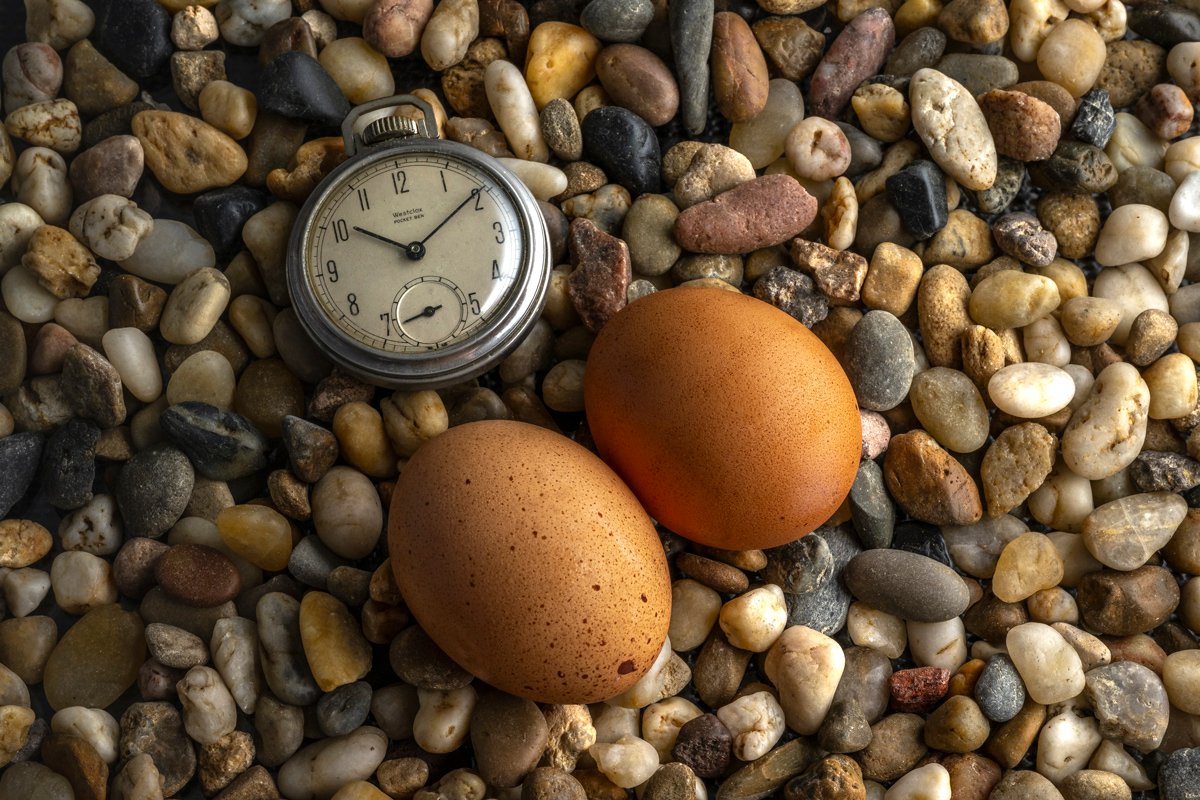
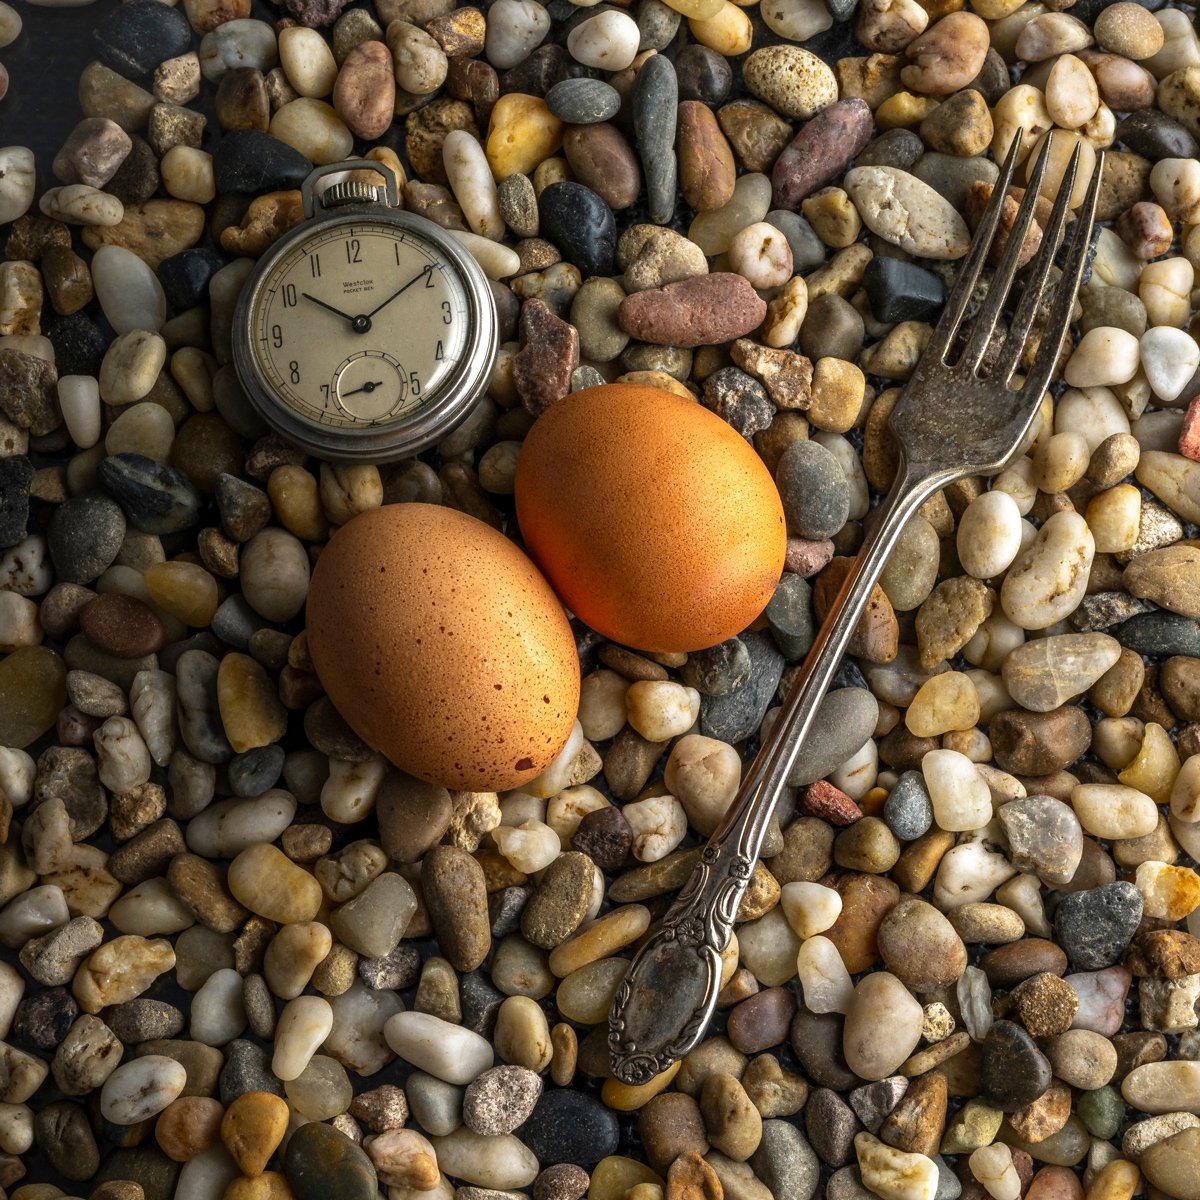
This example shows several different ways to show the texture of a surface.
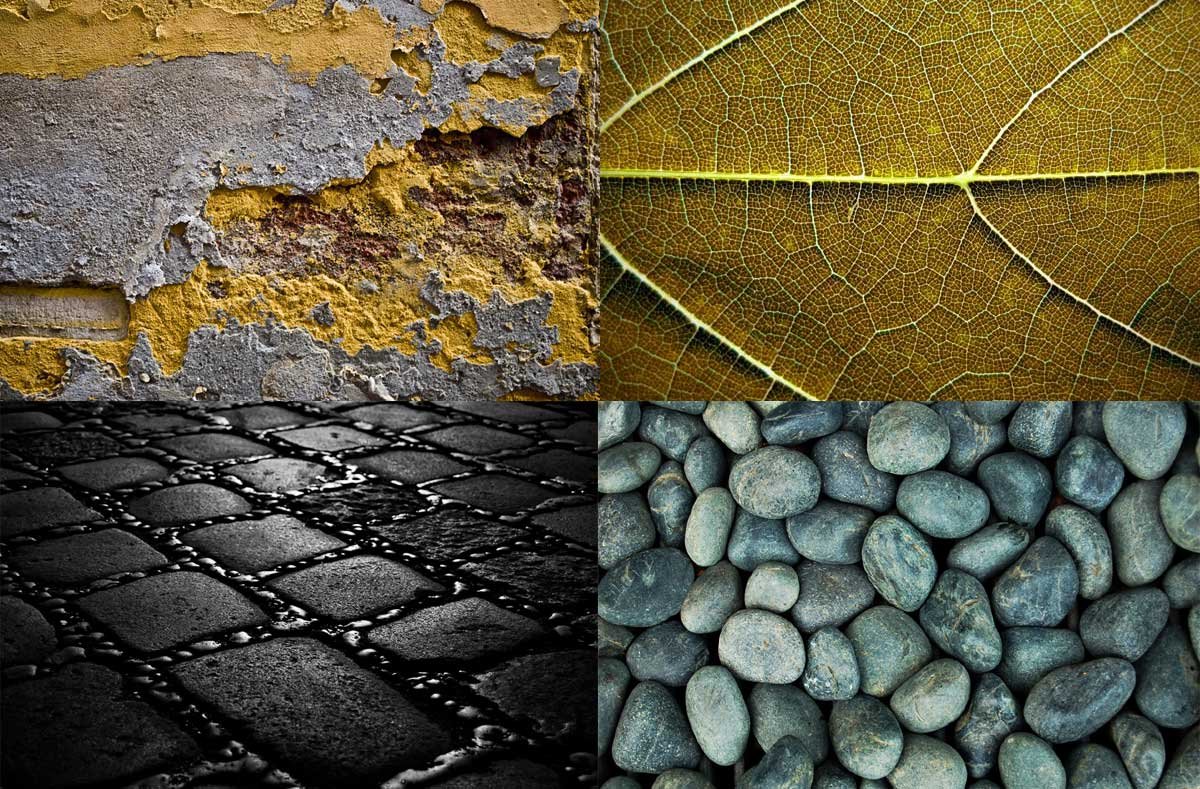
Top left: Old brick wall with hard light. This small, hard light source defines the edges with highlight and gives us a shadow to contrast it with. Highlights and shadows next to each other define texture.
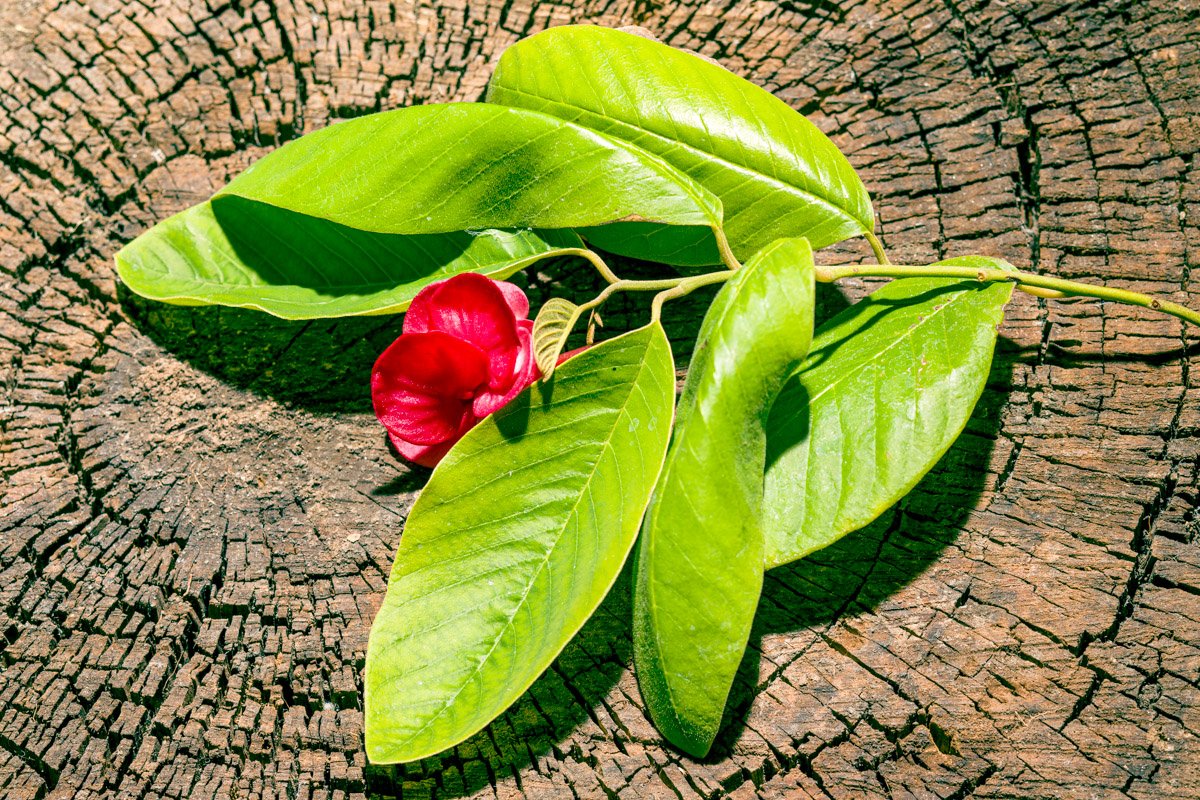
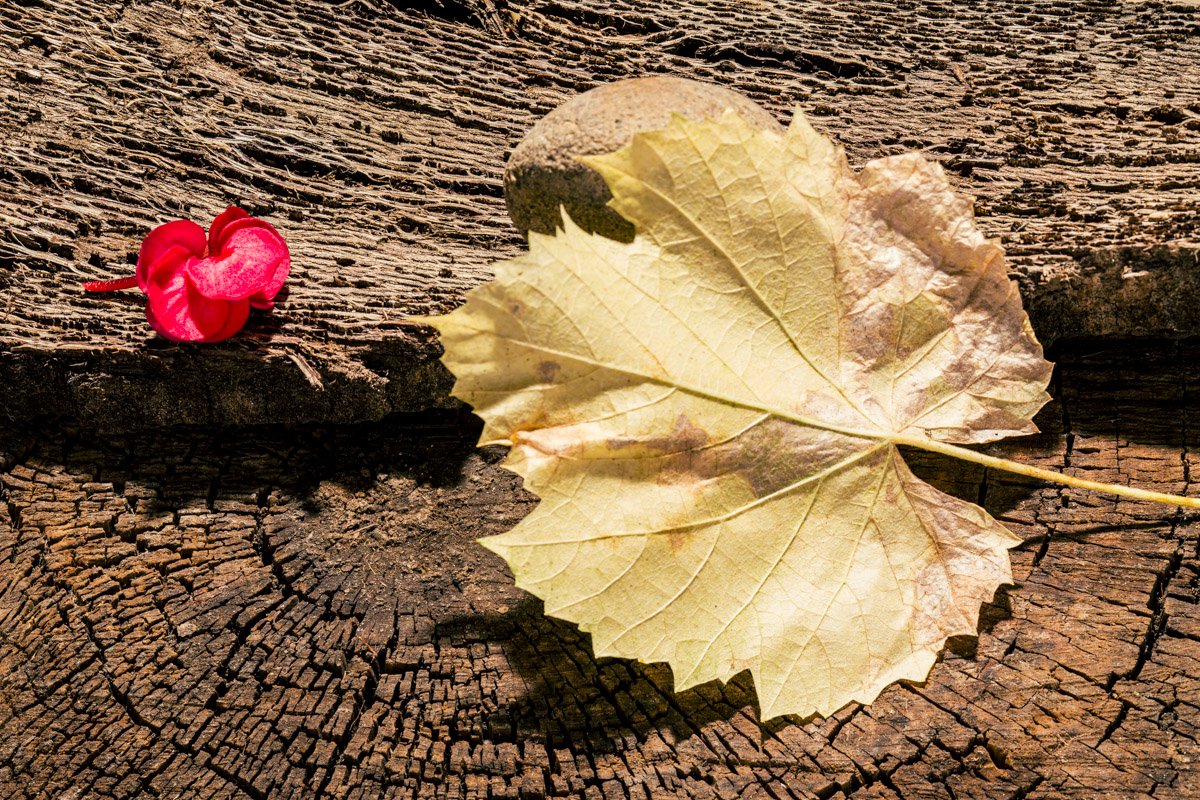
Top right: Leaf with soft, but contrasty light. Placing a soft light source right next to the object gives brilliant highlights while the ISL (inverse square law) has the light falling off rapidly within the scope of the shot with ever increasing shadows.
Bottom left: The surface is black, and the light is behind and reflecting off of it. This kind of specular can be used as a compositional element. The stone and rocks are moderately efficient (reflective) and the light itself is being reflected to the camera. (angle of incidence, angle of reflection).
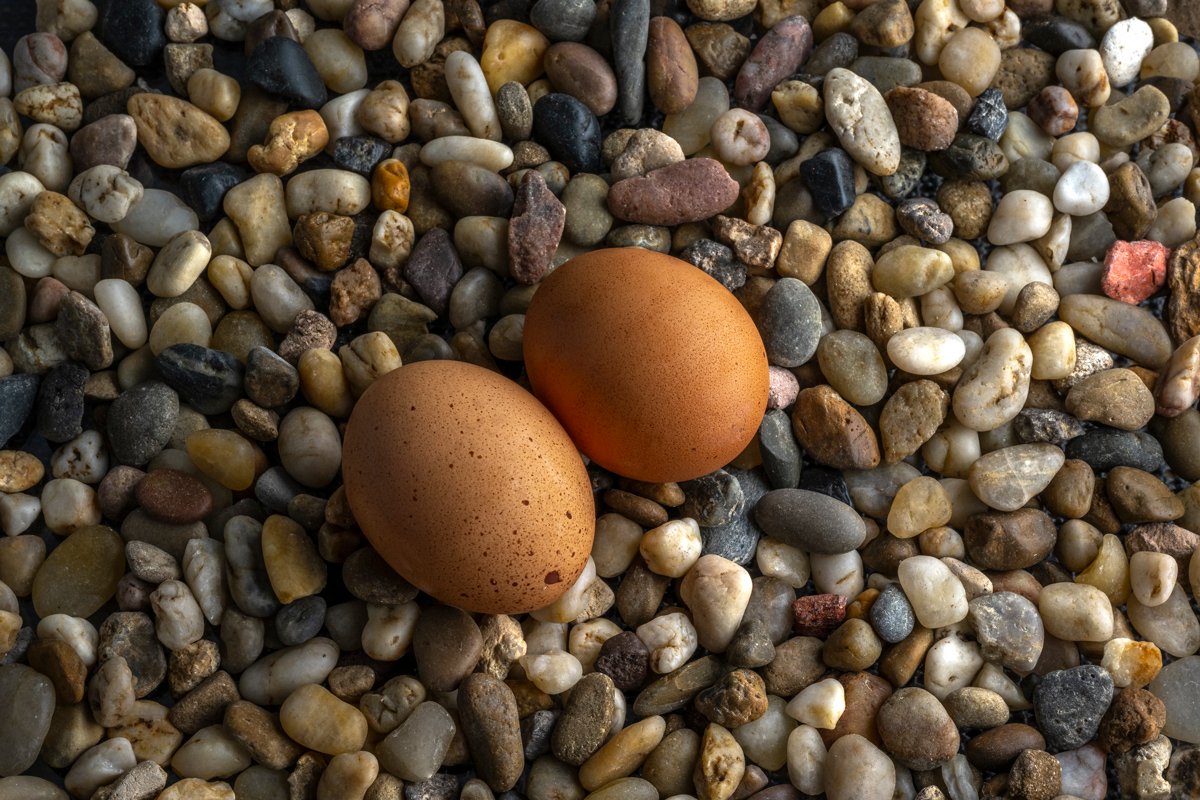
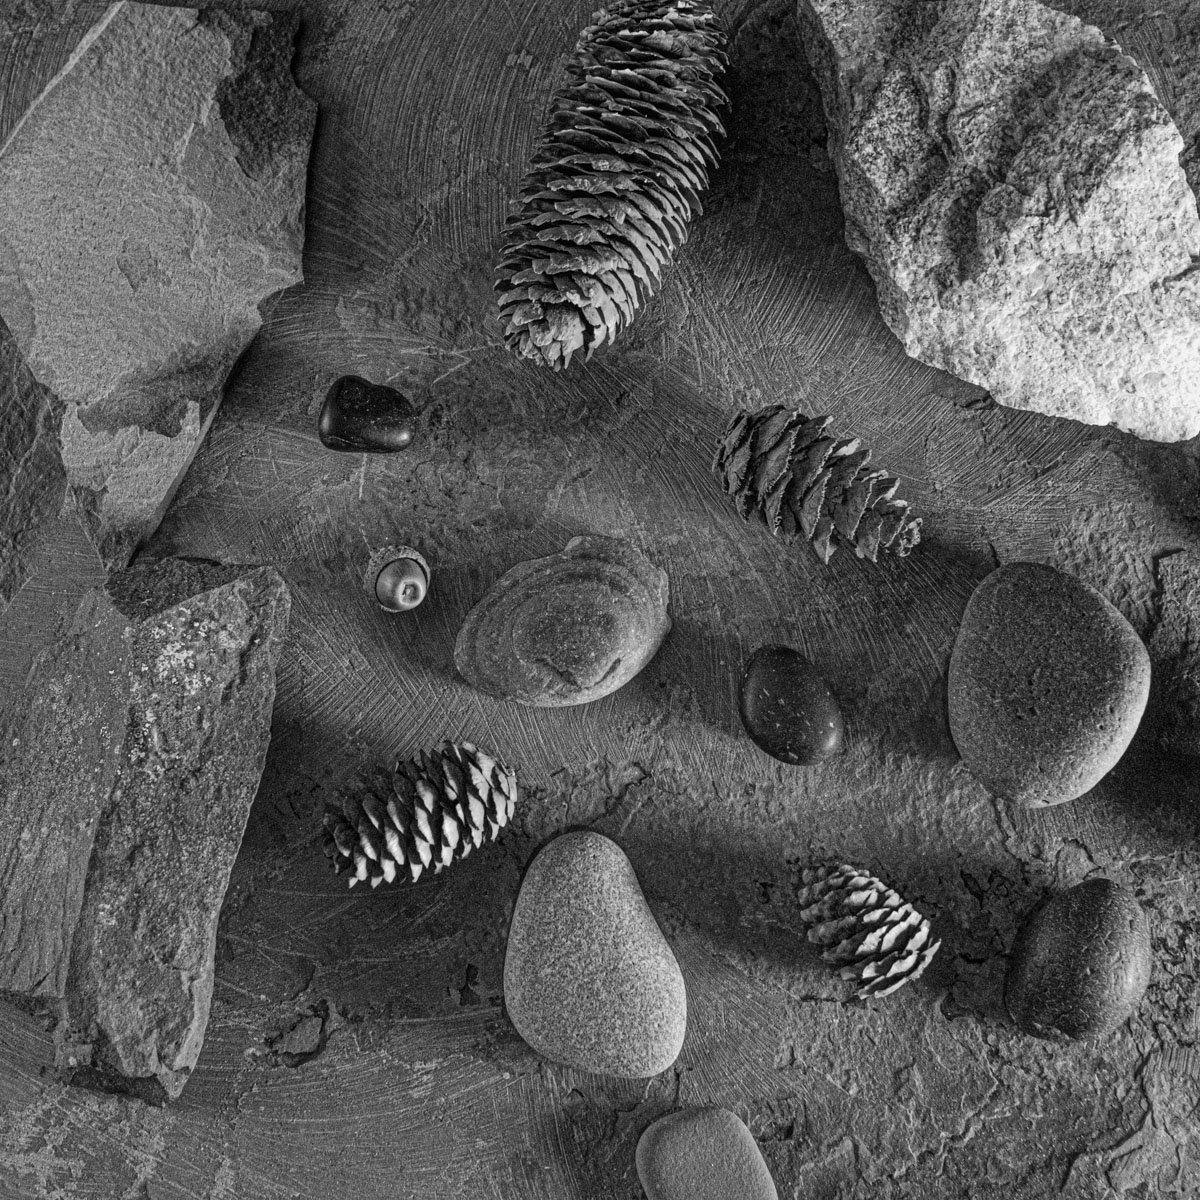
Bottom right: soft light gently embraces each stone, with a soft highlight on the left/top side, and gentle, but contrasty shadows. In this instance, we have the texture of each stone AND the texture that the group of stones builds together for a larger, overall texture.
SAMPLES:

The photographer chose a complimentary wood background for the old wood-working tools shot.

Here the photographer chose a shiny texture and surface to compliment the subject

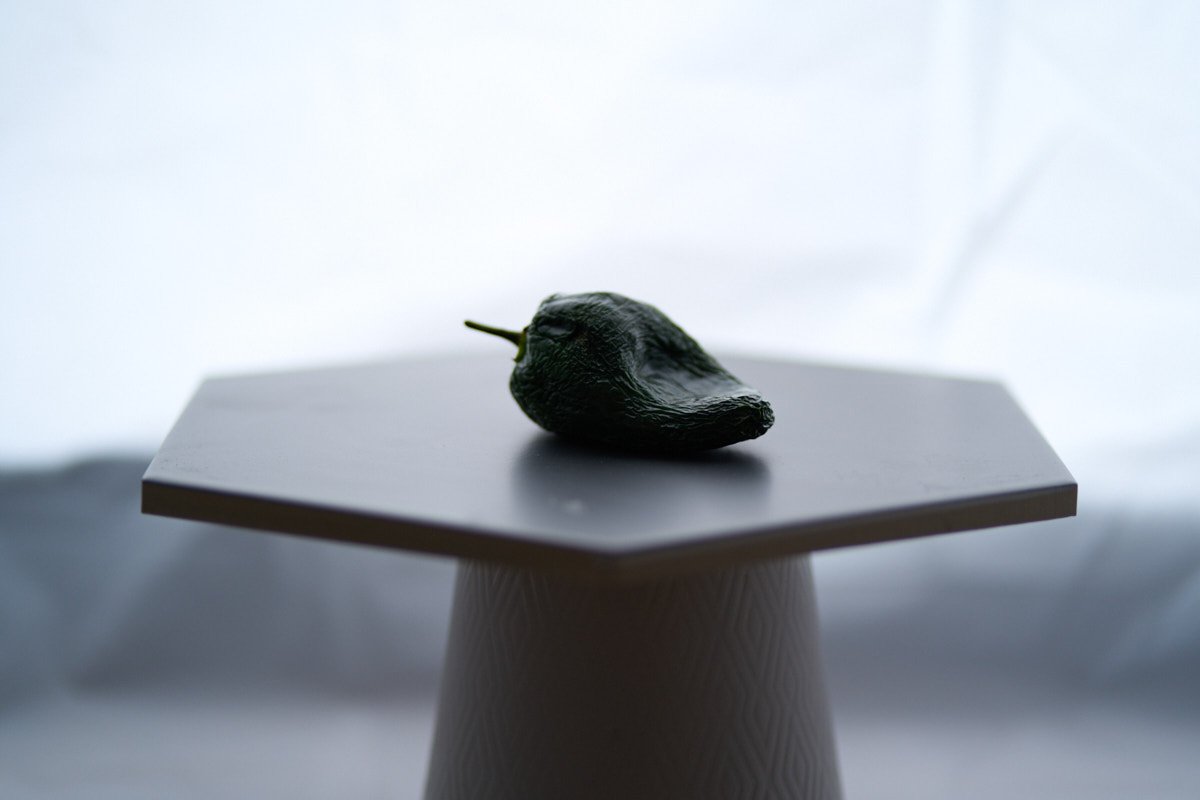
The textured background of the above image helps set off the smooth texture of the subject. You can tell the background is far less efficient than the surface of the subject because of how the light reflects off of it. Wide and diffuse off the stone, brilliant and with speculars off the pepper.
TEXTURE AS A COMPOSITIONAL ELEMENT
Think contrasting textures for your work. A shiny object looks more shiny on a background with more texture. A shiny object may look wonderful in the soft gradient of a specular created on a shiny black background with a scrim, providing a contrasting dark reflection to set off the object.
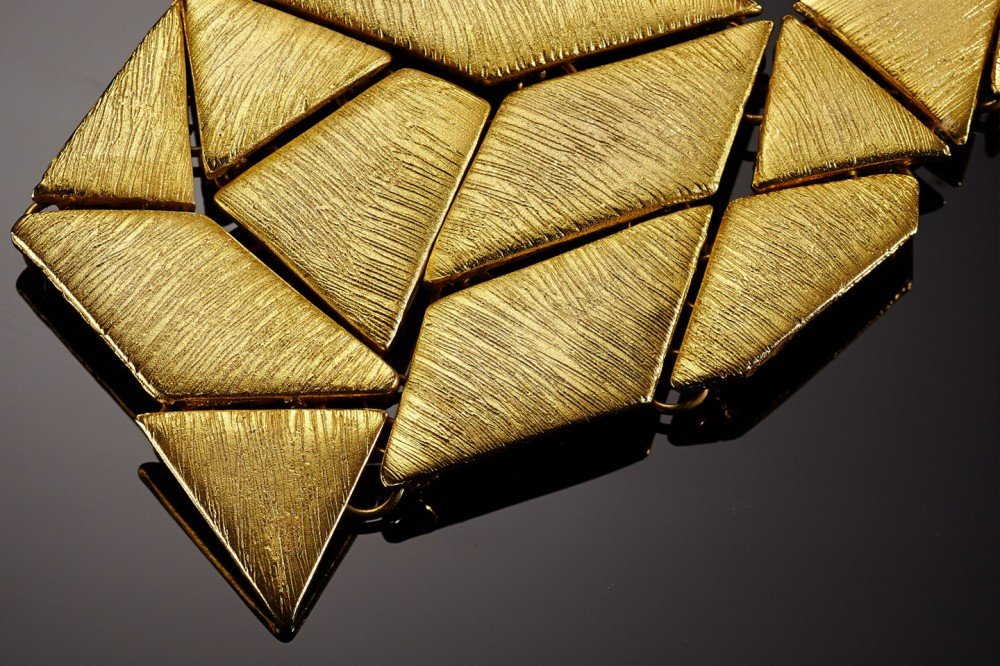
Notice how the photographer used the specular reflection from the light source to provide a very soft gradient to the shiny background, while providing textural revealing light to the subject. The sharp, defined dark area under the items is NOT a shadow, but a reflection of the black surface. This is a very powerful way to introduce shape and texture into a still life.
In the image below, the photographer has used specular, angle of incidence, and a shallow depth of field to set off the round object against the repeating pattern of the background.

This is a good look at how textures and backgrounds can be used to enhance the image.
THE ASSIGNMENT:
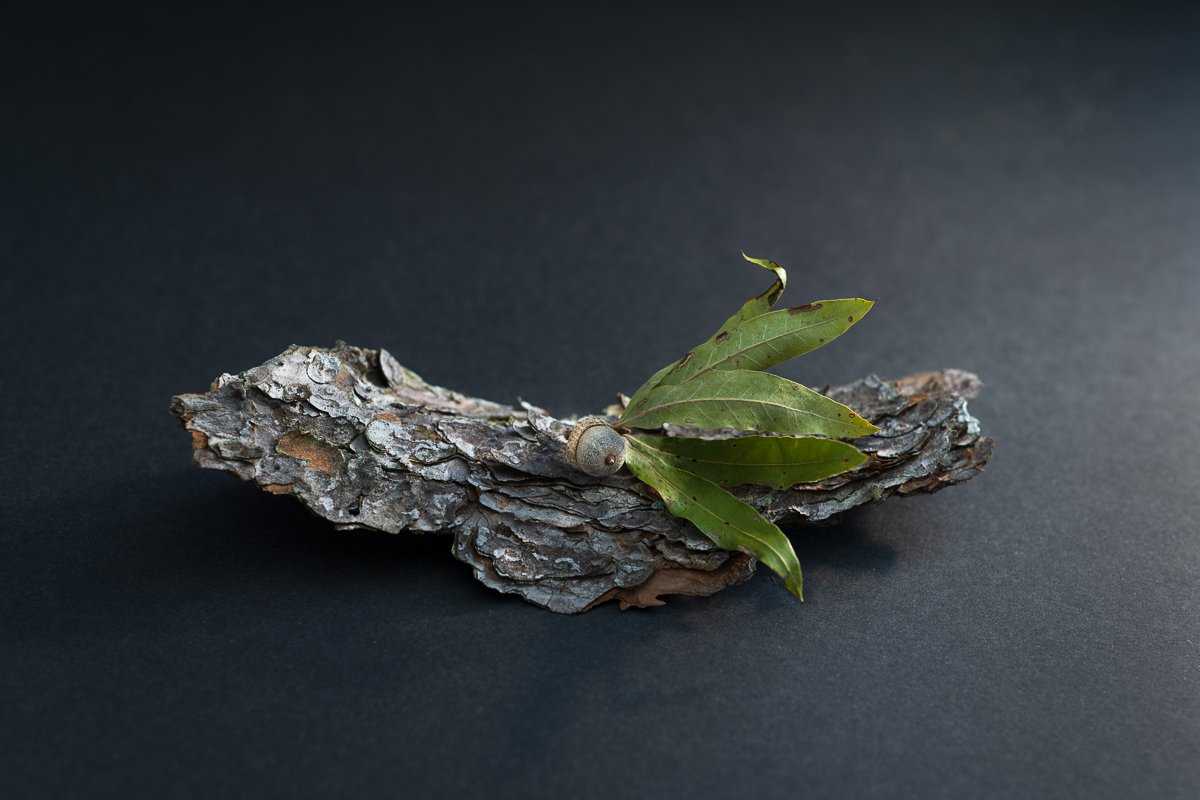
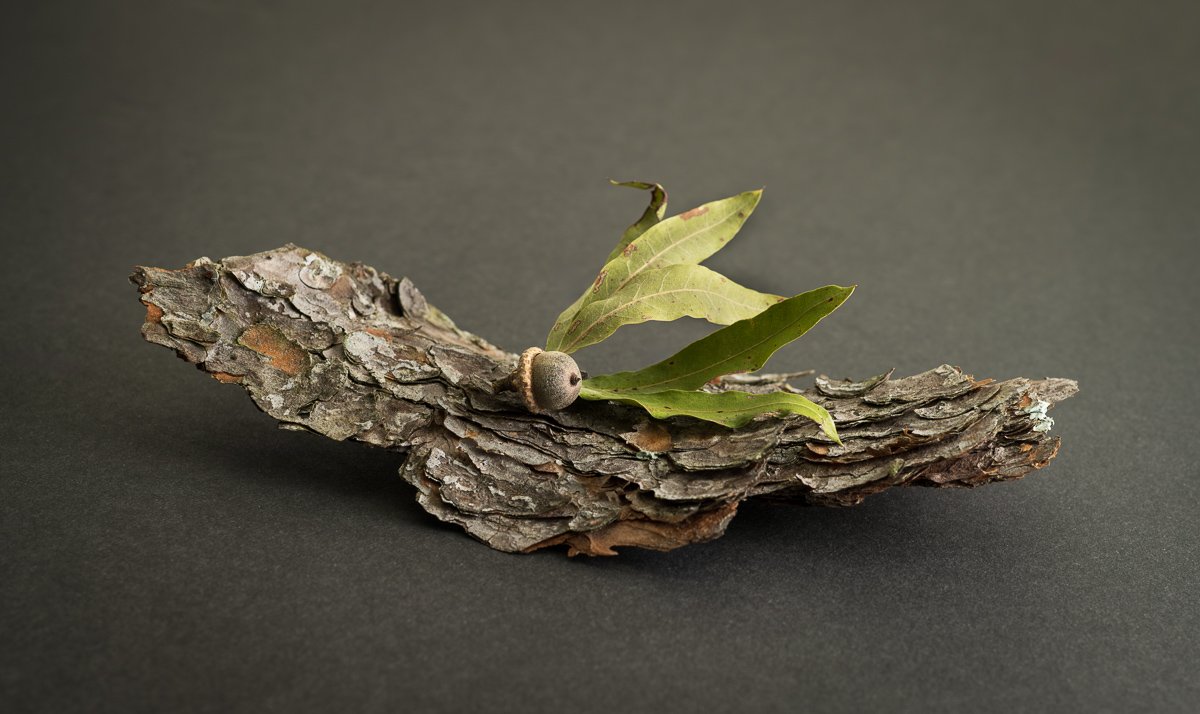
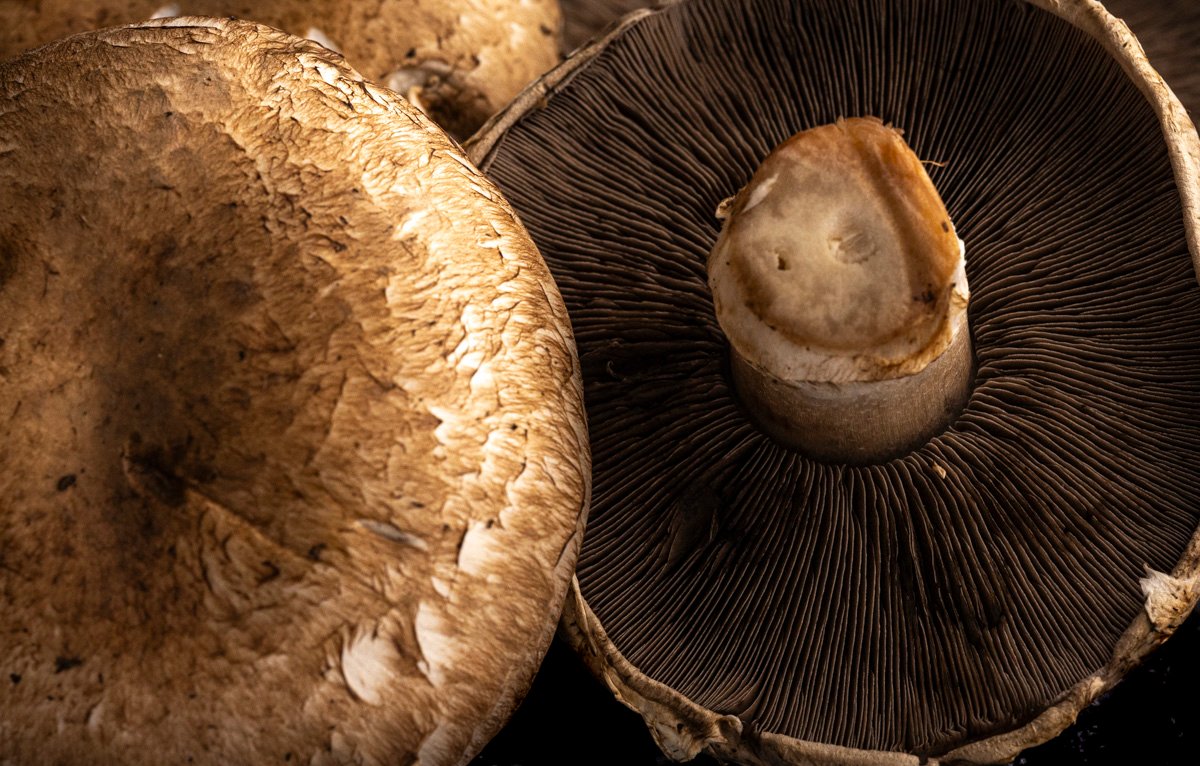
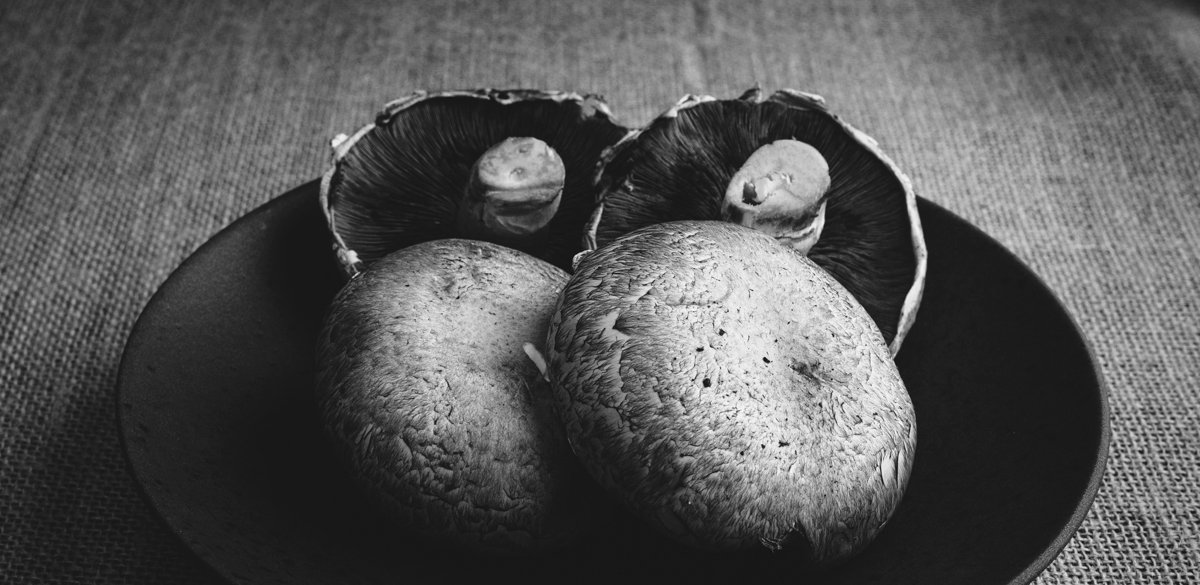
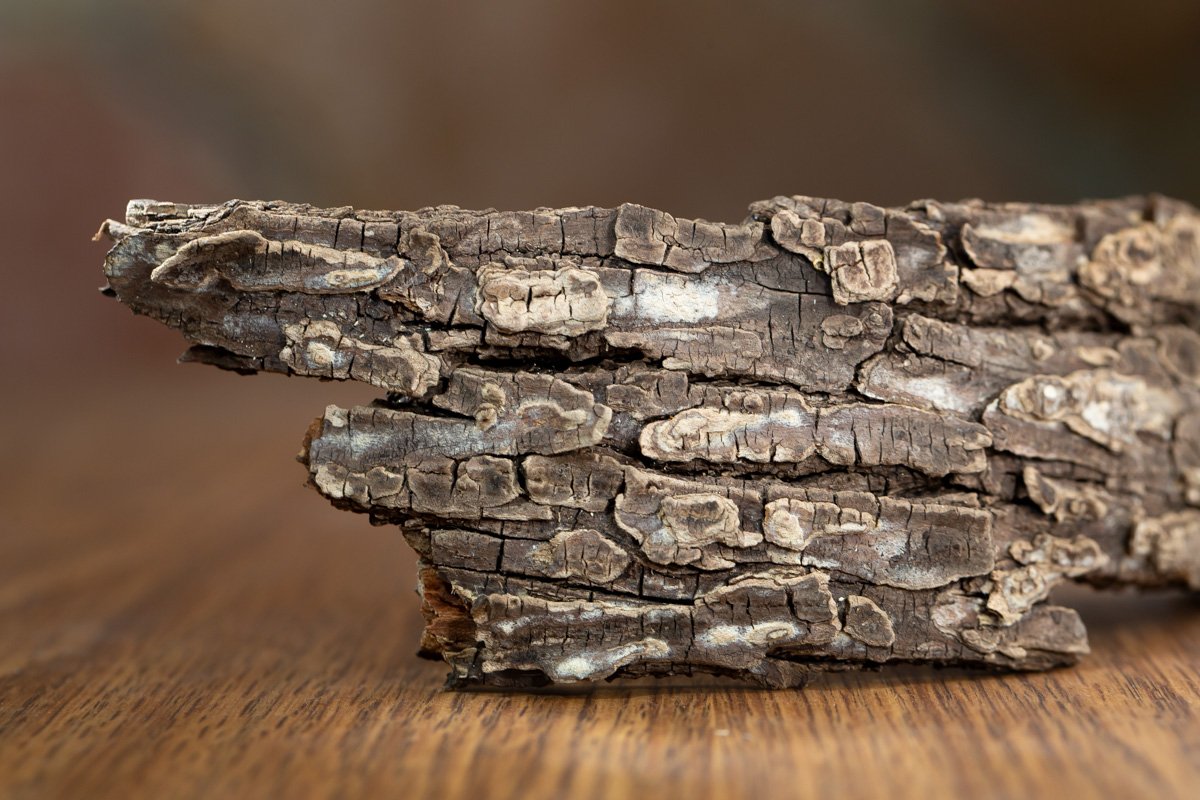
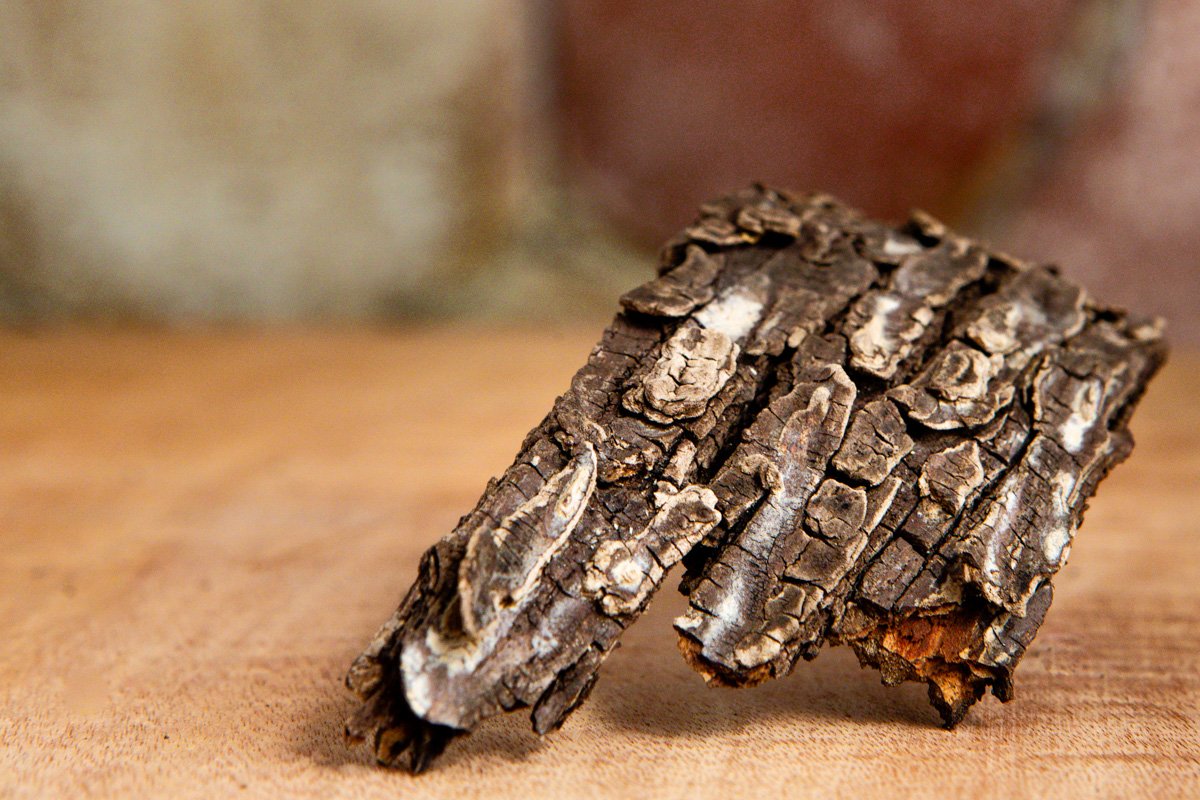
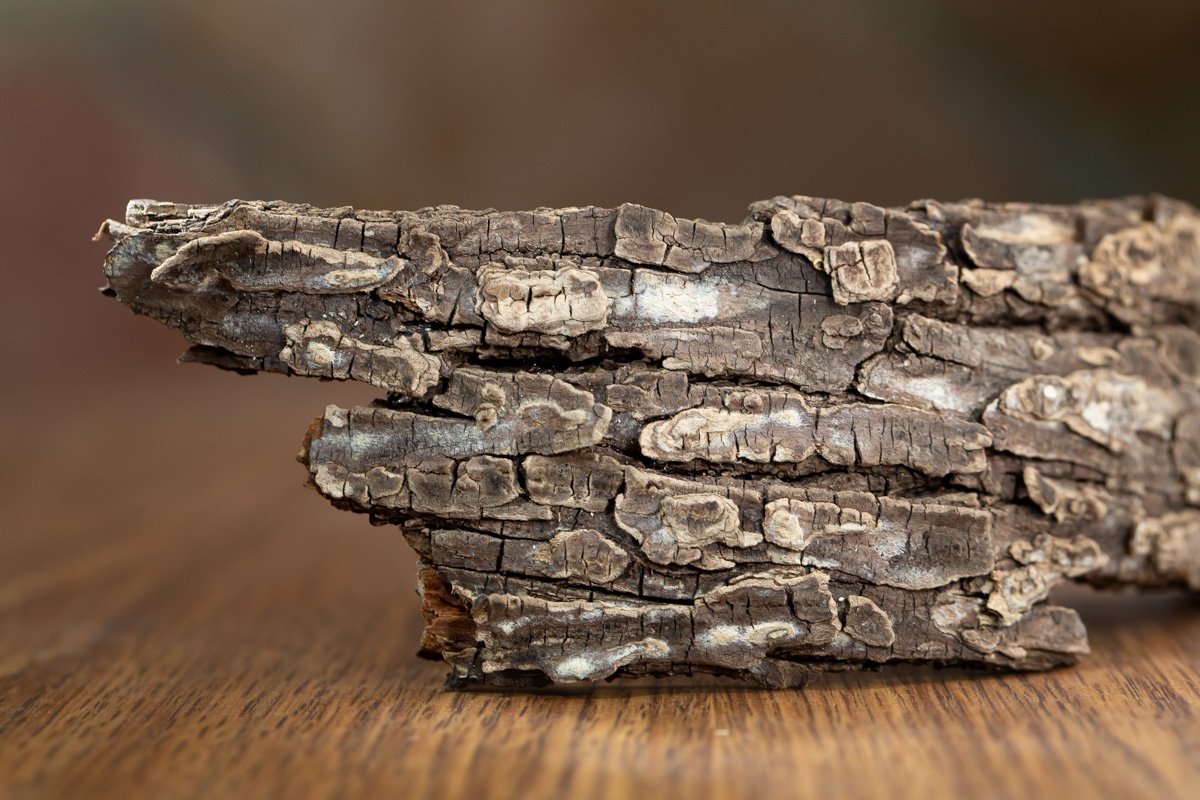
Choose something with a lot of texture in it. Shoot the image to reveal the texture.
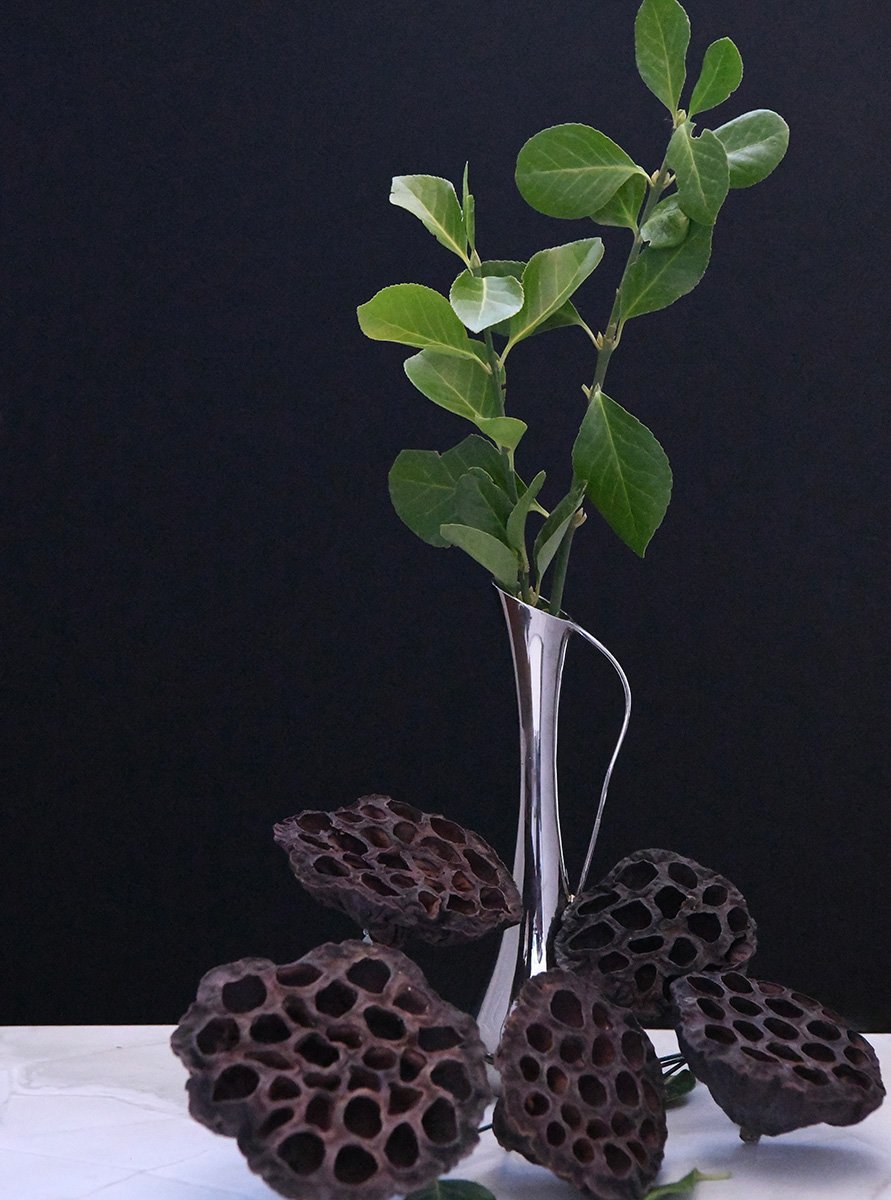
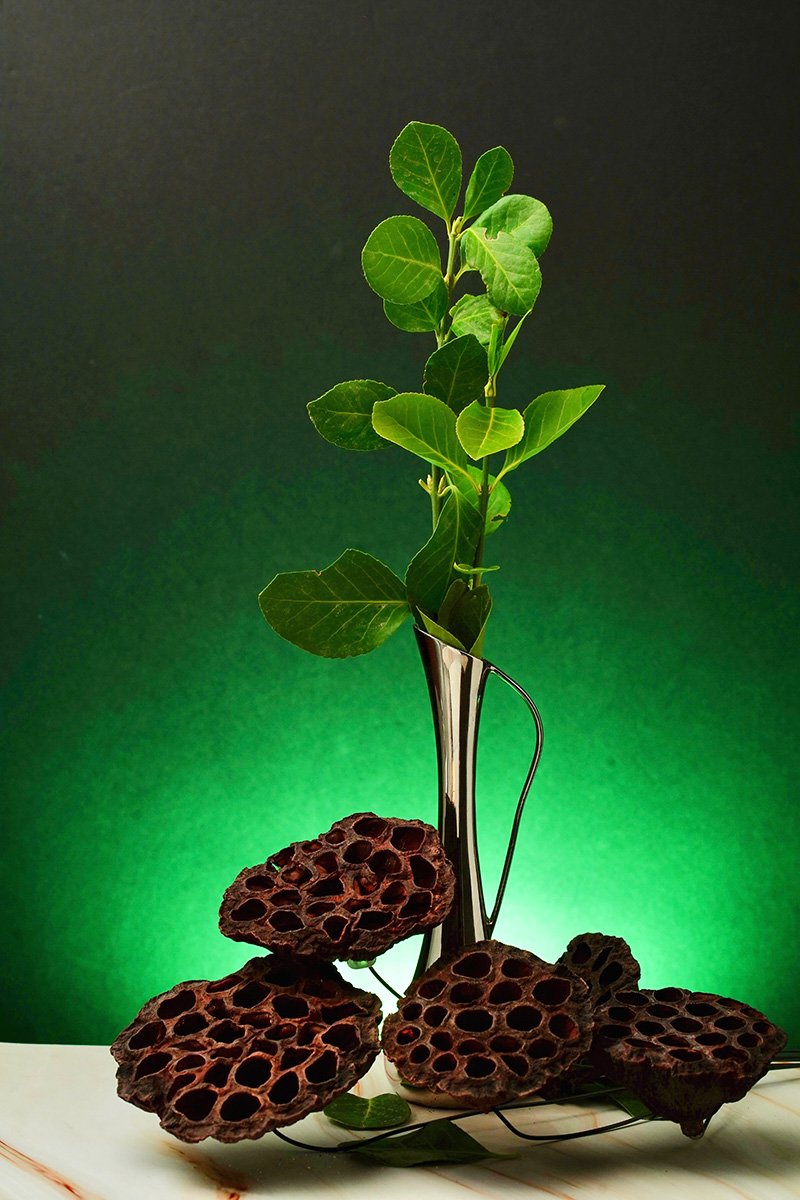
You can use two different textures (shiny and matte), or do just one of those textures. You can use a consumer product, or something more fine-art in nature. This is up to you. See critiques at the bottom of the page for more ideas.
REMEMBER:
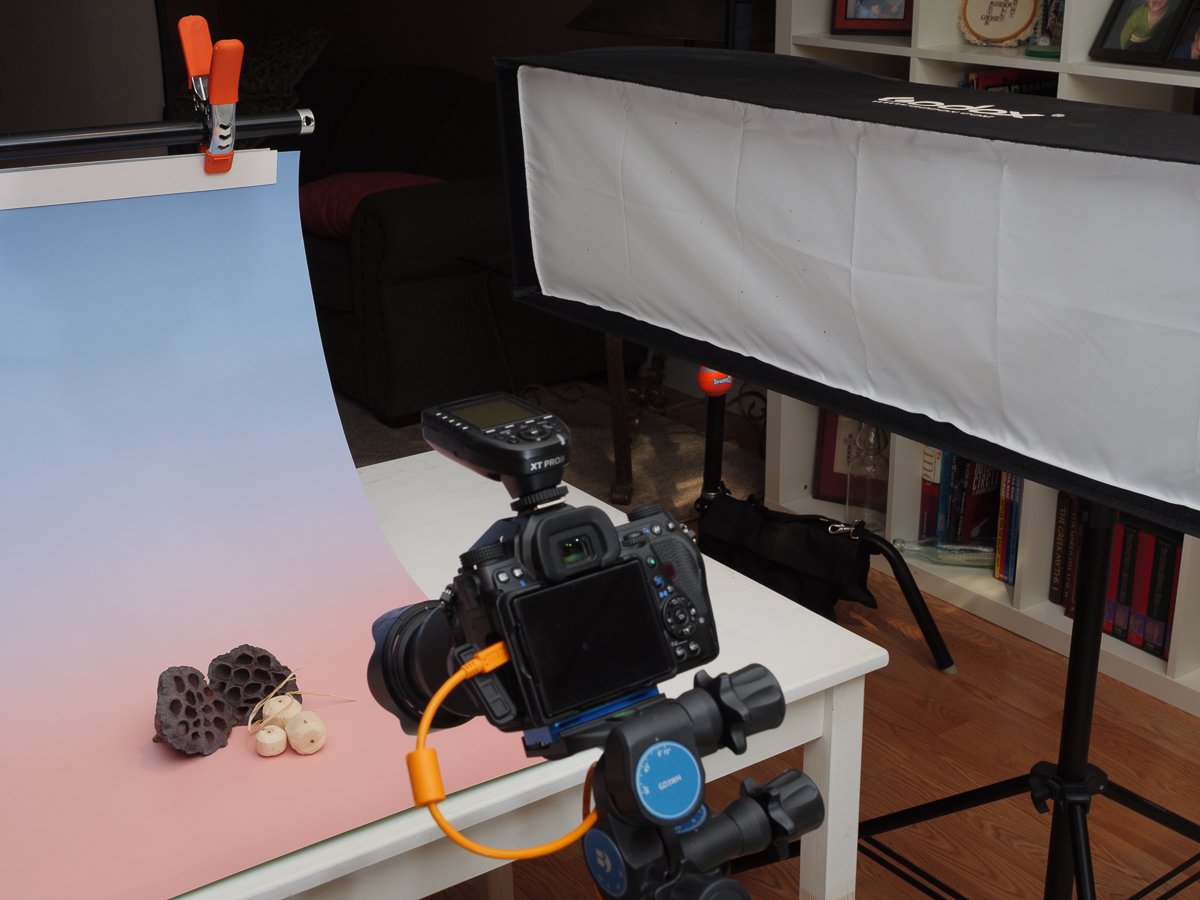
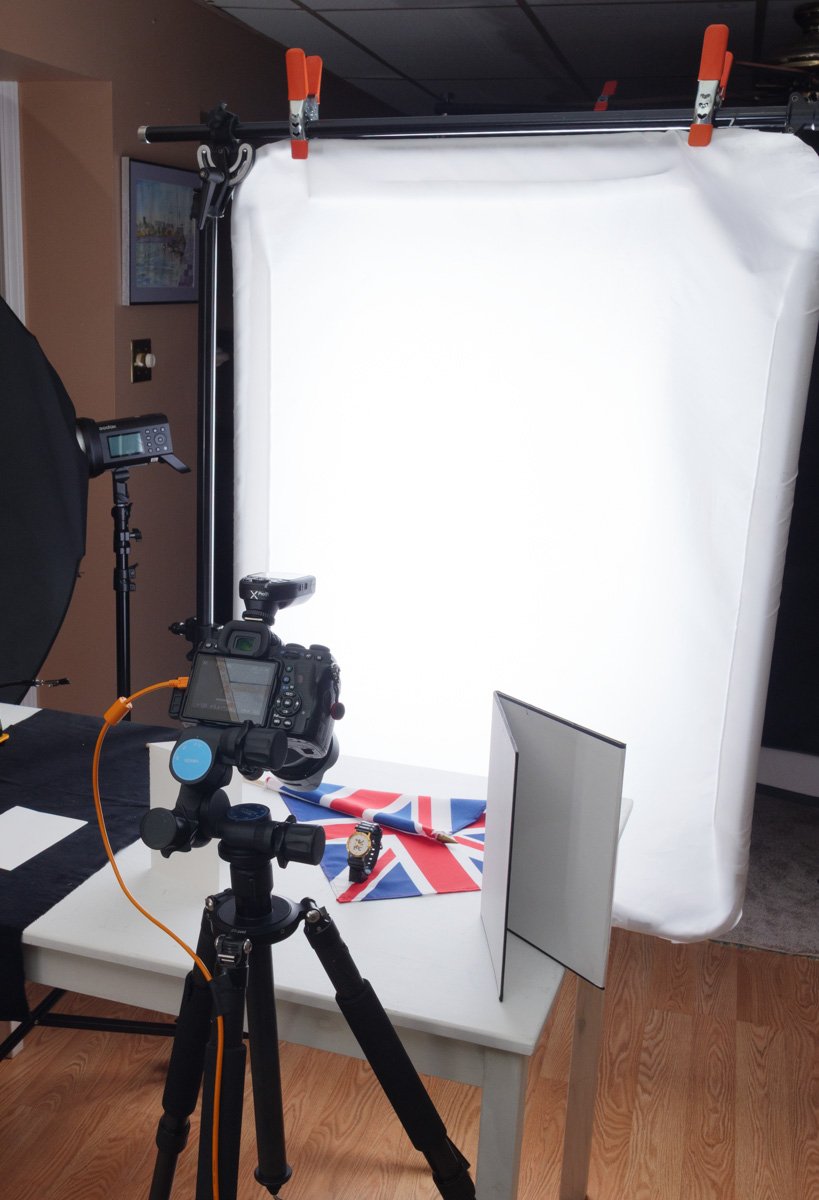
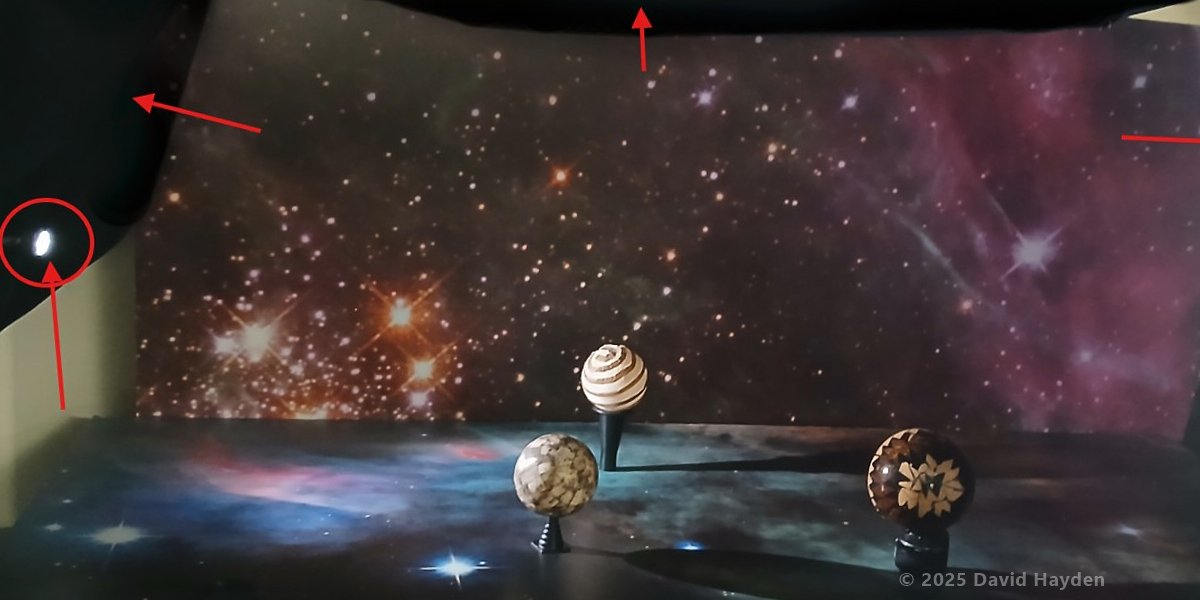
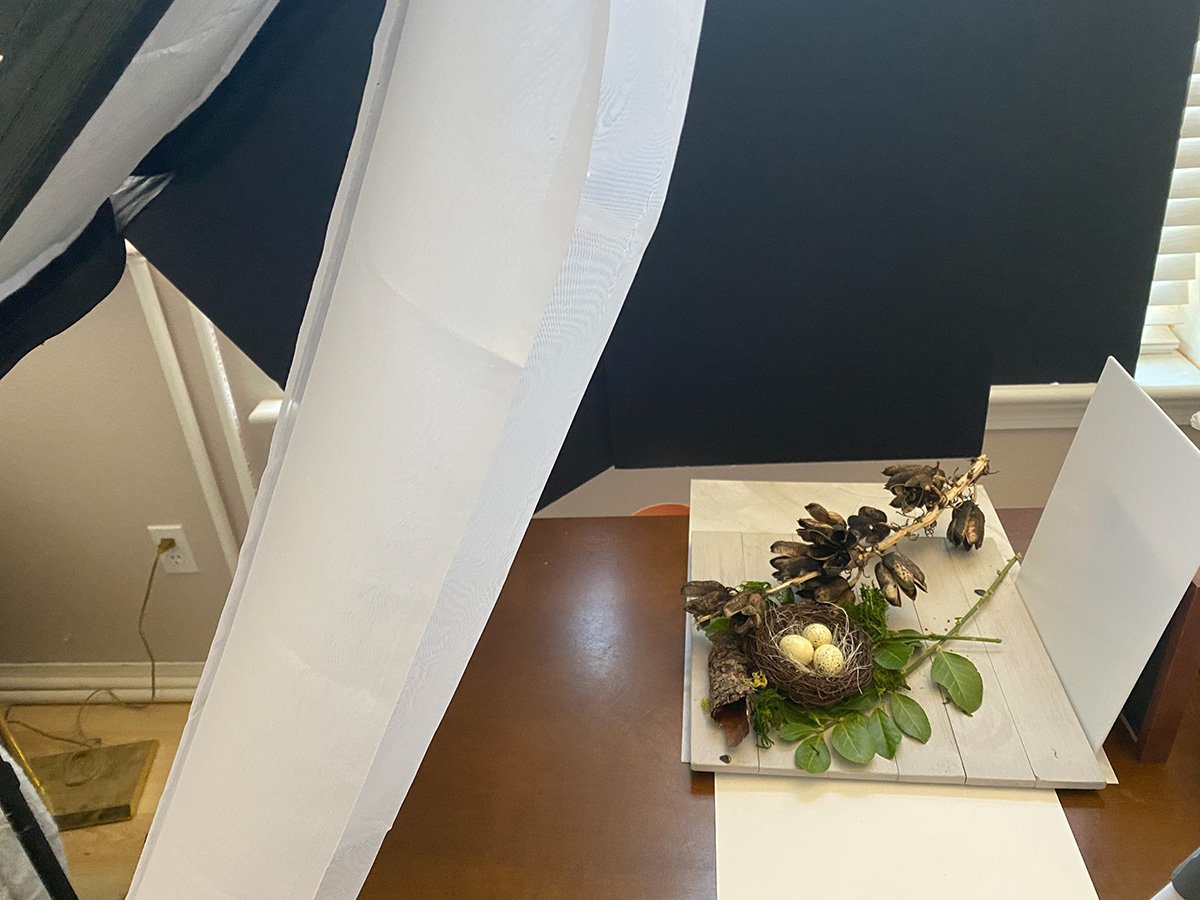
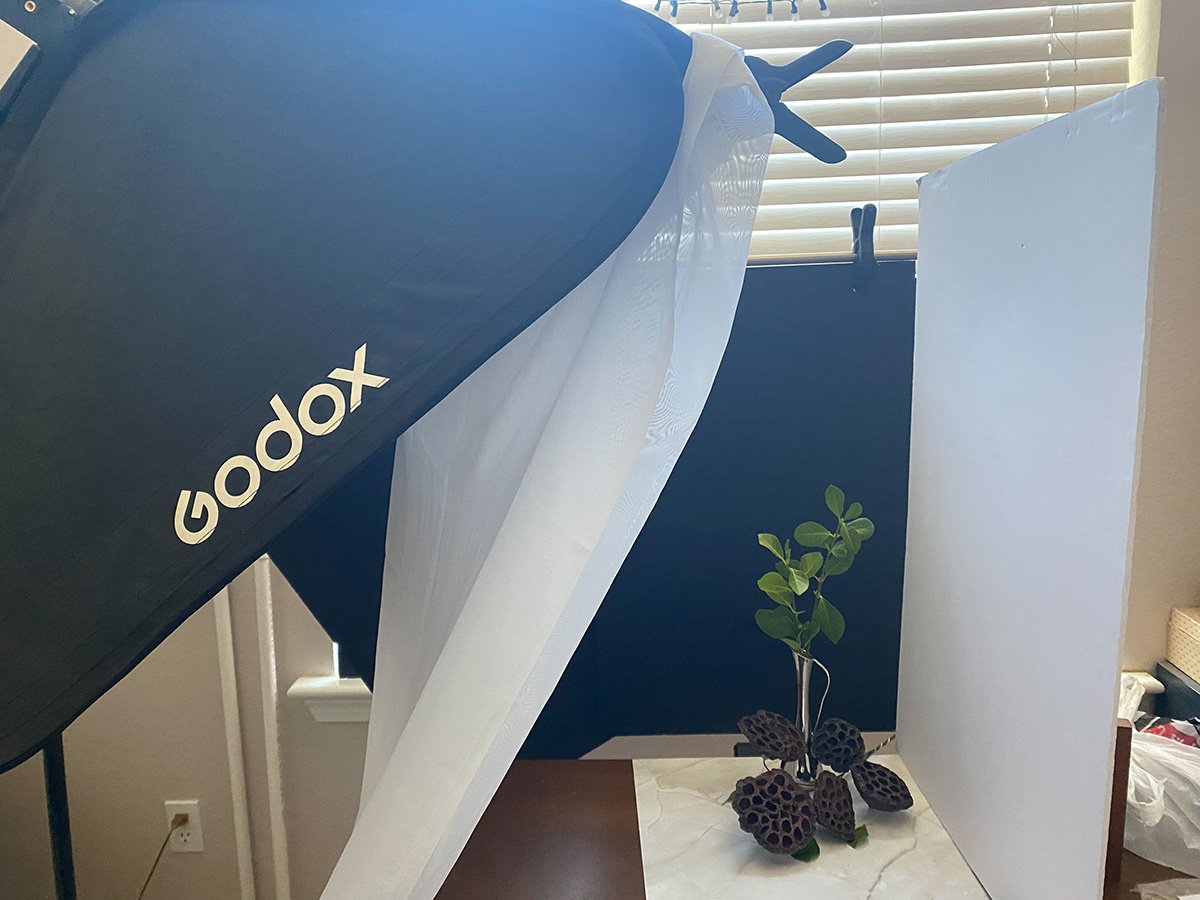
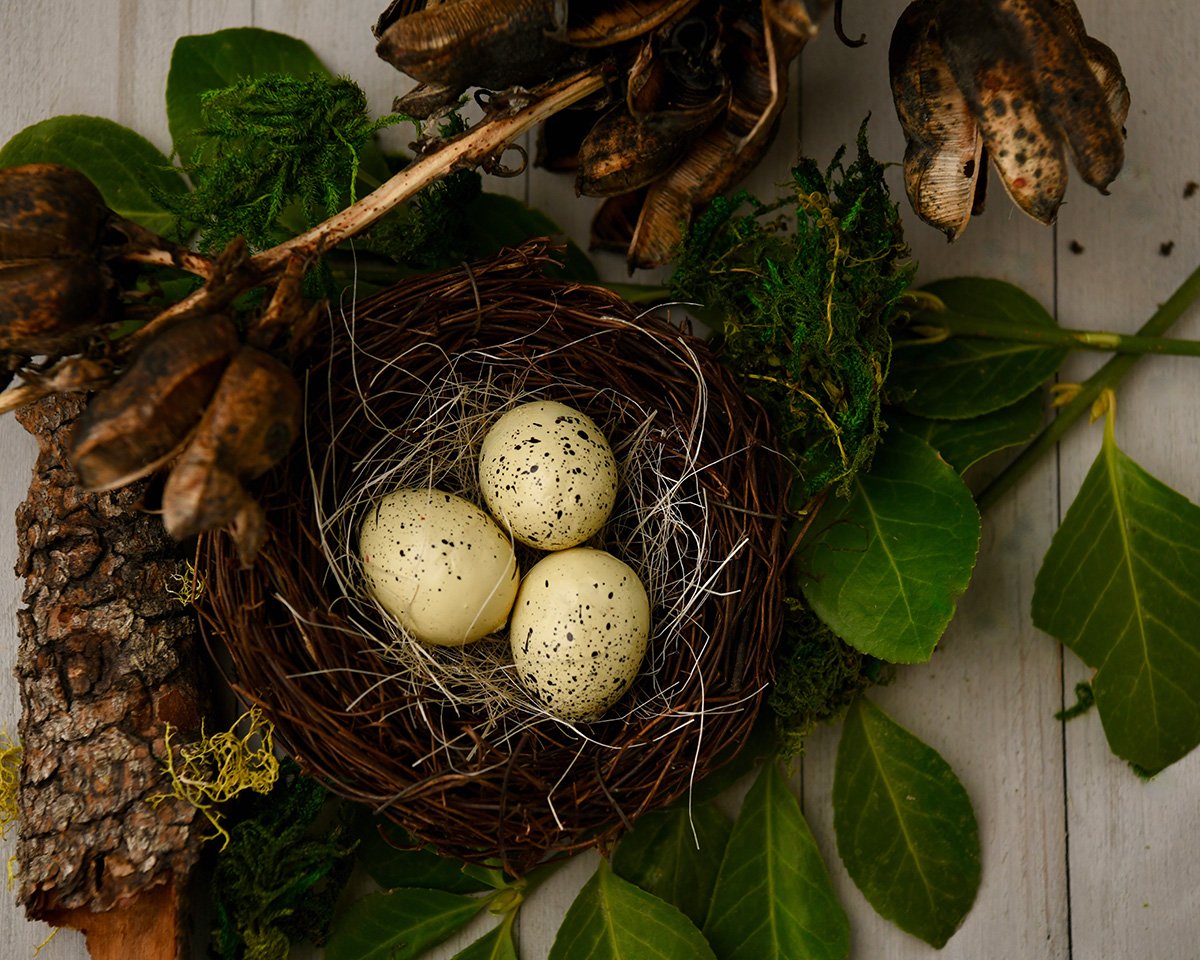
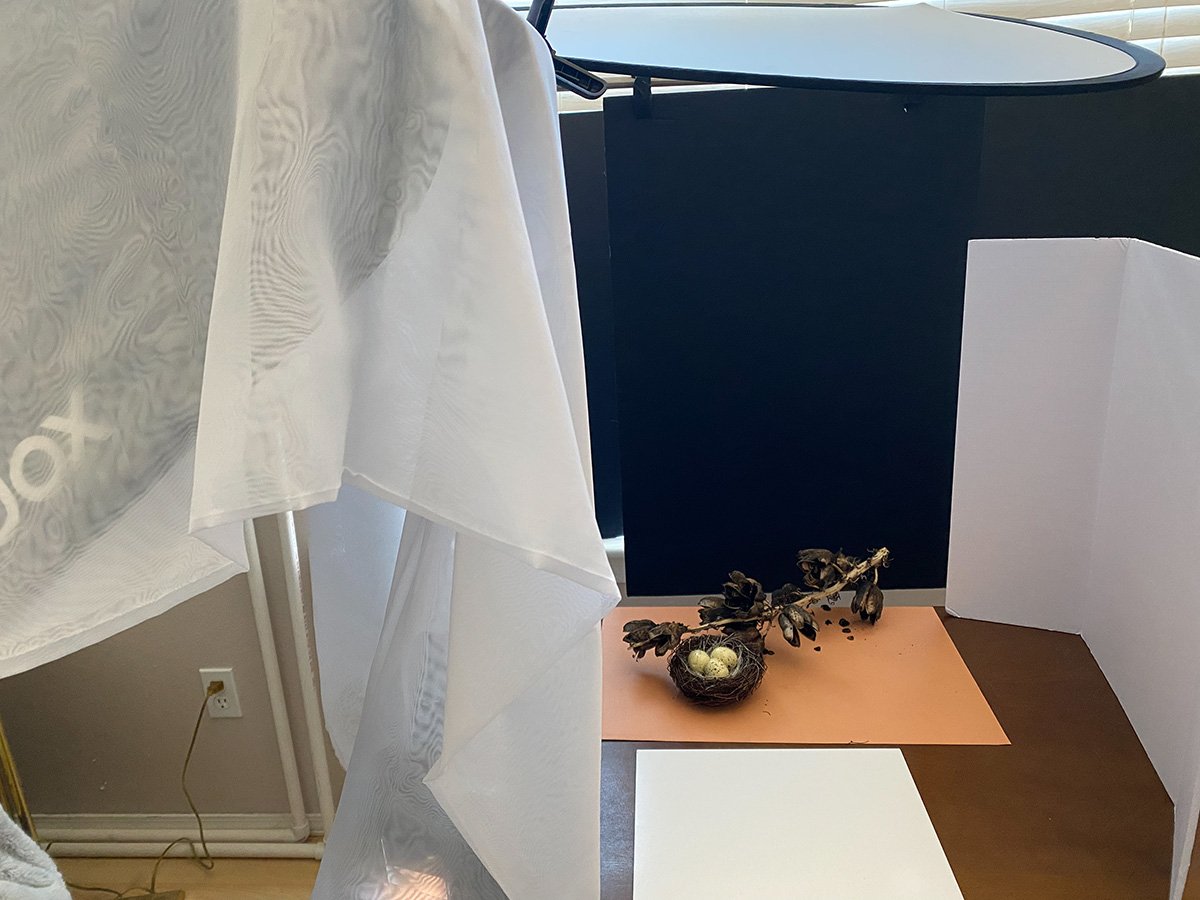
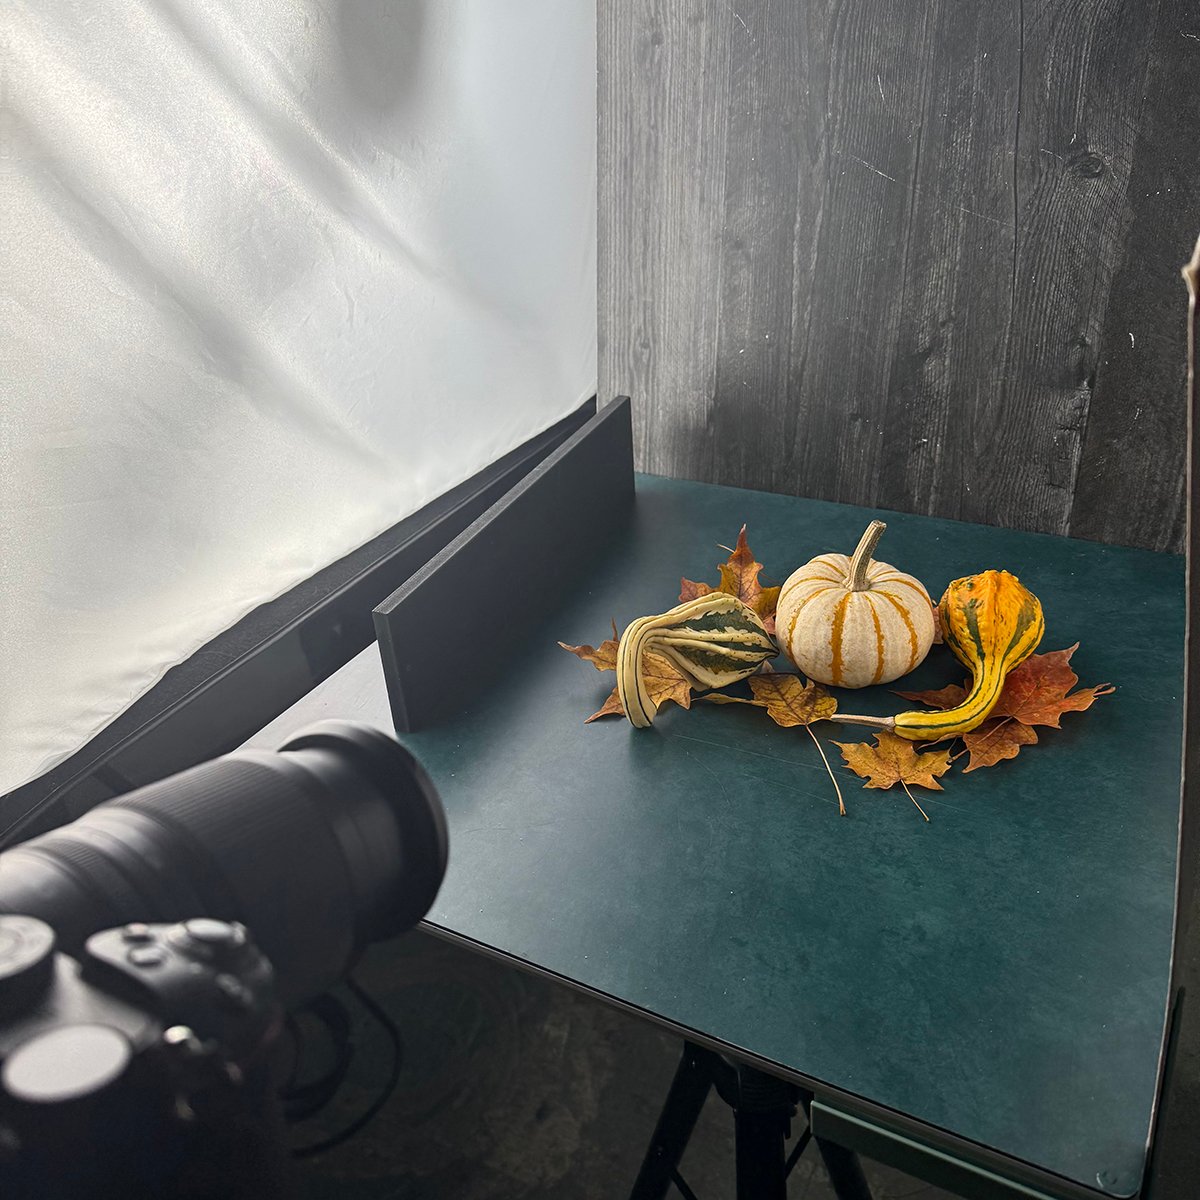
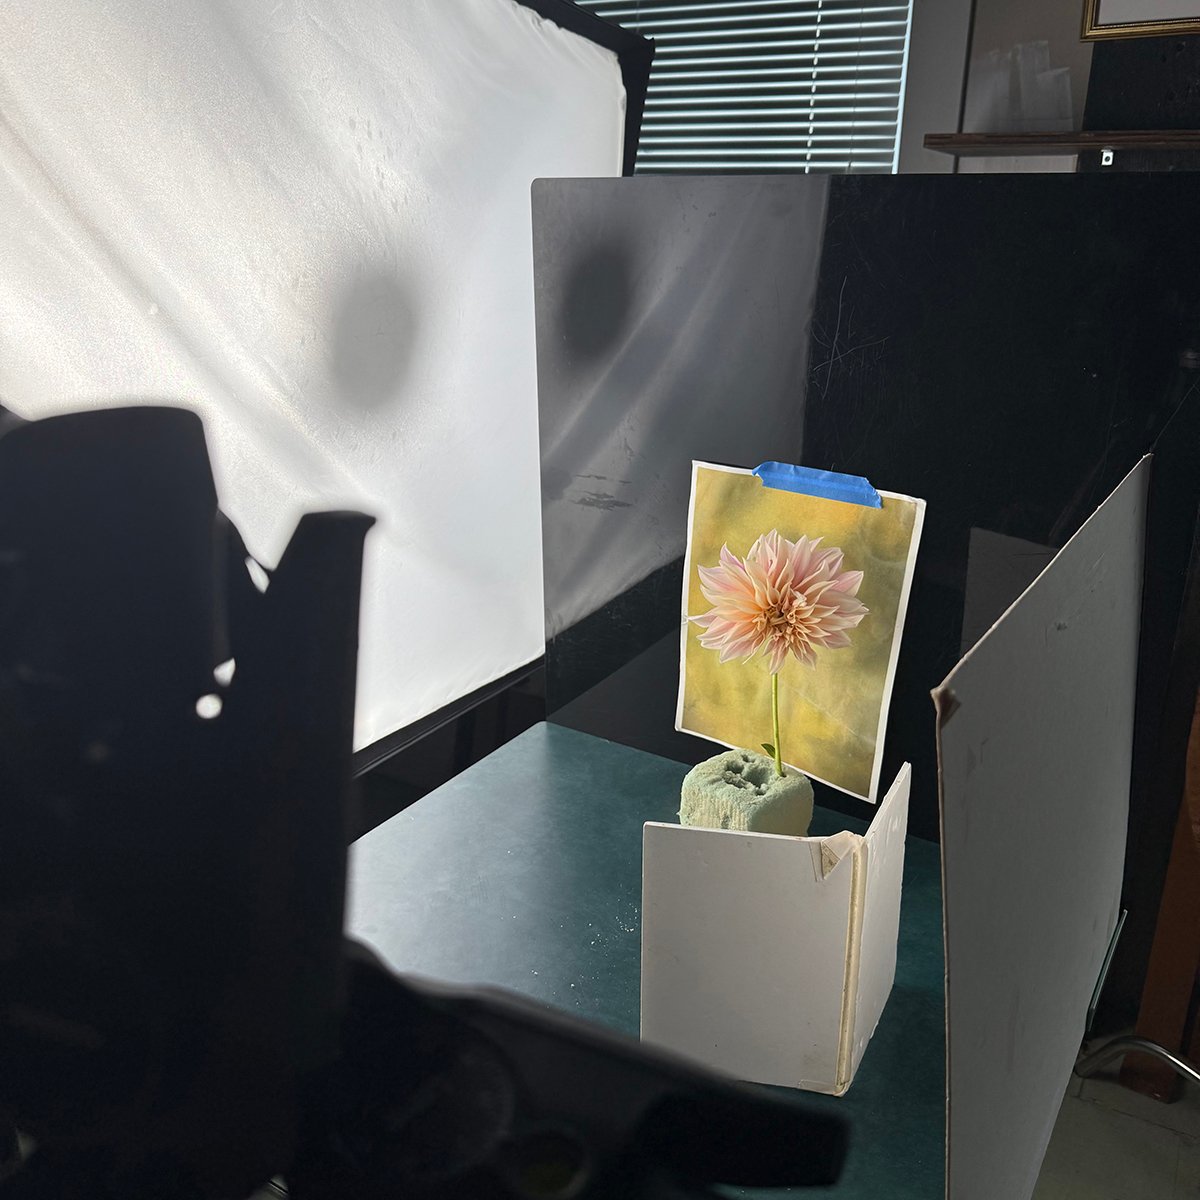
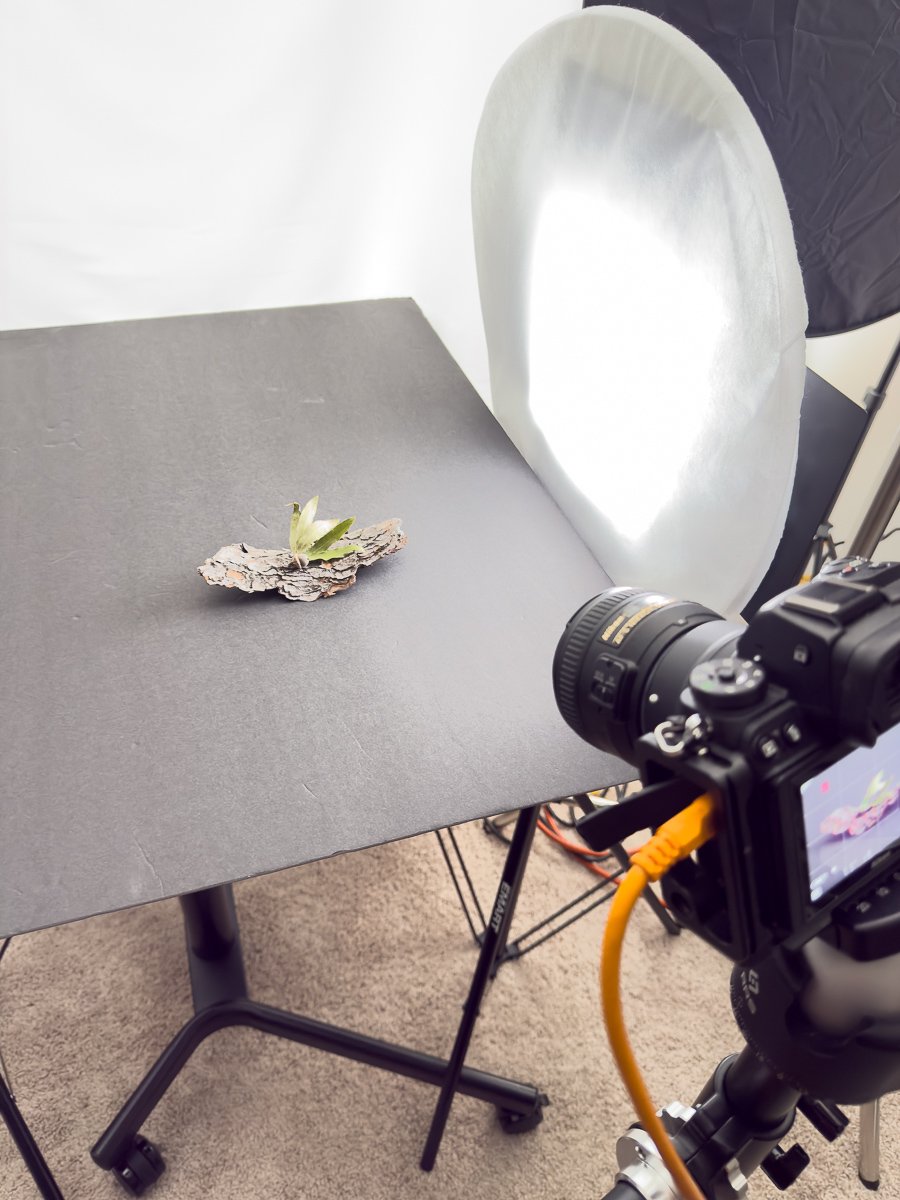
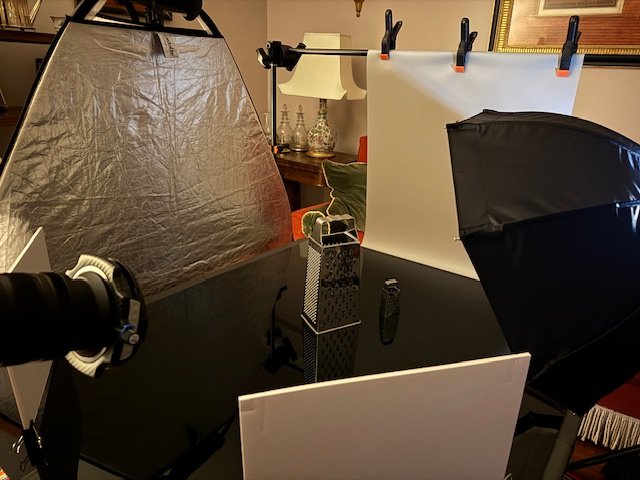
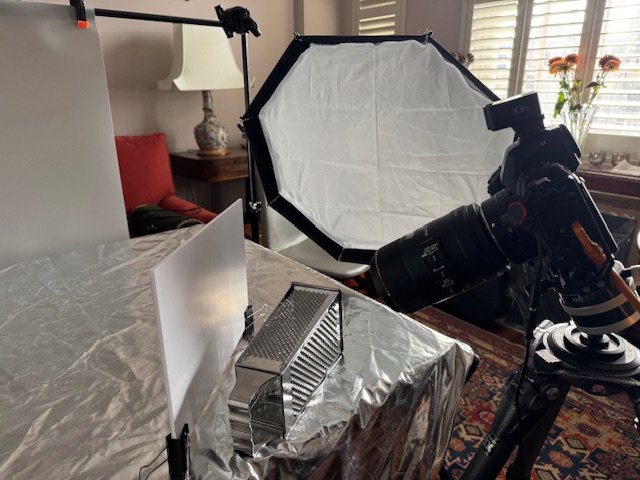
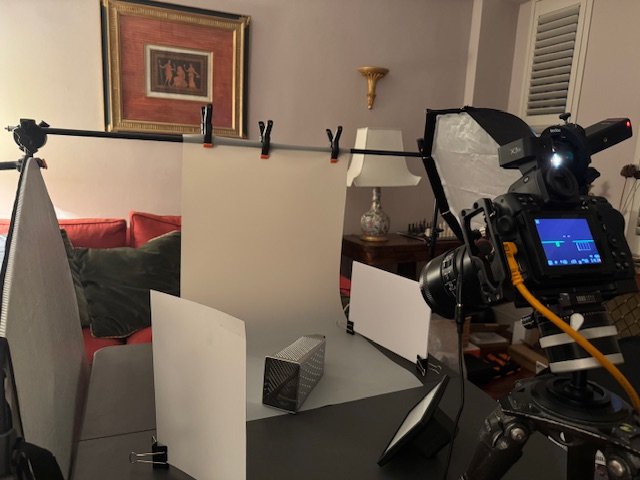
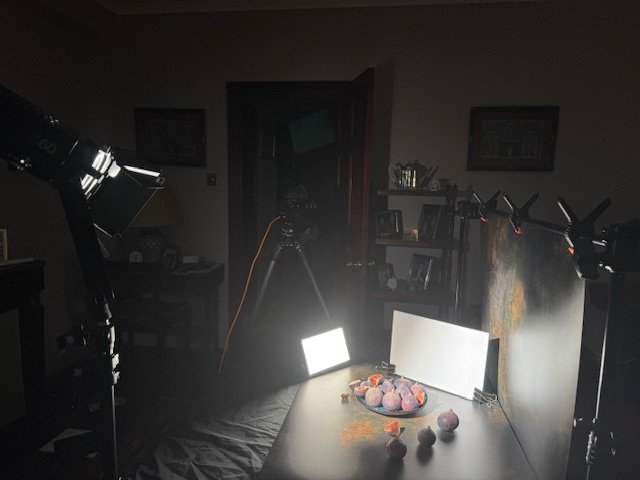
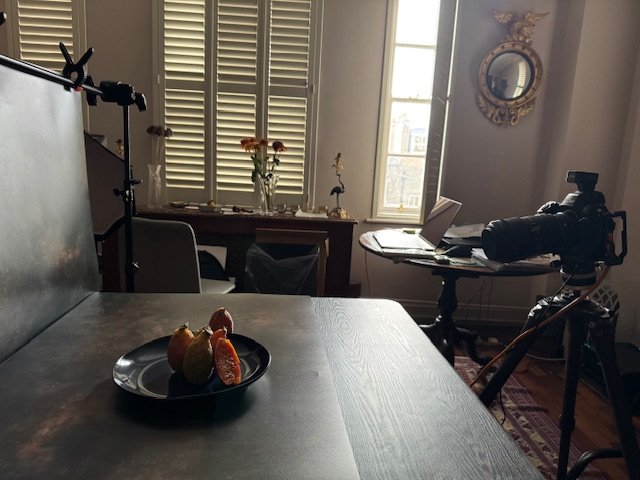
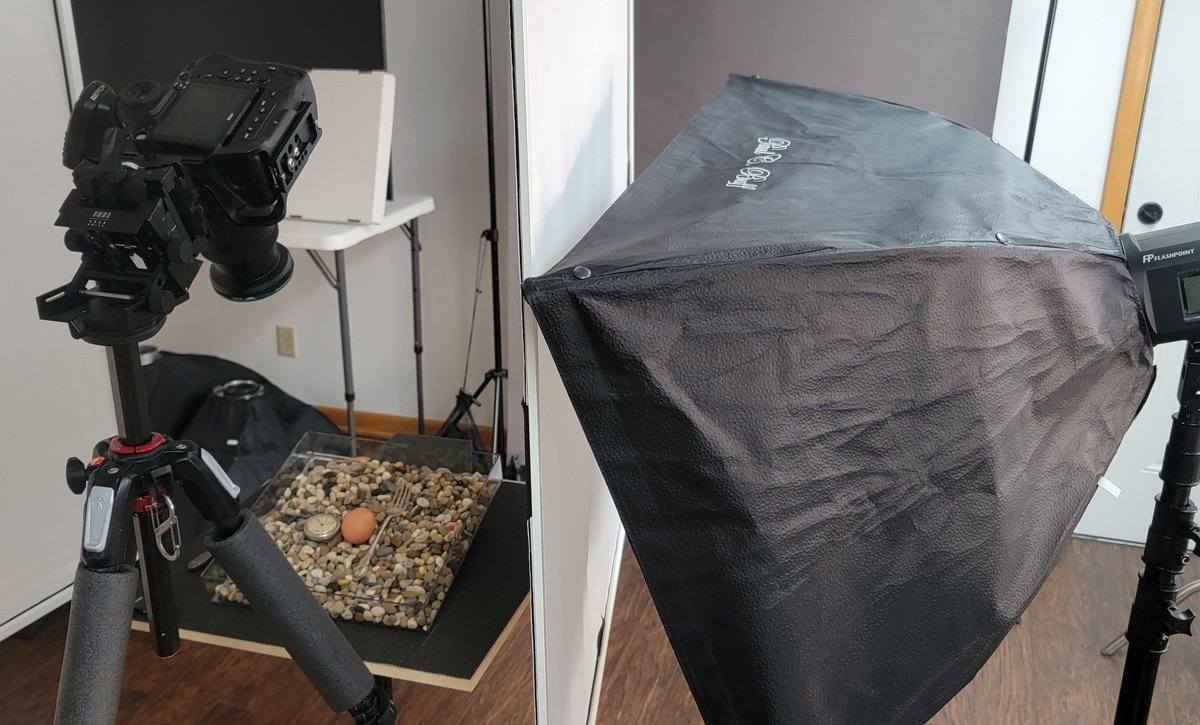
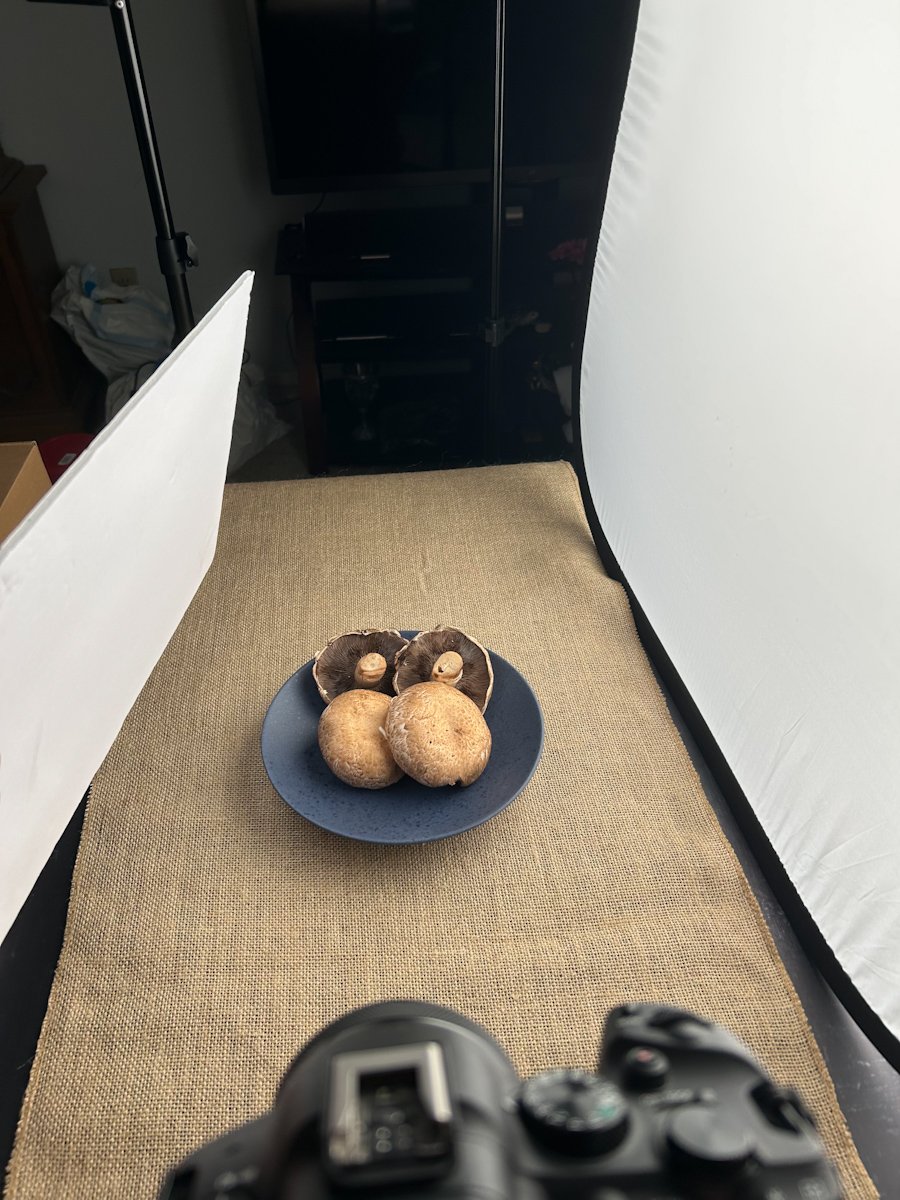
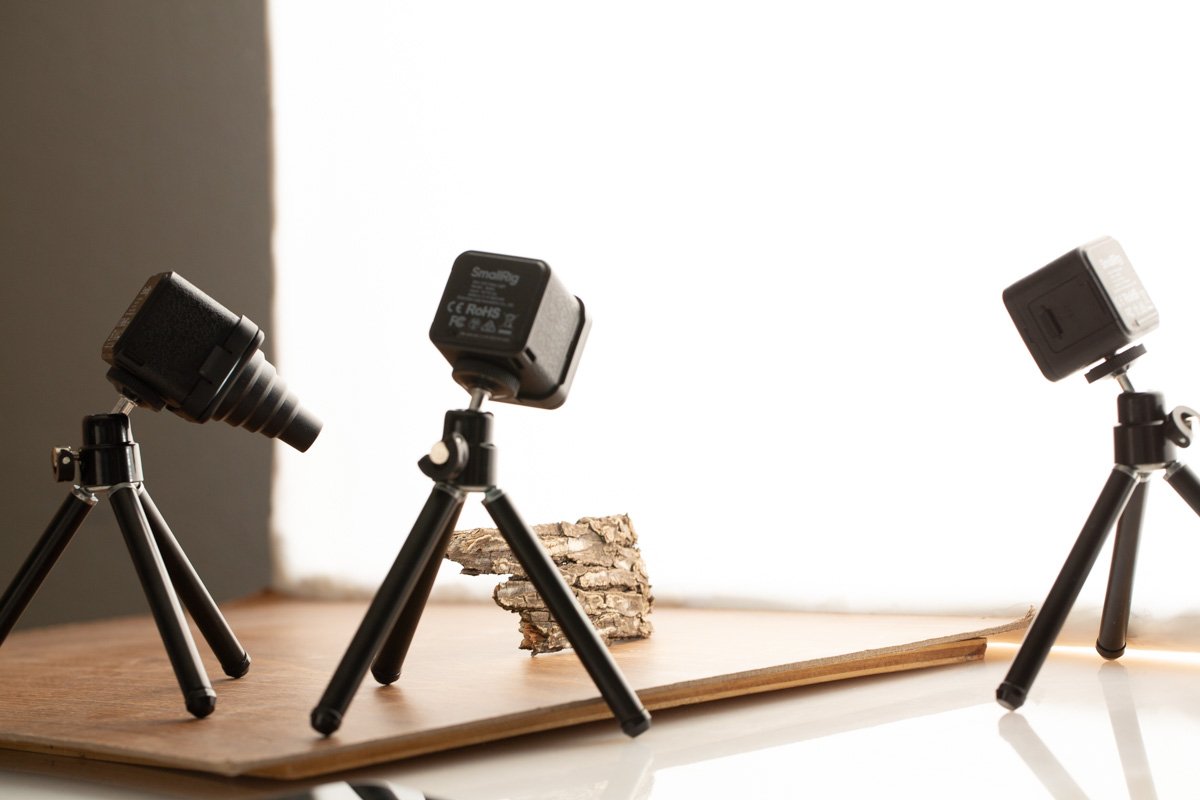
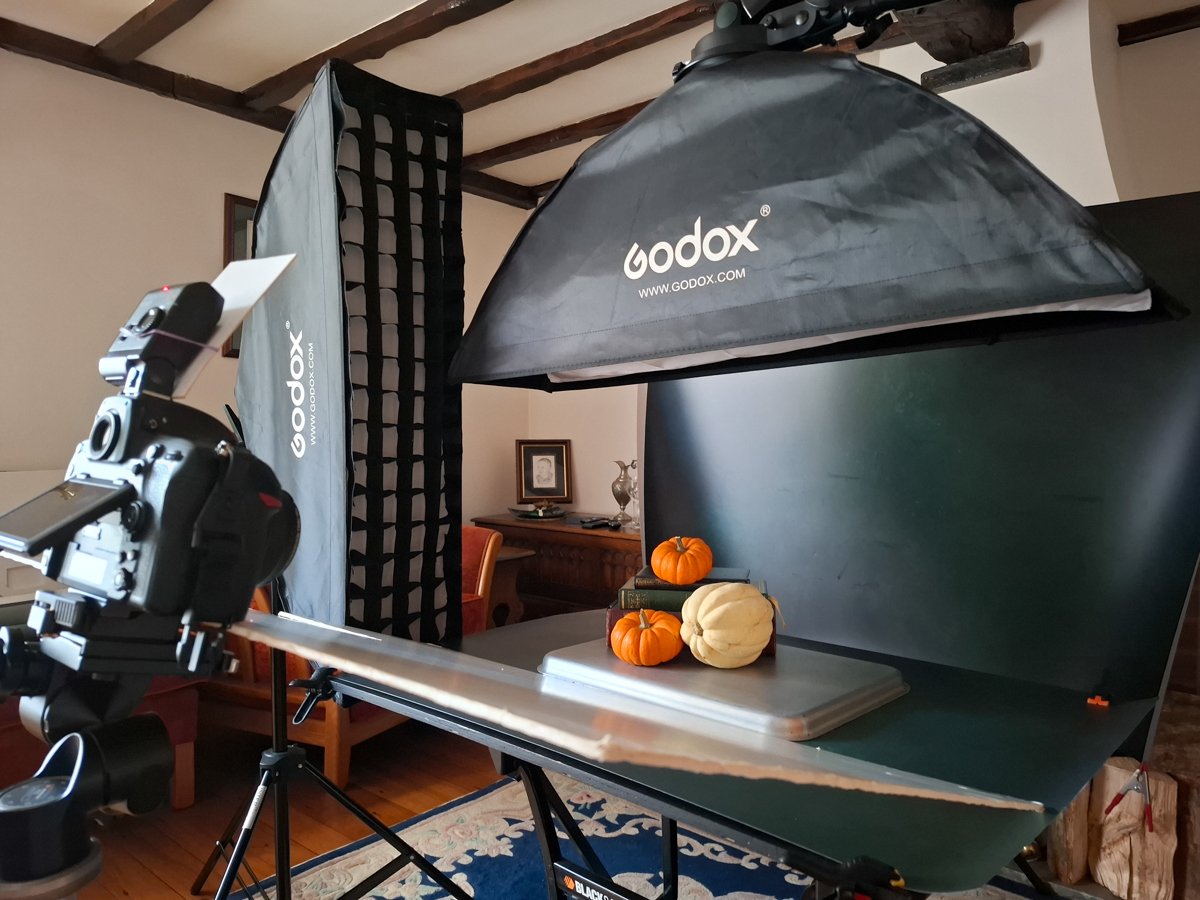
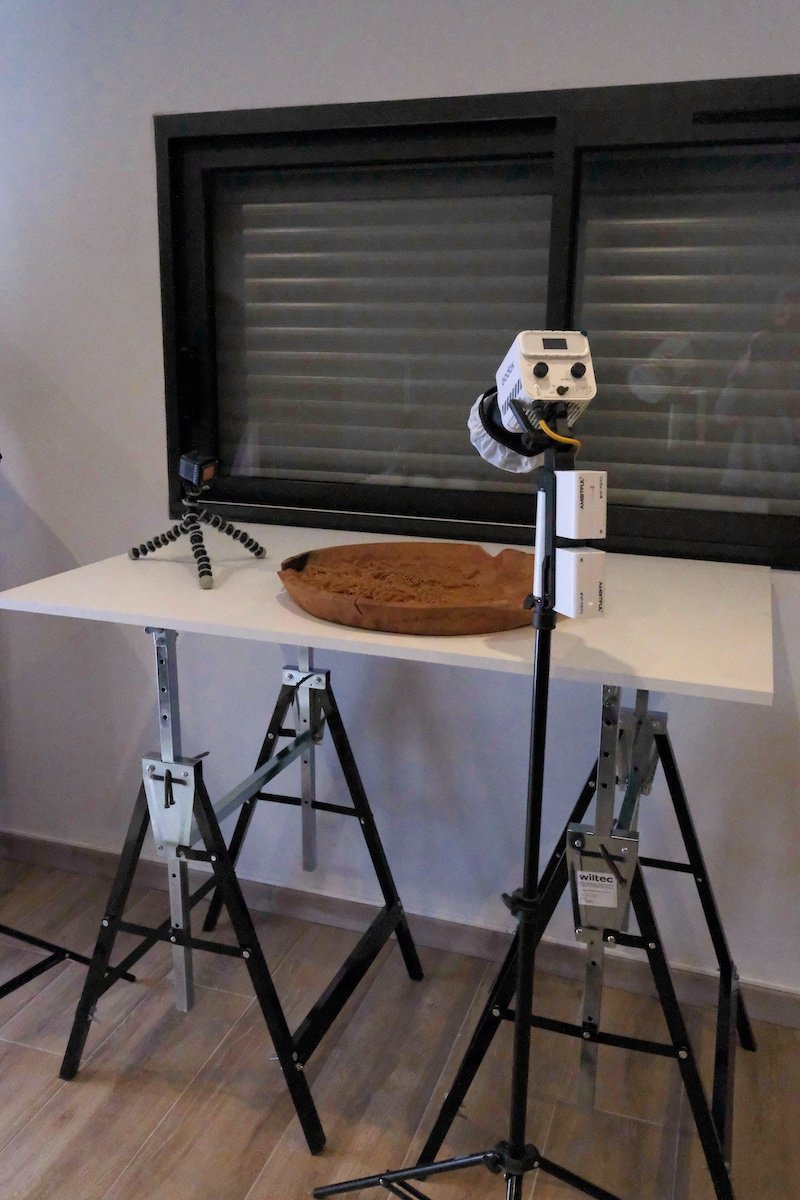
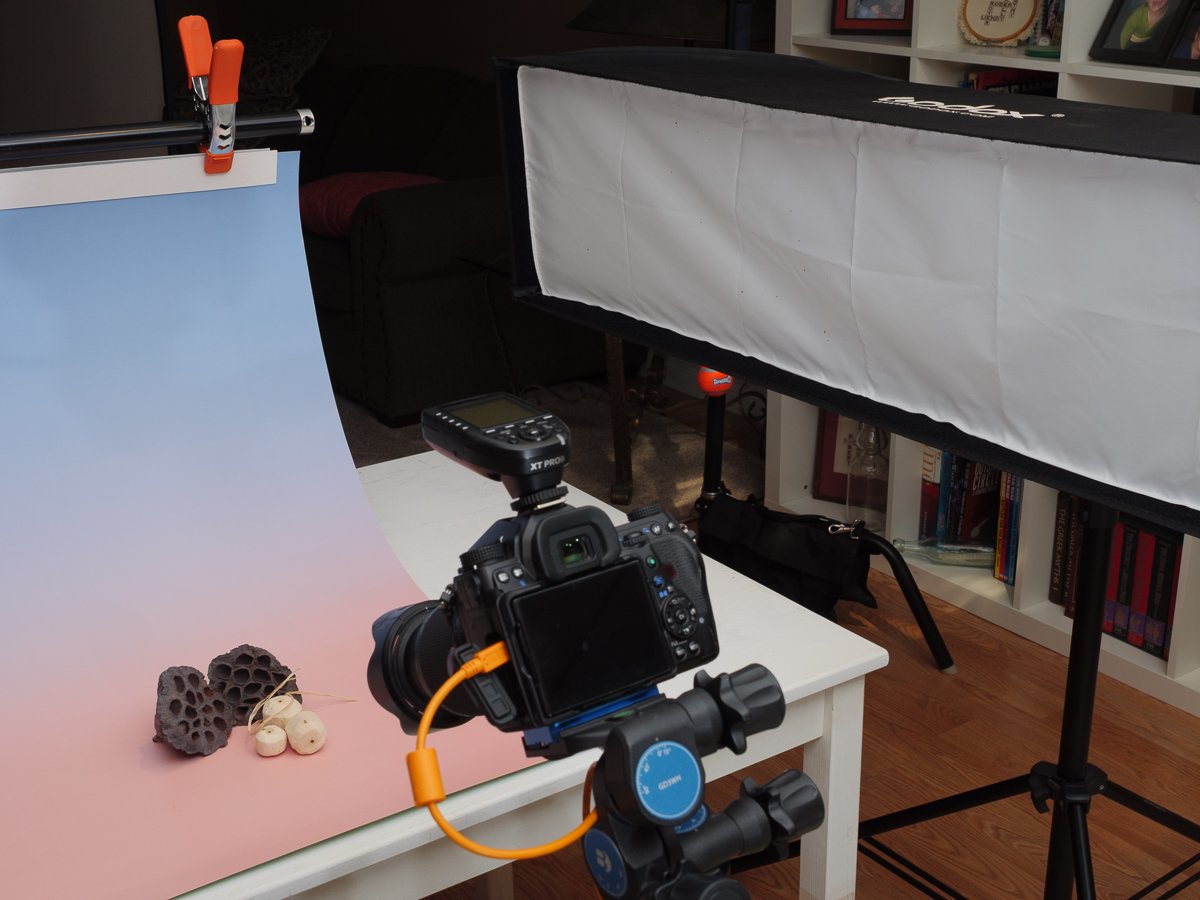
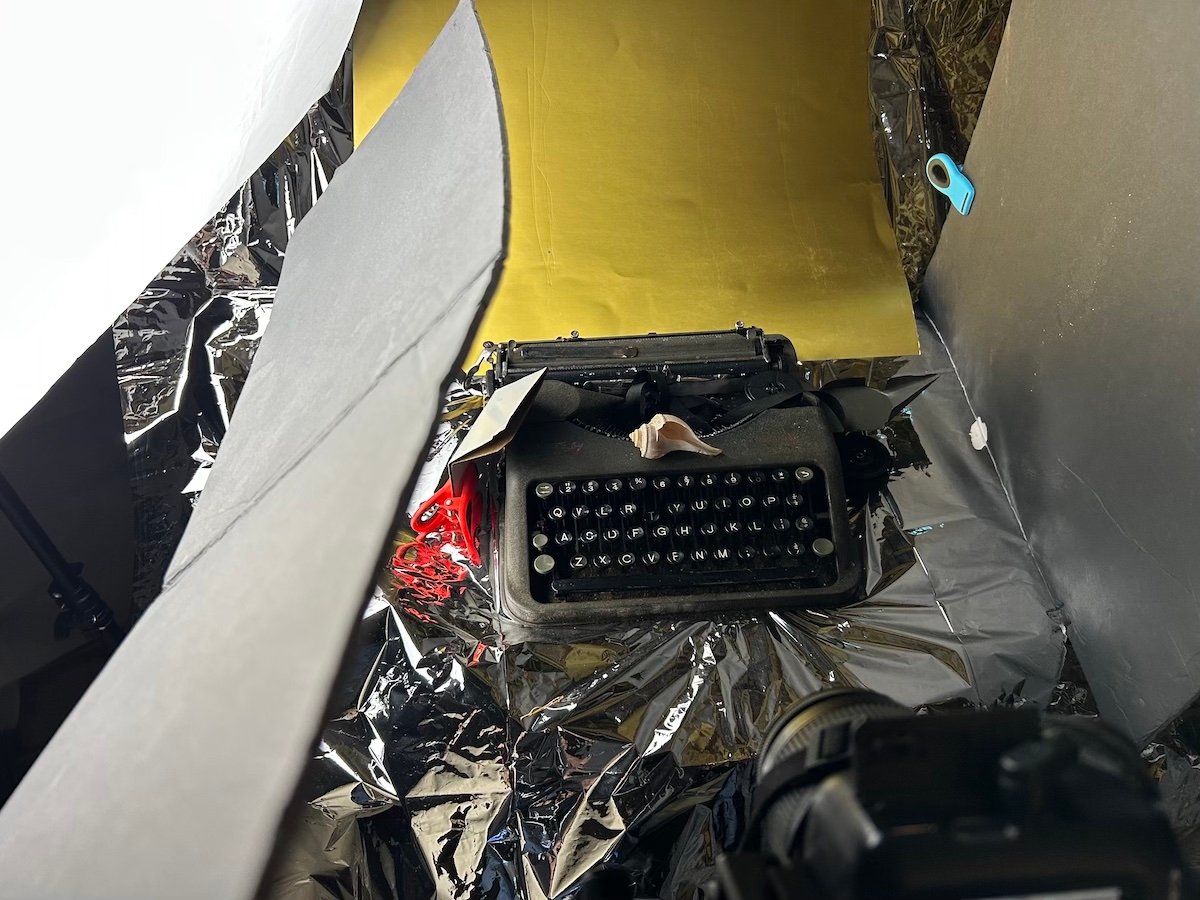
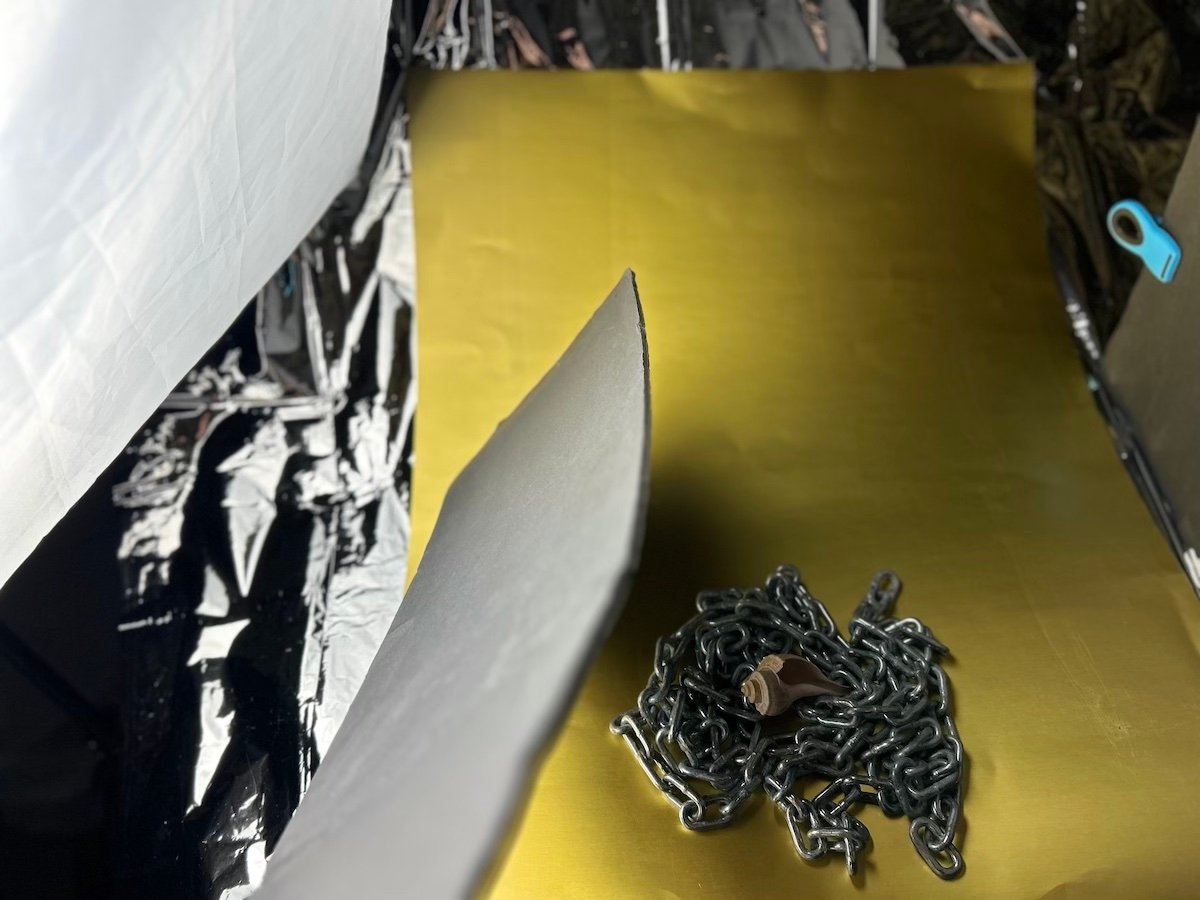
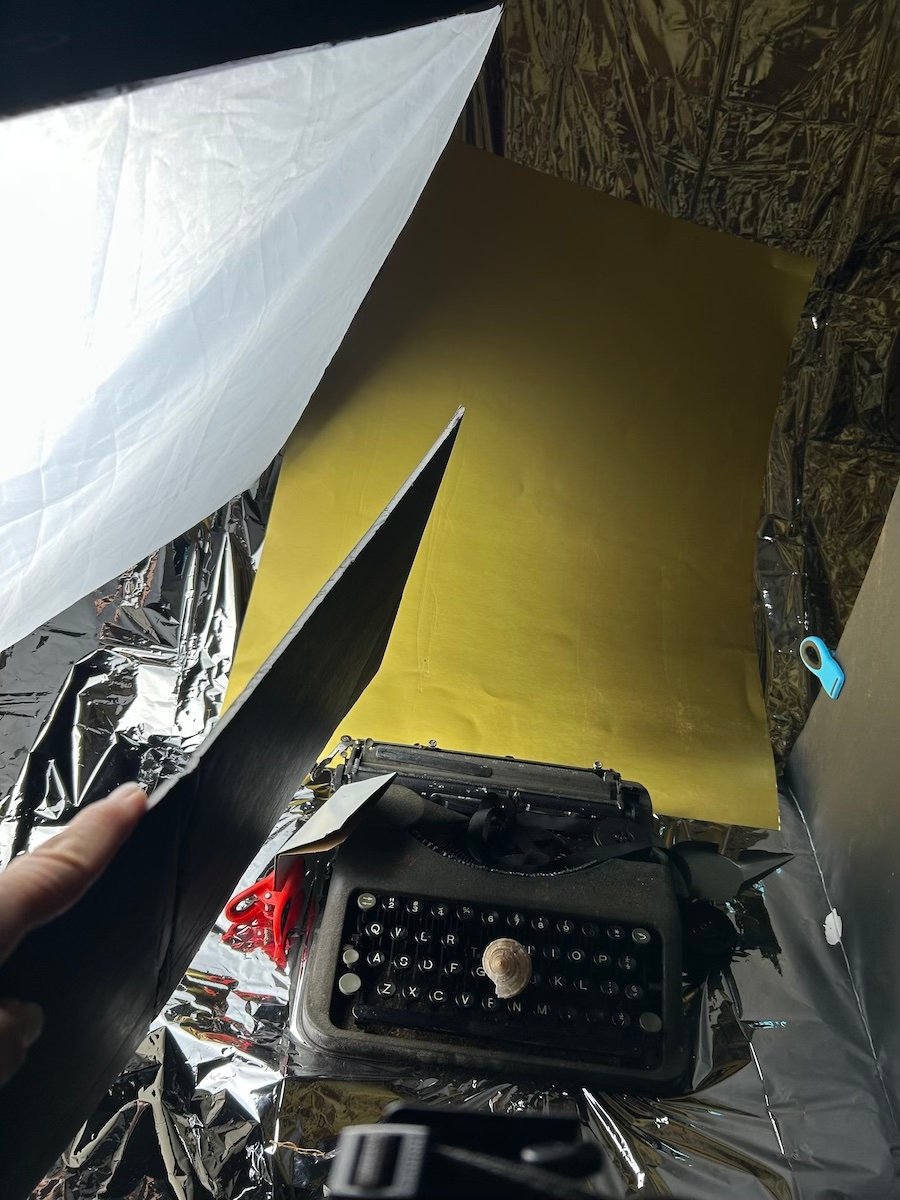
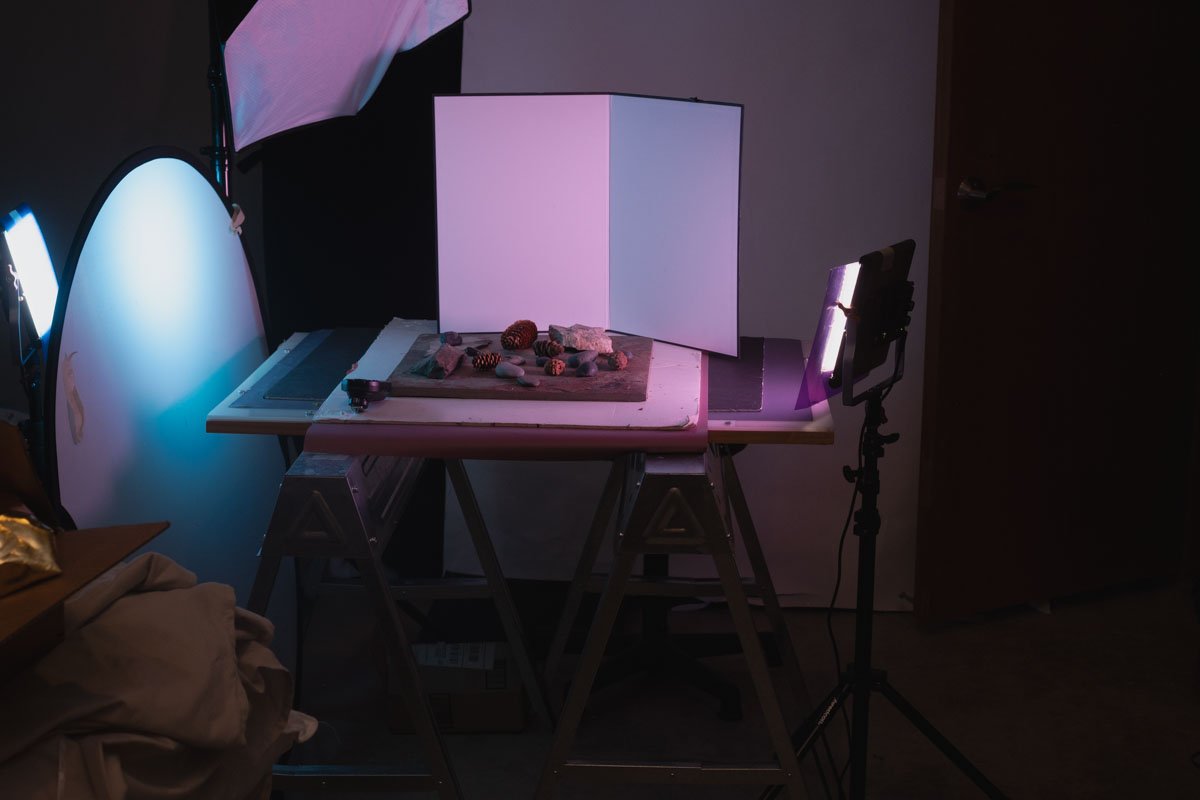
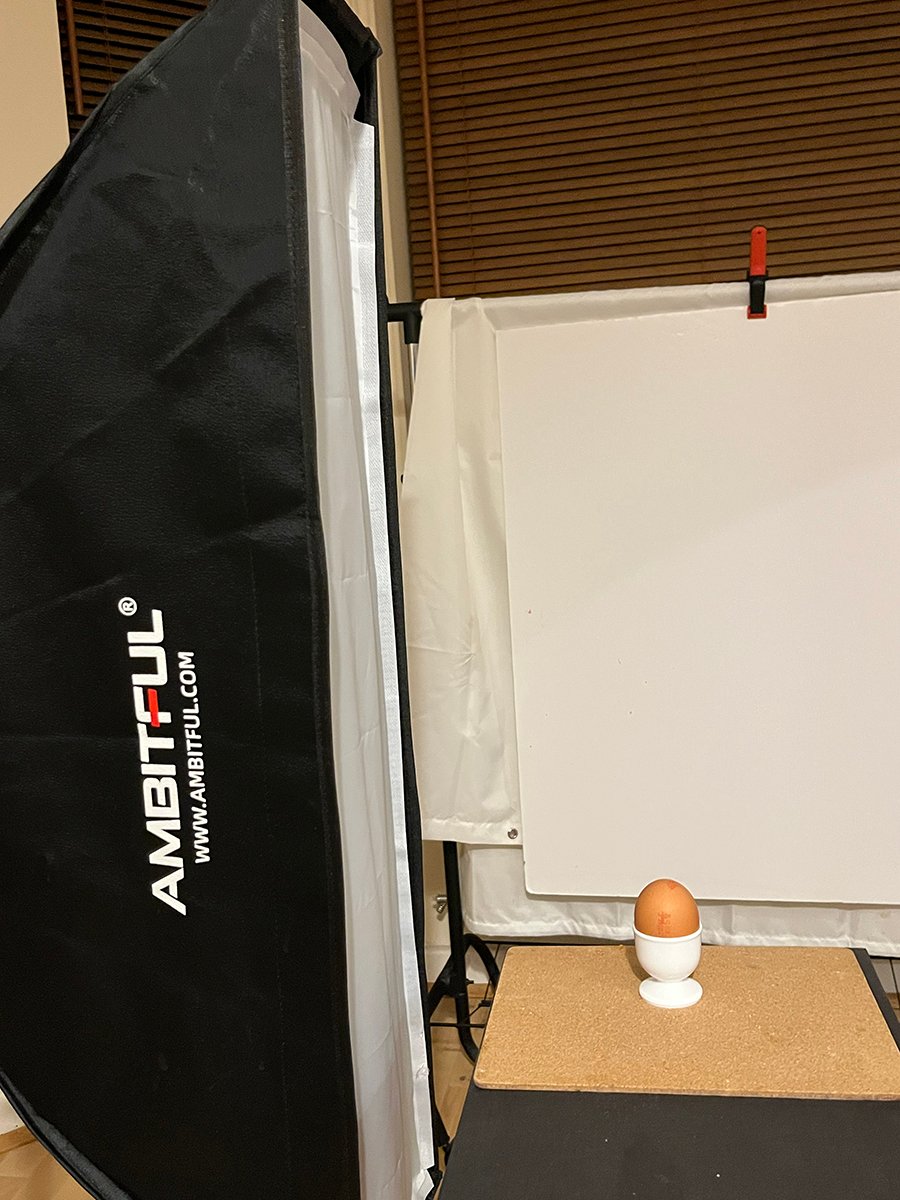
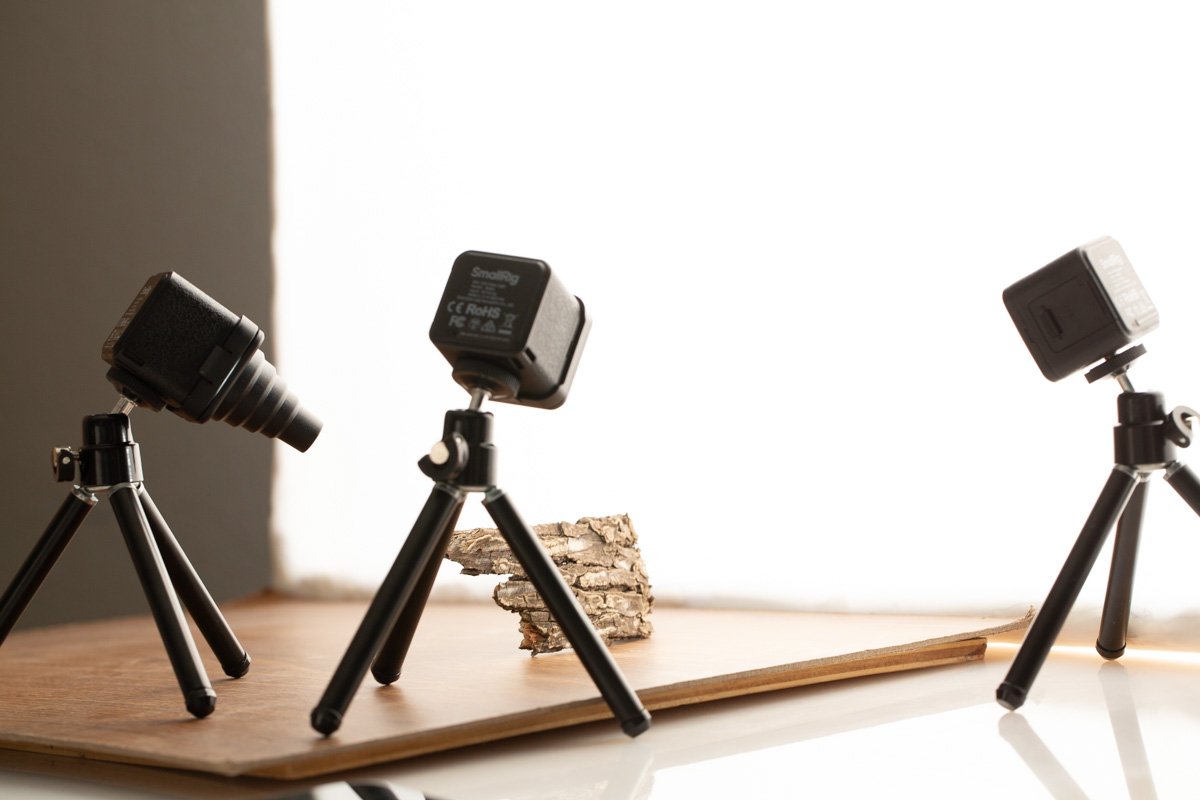
One assignment image and one shot of your setup (we call that a behind-the-scenes shot – BTS).
ASSIGNMENT DUE SATURDAY, JUNE 11 BY 6 AM PACIFIC. NO LATE ENTRIES, PLEASE.
ASSIGNMENT UPLOAD
1. Must not be larger than 1200 pixels on the longest side.
2. Must be .jpg format
3. Include BTS shots (at least one per set)
[wordpress_file_upload]


UNDERSTANDING LIGHT
In the example above, we see the speculars, highlughts, reflections, transitions, and true values of the subject. It is important to understand those parts of the presentation of the light.
Understanding that the subject’s own qualities are what the light produces, and is presented makes the lighting much more understandable.
I call it “subject centric lighting” and it puts the subject qualities first in the process.

SEEING THE LIGHT
In this annotated shot, we can see the reflections of all that surround the pepper, even the areas where nothing is there to reflect. The bright spot in the middle of the specular is the light source (main) while the larger specular is the thin scrim. The reflection of a white board is visible on the side of the pepper, and the transition from specular to the pepper with no reflection (true value) let’s us know that the surface is smooth.
THE LIGHT SOURCE
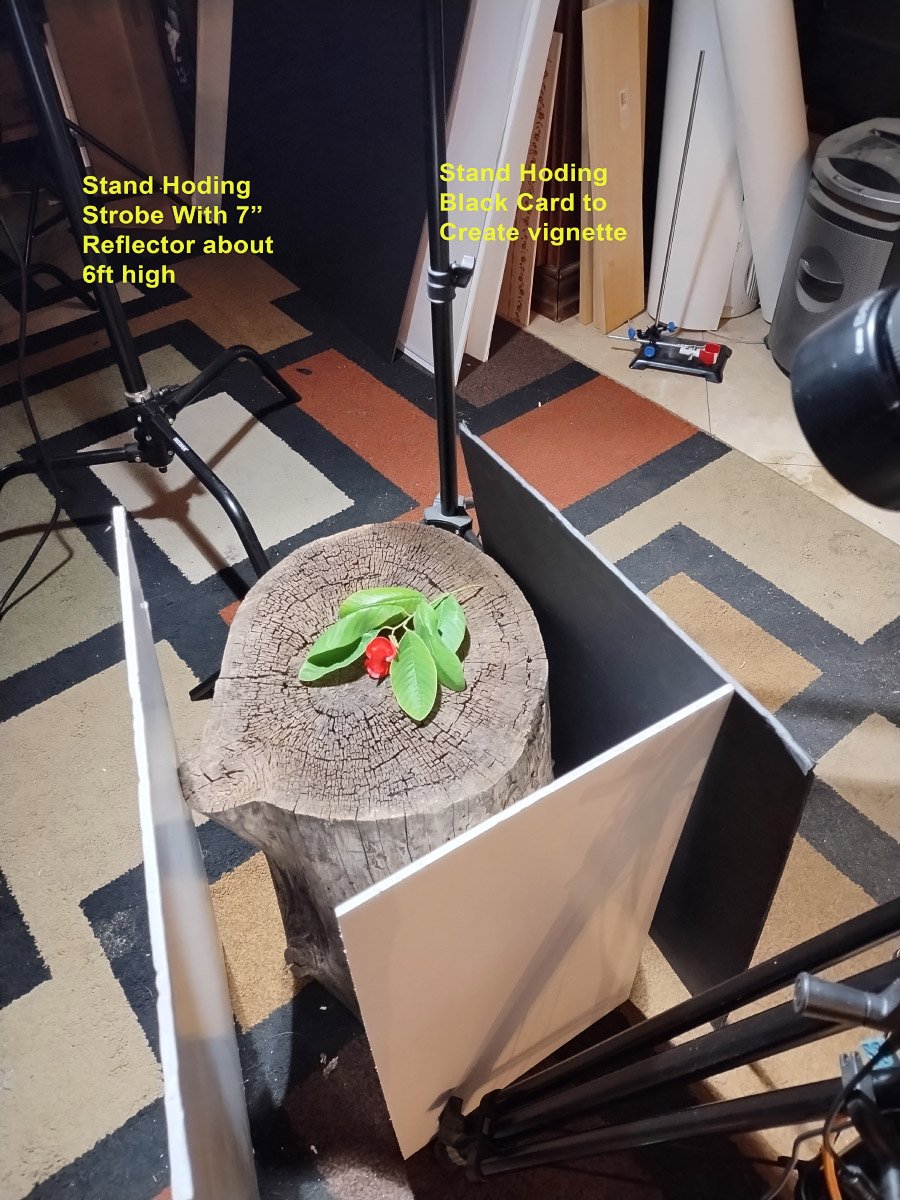
The scrim is the ‘main’ light source to the peppers, but it is driven by the small, bare reflector light above it. Scrim lighting is always that way – a source point, and the scrim itself. From a subject centric view, which is subject-out, the scrim is the main source of its lighting.
Using a scrim gives a still life photographer the ability to change the shape and quality of the light by moving the source point in closer or moving it farther away.
Try this with an efficient subject: Move the source light closer to the scrim, and then farther away. Do you see how that can change the quality of the specular highlight – whether it be on an efficient subject or not.


In the shot above, the specular is a reflected softbox above and slightly behind the pepper. Notice the very sharp edge to the transition between specular and the true value of the pepper. The pepper is a very efficient (shiny) subject made a bit shinier by the addition of the water. This efficiency is what creates the sharp edge to the specular transition.
You can also see the sharp transition from the reflection of the softbox on the wet cutting board. Sharp transitions from specular to true value means the subject is efficient.
The soft transitions from true value to the shadow area are indicative of a large light source. We call a soft true value to shadow “soft light: The larger light source will wrap around the subject and create light in the true value places before it transitions to the shadow (no light),
The knife is extremely efficient, so it is simply reflecting the softbox along the entire side of the steel blade. The water drops are bubbles, so at the side of the bubble, it has nothing to reflect so the bubble has a dark edge that helps delineate it.

This bottle has many different textures, all having to do with the efficiency of the subjects.
Remember that it is specular that gives us the knowledge of the surface texture… a sharper transition edge means the subject is more shiny or glossy.
Starting with the cap, we have a medium smooth transition from the specular on the edge to the true value of the cap itself. We know that this means the cap has a bit of texture to it – a ‘tooth’ so to speak.
The rough twine is very textured, not shiny at all. Here the secular seques very smoothly across the transition. The texture of the subject grabs the light and creates many points of contact. A rough surface shows the light in a diffuse manner.
The glass is extremely shiny, and the specular is reflected perfectly from it, with a very sharp delineation for a transition. This tells us that there is no texture to handle a diffuse light and that it is instead quite shiny.
Understanding the transitions between specular and true value, and true value and shadow is the most important aspects of rendering light.
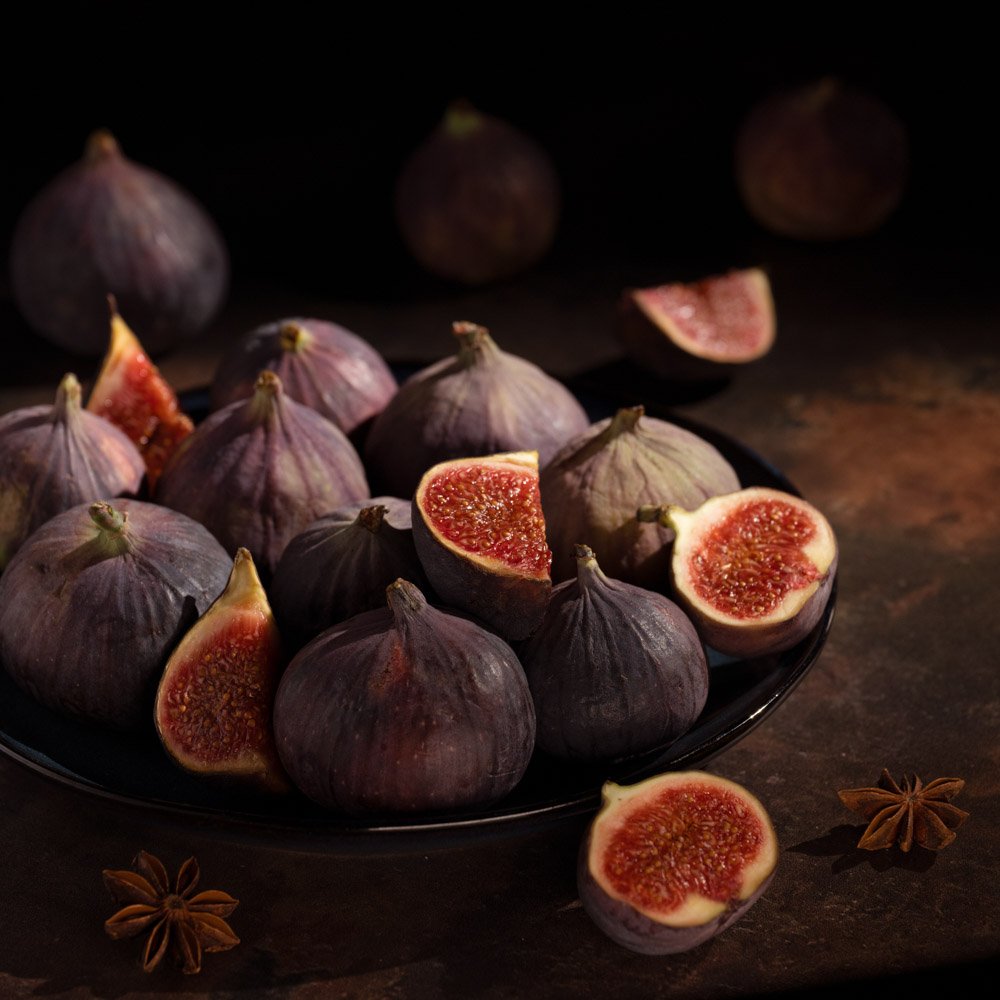
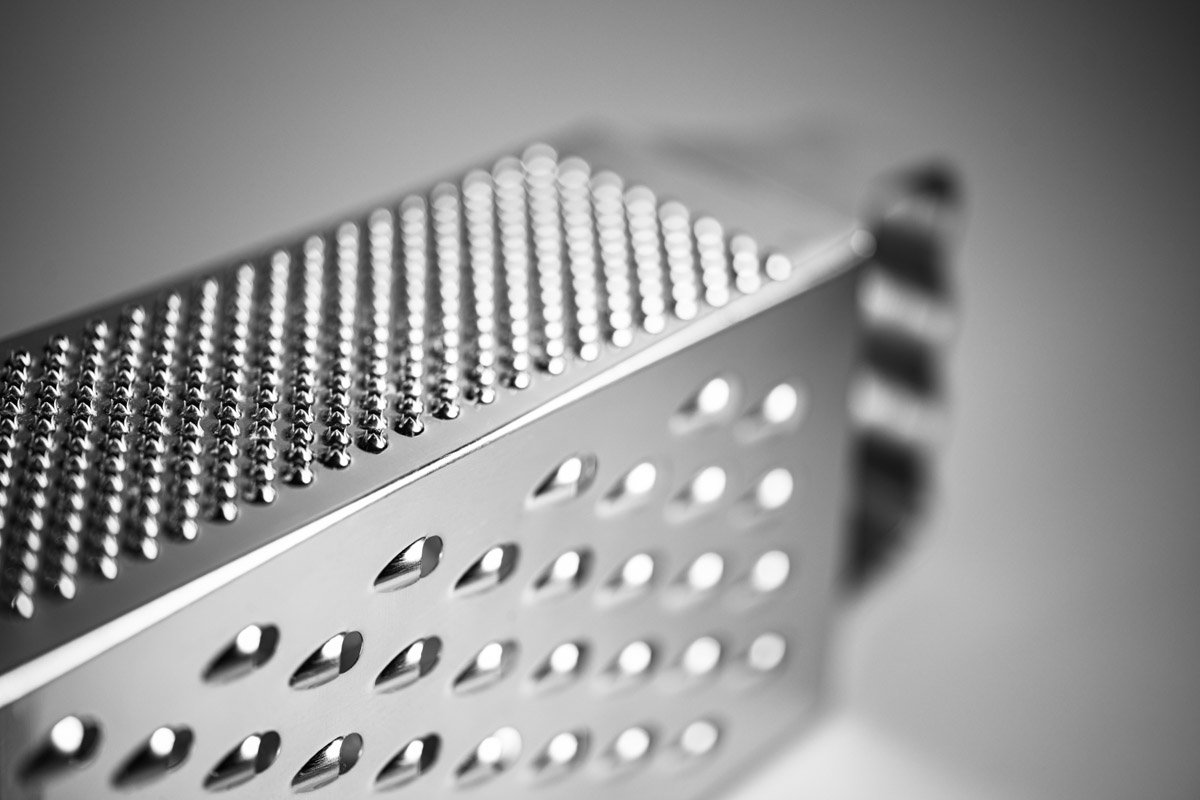
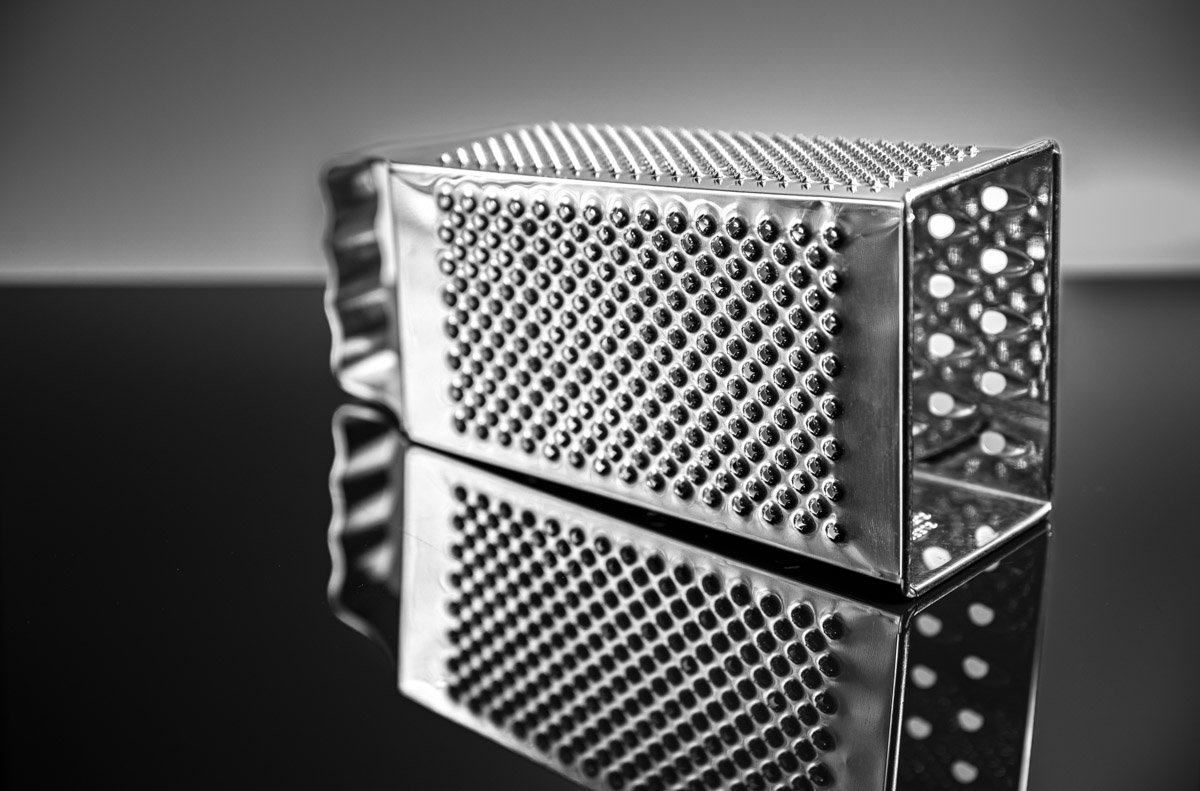
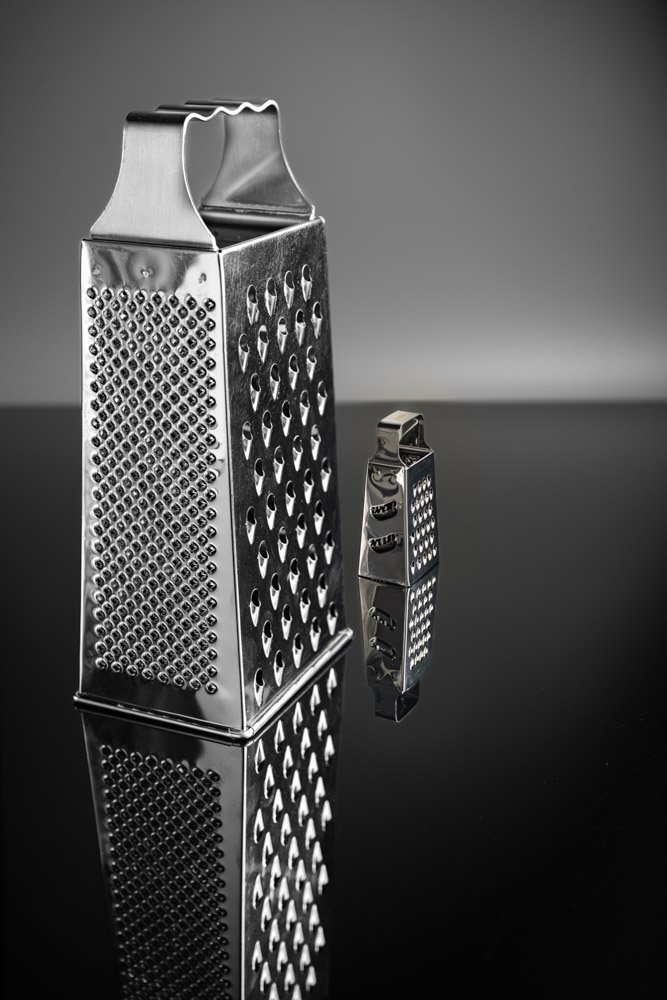
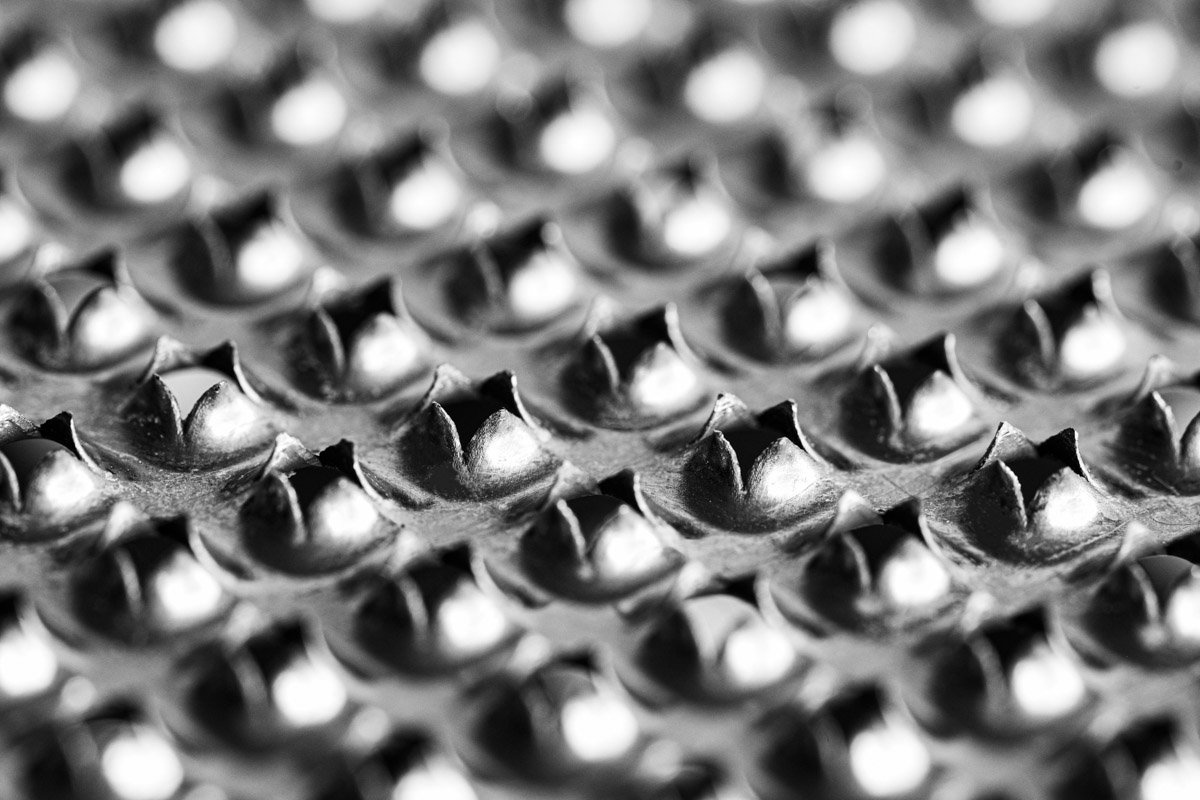
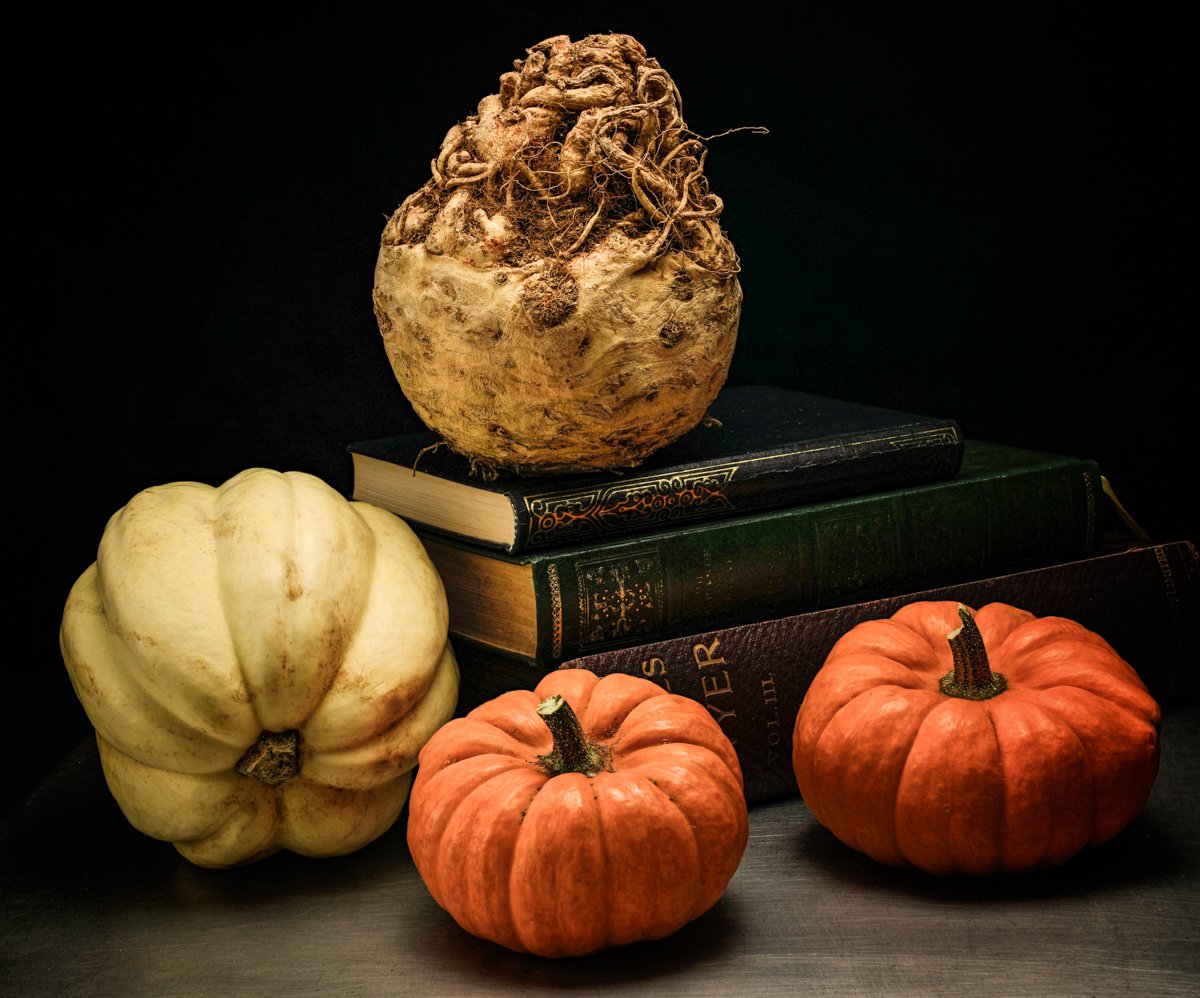
A few images that are shot specifically to show texture:


THE ASSIGNMENT FOR MONDAY, MARCH 23:
A shot that features one type of surface on the subject, and the opposite on the background. A matte subject on a shiny background, or a shiny subject on a matte surface.