25 DAILY IDEAS TO HELP RECOVER YOUR CREATIVITY (11-15)
MORE IDEAS ON BUSINESS, CREATIVITY, AND THE ART OF PHOTOGRAPHYWEEK ONE
IDEAS 1 - 5
WEEK TWO
IDEAS 6 - 10
WEEK THREE
IDEAS 11 - 15
WEEK FOUR
IDEAS 16 - 20
WEEK FIVE
IDEAS 21 - 25
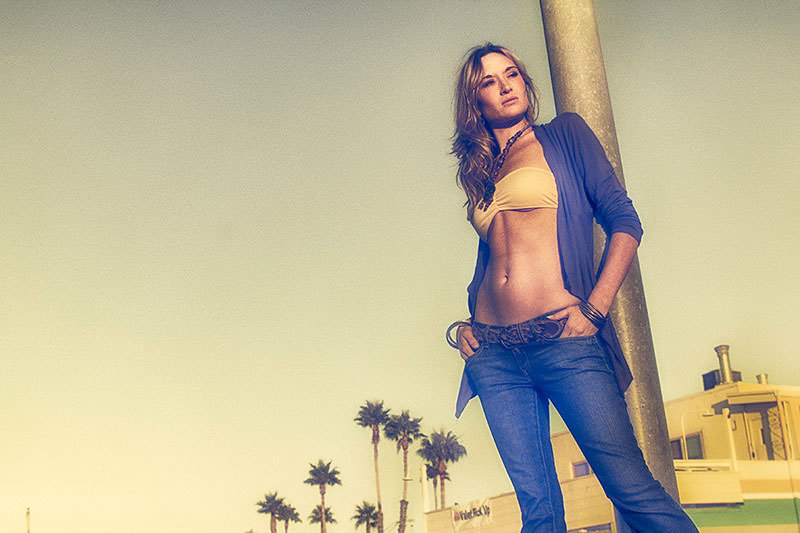
ELEVEN: DIRECT LATE DAY LIGHT
Fall in love with late afternoon, direct sun all over again.
When we start shooting the late day light is one of our favorites – no strobes, bounce cards, scrims, assistants… just some warm, directional light and a talent.
I still love shooting this kind of light. A lot.
But it can be brutal on faces if not used correctly – and what I mean by correctly is without making the faces a shadowy, blotched up mass of ugly. And yeah, it has the power to do that. It does.
But knowing that mess is really the shadows being cast from a small light source at the subject makes us realize that if we eliminate the opportunity for shadows – on the face – from the light, we may be on to something.
I have the talent work toward the sun.
NO sidelight.
NO Short Light.
NO Long Light.
Directly on the plate of the face.
That means that the talent’s nose should be pointing directly at the sun. That eliminates nose, lip, cheelk, eyelash, and chin shadows – heck, that’s pretty much good right there.
If you are going to be where the sun is, make sure you have something dark to hide behind so your talent isn’t looking directly at brightness. I prefer to have shade around me or behind me so they can look into the shade instead of the sun.
13: THE POWER OF POINT OF VIEW
15: TURN YOUR PREVIEW TO MONOCHROME (B&W)
< PRO TIP
Always start your talent out by looking toward the sun with their eyes closed. This can help diminish the pupil size so it is not so big of a shock when they look toward the light.
Also, if the talent cannot look toward the light, try something else. It is not good style to force someone to do something that uncomfortable. It can really hurt.
TWELVE: DON’T FOLLOW THE PACK
Whenever we go to certain places, we will see hordes of photographers standing at the same place.
Horseshoe Bend, Snake River Overlook, Zabriskie Point, and nearly any scenic pull out.
You can see the tripods, the bent over shapes of entire populations of shutter-snappers all vying to take that shot.
THAT SHOT!
And that is great. You now know the shot you are not going to take. Your job, your assignment as it were, is to find another way, another POV, another angle… any darn thing. Just do NOT do what everyone else is doing.
If this is an image that is usually composed a specific way, like the Horseshoe Bend, or Virgin River Bridge in ZION, you must find a different, and less popular angle. You cannot allow yourself to stand there on the side of the canyon with a thousand other snappers and snap away.
Yeah, yeah… you just got Luminar 4 – but here’s the thing, bucko – it isn’t gonna save you because it is a shot that was just shot 60,000 times.
60,000 times in just the hour and a half you have been standing there.
Go for something else… something not so… ordinary.
PRO TIP
It is always good to try shots with a different lens than everyone else is using. If it is a traditionally wide shot, hook up that medium tele. If it is a long lens shot, figure out a way to make something with your wide angle.
Different is good – and even if the shot is not a winner, you have pushed your thinking and composing skills a bit farther than the crowd.
And that is a very good thing.
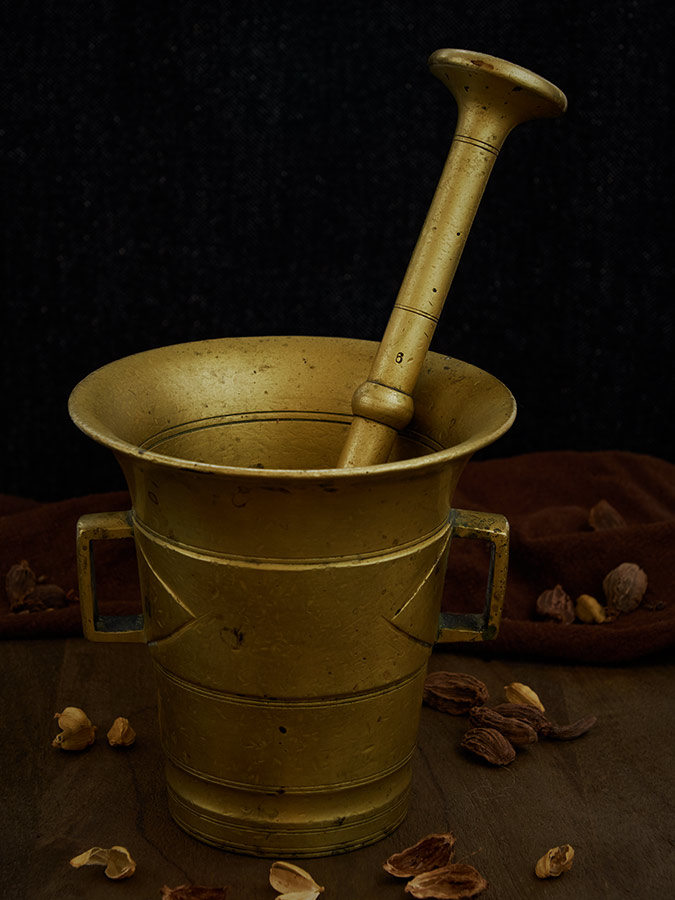
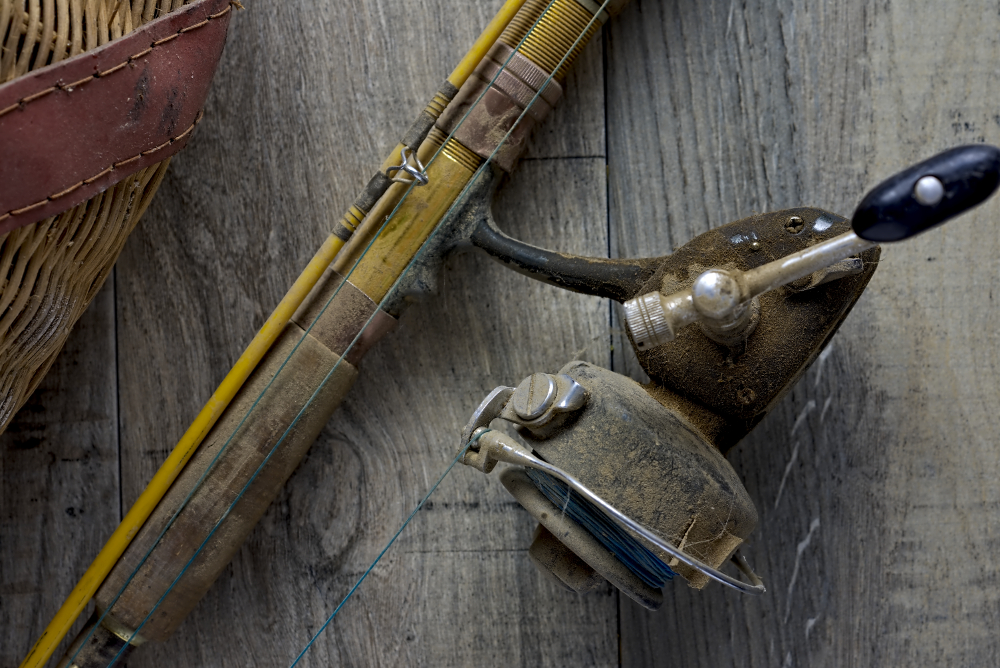
THIRTEEN: THE POWER OF POINT OF VIEW
When we are thinking about a still life, we think about light, and shape and texture and lenses… but one of the most important part of the decision-making process is the POV – Point of View – of the subject to the viewer.
On the table there are three basic angles to consider: Oblique / Natural / Vertical (also known as layflat if the subjects are oblique to the camera).
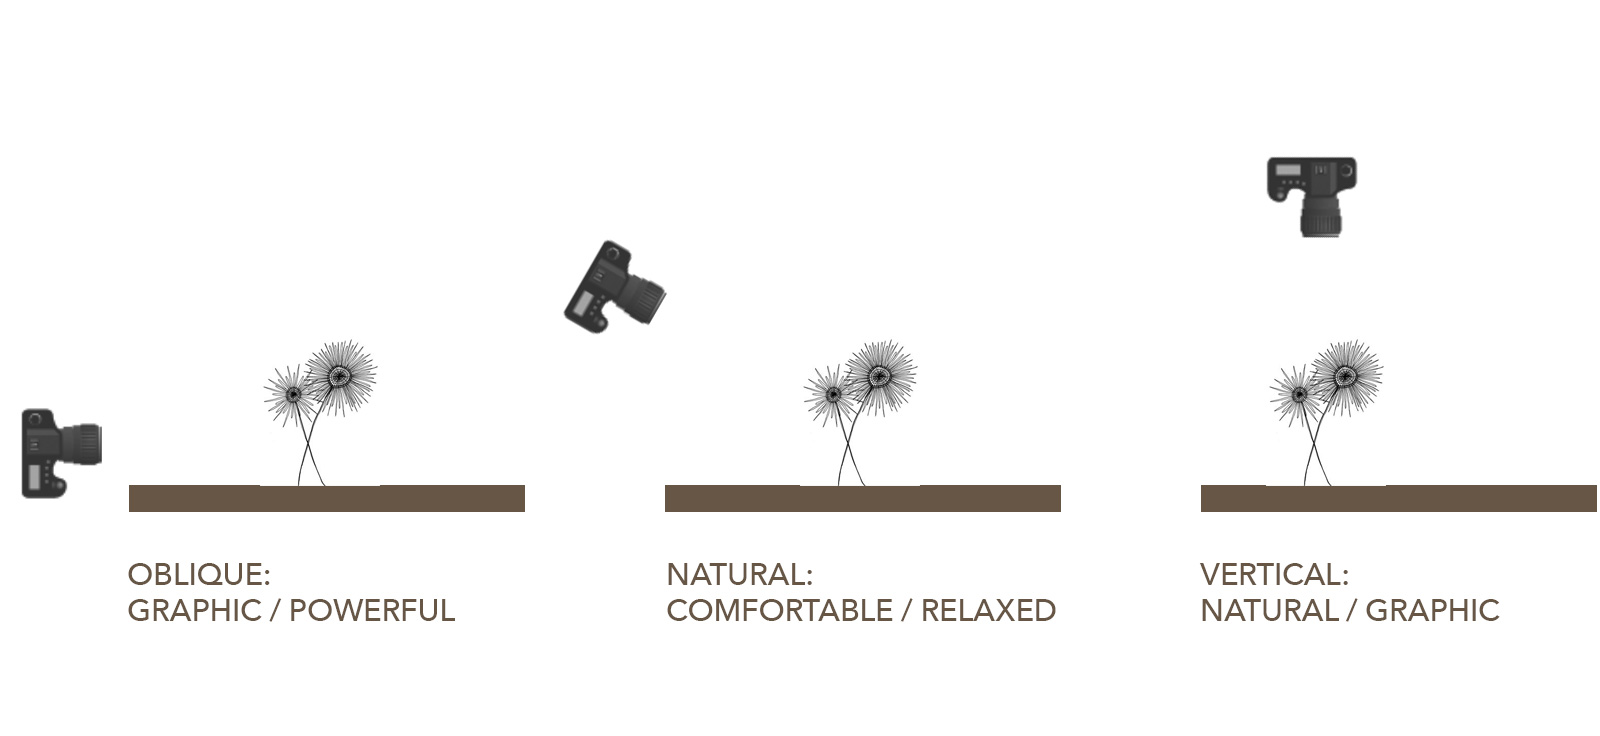
These different camera angles can make a huge difference in what we are doing, and they can influence every other part of our decision-making process as well.
Find a subject to shoot with all three POV’s, but think it through so you pick a subject that can be shot from all three angles well.
Some suggestions:
Liquor bottle
Flowers
Stones with jewelry
Breads
Lenses
Shoot them in similar light and try to not reinvent the shot for each different POV. Work to establish what is similar, and what is dramatically different.
Student work from the 8 Week Still Life Class:
PRO TIP
Sketch first.
Review the items through your lens from all different angles. What can be seen and what is hidden by each of the angles chosen?
Knowing the subject will help you create the power in each of your versions of the image.
THE UPWARD VIEW:
In addition, there is a fourth POV on the table, and that is shooting slightly up at the subject. You will have to work to the edge of your set, but it can be a very dramatic view for sure.


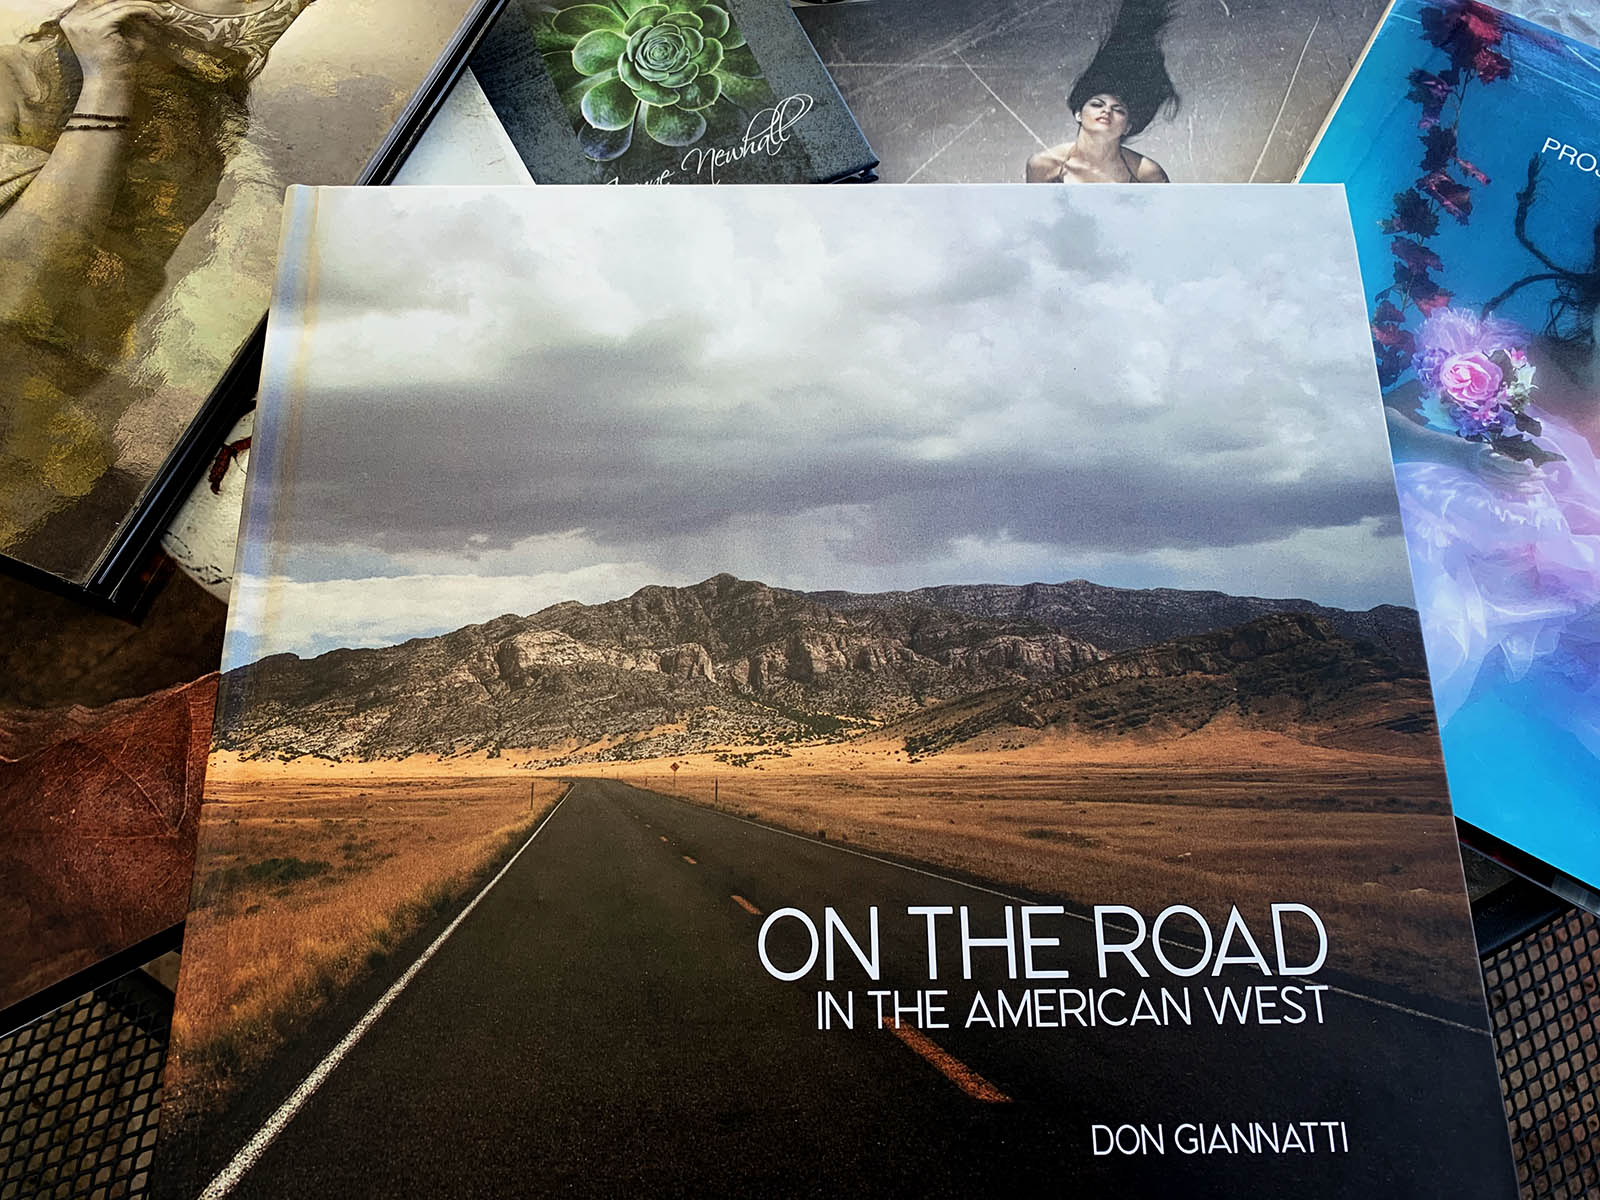
FOURTEEN: MAKE A BOOK
I always wanted to publish a book. Hard to do when there were so many massive costs associated with the creation of a book, and the amount of books you had to buy would (quite literally) fill your garage.
And of course, the book wasn’t the thing anyway, the “thing” was distribution. Distributors were tied down by exclusives, and privates, and non-compete crap.
In other words… gatekeepers behind every gate.
2019: GONE are the gatekeepers.
Create a book of photographs about any damn thing you want it to be about.
Show your work, tell your stories, introduce a place or subject. Make it about art, photography, a roadtrip, a vacation, a personal project. Whatever.
And make it a hardcover book.
Put your name on the front.
Create something that you can pass on.
And look, I am not telling you to make a book, open an online store, market it online, create a blog around it and yadda yadda… just do it for you. Not everything we do has to be about some sort of commerce.
To get started…
Blurb has some large books that may work for you as well. Remember to upgrade the paper. And maybe do a smaller book to test their printing before sending in the final files.
Probably my favorite printed book solution is Edition One Books. They are a premium printer, but the quality does indeed show. However they have a 5 book minimum, so you will be just south of $400 for their largest print size.
Artifact Uprising can make a lovely book as well. All materials are recycled, and the paper has a wonderful patina to it. They have both layflat and perfectly bound books.
I have heard very good things about MPIX books as well.
I was recommended to try these folks, Presto Photo, as well.
I just viewed a few books from SAAL and was very impressed. While not inexpensive, they are very professional and super well printed.
The folks at MILK have a great product that you should check out. I especially like their Moleskin collection.
And when you do make that book, send me a link so I can check it out.
(a few of the books I have published recently)
PRO TIP
Most of the book publishers provide a template driven process for you to drag and drop your images into to make the book building faster.
But that is not going to make it custom, nor will it be what you want it to be.
Learn to use InDesign if you have the Adobe Suite.
For a more inexpensive method, look toward purchasing a copy of Affinity Publisher.
Both of these programs will give you the flexibility you want, and for the type of work you are doing with this book they both will be easy to understand and work with.
FIFTEEN: TURN YOUR PREVIEW TO MONOCHROME (B&W)
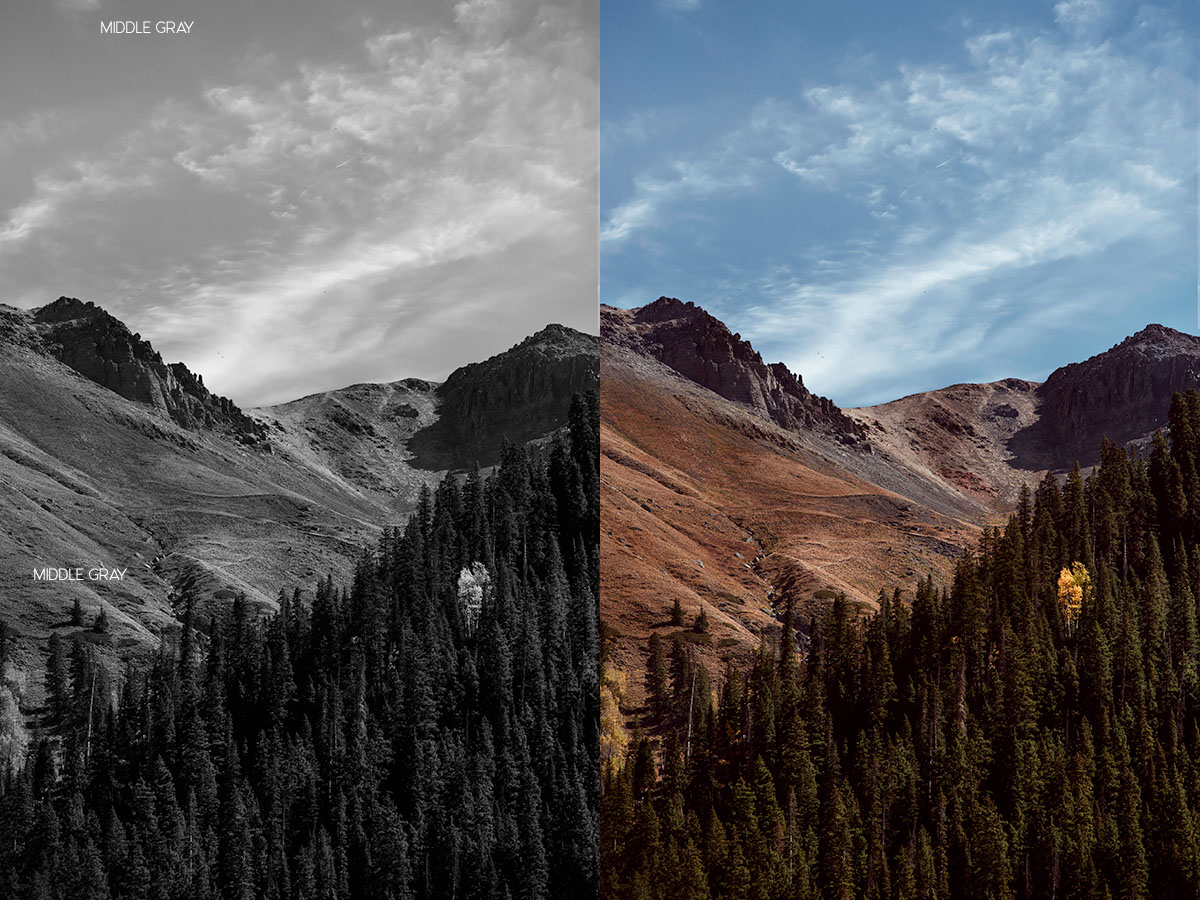
One of the reasons I understand exposure as well as I do is because I learned to see in black and white.
The understanding that the camera meter was not telling you the exposure, but measuring the light coming back to the lens as a point in a limited brightness scale was learned first.
Knowing that the camera is telling you what to exposure to make to present what you are pointing it at as a middle gray (18% gray card we would say) but a 50% gray on your computer screen.
So the meter telling you that the bride’s dress is to be exposed at f8 @ 1/200 would be lovely if only it wouldn not result in a dingy middle gray dress. The groom’s black tuxedo results in an exposure of f2 @ 1/200 and it is – as the brides dress – rendered a lovely middle gray.
The correct exposure is f/4 @ 1/200. (2 stops more than the dress reading and 2 stops less than the black tuxedo reading.)
I have more on using a meter here at this FREE Udemy course.
To begin to see values such as middle gray, one stop over or under, turn your preview to Monochrome.
Now you will only be seeing luminance and values as they pertain to the subjects in front of you.
Without the distraction of the color.
(BITD we used a Wrattan orange filter to remove the color so we could see the black and white values.)
This will have absolutely no bearing on your RAW file and you can even return the thumnail previews to color once you are in Lightroom or Capture One.
You will learn where to point your camera (spot meter mode) to find the perfect exposure in almost any scene. KNOWLEDGE is power, and when the scene is moving in front of you just the knowledge that you can make a perfect exposure will allow you to focus on other things… and bring back the shot.
PRO TIP
I shoot with my viewfinder on Monochrome most of the time (60-70%) so that I can monitor luminances, contrast, and see composition better.
Color is a distraction. It can make you want to take a shot before you have it ready in your head and machine.
I rarely have to deal with tangents in BW, where I have took closer for them when working in color.
The abstracted version – colorless and tone only – also helps me compose tighter and more interesting shots.
Give it a shot the next time you go out for a shoot…. remember, you are still shooting in raw so nothing is happening to the wonderful colors you may be seeing, you are only eliminating them for the preview and for the composition.
Happy shooting.
WEEK ONE
IDEAS 1 - 5
WEEK TWO
IDEAS 6 - 10
WEEK THREE
IDEAS 11 - 15
WEEK FOUR
IDEAS 16 - 20
WEEK FIVE
IDEAS 21 - 25