

Have You Considered the “Arc of Beauty” in your lighting?
(Image by Tracy Sutherland)
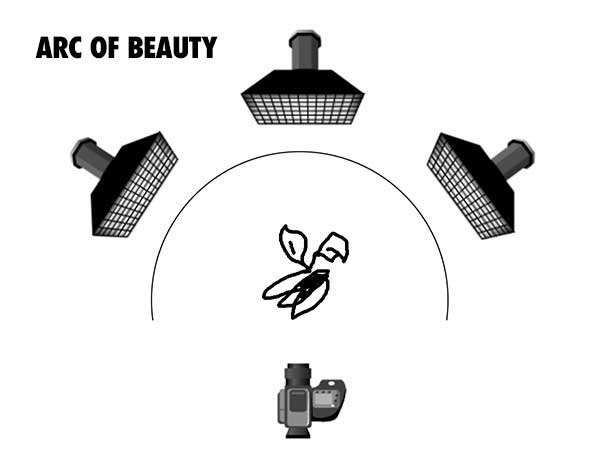
We are going to take a high-level view of lighting today and discuss what I call the “Arc of Beauty“. And while no lighting scheme is going to be directly discussed, what we are to think about is a general tone of the light and what it does.
The “Arc of Beauty“
The Arc is backlight from side to full back. This lighting is one that I think of every time I get ready to do a still life, food, tabletop, or product shoot. It is a go-to lighting at the highest level.
What that means is I haven’t thought about whether it will be a softbox, or an umbrella, or a grid spot… I just want to get the benefits of back / side-back lighting established first.
And I do this usually with a boom or grid-held light instrument that allows me clean vision below it while keeping the light itself above and or behind the subject. While it can be done with a stand, the boom allows me to get the stand out of the picture from behind and not have to limit my angle in order to not see it.
Full on side light is also part of the arc of beauty. And remember, top down lighting is also side lighting since it is oblique to the camera.
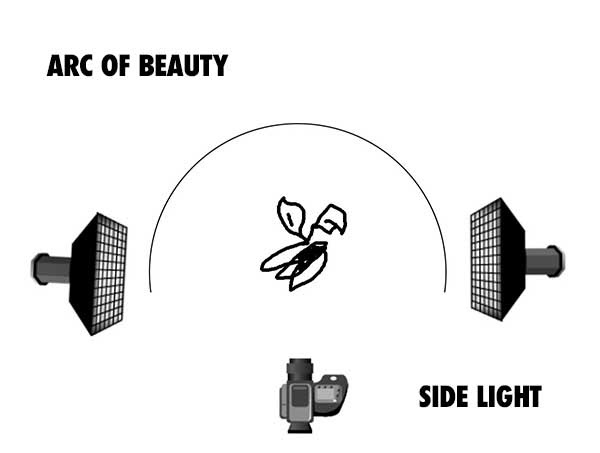
Full Side Light is also within the Arc of Beauty and can provide some stunning textural and dimensional presentation.
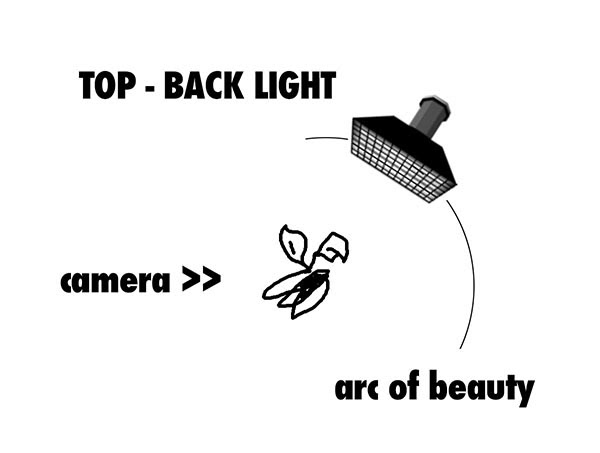
The arc also extends vertically from lower than the subject to directly over top (also a ‘side light’ in angle from the camera.
From a full on back light oblique to the camera to top down light from above, the arc is also a vertical tool that can help with dimension, texture, color definition and more.
Why do I start here?
Because the tendency of front lighting is to make things flat. Dimension falls away, shadows fall away, and the overall texture is diminished as well.
Here are two shots to show you how it works from a small, intimate image to a large scene.
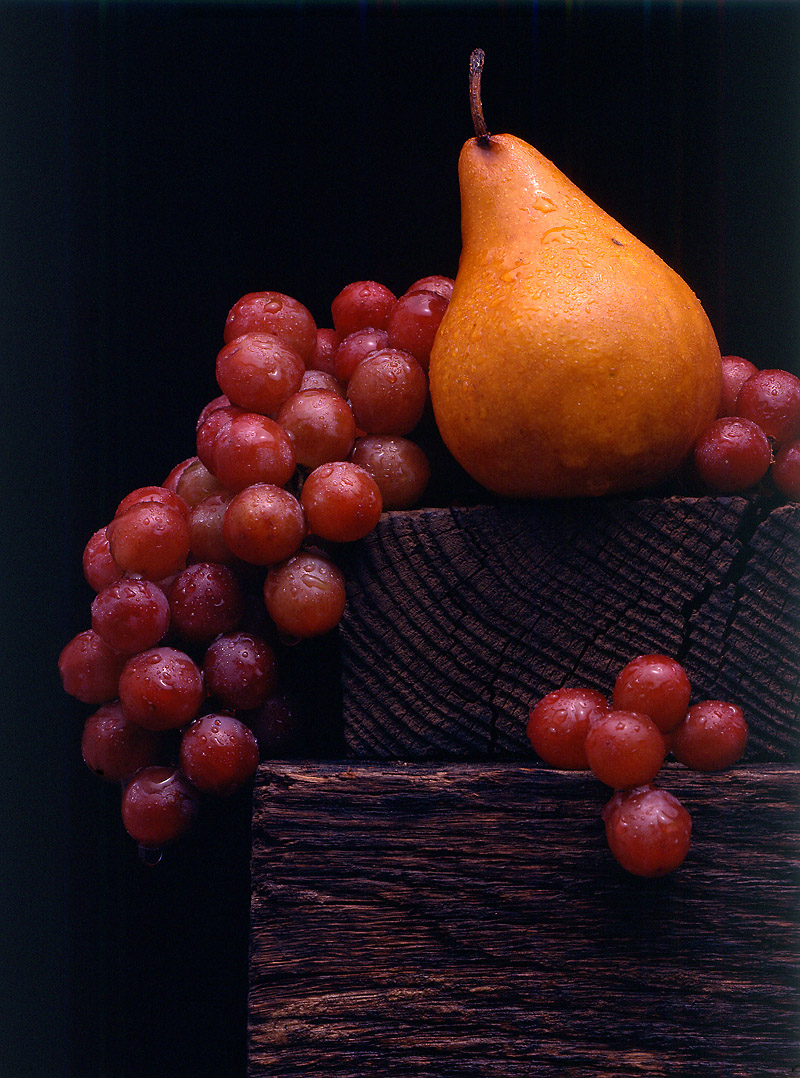
The pear and grape still life was shot on an 8 x 10 Deardorff and 14″ lens with Ektachrome 64 Transparency film. Light is from camera right and is a 24×36″ softbox shot through a 48×48″ scrim. The light is above the set.
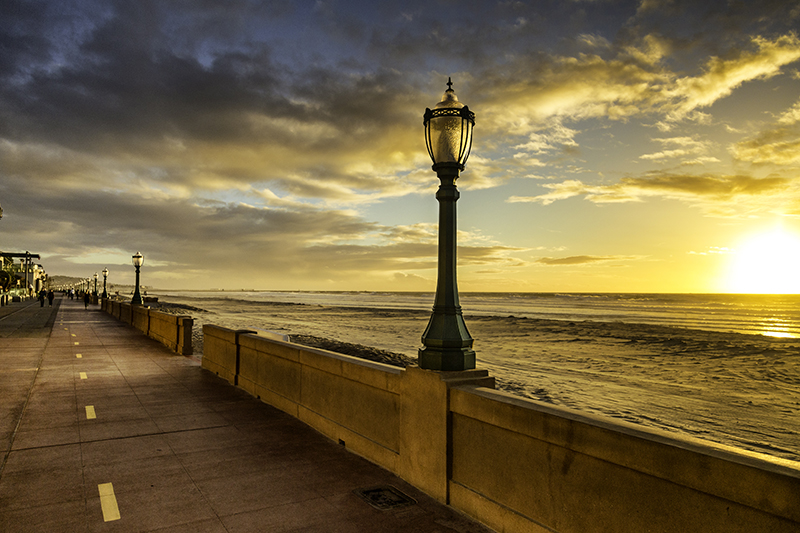
Shot on Canon 6D / 24-105 MM at 30 MM. The back light gives texture to the sand, the wall and the sidewalk. It also creates a much more interesting set of shadows and shapes. Dimension and texture.
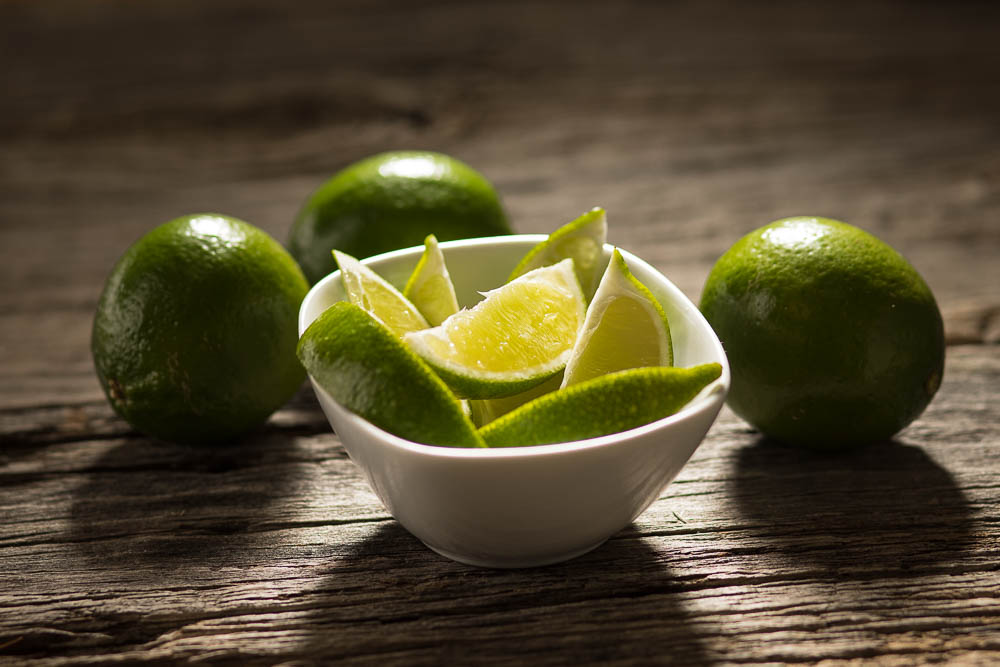
Bob Knill used a grid spot from the back.
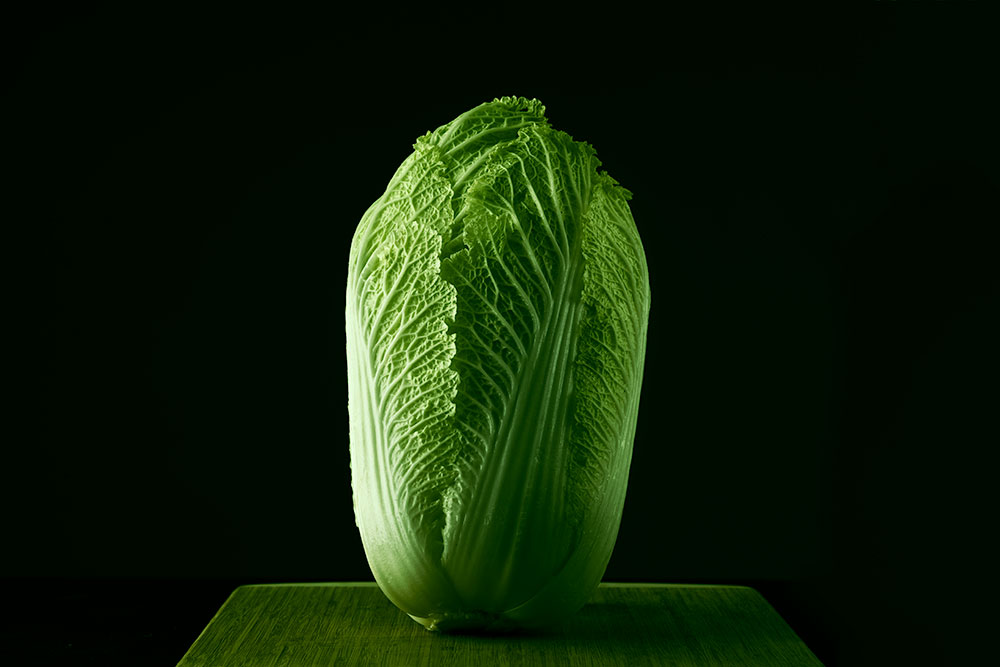
Billy Walker chose side light to lift the details off of this head of lettuce.

Lisa Narduzzi chose a large soft light to bring out the texture and shape of her farm fresh beets.
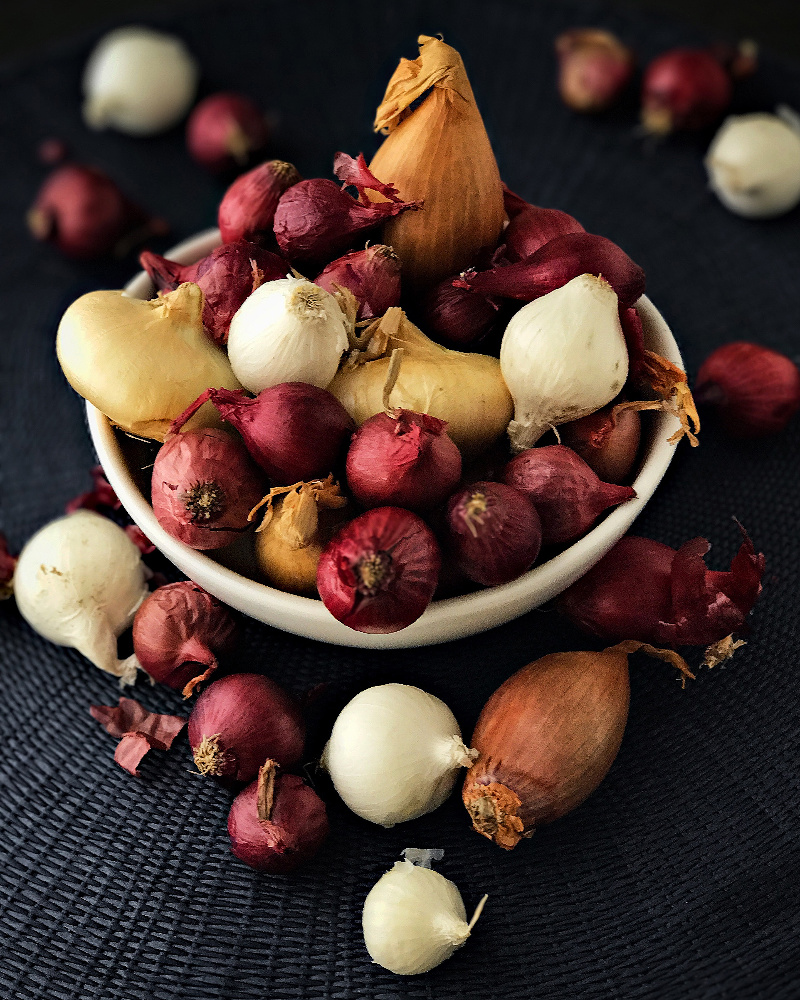
Maciel Blaszczuk used a window light directly behind the bowl of onions for this iPhone shot.

James Kern uses light from the back right side to sculpt the texture and dimension of the assorted objects.
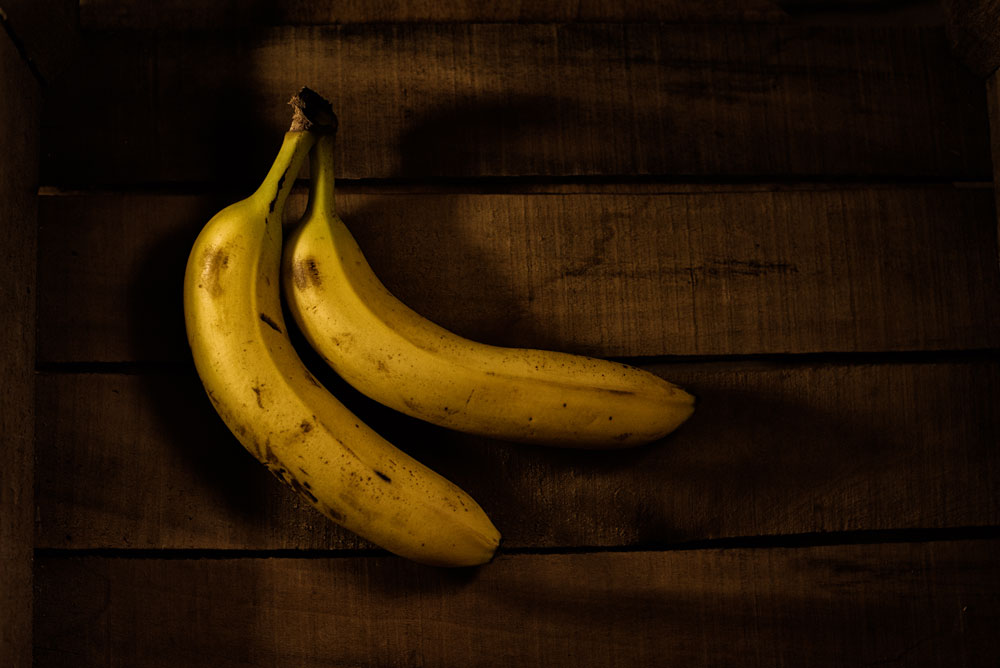
Soh Fong chose a diffused side light for her bananas in a corner of a small box.
Are there exceptions?
Absolutely. Shiny objects, liquid, situations where you WANT a flatter, less textural light. Of course there are exceptions and there are also some very talented photographers out there who choose front lighting as a stylistic difference for their work. They make killer images because they have worked with the technique long enough to know where and how to absolutely use it.
However that might be, we are talking about the bulk of our shooting approaches here.
To see it for your own self, set up something as a still life and move your softbox all around it as you make the photographs. You may have to add a little fill to the front (large white card perhaps) but shoot one with side light, back light, side/back light, low back light, high overhead backlight.
And shoot some with the light up front.
I believe you will see the difference and may help you think about your light in a bit of a different way.

Summer is here, and this is the time for more shooting, more portfolio building, and more list building for potential clients. This PROVEN system will help you on your way. These modules are free and there is a premium version on sale for a super deep discount you will read more about on the site. Build a great portfolio while you are building a client list that makes sense. Find Photo Clients NOW
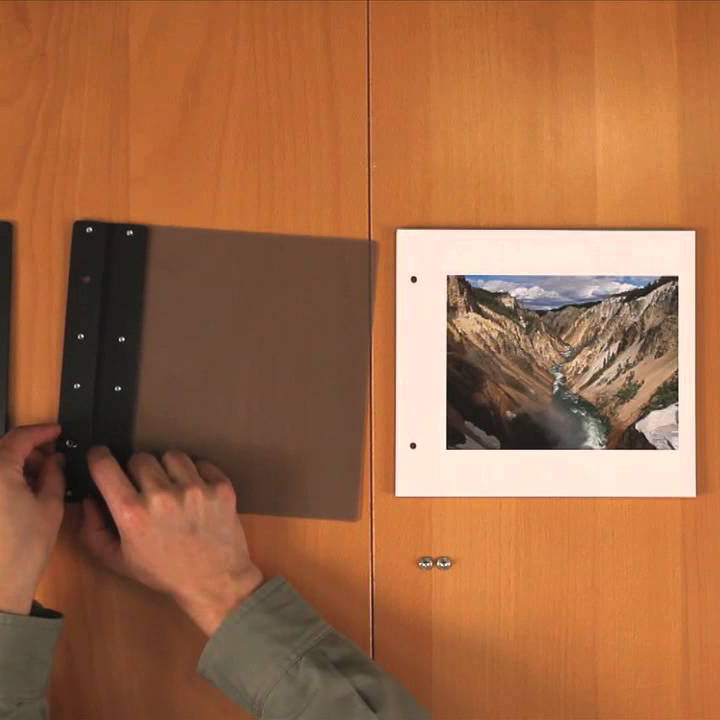
This is the Portfolio Build Class for mid-level photographers. This is not a class for beginners, or for the more experienced photographers. This is a class for photographers working on their portfolio to make it more appealing to art directors, editors, and designers. More information and enrollment.
Your portfolio will be evaluated before acceptance. If you are not accepted, you will be instantly refunded the enrollment fee.
Have you wanted to take a look at the Project 52 workshop without committing for a year?
Well here is your chance. An 8 Week Project 52 Pro Membership is ready for you to get into – NOW. And it is the full deal. All of the resources, assignments, reviews, webinars and more are there for you to work with. This is NOT a truncated offer, but a full opportunity for you to take advantage of the most unique photographic workshop on the internet.

Project 52 Photographer, Pete Hudeck
While these guys and gals from Project 52 are sharing their adventures with you all, I am busy creating new content and preparing the Project 52 project and the new Lighting Essentials website. I love how much they share. Meet Pete Hudeck, another who has been with...

Project 52 Photographer Kathy Jan
Kathy Jan found Project 52... and while it was a bit daunting to her at first... she stuck to it, made the assignments - and more usually - and learned a great deal. Her work is now pretty darn fine. I think she has shown tremendous growth. Here is Kathy Jan in her...

Project 52 Photographer: Rob Davidson
Meet Photographer Rob Davidson, from New York City. Rob Davidson Rob Davidson Photography Website Email RobD3 on Flickr Facebook "For the past few years I have been clambering to gain knowledge and insight as a photographer. My hobby had taken that turn to become an...
Project 52 Photographer: Bret Doss
Meet Bret Doss, a Project 52 participant and a friend. I met Bret a while ago when I taught my first workshop in Seattle. He truly loves photography. Website Facebook Twitter "Project 52 presented a unique opportunity: ongoing instruction and critique each week for 52...
New Years : New Changes, New Attitudes, New Looks, New Projects
NOTE: POTTY MOUTH ALERT... Just in case I sound like all those 'oh-so-cool' women bloggers who drop f-bombs and tell us about their sex lives ... ick!" It's time for a change. it's time to get busy, change shit up, make new plans. Stop old habits and forge new ideas...
Project 52 Photographer: Ron Heusser
Meet Ron Heusser from Washington State. Ron is active in the Project 52 group. Project 52 Experience Ron Heusser Ron WA on Flickr "I'm a mechanical engineer for my day job, but have always had an interest in photography. I have pursued landscape shooting for the last...
Project 52 Photographer: Christopher Bersbach
Project 52 Photographer, Christopher Bersbach checks in with his thoughts on Project 52. "I had been a follower of Lighting Essentials, as well as several other online photography resources, for a while before Don started Project 52. s a self-taught photographer, I...
Project 52 Photographer: Don Fadel
Another Project 52 participant, Don Fadel, checks in from Florida. "First of all I would like to thank Don Giannatti (historically “WizWow”) for establishing Project 52 and taking the time to organize and critique the images. This was a major commitment on his part...
Merry Christmas and Happy Holidays from Wizwow and LE
Thanks to everyone who took part in LE, the Project 52, all the workshops and my clients. Have the happiest of holiday seasons... And please remember, I am a drummer. 😉
Project 52 Photographer: Hiram Chee
We will be featuring some of the photographers who spent time with Project 52 this year (2011). These are their own words, and I am proud of each and every one of them. Whether you want to do every assignment or just one or so a month, you should consider being a part...
Light or Dark Backgrounds for a Portrait? Sometimes it is Subject Driven
Many times when I am preparing to shoot a portrait, I have to make a decision on background color. I check three things: the purpose of the shot, the model's features and hair color and wardrobe. First of all - there is no right way to do this stuff. Anyone who tells...
Smile or No Smile? In Portraits It’s All About the Eyes
I love the simple portrait/headshot. I would be happy to shoot faces every day. Old faces, young faces, tired faces, happy faces, sad faces and more. The human face has so many facets of interest. When we are very young, we learn to recognize faces. Mom, Dad,...
Shot Under Moonlight with a Touch of Streetlight for Kicker… ahhh, Kodak 3200
It was a muggy summer night in Chicago. We had been shooting all day and wrapped a three day catalog shoot. We took a few hours to eat and go dancing at a club near the studio, and then go back to the studio to shoot some more. I don't remember the year... late 80's I...
24 Project 52 Images to Inspire Your Weekend
These are some of the wonderful shots from a while back at Project 52. We are gearing up for another great year of shooting - and remember, you can join anytime. Just start shooting and posting the images for critique. A new site is forthcoming, and more information...
Beautiful and Unique Photographs In Our Charity Print Sale
We are doin something a bit different on this post. Kinda like PBS's "Dialing for Dollars" only the money doesn't go to us, it will be going to the Toys for Tots Charity. We are simply showing off some wonderful images that our Project 52 folks have done, and offered...
2012 Brings a Lot of Changes to Lighting Essentials – A Heads Up On What’s New!
(LOOKING FOR A COOL AND UNIQUE PHOTO GIFT? Check out our Lighting Essentials Charity Print sales page. Only $27 for a 14" print, with shipping included. All profit will go to Toys For Tots, the Marine Charity for kids. See the Charity Print Sale page for more...
No Magic Pill, No “Easy” Button! What’s a Photographer To Do?
I recently spent some time in my studio with a photographer who was struggling a bit to find his 'style'. He thought that I could help him find what it is that he was doing wrong, and came by for a long working lunch. His assumption that I could help him find his...
The “Business” of Photography: Have I Lost Perspective, Or Simply Disconnected?
OK... Snarky Rant follows: You have been warned. So there's this photographer on Google +, Colby Brown, and he is writing a book about Google + and photographers. He decided to run a contest or something like a contest, to get some photographers who are actively...
Designing The Image You Want (a Chapter from My Book, Lighting Essentials)
Today I present an excerpt from my book, "Lighting Essentials: A Subject-Centric Approach for Photographers" now available from Amazon and fine book retailers all over the world! Whew! It is really interesting that yesterday I got a knock on the door and was handed...
Thanks is for Giving, and I Need To Do Some Givin’
It is Thanksgiving week in the US. It is a day that was set aside to give thanks for all that we have and take a moment to reflect on our year. It is also a time for being gluttonous, preparing for the biggest shopping day in the year and when family who may not speak...
What Happens When You Do Everything Right, And It Still Doesn’t Work?
There was a very interesting post over at Kirk Tuck's blog this week. It had to do with only being as good as the last shot, and how some great photographers are watching their careers slow precipitously, even while still being recognized as top level photographers....
Fear and Loathing in Photoville
Last week, Zack Arias received an email from someone excoriating him for ruining the photography business, teaching "n00b's" misleading information, fouling the water, defiling the tenants of Mordor, and general misbehaving. Or something. You should read it here, and...
Question and Answer Friday at Lighting Essentials
I was wondering aloud on twitter last night and asked if anyone had any questions they wanted answered... four tweets later we had these. One I believe I answered by tweets, but these three were so strong that they needed more than the 144 character response. Here...
It’s the Wild and Wacky “Winner Gets ME” Contest at LE (this will be fun!)
Wacky Winner Gets ME Contest. Yep – I will either come out to you and do a one on one workshop, or you can come here to do one in Phoenix. If you decide to come out here, airfare will be taken care of round trip (there are some caveats – see below). The workshop is...