
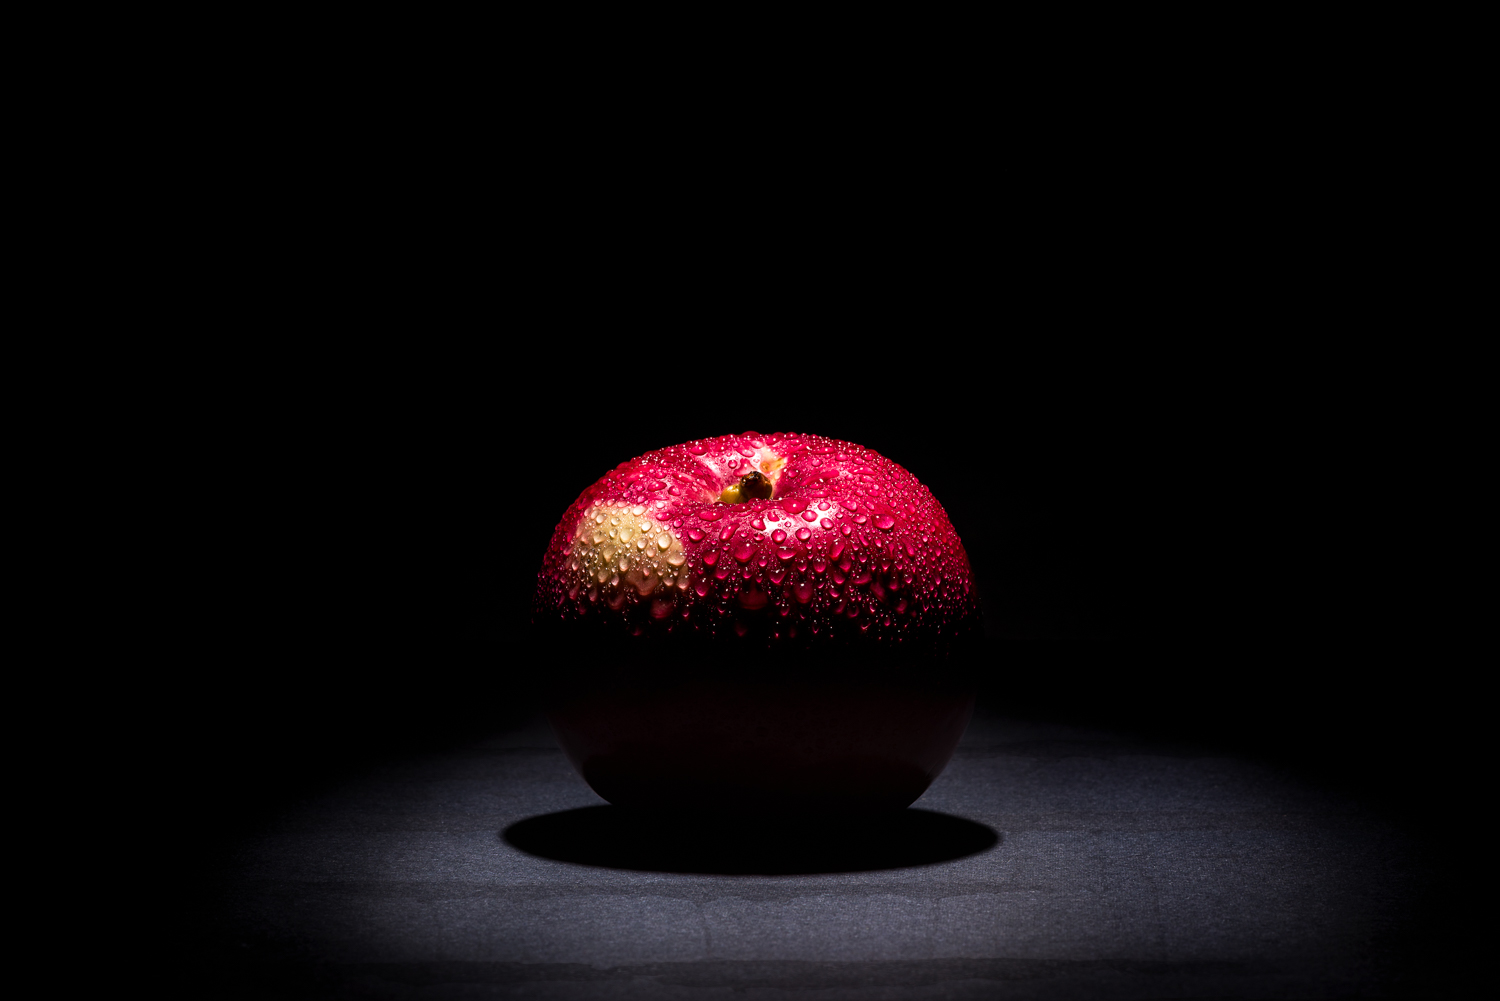
Subject Centric Lighting: The Five Areas of Light Presentation
Cover image by Project 52 student, Gabriel Alvarez.
When the lighting choices we have made are used, the light is ‘presented’ back to the camera in expected, and controlled ways. There are five parts of the light presentation, and we use them in every image we make.
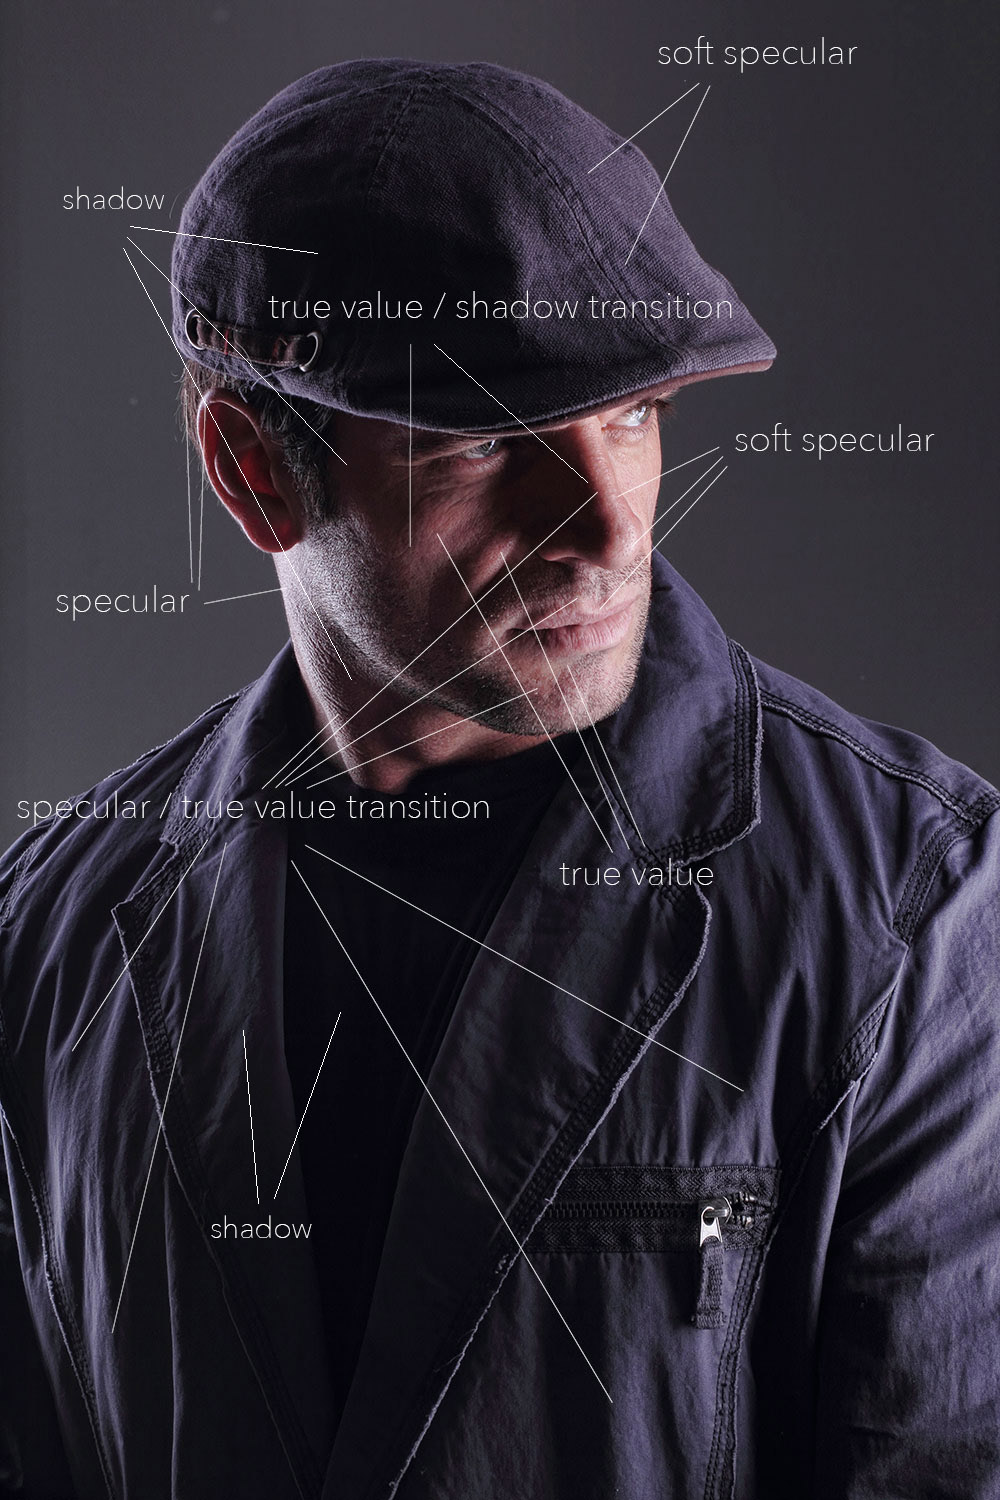
True Subject Value:
What the subject looks like when not in specular or shadow, this is the area that shows us the color of the subject as well.
Specular:
The exact or absolute reflection of the light source.
Specular Transition:
The point where the specular reflection transitions to the true subject value
Shadow Transition:
The transition between True Subject Value and Shadow
Shadow:
The places on the image that are not lit, the opposite side of the light source.
These areas of light are found in nearly every subject. By understanding what they do, and how they are controlled, we can understand much more about the light that is used to present these areas in the ways we want to show them.
In other words, knowing what causes a shadow transition, how to present true value, and how to control a specular highlight means we have control over our lighting and we can create the looks we want. Whenever we want.
Photographers and artists use these representations of light to show texture, shape, dimension, color, clarity and mood. Illustrators use highlight and shadow in their work to create their own light. And they use the same tools to light their drawings, although quite imaginary, as photographers do.
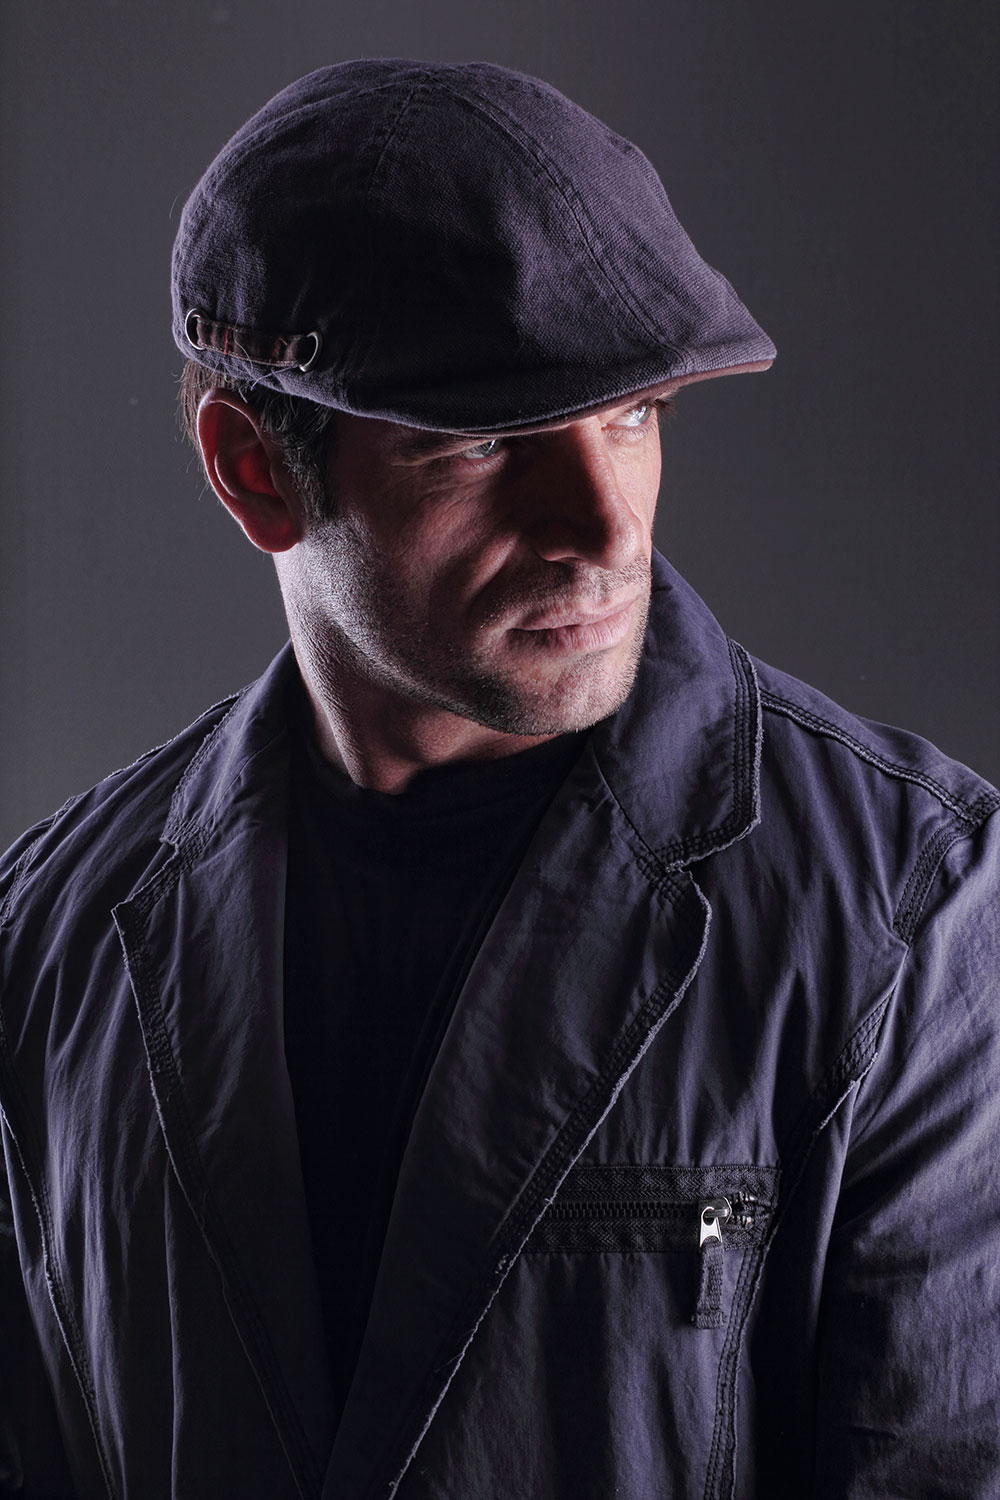
We can see all the presentations of light in this image of Inaudia.
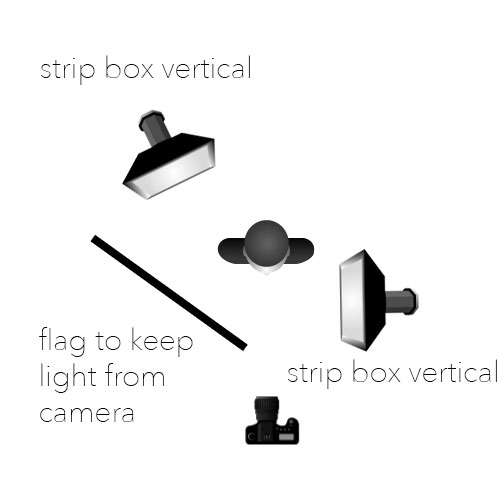
Lit with two strip lights (one on each side), the one on camera left is behind Inaudia and aimed forward just bit. The one on the right is slightly in front of him, and angled at an oblique angle.
This renders two different kinds of specular presentations, the absolute one on his neck and left side, and the softer one on the right side.
All of the transitions are there, and these transitions are what we see when we are determining soft light from hard light. A fast transition is a hard light, where a softer transition – as in the picture below – is a softer light. We would call this image a hard light image because of the fast fall off in the transitions between highlight and true value, and true value and shadow.
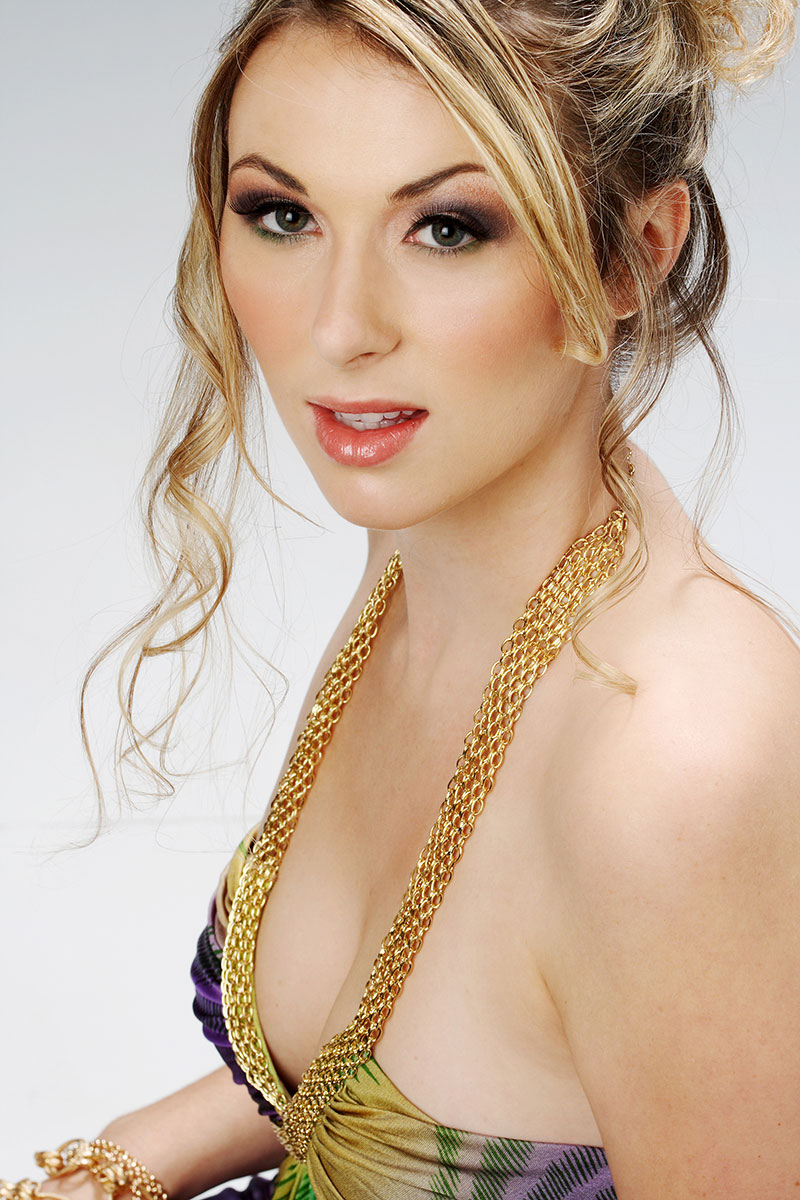
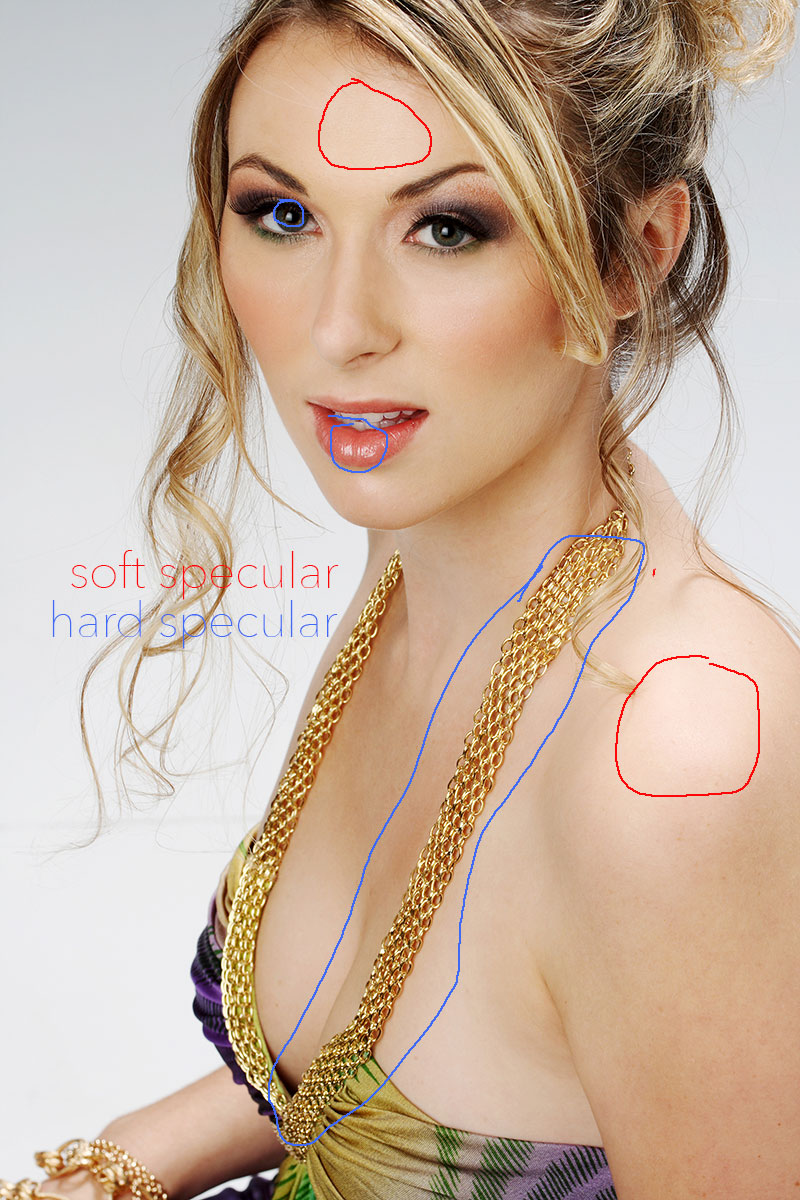
This image shows a lot of true value skin tone. One of the reasons is that the model is not shiny (wet) or perspiring to cause a shinier surface. Powder is used to intensify the diffuse skin (true value) so the speculars (in red) are presented softly. The blue speculars, however, are presented with very sharp transitions. Note that the specular on the shiny lips is absolute, with no soft transition. The gold jewelry on the dress shows as highlight/black because the reflection of the light source from the shiny metal is absolute.
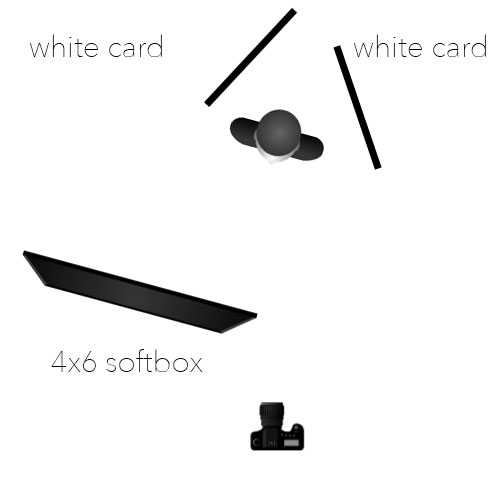
Lighting: Very large softbox directly in front of the model, and back 5 feet. White cards are positioned on either side of her, but pulled back to a point where they will not reflect in her eyes.

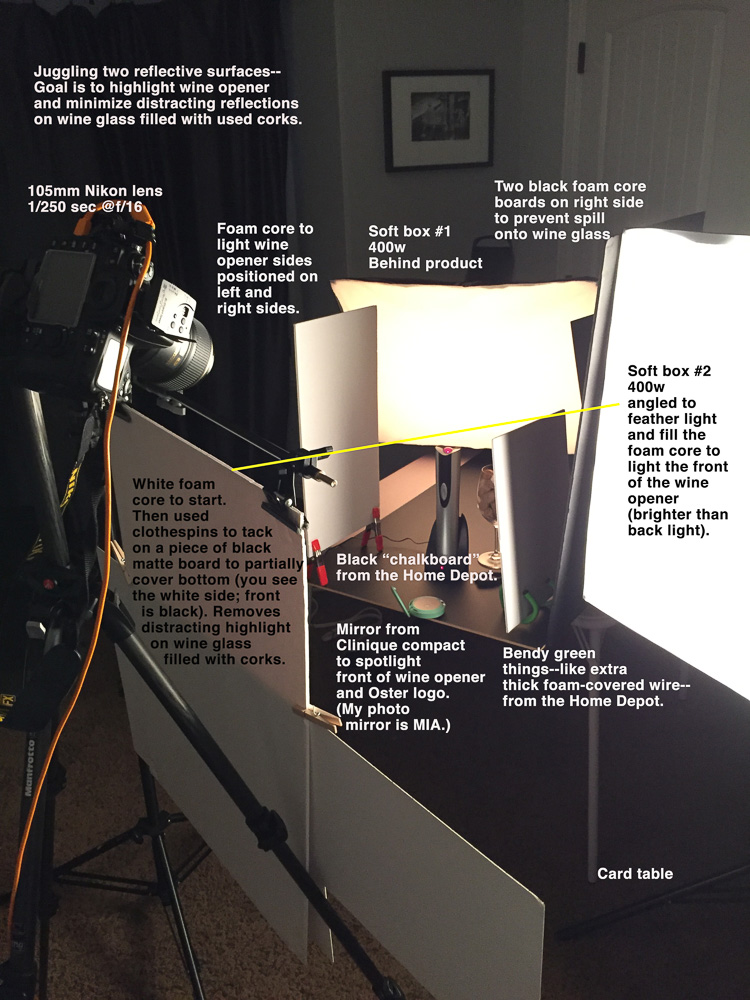
Photographer Anne Stephenson shows how to control the specular, true value, shadow and transitions in this seemingly simple table top product shot. As you can see, nothing done well is simple. Every kind of surface is in this shot.
Let’s start to put all of this together now.
March Madness: 07; A Simple Portable Background
A Simple and Easy Background Stand By Virginia Smith Every photographer needs a simple portable backdrop for portraits, headshots, product photography. If we had the budget of Annie Liebowitz then we’d all have Handpainted Oliphant Canvas Backgrounds, only the finest...
March Madness: 06; One Big Light!
The assignment was to use one very large light source for the shot. Bring it in close, and use the magic of soft, diffused light to present the subject. The students in the still life workshop also photographed their setups for us. They say a picture is worth a...
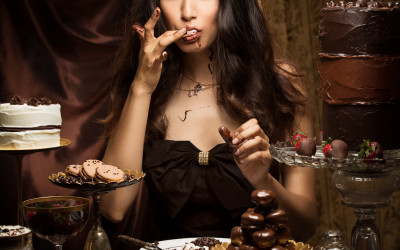
March Madness: 05; The Making of Chocolate Indulgence
The Making of “Chocolate Indulgence” Creative Director, Photographer, Retoucher: Sam Breach http://www.sambreach.com Hair and Make...
March Madness: 04; Using the Selection Tool
Using the Quick Selection Tool https://www.youtube.com/watch?v=ZxtjC1cE_kg Tutorial by James Kern
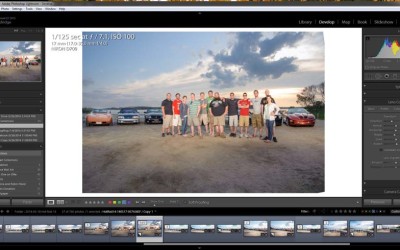
March Madness: 03; Modifying an Image to Fit an Alternate Format
How to modify an image to fit an alternate format by Chris Aldridge. Here’s a walkthrough of how I modified an image to fit a particular format. There are several methods used here to widen the overall image so that it fits a wide but squat format. The layout required...
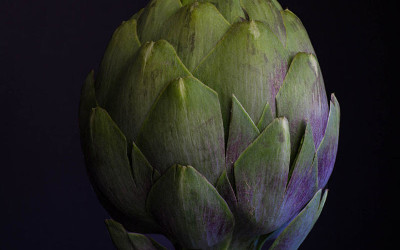
March Madness: 02; Natural Window Light Still Life
Still Life by Window Light Tutorial by Heather Gill, Las Vegas A very simple use of window light to make a softly lit still life This is using a single light source and in this case, natural light on black. I had planned to use a strobe but when I started to set up...
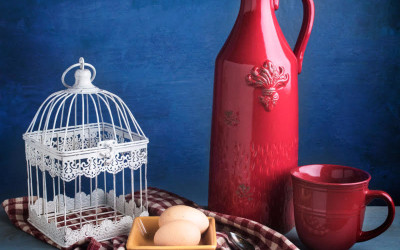
March Madness: One Tutorial Per Day – 01
Choosing a Point of View for a Still Life Tutorial by Lily Dale, Illinois For Don's Still Life Workshop, our class was assigned to photograph objects from three points of view: oblique (shooting from straight on), natural (shooting from a standing position) and...
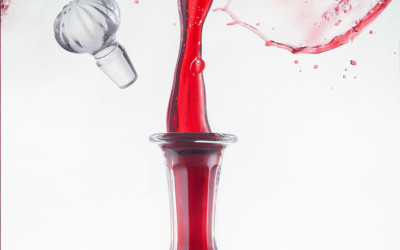
The Always Challenging “Pour Shot”
The pour shot may be one of the most challenging of commercial photography's many challenges. Getting the pour to look right, making sure the liquid is lit so that it looks great, catching the action as it happens... so many things to monitor as the photographer...
How Would You Shoot a Fork?
(NOTE: This is a repost of an article that was corrupted and caused the outage of the site last week.) "How would you shoot a fork?" That was the question I asked my Project 52 Students for last week's assignment. Photograph a fork and make it interesting. Forks are...
The “Long Game” in Photography
A Fragrance Ad by the P52 Members.
A Beautiful Promo
My bud Dave Siegel sent this to me. I think it is very powerful. Showing the before shot next to the final image makes the package more informational as well, and provides the viewer a glimpse into what Dave can do for them. Email promotion.
Interviewed by Frederic Bye: Creativity, Photography, and Purpose
I really enjoyed meeting Frederic and having a chance to discuss art, creativity, and purpose. If you are interested in hearing me blather on about this stuff - and I do so love to do that - give the link a click and listen in. Frederic is a very good interviewer, and...
Deconstructing a Portrait
What We Can Learn from Portraits
2015: A Postmortem and Retrospective.
We humans love to think in terms of beginnings and ends, and where, in reality, January 1 carries no more significance than any other day, we see it as a beginning of a new year full of promise. And that is fine with me. 2015 was a difficult year for me, and I am...
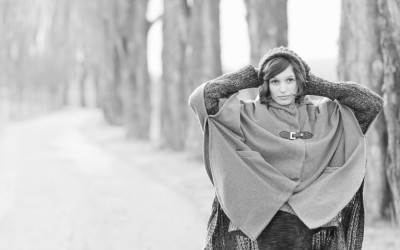
Portraits for a Friday Afternoon
I love portraits. This week the students looked at Peter Lindbergh and were inspired by his elegant simplicity. See the images after the jump. [gallery columns="5" link="file"...
THE “REAL LIFE” MYTH
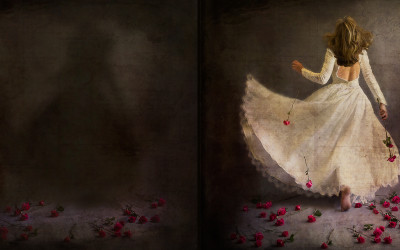
Shooting a CD Cover: Front and Back (Project 52)
This past week we have been reviewing the CD cover assignment for the Project 52 2015 group. The assignment was for a cover and back image for a String Quartet performing Samuel Barber's String Quartet Op 11. The assignment specifically noted that the string quartet...
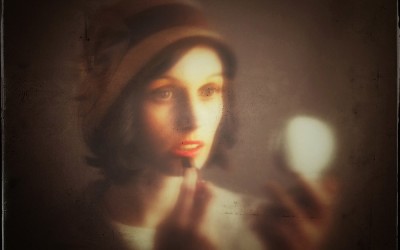
Exceptional Portraits (from the workshop)
One of the most exciting and ultimately satisfying things I am doing is the 8 Week Workshop courses. We mostly focus on portraits, but are beginning to expand out with an upcoming Still Life Workshop as well. And more ideas are in the works. This last week, we studied...
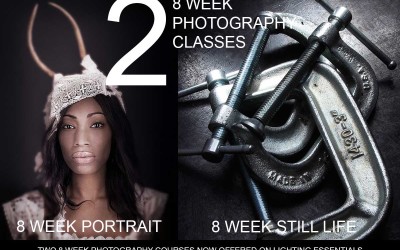
Now Enrolling for Two Different 8 Week Photography Workshops
If portraiture is your interest, we are starting the 8 Week Portrait Workshop 102 in January. There are still a few openings if you are interested. See the workshop page for more information on this unique class. Lots going on in that class, and if you love...
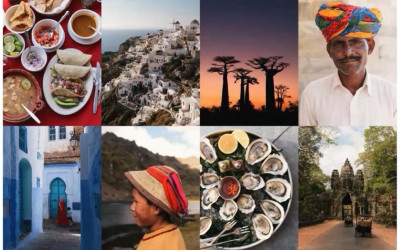
“Connected” – A Travel Photographers Visual Diary of the World and its People
Matt Dutile is a young, emerging, and very talented people photographer who specializes in travel and lifestyle editorial. His newest project is a book of his more enigmatic imagery. What started as a promotional piece, has grown into a larger, more robust publication...
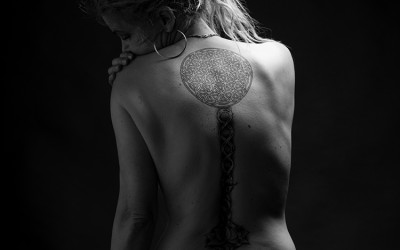
More Portraits… I Love Portraits
From the current 8 Week Class: Inspired by Skrebneski.
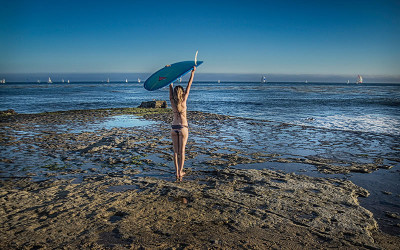
Gettin’ the Adventure Spirit
Perhaps it is because it is the Saturday after Thanksgiving, or maybe the wanderlust of the highway calling to me, but today's update is a bunch of cool stuff about adventure photography that makes me want to get out the door, fire up Sarek and "head out on the...