

Matte Surfaces
These are surfaces that are not as rough as texture, but not smooth either. Skin, cloth, natural leather, finished woods and many food items are examples. Most of what we deal with in our daily lives would fall under the Matte surface example.
Matte surfaces have a softer way of showing us the reflection of the light source. Where texture showed us mini sources next to mini shadows, the matte surfaces have less of a drastic presentation. The surface doesn’t have that much difference between the size of the components of the texture. A cloth book cover has texture, but it is much more tightly confined than say old barn wood.
And the reflection of the source is shown as a larger area rather than many tiny reflections. This gives the texture a smooth and not altogether recognizable shape. There is an angle where the incidence will match the reflection, and be seen by the camera, but it will be a muted reflection, not a harsh one.
EXAMPLE of Matte Surface reflection of the light source. You can clearly see the reflection of the source, but the transition to the non-reflective areas is gradual and not defined.
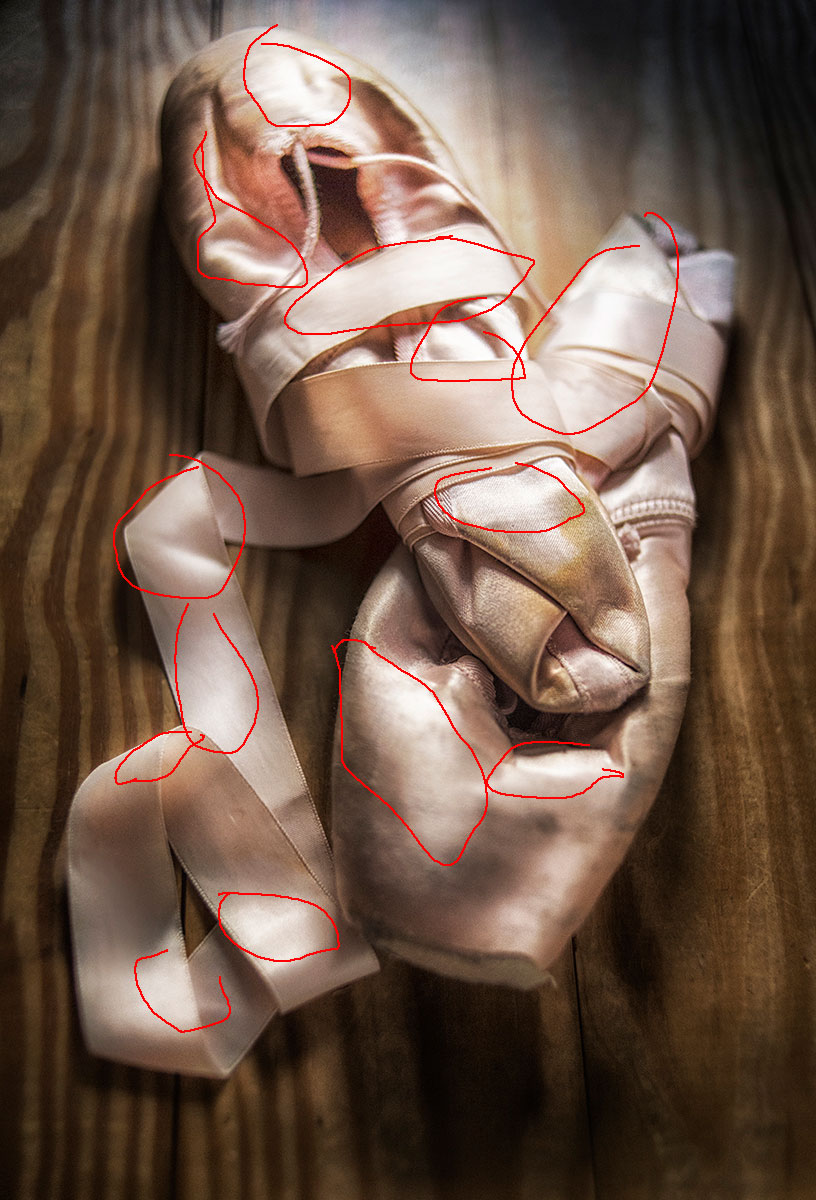
The ballet shoes are most defintely NOT a highly textured object, nor are they glossy.
Skin is one area of great interest. Portrait, beauty and fashion photographers have to be able to control the way skin looks for their imagery. And skin can present some widely diverse efficiency. Dry skin has a very matte look, wet skin becomes more efficient due to the water, and then the reflection is nearly absolute, and skin color can become an issue with the wrong kind of light presentation.
A good makeup artist helps to smooth out skin blemishes, we know. But the MUA also helps to matte the skin evenly so that the reflections of the light sources do not create very bright reflections on the face.
A model begins to sweat…err, sorry, perspire with the heat, and the skin becomes a bit more efficient due to the moisture. Liquid is much more efficient than skin, so the perspiration on the face becomes shinier. The remedy is a little bit of powder, which of course renders the skin more matte and less efficient.
Faces are full of contours and angles that can reflect the light source back to us. Tips of noses, eyebrows, cheeks, chins and foreheads are all areas of concern when we are shooting with light that has a small source. The small source can become a direct reflection on even matted skin, so keeping it within our tolerances is very important.
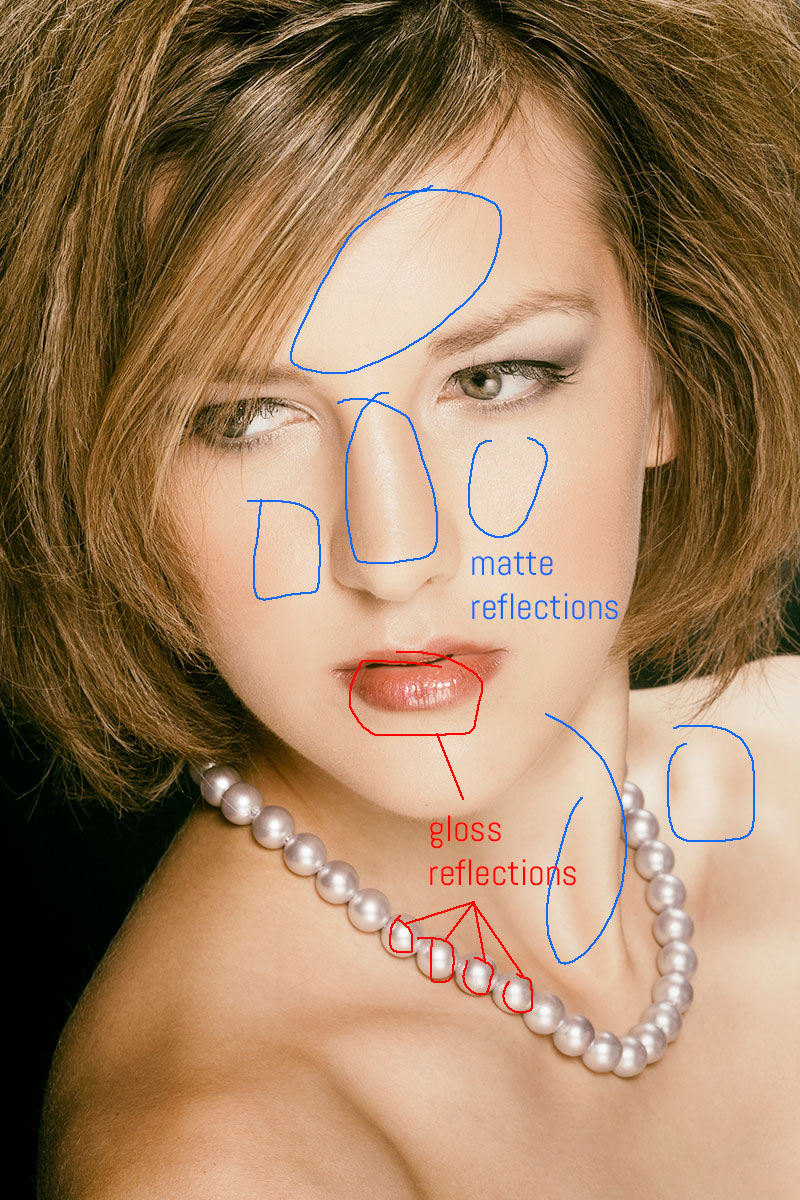
Again, you can see the very soft transition from the highlight to the non-highlight matte surface, where as the gloss lipstick provides a sharp, immediate transition to the non-reflective area.
Photoshop Note:
Trying to fix a small highlight on the tip of the nose, or one that is across the whole front of the forehead is painstaking and difficult. It can be done, of course, but working with the subject to make sure he/she is not rendering the light back to you in such a way as to need the Photoshop is much more preferable.
There may be times when we may want to enhance the matte texture, to make it more discernible, and bring out the texture instead of mitigating it.
Angle of incidence again comes to the fore. Angled to present even the smallest texture, the photographer can decide between broad light, like a softbox, or sharper light, like a direct, unmodified head, or a snoot.
Example of enhanced texture: Portrait of Tomas.
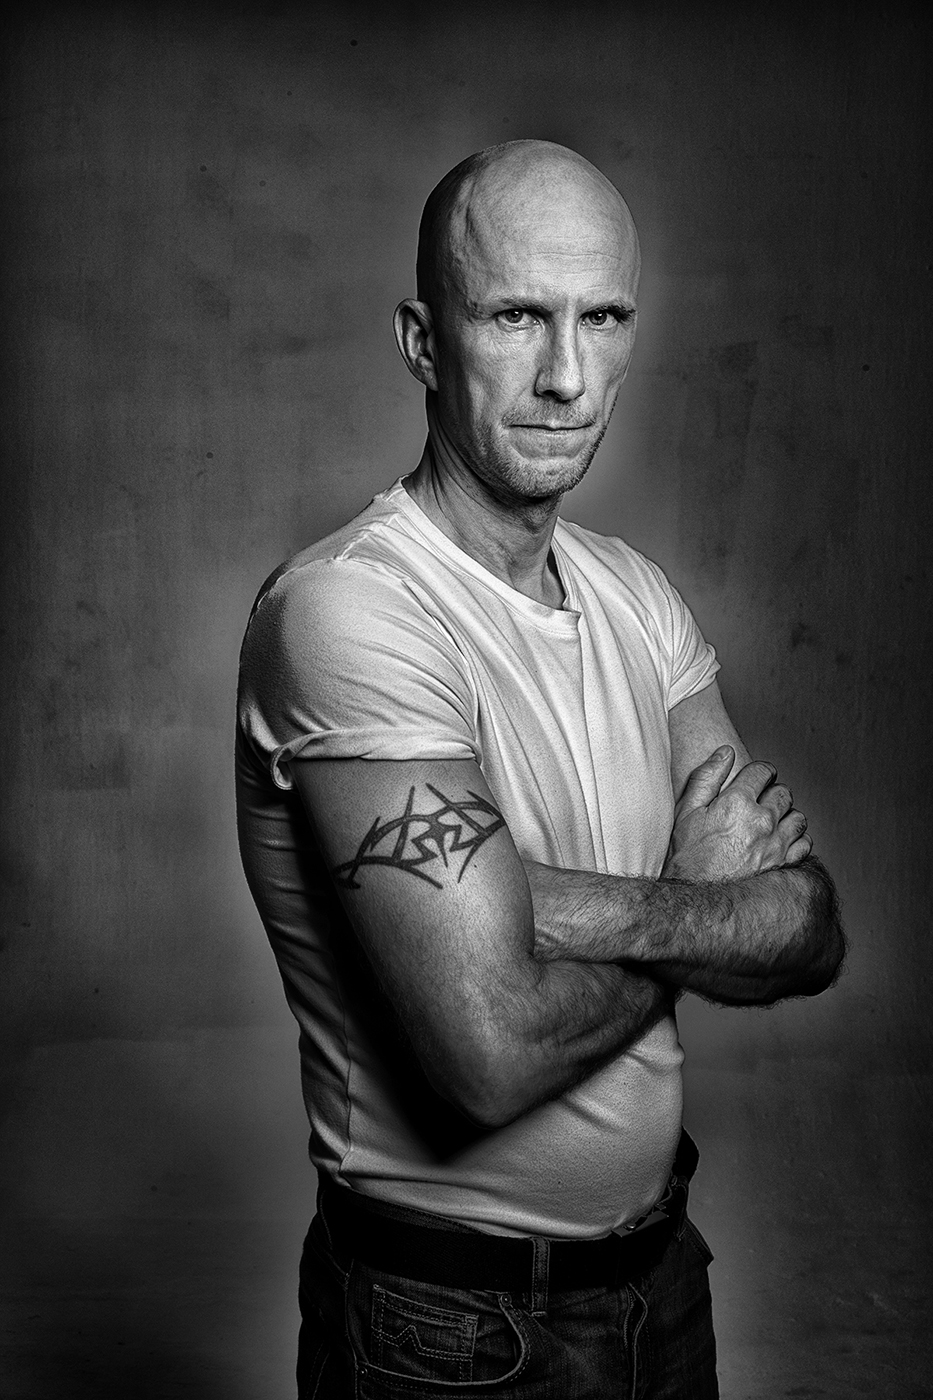
Even with the matte surface of the skin, by using a small lightsource (beauty dish at a distance) we can create more texture in this portrait by putting the light at more of a wide distance from the camera. This adds some texture from the sidelit properties of the subject. Enhancement in Photoshop is then easy, and keeps the matte surface for a cleaner presentation of skin.
Matte surfaces are where we can experiment and work with light to play down or enhance, or simply show it as it really is.
And most matte surfaces can be altered to create something more efficient or less. As we have seen, powder for skin can take away the ‘shine’ that we know is really the reflection of the light. Water or liquid can add sheen to the subject when we want the reflection. And we can use materials to create shine, like wax on a wood floor to enhance the matte to be more shiny by showing the reflection of the light as it renders back to us.
Remember that we all KNOW what shiny looks like, what matte feels like and how rough something is. It is part of what we learn from the beginnings of our lives. We touched, we saw, we felt… and we learned. Photographers aren’t creating anything new, we just learn to present it to others the way we want them to see it.
To recap:
Textured surfaces present small highlights and shadows because of the rough surface and how it reflects light. From a stone to a mountain, the texture can be enhanced by playing up the highlight and darkening the shadow.
Matte surfaces will show the highlight softly, allowing it to transition to the non-reflective part of the surface in a more gradual effect. This may be the most prevalent surface we have around us.
ASSIGNMENT:
- Look around at the matte surfaces. they will most likely be more numerous than very texturized things, or very shiny things. Take some time to quietly study what light does when it is refracted from them.
- Note how different light (direct / indirect) reflects from the surface. Make images showing the difference.
- Examine the ways that matte surfaces can become textured (heavy side/top light), or shiny (wetting the surface down changes its ability to render the highlight and now it becomes more efficient).
A Special “Portfolio Building” Workshop, Feb 11, 12: Only 3 Students
This is a special workshop for only three students. It is on short notice, but there is a reason for that - and it will be explained at a later date. Our focus will be on mastering images across a spectrum of genres. This workshop is for the serious photographer who...
Portraits: Four Simple Approaches
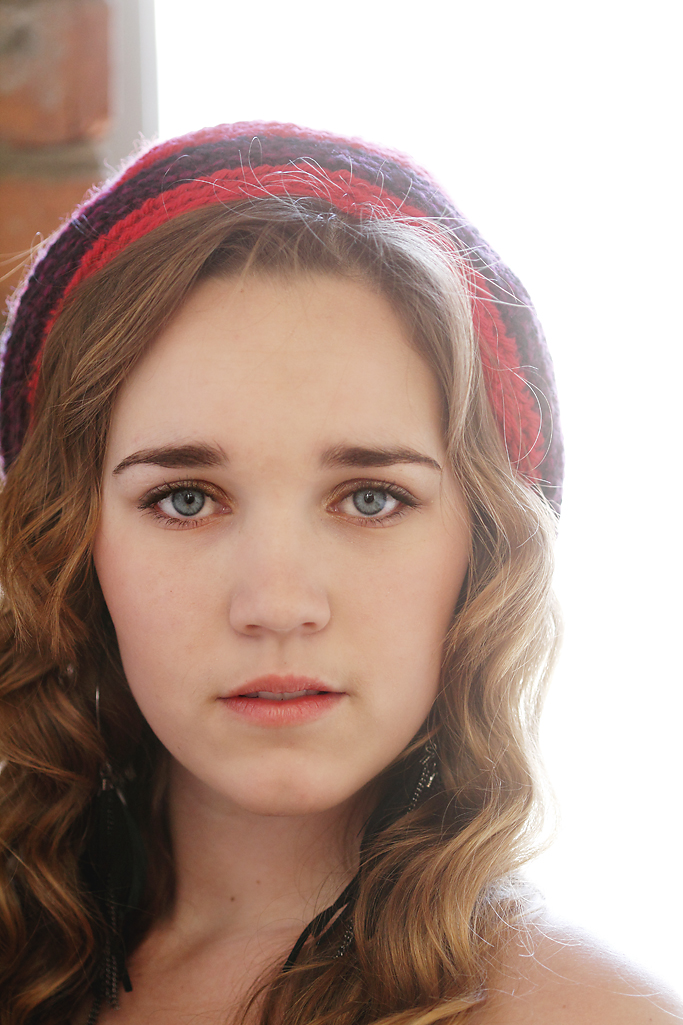
I had the chance to do some portraits of some of the talent we had at the LE Weekend Meetup. They were Briana's dance company and all of them were delightful and beautiful dancers. The folks who came had a blast and I was simply stunned that so many people came so far...
“Average is Over” or Why Good Enough Sucks
Thomas L Friedman, in a post today at the New York Times, says that "average is over." And he is right. It is. You can see it in industry and media and design and art. You can see it in nearly every area of business. Apple proved it. And Mercedes. And Braun....

“Winner Gets Me” Contest Winner is Regina Pagles
We have our winner. Regina Pagles will either be coming to my studio for a 2 day one-on-one or I will be going to hers. http://reginapaglesphotography.com/#/0 http://www.flickr.com/photos/reginapagles/ Regina lives in a very small town, Springdale, Utah: Population...
The Myths About Creativity – And The Consequences
Have you ever heard... That creative people are weird? That creativity is best created in a group? That creative people are sloppy, messy and disorganized? That creative people are always coming up with cool, but ultimately silly ideas? That only "creative" people can...
10 Simple Ideas for Creating a Sustainable Photography Business
It's one thing to get a shoot now and then, and another to create and sustain a commercial photography business. Here are a couple of thoughts for you to consider. 1. Get a hard edge to criticising your own work and make sure it is living up to your standards. Getting...
Changing Levels and Why Plateaus Are Dangerous
I started photography a long time ago. Longer than many of you, and not as long as some of you, but it was back when motor drives cost $5K, and we only printed black and white. On Fiber. Much of what I learned then has sustained me for decades, and I loved every...
Project 52, 2011 Edition, Comes to An End
Last evening critique for Project 52, 2011 Edition. Tonite was a special night. It was a year ago that we had our first meeting and what a year it has been. Some who started with us left for reasons of life and love. A few just evaporated into the ethos… and that was...

Project 52 Photographer Greg Kindred
Meet Greg Kindred. "I found project 52 January 3, 2011 as I read about the project I knew immediately that I would participate. As the assignments were given out I was challenged right away with photographing a stranger. Pros shoot strangers every day, but in my...
Project 52 Assignment Three is Posted
Assignment Three is a simple still life shot. "First – there is a difference between product shots and still life. Product shots show, well, products – tech or cooking utensils or cameras. A still life can be made up of items that are not for sale, but instead are...

Project 52 PRO Launched Today. Building a Business in Photography
Project 52 started last year as a way for photographers to get critiques and assignment in a real world setting. In a no BS arena of commercial insight and realistic assignments. On many forums discussions range from what kind of lights do I need to the best prices on...
BYU Gymnastics Calendar Shoot – BTS Video
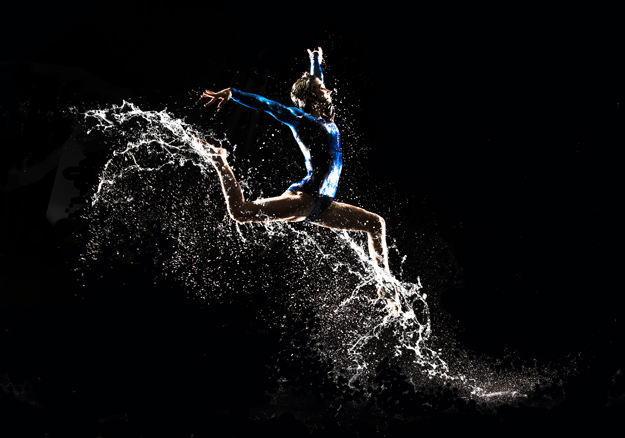
This is a great little BTS series from the good folks up at BYU. Shooting dancers and gymnast is one of my favorite subjects, and they approached this with a very unique concept... gymnasts and water. "The idea was to highlight the shapes of the gymnasts performing...
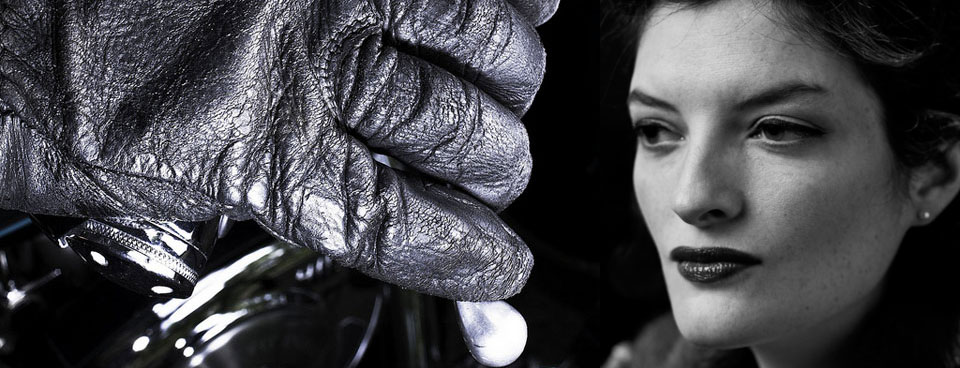
Project 52 Photographer Greg Pastuzyn
Meet Greg Pastuzyn from New Jersey. Greg attended my last New York Workshop, and hosted one of our Wednesday evening chats from his home. Greg has been working with Project 52 for a while now. "I was introduced to Project 52 through Don's blog Lighting Essentials. At...
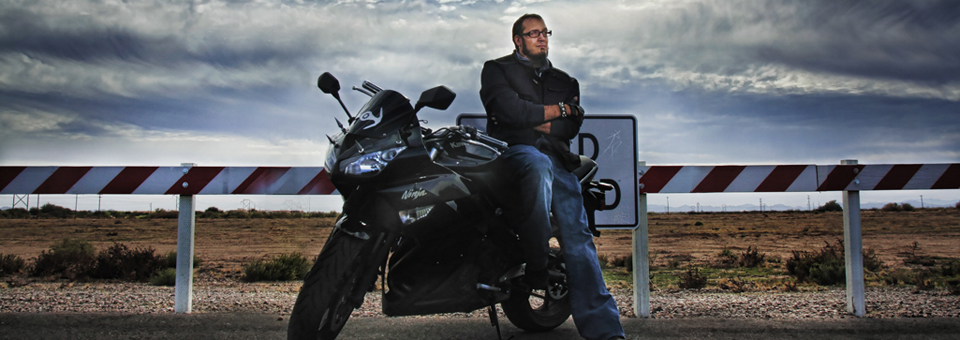
Preparing a Game Plan for 2012
Looking to start the year off right? Great. We all feel a little bit of a spring in the step and some empowerment at the first of the year. So let's get a game plan going... something not as fleshed out as a marketing plan, and not as whimpy as a resolution. A plan....
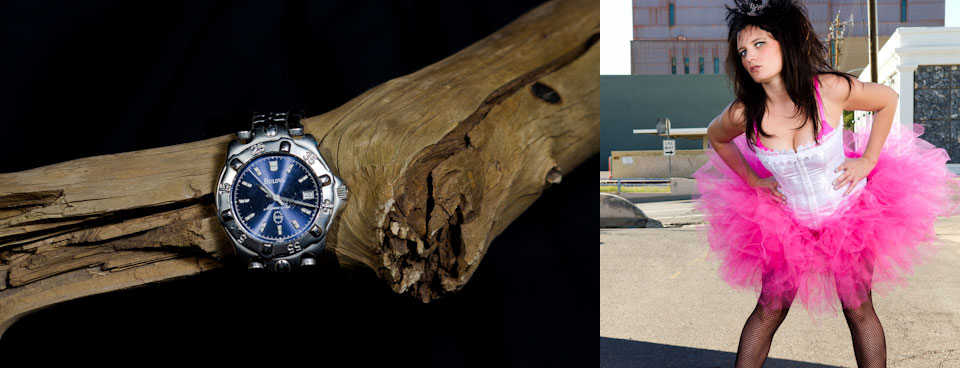
Project 52 Photographer Charles Tibbs
Charles Tibbs, Phoenix photographer weighs in on his experience with Project 52. "First I want to thank Don for taking so much time out of his busy life to teach and mentor us for an entire year, this just tells you how passionate he is about what he does. Where do I...
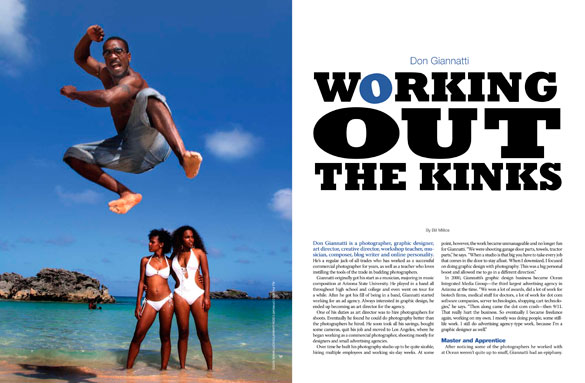
Feature Article in Rangefinder: July 2010
My friend Bill Millios wrote a nice article on me and the good folks at Rangefinder ran it in their prestigious July "Portait" issue. Bill and I chatted down in Mexico during a workshop, and his piece accurately reflected my teaching beliefs, as well as other thoughts...
Take This Photograph, It’s FREE! Free is GOOD!
So I get a tweet 'alerting' me to this interesting argument. This photographer says his photograph is not free: From PetaPixel: "As someone mentioned, THIS single photo didn’t cost me $6,612, but if you wanted to create it, from scratch, that is what is involved. So I...
Project 52 Photographer James Eisele
Say hello to James Eisele, a 'project 52' photographer in Florida. "While project 52 was challenging, I didn't feel it was overwhelming, even though it frequently forced me out of my comfort zone with assignments that were different than anything I'd shot previously....
Macro 4/3 Cameras Get A Pair of New, Fast Primes
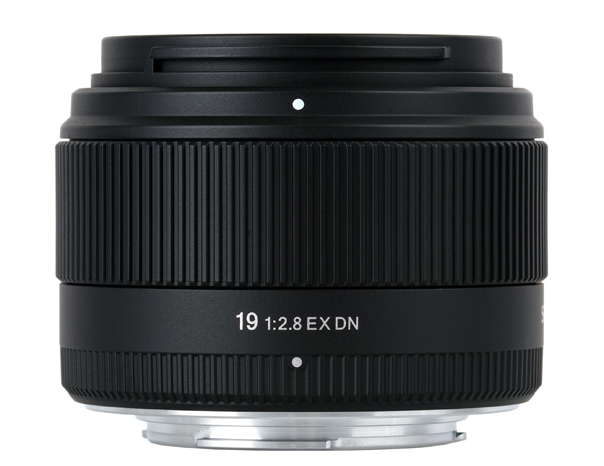
These look pretty cool. "As of now, photographers with Olympus and Panasonic Micro Four Thirds cameras and Sony NEX-series cameras have the choice to couple a pair of sharp Sigma F2.8 primes to the go-everywhere cameras. These two prime lenses for Micro Four Thirds...
Project 52 Photographer Terri Jacobson
Photographer Terri Jacobson checks in with her assessment of Project 52. "Only 52 photos In the beginning I was a point and shoot kinda girl. All I ever needed was the little green box on my Canon dial. In 2010 I began the 365 photo a day project completing it...
Judges Announced for the Wacky Winner Gets Me Contest
We had twenty five entries to the wacky contest. I have four intrepid judges working on the judging process now. Selina Maitreya Photographer Consultant Extraordinaire Site Rosh Sillars Photographer / Social Media Expert Site Seshu Photographer, Entrepreneur Site...
Project 52 Photographer David Price
David Price checks in with this assessment of Project 52. "My thanks to Don Giannatti, whom I found as Wizwow on one of the lighting forums, and followed him to Lighting Essentials. What a terrific resource! When I first heard about Project 52, I wasn’t certain what...

Meet the NEW “Essentials for Photographers”
Lighting Essentials had run its course, name wise. It was not about lighting as much as it was about photography in general. Commercial photography specifically. And the name simply didn't leave room for more options for posting. There is a reason to the change up,...
Project 52 Photographer Tucker Joenz
Today we meet Tucker Joenz, a Project 52 alumni. "Project 52 challenges... A big challenge for me was getting back to the basics of lighting and learning how to apply that to create commercial images that will really captivate my audience, express the feelings that...