
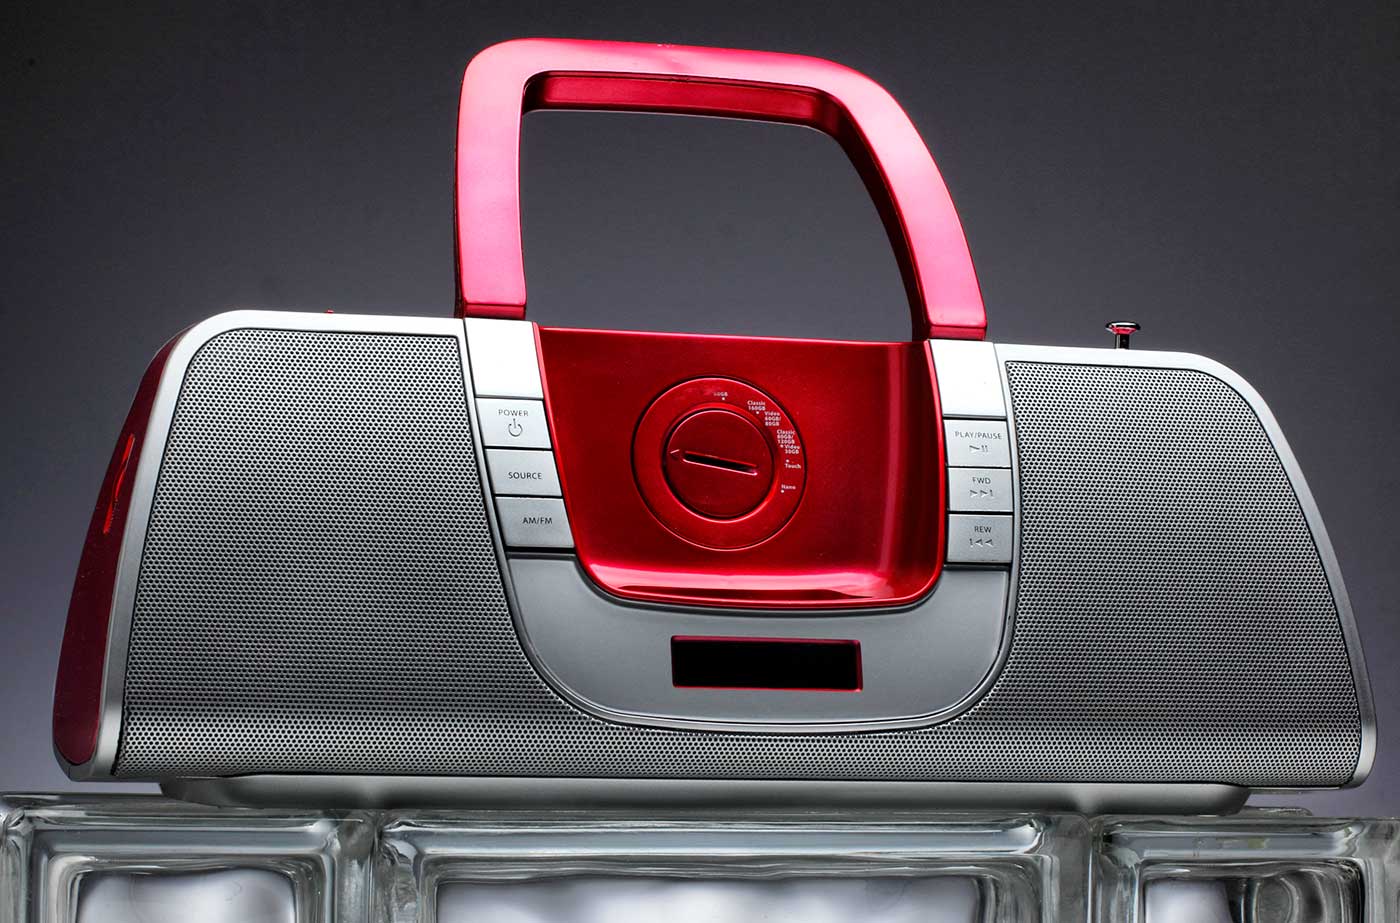
Lighting Principle Number Four: The Angle of the Light to the Subject and the Camera
Law of Physics: Angle of Incidence equals the Angle of Reflection.
This is an axiom that a lot of people hear and repeat without taking careful note of what it means to their photography.
And yet it is one of the most basic and important physical rules of subject centric lighting.
What does it mean and how can we use this to our advantage?
It means that if the light is angled toward a subject, the reflection of that light will be presented back to the camera at the same angle.
Think of the game of billiards or pool. If you hit a ball into the wall at a 30% angle, the ball will come off that wall at a 30% angle. And that completes a triangle. Understanding that triangle is key to making quicker, smarter lighting decisions.
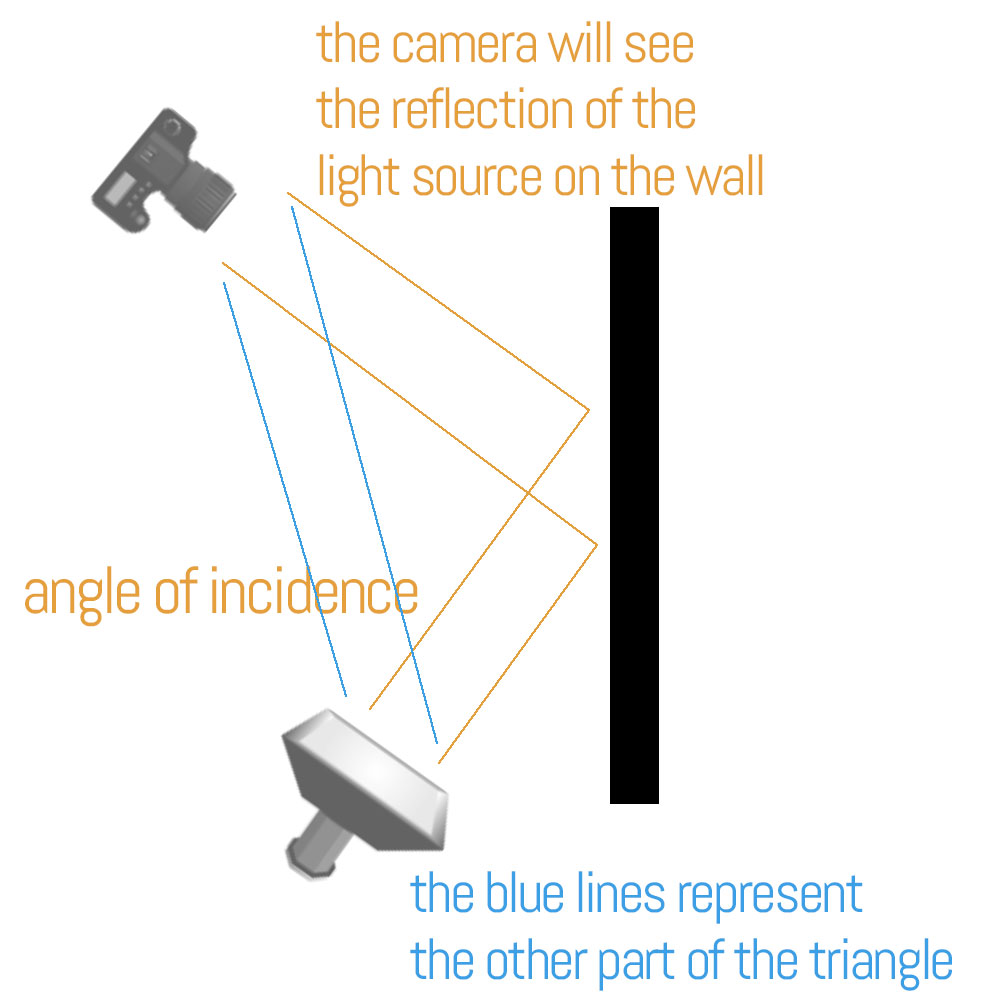
It means that you have to be able to judge the angle of the light as it strikes the subject and understand what that light will do once it strikes the subject. If there is something being reflected in your subject, look at the camera angle from the other side and you will find what it is.
EVERYTHING REFLECTS. EVERYTHING.
Some things reflect more than others, but everything you see is simply the reflection of the light from its surface.
I call it ‘presentation’, and when I discuss lighting, I use the word presentation to talk about how the light looks to the viewer.
Once we realize that the angle of the light source to the subject, and the incident angle of that light source to the subject is going to present to us in ways we can control, lighting becomes so much easier to create.
Think of the way the light strikes hair on a slightly backlit portrait. The reason the hair becomes so much brighter is because it is round in shape, and somewhere on that round, shiny hair is going to be that same angle of incidence that the camera is seeing.
An example.
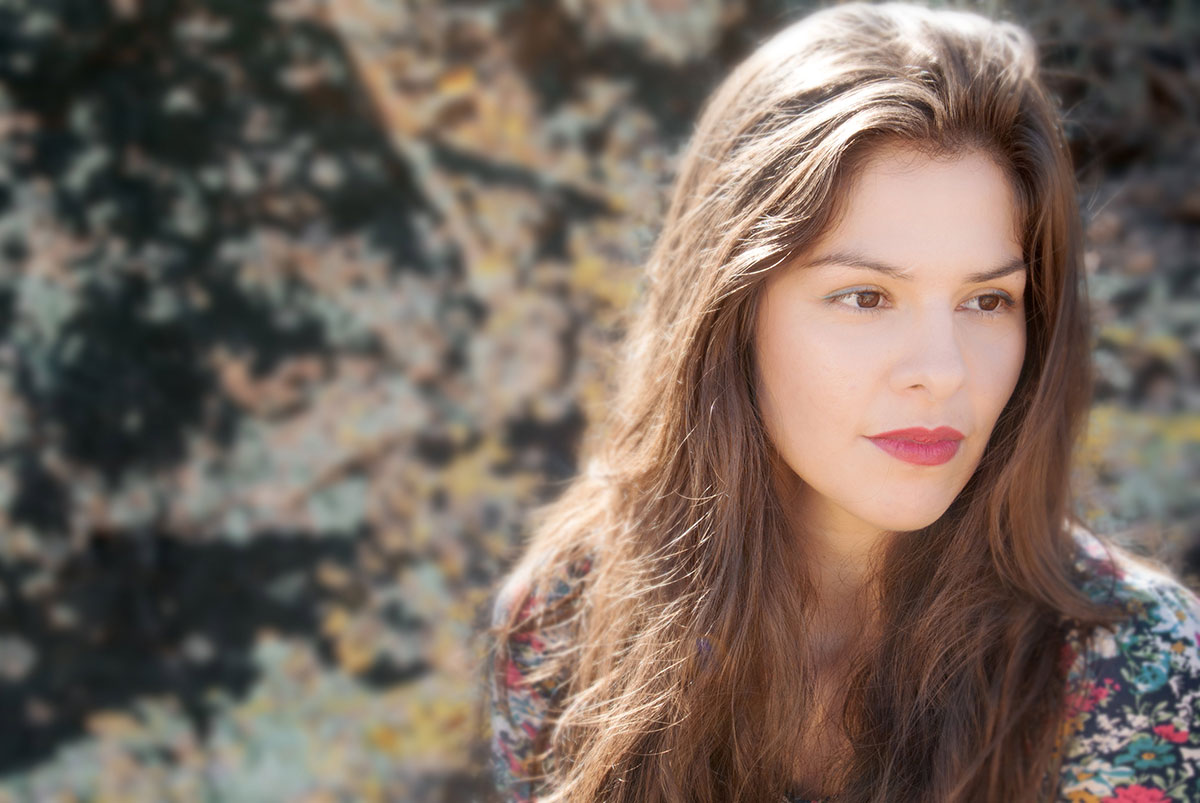
You can see how bright that hair is with the sun shining on it, and each tiny hair reflecting that sun back to the camera.
In the image below, I used a large softbox in order to get a shiny, reflective area off of the wall behind the subject and create a gradient to the background. You can see in the illustration that the angles of reflection come back to the camera on the left side of the model, but not on the right side of the model. The wall is a semi-gloss wall and provides a nice, soft reflection of the light source.
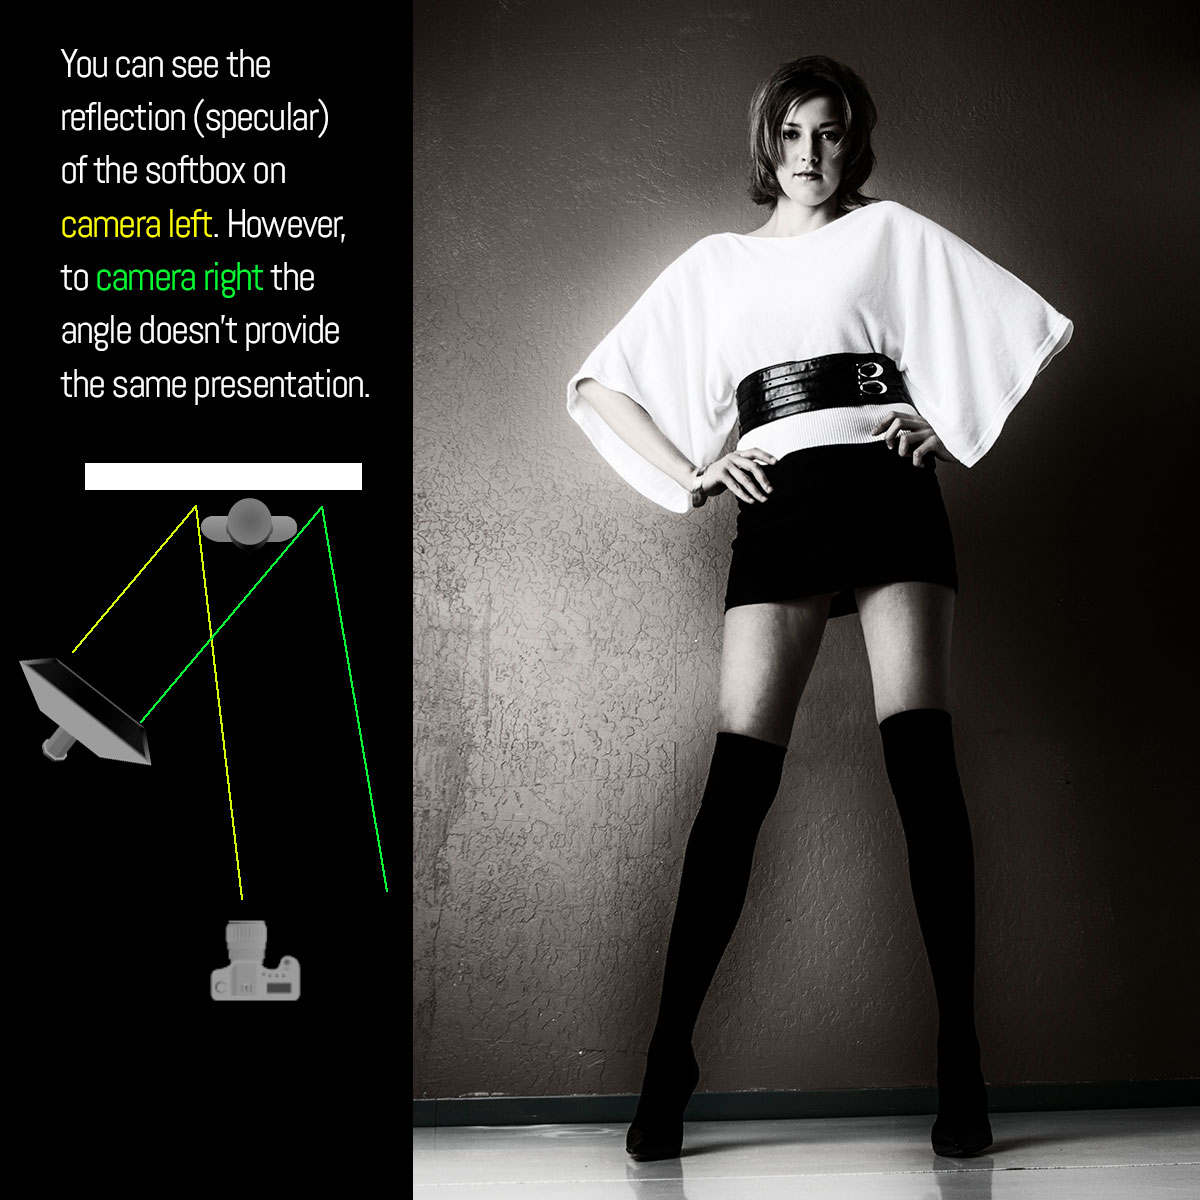
Let’s take a closer look at that triangle that is formed by the light to the subject, the subject to the camera, and the light to the camera.
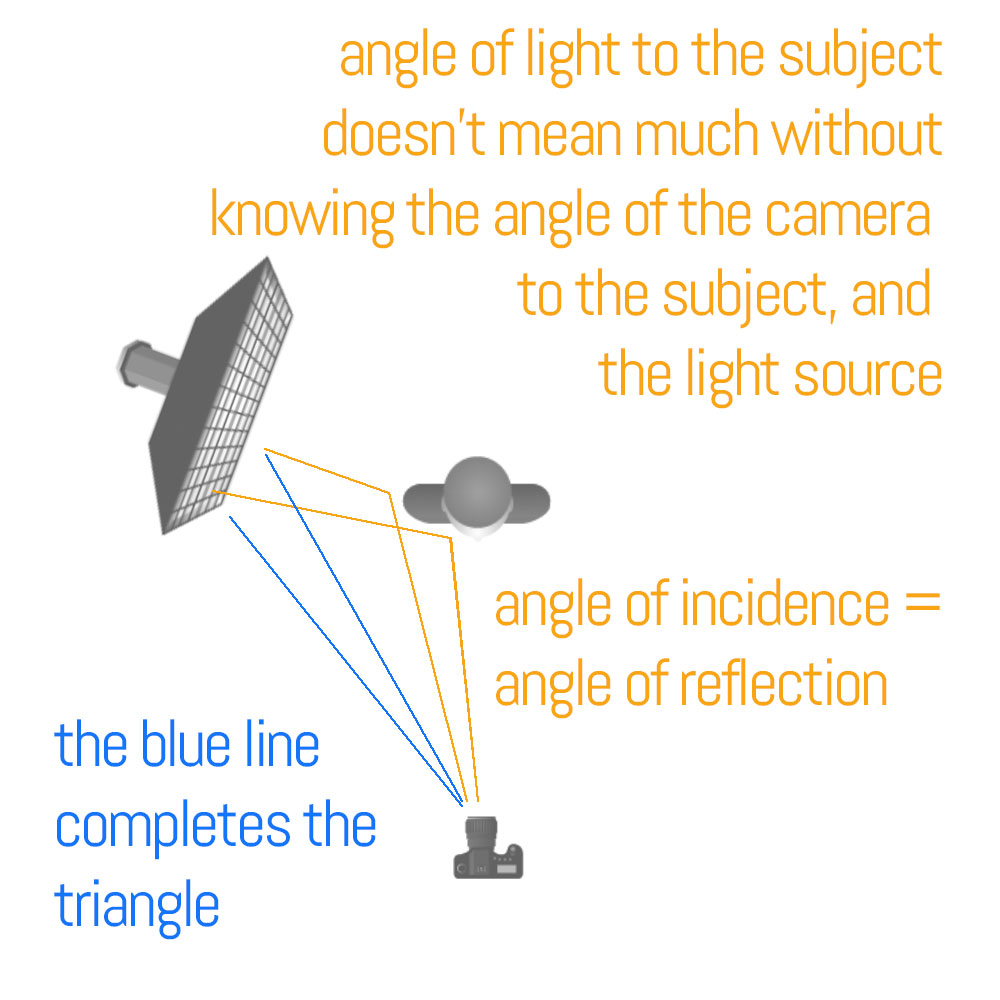
It is being able to see that triangle (shown above with the blue line) and to then visualize the presentation of the light that makes it easier to control. Once you begin to see those angles, and the way they will present back to the camera, lighting can become much more of a finessed technique rather than a flailing exercise.
Let’s talk about direction.
There are three major directions of light and one that doubles as a direction. I will explain.
This is front lighting. The light comes from the side of the camera, and it can be angled quite a bit (90 degrees). The presentation is full angle of incident / angle of reflection, and you can control that fall of incidence by where you place the camera in relationship to the light and to the subject angle.
Front light:
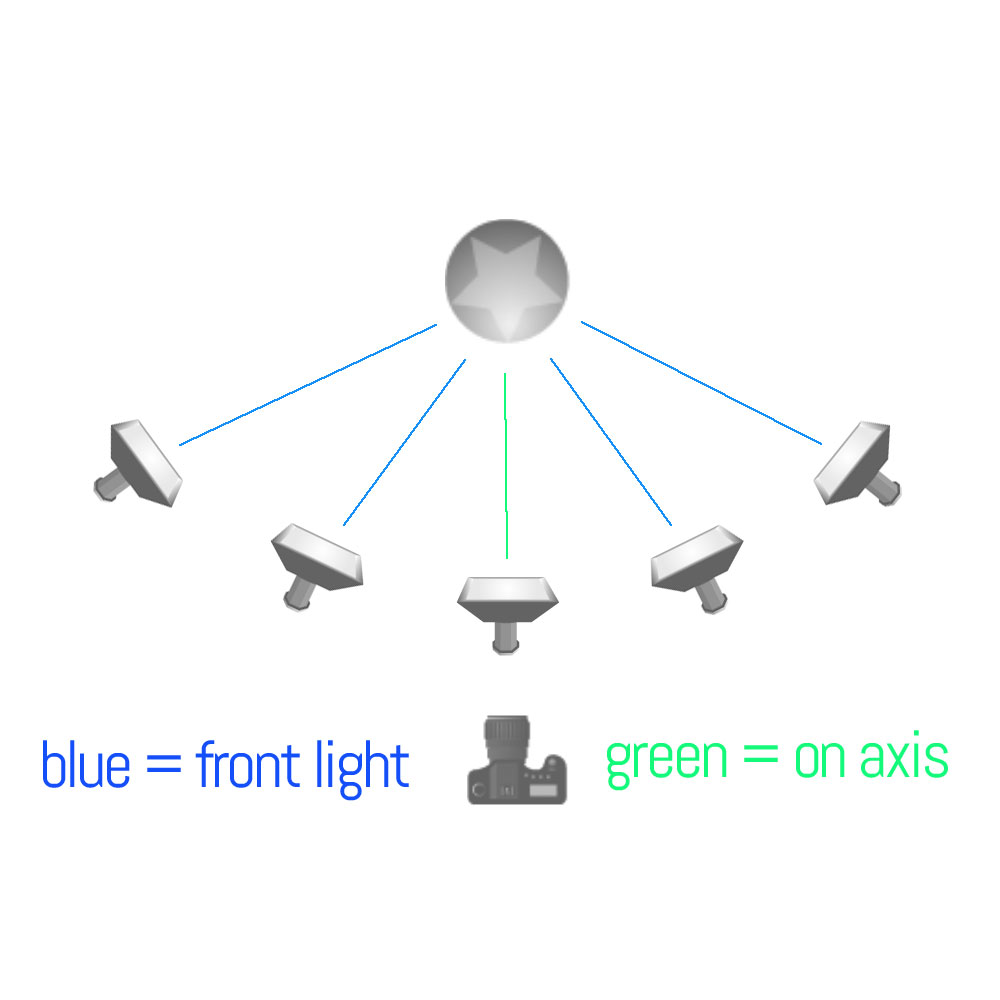
You can see that from right to left there is 180 degrees of placement that will allow you to have front light. There is one point in the middle, however, that is at the same angle as the camera. We call that “on-axis” lighting and is a favorite of beauty and fashion shooters.
On-axis lighting is from the position angle of the camera to the subject, not necessarily at the distance of the camera. That means there is no triangle (horizontally) from light to subject to camera. As you can imagine the reflection is straight back into the camera. A wide, soft light with few shadows.
In the diagram below we see side lighting and backlighting. Side lighting is as its name suggests, directly from the side of the subject creating a 90-degree angle to the camera angle.
When we move the lights farther back from sidelighting, we have backlight. Backlight has all the same angle variations as does the front lighting.
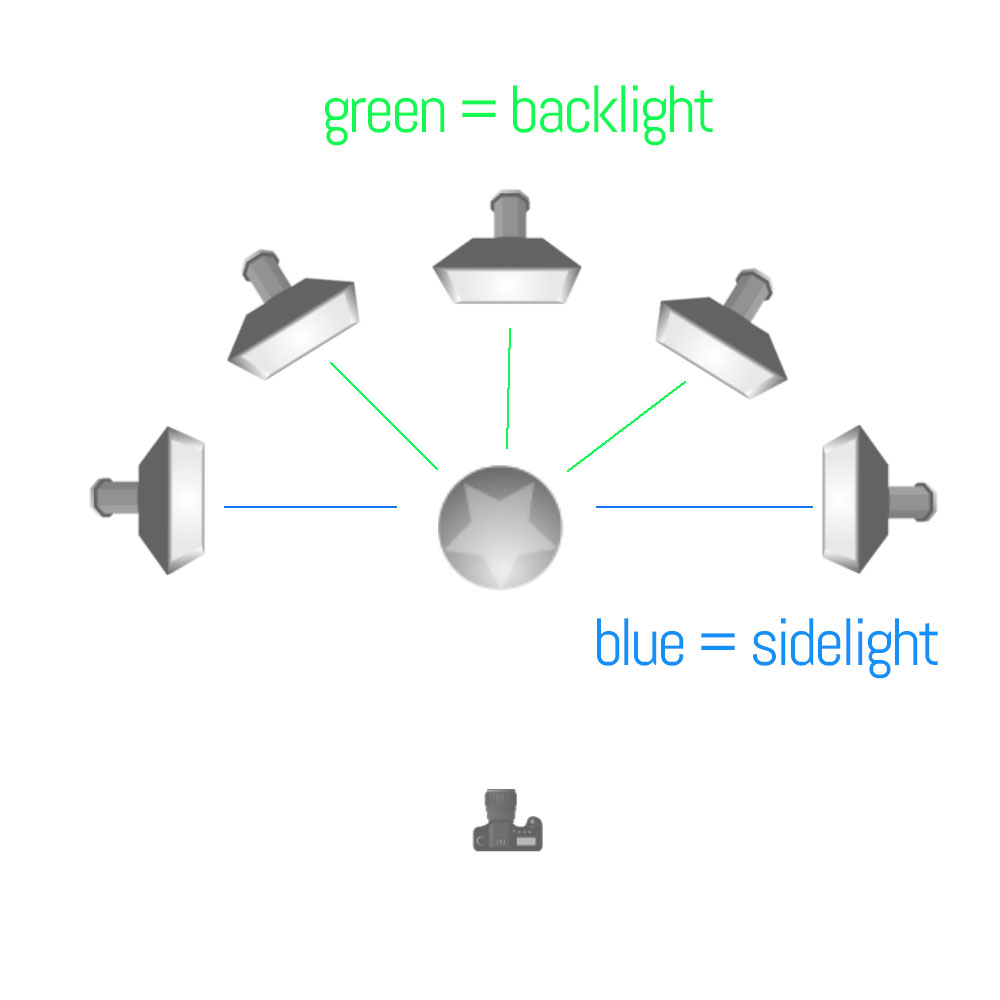
Top lighting from directly above is the same as side lighting if it is at a 90-degree angle to the subject/camera. If it is slightly in front it is front light, and slightly behind it is backlight.
Front Light One
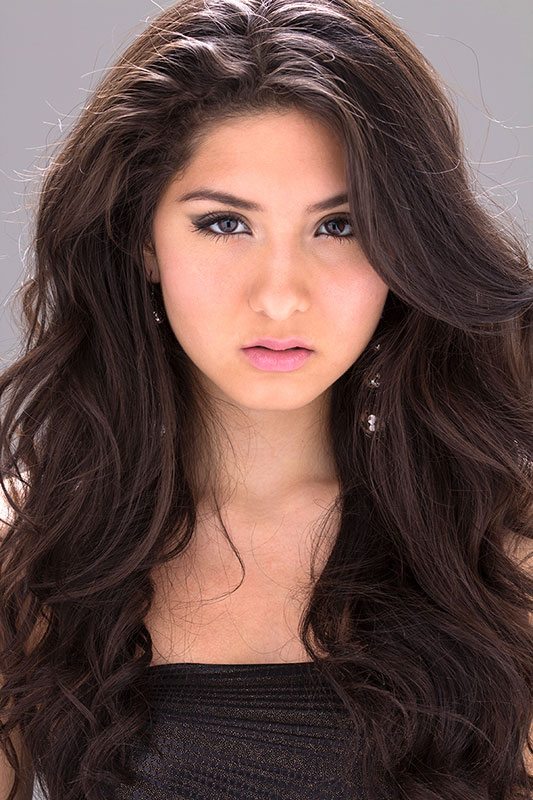
Front Light Two
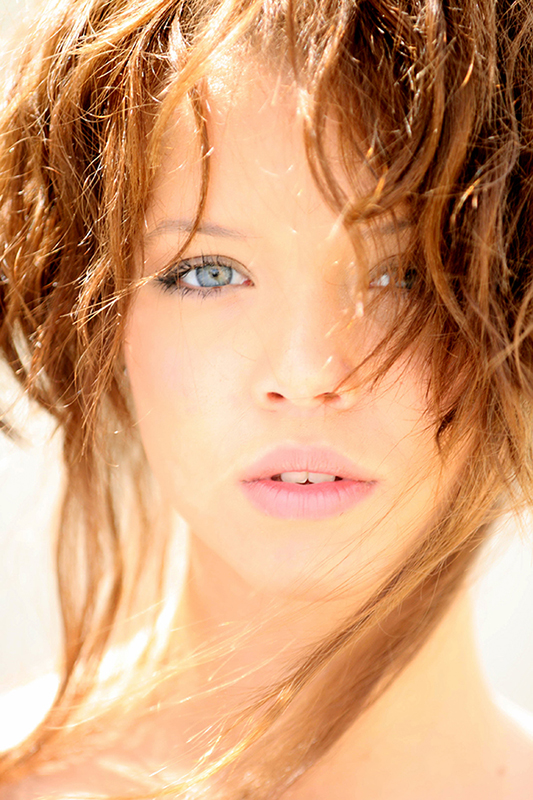
Side Light One
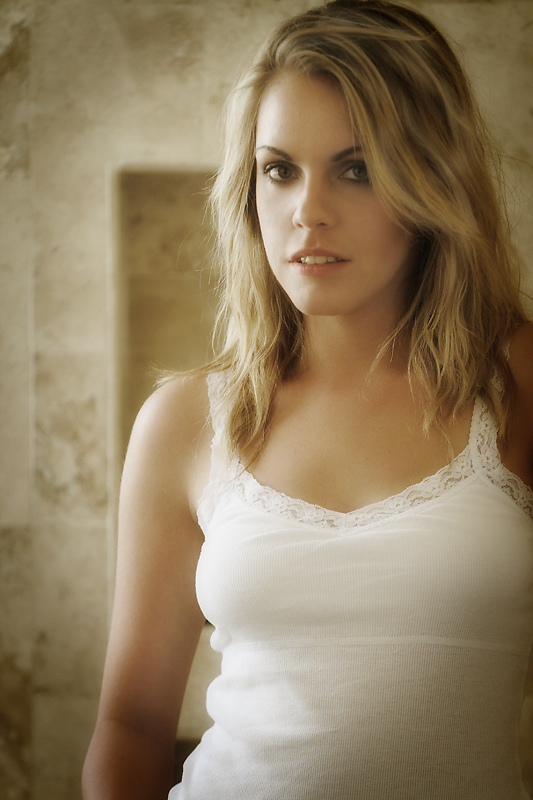
Side Light Two
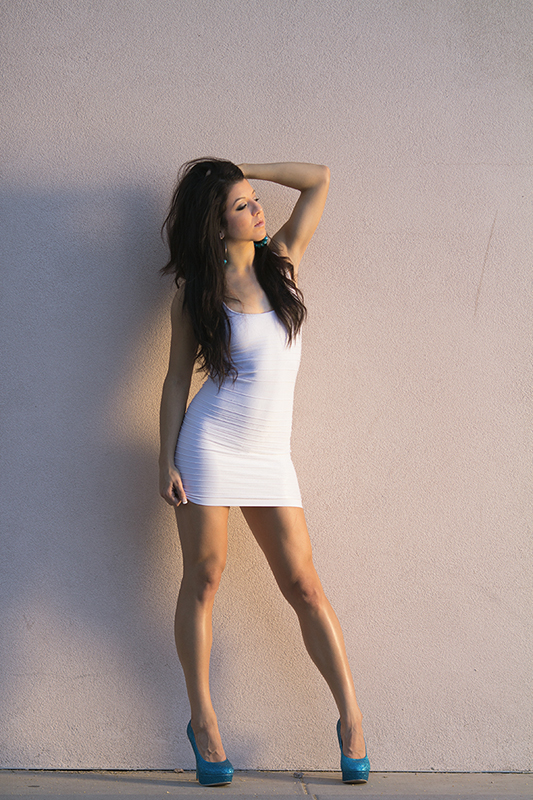
As you can see above, the angle of the light to the subject, and to the camera, makes a big difference when you are working toward making the shot look a specific way.
Let’s wrap it up:
The four different properties of lighting are:
- Size of the light source in relationship to the subject.
- Distance of the light source from the subject.
- Color of the light, and its relationship (if any) to the prevailing ambient.
- Angle of the light source to the subject, and to the camera.
And NONE of them are the most important – they are all equally important. We don’t think of them in an hierarchical way, we think of them in a holistic, symbiotic way. Change one, you may have to indeed change another. Change that one, and you may have to alter two others to make it work for you.
All of this only matters to you if you know what you want your image to look like. Do you want soft light, or do you want hard-edged light? Do you want a mixed light image that looks natural, or do you want to play with color temps in a creative way? If we move our light closer or farther away, what does that do to the look of the image? Do we need to bring out texture, or is a flatter look our goal?
These questions are usually not asked in order in our brains. All of them are asked at the same time, and we react to these creative decisions by utilizing the tools we have for creating them.
And now, with these basics, we can begin to create the images to present OUR vision of the subject in front of our lens.
ASSIGNMENTS:
- Find a subject that allows you to move around it and make images from all the different lighting positions. Do this either early in the morning or late in the afternoon so the sunlight is closer to your head height to the subject.Shoot front light, side light, back light, axis light. Study the images to see how the subject changes in the different lighting positions. Print the images and make notations on how it, and the background, look to you. What changes do you see?
- Using your flash or continuous lights, do the same thing with a subject inside. You can choose something as a still life, or – if you are a people shooter – grab a subject and start moving that light from on-axis to back.Note that when your light is backlight ONLY, the subject is quite dark, possibly even silhouette. You can adjust for that or not – your call. but remember that your adjustments will play the same role as the main light in the angle of light to subject to camera.
It is Election Day in America… Vote
Two Lenses: A Day in the North Country
Yesterday I spent the morning wandering around an area north of Phoenix for a few hours. Joined by photographers Dennis Mong and Miachelle DePiano, we took a loop through a beautiful part of central / north Arizona. I had no expectations other than hoping I could...
Great Reads: November Books 2014
"A Road Through Shore Pine focuses on a series of 18 never-before-seen photographs by Robert Adams (born 1937), taken in Nehalem Bay State Park, Oregon, in the fall of 2013. Adams documents a contemplative journey, made first by automobile, then by foot, along an...
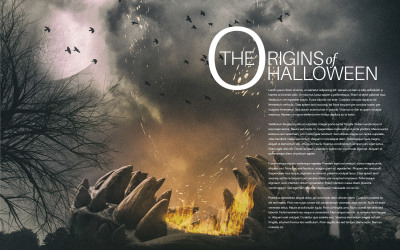
Halloween Shoot: Project 52 Members
The assignment was to illustrate a double truck (2 page spread) magazine story on the Origins of Halloween. Layout was furnished as a layered PSD file and the P52 students had to shoot TO that layout - reversed copy and all. The assignment was a great example of how...
Basic Systems for Commercial Photographers
My recent Lighting Essentials post on "Systems" (Don't Be Afraid of Systems) was an overview of some simple checklists that I use to keep focused and create content in an overwhelmingly busy world. The amount of people, information, education, entertainment and sheer...
Project 52 “The Catalog”
In this assignment, the photographers had to jump through a few hoops. The previous week they had to submit a "Creative Direction" shoot showing at least two different approaches to doing the fictitious catalog. Those approaches had to meet some criteria. First is...
Off Topic Sunday, October 26, 2014
An absolutely astoundingly hectic week. My daughter got married Friday night, and Saturday was spent on a hundred different unrelated errands. Now, Sunday is going to be for catching up and getting ready for next week. Check out this amazing commercial. And please...
Inspiration Friday: October 24, 2014
Kyle Johnson | William Cohea
Too %$#*@ Much Freedom
Last week I railed against too many rules. Now I am asking if there is too much freedom? Could I be off my meds, or a little daffy? To complain about too many rules and then question if there may be too much freedom too… OMG, I am turning into a …. no, I won’t go...
Help a Singer Go To Argentina, and Get Four Hours Consulting
Hi everyone. My daughter, Alissa, is going to Argentina with the Phoenix Children's Chorus summer, 2015. We are all pretty excited. You can hear them sing here. However, it costs a bit to send her, and we are looking for some ways to help her get there (along with...
Off Topic Sunday: October 20
Yesterday I was asked to shoot one of the new choirs at Phoenix Children's Chorus. This is an elite group of singers that are available for gigs in the valley. This is one of my favorites from the shoot. ON SIMPLIFICATION I am going through a simplification...
Great Reads: October 2014 Releases
I don't know very many photographers who do not have a large collection of photo books. Mine fills an entire double walled shelve system and is still growing. I love books. I love photographs. Nothing better than to grab an old book, a cup of tea and peruse the...

Inspiration Friday 10/17
Irene Liebler / Jessica Edler
Photography: Too Many #%*#$ Rules!
I was talking with a couple of photographers this week and we were discussing their output… or lack thereof, and I was commiserating a bit with them. I have been mired deep to the elbows in stuff that doesn’t involve cameras for the last six weeks. Very little...
ATTENTION ALL PROJECT 52 MEMBER AND ALUMNI – 2015 Trip to the Canyons is ON
As we do every year, the meetup / party is scheduled for February 6-8 and the trip north is from February 8 - 15. There are no creative or workshop fees attached. Only a per person share for van rentals, gas and a few consumables. We will have information on local...
Josh Ross on Marketing and the Life Cycle of a Product Shoot
My friend Josh Ross and I got a chance to talk a bit about marketing and project life cycle of a product shoot. This was an invite only (Project 52 members) and you will hear some questions at the end of the webinar. This is NOT a flashy look at photographs webinar,...
Inspiration Friday 10/10
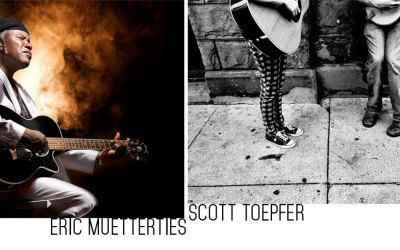
Eric Muetterties / Scott Toepfer

New Directions, Multiple Channels
A few things have caught my attention lately. I mean really caught my attention. One was the great chat we had with my friend Rosh Sillars on how to price a gig in the new economy, and the other was his discussion we had off mic about photographers being able to do...
Dennis Dunbar: Retouching Secrets of the Pros
In Charlotte, NC, October 25 Presented by APA Charlotte If you are in the area, you should check it out. Dennis is an excellent retoucher. "Dennis Dunbar is a Digital Artist with extensive experience in digital issues and techniques. Since 1991, he has been working...
Inspiration Friday
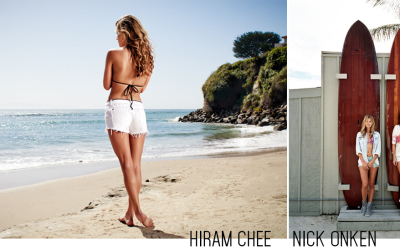
A new feature idea I thought would be cool. Each Friday we will look at a couple of images from famous and not so famous photographers. Hiram Chee / Nick Onken
Building A WordPress Photography Site (Santino)
My friend Bob Knill wanted a bit of a hand on building his site. He chose the them Santino, and I did these videos for him, and you, to see how to build and maintain a Wordpress website for photographers. We will add additional movies as we go through SEO, but this...
Hey, They Want You In the Arena… Are You Ready?
Would it surprise you that what we think is more powerful than reality? That mere thoughts can be as powerfully uplifting or critically damaging as what we actually do? “I don’t think I am ready to get out there and show my book” he said to me. It didn’t matter that...
Perfume Shot To Layout
At Project 52 last week we had an assignment to shoot a specific image of a perfume bottle. You can see the assignment here. These are some of the great images the students shot for this assignment.
Environmental Portraits
The crew at Project 52 (2014) shot some environmental portraits last week. Thought I would share them here.