
DISTANCE OF THE LIGHT SOURCE FROM THE SUBJECT
The second principle of light is the distance of the light source from the subject.
One thing for sure, if it is artificial light, the distance of the light source from the subject can change the size relationship, but there are other things that happen as well.
With artificial lights, one of the most important rules is The Inverse Square Law.
And it can be kinda scary that one. First, it’s a law. That seems pretty definite. And of course it has something to do with math – ‘squared[. But the word INVERSE? What the heck is that?
Let’s not sweat that right at the moment.
Let’s just acknowledge it for what it means to us.
Essentially, the Inverse Square Law (ISL) means that the farther the light is from the subject, the less bright it will appear. We know that, right. The closer we get to a light source, the brighter the reflectance of that source from whatever we are bringing close to the light.
Say you are in a very dark room, and there is only one small light in the corner. You are desperately trying to read the calory count on your small bag of Cheetos but it is way too dark where you are. Well – simple, we take the Cheetos bag over to the light and as we get close to the light, we can instantly read that we are never allowed to eat Cheetos again.
Now that is way too simple for any rule, or LAW, especially one that concerns math and something called Inverse.
The ISL is a way of measuring that light fall off and it shows us that there is actually a formula to how much that light falls off. Formulas are great. They are like systems. We can use them over and over to achieve the results we need.
This formula is way simpler than the name implies:
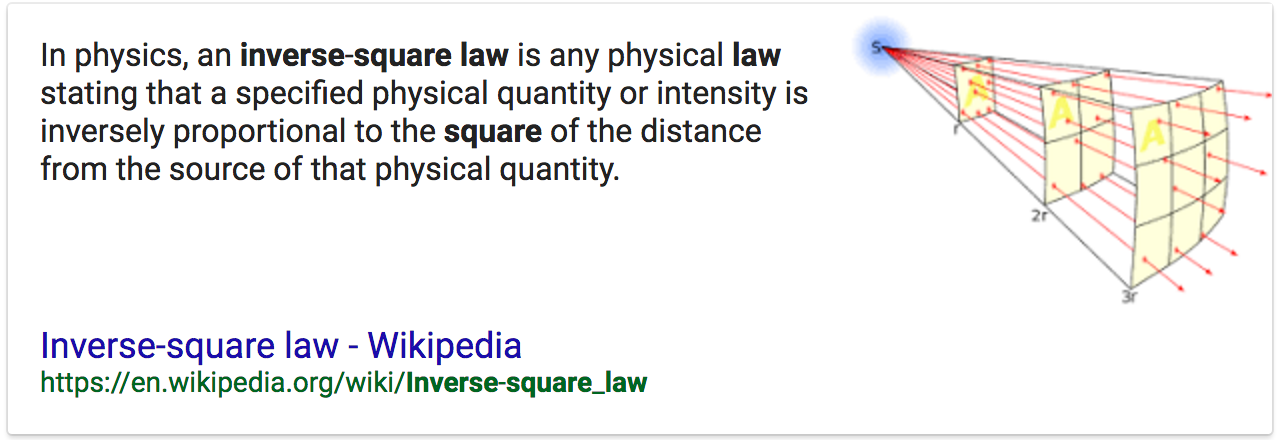
As you can see in the illustration above, at twice the distance the light has to cover four times as much space making it four times less powerful.
Four times less = 2 stops less in f-stops.
So if the light was f-8 on your subject at 4 feet, and you moved the light back to 8 feet, the amount of light on the subject would now equal f-4. If you started at f-4 at 8 ft and moved the light in to 4 ft it would be f-8.
What if instead of moving the light from 8 ft to 4 ft you decided to move it in 6 ft? Well, that would be half way between f-8 and f-4… f-5.6.
Now look at what happens when we apply the rule to a set of distances.
THE IMPORTANCE OF KNOWING RECIPROCALS
A reciprocal is simply understanding the relationships between all the numbers we throw around in photography.
F-stops, shutter speeds, ISO – all work hand in hand with each other to make the image with correct (for you) exposure. Changing any one of these three will necessitate a change in one of the others to compensate.
Let’s look at ISO:
f-4 / 1/125 @ ISO 100
If we change that to ISO 200 one of those above will have to change. Either the f-stop or the shutter speed. Since the ISO is now one stop more powerful, we either have to change to f-5.6 or change the shutter speed to 1/250. Both of these changes have the affect of decreasing the exposure setting one stop due to increasing the ISO by one stop.
Simply knowing the basics of one set will make it easy for you to re-configure for a new set.
I use ISO as my constant. In this case, I will use the settings of Sunny 16 (f-16 at 1/ISO).
ISO is 100 for these reciprocals.
f-16 @ 1/100
f-11 @ 1/200
f-8 @ 1/400
f-5.6 @ 1/800
f-4 @ 1/1600
f-2.8 @ 1/3200
These are committed to rote memory.
Changing the ISO compels me to make associated changes in these figures. If the ISO goes faster, I simply change the f-stop OR shutter speed to correlate to the amount of change in ISO. If the changes go out of the range of my camera, I will change one first, then catch up the other.
Example:
The light is getting a bit low, and I want to shoot with a shutter speed that allows me to hold the camera still. I take a meter reading and find that at ISO 100, my exposure for that shot is f-4 @ 1/15. Well, that aint’a gonna work for me handheld.
So first I decide that f-4 should be f-5.6 because of some Depth of Field issues (which moves the shutter speed down to 1/8), so that means I will have to move the ISO one stop for that aperture change to:
f-4 / ISO 100 @ 1/15 to f5.6 / ISO 100 @ 1/8 (reciprocal, one less stop in shutter speed to correlate with additional stop in aperture.
f-5.6 / ISO 200 @ 1/15
f-5.6 / ISO 400 @ 1/30
f-5.6 / ISO 800 @ 1/60
Learn your reciprocals for faster and more accurate decisions in the field.
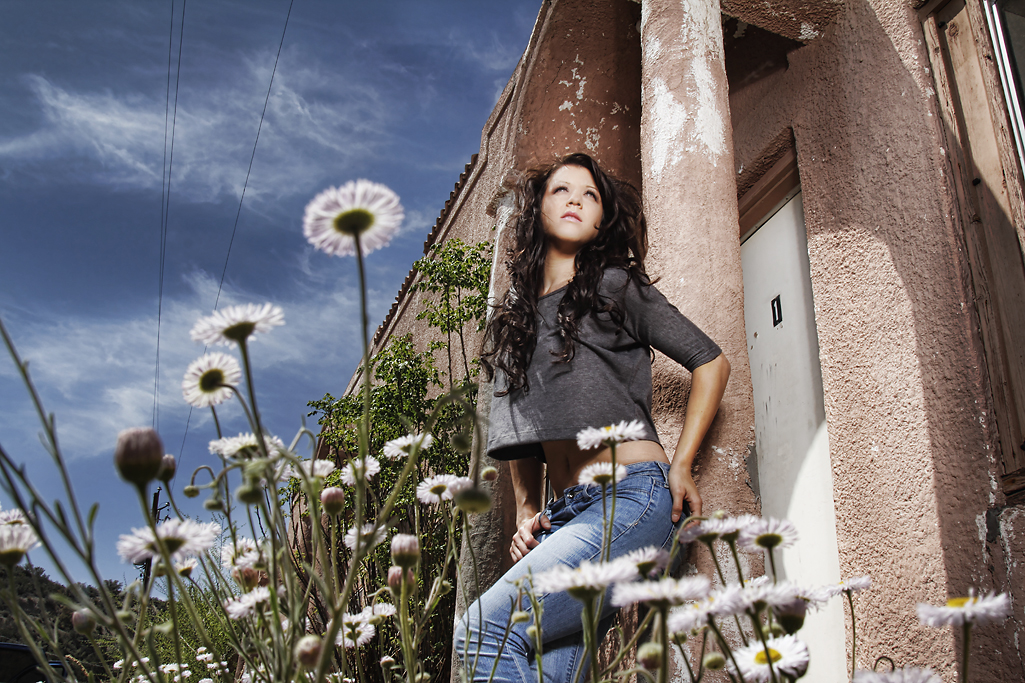
Bri in Miami.
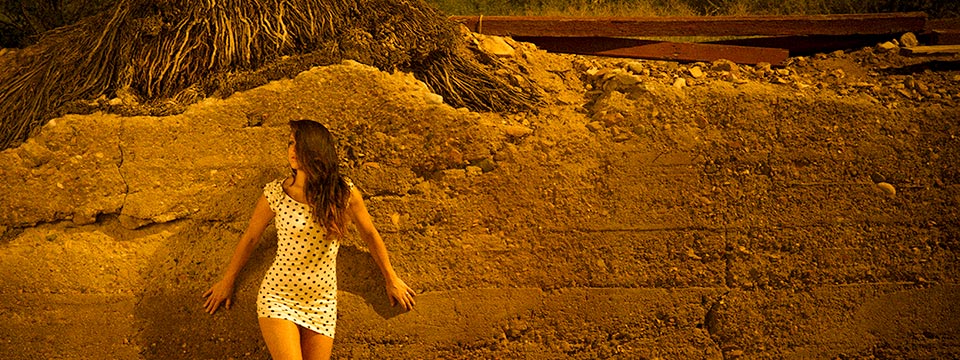
I didn’t want the old building to go too dark behind her so I moved her next to the column. This gave me the ability to move the light in close to her, and let the background fall off fast – but retain the light and the texture right around her so she didn’t ‘pop’ out and look too overly lit.
This is a 4ft softbox with a Profoto 300 WS head and a single diffusion panel in the softbox. It is just above camera viewpoint in this shot – very close to her. You can see the light falling off as it reaches her knees.
I wanted the shot to appear somewhat realistic and not “strobed” so a careful blend of one stop over the ambient was chosen.
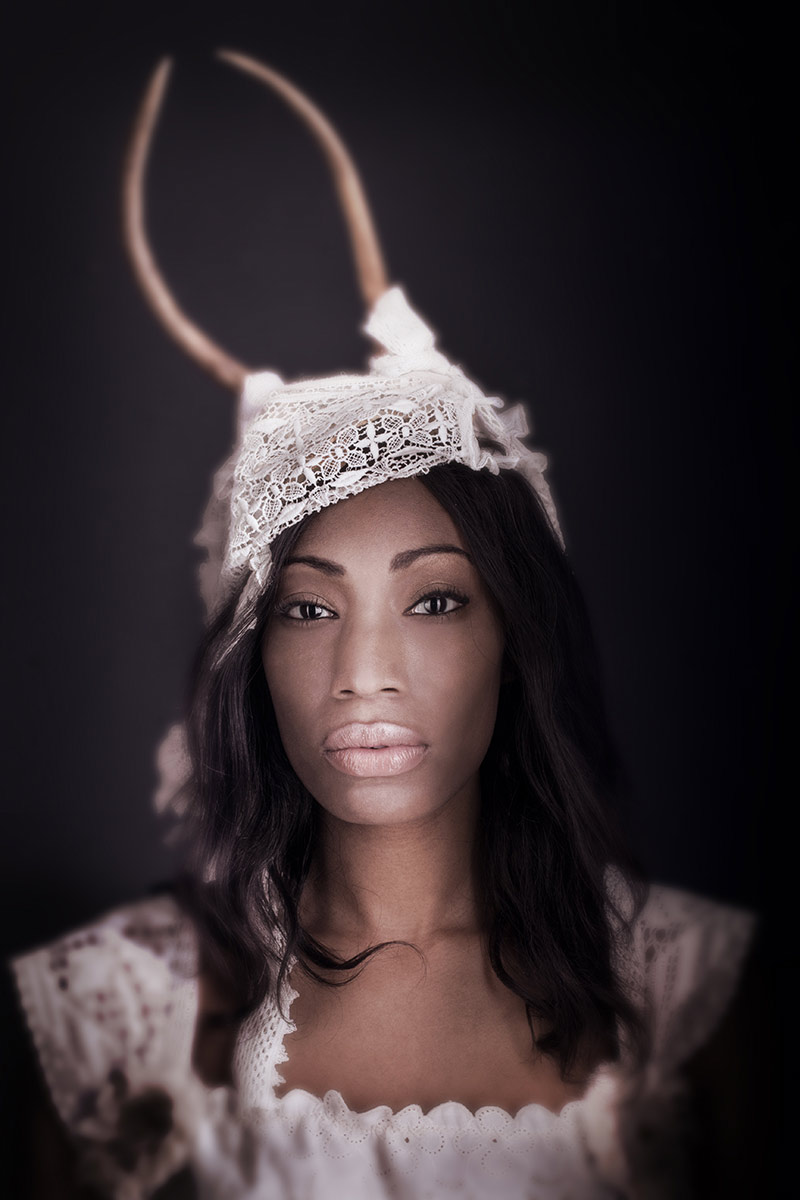
Ivy in the Studio.
My studio had bright white walls in a cove. I didn’t want this image to be on a white background so I moved Ivy far enough away that the light on her had no effect at all on the white wall behind her. It was simply way too underexposed to render at all.
Controlling the exposure through the Inverse Square Law is one of the more important tools you will have at your disposal.
And get this – it doesn’t cost a penny.
ASSIGNMENTS FOR THIS CLASS:
- Using a light source of your own: (studio strobe, speedlight, continuous light) place the light close to the subject and then move the subject AND light source closer to and farther back from a single background. Notice how the image presents itself as you go closer to the background with your subject and light, and what happens when you take subject and light farther away.
- Place camera and background at a fixed point. Then move your subject into the f-16 and make an exposure. Move back to f-11, then f-8, f-5.6, f-4 and if you can f2.8. What happens to the background as you move the subject closer to it and adjust exposure.
- Build your string meter. See below.
Find a piece of good, smallish rope. Clothesline will do nicely.
Put your light on a stand, and run the string straight out from the flash. The flash should be set at 1/8 power if possible. Not full. It should be on “normal” zoom setting neither on telephoto or wide angle.
- Using a meter and a remote flash trigger, find the exposure point for f-4 by going down the rope and aiming the ambient light meter dome directly at the strobe. Keep going until you find the point where f-4 is noted on your meter.
- Using a knot or marker, note that point as f-4.
- Now find the middle of the rope and note it with knot or marker.
- Between the end of the rope and the middle (left side) put a knot or mark in the middle of that area.
- Between the middle of the rope and the end to the right put a knot or marker
- On the right side, now find the middle between the end and the first mark, and knot it or marker
You now have simple rope meter that will be incredibly accurate in all situations.
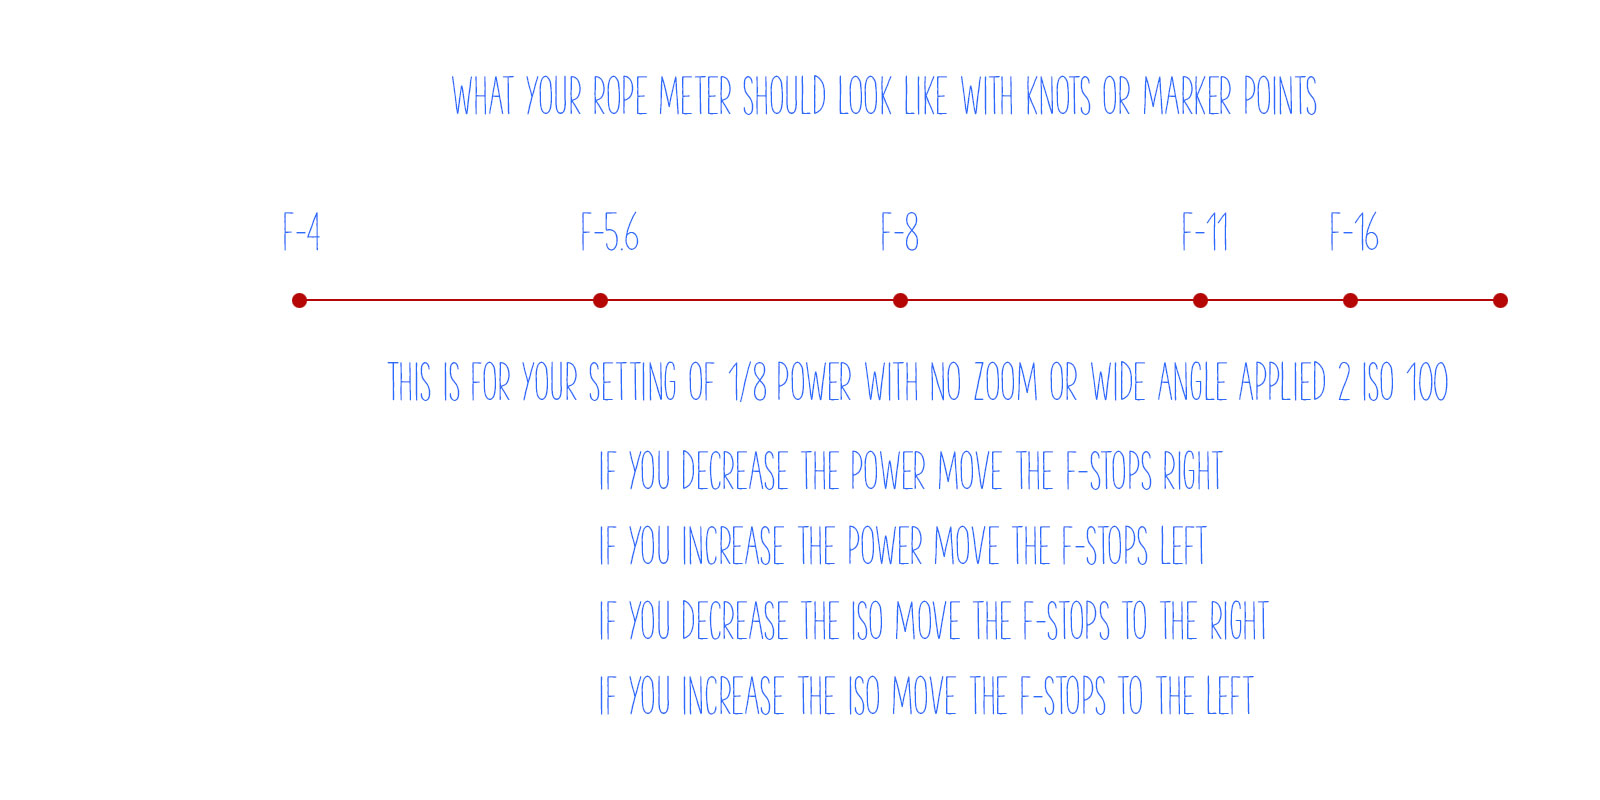
Finding f-4 is the most important part. Use a lightmeter for best results.
If you want to use a gray card, make sure it is at a very slight angle to the light source so it will not have a specular for the camera to see (the reflection of the light source). Shoot at f-4 until you find the distance that will render a single line of pixels in your histogram dead center. That is perfect exposure of a gray card.
Of course, you must fill the lens with the gray card, no extraneous stuff in the viewfinder – just the gray card.
Move. Seriously, Get Up and Move!
The curtain to the ER room flew open. A white coated doctor stood there with some papers in his hand and just looked at me. “You aren’t supposed to be here”, he said. I smiled and said they were moving me to the ICU in a few minutes. He kind of wryly smiled and said,...
A Concert in Boras, Sweden by Tomas Jansson (P52)
Tomas Jansson is a Project 52 PRO. This is his project shoot. "With my pictures I have tried to capture a story, give an overview of the area, the people and of course the concert. Every Thursday for eight weeks in the summer there are festivities in my hometown of...
CreativeLIVE is Having a Sale on All Programs
And you can get mine for $50 off. Also suggest the first Sue Bryce and the first Zack Arias. Hit their site for all the sale items... every show is on sale.
Vintage Clothing Expo, Malmo by Flora Cusi
Vintagemässan i Malmö, 25th of May 2013 http://vintagemalmo.se photographer: Flora Cusi floramc@floramc.se Project: I decided to visit the vintage expo in Malmö for my event project. My main interests are colors and patterns and less documenting the presence of...
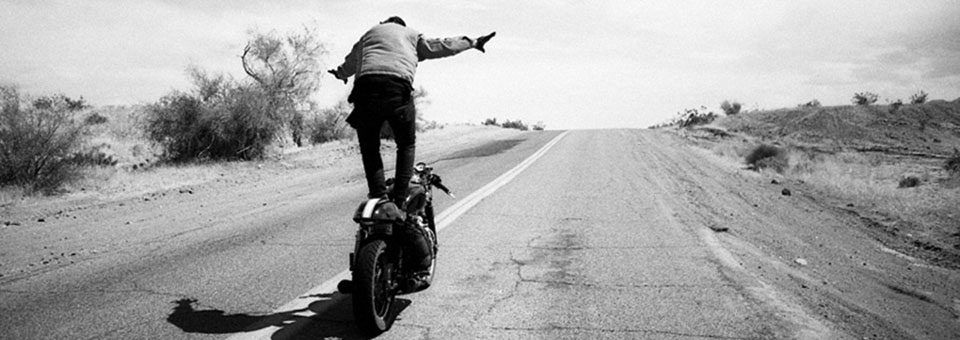
Interview With Photographer Scott Toepfer
I first found Scott's work one day when a P52 member linked his great video on motorcycling, "It's Better in the Wind". Watch it. All with DSLR video. I became an instant fan. The words I use for Scott's work are fresh, surprising, intimate and classic. I expected the...
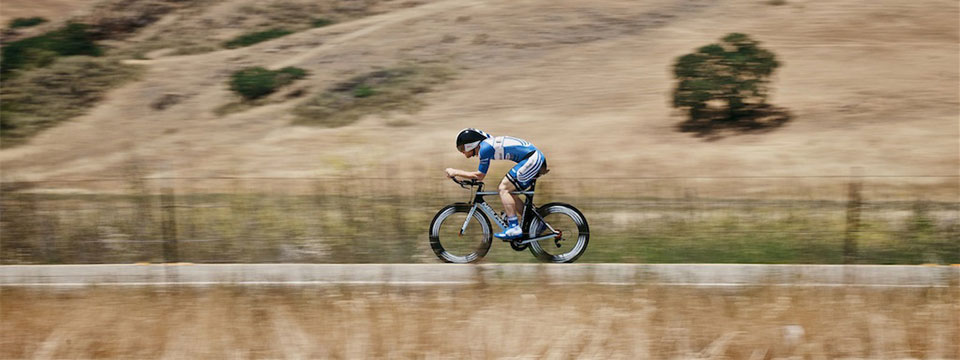
Tour of California Bicycle Race: Adam Bendig
Project 52 PROS is a group of highly motivated photographers who are spending a year with me working on their books, their marketing tools, marketing plans and becoming more familiar with shooting like a professional. Adam Bendig is one of our pros,, and this is the...

Adi Talwar, Photographer
Adi Talwar has been a strong member of Project 52. His wit and charm infuse his work no matter whether it is lifestyle, photojournalism or portrait. Adi was asked to do a show of some of his experimental work, and for those of you who may not be near NY at this...
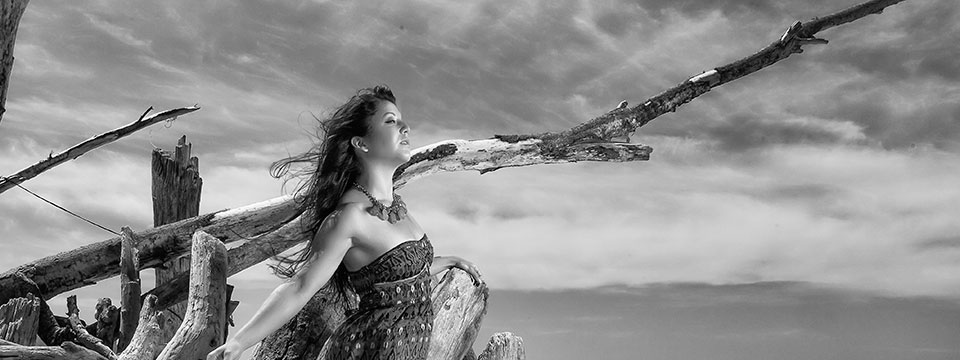
Two Photographs by Sheila Morgan
Sheila Morgan is a photographer that I worked with in the Bay Area on a One-on-One consultation. Her lighting skills needed a bit of a clean up and we spent a day in the studio and a day on location working on various lighting challenges. I really enjoy the one one...
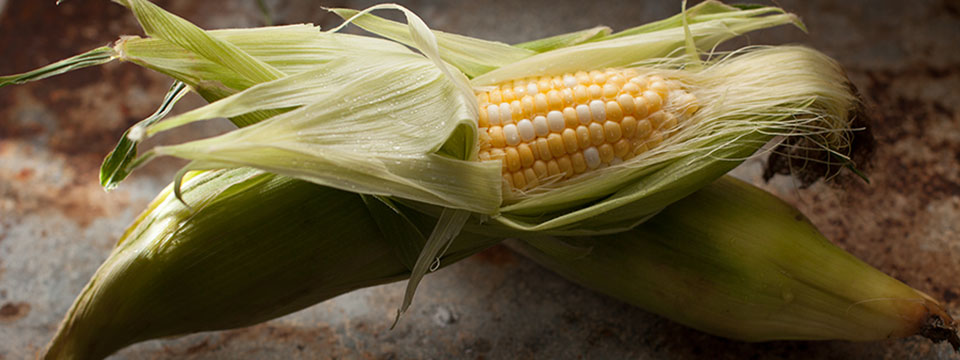
Still Life Breakdown: Corn in Virginia
Project 52 PRO’s: Summer to Summer
We are starting a new class for Project 52 PRO - Summer to Summer... And at this point we have 5 openings left. You can sign up or get more information at the Project 52 site. I thought I may share these images with you. A recent assignment from the current Project 52...
Pricing to the Value of the Work
I heard a very talented photographer say she charges less than others because she is new to the business and doesn't think she should charge as much as the older, more established photographers. I think she is completely and totally wrong. The value of the image to...
Are You Making YOUR Photographs?
"Imitate. Assimilate. Innovate." - Clark Terry, Jazz Trumpet Legend Always a concern for beginning and emerging artists. Where do we draw the line between inspiration and appropriation (stealing)? In our examination of what makes an image portfolio worthy, we begin to...
What Makes an Image “Portfolio Worthy”?
That is the essence of a big source of discussion by photographers. There seems to be a lot of hype and 'science' bandied about regarding this question. I want to talk about what makes an image worthy of your portfolio today, and have you think about your work in...
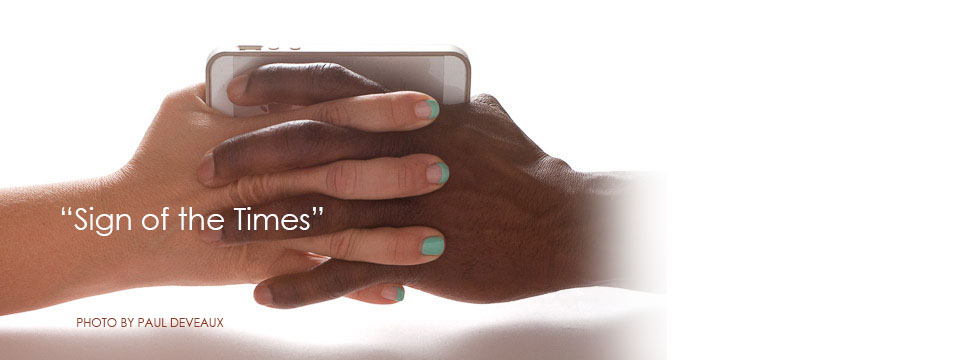
A “Sign of the Times” – Project 52 Pros
The assignment was a brochure cover image for a brochure titled "Sign of the Times"... the P52 PROS hit it out of the park. Project 52 PRO is a group of photographers devoted to becoming the best they can be, while working in a real-world assignment venue. We keep the...
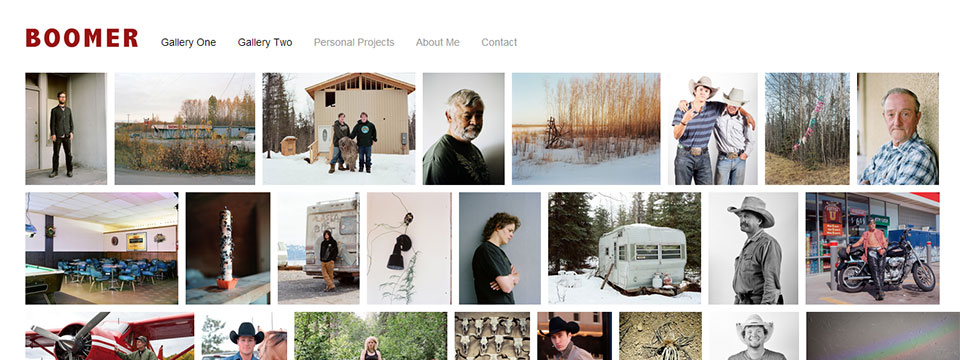
Interview with Texas Photographer Jennifer Boomer
I love Jennifer Boomer's work. The first time I saw it I spent about an hour looking at all the images and loving the style, the point of view and the wonderful subjects. It was imagery that spoke to me. I decided to ask Jennifer if she would do a webinar with me and...
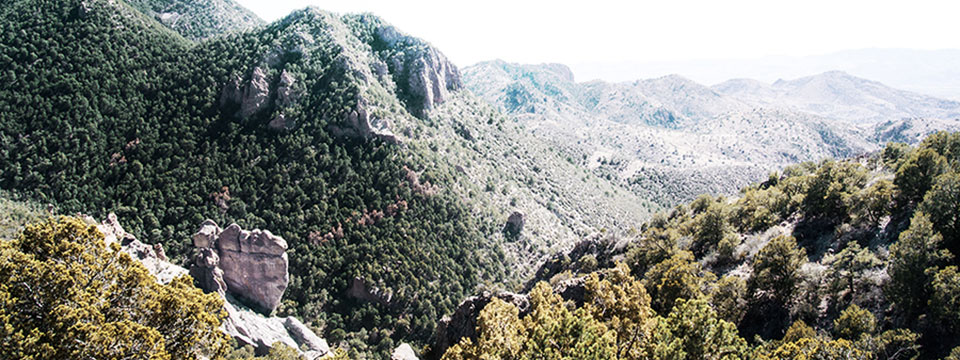
Well, This Cliff Jumping Thing Worked Out Well
On Jumping Over A Cliff... So this guy tells me... "You should jump off that cliff, Don." I stare incredulously at the guy cause I am not good on cliffs. Not as bad as my bud Charles... but that is a different story. I am not crazy about heights. "Are you crazy", I...
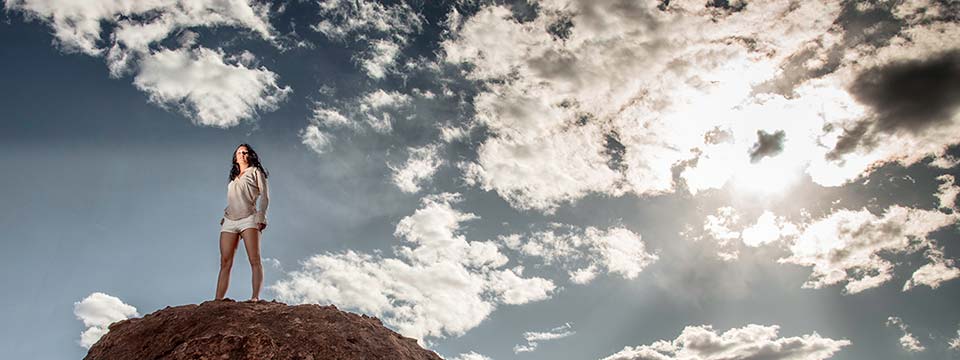
First Be A Photographer
I follow a very nice group of people on a forum on Facebook. They are all trying to start their businesses with varying degrees of luck and success. One of the things that is emerging is that many of them are simply not ready to be professionals and in business. And...
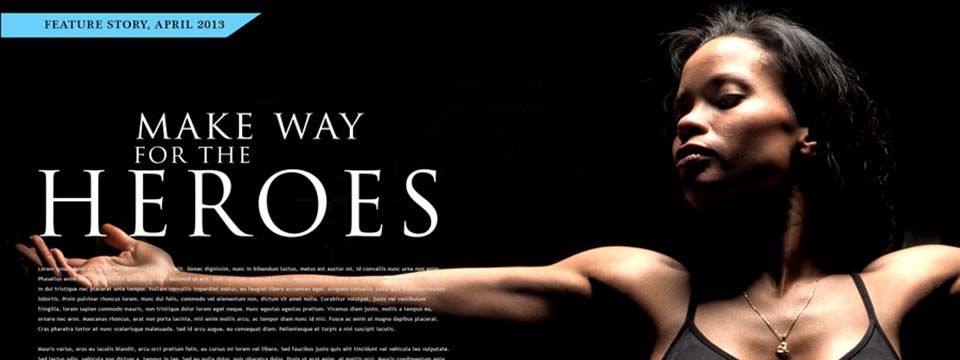
One Layout: Many Versions
Man these Project 52 PROS are really dialing it in. And that is making it more fun than a guy should have. The assignment was to shoot to this layout (furnished in PSD layers) and make sure it worked. I wanted them to put the images into the layout and show us what...
Project 52 Pros: Assignment Four
The assignment was called "The Tear Sheet" and it involved the students working through creating a "fauxtolio" to help them focus their energy on making images that they LOVED to make. The "fauxtolio" helps guide the sensibilities of the photographer as he or she...
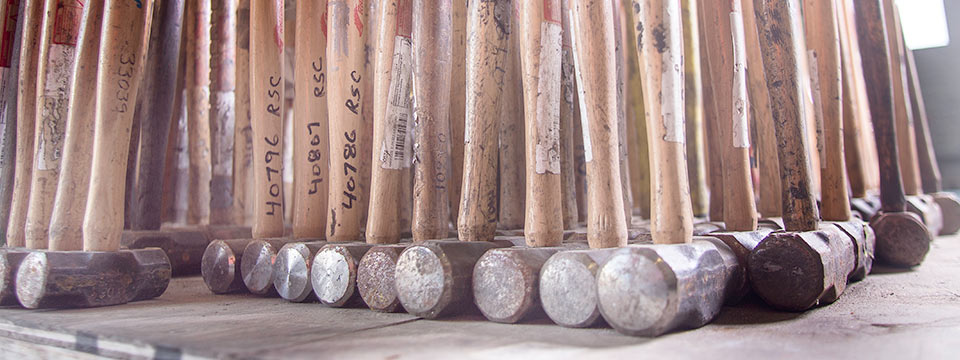
Men. At Work.
I recently completed an assignment for an advertising agency here in Phoenix. The Lavidge agency has been around quite a while and it was a lot of fun to shoot this industrial gig with them. The client was United Rentals - a major player in the tool rental niche....
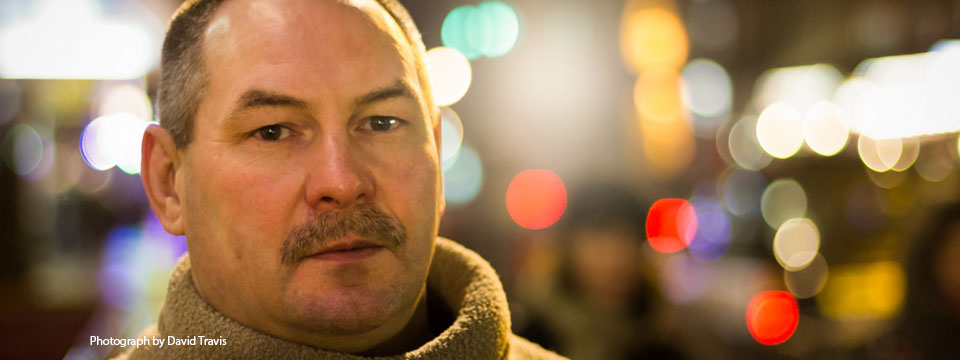
Photographs of Strangers by P52 PRO Group
This was the first assignment completed by the Project 52 PRO's. Photographing strangers can be a very delicate and scary idea for a lot of people. The fear of rejection or having the subject be angry stops most from ever attempting photographing people they do not...
Meet Jan Klier: NY Fashion Photographer
I met Jan about five years ago when he flew to Phoenix to take one of my one day workshops. We met again in Seattle when I was doing the workshops nationally. I knew he had a strong work ethic, and a powerful desire to be a photographer, and encouraged him to make it...
The “Truck Shot”: Simple Moves for a Better Shot
I asked the folks who get my newsletter how they think I shot it. Many folks tried to figure it out, but most had something about a front light... and that was a no go. I used four lights (2x2) and Photoshop to get the look I wanted. Working it a bit in Photoshop also...
“The ICONIC Image” – a Discussion with Photographer Gary Crabbe
Gary Crabbe is a full time landscape and environmental shooter living in Central California. Recently, one of his blogposts caught my attention as it is something I am wondering about as well. I just came back from Zion and Bryce Canyons and while there found myself...