
DISTANCE OF THE LIGHT SOURCE FROM THE SUBJECT
The second principle of light is the distance of the light source from the subject.
One thing for sure, if it is artificial light, the distance of the light source from the subject can change the size relationship, but there are other things that happen as well.
With artificial lights, one of the most important rules is The Inverse Square Law.
And it can be kinda scary that one. First, it’s a law. That seems pretty definite. And of course it has something to do with math – ‘squared[. But the word INVERSE? What the heck is that?
Let’s not sweat that right at the moment.
Let’s just acknowledge it for what it means to us.
Essentially, the Inverse Square Law (ISL) means that the farther the light is from the subject, the less bright it will appear. We know that, right. The closer we get to a light source, the brighter the reflectance of that source from whatever we are bringing close to the light.
Say you are in a very dark room, and there is only one small light in the corner. You are desperately trying to read the calory count on your small bag of Cheetos but it is way too dark where you are. Well – simple, we take the Cheetos bag over to the light and as we get close to the light, we can instantly read that we are never allowed to eat Cheetos again.
Now that is way too simple for any rule, or LAW, especially one that concerns math and something called Inverse.
The ISL is a way of measuring that light fall off and it shows us that there is actually a formula to how much that light falls off. Formulas are great. They are like systems. We can use them over and over to achieve the results we need.
This formula is way simpler than the name implies:
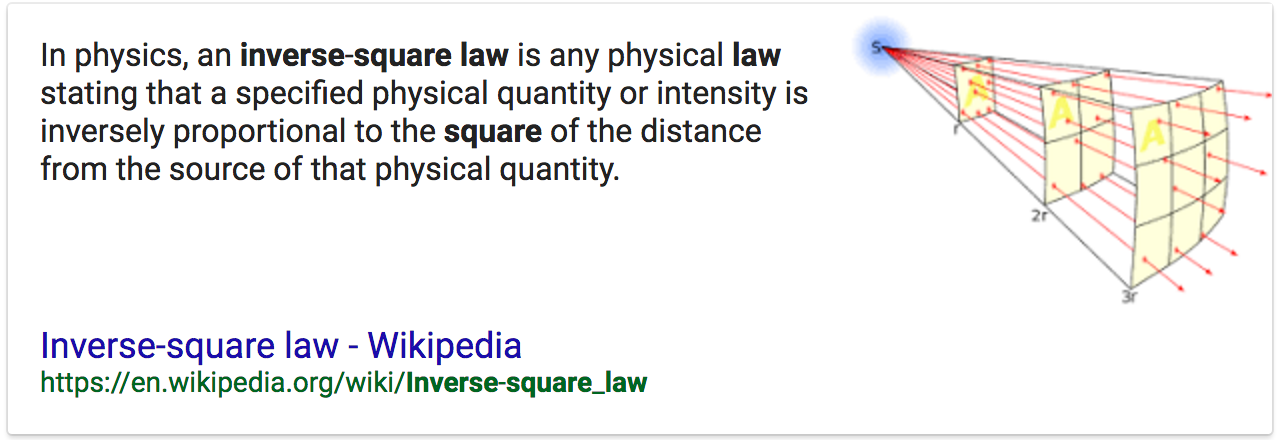
As you can see in the illustration above, at twice the distance the light has to cover four times as much space making it four times less powerful.
Four times less = 2 stops less in f-stops.
So if the light was f-8 on your subject at 4 feet, and you moved the light back to 8 feet, the amount of light on the subject would now equal f-4. If you started at f-4 at 8 ft and moved the light in to 4 ft it would be f-8.
What if instead of moving the light from 8 ft to 4 ft you decided to move it in 6 ft? Well, that would be half way between f-8 and f-4… f-5.6.
Now look at what happens when we apply the rule to a set of distances.
THE IMPORTANCE OF KNOWING RECIPROCALS
A reciprocal is simply understanding the relationships between all the numbers we throw around in photography.
F-stops, shutter speeds, ISO – all work hand in hand with each other to make the image with correct (for you) exposure. Changing any one of these three will necessitate a change in one of the others to compensate.
Let’s look at ISO:
f-4 / 1/125 @ ISO 100
If we change that to ISO 200 one of those above will have to change. Either the f-stop or the shutter speed. Since the ISO is now one stop more powerful, we either have to change to f-5.6 or change the shutter speed to 1/250. Both of these changes have the affect of decreasing the exposure setting one stop due to increasing the ISO by one stop.
Simply knowing the basics of one set will make it easy for you to re-configure for a new set.
I use ISO as my constant. In this case, I will use the settings of Sunny 16 (f-16 at 1/ISO).
ISO is 100 for these reciprocals.
f-16 @ 1/100
f-11 @ 1/200
f-8 @ 1/400
f-5.6 @ 1/800
f-4 @ 1/1600
f-2.8 @ 1/3200
These are committed to rote memory.
Changing the ISO compels me to make associated changes in these figures. If the ISO goes faster, I simply change the f-stop OR shutter speed to correlate to the amount of change in ISO. If the changes go out of the range of my camera, I will change one first, then catch up the other.
Example:
The light is getting a bit low, and I want to shoot with a shutter speed that allows me to hold the camera still. I take a meter reading and find that at ISO 100, my exposure for that shot is f-4 @ 1/15. Well, that aint’a gonna work for me handheld.
So first I decide that f-4 should be f-5.6 because of some Depth of Field issues (which moves the shutter speed down to 1/8), so that means I will have to move the ISO one stop for that aperture change to:
f-4 / ISO 100 @ 1/15 to f5.6 / ISO 100 @ 1/8 (reciprocal, one less stop in shutter speed to correlate with additional stop in aperture.
f-5.6 / ISO 200 @ 1/15
f-5.6 / ISO 400 @ 1/30
f-5.6 / ISO 800 @ 1/60
Learn your reciprocals for faster and more accurate decisions in the field.
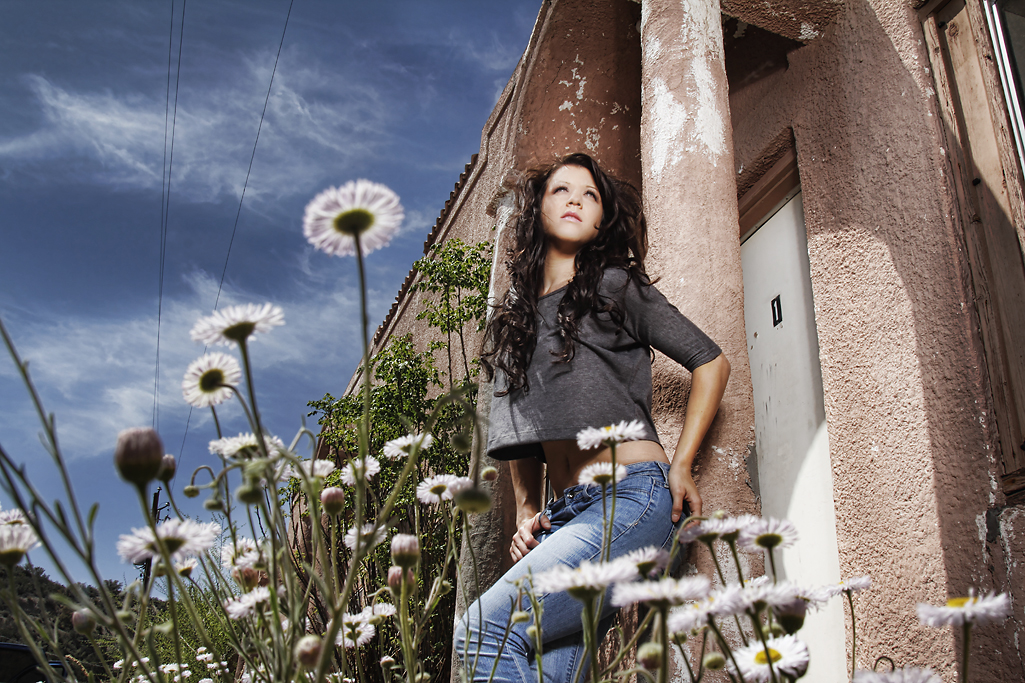
Bri in Miami.
I didn’t want the old building to go too dark behind her so I moved her next to the column. This gave me the ability to move the light in close to her, and let the background fall off fast – but retain the light and the texture right around her so she didn’t ‘pop’ out and look too overly lit.
This is a 4ft softbox with a Profoto 300 WS head and a single diffusion panel in the softbox. It is just above camera viewpoint in this shot – very close to her. You can see the light falling off as it reaches her knees.
I wanted the shot to appear somewhat realistic and not “strobed” so a careful blend of one stop over the ambient was chosen.
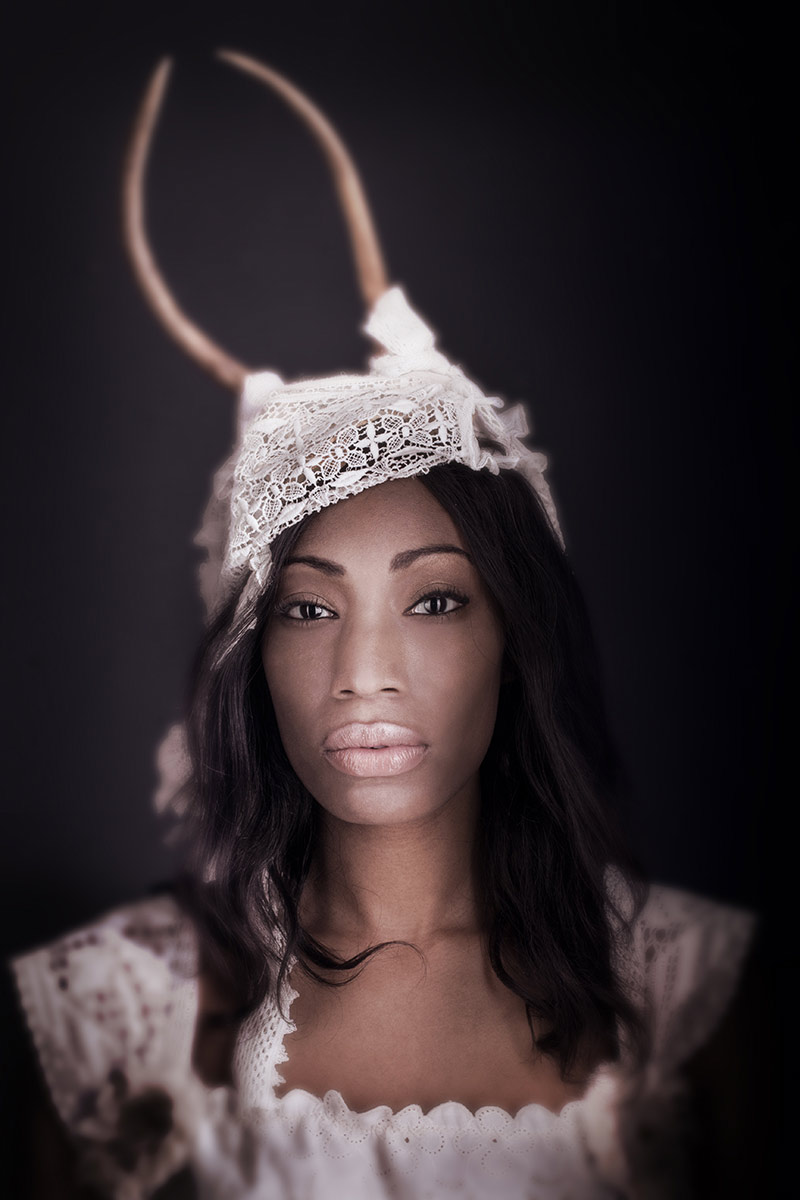
Ivy in the Studio.
My studio had bright white walls in a cove. I didn’t want this image to be on a white background so I moved Ivy far enough away that the light on her had no effect at all on the white wall behind her. It was simply way too underexposed to render at all.
Controlling the exposure through the Inverse Square Law is one of the more important tools you will have at your disposal.
And get this – it doesn’t cost a penny.
ASSIGNMENTS FOR THIS CLASS:
- Using a light source of your own: (studio strobe, speedlight, continuous light) place the light close to the subject and then move the subject AND light source closer to and farther back from a single background. Notice how the image presents itself as you go closer to the background with your subject and light, and what happens when you take subject and light farther away.
- Place camera and background at a fixed point. Then move your subject into the f-16 and make an exposure. Move back to f-11, then f-8, f-5.6, f-4 and if you can f2.8. What happens to the background as you move the subject closer to it and adjust exposure.
- Build your string meter. See below.
Find a piece of good, smallish rope. Clothesline will do nicely.
Put your light on a stand, and run the string straight out from the flash. The flash should be set at 1/8 power if possible. Not full. It should be on “normal” zoom setting neither on telephoto or wide angle.
- Using a meter and a remote flash trigger, find the exposure point for f-4 by going down the rope and aiming the ambient light meter dome directly at the strobe. Keep going until you find the point where f-4 is noted on your meter.
- Using a knot or marker, note that point as f-4.
- Now find the middle of the rope and note it with knot or marker.
- Between the end of the rope and the middle (left side) put a knot or mark in the middle of that area.
- Between the middle of the rope and the end to the right put a knot or marker
- On the right side, now find the middle between the end and the first mark, and knot it or marker
You now have simple rope meter that will be incredibly accurate in all situations.
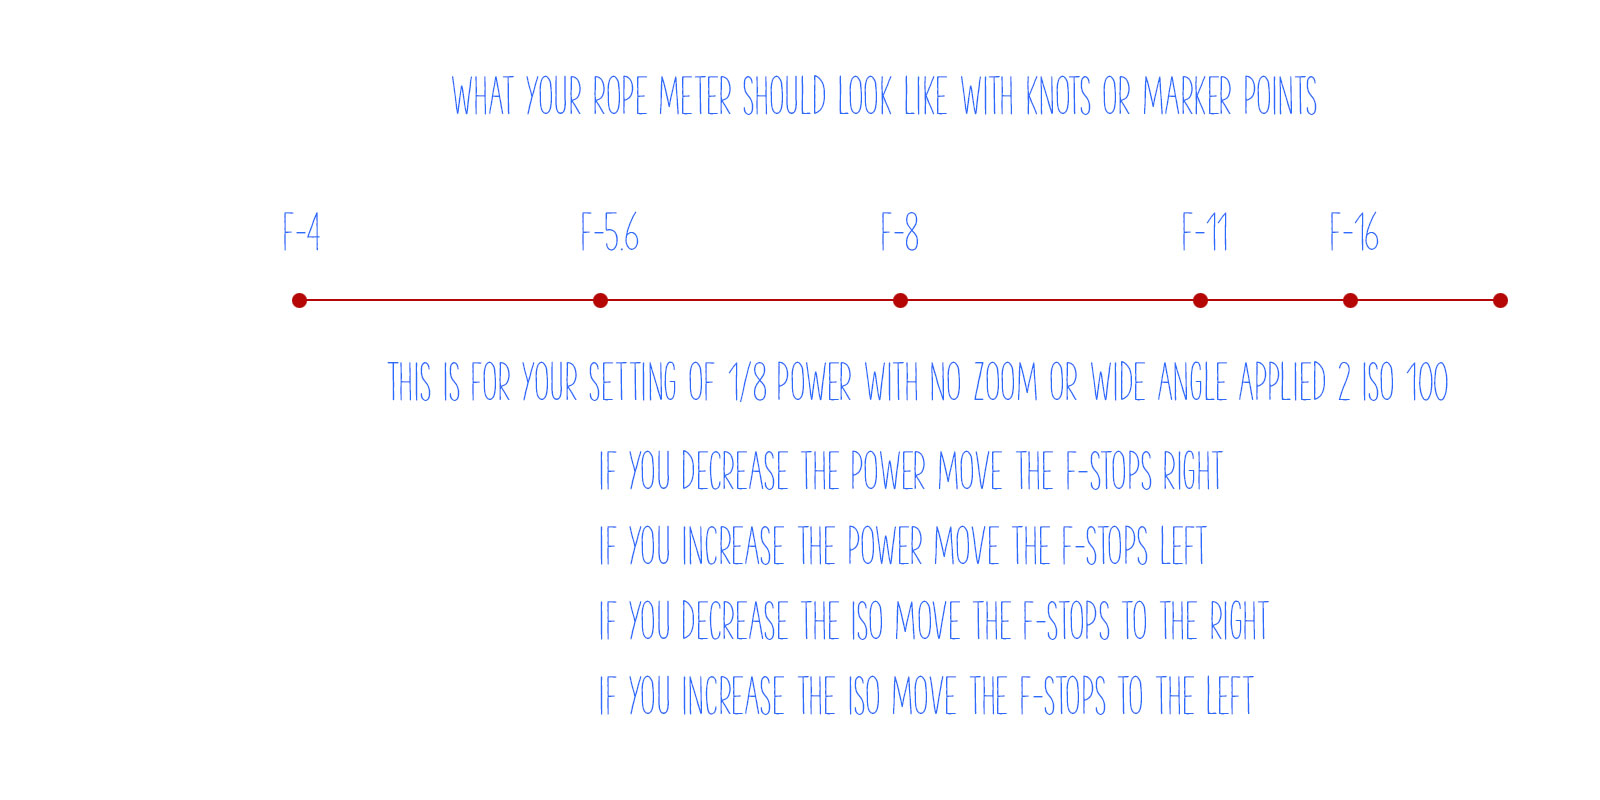
Finding f-4 is the most important part. Use a lightmeter for best results.
If you want to use a gray card, make sure it is at a very slight angle to the light source so it will not have a specular for the camera to see (the reflection of the light source). Shoot at f-4 until you find the distance that will render a single line of pixels in your histogram dead center. That is perfect exposure of a gray card.
Of course, you must fill the lens with the gray card, no extraneous stuff in the viewfinder – just the gray card.
One Red Balloon… a Challenge
A recent assignment in my 2014 Project 52 group was to shoot one red balloon... but to stay away from cliche's as much as possible, while definitely creating an interesting photograph in which one red balloon features prominently. The students wee wonderful. Here are...
John Sharpe, Photographer: Calgary, Alberta
Meet John Sharpe, a commercial photographer in Calgary, Alberta. The great frozen north (at least in winter) has many roads to artistic and business success. John has been a photographer for 25 years and has shot for local, regional and national clients. I thought...
What Do You Charge For… (Part Two)
Part Two of our Thinking about our rates post. (Part One) Understanding what we are worth, and how to construct a pricing structure that we feel good about is quite challenging for many of us. But it is a necessary challenge for us to overcome - see previous...
Irene Liebler is Giving Her Book Away…
Project 52 Alum, and incredibly talented photographer Irene Liebler is giving her book away... and you can snag a copy of it. Head on over to her site and download some amazing photography.
Michael Clark’s 2014 Summer Magazine
I love these photographers magazines. From Michael: "This issue includes an editorial about why there was no Spring 2014 Newsletter, a review of the SmallHD DP4-EVF external video monitor, an article my recent expedition in the Amazon with the CauseCentric Production...
Bret Doss: “Fashionista”
My bud Bret Doss turned in a wonderful editorial assignment for "Viva Fashionistas", a Seattle fashion magazine. I want to have Bret on for an interview soon. See more about his shoot at his blog. "Hard to Call It Work" has links to more of his fashion work as...
“What do you charge for…”
Five scary words to a lot of photographers. There is so much of US wrapped into those five words. I think they may be the scariest words we self employed folks ever hear. Although it is exactly what we want to hear… someone wants to hire us. All that marketing paid...
Meet Josh Ross: Product Photographer, Portland, OR
I met Josh several years ago on the stobist forum. We have stayed in touch and I am knocked out by his wonderful still life and product work. I asked Josh to speak about his photography, and we chatted for an hour. Josh walks us through his transition from LA to...
Knowing Your Subjects Well
One of the most important considerations of a photographers work is the subject matter they choose to make photographs. Sounds almost simplistic, doesn’t it? But there is a great deal of thought that goes into this part of what we do. If we have chosen subject matter...
Just an Idea
Getting some pushback. Maybe need more messaging work.
ReBranding With Photography
This was an interesting week. An old friend and colleague reached out to renew a friendship and to discuss some epiphanies she had recently experienced. Lunch was near my studio and it was with a bit of trepidation that I had agreed. While I think the world of this...
Going Back in Time
The great shooters of Project 52 Pros, 2014 just completed an assignment I would like to share. The work was to be shot in a style or period and be as faithful as possible in presentation. The reason for the shoot was to introduce them to the special difficulties of...
Big Ambitions? Where Do We Start?
I want to ride a bike across the country. I want to hike the Pacific Crest Trail. I want to photograph the heartland… from an old Indian motorcycle… with a view camera. I want to do a photo story on Ecuador and Peru and the percussionists of South America. I want to...
“What is Wet?” – Project 52 Assignment
Some beautiful work from the Project 52 assignment on 'wet'. From the assignment: WET… Shiny, smooth, liquid… wet is – well, wet. And we have to show “Wet” in a photograph. For a client who wants to keep things dry. You can approach this one in three ways: You can...

An Easy Set Up For Still Life: with Virginia Smith
I needed a quick and easy set up for the small jobs I so here and there. Branding samples, food photography, accessories for the styling that I do on the side. I love window light, shadows and color so this is my easy set up for my style. The elements are: * a...
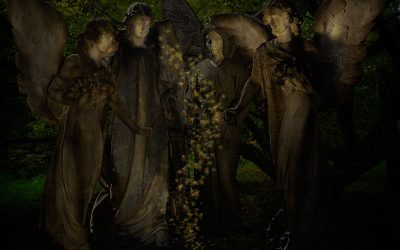
Black Angels: with Clare Bambers
Clare Bambers Photography.
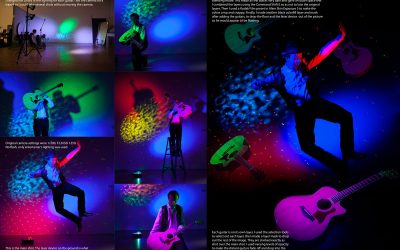
Composite Image with Catherine Vibert
Photoshop file in layers for you to see: Composite_Vibert_Photoshop File.psd Catherine Vibert / Website
The “Test Shot” with Stephen Collins
Objective: Shoot rare military memorabilia (medals, daggers, insignias, etc.) for inclusion in to an auction catalog and online viewing portal. Images must be large (3000-4000px, .tiff), with no specular reflection, especially the dagger blades (ornate etchings), yet...
“Work The Scene” with Rasmus Hald
Work the scene. Rasmus Hald One of the things that separate a good photo from a great photo is often planning, patience and how we work the scene. In July 2012 I was in Italy on vacation, driving around Tuscany in an RV and we went to Florence for a couple of days. I...
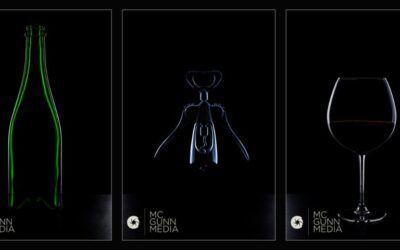
Dark Field Lighting: With McGunn Media
DARK FIELD LIGHTING: A PRIMER Anna and Filipe walk you through the making of these shots. They have a full course on shooting table top and still life work at Udemy. See more of McGunn Media's work at their website.
A Food Shot for a Blog: Daniel Fenwick
Reno Photographer Daniel Fenwick walks us through a simple, but well crafted food shot for his blog. Daniel Fenwick / website / Food Blog MANY OF THE TUTORIALS DURING "SUMMER SCHOOL" ARE BY PROJECT 52 PRO MEMBERS EITHER CURRENTLY ENROLLED OR ALUMNI.
An Interesting Negotiating Tactic
... and it is true. Names have been changed a bit to keep client/photographer privacy. I had lunch with a photographer today. We had met to go over plans for a big project and chose "The Vig" for delicious sandwiches and salads. What has that to do with the story?...
One Umbrella on Location
I am a Photoshop guy who is finding a lot of love in Lightroom. I would say that about 80% of my work goes from LR (or CR) into Photoshop for finishing. But the other 20% is done totally in Lightroom. Briana and I did this shoot last year for some new portfolio...
A Simple Tool for Shooting to Layout
Sometimes we have to shoot to specific layouts or dimensions. Here is a very simple tool for working with layouts that may not be typical. I use cardboard stock for making these little screens. And as I note on the video, I always give the shot a little breathing...