
DISTANCE OF THE LIGHT SOURCE FROM THE SUBJECT
The second principle of light is the distance of the light source from the subject.
One thing for sure, if it is artificial light, the distance of the light source from the subject can change the size relationship, but there are other things that happen as well.
With artificial lights, one of the most important rules is The Inverse Square Law.
And it can be kinda scary that one. First, it’s a law. That seems pretty definite. And of course it has something to do with math – ‘squared[. But the word INVERSE? What the heck is that?
Let’s not sweat that right at the moment.
Let’s just acknowledge it for what it means to us.
Essentially, the Inverse Square Law (ISL) means that the farther the light is from the subject, the less bright it will appear. We know that, right. The closer we get to a light source, the brighter the reflectance of that source from whatever we are bringing close to the light.
Say you are in a very dark room, and there is only one small light in the corner. You are desperately trying to read the calory count on your small bag of Cheetos but it is way too dark where you are. Well – simple, we take the Cheetos bag over to the light and as we get close to the light, we can instantly read that we are never allowed to eat Cheetos again.
Now that is way too simple for any rule, or LAW, especially one that concerns math and something called Inverse.
The ISL is a way of measuring that light fall off and it shows us that there is actually a formula to how much that light falls off. Formulas are great. They are like systems. We can use them over and over to achieve the results we need.
This formula is way simpler than the name implies:
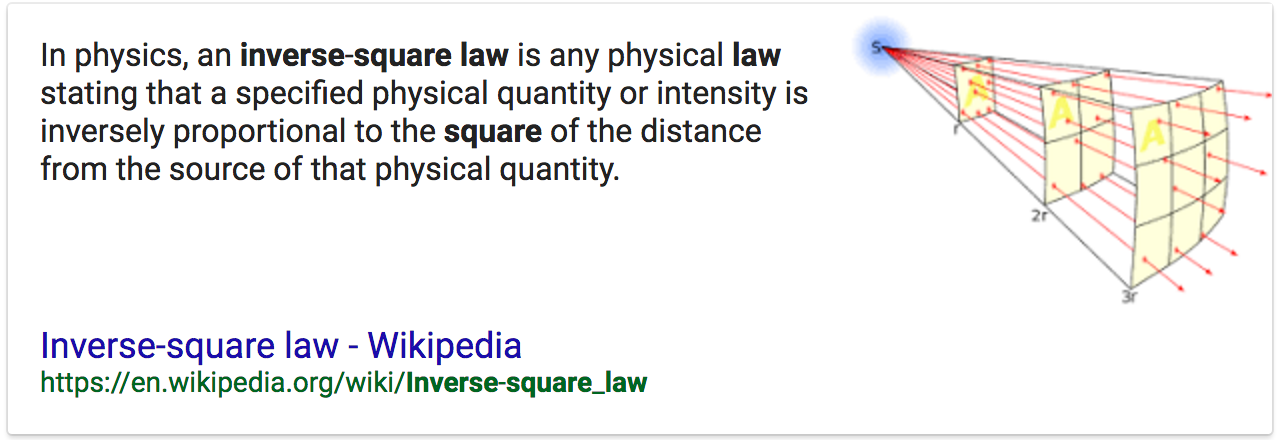
As you can see in the illustration above, at twice the distance the light has to cover four times as much space making it four times less powerful.
Four times less = 2 stops less in f-stops.
So if the light was f-8 on your subject at 4 feet, and you moved the light back to 8 feet, the amount of light on the subject would now equal f-4. If you started at f-4 at 8 ft and moved the light in to 4 ft it would be f-8.
What if instead of moving the light from 8 ft to 4 ft you decided to move it in 6 ft? Well, that would be half way between f-8 and f-4… f-5.6.
Now look at what happens when we apply the rule to a set of distances.
THE IMPORTANCE OF KNOWING RECIPROCALS
A reciprocal is simply understanding the relationships between all the numbers we throw around in photography.
F-stops, shutter speeds, ISO – all work hand in hand with each other to make the image with correct (for you) exposure. Changing any one of these three will necessitate a change in one of the others to compensate.
Let’s look at ISO:
f-4 / 1/125 @ ISO 100
If we change that to ISO 200 one of those above will have to change. Either the f-stop or the shutter speed. Since the ISO is now one stop more powerful, we either have to change to f-5.6 or change the shutter speed to 1/250. Both of these changes have the affect of decreasing the exposure setting one stop due to increasing the ISO by one stop.
Simply knowing the basics of one set will make it easy for you to re-configure for a new set.
I use ISO as my constant. In this case, I will use the settings of Sunny 16 (f-16 at 1/ISO).
ISO is 100 for these reciprocals.
f-16 @ 1/100
f-11 @ 1/200
f-8 @ 1/400
f-5.6 @ 1/800
f-4 @ 1/1600
f-2.8 @ 1/3200
These are committed to rote memory.
Changing the ISO compels me to make associated changes in these figures. If the ISO goes faster, I simply change the f-stop OR shutter speed to correlate to the amount of change in ISO. If the changes go out of the range of my camera, I will change one first, then catch up the other.
Example:
The light is getting a bit low, and I want to shoot with a shutter speed that allows me to hold the camera still. I take a meter reading and find that at ISO 100, my exposure for that shot is f-4 @ 1/15. Well, that aint’a gonna work for me handheld.
So first I decide that f-4 should be f-5.6 because of some Depth of Field issues (which moves the shutter speed down to 1/8), so that means I will have to move the ISO one stop for that aperture change to:
f-4 / ISO 100 @ 1/15 to f5.6 / ISO 100 @ 1/8 (reciprocal, one less stop in shutter speed to correlate with additional stop in aperture.
f-5.6 / ISO 200 @ 1/15
f-5.6 / ISO 400 @ 1/30
f-5.6 / ISO 800 @ 1/60
Learn your reciprocals for faster and more accurate decisions in the field.
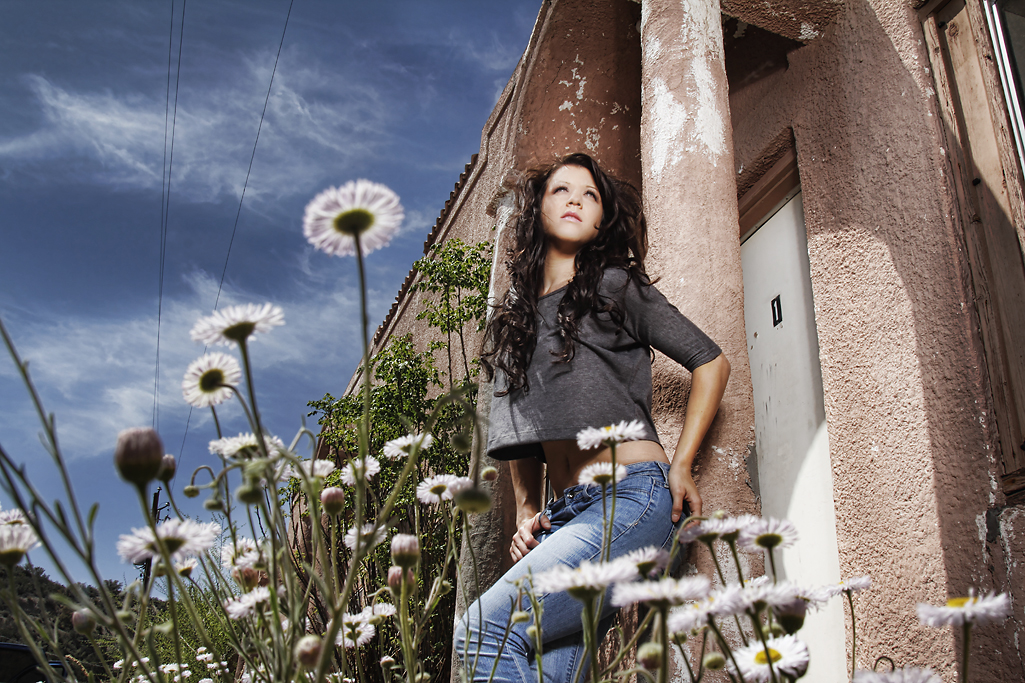
Bri in Miami.
I didn’t want the old building to go too dark behind her so I moved her next to the column. This gave me the ability to move the light in close to her, and let the background fall off fast – but retain the light and the texture right around her so she didn’t ‘pop’ out and look too overly lit.
This is a 4ft softbox with a Profoto 300 WS head and a single diffusion panel in the softbox. It is just above camera viewpoint in this shot – very close to her. You can see the light falling off as it reaches her knees.
I wanted the shot to appear somewhat realistic and not “strobed” so a careful blend of one stop over the ambient was chosen.
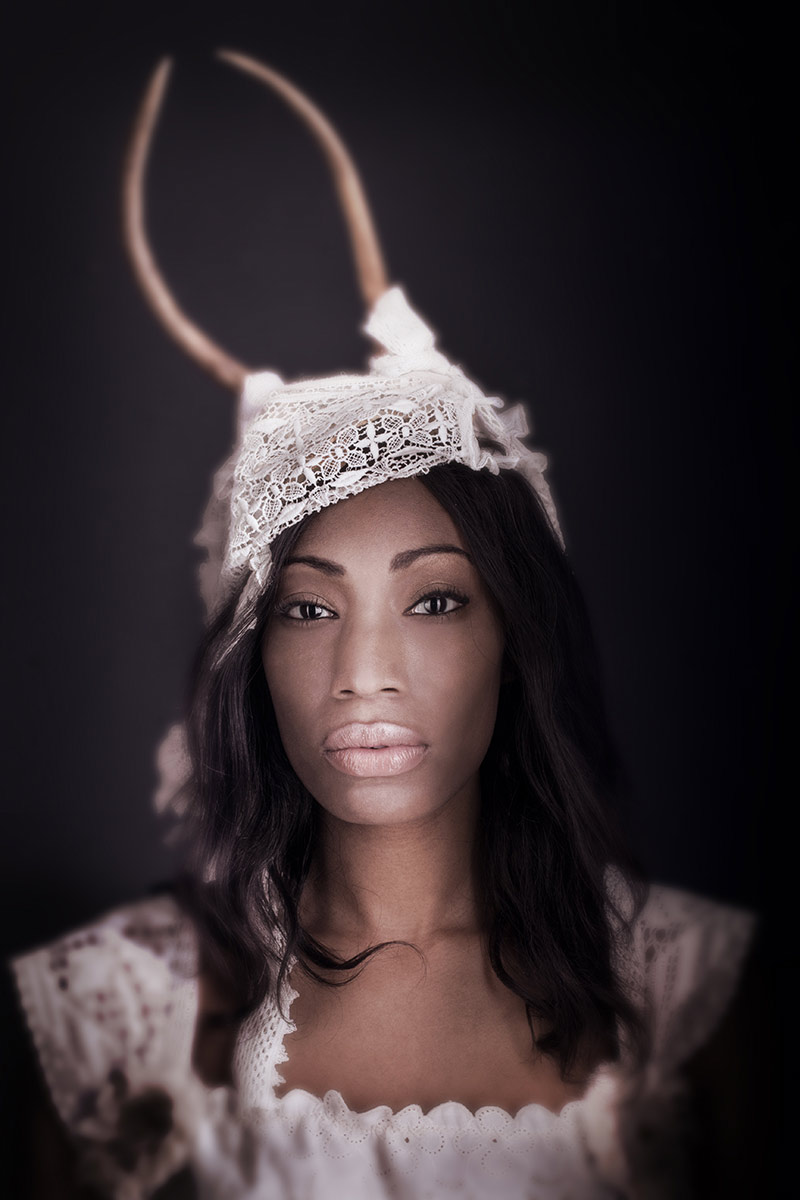
Ivy in the Studio.
My studio had bright white walls in a cove. I didn’t want this image to be on a white background so I moved Ivy far enough away that the light on her had no effect at all on the white wall behind her. It was simply way too underexposed to render at all.
Controlling the exposure through the Inverse Square Law is one of the more important tools you will have at your disposal.
And get this – it doesn’t cost a penny.
ASSIGNMENTS FOR THIS CLASS:
- Using a light source of your own: (studio strobe, speedlight, continuous light) place the light close to the subject and then move the subject AND light source closer to and farther back from a single background. Notice how the image presents itself as you go closer to the background with your subject and light, and what happens when you take subject and light farther away.
- Place camera and background at a fixed point. Then move your subject into the f-16 and make an exposure. Move back to f-11, then f-8, f-5.6, f-4 and if you can f2.8. What happens to the background as you move the subject closer to it and adjust exposure.
- Build your string meter. See below.
Find a piece of good, smallish rope. Clothesline will do nicely.
Put your light on a stand, and run the string straight out from the flash. The flash should be set at 1/8 power if possible. Not full. It should be on “normal” zoom setting neither on telephoto or wide angle.
- Using a meter and a remote flash trigger, find the exposure point for f-4 by going down the rope and aiming the ambient light meter dome directly at the strobe. Keep going until you find the point where f-4 is noted on your meter.
- Using a knot or marker, note that point as f-4.
- Now find the middle of the rope and note it with knot or marker.
- Between the end of the rope and the middle (left side) put a knot or mark in the middle of that area.
- Between the middle of the rope and the end to the right put a knot or marker
- On the right side, now find the middle between the end and the first mark, and knot it or marker
You now have simple rope meter that will be incredibly accurate in all situations.
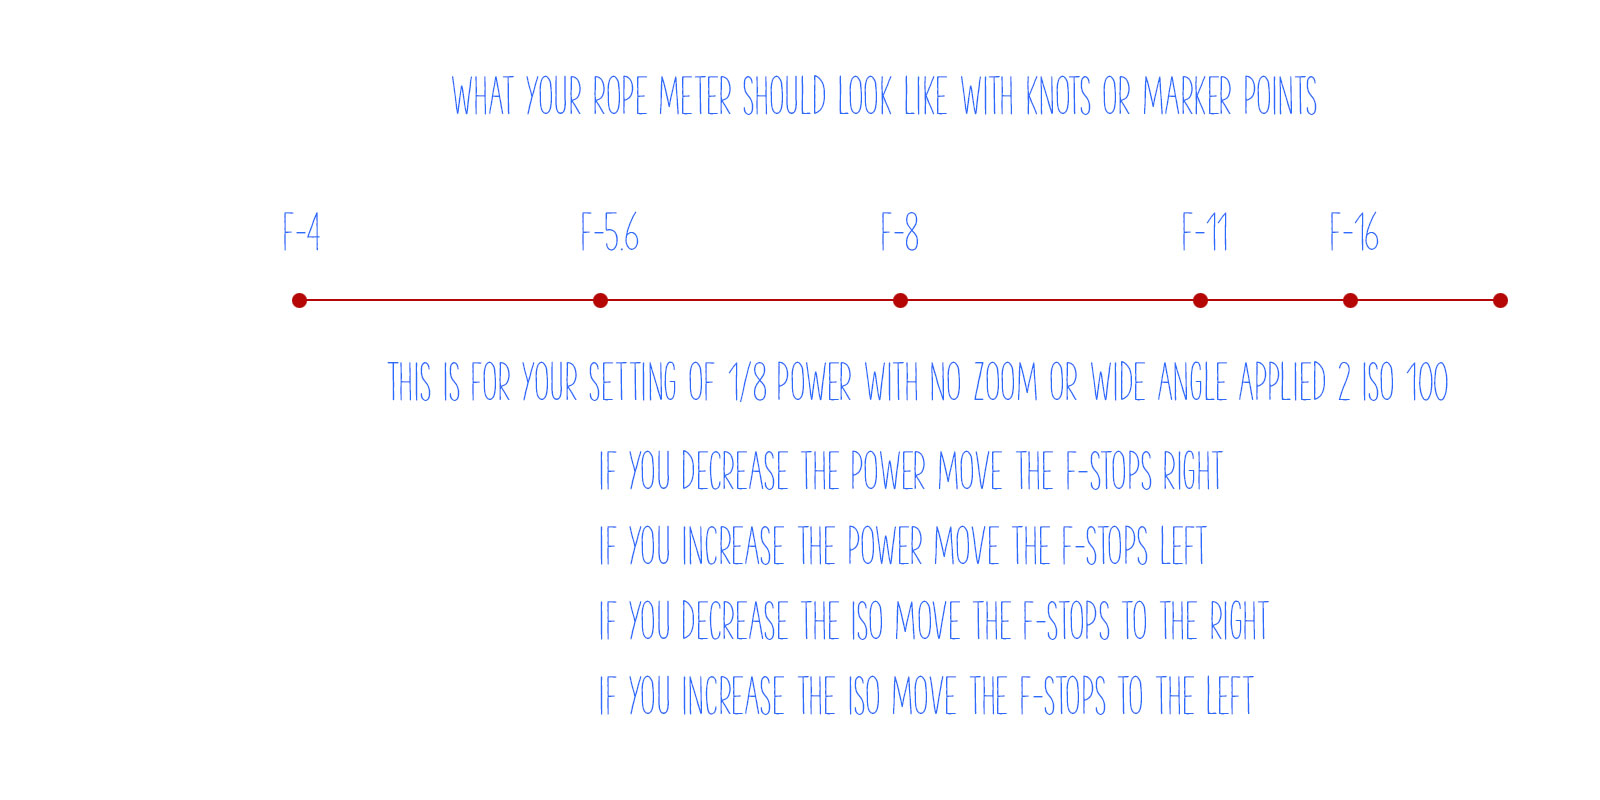
Finding f-4 is the most important part. Use a lightmeter for best results.
If you want to use a gray card, make sure it is at a very slight angle to the light source so it will not have a specular for the camera to see (the reflection of the light source). Shoot at f-4 until you find the distance that will render a single line of pixels in your histogram dead center. That is perfect exposure of a gray card.
Of course, you must fill the lens with the gray card, no extraneous stuff in the viewfinder – just the gray card.
It is Election Day in America… Vote
Two Lenses: A Day in the North Country
Yesterday I spent the morning wandering around an area north of Phoenix for a few hours. Joined by photographers Dennis Mong and Miachelle DePiano, we took a loop through a beautiful part of central / north Arizona. I had no expectations other than hoping I could...
Great Reads: November Books 2014
"A Road Through Shore Pine focuses on a series of 18 never-before-seen photographs by Robert Adams (born 1937), taken in Nehalem Bay State Park, Oregon, in the fall of 2013. Adams documents a contemplative journey, made first by automobile, then by foot, along an...
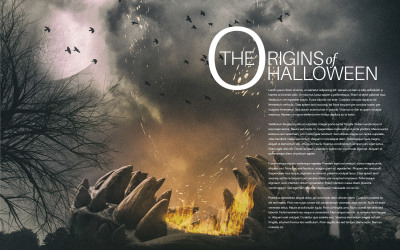
Halloween Shoot: Project 52 Members
The assignment was to illustrate a double truck (2 page spread) magazine story on the Origins of Halloween. Layout was furnished as a layered PSD file and the P52 students had to shoot TO that layout - reversed copy and all. The assignment was a great example of how...
Basic Systems for Commercial Photographers
My recent Lighting Essentials post on "Systems" (Don't Be Afraid of Systems) was an overview of some simple checklists that I use to keep focused and create content in an overwhelmingly busy world. The amount of people, information, education, entertainment and sheer...
Project 52 “The Catalog”
In this assignment, the photographers had to jump through a few hoops. The previous week they had to submit a "Creative Direction" shoot showing at least two different approaches to doing the fictitious catalog. Those approaches had to meet some criteria. First is...
Off Topic Sunday, October 26, 2014
An absolutely astoundingly hectic week. My daughter got married Friday night, and Saturday was spent on a hundred different unrelated errands. Now, Sunday is going to be for catching up and getting ready for next week. Check out this amazing commercial. And please...
Inspiration Friday: October 24, 2014
Kyle Johnson | William Cohea
Too %$#*@ Much Freedom
Last week I railed against too many rules. Now I am asking if there is too much freedom? Could I be off my meds, or a little daffy? To complain about too many rules and then question if there may be too much freedom too… OMG, I am turning into a …. no, I won’t go...
Help a Singer Go To Argentina, and Get Four Hours Consulting
Hi everyone. My daughter, Alissa, is going to Argentina with the Phoenix Children's Chorus summer, 2015. We are all pretty excited. You can hear them sing here. However, it costs a bit to send her, and we are looking for some ways to help her get there (along with...
Off Topic Sunday: October 20
Yesterday I was asked to shoot one of the new choirs at Phoenix Children's Chorus. This is an elite group of singers that are available for gigs in the valley. This is one of my favorites from the shoot. ON SIMPLIFICATION I am going through a simplification...
Great Reads: October 2014 Releases
I don't know very many photographers who do not have a large collection of photo books. Mine fills an entire double walled shelve system and is still growing. I love books. I love photographs. Nothing better than to grab an old book, a cup of tea and peruse the...

Inspiration Friday 10/17
Irene Liebler / Jessica Edler
Photography: Too Many #%*#$ Rules!
I was talking with a couple of photographers this week and we were discussing their output… or lack thereof, and I was commiserating a bit with them. I have been mired deep to the elbows in stuff that doesn’t involve cameras for the last six weeks. Very little...
ATTENTION ALL PROJECT 52 MEMBER AND ALUMNI – 2015 Trip to the Canyons is ON
As we do every year, the meetup / party is scheduled for February 6-8 and the trip north is from February 8 - 15. There are no creative or workshop fees attached. Only a per person share for van rentals, gas and a few consumables. We will have information on local...
Josh Ross on Marketing and the Life Cycle of a Product Shoot
My friend Josh Ross and I got a chance to talk a bit about marketing and project life cycle of a product shoot. This was an invite only (Project 52 members) and you will hear some questions at the end of the webinar. This is NOT a flashy look at photographs webinar,...
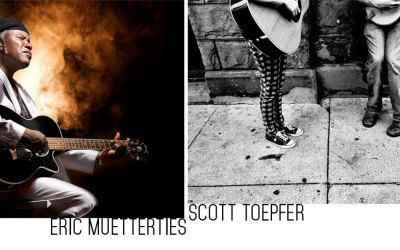
Inspiration Friday 10/10
Eric Muetterties / Scott Toepfer

New Directions, Multiple Channels
A few things have caught my attention lately. I mean really caught my attention. One was the great chat we had with my friend Rosh Sillars on how to price a gig in the new economy, and the other was his discussion we had off mic about photographers being able to do...
Dennis Dunbar: Retouching Secrets of the Pros
In Charlotte, NC, October 25 Presented by APA Charlotte If you are in the area, you should check it out. Dennis is an excellent retoucher. "Dennis Dunbar is a Digital Artist with extensive experience in digital issues and techniques. Since 1991, he has been working...
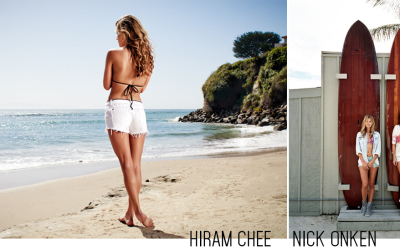
Inspiration Friday
A new feature idea I thought would be cool. Each Friday we will look at a couple of images from famous and not so famous photographers. Hiram Chee / Nick Onken
Building A WordPress Photography Site (Santino)
My friend Bob Knill wanted a bit of a hand on building his site. He chose the them Santino, and I did these videos for him, and you, to see how to build and maintain a Wordpress website for photographers. We will add additional movies as we go through SEO, but this...
Hey, They Want You In the Arena… Are You Ready?
Would it surprise you that what we think is more powerful than reality? That mere thoughts can be as powerfully uplifting or critically damaging as what we actually do? “I don’t think I am ready to get out there and show my book” he said to me. It didn’t matter that...
Perfume Shot To Layout
At Project 52 last week we had an assignment to shoot a specific image of a perfume bottle. You can see the assignment here. These are some of the great images the students shot for this assignment.
Environmental Portraits
The crew at Project 52 (2014) shot some environmental portraits last week. Thought I would share them here.