
Subject Centric Lighting
LIGHTING ESSENTIALS WORKSHOP: SUBJECT CENTRIC LIGHTING
I hope you enjoy this workshop.
It is the culmination of decades of being a working, professional photographer and having to meet the challenges of making images for other people. Other people with high expectations and demands for the work. Other people who didn’t necessarily care how hard it was to make the shot they wanted, they wanted that shot. Now.
Being a photographer in a small market meant I didn’t necessarily have a strict specialty, although people and still life did make up the bulk of my work. I would occasionally shoot architecture and food, as well as the now and then corporate shoot.
I wasn’t really a ‘generalist’, but some weeks it seemed as though my assignments were as unrelated as they possibly could be.
One week I had a food shot going on in one corner of the studio, with a catalog shoot going on in the other part. All of this while I was shooting a lingerie shoot for an ad agency in the rest of the studio. Heady times, long hours, really damned fun.
This workshop will take us through many of the ways to light photographic subjects. And lighting is, as they say, lighting. Yeah, I am so old I remember when “off camera flash” was simply called lighting.
We are going back to that time. Lighting is lighting and the goal is always the same: to make an image that represents what we see in our mind’s eye. Knowing what we want is step one, making it happen with the tools at hand is step two.
The assignments will be given one per week. They will remain in place for future photographers. You do not have to start at the beginning, but the first five lessons are absolutely important to review before moving to the assignments you want to do.
SUBJECT CENTRIC LIGHTING
I call my system “Subject Centric Lighting” because the subject plays a bigger part in the lighting than the lighting gear does. How a subject renders the lighting we apply to it, and how the camera receives that light is what makes our images interesting.
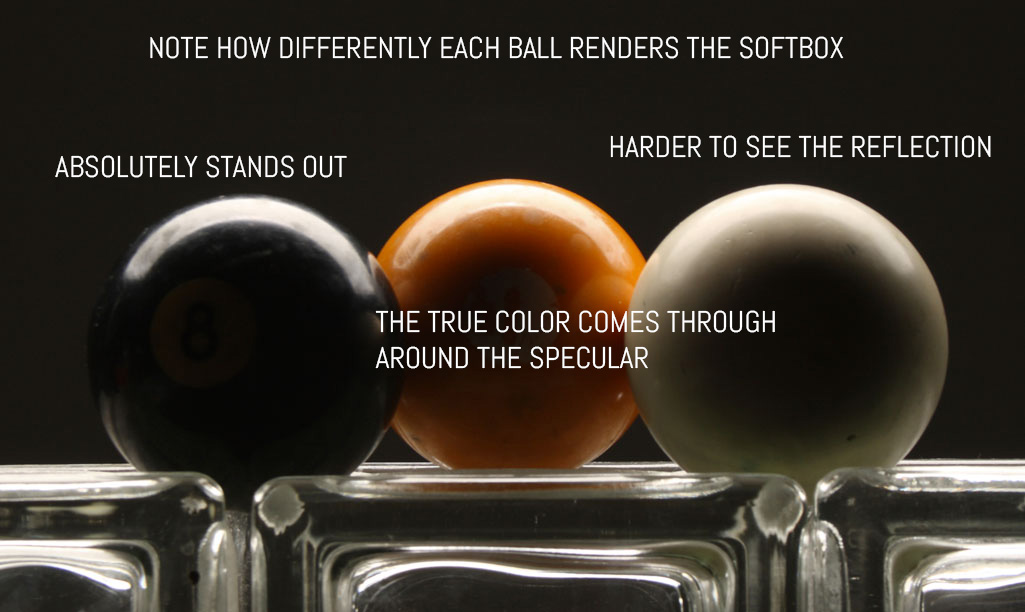
Subject Centric Lighting recognizes that light does the same thing every time. It is the subject that changes the way the light reflects back to our camera, not the light tool we choose to light the subject with. Lighting a dark bowling ball with a soft box presents a far different rendition of the light than using the same light for a white bowling ball. Everything is changed – from specular presentation to shadow fall.
But more of that as we go along.
First, let’s get into the basic principals of light and lighting.
LIGHT DOES THE SAME THING EVERY TIME
It must. Otherwise, we could never control it.
Imagine a saxophone with its many variations of keys. A sax player has to know that if a certain set of keys are pushed, a specific sound will come out. If it was random, then no music could be produced. There would be no point in learning the saxophone since there was no knowledge to be applied that would render it usable.
The same with lighting. We have to know that if we have a flash at 1/4 power, 15′ from the subject, that a specific exposure will be generated. We can control how much exposure that is by changing the ISO of course, but always at any specific setting that flash will produce the same measurable amount of light. Every time.
It is the same thing with modifiers. A softbox will look like a softbox when it is being reflected from a shiny surface. An umbrella will wrap the light if used to do so based on science and physics, not some magical desire to use an umbrella.
So if light does the same thing, how can we use that knowledge to make light do what we want it to do? And if it does the same thing every time, why do images look different from each other when using the same or similar lighting?
Subjects.
Subjects are dimensional, with textures and surfaces, and shadows and speculars and more. A shiny subject renders the light back to the camera differently than a diffuse subject does. A dark subject renders the perceptible highlights differently than a light subject. Subject change, but the physics of light do not.
WHAT YOU WILL NEED:
This workshop is designed to teach you the basic principles of lighting for photography. We will have weekly assignments and you can start anywhere, anytime. There is no charge for this workshop, although we will be asking for your email so we can keep you up-to-date with all that is going on in the workshop.
We have a Facebook Group for this workshop, and you will be able to meet others in the workshop, ask questions and find out when the open webinars will be.
You will need a camera, of course. And while much of the natural light information can be used with even a cell phone camera, much of the photographic education will require a camera with aperture / shutter speed controls.
Lighting gear:
A 5-in-one reflector kit would be a great purchase since it will be something you will be available to use over and over for all sorts of image lighting effects. I call them the best bang for the buck in lighting gear.
White cards. From the Dollar Store or Target, white foam style boards will be a vital part of your gear.
Photographic light stands. A couple of cheap ones would be fine if you do not have any at the moment.
A couple of ‘A’ Clamps from the local hardware store will hold the boards and reflectors to the stands. Get the cheap ones.
A tripod will make your work a lot easier, and there are some good ones that are not expensive.
If you are going to use artificial light, there are too many options for me to tell you much other than we will be doing a lot with them. So whether you are a speedlight shooter, have a couple of studio lights, or even continuous light set ups, all the information is the same. Light is light, and the gear is there to provide that light.
We will learn to control light and make it do provide the look we want.
On the black cue ball, the light is distinctly shaped and no other light is seen. On the orange ball, we see the softbox specular, and a bit of the true tone of the orange around it. That bright orange makes the highlight specular a bit harder to see distinctly – at least as distinctly as the black ball. On the white ball, the specular all but disappears into the white true tone of the ball.
Same light is seen differently by the camera because of the makeup of the subject. We will be discussing this in length in future posts.
Light.
It is a substance that we cannot smell, touch or hear.
Can we see light? No… we can only see what it reflects from. The subject.
I will refer to that as the “presentation of the light” in this workshop. That refers to the way the subject is taking the light onto its surface, then reflecting it back to the camera lens.
No… we can only see what it reflects from. The subject defines the light… we cannot see the light in transit from source to subject, only what the subject reveals after the light has come into contact with it.
To me, that is one of the magical qualities of light, almost mysterious and yet compliant with our wishes. I think of light as a liquid when planning my lighting… it helps
I think of light as a liquid when planning my lighting… it helps me ‘see’ something that isn’t there but yet has similar properties. Direct light is like water from a hose, while diffused light is mist. Ambient is similar to fog in my mind, while umbrellas are more like garden sprinklers.
You can think of light in many different ways to help you plan your shots, but whatever you do to help, keep in mind that light does the same thing every time. Everytime. If you have a light that gives you an exposure at f-ll
If you have a light tool that gives you an exposure at f-ll on 1/2 power at ISO 100 at 6 feet… it will repeat that for you (barring some sort of malfunction) every single time you set it at that distance, power, and ISO.
The predictability of light tools makes controlling it a matter of understanding what it does and how to use the tools at our disposal to modify, control, and adjust it to suit our plan.
Even the sun is predictable. F-16 at 1/100 with ISO 100 film. (Sunny 16 Rule: F-16 at 1/ISO). This makes understanding light far easier than if it was unpredictable.
Getting the idea of what to shoot is harder than shooting it in most case… once you know how to light correctly.
Important Note:
Everything reflects. Everything.
Dark, rough fabric does not reflect as much as a shiny, painted surface. But it does indeed reflect.
It is important to know that as we begin.
We will first turn our study to the four principles of light. While I am not a fan of rules, I will say that understanding these four principles will definitely enhance your ability to handle any lighting situation you may have.
SIZE OF THE LIGHTSOURCE RELATIVE TO THE SUBJECT
DISTANCE OF THE LIGHTSOURCE
COLOR OF THE LIGHTSOURCE
ANGLE OF THE LIGHTSOURCE
Now here is the hard part: there is no hierarchy to these principles. What that means is there is no ‘first, second’, etc. Each one of these four principles are as important as the others. We do not approach it from size first, then color – or any of that. All of it is very important and all are important at the same time.
This single idea – that all four of these principles are equal in importance is perhaps the hardest one to think about – but it starts to flow when you get it down. You can do this.
Now to be sure there are times when we start with one or another of these principles because that is the biggest challenge at the moment. And those priorities will change from shot to shot. It is to be expected since we never know what is going to be in front of us at any specific moment.
LIGHT DOES THE SAME THING EVERY TIME.
And we can control that light by the way we understand the principles of light, and understand how those principles affect a given subject depending on their properties.
Let’s look at the four principles of light.
THE FOUR MAIN PRINCIPLES OF LIGHT
Why I Changed the Approach to Find Photo Clients Now
AUTHENTIC TRAINING STARTS WITH AUTHENTIC PRESENTATION I have wanted to teach this system for quite a while now. It works. I know it works because I have helped dozens of photographers to use it and make it work for them. There is a wave of teaching going on out there,...
March Madness: 31; Making the Subject Look Cold
Making The Subject Look Cold By Pablo Minier (This is the last of the March Madness tutorials. If you want to take them all in, just click the March Madness graphic on the right and it will take you to a list page. We hope you enjoyed these little tutorials and got...

March Madness: 30; Building a Successful Instagram for Paying Clients
Building a Successful Instagram for Paying Clients By Virginia Smith Is it just about getting as many followers as you can? As far as Instagram goes (and even twitter) it's better to focus on up and coming brands, brands that are trending or that interact with their...
March Madness: 29; A Different Approach to Table Top
A Different Approach to Table Top By Thomas Poehler A very common assignment when it comes to table top product photography is to capture a product in a neutral setting. Often you are asked to have white seamless background with no or without shadows and reflections....
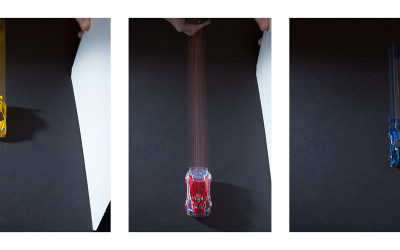
March Madness: 28; Showing Motion
Showing Motion In a Still Image by Sarah Flannery Our most recent P52 assignment was a to portray the concept of "speed." The image was to be used in billboards and magazine ads for a local motorcycle and bicycle delivery company. I quickly came to the conclusion...
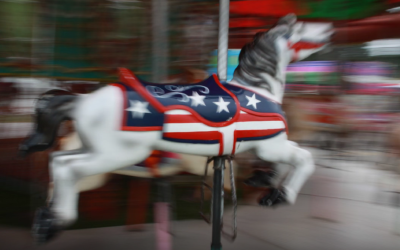
March Madness: 26; Make Better Travel Photos
Make Better Travel Photos by Chad Lue Choy https://www.youtube.com/watch?v=LASP0aGapus
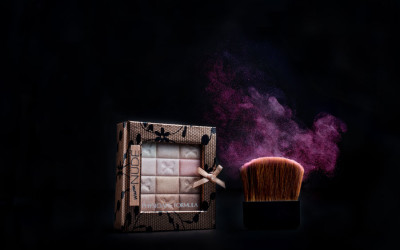
March Madness: 26; Photographing Cosmetics
PHOTOGRAPHING COSMETICS By Anjali Fong ASSIGNMENT: Shoot an ad for a local cosmetics company. Use something as a prop to help stage the cosmetic(s) you choose to shoot. Perhaps a stone, or a flower, or a lovely piece of wood. Set off the cosmetic item with a single,...
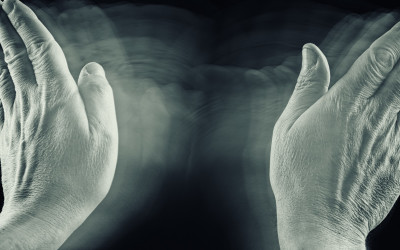
March Madness: 25: One Thing About One Thing
How would you say just one thing in an image? by John McAllister Moreover, how can you convey a wide-ranging concept such as 'just one thing' that is both immediately understood and eye-catching? For me, it's starting with the creation of a list of descriptive...
March Madness: 24; Steaming Coffee Still Life
Shooting a Steaming Cup of Coffee By Teresa SteMarie This image was made to respond to a P52 conceptual photography assignment with the task of say one thing about one thing. Concept The concept I chose was to show that the coffee was HOT. To emphasize the hot...
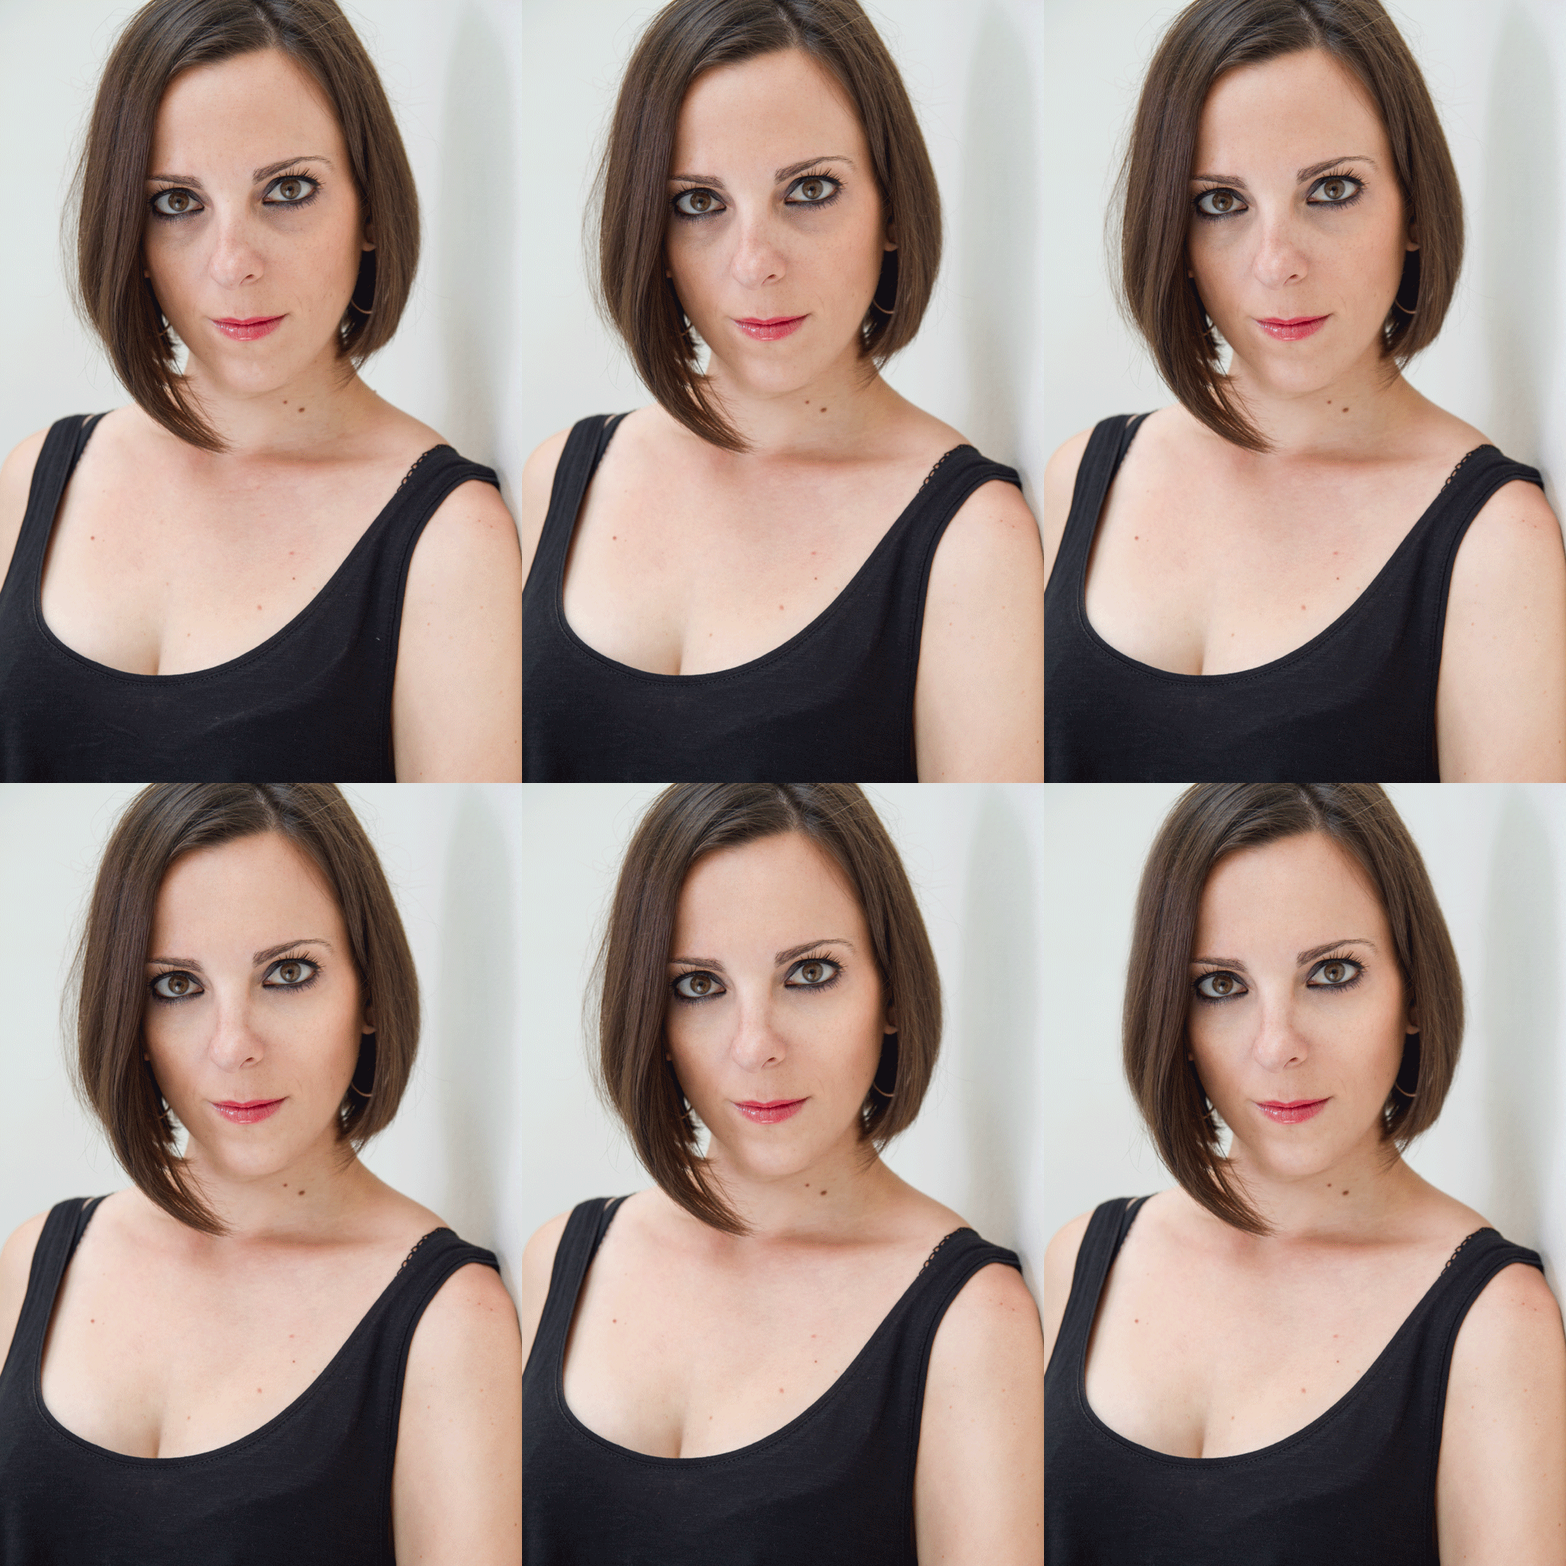
March Madness: 23; Retouching a Headshot
Portrait/Head shot Retouching Tutorial: By Alex Baker Most portraits need some amount of retouching in Photoshop to help them look their best, and to an extent, many clients expect it. The most important thing to remember when retouching is to do everything on a...
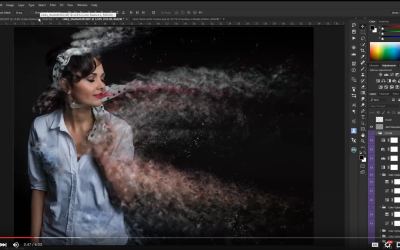
March Madness: 22; Making an Action in Photoshop
How to Create a Photoshop Action by James Kern https://www.youtube.com/watch?v=DVUXzHbJVAk
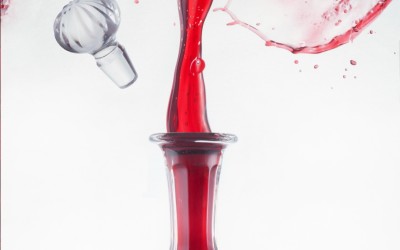
March Madness: 21; A Unique Pour Shot
The Beauty of the Pour by John McAllister Freezing the movement of liquid will always captivate the viewer. Each snap of the shutter creates a unique image. Take a moment to think about the multitude of variables involved in the simple act of pouring a wine into a...
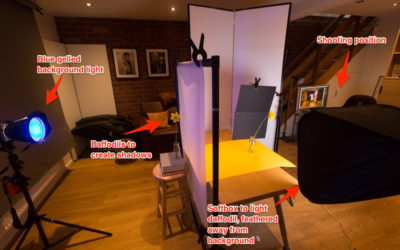
March Madness: 20; Making the Image by Making the Shadow
David Travis is a Project 52 member, and a quite wonderful photographer. For the Still Life Class, the assignment was to create powerful images using a "point source" light which would create a powerful shadow. In fact, the shadow should define the subject in many...
March Madness: 19; On Going Pro After Working Corporate
GOING PRO? Quitting the day job for a life as a freelancer? OK... but here is something to think about. You can quit that soul-sucking cubicle job, but can you let it go? I think that is going to be the toughest challenge you face. Corporate life and the life of a...
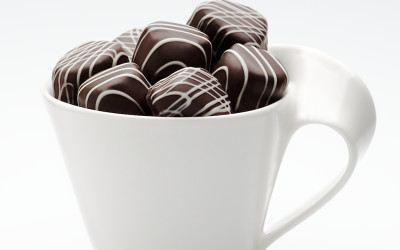
March Madness: 18; Photographing Chocolate
The P52 Assignment Brief: Chocolate. Bret Doss “A square image that screams chocolate, with a bit of an editorial look if possible.” That is the extent of the brief; the rest is up to me. It allows a lot of possibilities, of course, which is both wonderful and...
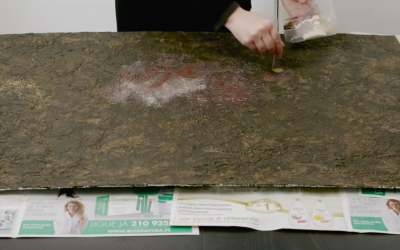
March Madness: 17; Building a Backdrop for Table Top Photography
How to create a background for table top photography by McGunn Media. https://www.youtube.com/watch?v=B6Igq7Ig-bg&feature=youtu.be
My Perspective on Marketing in 2018
For more information on my coaching and mentoring programs for emerging commercial photographers, hit my site at: http://www.dongiannatti.com These are my takes on social media marketing for photographers. You may notice a few missing social media...

SHOOT CHOCOLATE LIKE A PRO
A few links to Chocolate photography tutorials: Bret Doss: https://www.lighting-essentials.com/ma... Sam Breach: https://www.lighting-essentials.com/ma... David Price: https://www.lighting-essentials.com/ch... For more information on Project 52 Pro System, go...
This Is The BEST Time Ever to be a Photographer! Why All the Long Faces?
This Is The Best Time EVER to Be a Photographer... Why All the Long Faces? Professional level cameras are selling for less than what we paid for one in 1980. Lower priced lenses are so much better than they used to be it is astounding. You can do all your...

My New Personal Website is Launched
I have been mentoring and coaching photographers for the last 10 years. Hundreds have been through my Project 52 System, and a great many of them are now full-time professional photographers, or at least making good money on the side doing the work. I teach...
Let’s Deconstruct A Few Pour Shots
https://www.youtube.com/watch?v=5mnmFMJGOLo

The Portfolio Workshop is Coming Up
We spend a good amount of time working with the photographers to develop the theme or story for the portfolio. Work is shot deliberately, and it is then edited and put together for flow. We have five group meetings and then a one-on-one with me to finalize the...