
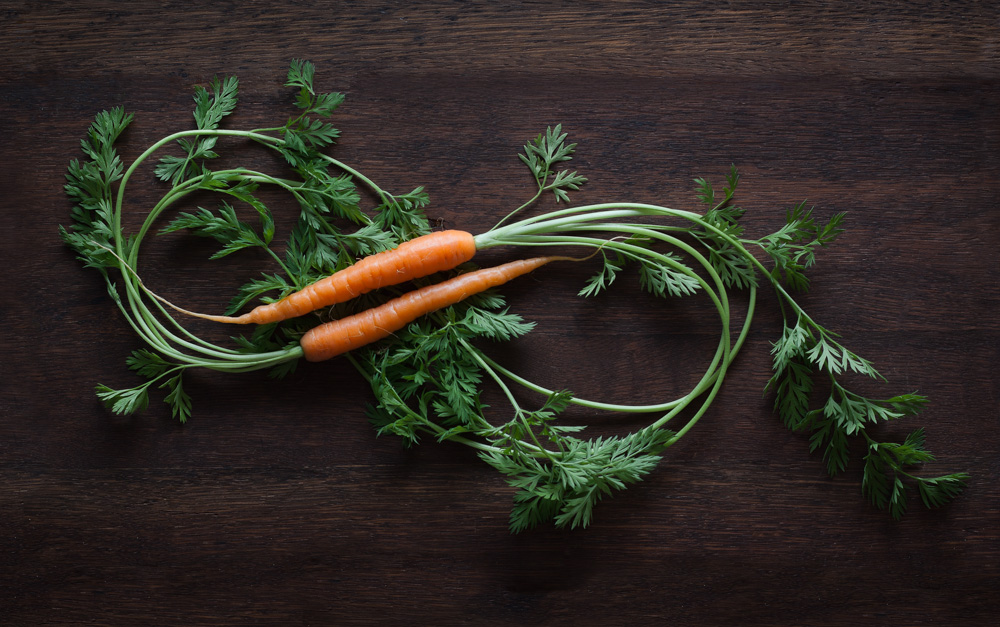
Have You Considered the “Arc of Beauty” in your lighting?
(Image by Tracy Sutherland)
We are going to take a high-level view of lighting today and discuss what I call the “Arc of Beauty“. And while no lighting scheme is going to be directly discussed, what we are to think about is a general tone of the light and what it does.
The “Arc of Beauty“
The Arc is backlight from side to full back. This lighting is one that I think of every time I get ready to do a still life, food, tabletop, or product shoot. It is a go-to lighting at the highest level.
What that means is I haven’t thought about whether it will be a softbox, or an umbrella, or a grid spot… I just want to get the benefits of back / side-back lighting established first.
And I do this usually with a boom or grid-held light instrument that allows me clean vision below it while keeping the light itself above and or behind the subject. While it can be done with a stand, the boom allows me to get the stand out of the picture from behind and not have to limit my angle in order to not see it.
Full on side light is also part of the arc of beauty. And remember, top down lighting is also side lighting since it is oblique to the camera.
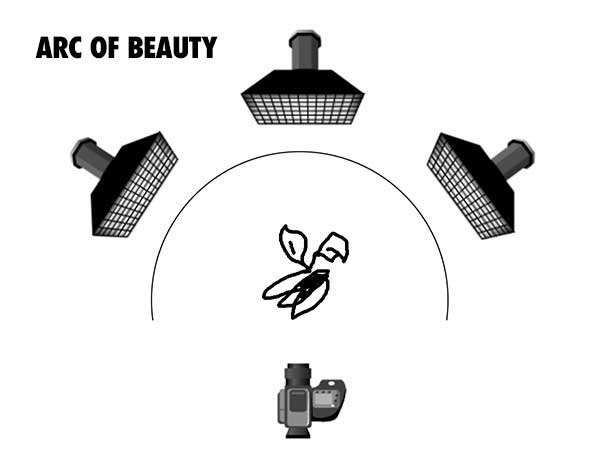
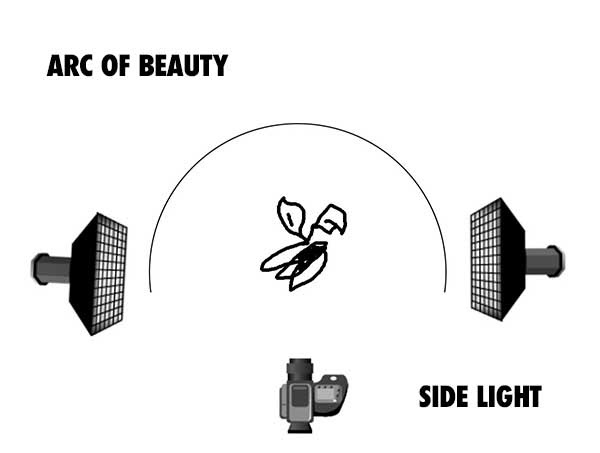
Full Side Light is also within the Arc of Beauty and can provide some stunning textural and dimensional presentation.
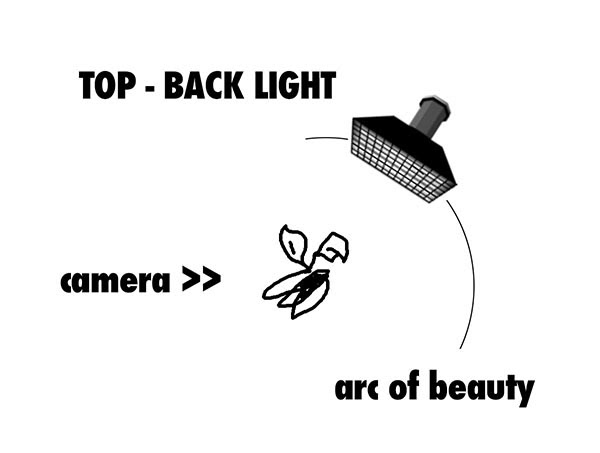
The arc also extends vertically from lower than the subject to directly over top (also a ‘side light’ in angle from the camera.
From a full on back light oblique to the camera to top down light from above, the arc is also a vertical tool that can help with dimension, texture, color definition and more.
Why do I start here?
Because the tendency of front lighting is to make things flat. Dimension falls away, shadows fall away, and the overall texture is diminished as well.
Here are two shots to show you how it works from a small, intimate image to a large scene.
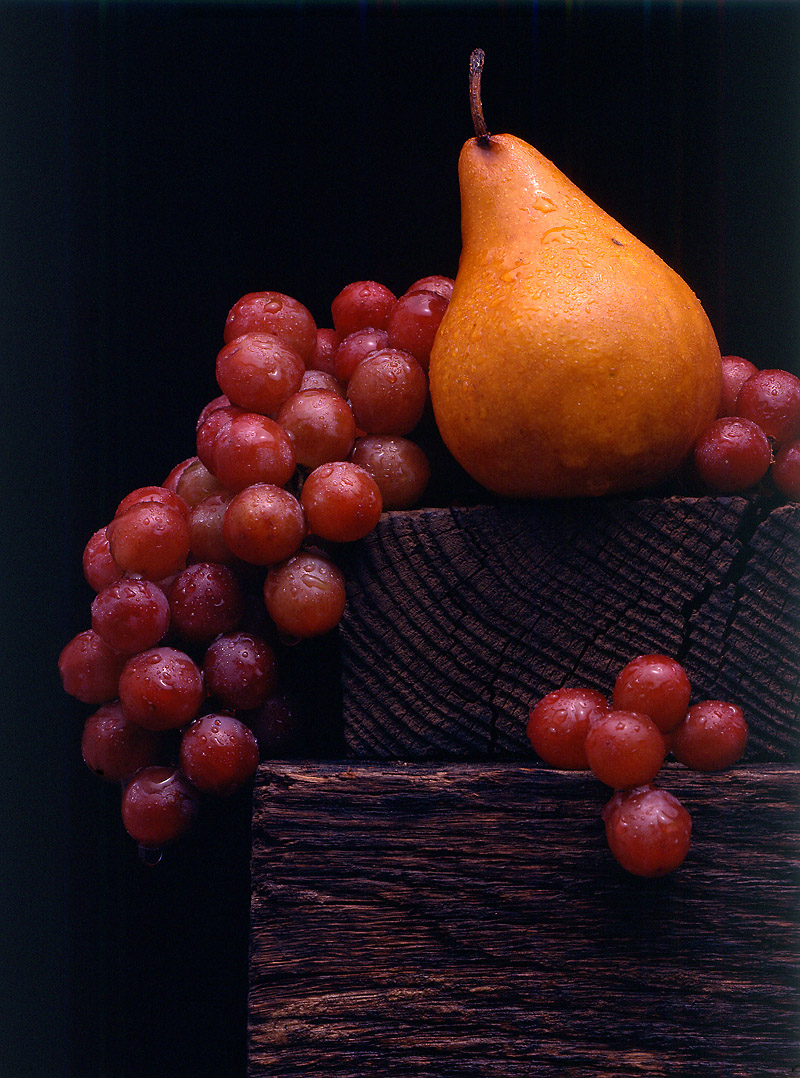
The pear and grape still life was shot on an 8 x 10 Deardorff and 14″ lens with Ektachrome 64 Transparency film. Light is from camera right and is a 24×36″ softbox shot through a 48×48″ scrim. The light is above the set.
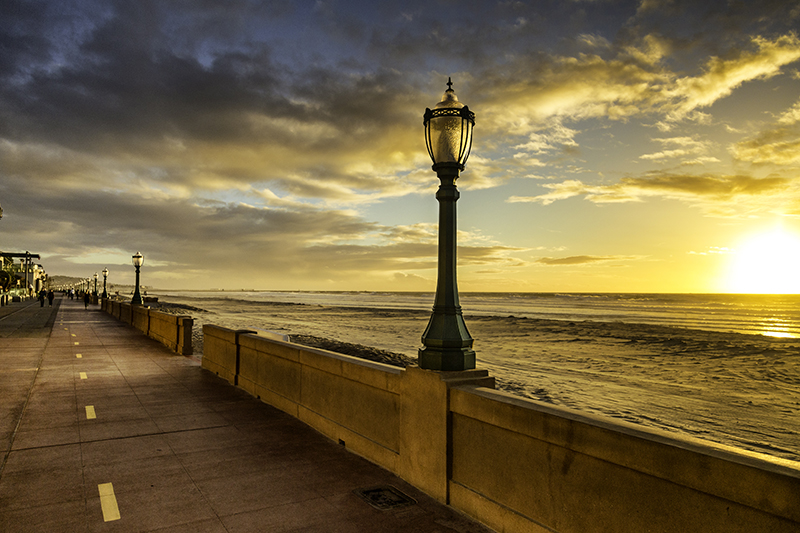
Shot on Canon 6D / 24-105 MM at 30 MM. The back light gives texture to the sand, the wall and the sidewalk. It also creates a much more interesting set of shadows and shapes. Dimension and texture.
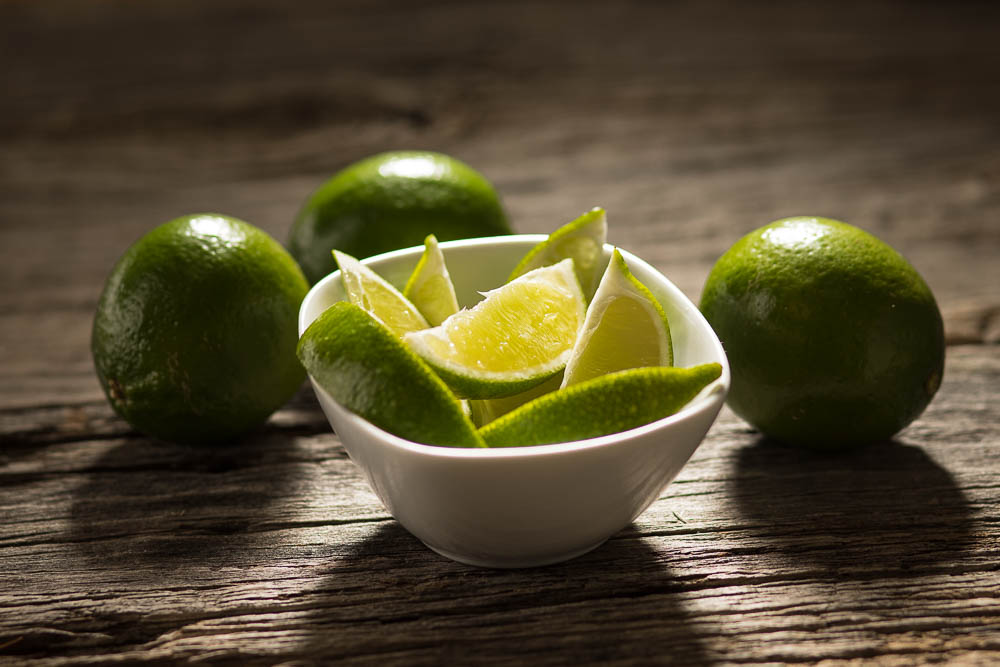
Bob Knill used a grid spot from the back.
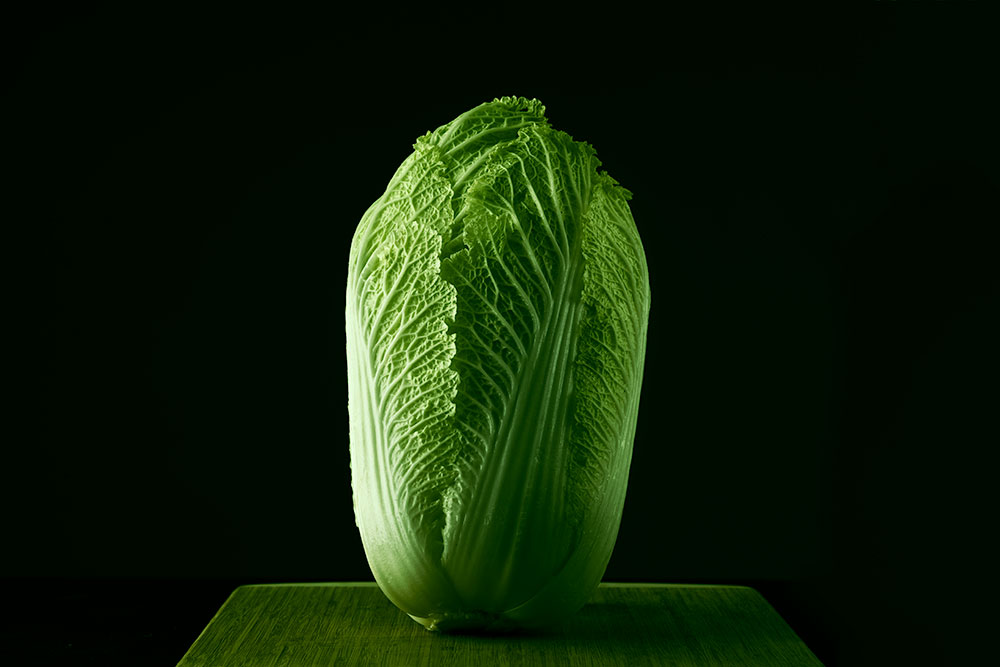
Billy Walker chose side light to lift the details off of this head of lettuce.
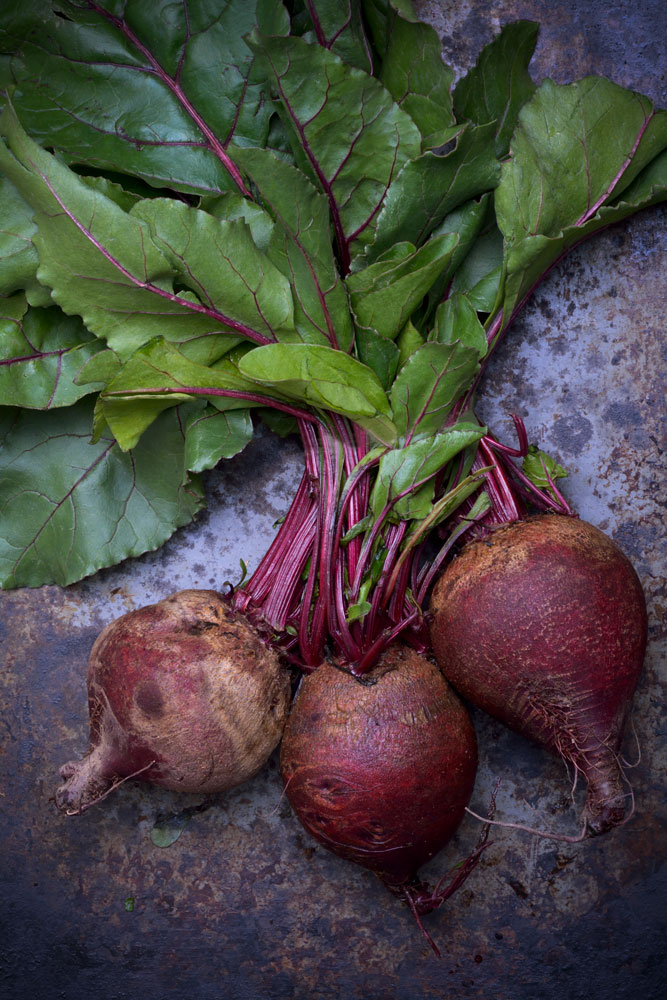
Lisa Narduzzi chose a large soft light to bring out the texture and shape of her farm fresh beets.
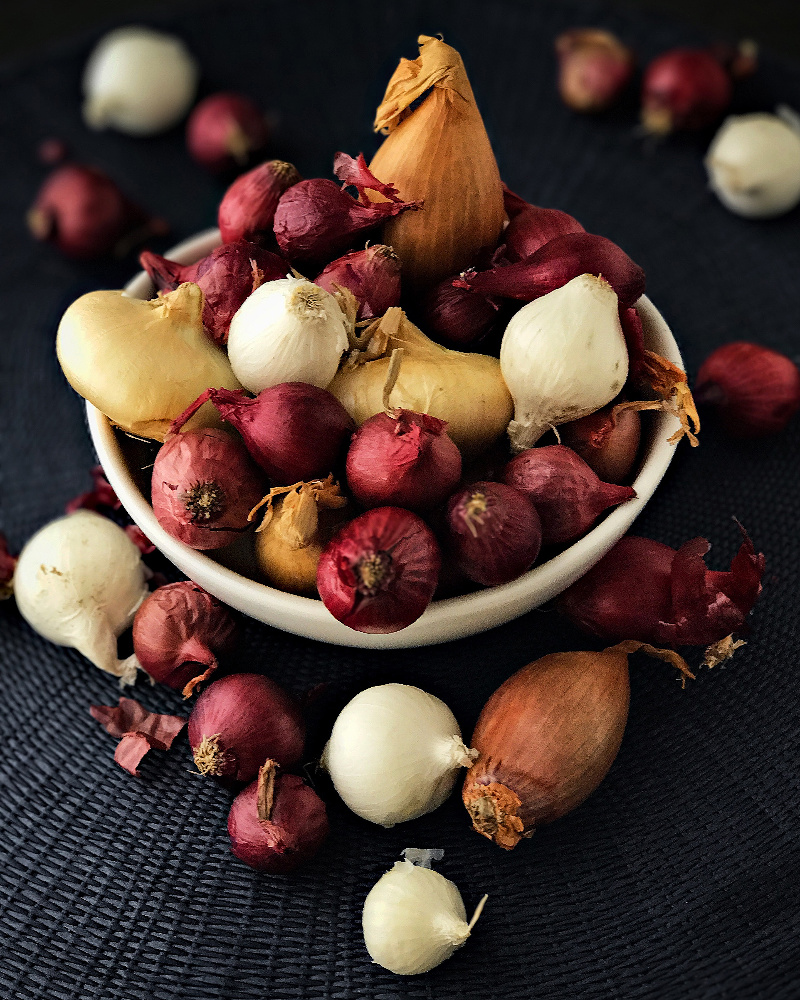
Maciel Blaszczuk used a window light directly behind the bowl of onions for this iPhone shot.
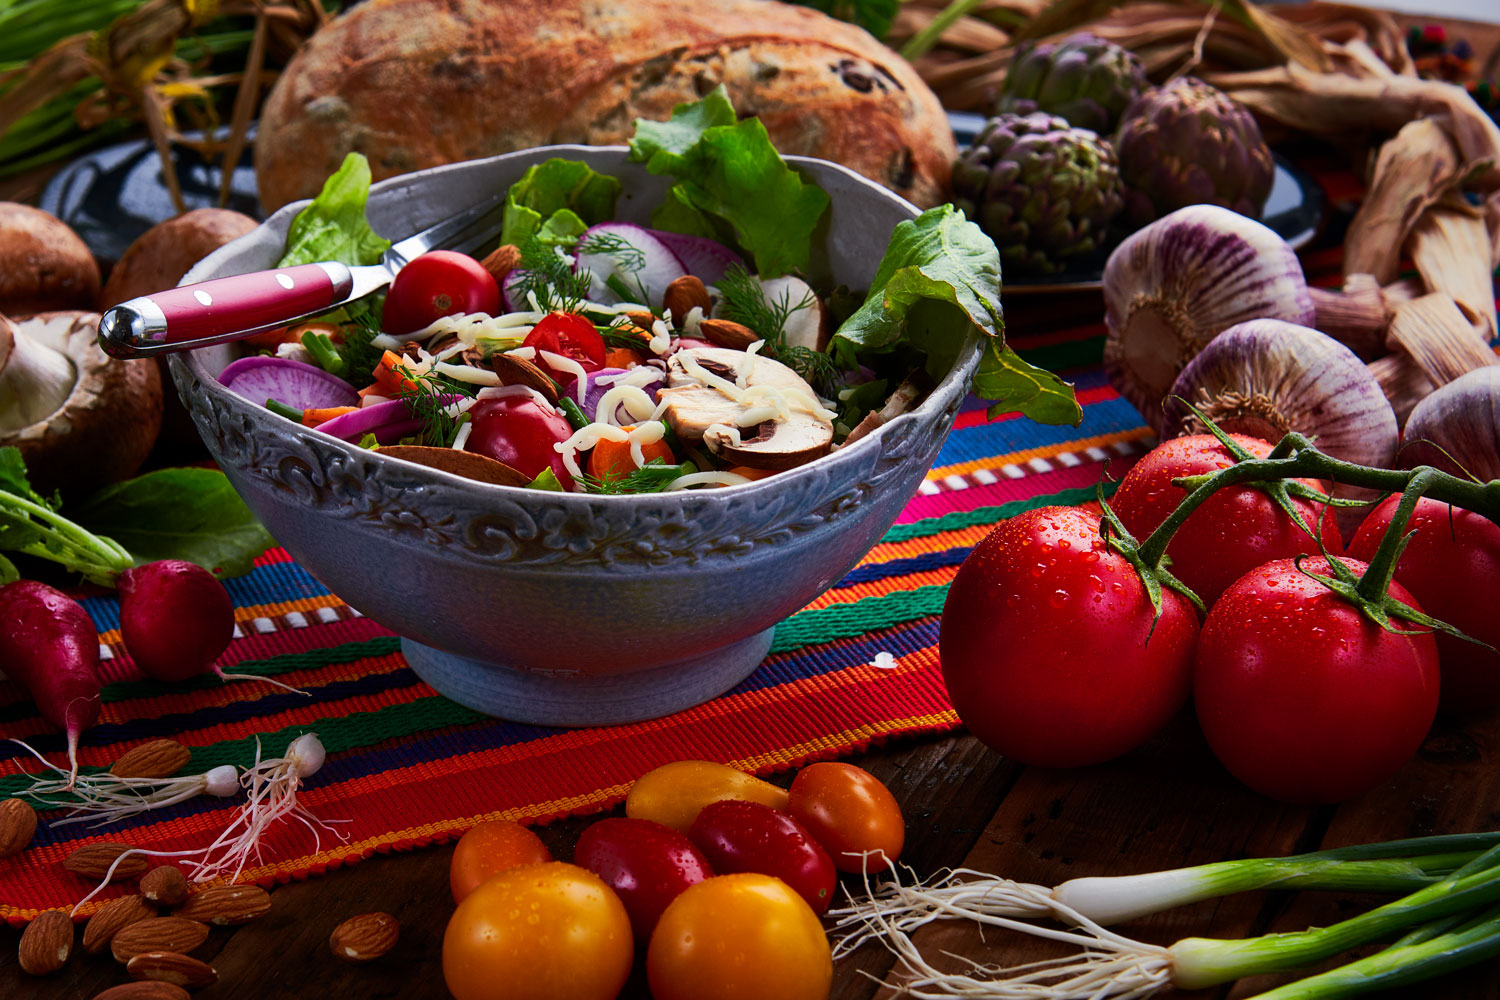
James Kern uses light from the back right side to sculpt the texture and dimension of the assorted objects.
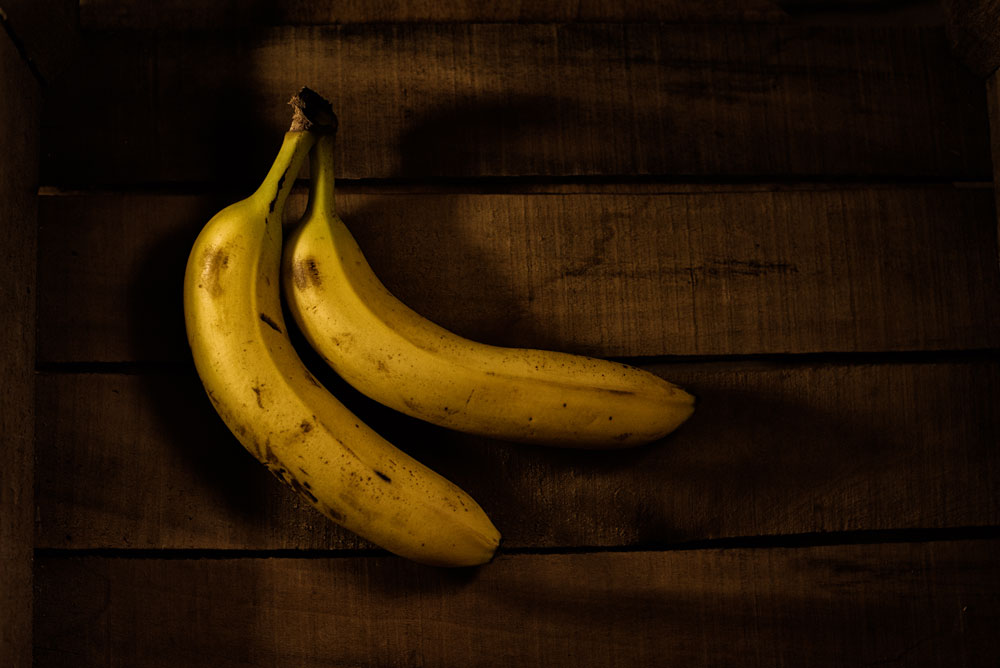
Soh Fong chose a diffused side light for her bananas in a corner of a small box.
Are there exceptions?
Absolutely. Shiny objects, liquid, situations where you WANT a flatter, less textural light. Of course there are exceptions and there are also some very talented photographers out there who choose front lighting as a stylistic difference for their work. They make killer images because they have worked with the technique long enough to know where and how to absolutely use it.
However that might be, we are talking about the bulk of our shooting approaches here.
To see it for your own self, set up something as a still life and move your softbox all around it as you make the photographs. You may have to add a little fill to the front (large white card perhaps) but shoot one with side light, back light, side/back light, low back light, high overhead backlight.
And shoot some with the light up front.
I believe you will see the difference and may help you think about your light in a bit of a different way.

Summer is here, and this is the time for more shooting, more portfolio building, and more list building for potential clients. This PROVEN system will help you on your way. These modules are free and there is a premium version on sale for a super deep discount you will read more about on the site. Build a great portfolio while you are building a client list that makes sense. Find Photo Clients NOW
This is the Portfolio Build Class for mid-level photographers. This is not a class for beginners, or for the more experienced photographers. This is a class for photographers working on their portfolio to make it more appealing to art directors, editors, and designers. More information and enrollment.
Your portfolio will be evaluated before acceptance. If you are not accepted, you will be instantly refunded the enrollment fee.
Have you wanted to take a look at the Project 52 workshop without committing for a year?
Well here is your chance. An 8 Week Project 52 Pro Membership is ready for you to get into – NOW. And it is the full deal. All of the resources, assignments, reviews, webinars and more are there for you to work with. This is NOT a truncated offer, but a full opportunity for you to take advantage of the most unique photographic workshop on the internet.
Playin’ in the Studio When it is 115 Degrees Outside.
I wanted to do some playing around with hot lights and chose my Lowell Omni and a Home Depot work light. I kept them without modification (no umbrellas or softboxes.) Hard light is tricky, but it can really keep you on your toes when you are looking at the light and...
One Light, and a dash of Photoshop
This is a fun little project. I shot Briana in the studio and recorded most of it on Video. I took the video, did very little editing and added a soundtrack of me explaining what I was doing. You see all of her posing as well as hearing me giving directions along with...
Glamour in the Studio with Briana
This set of shots was done to show how to use some of the tools simply and easily when in a studio setting. I used very simple tools, a softbox and some reflectors and a hot light with cookies and fill cards. The shoot was a lot of fun and you can see how many ways...
Minimalist Shooting
Sometimes we get too caught up in having the latest and greatest and forget that the at the core a lens and a camera are what we use to create images. I refer to it as minimalist shooting, and I do it occasionally to bring me closer to the base... find my center, so...
Simple, Yet Dramatic Light for Headshots and Portraits
This is what I refer to as my "Classic Glamour" light. Single light, with large umbrella, shiny fill card and two large fill cards close in on both sides. I can control the fill by moving the shiny card up and down. In this shot it is right out of frame. I keep the...
Single Light Fashion
This is a single light approach with a large softbox. I chose the large box because of the incredible texture of the dress. I wanted a nearly liquid look to the fabric and the large surface of the box would reflect nicely on it. The box spilled too much light on the...
A Selection of Headshots with Different Styles
I thought it would be good to discuss a few images from the past. You can tell by the hair and makeup that these are not recent images, but I thought I would share a few interesting lighting schemes that are easy and fun to deploy. The goal for the lighting for me is...
One Strobe, a Diffuser and a Touch of Natural Light
These shots were taken on location in a dance studio. There was a lot of light bouncing around in there, but not enough for pretty headshots. I set up the shower curtain hanging from a boom. Since the client was my wife, it was fine to use these materials without a...
One Large Light on Location for Portraits
Asked to shoot 40 non-models at an upscale salon was quite a challenge. I needed a light that would serve many different faces and people types. I would literally have only a few minutes with each and they would be nervous so working the light in many different ways...
Mini Workshop: Location Portraits and Glamour: 9/1/07
I didn't realize until too late that I had chosen the Labor Day weekend for the workshop date. I had lots of interest, but only a few folks could actually make the date. Rather than cancel, I took it as an opportunity to change up the workshop to a totally location...
Glamour Lighting: lots of fill
This lighting is a staple of mine and creates a beautiful, soft, glamour light that wraps around the face. Keeping the umbrella this close gives some fantastic highlights in the hair and a very bright, kick to the eyes. Notice in the movie that the photographer moves...
Creating Good Headshot Lighting in ‘Bad Light’
There are times when the light simply sucks. We shot these at noon in May in Phoenix. Not the most perfect light at all. In fact, the harshness of the nearly top down light was brutal. This little soundslide movie will discuss how we did it. Enjoy
Using Gold Reflectors for Effect
I work with reflectors a lot. They are used for main light, bounced light, fill light, areas of light or color to be reflected back... all kinds of uses can be found for these versatile and lightweight tools. There are generally three different types of reflectors:...
LIGHTING ESSENTIALS IS UNDERGOING CHANGES
Hi... Lighting Essentials is undergoing a big overhaul. It will be live as we go along, with much better navigation and a much easier way to find what you need... Items are going up now and as we keep uploading you will see the site expand to its original glory...