
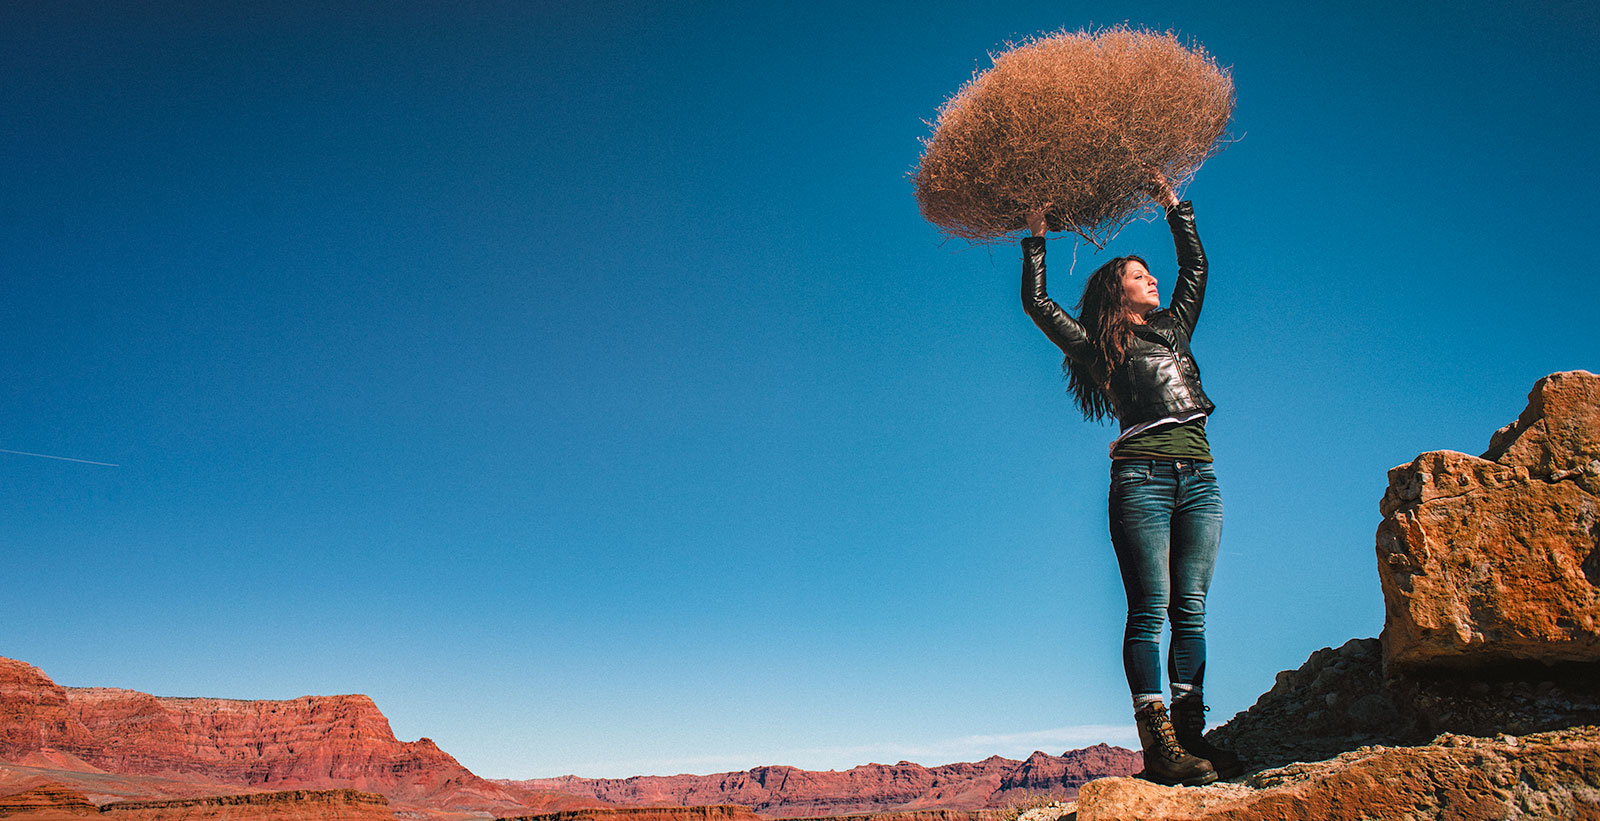
LIGHTING PRINCIPLE THREE: THE COLOR OF LIGHT
We see light usually as a white source, or at least a neutral source.
It isn’t. neutral, it has a color to it and that color can influence all the parts of your image, from shadows to highlights. We don’t see the color of light because our brain changes it to a neutral “white” color as we see it.
Here is a wonderful article that explains the way that the color of light affects your image. Read it now.
When we look at the color of the scene in front of us we can change it globally by changing our color balance in the camera, or using a filter. What “globally’ means is that everything in the photo is changed to the same setting. All the colors are altered by this global change to the color of the light.
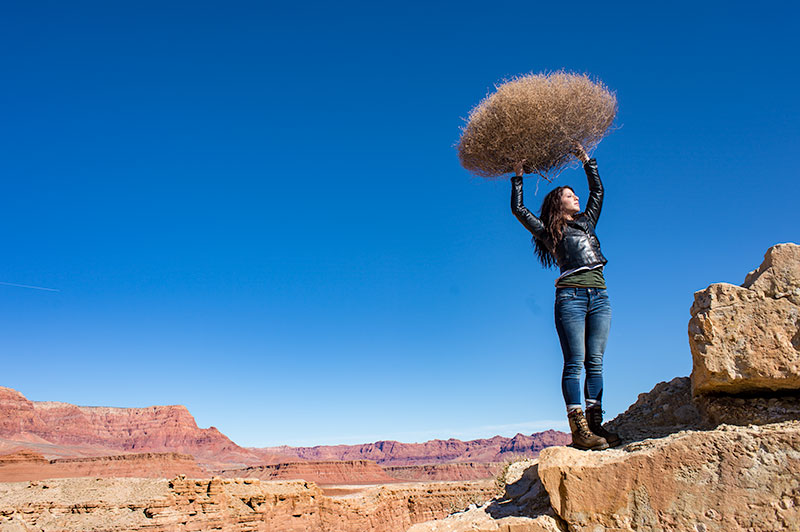
On the left is a photograph taken near Mable Canyon. The sun was quite bright, and there was a bit of warmth to the image because of all the warm browns and oranges of the topography all around us.
This image is as shot. I have applied global changes to the color of the light source so you can see what that does to the image.
Below from left to right:
Daylight / Shade / Tungsten / Flourescent
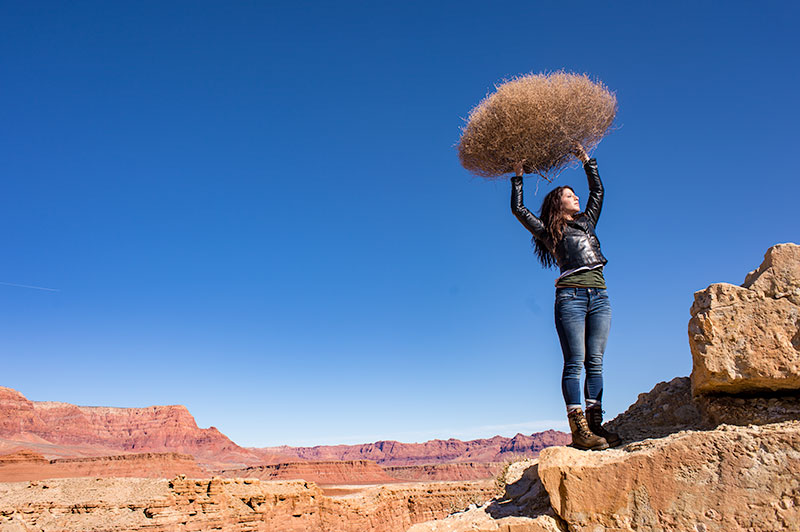
DAYLIGHT
Changing from As Shot to Daylight shows very little difference, although the daylight color balance makes it a bit more warm.
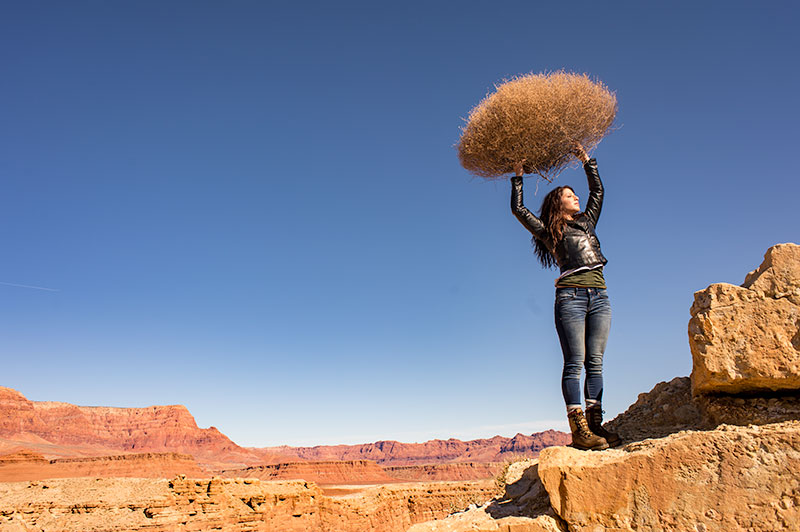
SHADE
Since the color of the light in the shade is a bit more blue, we add some warmth to the overall image to compensate for it. In this shot you can see the global warmth is not going to work because the image was not shot in the shade.
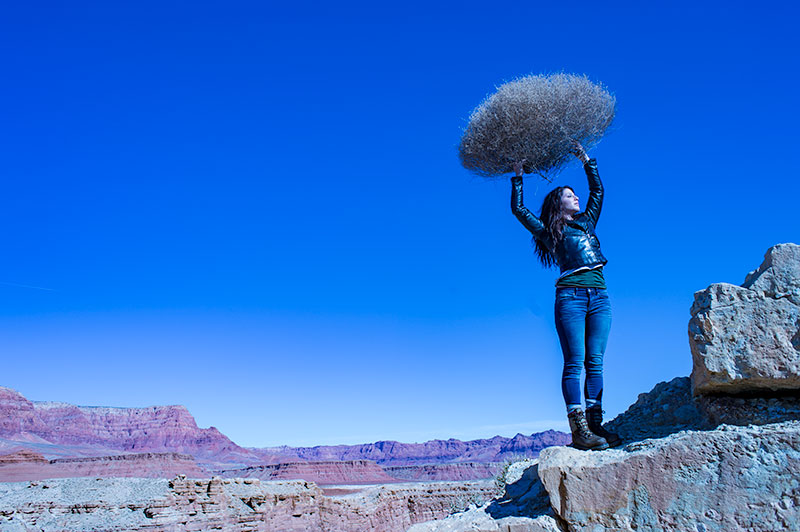
TUNGSTEN
Tungsten light is very orange, so when we apply a tungsten color balance to a shot that is not too orange, we get this very blue looking shot. This is a good reminder of just how ‘warm’ tungsten light is if it takes this much blue to make it correct.
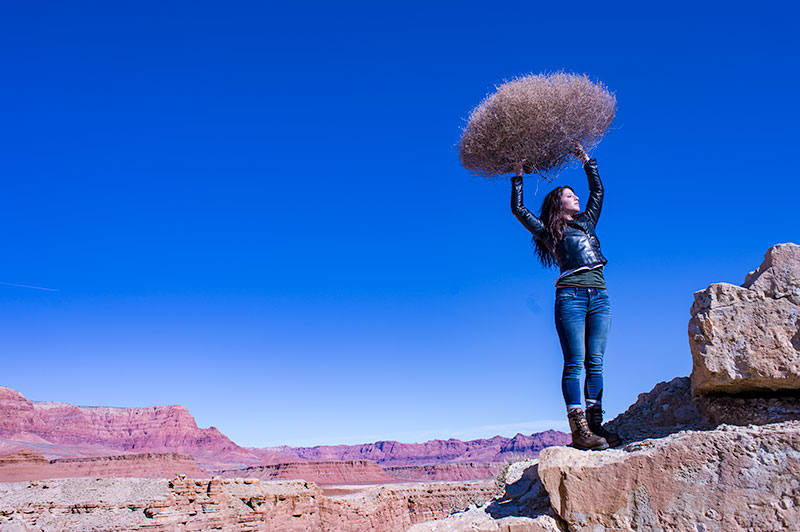
FLUORESCENT
Fluorescent light is blue/green so it makes it difficult to compensate for. In this application of the fluorescent color balance, we can see the sky going a deep blue, while the desert mountains behind become more magenta.
LOCAL LIGHT SOURCE MATCHED TO AMBIENT
Working with a secondary light source that may be a different color presents us with a challenge. We cannot change the image globally because adding a correction to the image to correct for the different light source will affect the entire image.
We must then change the different light source to the ambient (or overwhelming light) in order to ‘balance’ the subject in the ambient setting.
The ambient setting is the overwhelming light that we usually cannot change: the sun, a large warehouse, a home. Bringing in our own lights means we must know how to match what we bring to what is there.
ASSIGNMENTS FOR THIS CLASS:
- Using the color settings on your camera, take the same image with each of them. Shoot with Daylight, Shade, Tungsten, Flourescent at least and do this in places where those colors exist. In other words, shoot some images outside, inside with regular household lamps, and some place that has Flourescent. (NOTE: Many big box stores use a light source known as Mercury Vapor. Mercury Vapor is blue/green so it is very difficult to adequately address. We can add magenta to offset the green, but that turns the blue part of the light to purple. If we address the blue with something warm, we add that to the green part of the light.For Mercury Vapor correction, try “auto” on your camera setting. It is the best I have found for correcting most of that blue/green color shift.
- Using a strobe (speedlight), take a photograph of someone while the sun is going down behind them. Do not alter the strobe setting, just let it keep making the shot as the light turns warmer and warmer. You will then see how “blue” the light source seems coming from the flash.You may have to change the settings as the light gets dimmer, but I think you will see the changes pretty well.
We will be addressing color balance in all of the upcoming classes.
“Twenty Four Frames In May”
The Project 52 members were tasked with shooting something different: 24 frames of film - and making every image count. This is a very exciting time with digital instantaneousness... but something can be said about taking one's time to make an image. Limiting the work...
Extensive Post Production with Tomas Jansson
From Project 52 member, Tomas Jansson. An extensive retouch/edit on a fantastic food shot. ALL THE TUTORIALS DURING "SUMMER SCHOOL" ARE BY PROJECT 52 PRO MEMBERS EITHER CURRENTLY ENROLLED OR ALUMNI. Thanks Tomas!
Photographing a Mundane Item… Is Harder Than You Think
Our assignment #46 was to shoot a power strip. A mundane, easy to find, nearly ubiquitous power strip that could possibly be purchased at any store for about $10. It proved to be quite a challenge. These images are from the assignment, and while the photographers all...
Go Beyond Full Frame Without Selling The Farm: Shane Ernest
Going Beyond Full Frame Without Selling The Farm. In this tutorial, I’ll share my reasoning for going beyond full-frame, a few reasons why you shouldn’t, and some simple steps I use to create images that match your vision. While there are huge differences between a...
Post Production (Retouching) of Wardrobe: with Don Fadel
See more of Don Fadel's work at his website.
Fitness Model on Location with Hiram Chee
I was aiming for a clean catalog feel. We shot this image at high noon in a football field. I used an Einstein F13 in a Softlighter without the sock for fill. I also used a -3f stop ND filter on my 85mm F1.8 to get the blue sky and blurred background. I was shooting...
Jamie in a Kimono, Omaha. Lightroom and Photoshop
Here is a look at my processes. From Lightroom to Photoshop to finished image. These are the simple steps that I use nearly every time. I hope you enjoy it. ALL THE TUTORIALS DURING "SUMMER SCHOOL" ARE BY PROJECT 52 PRO MEMBERS EITHER CURRENTLY ENROLLED OR ALUMNI - or...
Hey… It’s Me. Being Somewhat Controversial… or Not – if you know me.
Creating a Grid Effect in Photoshop with Luxkala
See more of Luxkala's work at his website. ALL THE TUTORIALS DURING "SUMMER SCHOOL" ARE BY PROJECT 52 PRO MEMBERS EITHER CURRENTLY ENROLLED OR ALUMNI.
Don’t Be Afraid of ‘Systems’
As a commercial photographer I know a lot about how to make things happen. In fact, being a commercial photographer is a lot of 'solutions... NOW' sort of life. The locations are too small or too large. Too many lights or not enough. Always need another stand or...
“Photographing Pills” with Alicia Bonterre
The assignment was to photograph some pills and bottle for a drop in to another shot. Parameters for the shot? White background…..that’s it. My thought process for this shot was how can I make this even a little bit interesting What type of shadows do I want and What...
Available Light / Available Tools; with David Price
I wanted to side-light this artisan's hands to highlight the texture both in her hands, as well as the fabric. She was making a set of custom gloves to honor my wife for her many years of service to living history re-enactments. I did not have a lot of equipment with...
Fitness Shoot with a Model by Hiram Chee
For the key light I used an Einstein F8 through a Softlighter camera right and for fill and Einstein F4 through a 8in reflector and 30 degree grid, camera left. The reflector was angled up towards the model's shoulder slightly towards the back wall. I also feathered...
“Layering Your Image” with McGunn Media
McGunn Media (Anna and Filipe) have this great little video for you on "Layering" the different items you use for still life. They have a full course on shooting table top and still life work at Udemy. See more of McGunn Media's work at their website.
Cool Sneakers with Alicia Bonterre
Today's class is from Alicia Bonterre, a photographer who makes her home in Trinidad. This was the assignment: Running Shoes are one of the staples of sports and fitness… and come in all colors and sizes. Distance runners, joggers, sprinters, hobbyists and kids all...
Making a “Splashing” Apple with John McAllister
SUMMER SCHOOL, DAY ONE: JOHN MCALLISTER. John shows how to create this stunning effect. You can download the raw files used to make this photograph here. Image One Image Two Image Three Image Four Image Five image Six For more from John McAllister, visit his blog. ALL...
Visual Literacy – Visual Media Strategy
Even when it is done as a parody, it works. How's YOUR visual media strategy doing?
Viral Visual Strategies
Social Media - VISUAL social media - is really powerful. "On Thursday April 10th I shared the tumblr page with a huge dog magazine I’ve worked with regularly called The Bark. By Friday morning, it had 4,700 likes and 1,080 shares. I also sent the link out to a...
Irene Liebler Interview at Raincoast Creative
This is so cool. Project 52 Alumni Sandra Harris has interviewed p52 Alumni Irene Liebler for Raincoast Creative. Pop on over for a great read and some new work by Irene.
Matt Dutile Adds a New Set of Portraits
LE's bud Matt Dutile has added some wonderful portraits to his website. Check them out here.
Talk About Your Awesome Opportunities… Holy Smokes THIS Rocks!
An "opportunity" for you to bust your ass, make some cool shots and then give them away to someone who will then get to use them for whatever the heck they want to for as long as they want to. Oh, and by the way you need to simply shut up about it. And they are...
My Newest Book Will Take Your Photography To The Next Level… or something
I have decided it was time for me to put it all out there... no holding back, no withholding of the secrets that I am privvy to. All of the stuff that other photographers wont tell you... I will. I am like a man on fire. Without the burning pants and sickly smell of...
Photographers Dump Film so They Can Emulate It Digitally… or, something…
"The company, founded back in March 2011, received the fifth largest Series A round Accel Partners has ever done; the investors are well known for the funds they granted a company called Facebook back when it was just starting up. Besides the app itself, VSCO’s known...
PROJECT 52 ANNUAL FOR 2013
Is available at Blurb if you love the feel of good paper and a quality book. We are also giving it out as a free PDF for all. Please feel free to share it with anyone you think would be interested. All images are copyright the photographer, and there is contact...