Learning to work with natural light
Virginia Long
When I first started my photographic adventure with Project 52 I knew nothing about light, the importance of light, or the ways to manipulate it. I didn’t even know you should or could manipulate light. I felt like the class dunce, because everyone else was talking knowledgeably about soft boxes, strobes, flash lights, umbrellas, Godoxes, continuous lighting, strip lighting – everything except available (or ambient) light. I didn’t have a clue what they were talking about. Was I expected to invest in this type of lighting to become a real photographer? In New Zealand any sort of professional lighting equipment is hideously expensive, and, while there were some cheap sounding options available on Amazon, by the time you converted it to NZ dollars and added freight, it suddenly wasn’t so attractive.
I made the decision to muddle through using window light. I studied You tube videos, read articles and books and listened to my fellow class mates, but still really didn’t “get it”. It wasn’t until half way through Project 52 that things started to fall into place. There is only one way to learn this stuff, and that is to just do it, experiment, spend whole days taking hundreds of pictures and never, ever give up. I am starting to discover that I can achieve repeatable results instead of the initial lucky shots that I couldn’t achieve again if my life depended on it.
For now, I feel justified in my decision to persevere with natural light. I may move up a step one day and invest in lighting, but I am managing to achieve acceptable results for the level I am at without it. I have turned the corner and really am starting to manipulate the light until I end up with an effect I like. In the beginning it was so subtle that I totally missed it. A five in one multi reflector turned just a few degrees up or down or sideways makes all the difference – silver or gold – they give completely different results. Black and white cards blocking, screening, enhancing, reflecting, bouncing – you can’t learn this stuff out of a book. You just have to work it out for yourself. I have a long way to go, but it is exciting being in control at last and understanding how I achieved a certain result, and more importantly, how to do it again.
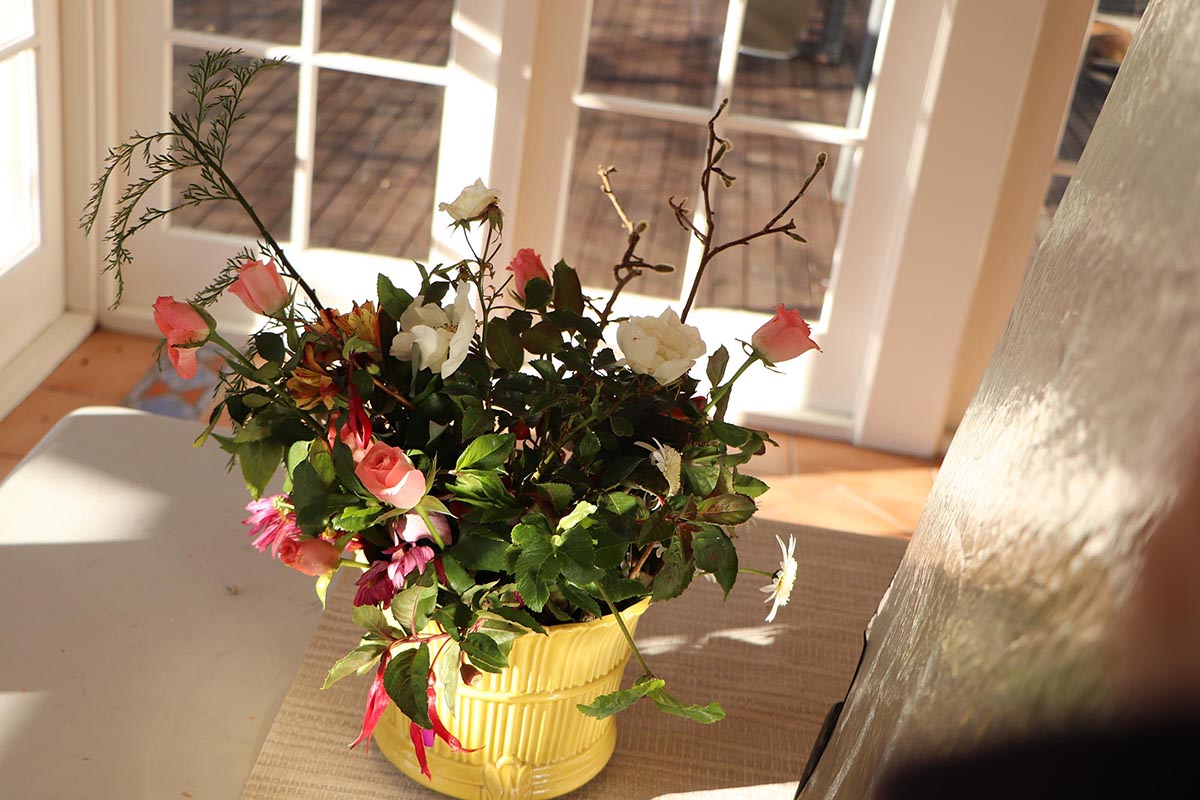
My studio space with windows facing east (morning sun) and north (all day sun). Here, a cloudy day in the morning, with soft light, hardly any shadows. Works well if I get my work done in the morning. (All orientations are for the Southern hemisphere.)
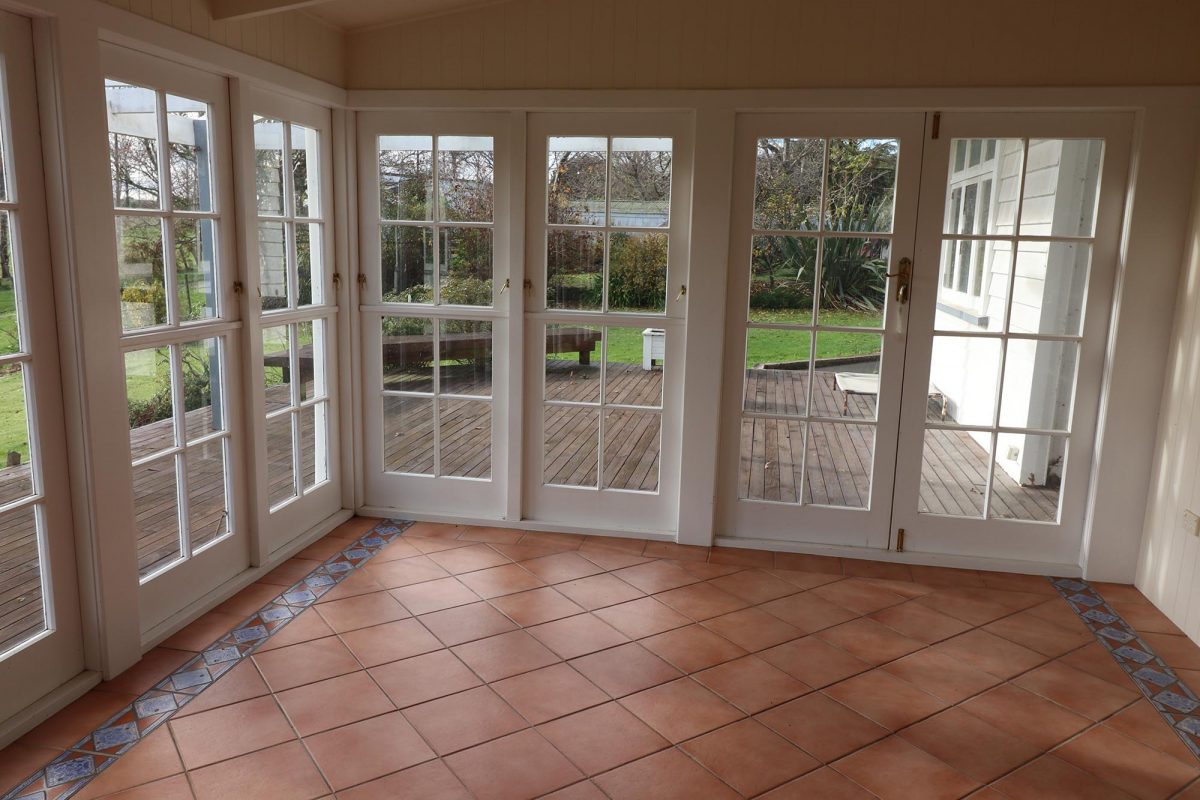
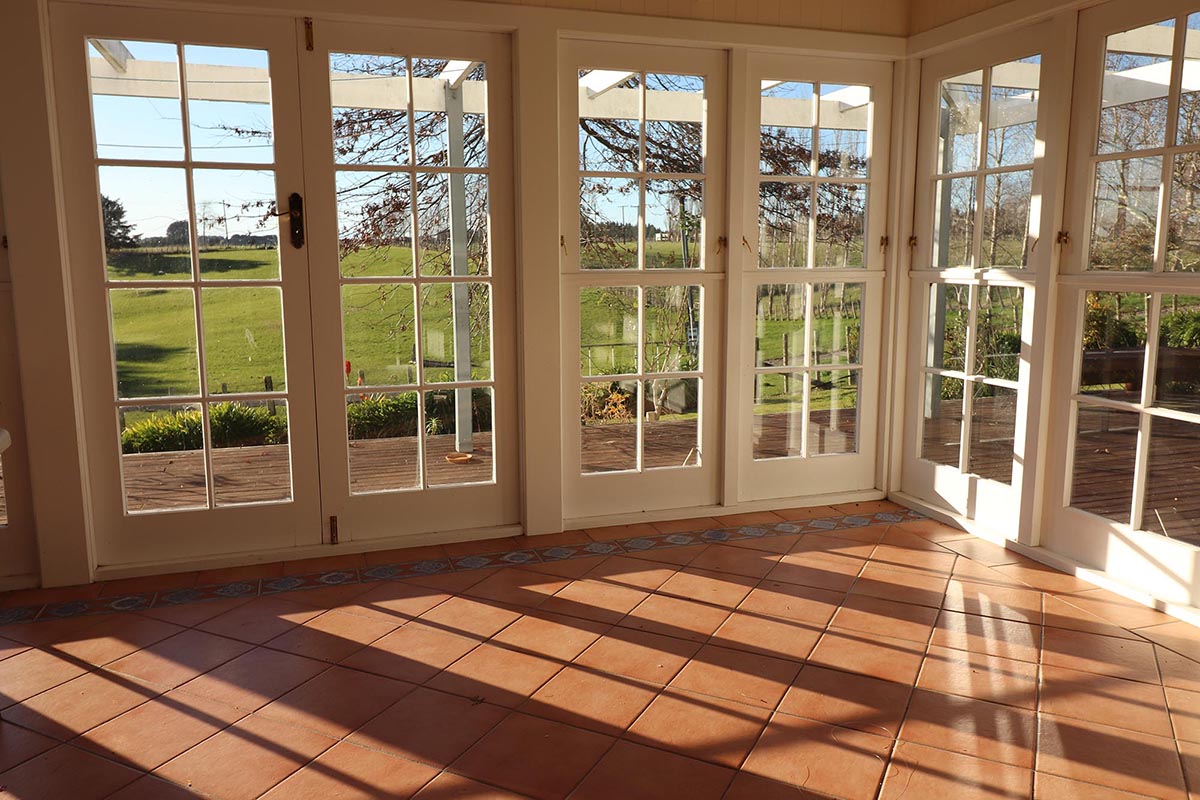
The same studio space, taken in the afternoon on a sunny day. A lot of shadows! Absolutely hopeless for photographing anything with reflective surfaces, like bottles or glasses. Light sneaks in everywhere.
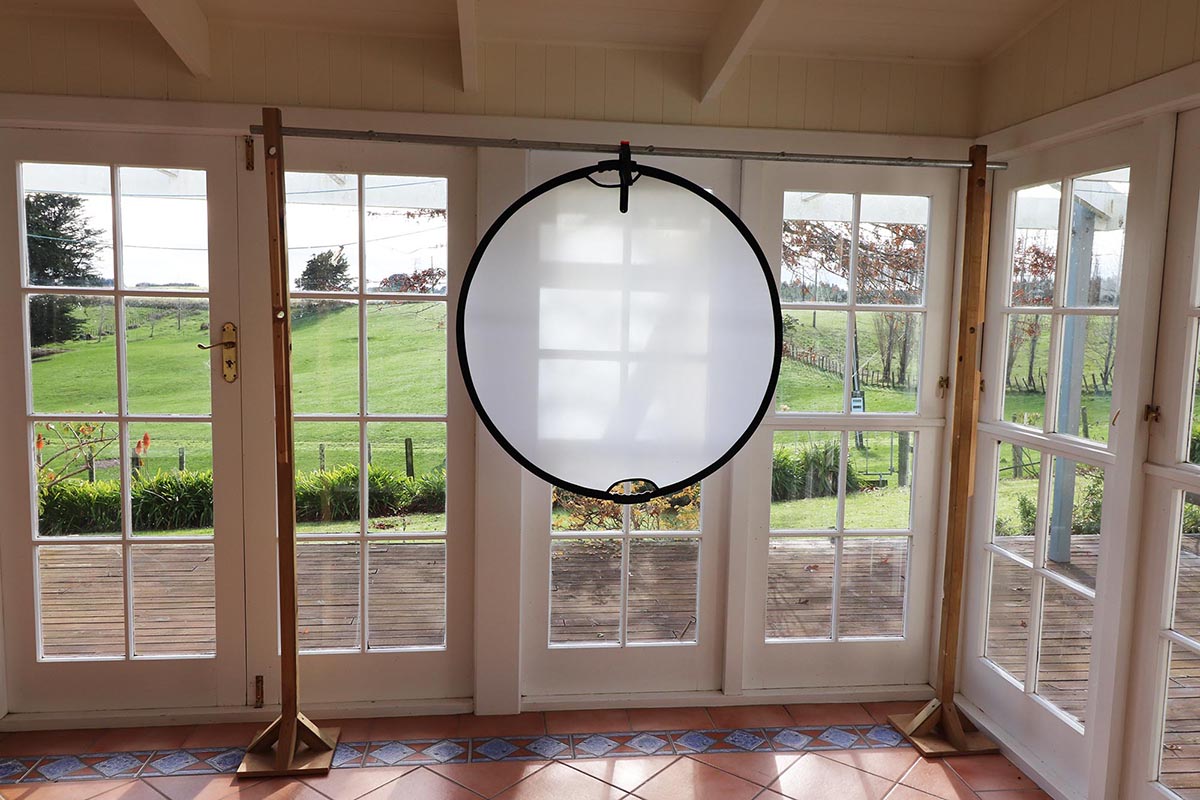
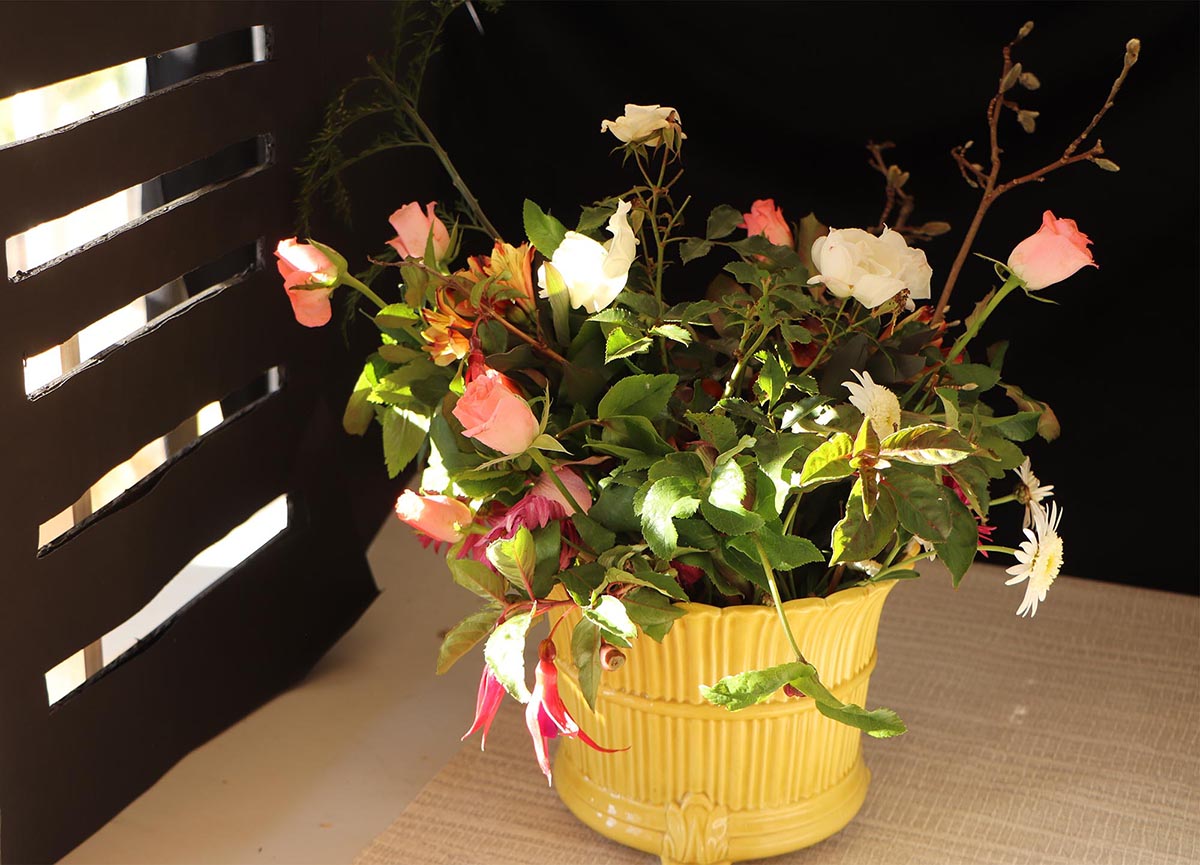
Using a white transparent curtain to filter the light (similar to a shower curtain). This is necessary on a very sunny afternoon or morning. Moving around in the studio space, changing the position of the camera/tripod or table all help to control where the light falls.

Using the diffuser from the 5 in 1 reflector is my preferred option. Unfortunately I only own one of these, so it is a juggling act when I need to use the reflectors which come with this piece of equipment. This diffuser is also more maneuverable.
Back lit.
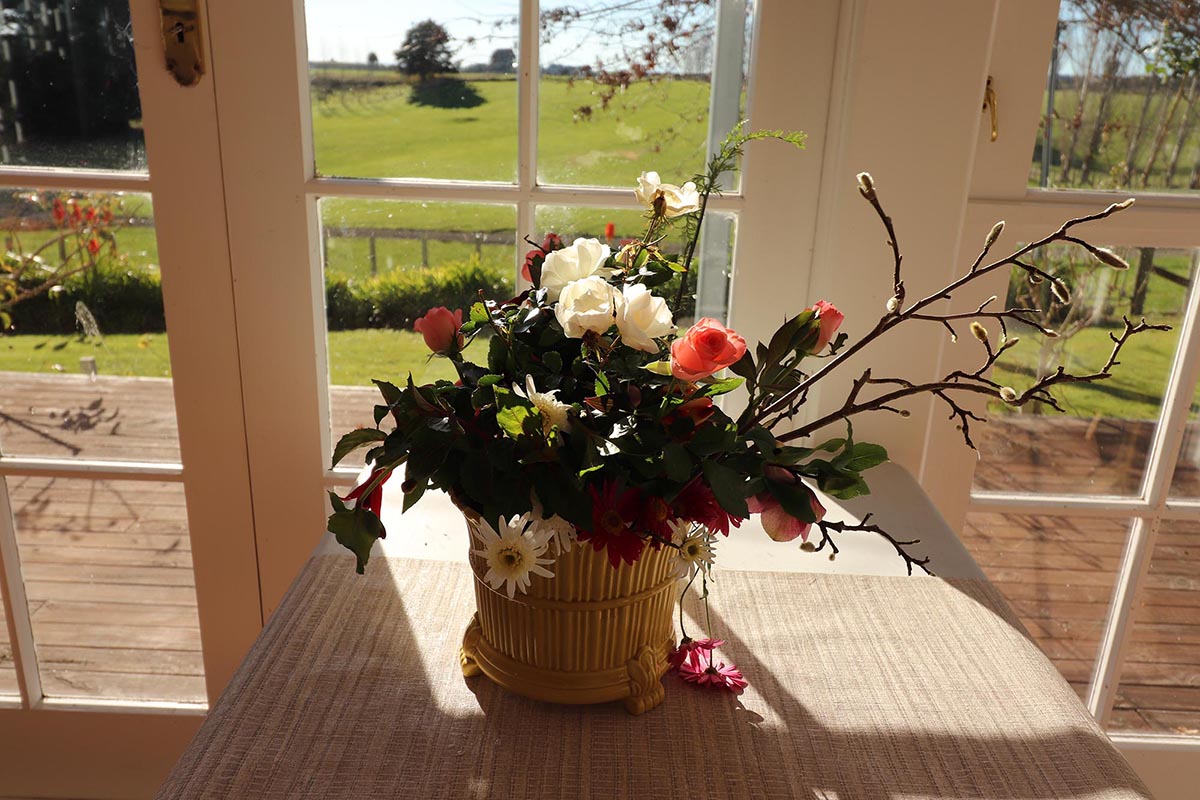
Side lit.
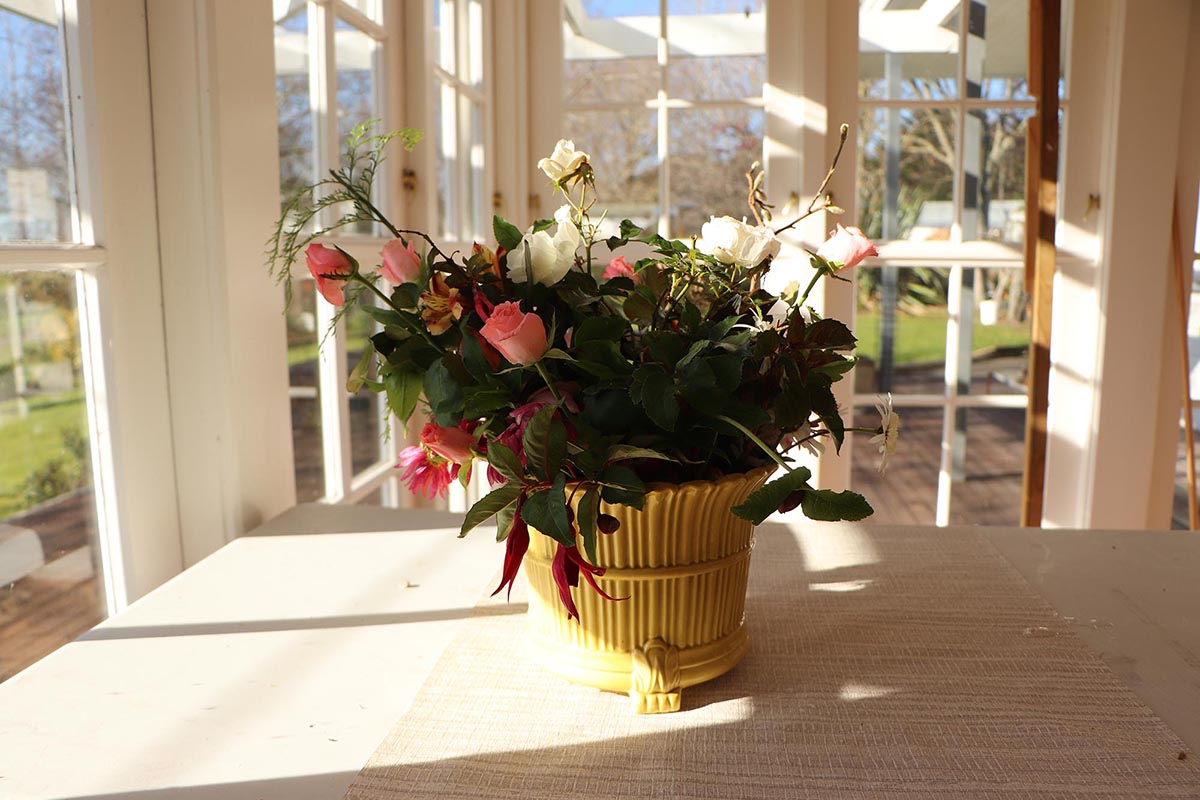
Side light using a diffuser: no shadows, but now requires some light into the subject.
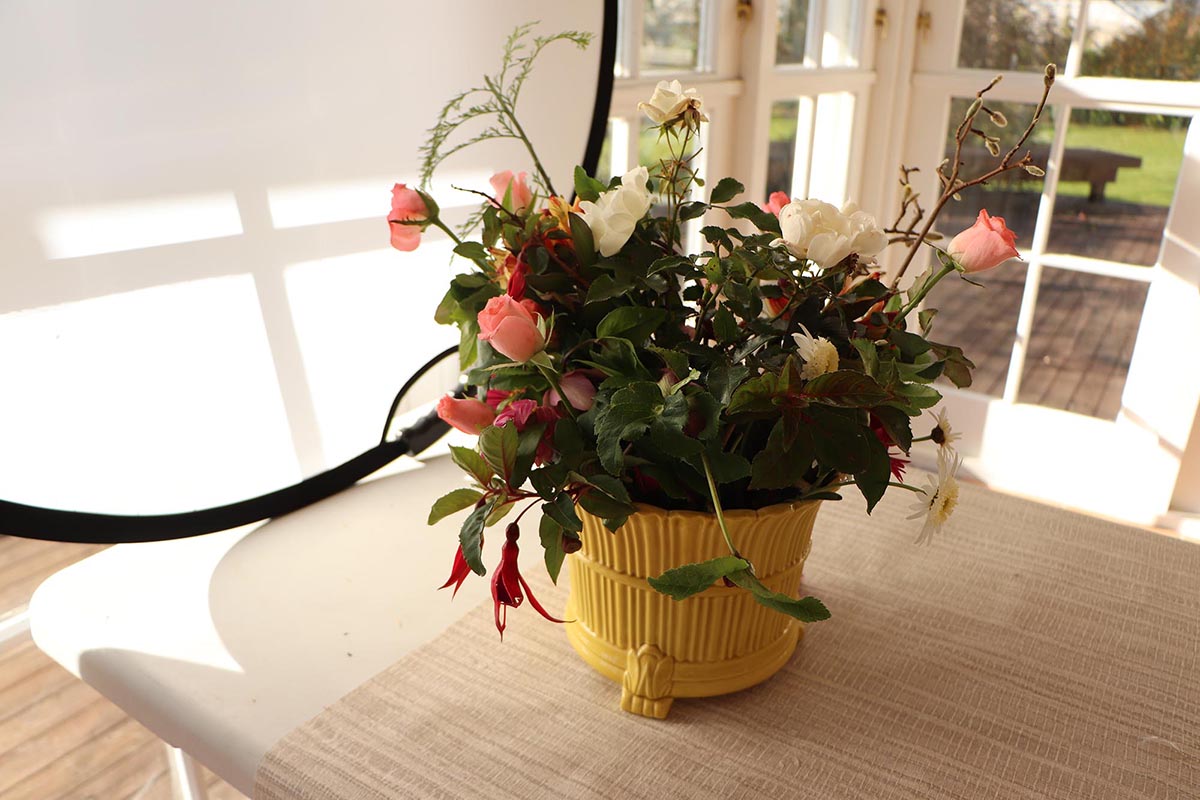
Reflecting some light into the subject using the silver reflector from the 5 in 1 kit. Now it just needs wiggling a bit to find the best lighting solution. (Less on the container, and more into the flowers/foliage.)
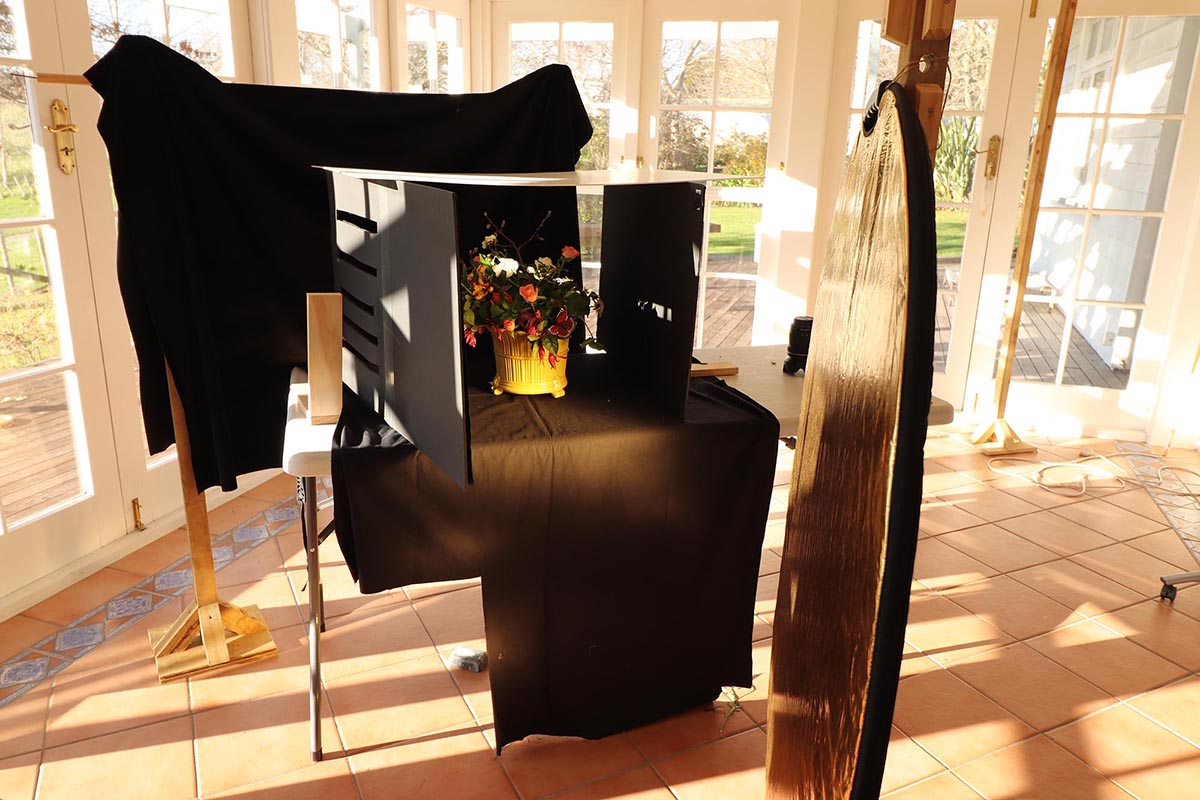
Opting for an all-round black background to enhance the colours in the flowers, I have built a cage using black velvet and black card board to control the amount and direction of sunlight. Construction of the cage means I am in total control of where the light falls, including turning around the table if necessary, opening up one or more sides of the cage, or the use of slits in the card. A silver reflector directs light into the subject.
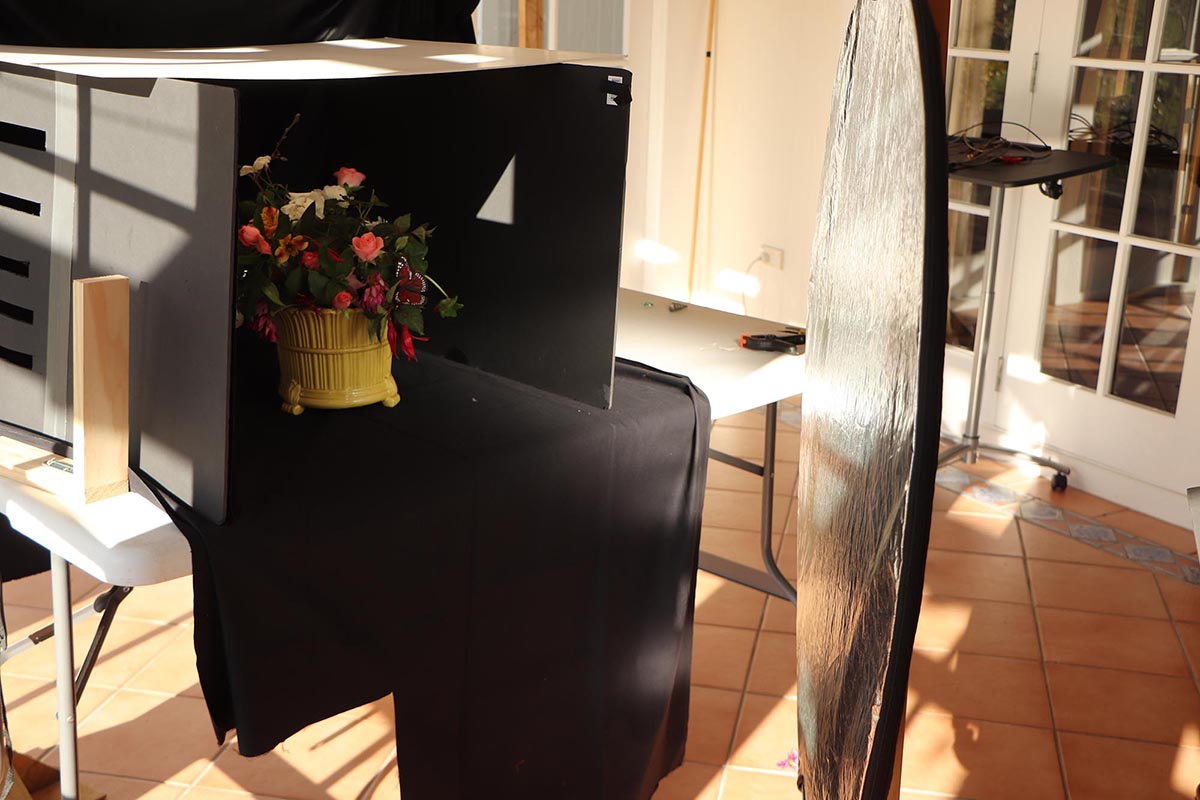
The use of the silver reflector brings light into the front of the subject. The left-hand side flowers are highlighted, plus the top left-hand side of the container.
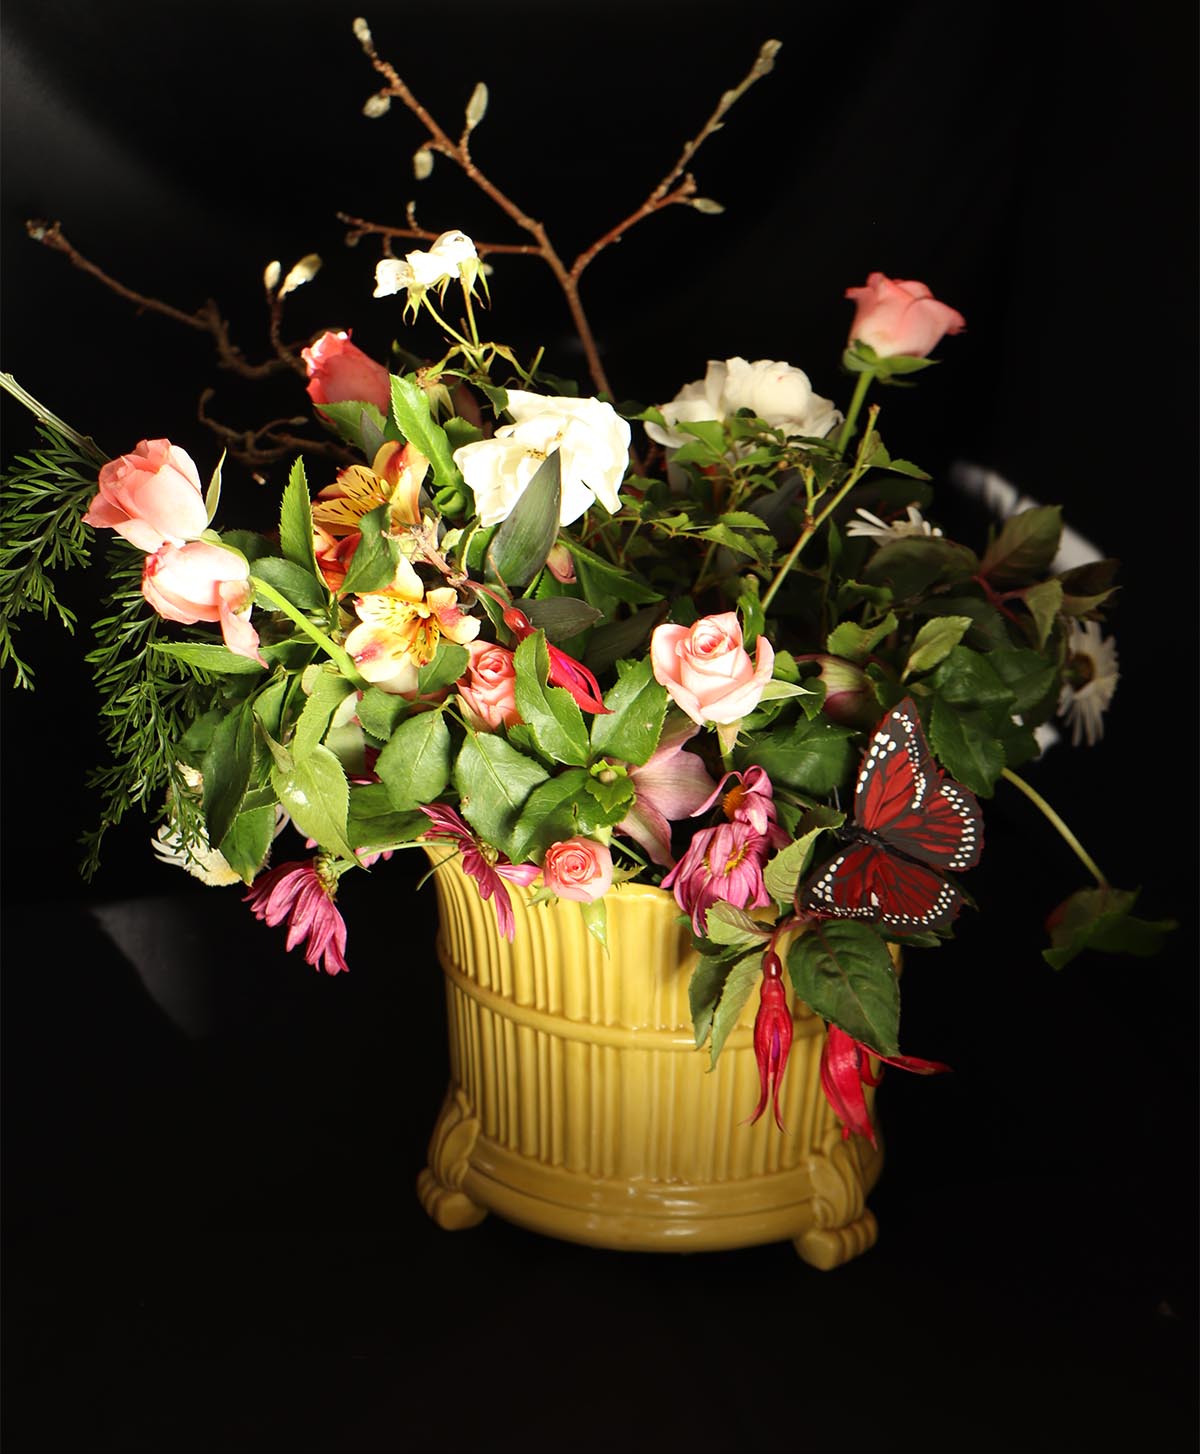
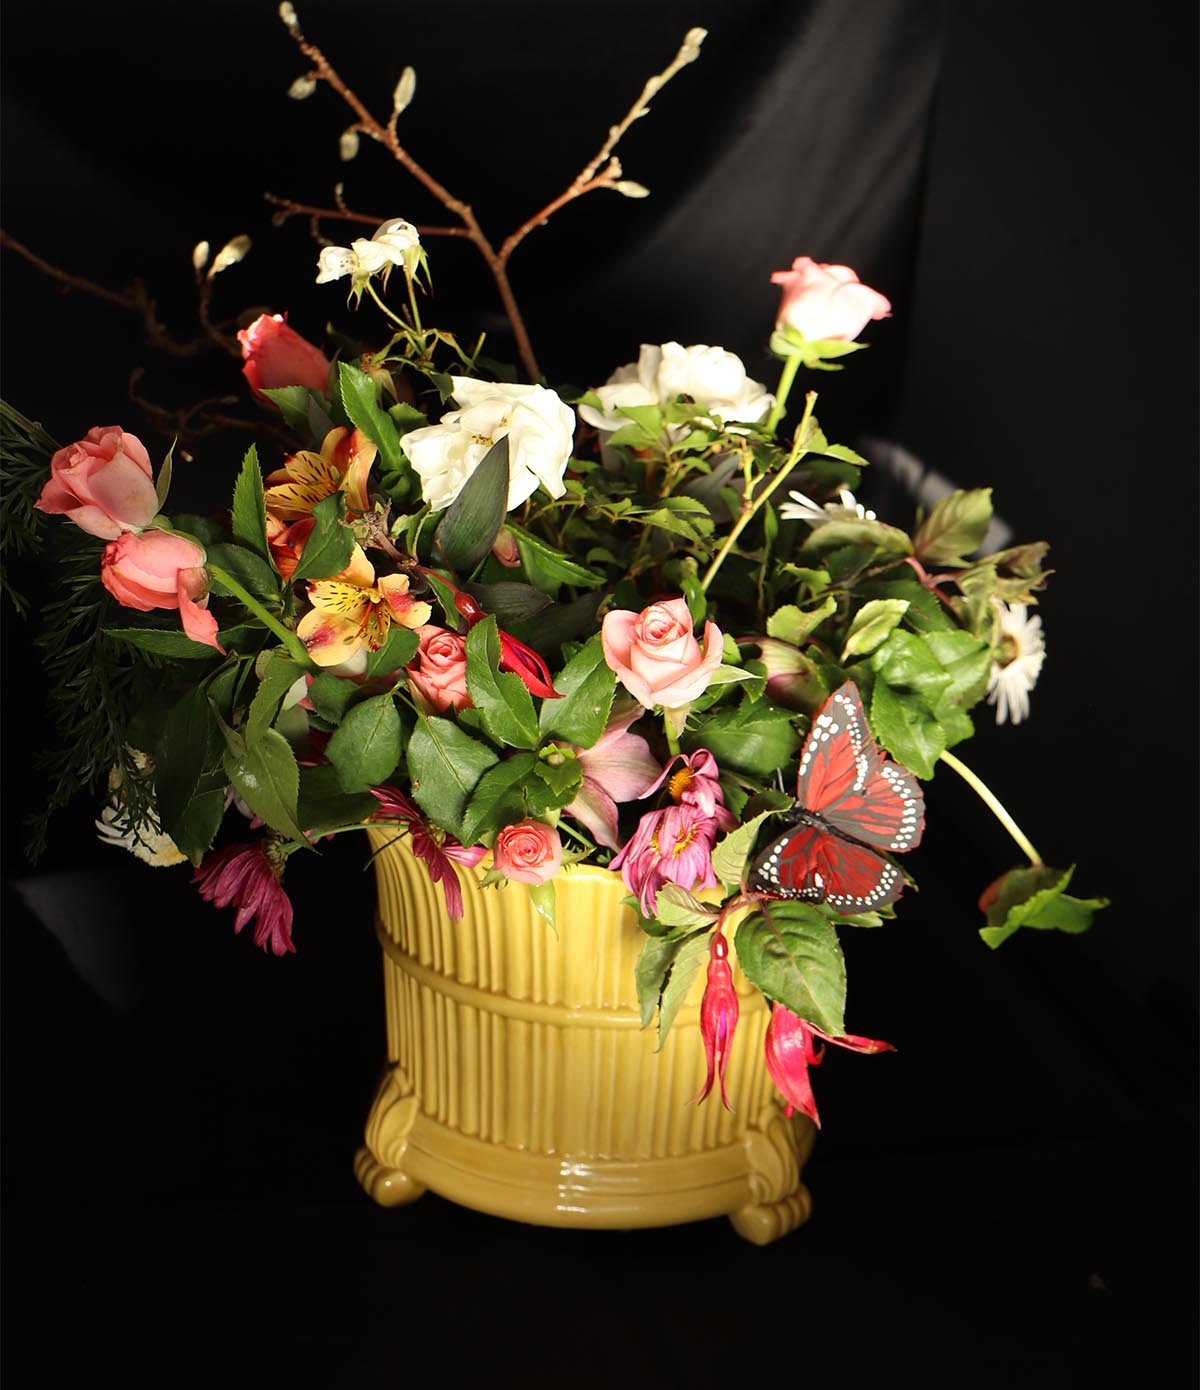
The left-hand flowers are darker now, and the butterfly and flowers/foliage on the right-hand side are highlighted, as well as the front of the container. Subtle differences are easily obtained by wiggling the reflector around until you find the perfect light combination.
The use of the gold reflector gives a totally different effect (below)
The gold reflector gives a bright golden glow – you could just as easily achieve this in Photoshop, but it is a useful exercise to discover this for yourself.

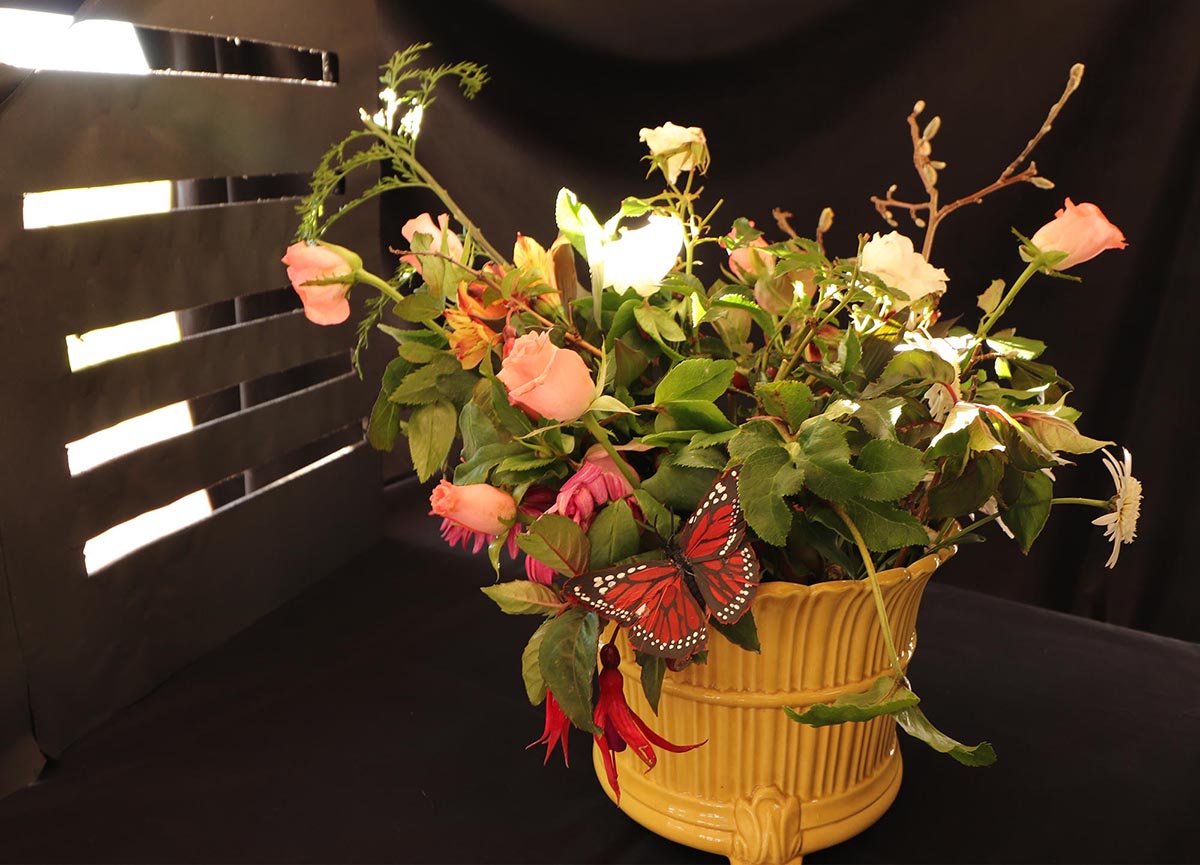
Other subtle lighting effects can be introduced using black or white core or cardboard with holes cut into it. They can be any shape. Here, I have used slots, but round holes would be just as effective, producing different results.
EMAIL VIRGINIA HERE: v.long@xtra.co.nz