
Chocolate…
It’s that simple… and that hard.
Oh, and they want it to have a bit of an editorial look as well if possible. (Of course it is possible…)
People in the shot? Sure – as long as the image fairly screams “chocolate”.
Still Life? Absolutely. Food related? Yep.
Location? If you can pull that off and have the chocolate be the star, then have at it.
If you are a people shooter, shoot people with chocolate. If you are a still-life shooter, shoot still-life. Kids, or landscape or environmental… whatever YOUR personal interest is, shoot that. This is where you let YOUR style and vision direct the end product.
(Note: all chocolate left over should be packaged very nicely and sent straight away to me. Please do not crush any of the delectable goodies.)
Chocolate is a fairly delicate subject. Fingers can destroy the very smooth surface. I will use tongs or small spatulas to move the items around. Occasionally there will be a mark or scrape on the chocolate. It manifests itself as a bit brighter area to almost white. I use a very soft cloth with a tiny – TINY – amount of vegetable oil to wipe the chocolate down and create a new-looking surface.
Heat is not our friend. Even modeling lights can create a disaster with the chocolate, so work with a dummy or bad pieces of chocolate to work out the lighting. After it is what you want, change out the ‘stand-in’ chocolate for the good stuff and shoot quickly. Remember not to move it from areas that are visible to the camera.
Chocolate runs from the very dark to lighter milk chocolate. The very dark chocolate has almost a black color, with a very efficient (shiny) surface. Use specular highlights and reflections of white cards to create the shape and texture of the very dark chocolate. Milk Chocolate has a higher true value color, so there is a little more latitude for creating lighting that shows the color without the absolute necessity for specular or reflective light.
The higher the quality of the chocolate the easier it is to work with. Look for hard-shell or more “boutique’ types of chocolate items to shoot. You may have more luck with the chocolate not getting marks or skids on it.Be very picky when you are shopping for the chocolate. Do not let the clerks bag them together if they are loose items. Take your own baggies and tray… buy the chocolate and then carefully insert it into the baggie and set it on the tray. Sound like a lot of effort? It is… that is why we get the big bucks to do this stuff.Some items like fudge, or chocolate brownies, will have a natural texture to the cut side. Cuts will slowly (quickly on shoot days) turn dry and unattractive.
Use a VERY sharp knife to cut them on the edge (1/8 inch) to reveal the new, rich looking chocolate. And wiping them with a very slight amount of cooking oil may also bring a little freshness back to them.
Lighting should run from natural and diffused natural (window, north light window or non-direct sun) to softboxes and scrims for strobes. Remember that your light source may actually be SEEN in the chocolate if it is a shiny surface, so creating a look of smooth light and soft specular is very important.
Shots from our previous students to make your mouth water a bit.
Here’s a very interesting resource. I am not responsible for any late-night runs to the supermarket in search of chocolate after linking this page… you are on your own.
Project 52 Member Roseanna Smith’s beautiful chocolate portfolio.
Photographing chocolate is very challenging. For one thing, humidity and temperature can play a big part in what the chocolate looks like. And chocolate is very susceptible to damage from fingerprints, casual bumping against other products, and time.
Working with chocolate to make it look great is what we worked on with this Project 52 assignment. I chose these 11 images to show a cross-section of the work the students did on this difficult assignment.
Cover image by Terri Queen.
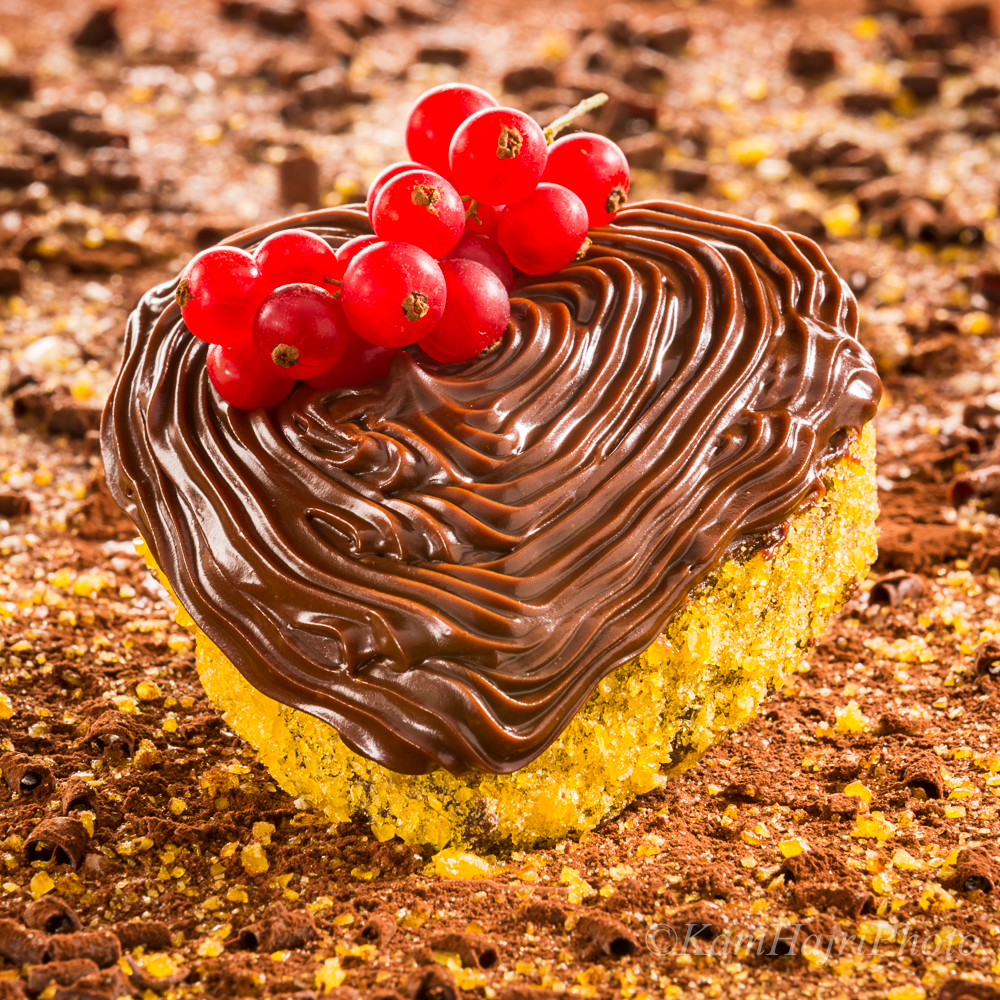
Soft ambient from the back with a little kick from the rear-right bring these ridges of chocolate alive. The perfection of the chocolate is revealed by well thought out lighting.
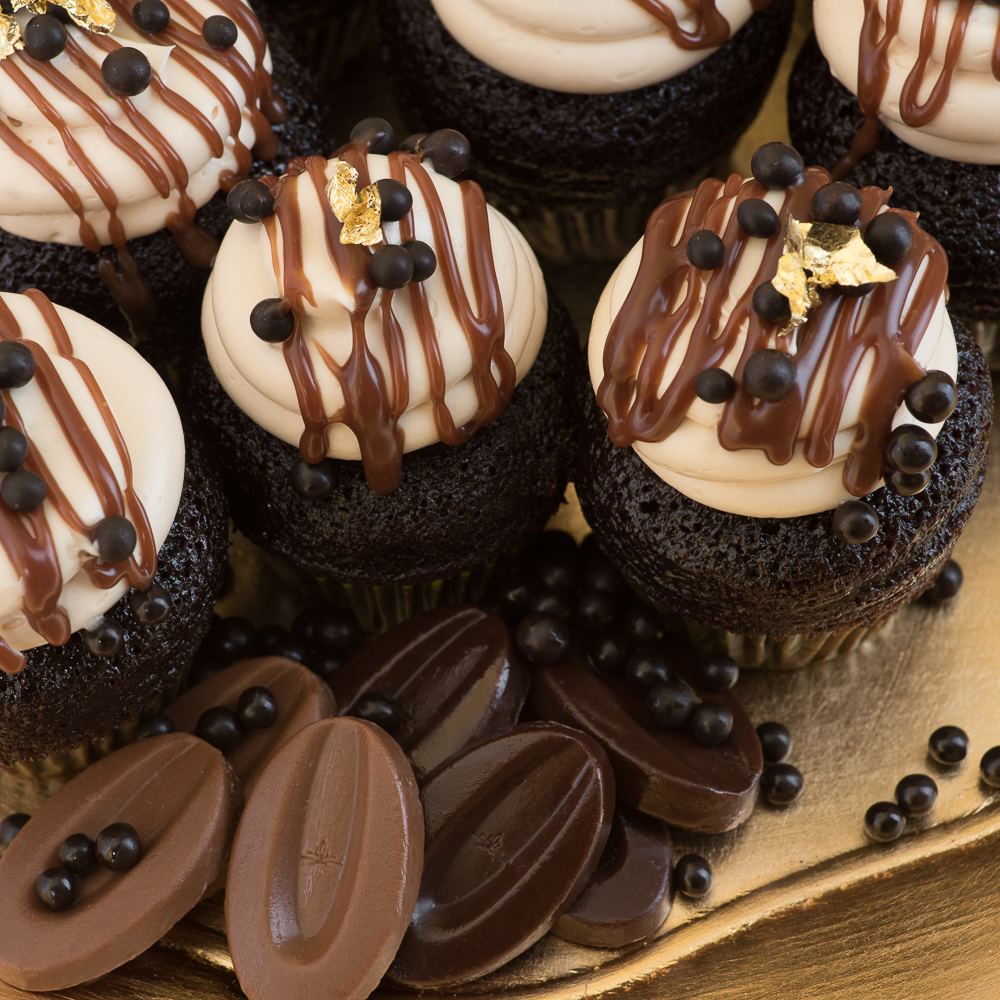
Notice the beautiful lighting on the different types of chocolate. Dawn used a large light from above with carefully placed fill cards to keep the dark tones readable.
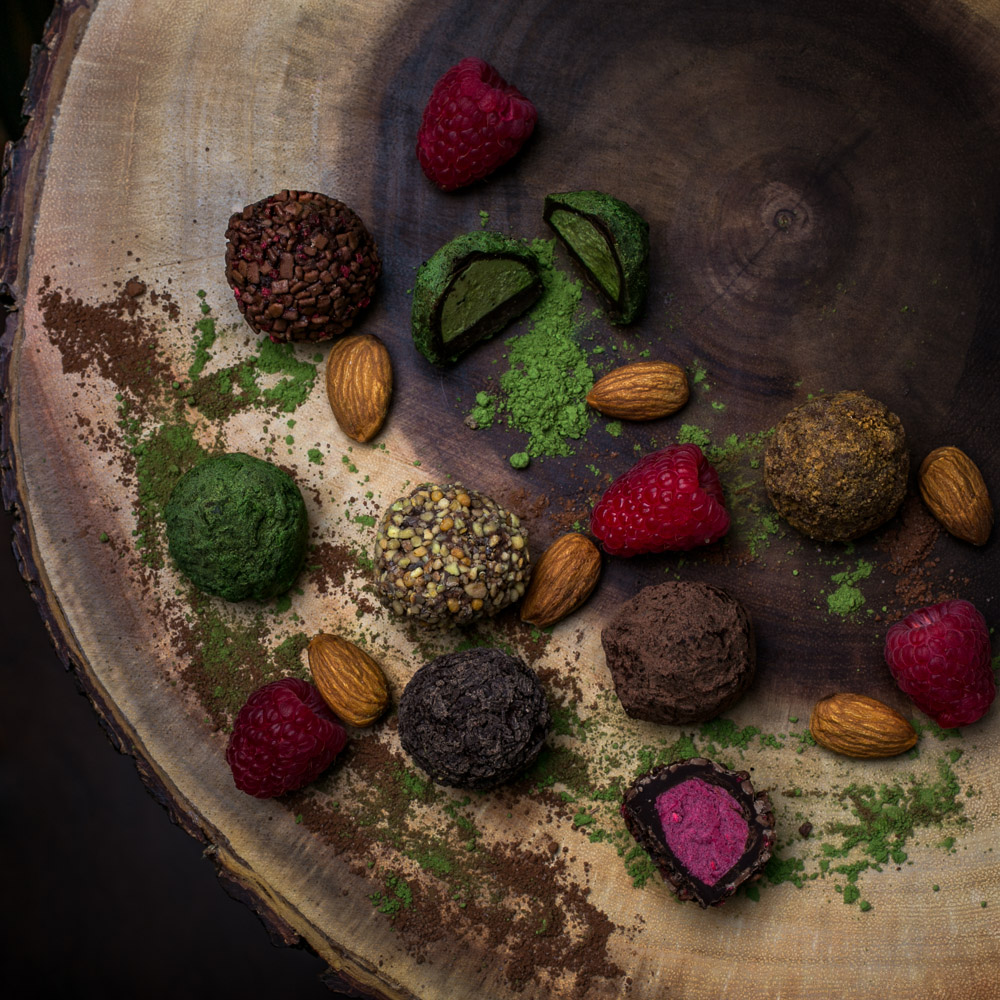
Super soft lighting and wonderful composition show off these rare, exotic chocolates with fruits and nuts. A very large, diffuse light source in close to the subject creates this look.
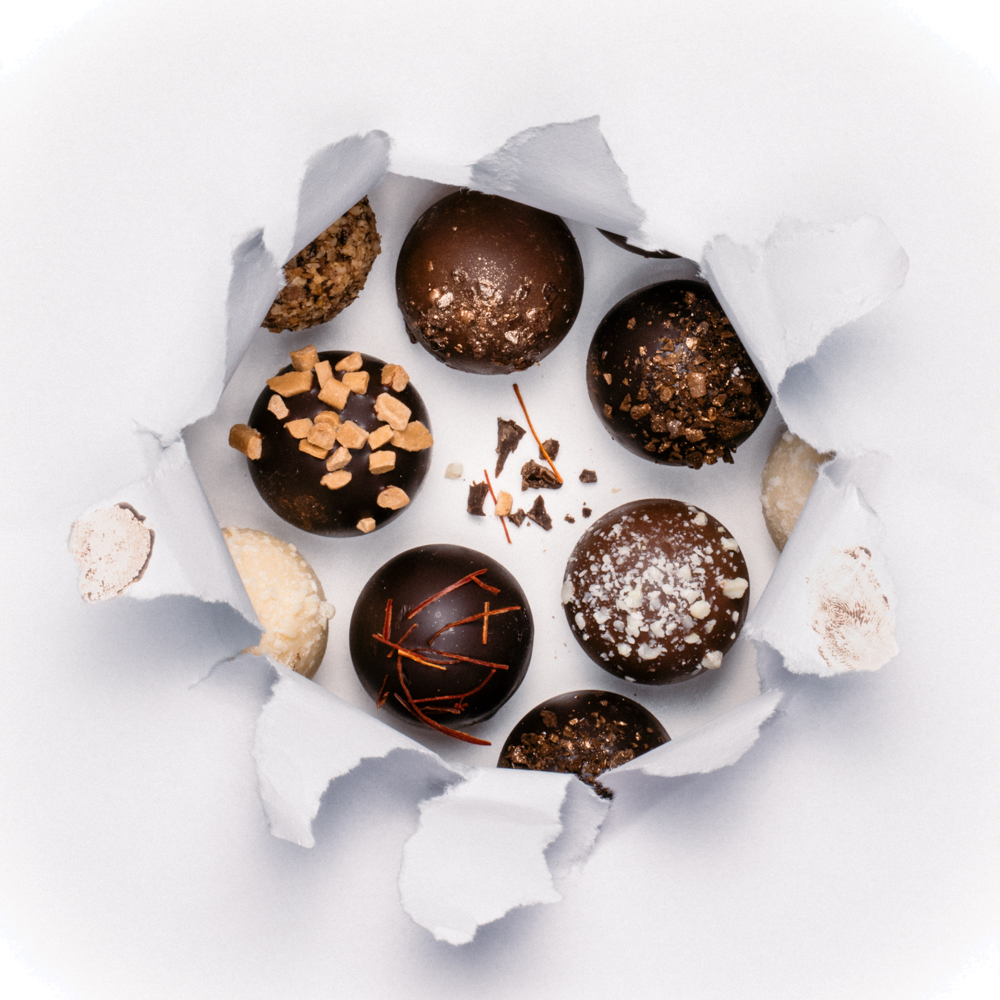
A frame within a frame helps create a bit of mystery for these specialty chocolates. A large light source in close to the subjects presents a wonderfully soft light that helps fill the shadows.
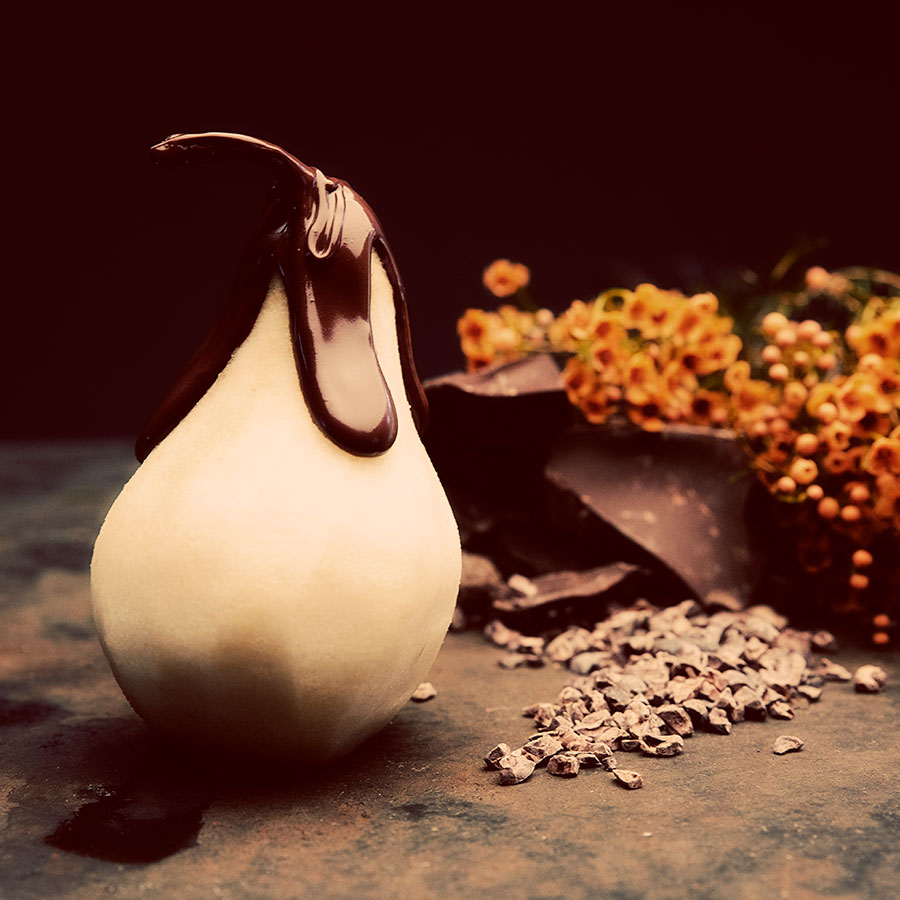
A small drip of chocolate on a white pear is a beautiful treat for the eyes. Melissa used a very soft ambient light to create this image. The liquid like highlight in the chocolate help sell the difference in textures.
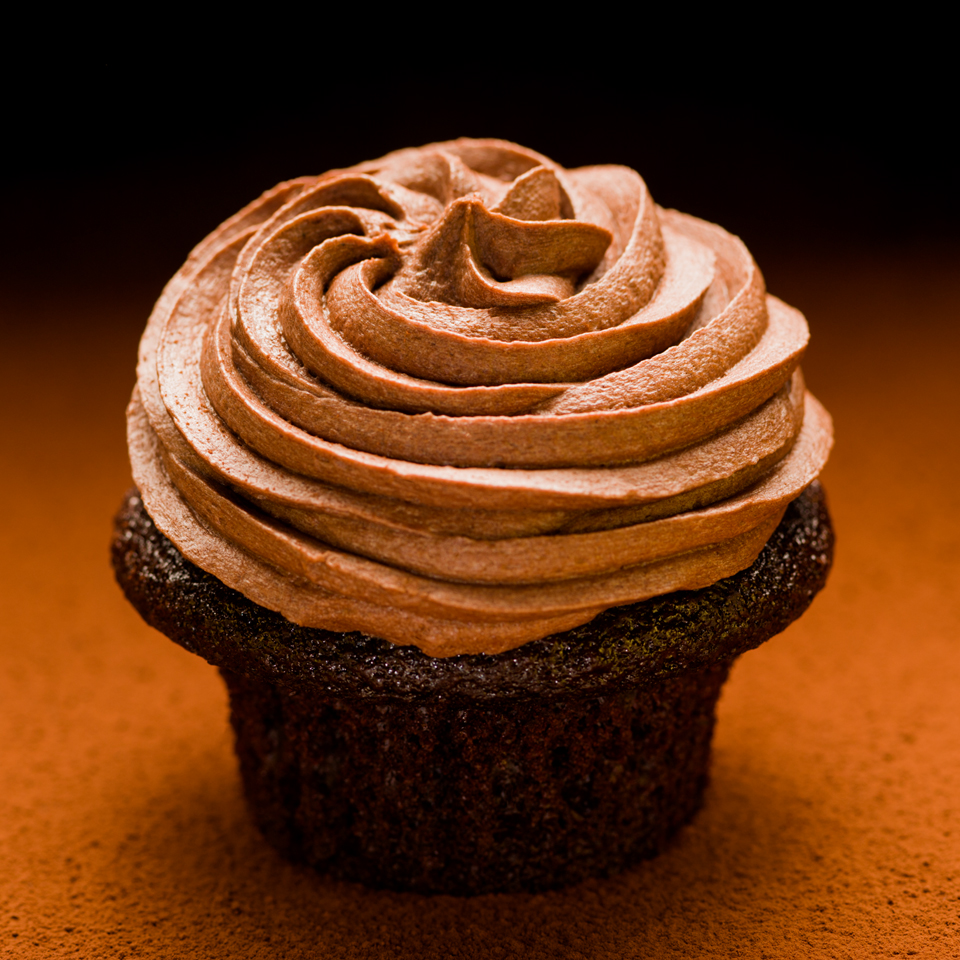
A single light helps define the textures of this simple chocolate cupcake. Using a gradient surface allows the highlights atop the chocolate swirls to look even more glorious. A small shiny fill to the front opens up the cake toward camera.
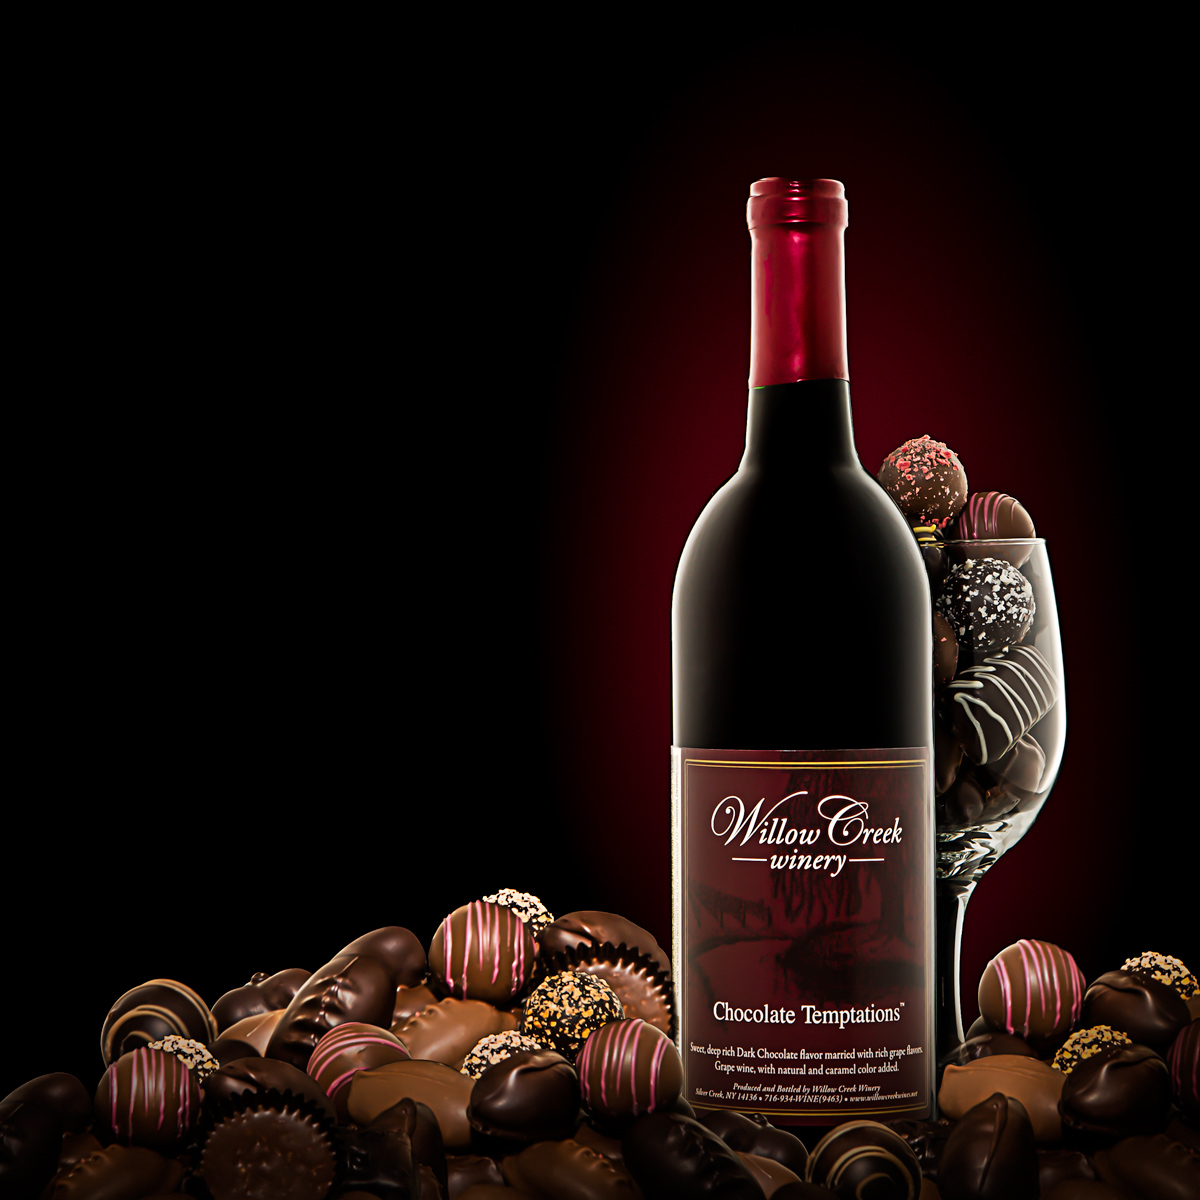
Yep, that is chocolate wine. I haven’t tried it yet, but it is on my list. Kurt’s lovely lighting and beautifully shot bottle helps show off the candies all about the surface. The small splash light behind the bottle and glass help keep them front and center.
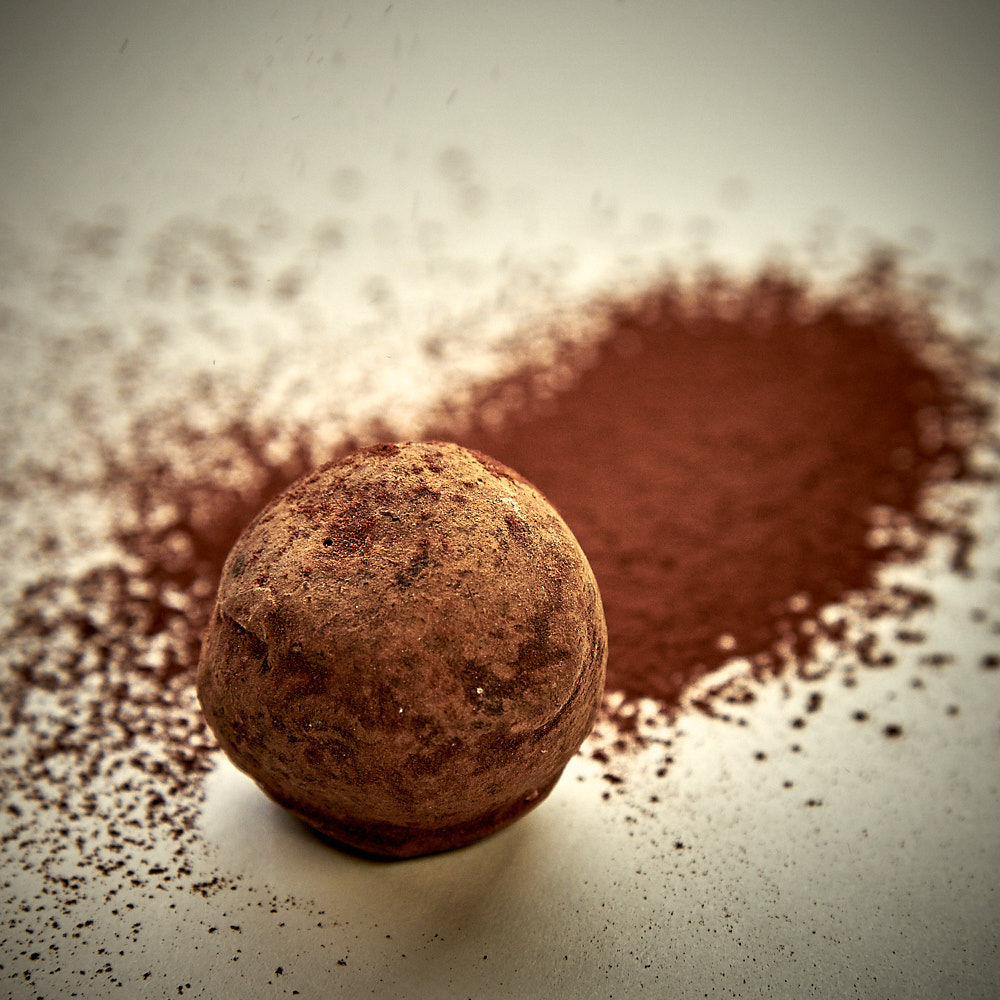
Chocolate in a very simple form. Strong backlight, and a specular on the surface of the pan leads our eyes to the chocolate ball. Styling to include the chocolate powder helps keep us focused on the subject.
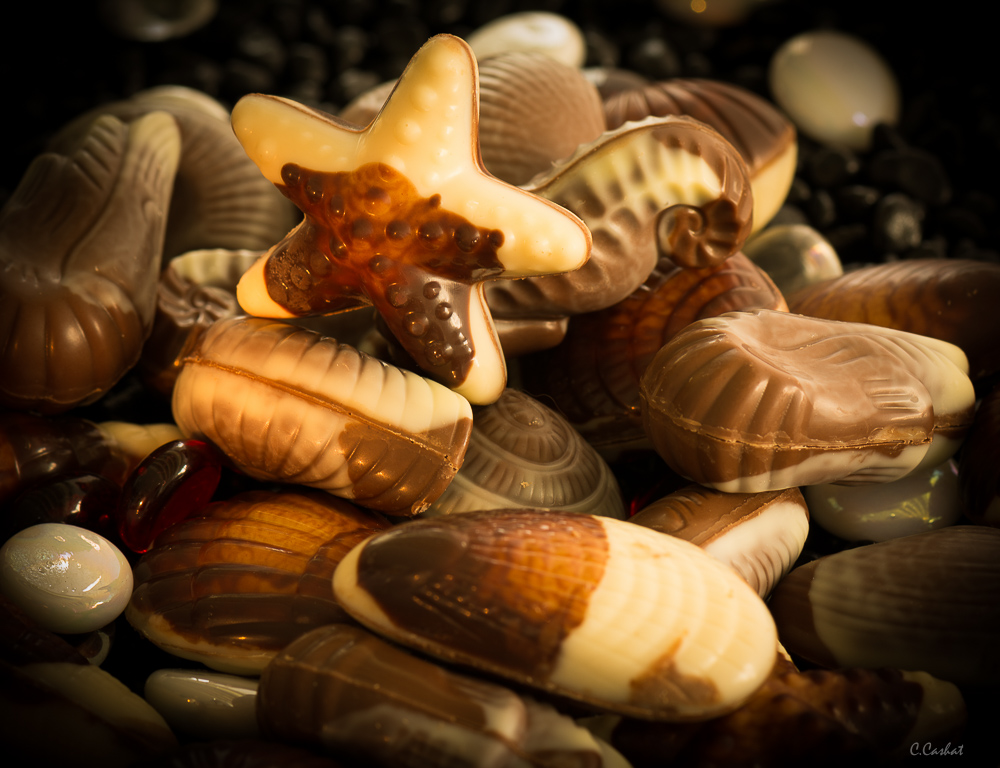
A colorful display of fancy chocolates lit gently from behind with a softbox behind a little kick of light from the front for fun.
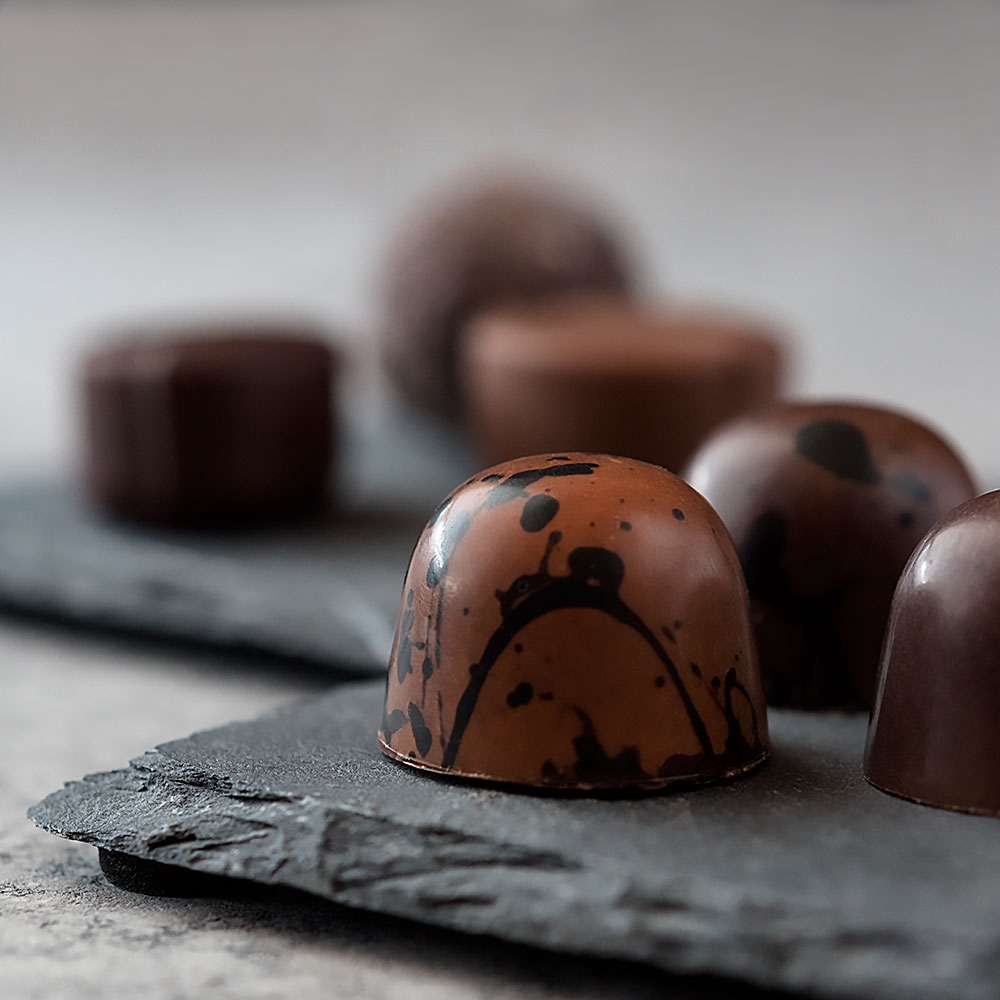
Shallow Depth of Field helps to present the textures of these fine chocolates, while giving us a pleasing composition.