FIRST THE ASSIGNMENT
Well, we have looked at myriad ways to create portraits in black and white. From methods of conversion to skin retouching, there are more frontiers to be discovered. For this final class I want you to present a portrait to us from beginning to end.
Tell us what you wanted, show us how you did production (BTS shot in color is fine), and then how you converted it to black and white. If you want to do a screen capture of your methods in black and white, use a screen cast software and send me the YouTube link. You can use email for that link.
What I am essentially asking for is a tutorial for your black and white image. Up to 4 images to tell us how you did it. Notate the images if that works as well. Remember to use the -1, -2, -3 etc for the images so they are in order. You can simply walk us through the different aspects of creating the image during the show.
MONOCHROME
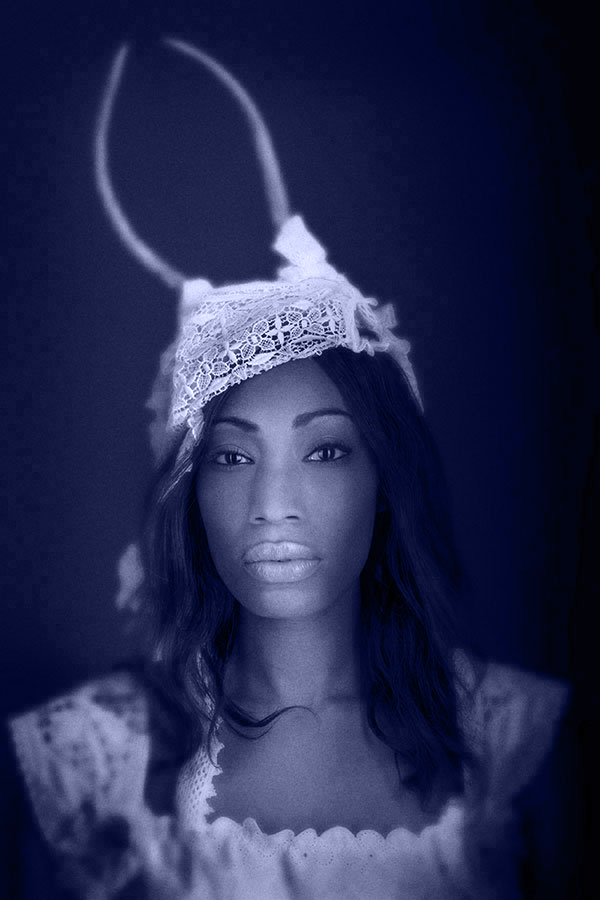
I love toned prints. I have used blue toner, gold toner, yellow toner, sepia, selenium, platinum and more to get monochrome images that were infused with a hue.
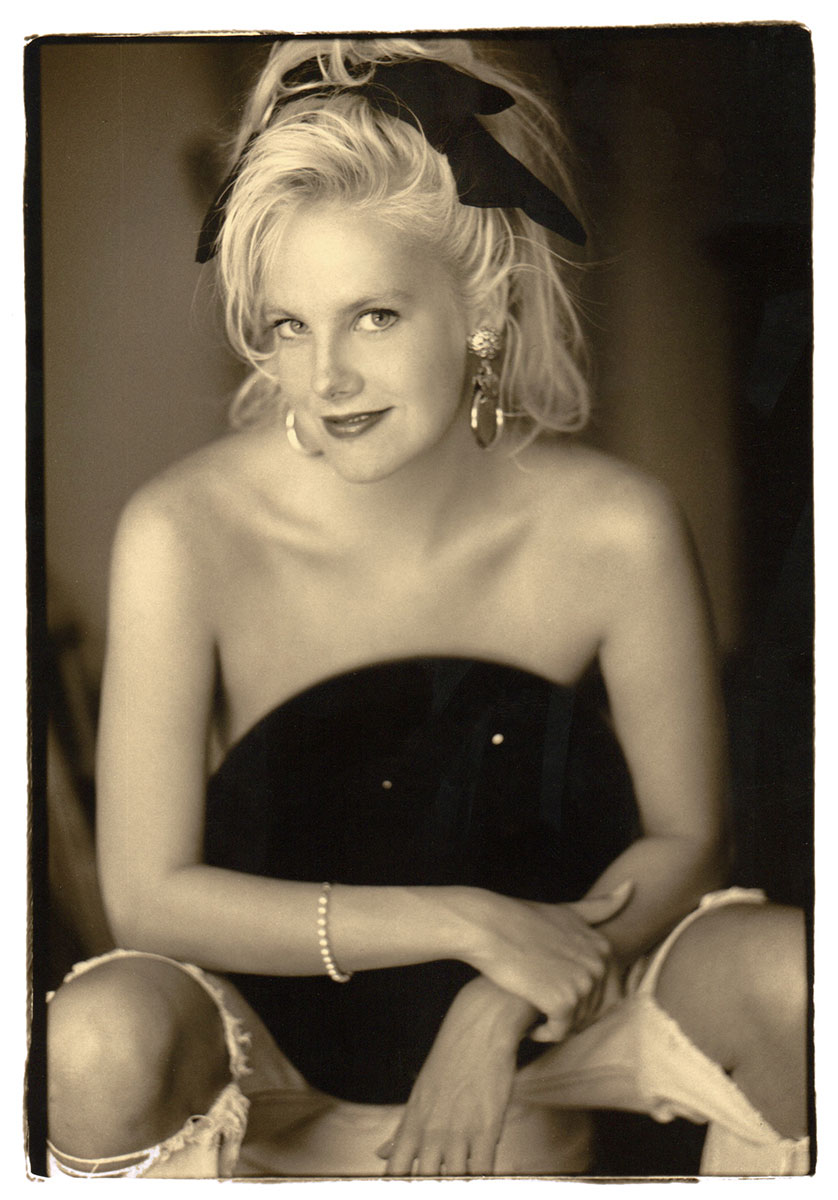
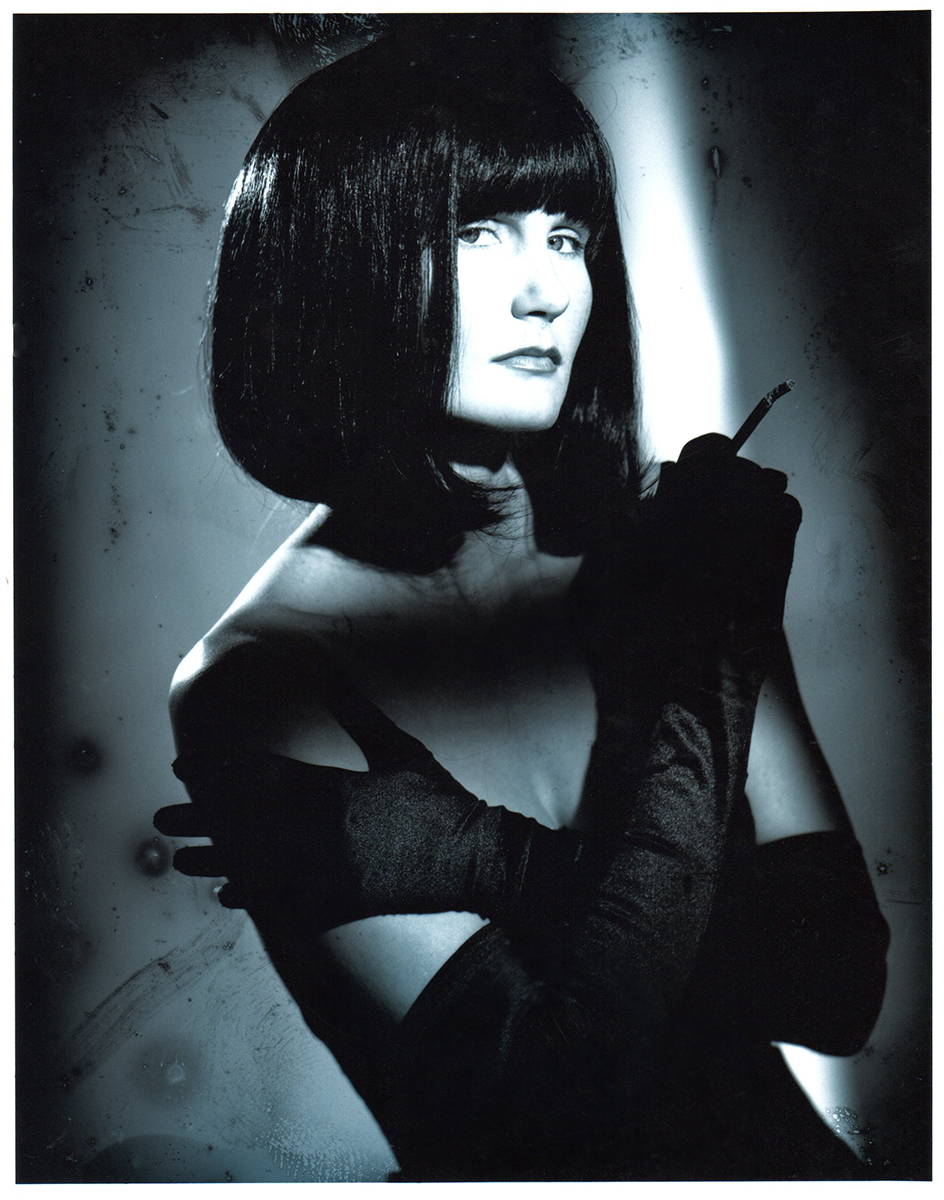
Here are three black and white shots that I used toner on to create the presentation I like.

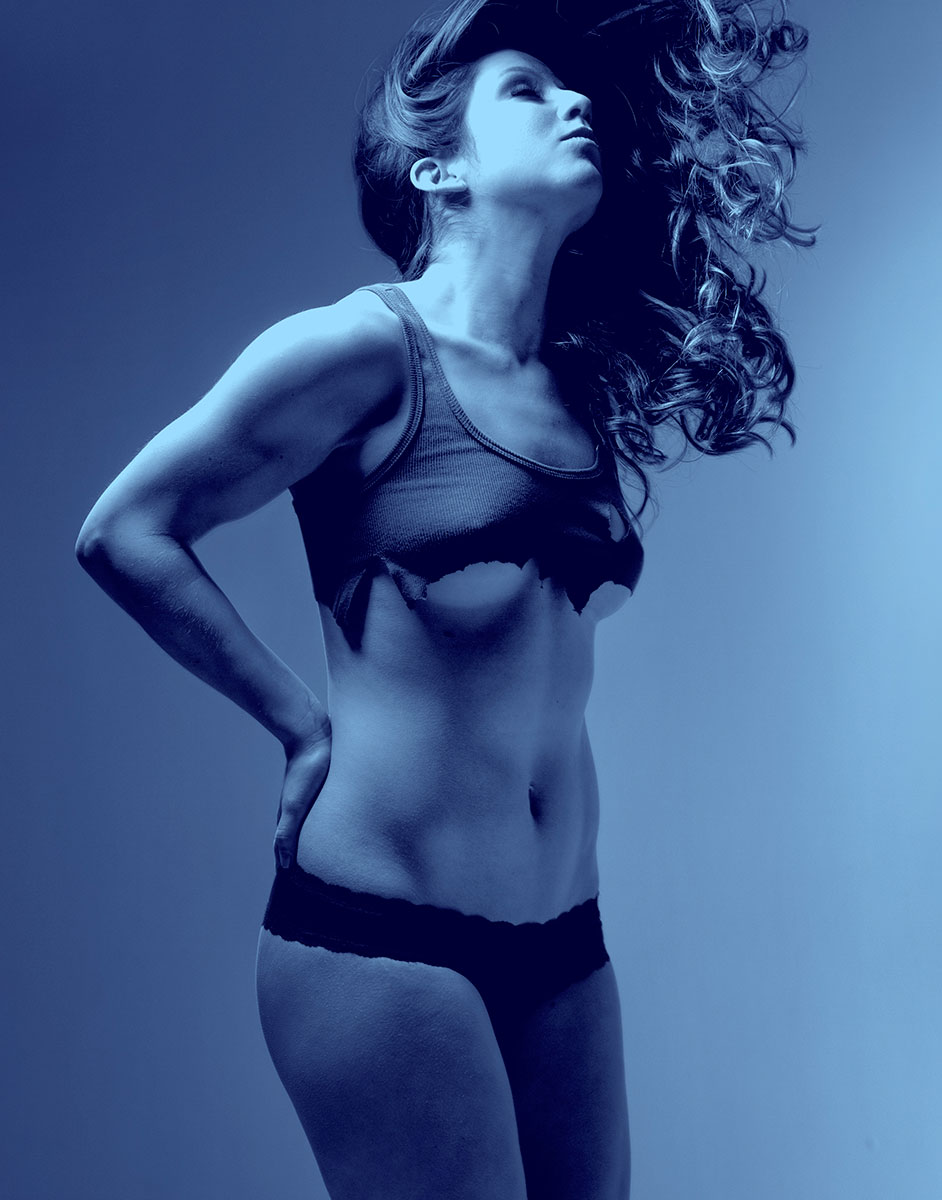
Bri with a blue tint:
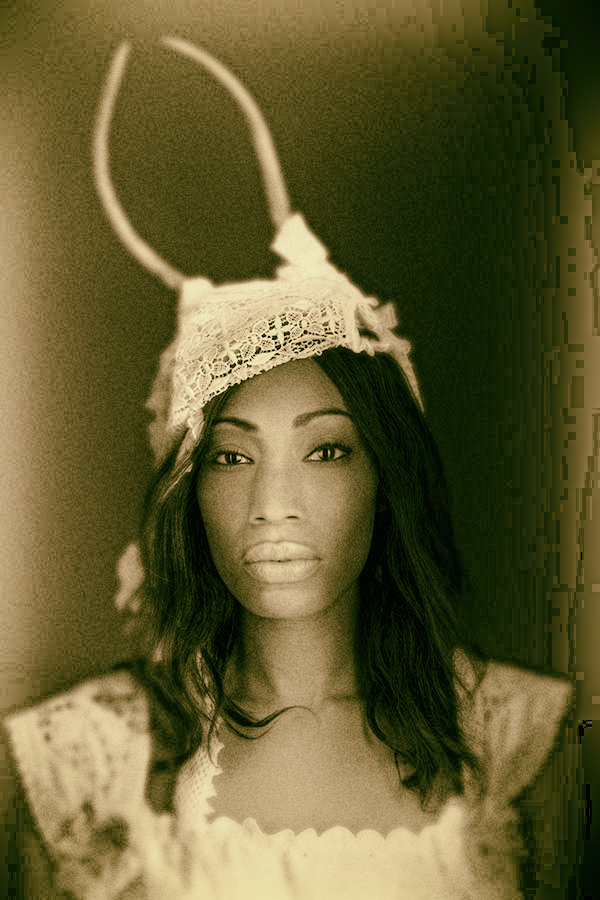
Ivy using the Black and White conversion layer.
Bri using the CLUT in Photoshop.