MODULE FOUR: MULTIPLE PROCESSING POSSIBILITIES
THERE'S MORE THAN ONE WAY TO CHASE A CAT UP A TREE...ERR..
Portrait Posing One:
Since this is a total portrait class with a focus on black and white, I thought I would share some posing techniques, and model-wrangling tips that I have used over the decades of shooting that has defined my career. And that means showing you some that didn’t work out all that well – and why.
Portrait Shoot Fail: This is not a professional model, and it was her first time in front of the camera. You can see how nervous she is in her eyes, and in the very stiff body position through out.
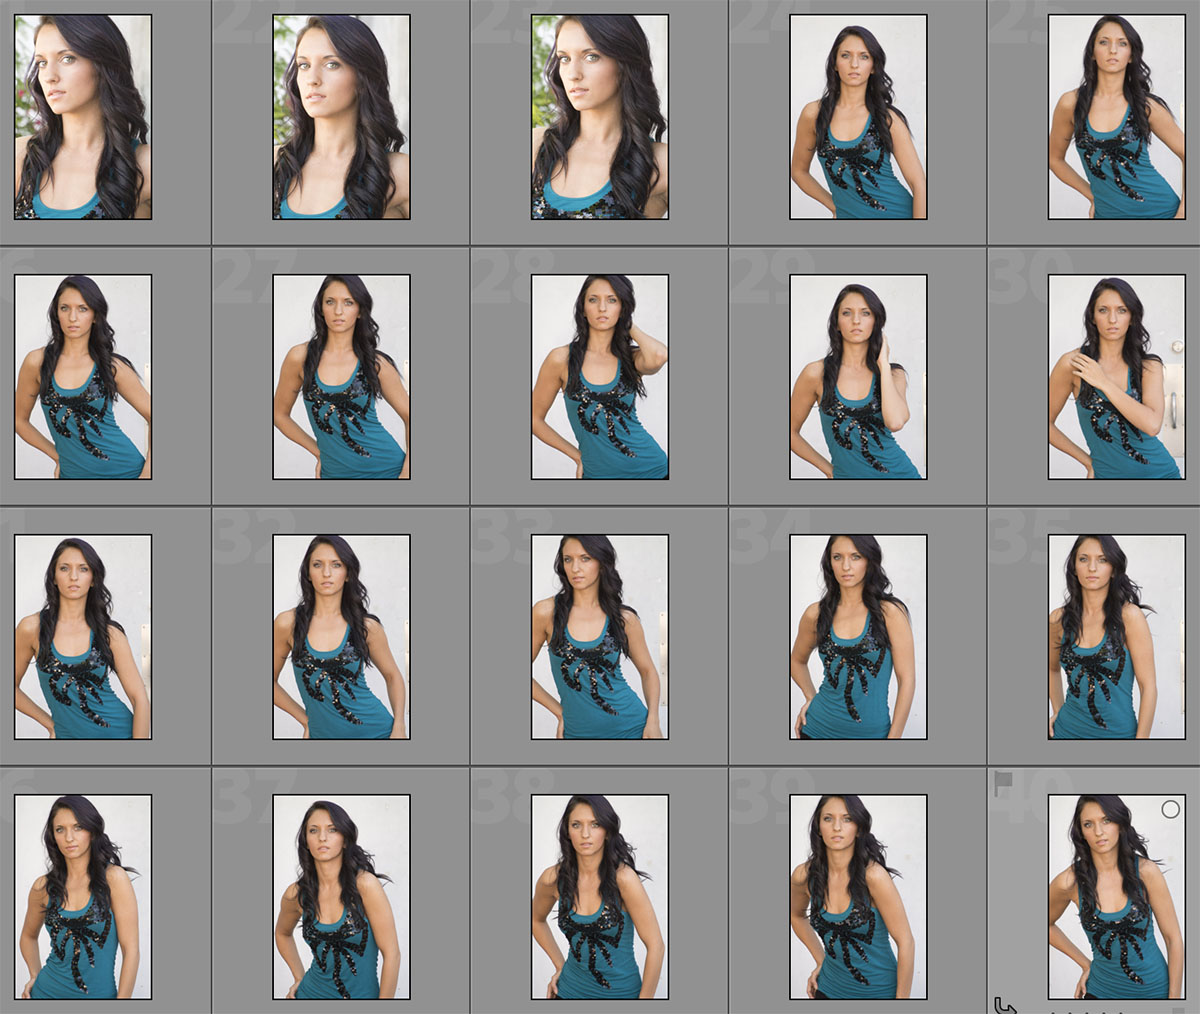 Her smiles are not believable, and when she is not smiling she looks somewhat terrified.
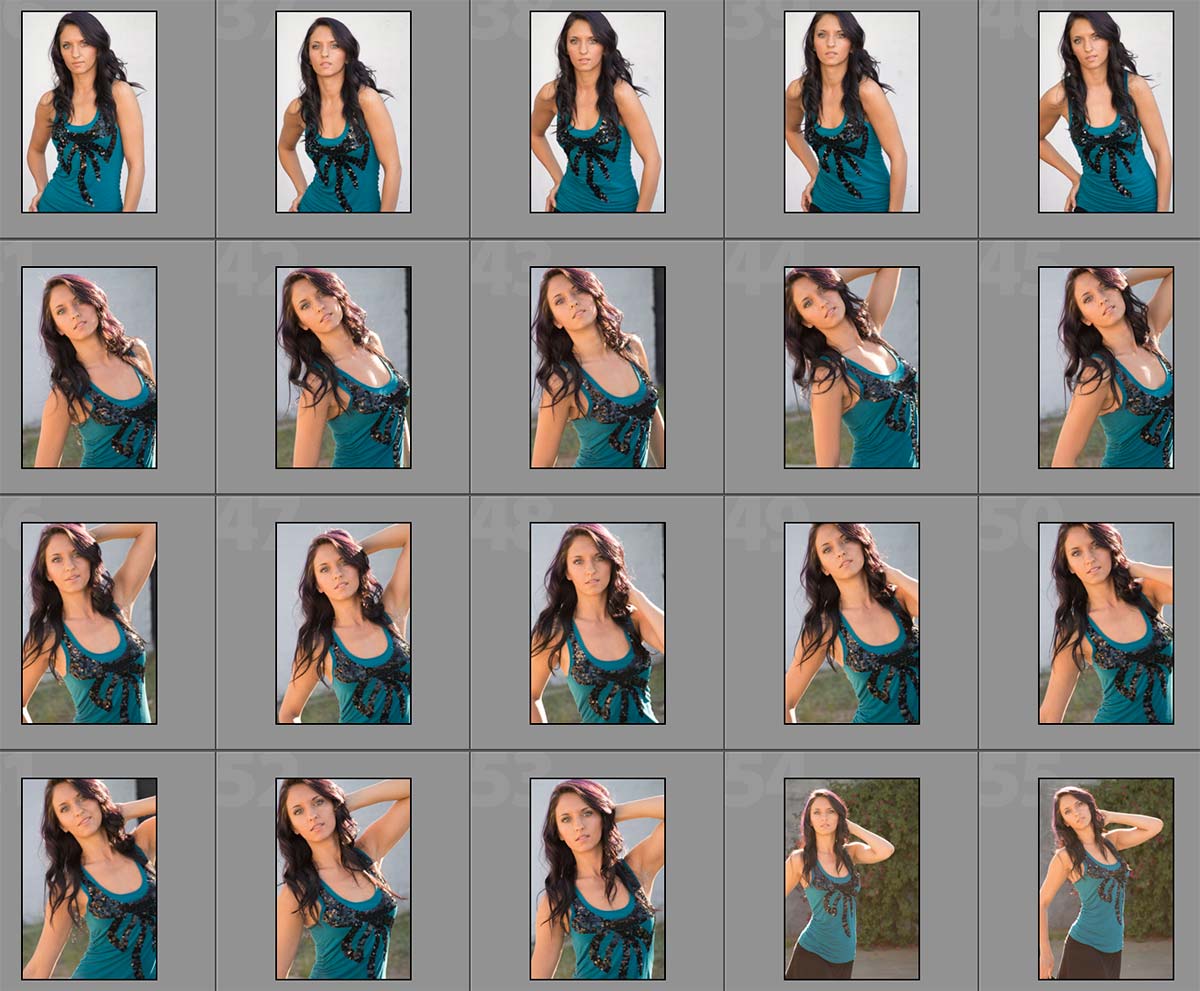
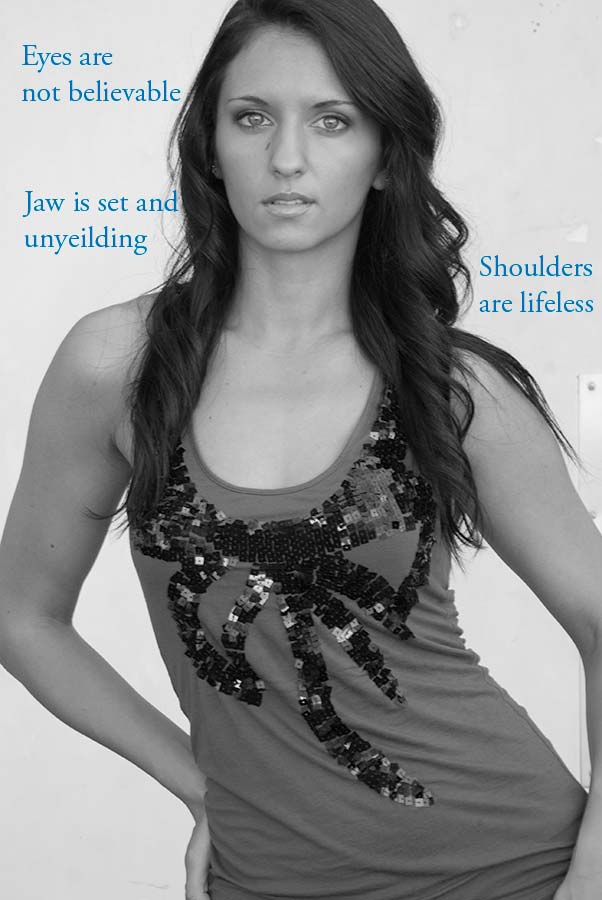
You can see the failure in the shot to the left.
The eyes are not believable, nor is her mouth/jaw. You can simply feel the tension coming from her shoulders even though I had her relax them several times.
I am not blaming her, I am blaming me. It is MY JOB to make her feel relaxed, or at least to get her to relax for a few seconds that I can use to grab the shot I am after.
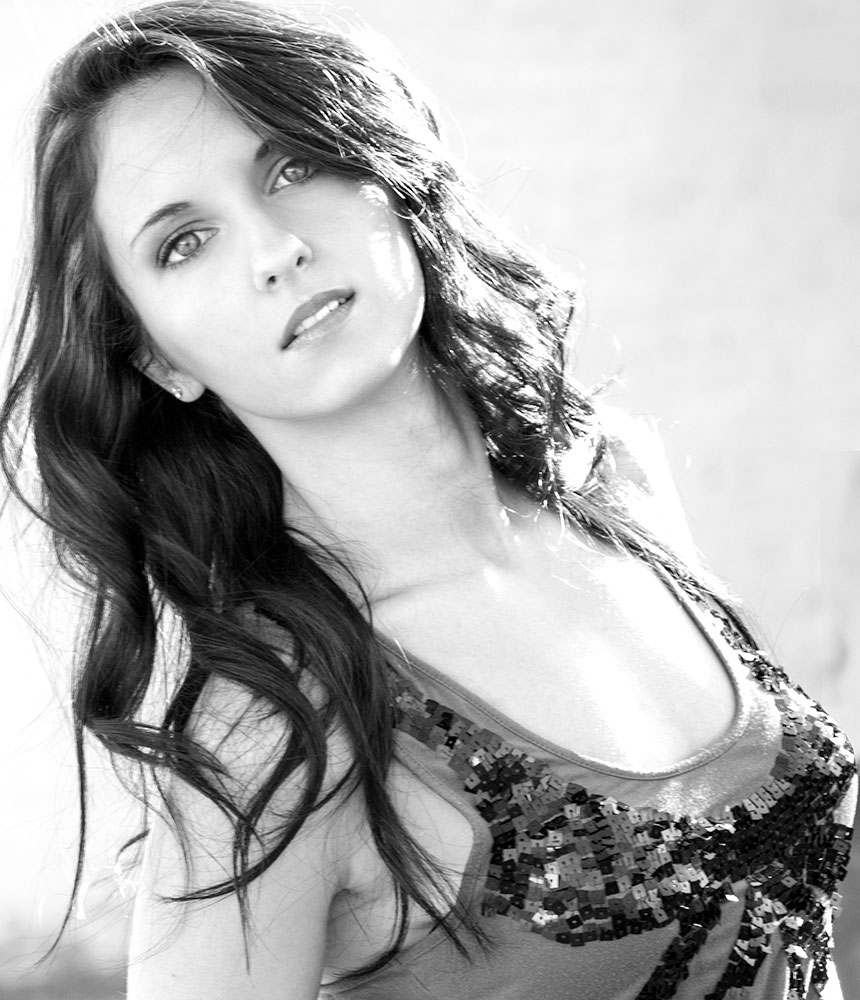
I want the portrait to be believable to the viewer. I want them to feel as if they are connecting to the subject.
The black and white conversion to the left is a simple Lightroom BW with absolutely no modification to the image at all.
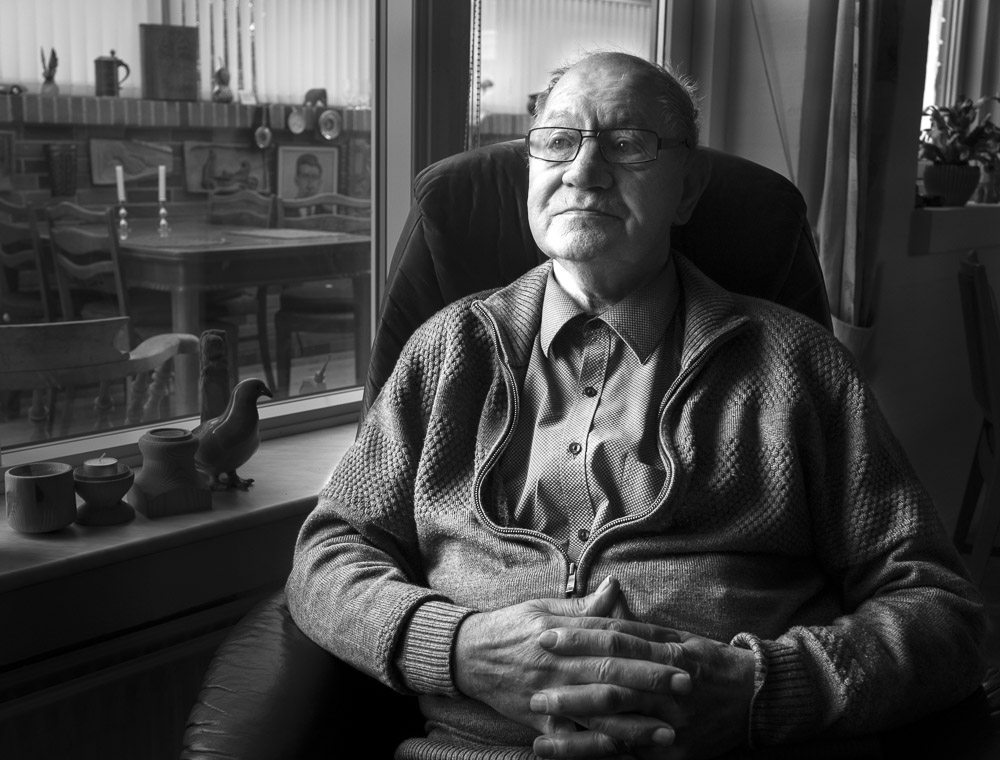
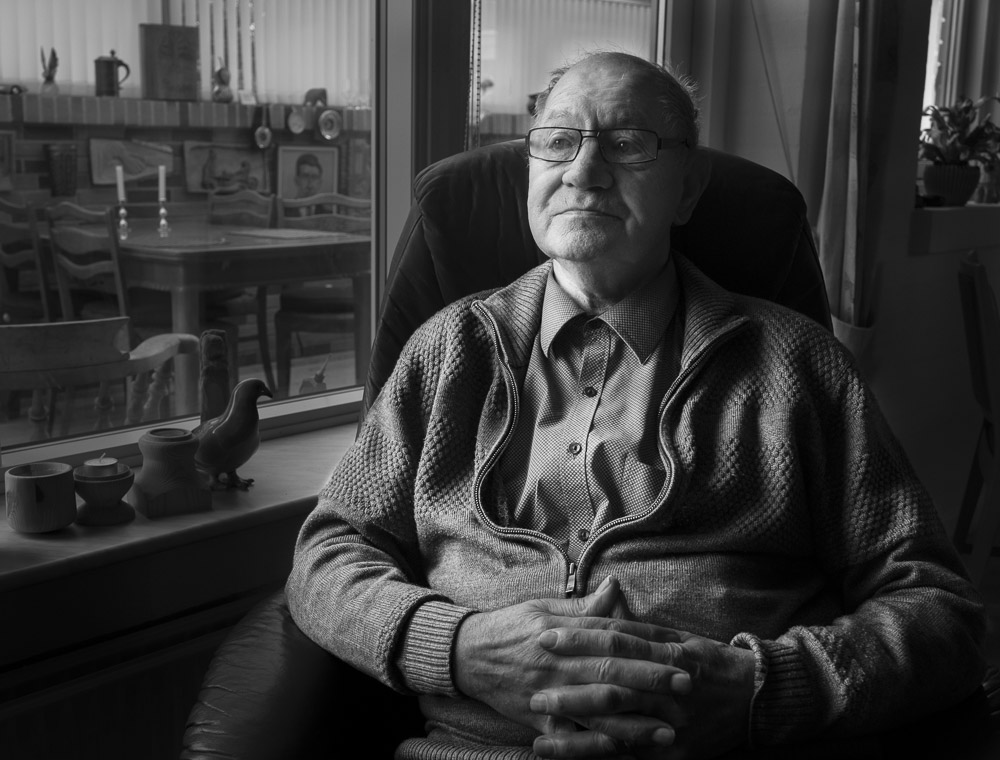
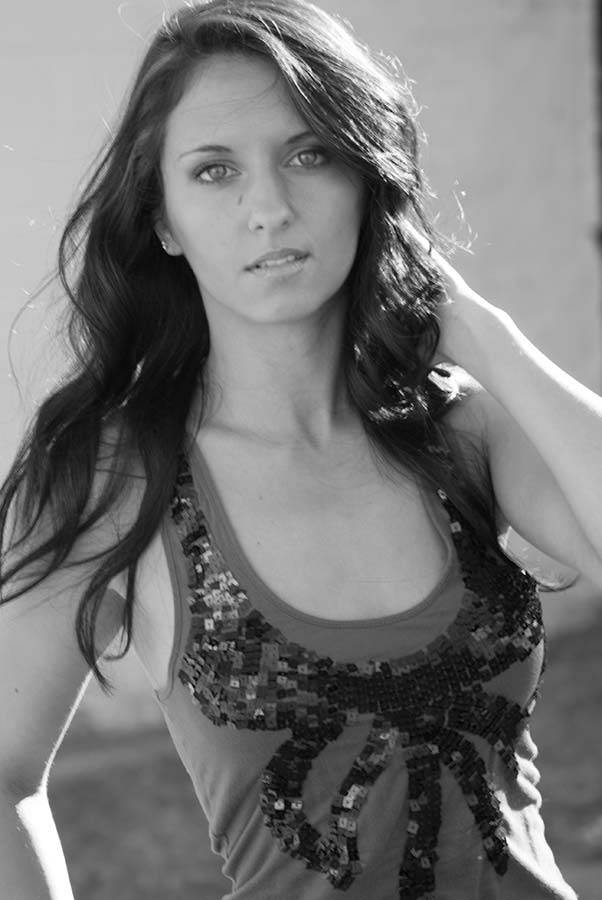
Here we are getting closer to getting a more authentic image of the subject.
The brow is less intense, and the muscles around her mouth are much softer.
Here eyes are more focused, and the relaxed shoulders give her a more accessible pose. We are starting to feel that she is being herself instead of afraid of the camera (viewer).
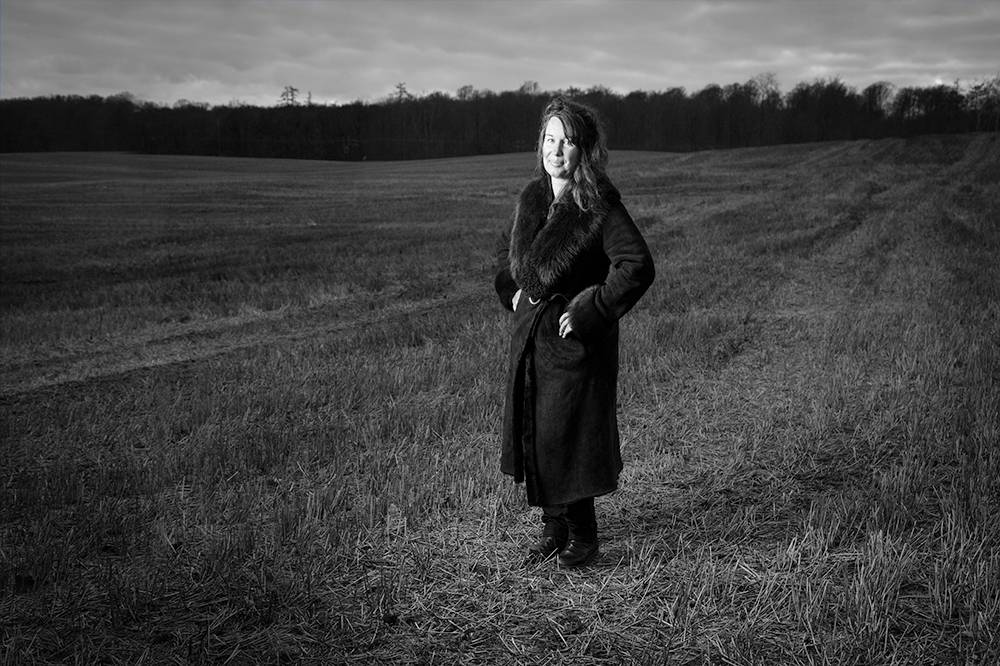
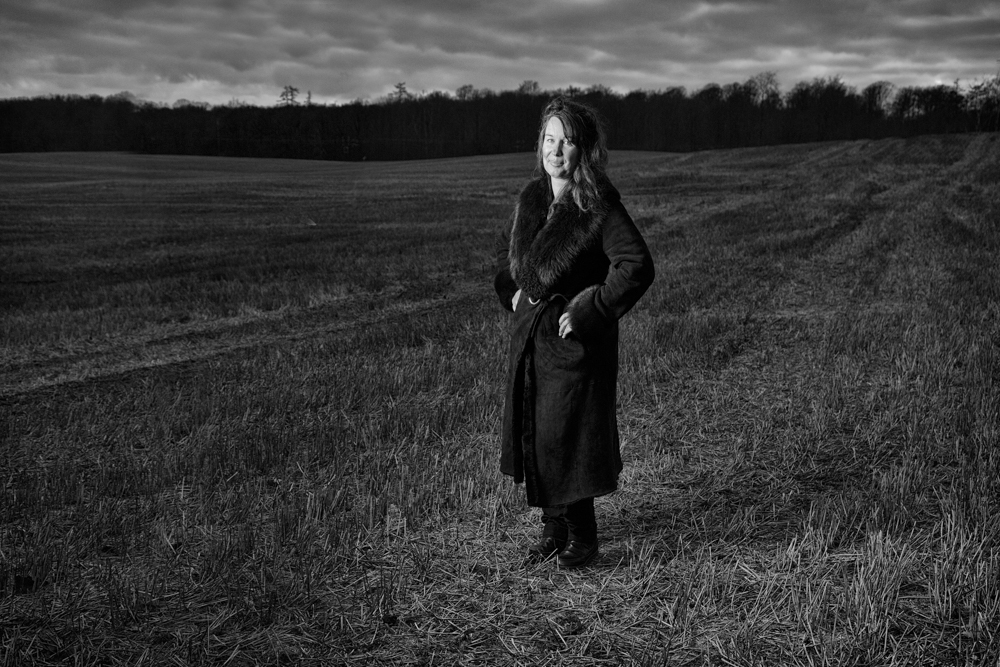
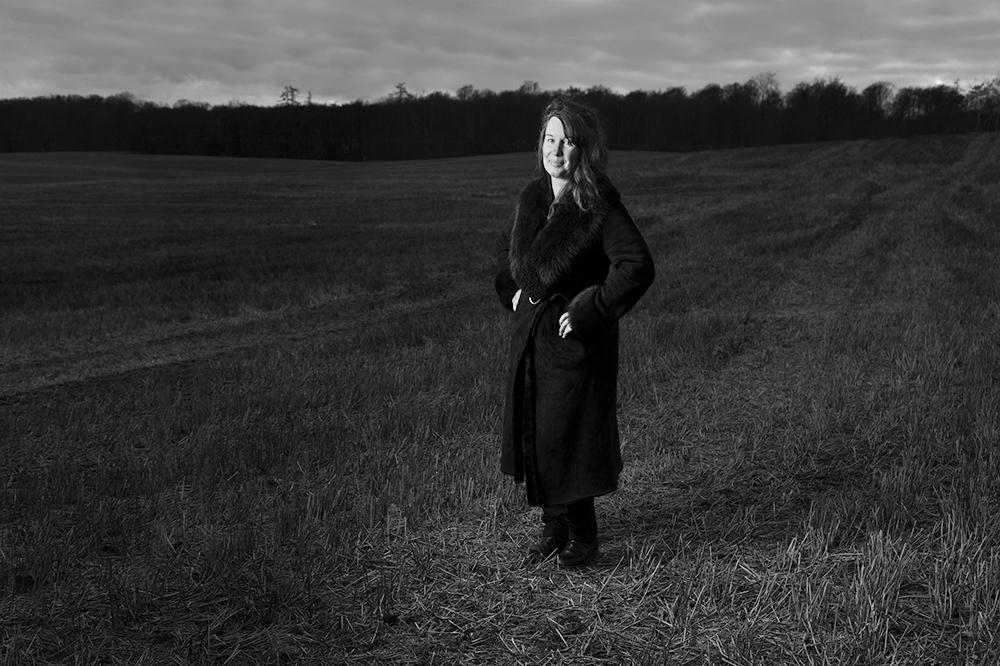
THREE METHODS FOR CONVERSION: ONE IMAGE:
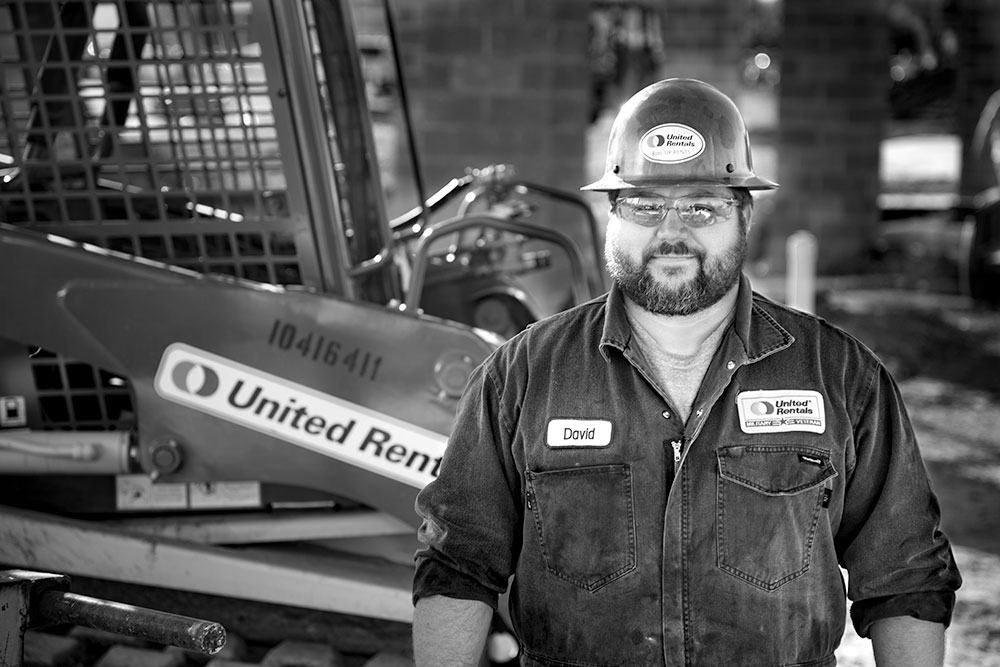
BLACK AND WHITE CONVERSION:
Photoshop, Black and White Layer Adjustment
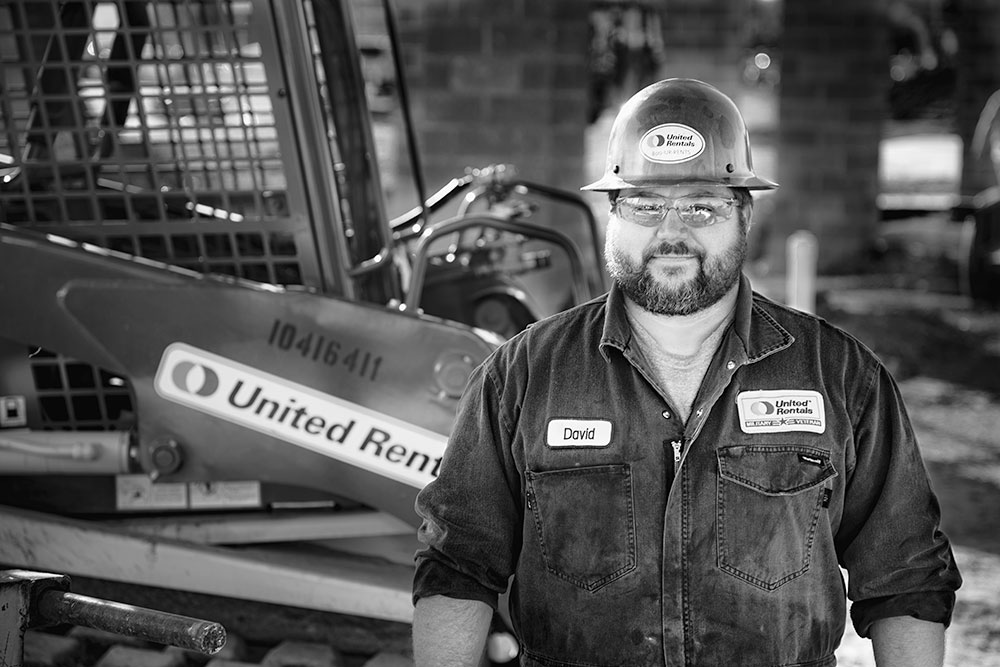
BLACK AND WHITE CONVERSION:
Photoshop, Channel Mixer Layer Adjustment
BLACK AND WHITE CONVERSION:
Photoshop, NIK, Full Dynamic Smooth
I wanted to create an image that seemed to be a bit ‘older’ in the overall presentation.
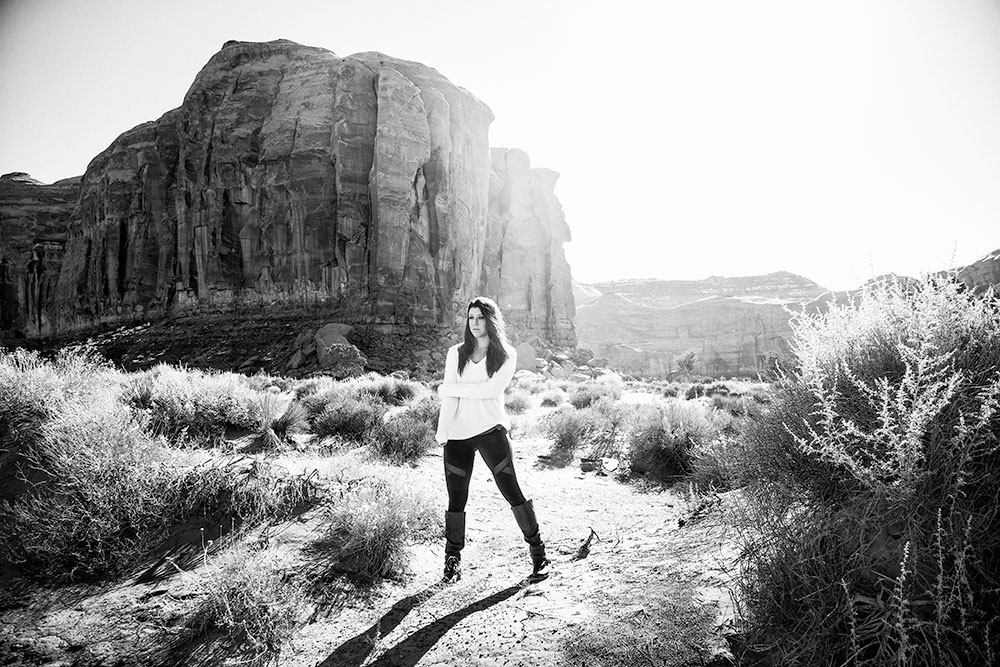
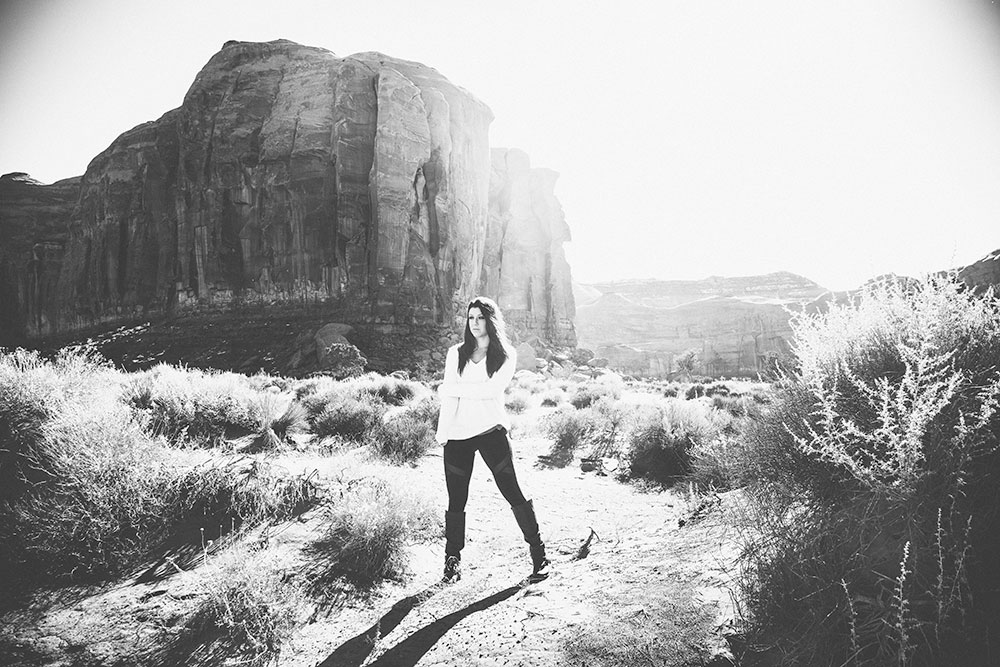
IMPORTANT:
Pose should be direct, powerful, engaged.
Light should feel strong and a part of the image itself.
No loss of the flare feeling in the sky behind the subject.
An aloof face without ‘posing’ for the camera.
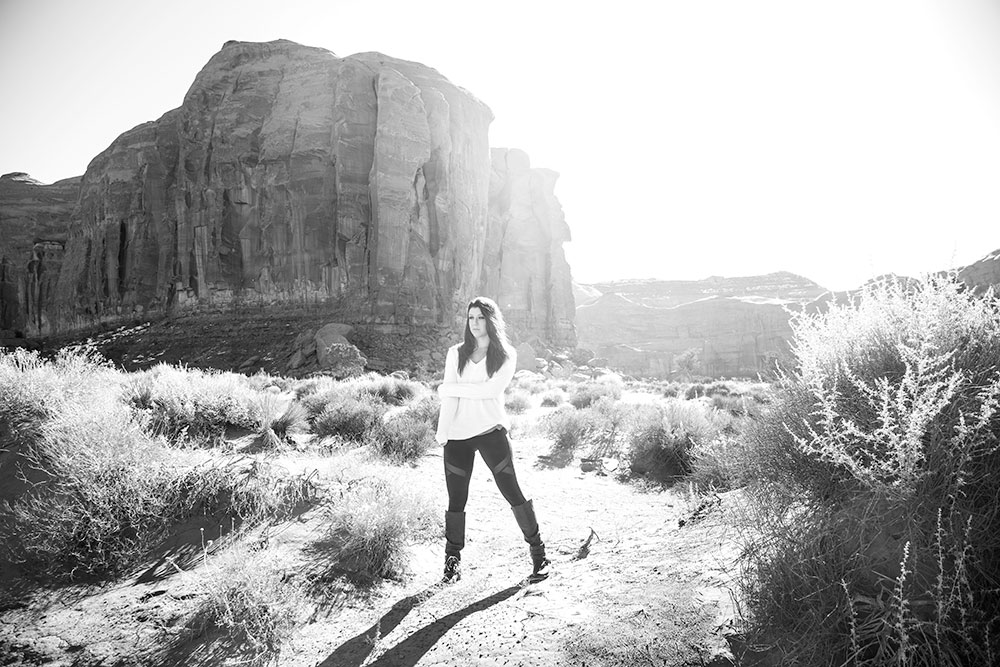
BRIANA IN MONUMENT VALLEY:
Photoshop, Channel Mixer
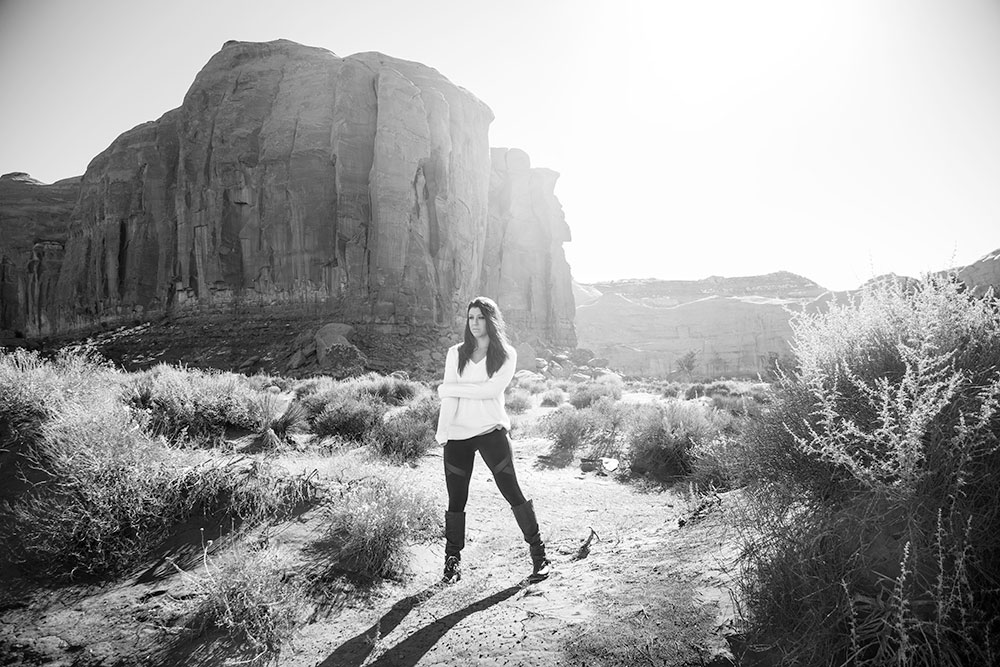
BRIANA IN MONUMENT VALLEY:
Photoshop, Black and White Adjustement Layer
BRIANA IN MONUMENT VALLEY:
Photoshop, NIK Silver Effects, Wet Rocks
BRIANA IN MONUMENT VALLEY:
Photoshop, NIK Analog Classic Camera, Channel Mixer
ASSIGNMENT:
- Design a portrait to be a black and white image.
- Decide beforehand what that image should look like (high contrast, soft contrast, sepia, analog, retro, or whatever you come up with.)
- Shoot the image and note the lighting so we can discuss it.
- Process the image in both of the processes offered in Photoshop (we will discuss LR next week). Channel Mixer / Black and White Layer
- Choose a third method: NIK, Alien Skin, Perfect Effects, DXO
- Upload all three and please note in your notes which is which – and let us know which you prefer.
Remember that you must refresh the page between each image you upload.