8-WEEK PRODUCT WORKSHOP 2025
ASSIGNMENT SIX
HOUSEHOLD PRODUCTS
ASSIGNMENT UPLOAD
1. Must not be larger than 1200 pixels on the longest side.
2. Must be .jpg format
3. Include BTS shots (at least one per set)
|
Upload files
|
|
|
|
|
|
|
|
|
ASSIGNMENT SIX:
TWO SHOTS:
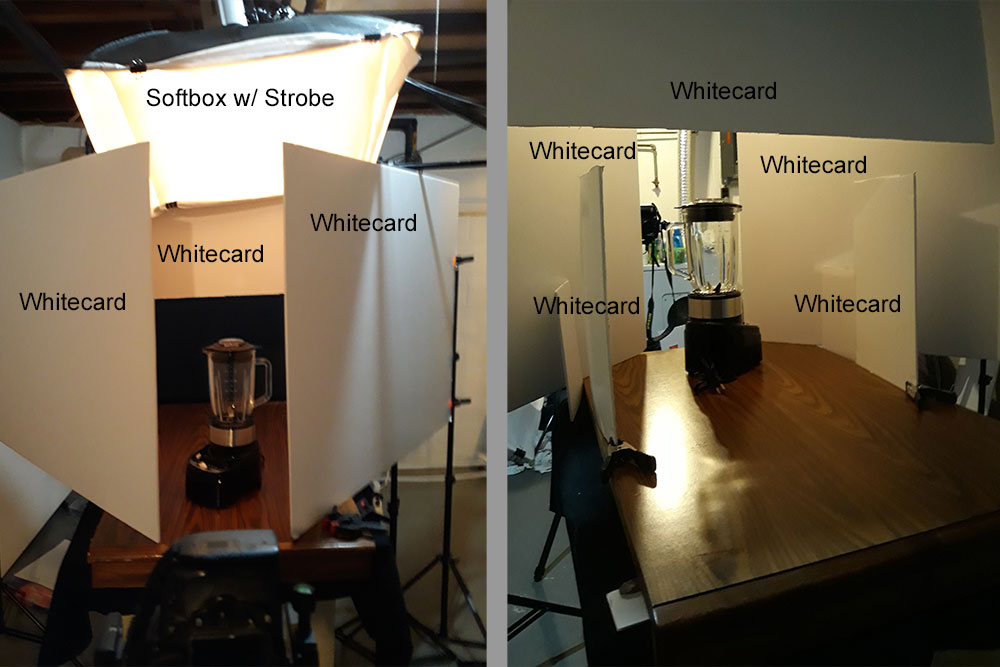
Shot one: Household Product on white (Amazon / catalog style)
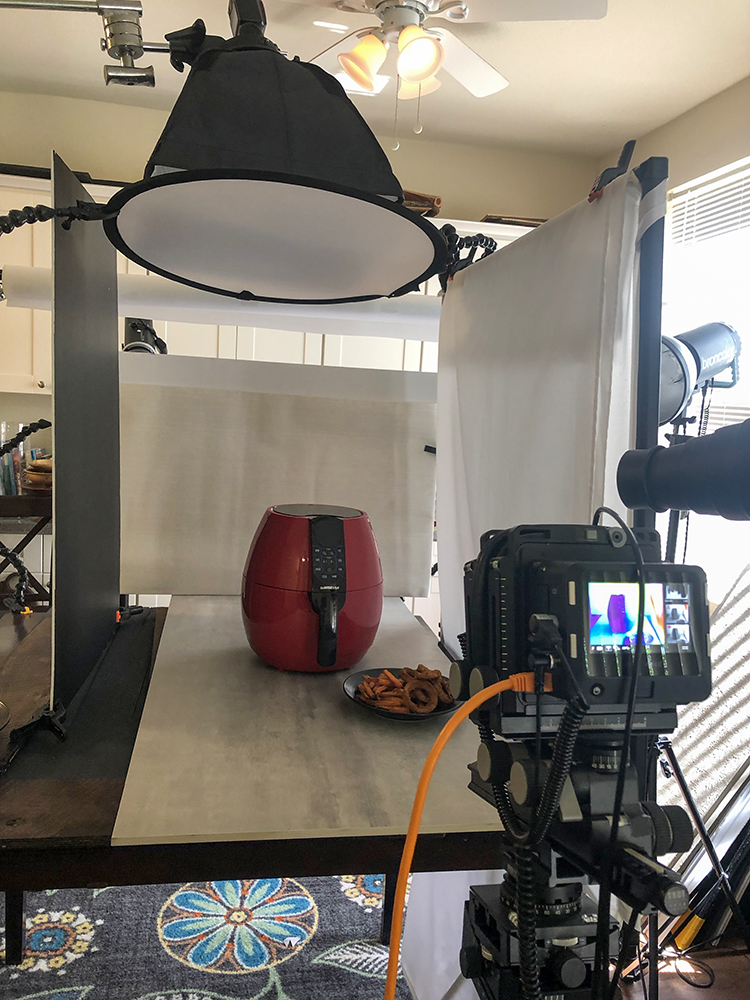
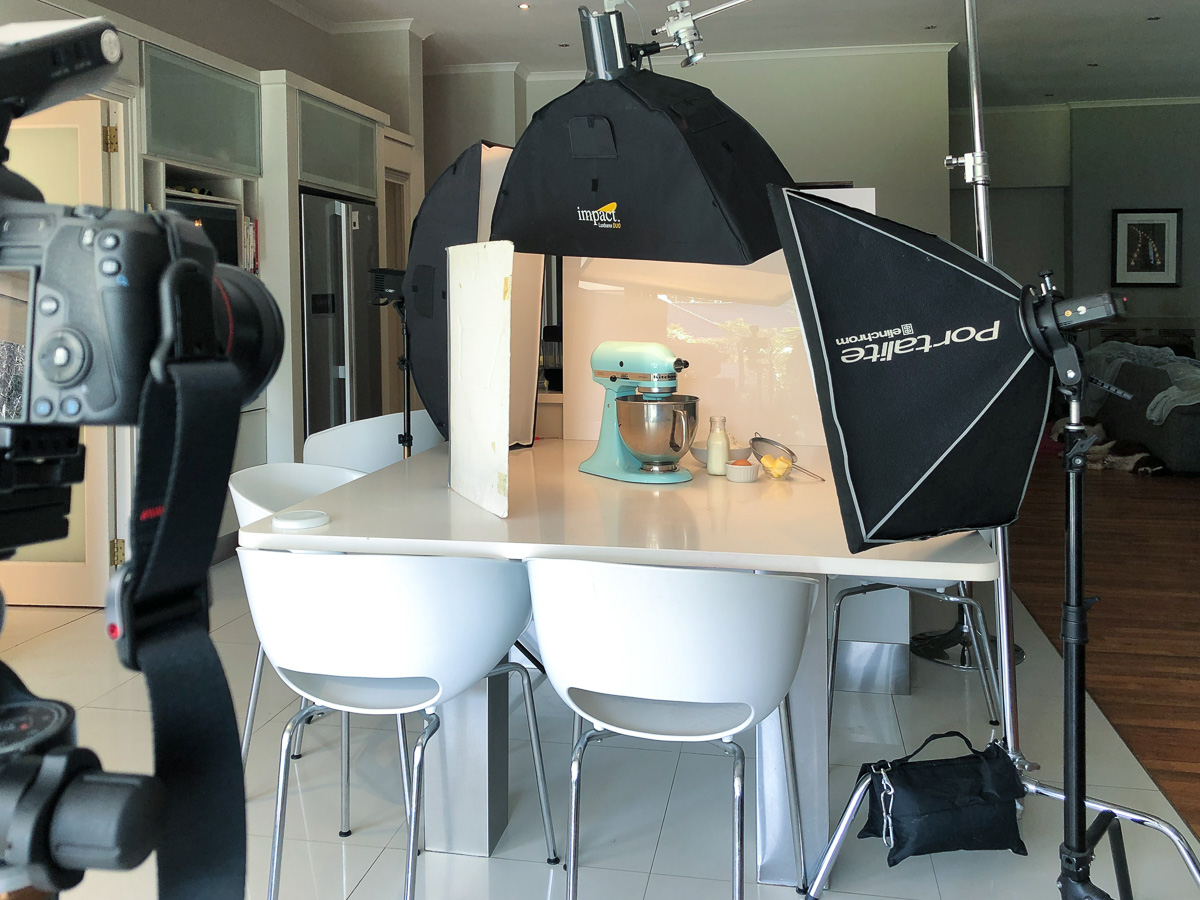
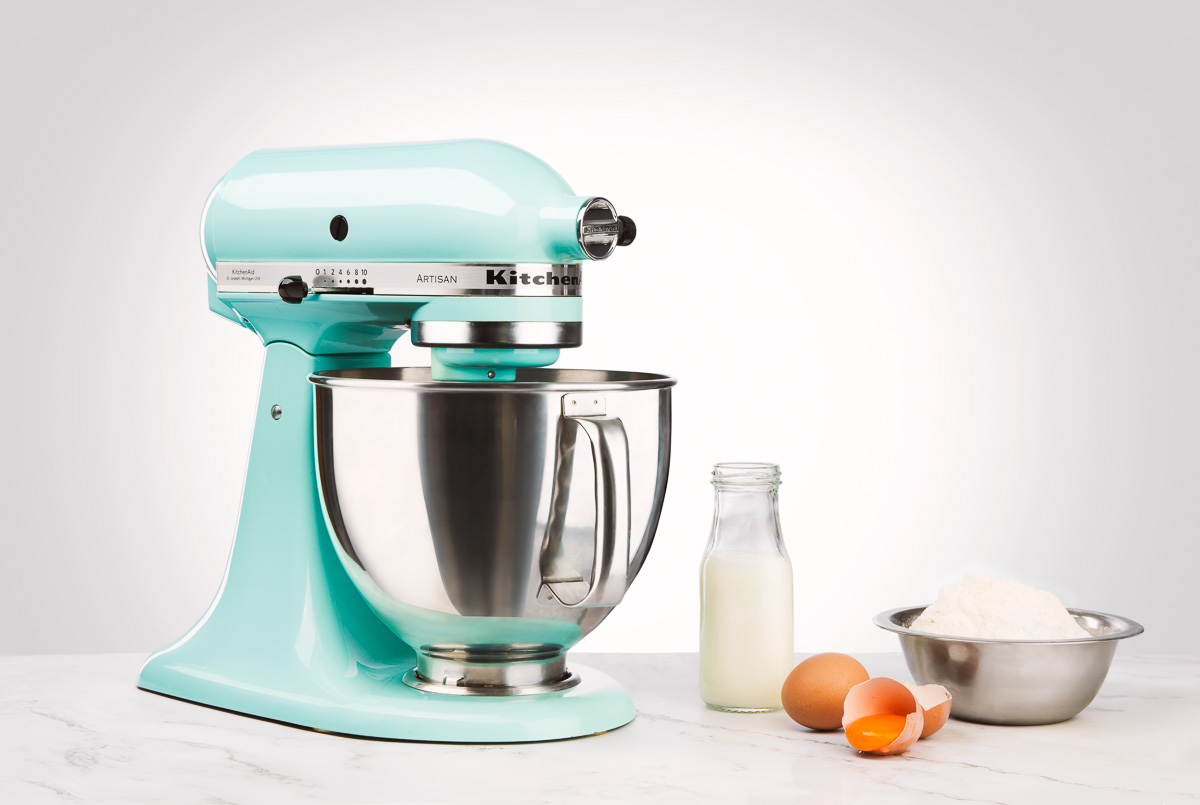
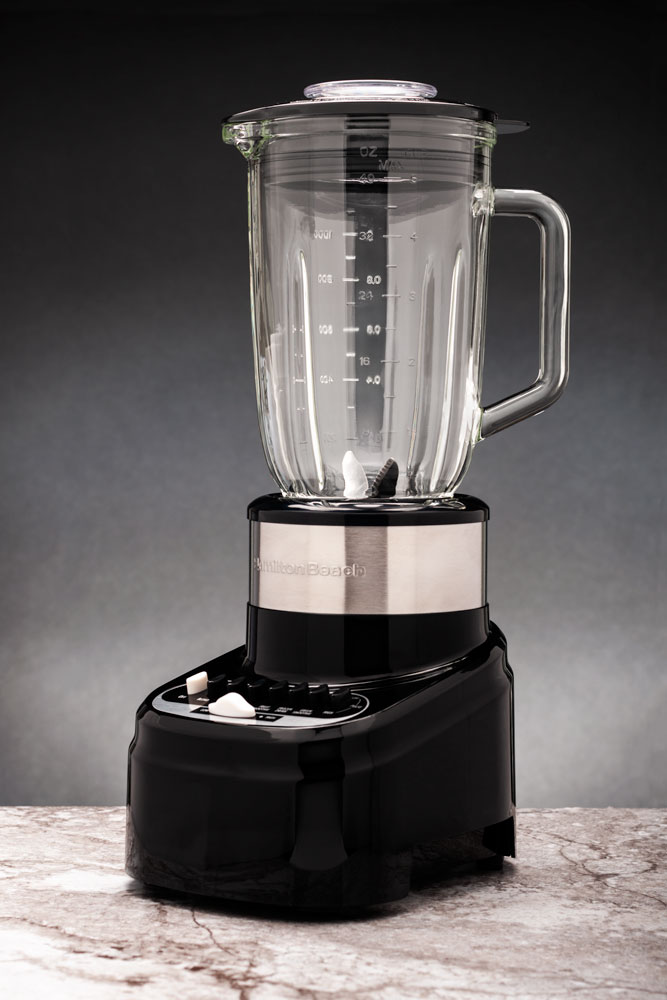
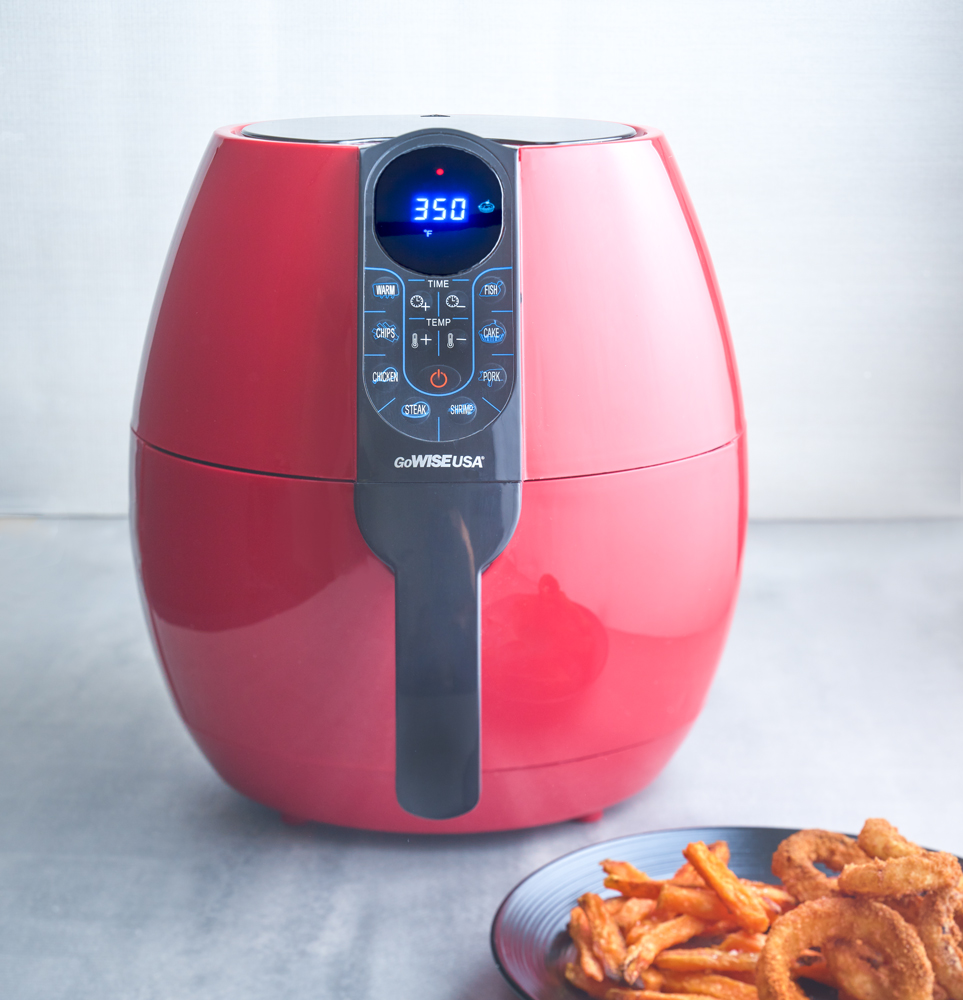
Shot two: Same product, with styling added. For example: if a blender, add some fruit or yogurt containers. If a coffee maker, coffee beans, cups etc…
Same product shot two different ways.
A Checklist for Photographing Housewares
Consumer Product Photography Checklist: Housewares Edition
PRE-PRODUCTION
Client Discovery
-
Confirm intended use of images (e.g., e-commerce, social, print ads, packaging)
-
Get brand guidelines (colors, tone, logos, fonts, etc.)
-
Confirm image orientation needs (portrait, landscape, square)
-
Ask for competitor or inspirational references
-
Clarify deliverables (how many final images, file format, resolution)
Product Intake
-
Inspect products for defects, fingerprints, dents, missing parts
-
Ask for extras or backups (especially if food or liquid is involved)
-
Request accessories that come with the product
-
Gather user manuals to ensure accurate presentation
Creative Planning
-
Determine styling approach (clean studio, lifestyle, or hybrid)
-
Sketch or list shot concepts: hero shots, detail shots, functional use, scale reference
-
Build a shot list with image purpose and orientation
-
Create a mood board if lifestyle is involved
SHOOT PREP
Studio Prep
-
Choose appropriate backgrounds (sweep, lifestyle sets, color pops)
-
Select props that enhance but don’t distract
-
Test lighting setups for texture and material handling (gloss, chrome, plastic)
-
Prep surfaces — keep them clean and uncluttered
-
Gather tools: clamps, wipes, gloves, gaffer tape, anti-static brush
Gear Checklist
-
Camera + backup
-
Lenses: macro, 24-70mm, tilt-shift (if needed)
-
Tripod + tethering gear
-
Lighting: strobes, modifiers, reflectors, flags
-
Light meter and color checker
SHOOT DAY
General Practices
-
Wear gloves when handling shiny products
-
Clean product between every setup
-
Check alignment and perspective often
-
Shoot tethered to monitor sharpness and reflections
-
Capture both horizontal and vertical versions if possible
Shot Execution
-
Hero shot – clean, front-facing, isolated on white or neutral
-
Function shot – in-use with human interaction or implied usage
-
Details & texture – close-ups of buttons, textures, lids, etc.
-
Back-of-product shot – show cable storage, venting, or labels
-
Scale/size reference – hand, countertop, or with other common items
-
Lifestyle shot – product in home context, styled environment
-
Include a few negative space compositions for designers
POST-PRODUCTION
-
Basic retouching: dust, scratches, fingerprints
-
Color correction and white balance
-
Perspective correction and cleanup
-
Ensure product branding/logo is sharp and visible
-
Export in required sizes and formats
-
File naming convention per client guidelines
-
Deliver preview contact sheet or low-res set for review
FILE DELIVERY
-
Create organized folders: RAW, selects, finals
-
Include a README or delivery note
-
Backup to local and cloud storage
-
Follow up with client for feedback or potential reshoots
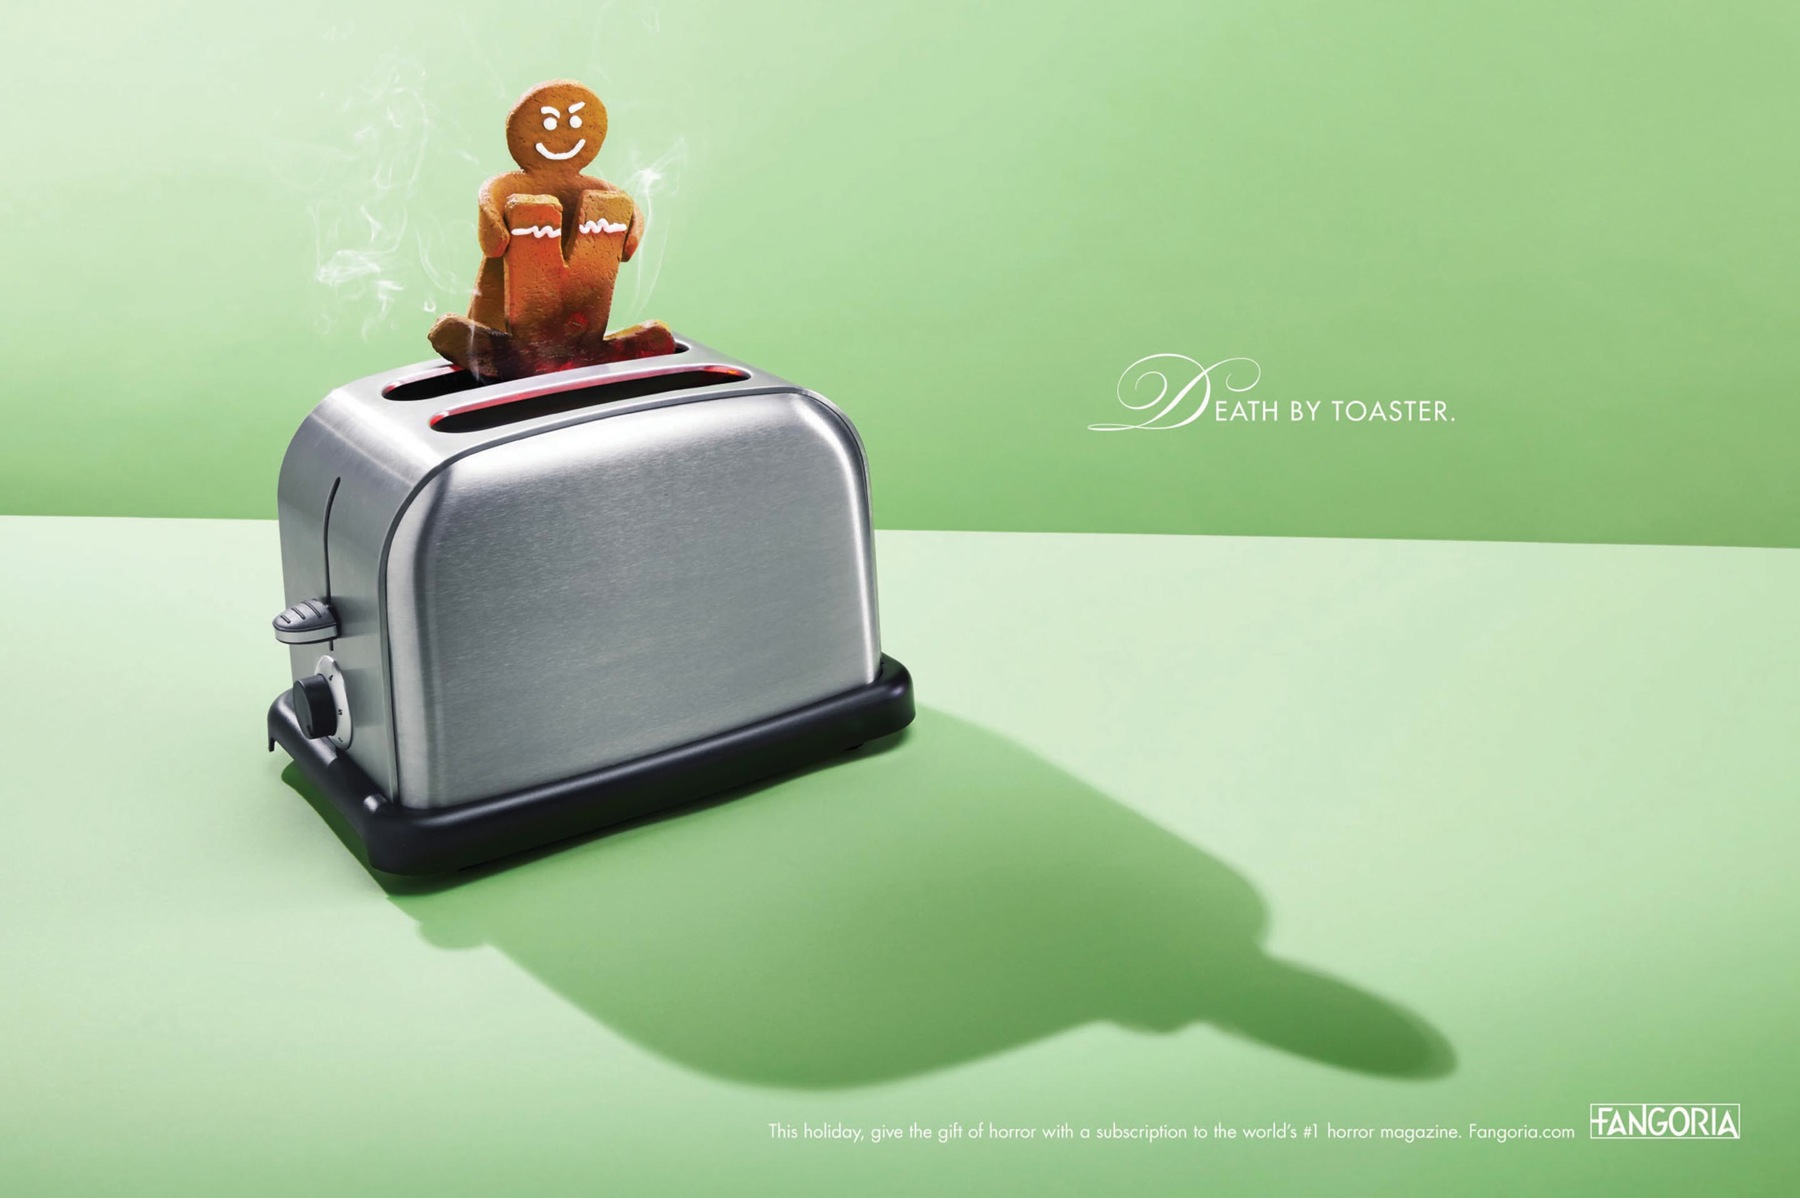
A very clever concept and good execution make this toaster shot stand out. Not sure I would run it in a kids magazine, but there is a certain appeal to the psycho gingerbread man. The shadow takes the viewer right up to the toaster, and the lighting shows us a polished steel unit with simple controls. All a serial gingerbread killer would ever need.
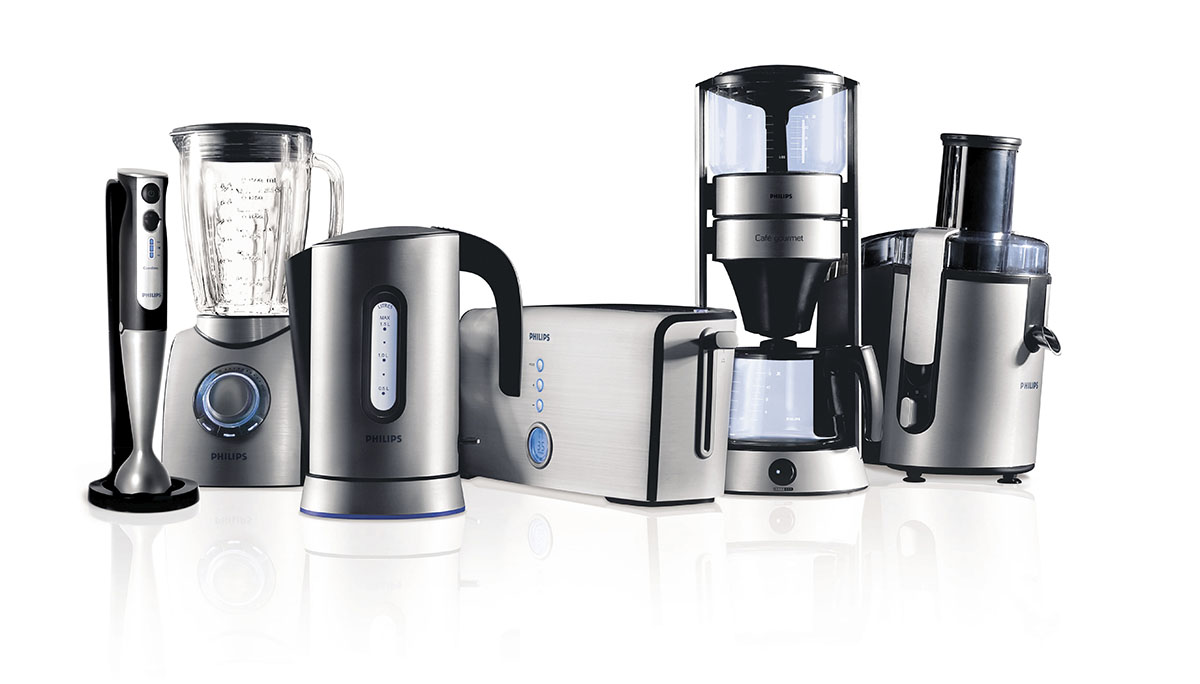
This grouping shows great lighting and also demonstrates a nice attention to the design of each of the appliances. Note how the photographer has the items placed to show design elements that may be crucial to the items separately. The toaster has side controls well seen as well as the blender’s front dial and settings.
The light on camera left is farther back than the one on camera right. This adds to the gradient affect, as well as transferring the way the light is reflecting on each of the sides of the appliances. I think there are plenty of indicators that these were shot singularly and placed together in Pshop. If you look with a very discerning eye, you will notice that there are few reflections of the items to each side. The exception is the coffee maker with the deep shadow on the toaster back. But even that is probably created in Pshop.
Hey… however you do it is fine. The image just has to rock.
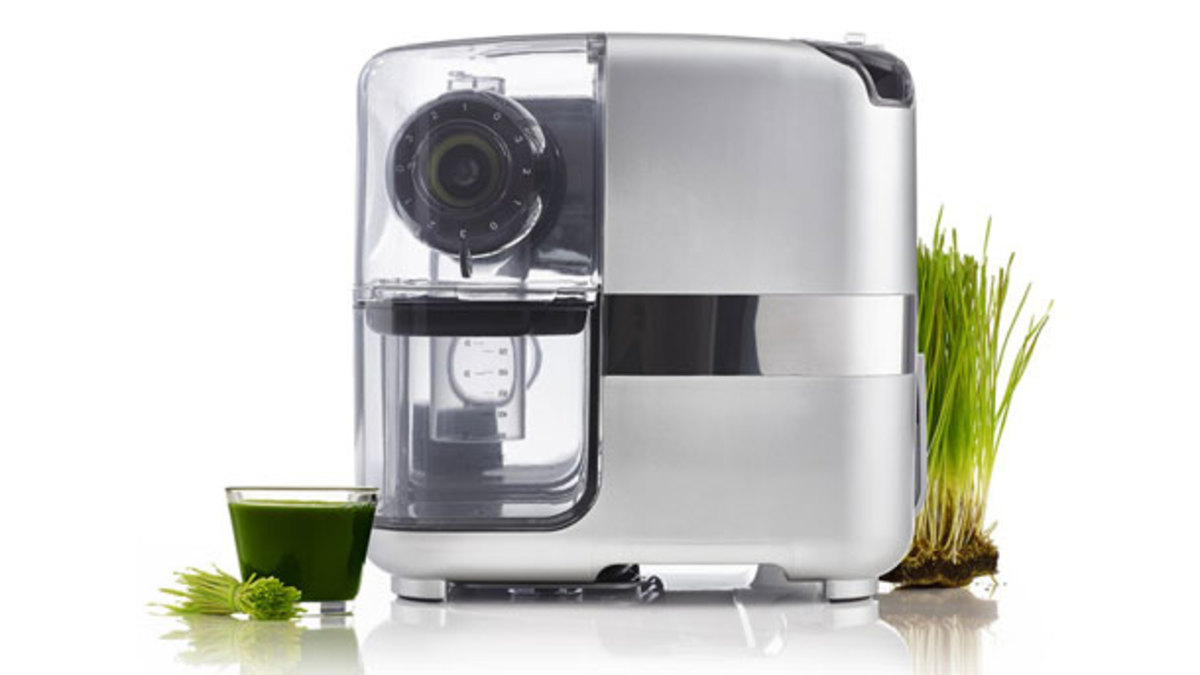
Adding a little touch of color and props can sometimes help the viewer know what they are looking at. it can also make a very bland product feel a little more colorful.
When you do, make sure you do not overpower the product with the items you add. In this case the photographer used the juicer to partially hide the grass in the back, while the small bit up front is both darker and smaller.
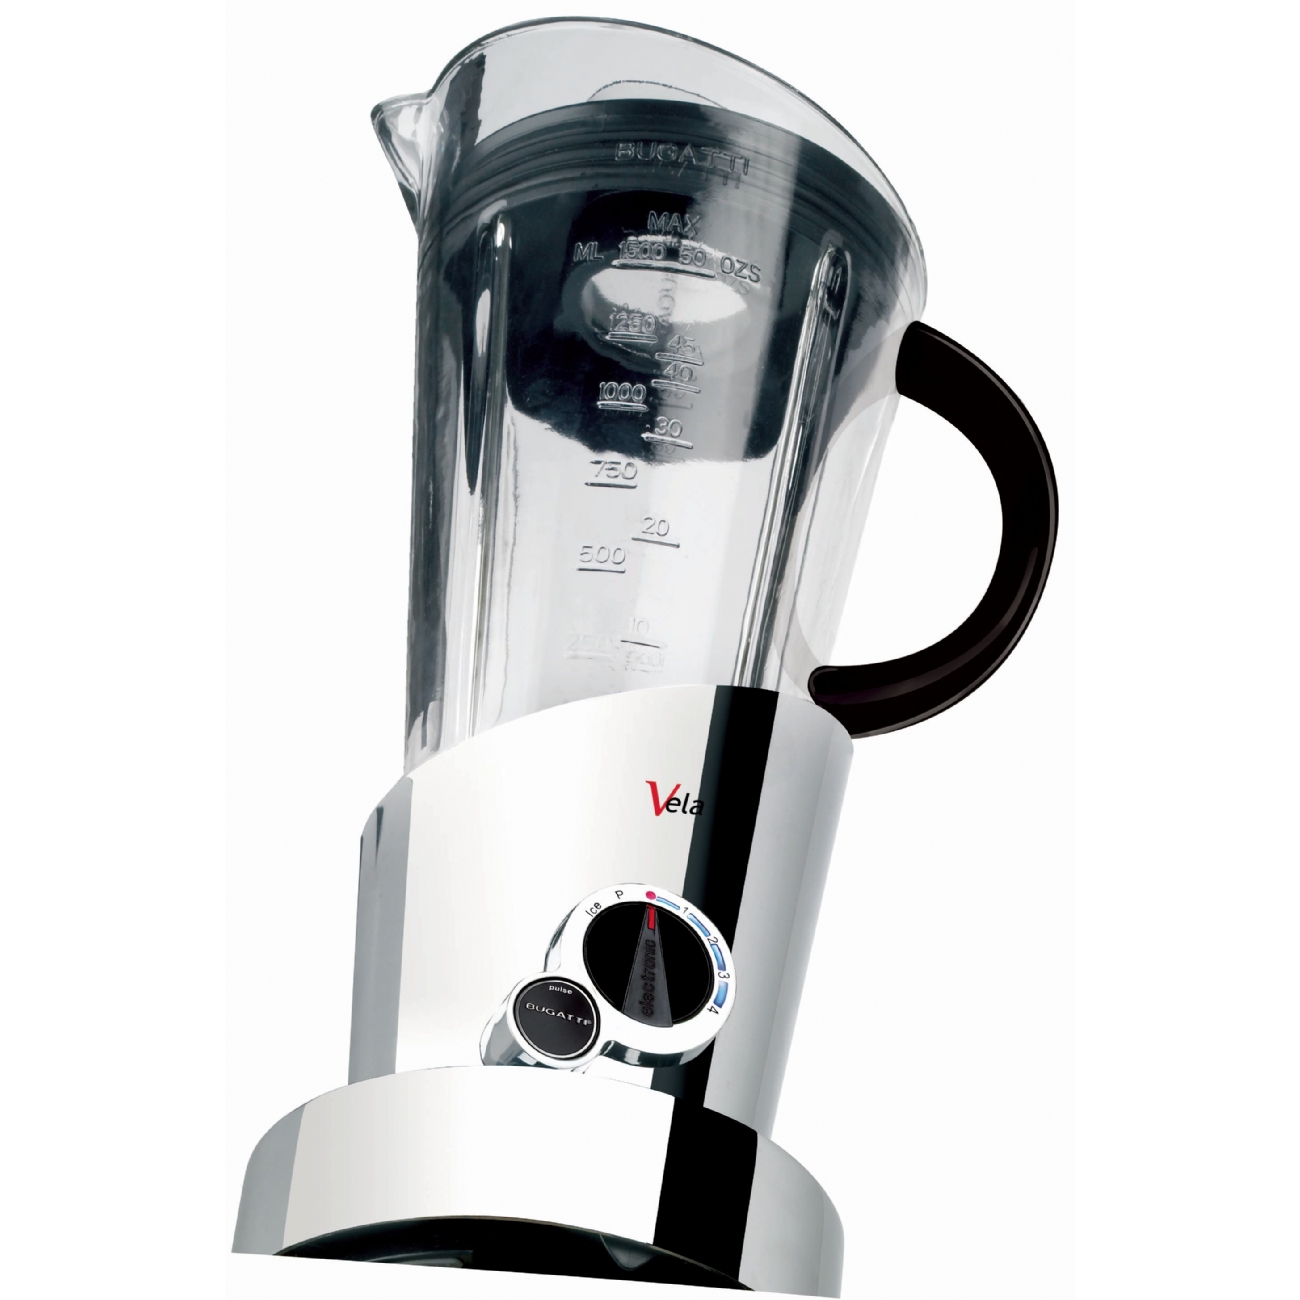
The photographer brought it to the edge and shot up for a dramatic approach. The highlights are not gradient though, and part of the logo is missing. This is not a successful shot in my mind because of the lack of luster in the glass (no highlights) and nothing really to give us the idea of the overall design.
Yeah, we kinda see it is minimal in approach, but more gradient and careful attention to the glass – especially in the top part where the black top is showing through – would have made this image so much better.
Now that’s what I need right there… heh.
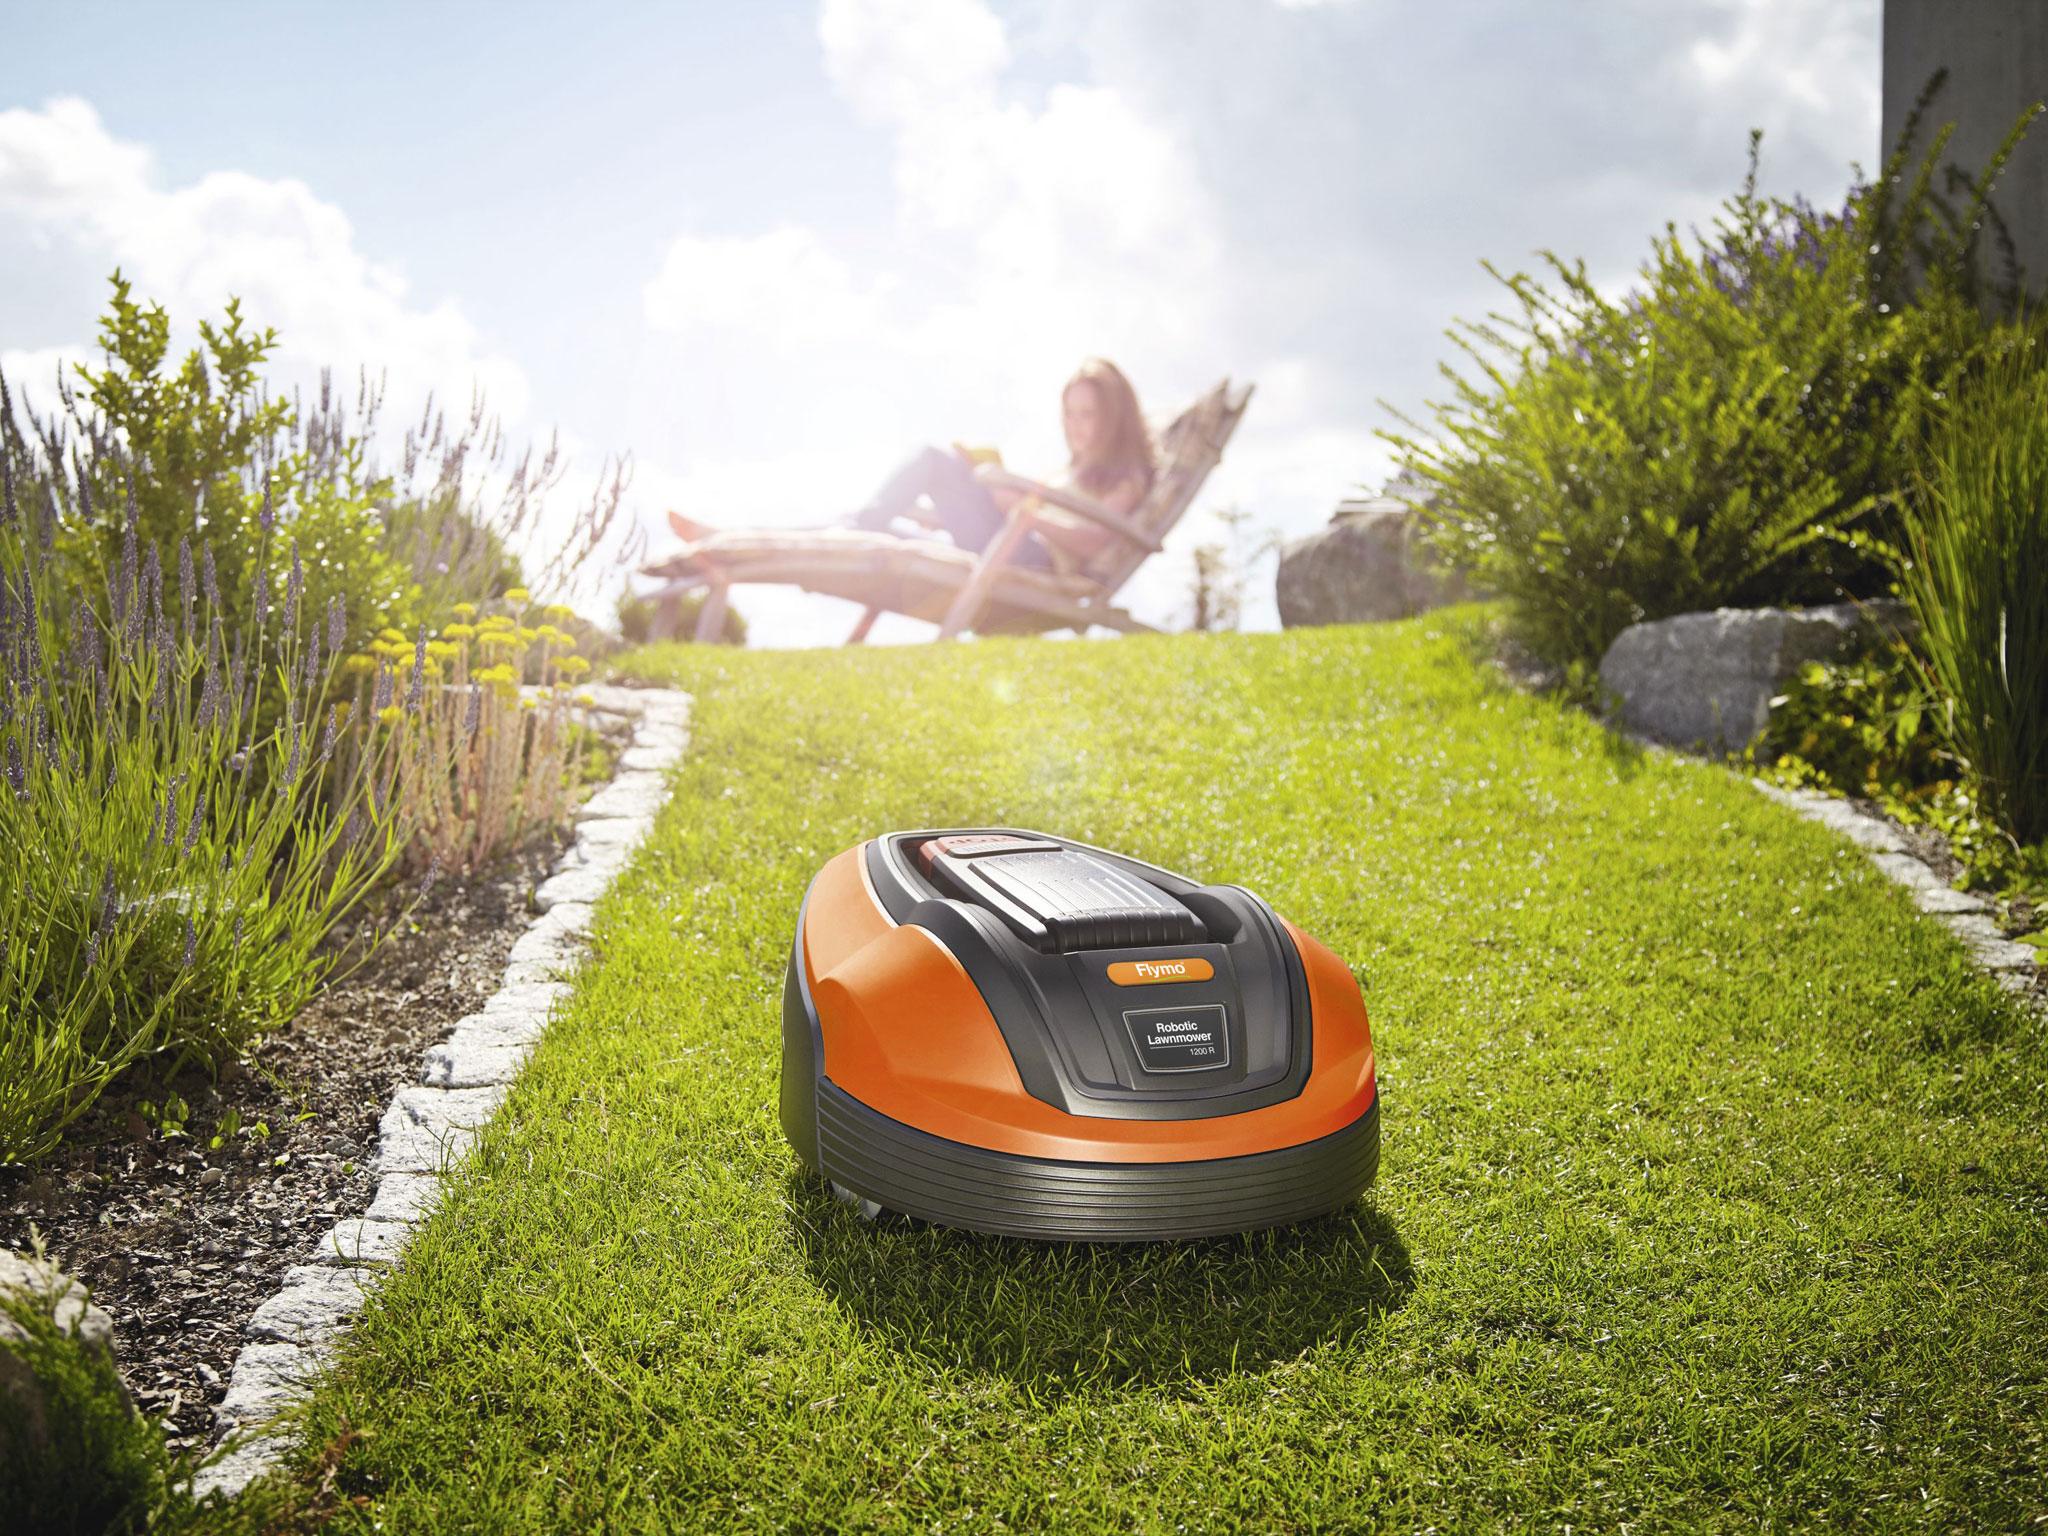
Blurring and brightening the upper part of the image brings the eye back to that single thing in the green field. A clever use of composition, tone, and color to present the unit as the hero of the shot.
Photoshop was used to add ‘flare’ and a bit of fog to the image and probably it allowed some type or headline to fit in there nicely. If you are shooting outside, make double/triple sure all of your plants are perfect. No dead grass, no dead weeds… perfect. This looks like natural sunlight for a main, with a very powerful kick (silver card?) on the back side.
