8-WEEK PRODUCT WORKSHOP 2025
ASSIGNMENT THREE
Tools and Power Tools
ASSIGNMENT UPLOAD
1. Must not be larger than 1200 pixels on the longest side.
2. Must be .jpg format
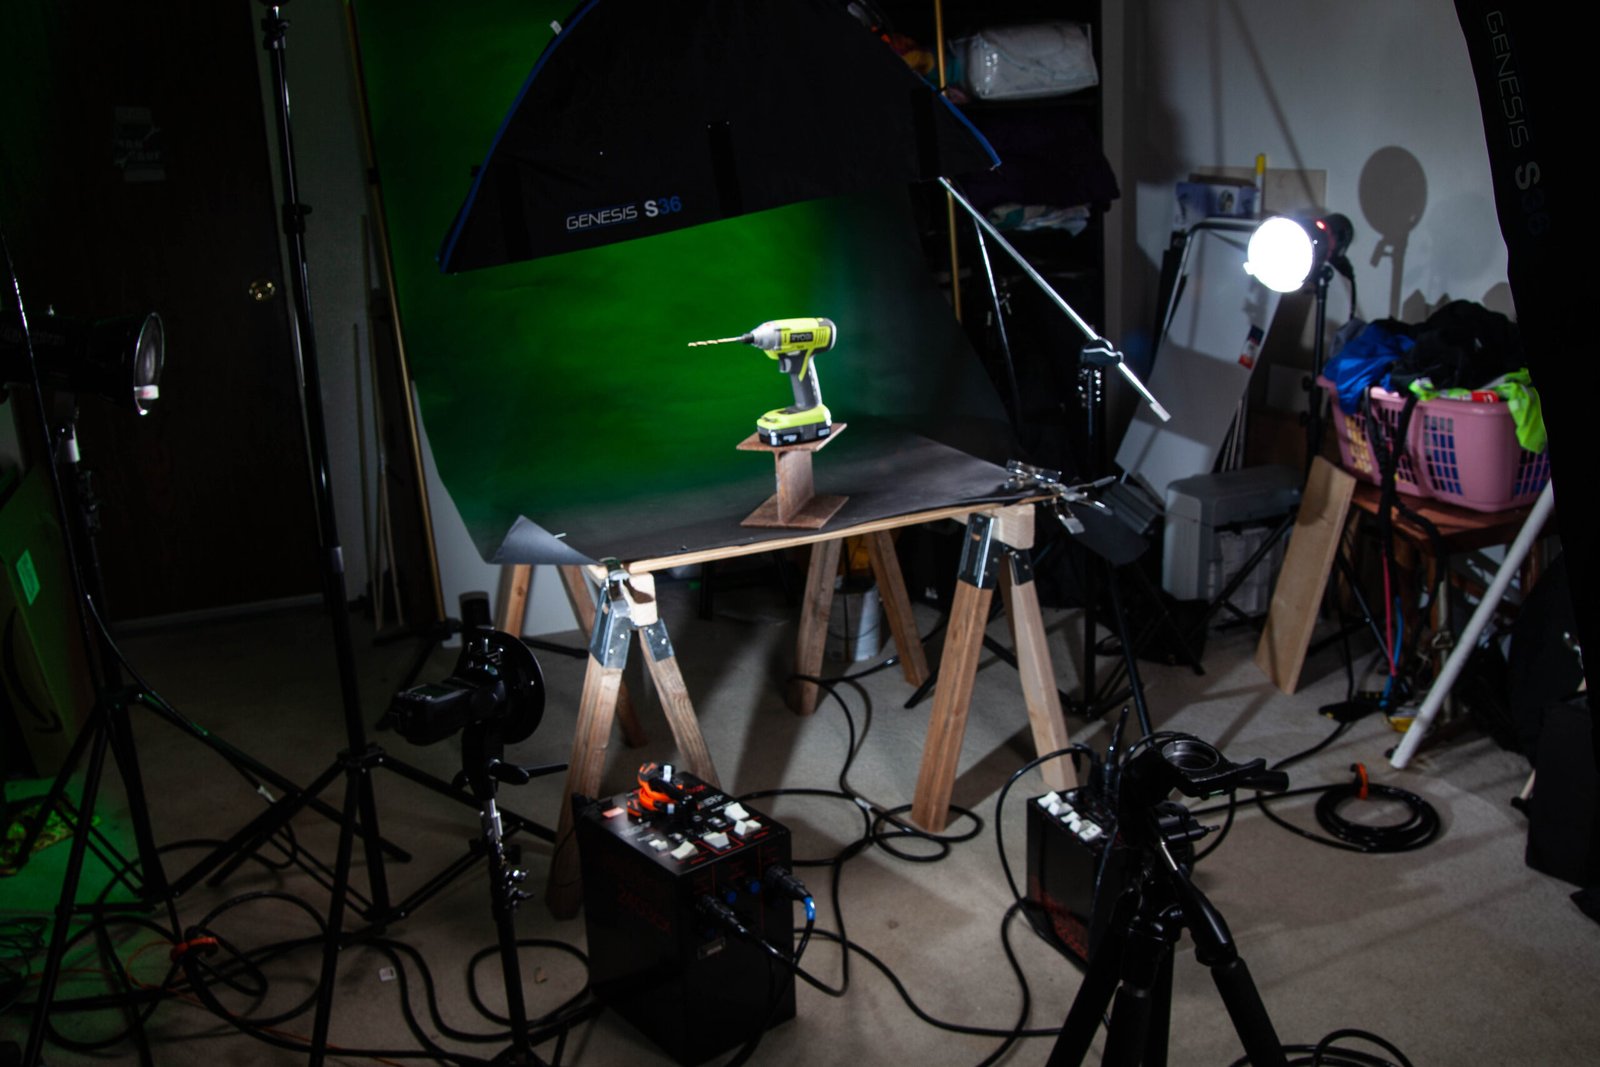
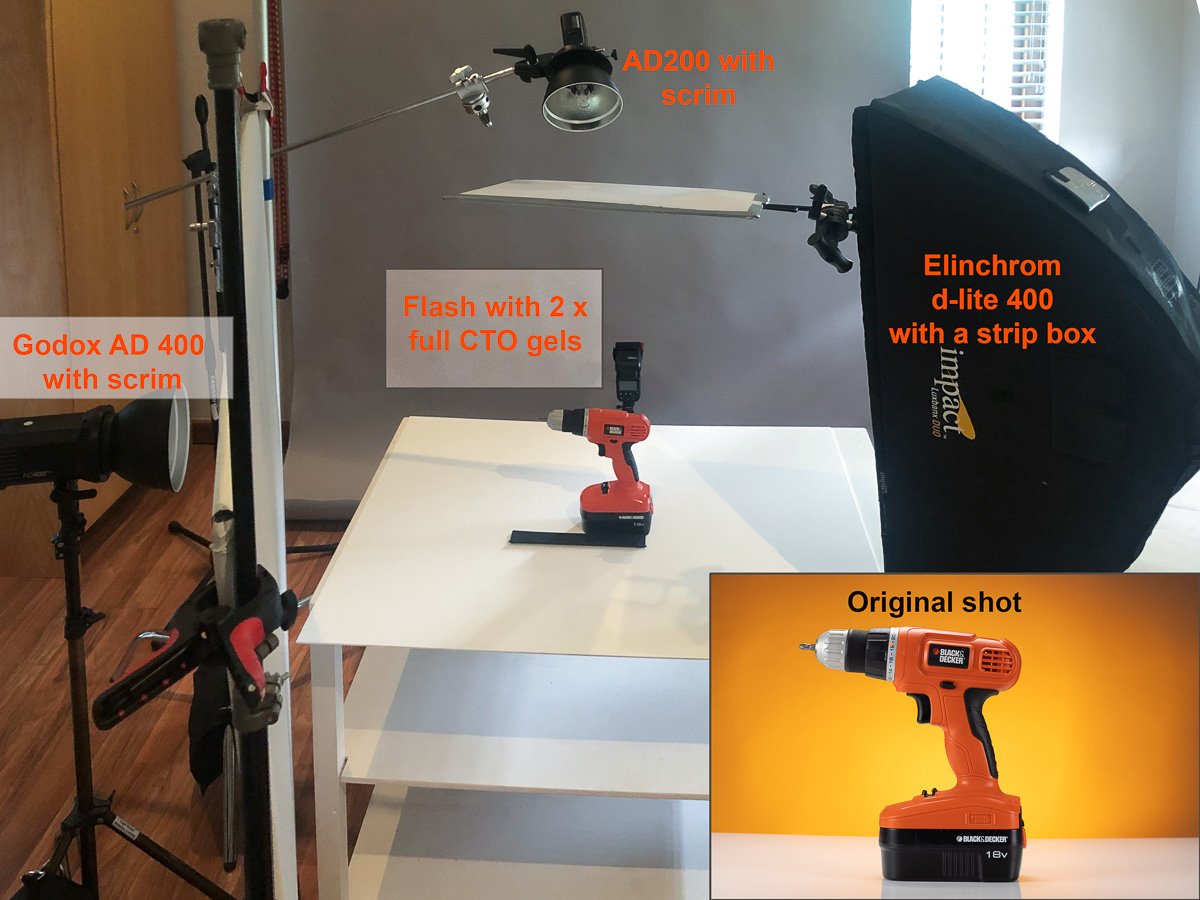
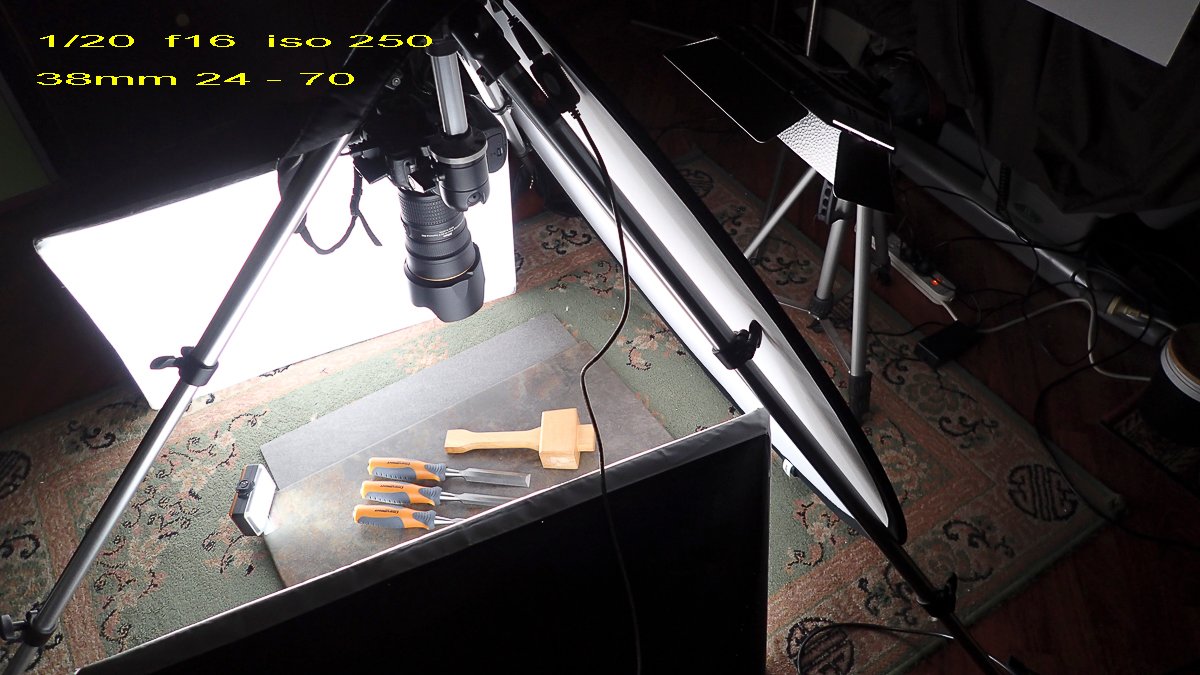
3. Include BTS shots (at least one per set)
[wordpress_file_upload]
Assignment:
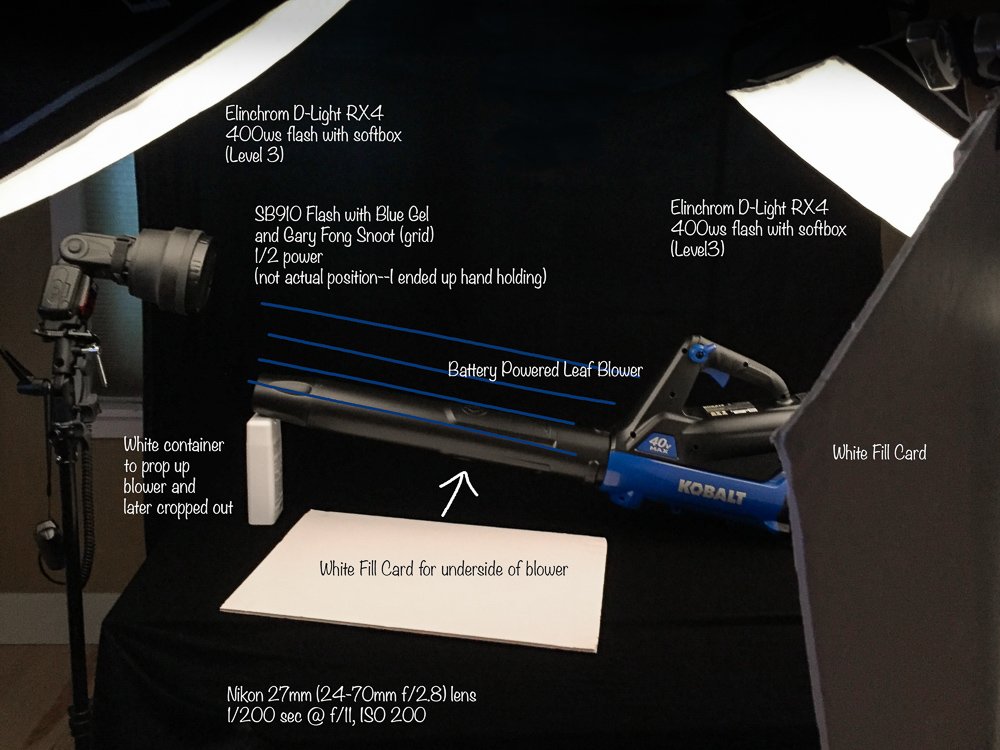
Two photos with BTS on each.
One: Catalog – super clean surface and background. Think a label shot.
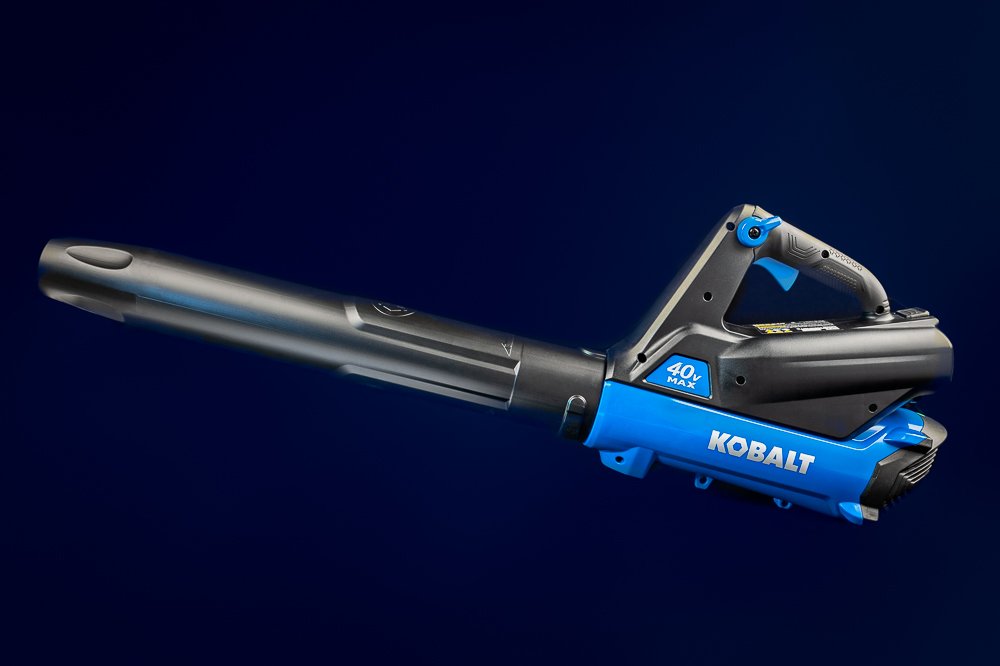
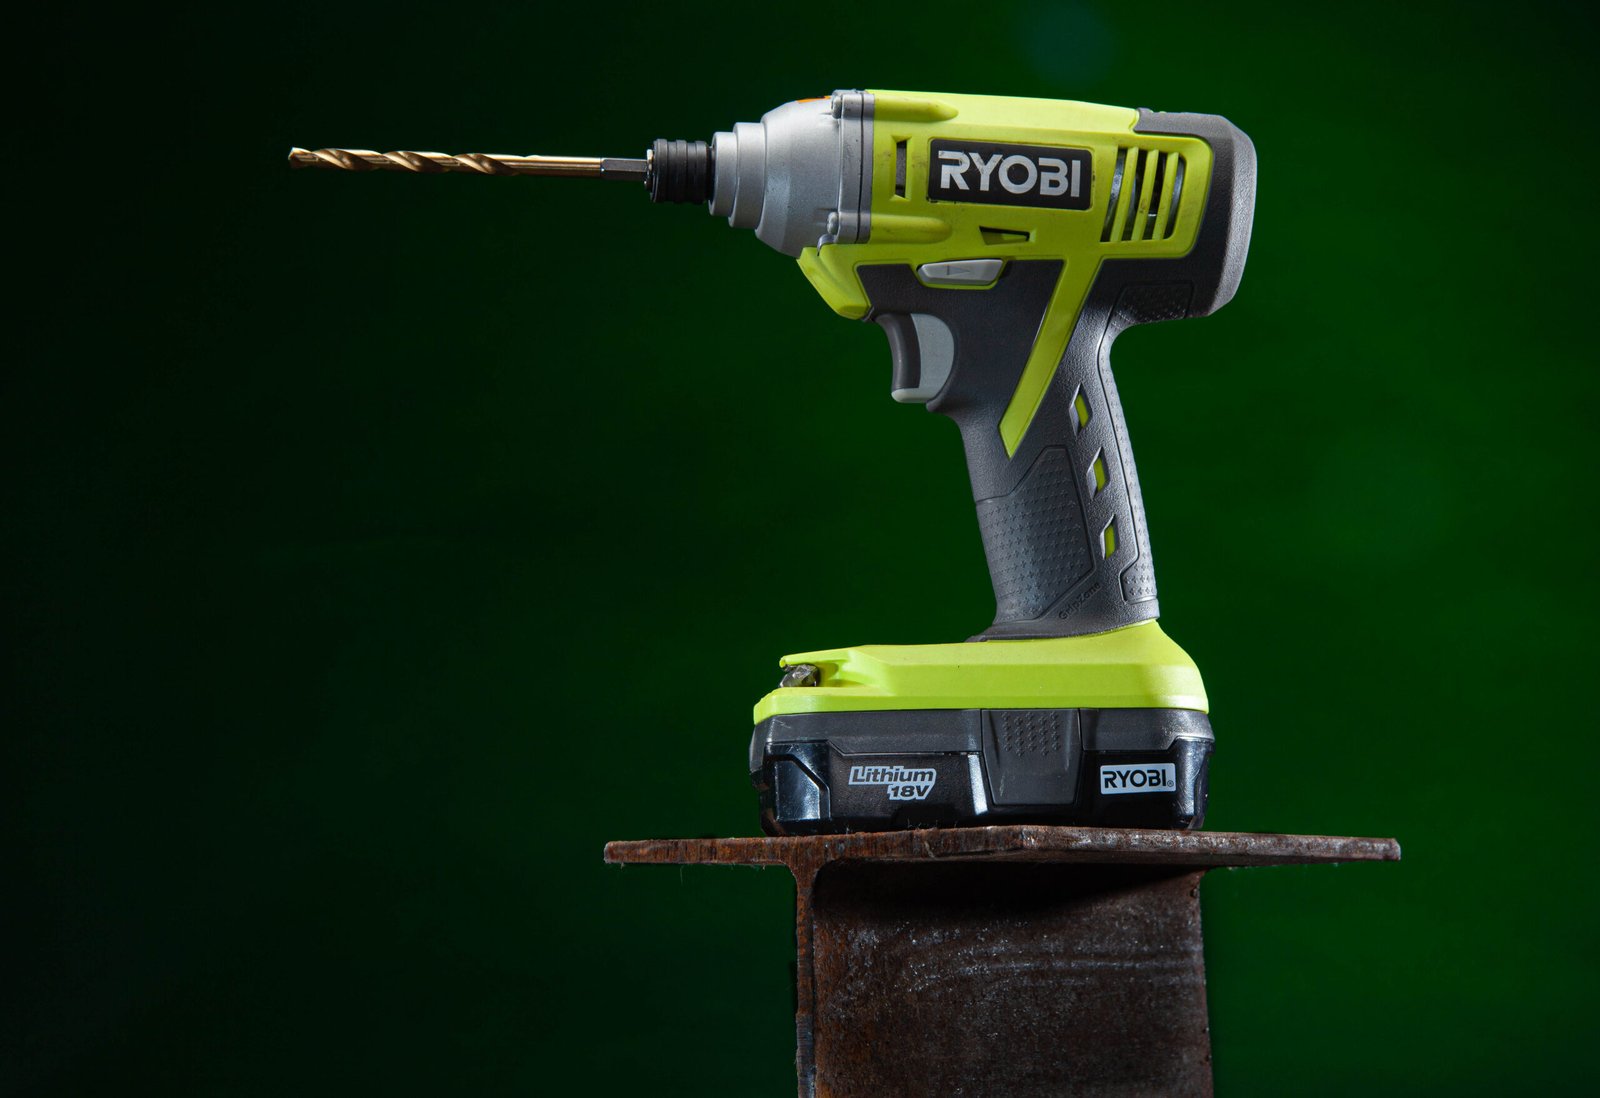
Two: a more creative shot meant to interest people online. Websites, social media. Think outside of the box and do something very unique if possible. Use the FB group to help finesse an idea if you need help.
Lighting Ideas
Studio Setup & Planning
Plan for Two Shots
- Clean/Catalog: A straightforward shot on a seamless or neutral background (white, gray, or slightly textured). Lighting should be soft and even, showing all details clearly.
- Dramatic/Close-up: A more creative shot—perhaps low-key lighting, deeper shadows, or a tighter angle focusing on unique details of the tool.
Choose Your Background Wisely
- Seamless: A paper or vinyl backdrop keeps the focus on the tool. A neutral tone helps with color accuracy and a consistent look.
- Stylized Props: If using textures (wood, metal, concrete), keep the setup minimal to avoid distracting from the product.
Product Preparation
- Clean & Polish: Remove dust, grime, and fingerprints. If it’s a used tool that needs to look “well-loved,” highlight wear intentionally. Otherwise, aim for a polished, like-new appearance.
- Label Positioning: Even if there are no strict brand guidelines, make sure any logos or labels that add interest (or authenticity) are not hidden.
Lighting Techniques
Soft, Even Lighting
For the clean, catalog-style shot, use a larger softbox or scrim to create broad, diffused light. This will minimize harsh reflections and ensure details are clearly visible.
A white or silver reflector on the opposite side can fill in shadows and help maintain detail.
Hard Light or Kicker for Drama
- For the more dramatic approach (especially for metal parts or textured surfaces), a narrower light source or an additional kicker/rim light can help define edges and contours.
- Consider using a grid or snoot on one of your lights to create controlled highlights or to sculpt the shape of the tool.
Avoid Unwanted Reflections
- Tools often have metallic or glossy surfaces. Use flags, black foam boards, or gobo panels to reduce stray reflections.
- If needed, position polarizing filters on both the camera lens and the light source (if your lights allow for that) to reduce glare.
Focus Stacking (If Applicable)
- For smaller manual tools or any shots where extreme detail is needed, do multiple captures with different focal points and combine in post. This is especially useful when shooting at close range with shallow depth-of-field but needing front-to-back sharpness.
Composition & Angles
Clean, Catalog-Style Angles
¾ View: A three-quarter angle often shows enough dimension and gives viewers a clear idea of the tool’s shape.
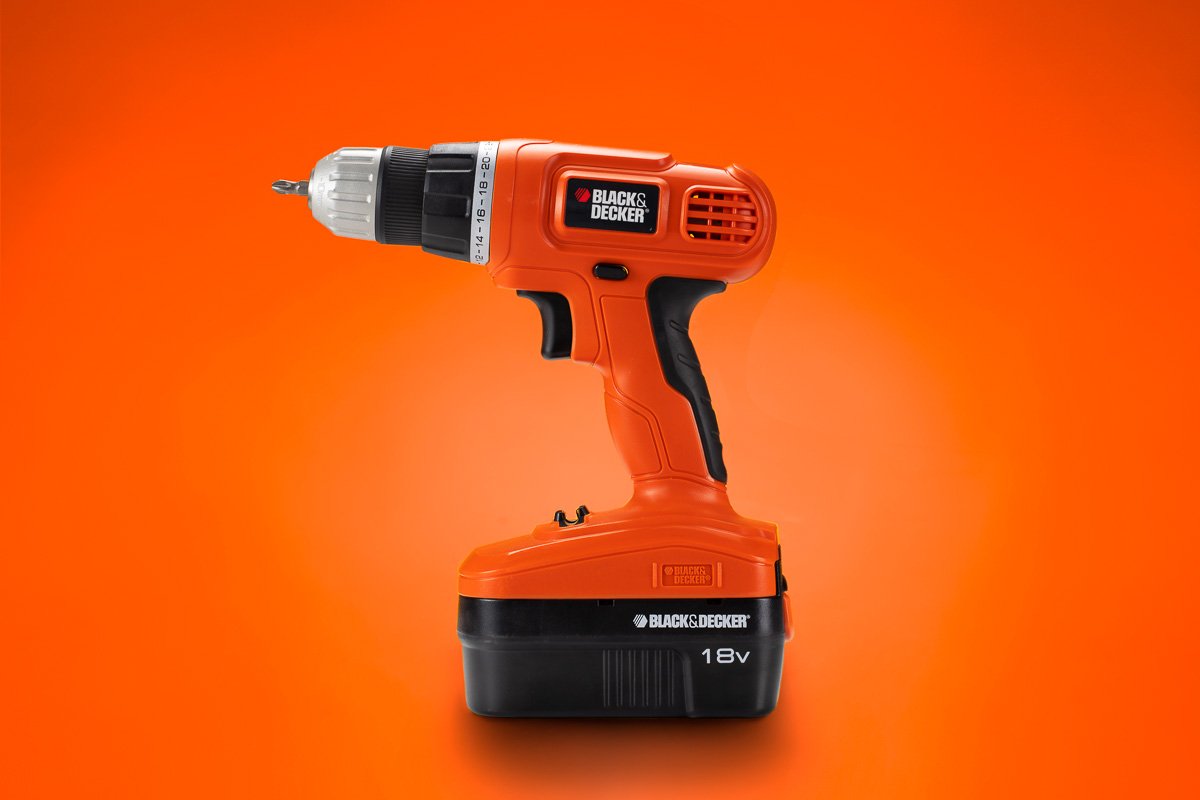
Front & Profile: If it’s relevant (like seeing the shape of a power drill from the side), include a direct profile shot.
Keep the tool centered or slightly off-center with balanced negative space for a professional presentation.
Dramatic Perspectives
Close-Ups: Focus on details like the blade of a saw, textured handles, or mechanical parts. This can convey a sense of craftsmanship.
Low Angles or Tilt: Shoot from a lower point of view or add a slight tilt to make a power tool look more imposing or robust.
Use Leading Lines: If including props, arrange them so they guide the eye toward the main subject.
Post-Processing & Retouching
Basic Retouch & Cleanup
Remove any dust, scratches, or imperfections that detract from the product’s appearance (unless you want to emphasize “real-world” usage).
Carefully balance shadows and highlights so no details are lost. Watch for metallic glare that can blow out portions of the image.
Color Accuracy
Calibrate your monitor and use color checkers if you need accurate color representation—especially for brand-centric colors or if you want the best possible color fidelity in your portfolio.
Shadow Control
For the catalog shot, keep shadows soft and subtle. For dramatic images, you can deepen and shape them a bit, but make sure you still see important details on the tool.
Additional Tips
Keep it Safe & Stable
For power tools, especially if they’re heavier or have awkward shapes, ensure the product is stable (e.g., clamp or use supports out of frame if necessary).
Remove batteries or cords that might distract unless those elements add to the story you want to tell.
Think About Scale
If the tool is small, consider adding a very subtle size reference (like a small prop or setting) but do so in a way that won’t overshadow the product.
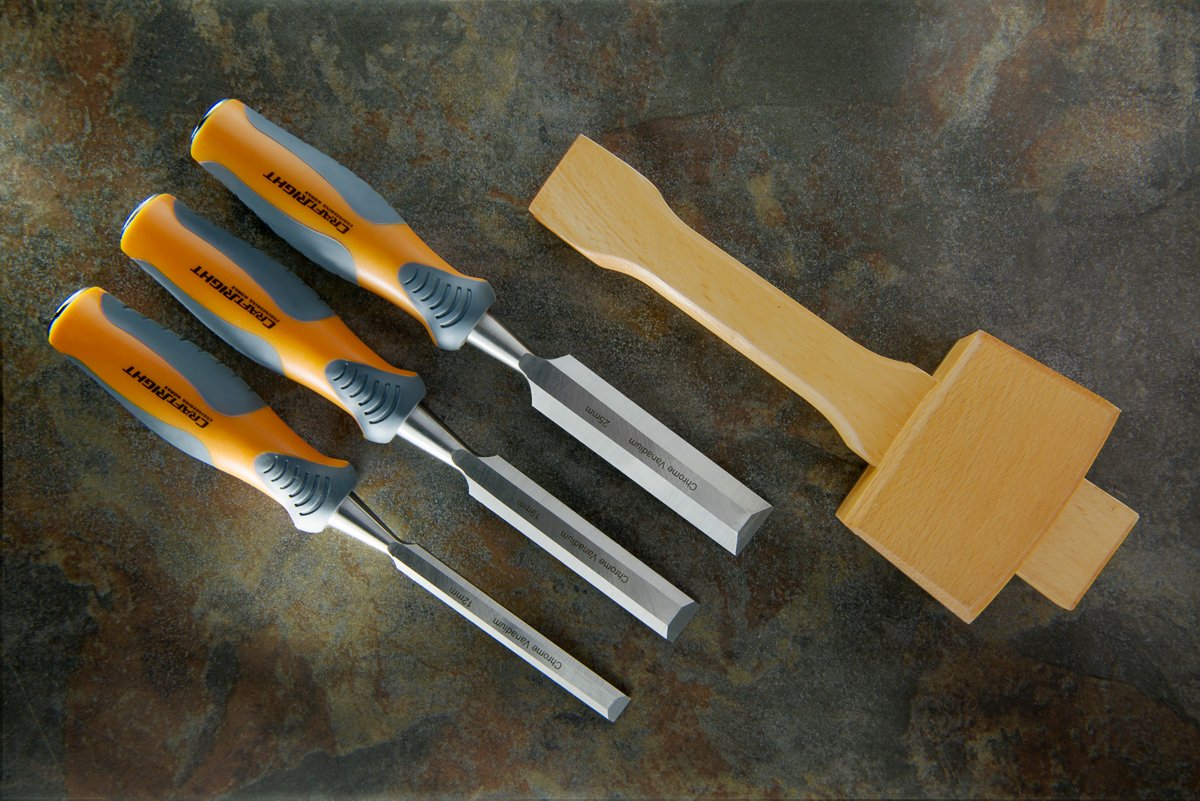
For wrenches or a set of manual tools, arranging them in an arc or in descending size order can show variety without crowding the frame.
Experiment with Angles & Details
Don’t be afraid to take extra shots from unique perspectives. Experimentation might yield your most memorable portfolio images.
Closing Thoughts
The catalog shot is about clarity, accurate representation, and a clean aesthetic. Keep background distractions minimal and lighting soft.
The dramatic shot is where you can showcase your creativity—experiment with lighting, angles, and focus. Use partial shadows or moody setups to highlight metal textures or interesting design features.
What We Learned
POWER TOOLS
A strong niche, and lots of different ways to shoot. From editorial to drop-n-pops, power tools are in demand and we need to have a couple of killer shots in our books as product shooters.
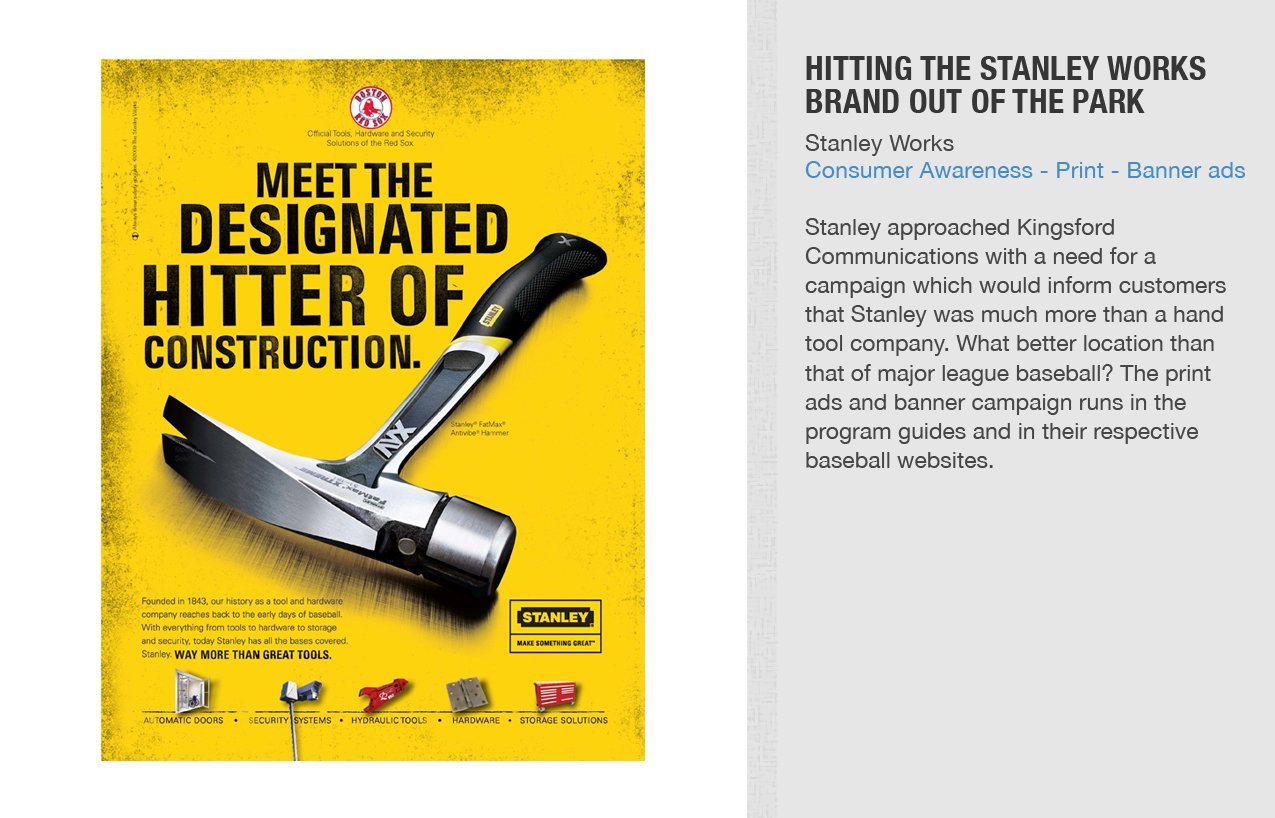
A very modern hammer
Shot from the top down we see all the features of the tool. From the thin handle with a grip, the the very tapered claw, and rounded hammerhead. The light is the thing here, giving us highlights on all the major parts of this hand tool. Look at the highlights for an idea of how it was done – single light above, and controlled white cards for edges and shape.
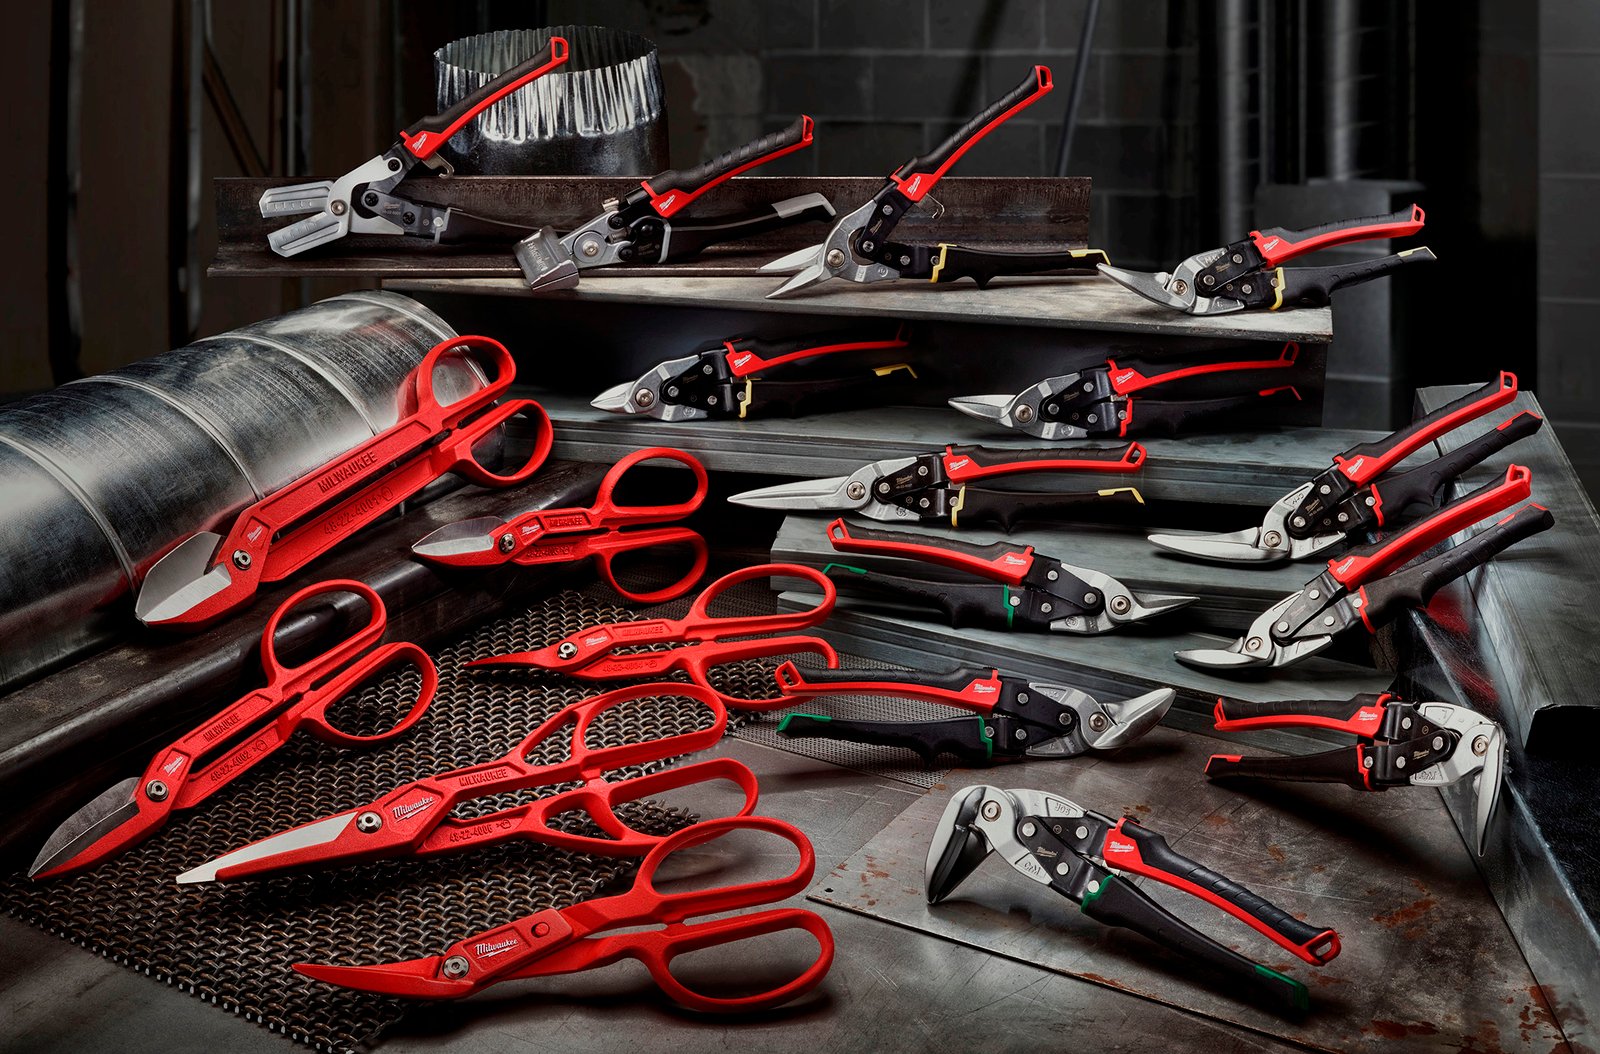
Cutters
Feeling ambitious? This shot of a large set of tools is very well done. Notice how all of the tools are angled to catch the softbox reflection and make the tools pop. Looks like a very large light source (scrim) above, with white cards staged strategically around the set (note the tips of the tools facing out). There is also a very nice highlight area in the center of the set to give it a natural vignette. All in all, a good shot overall.

Stein Tool on location.
This is a sizable product, but notice how well it is lit. Good blend of ambient and strobe (softboxes) give the tool a comfortable feel in the surroundings. Note how the ambient light is soft as well as the light on the tool itself. Careful use of large white cards all around make every nuance of this tool come alive.
Lansky on Location
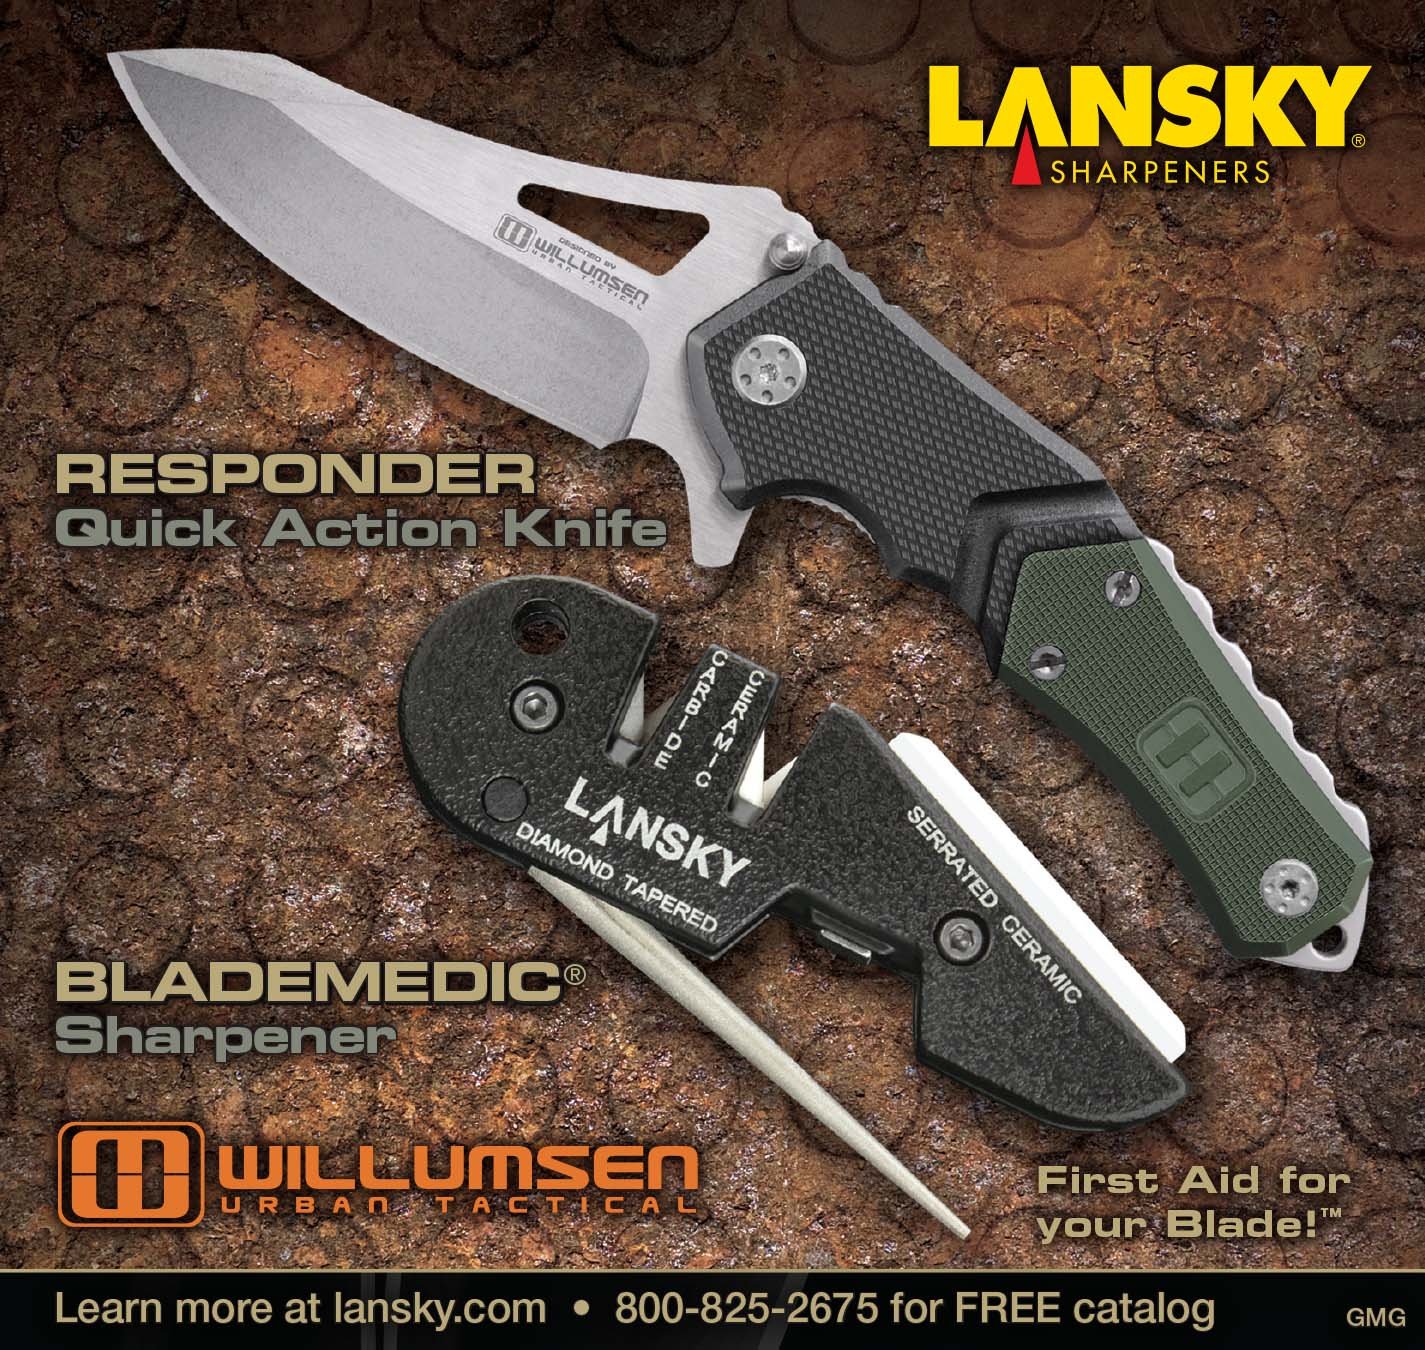
Industrial knife on location – or at least styled and shot to look like location. Clean highlights from a top down softbox or scrim gives detail to every part of this small tool. A white card up front keeps the edges from going dark and helps open up the shadows.
Audi
OK, so I thought this was a fantastic ad, and it includes tools. So I used it here. For inspiration. For ideas. For a quick trip outside of the box. How can you create this sort of whimsical mood to your shot? You can, of course, but you have to come up with a concept that works. Take from this image what you see for yourselves, and if you choose to make an image that is built on a concept, make it rock.
ASSIGNMENT THREE: POWER TOOL OR TOOL OF SOME KIND
I know it may be difficult for some of you to get your hands on a new, or nearly new piece of power equipment. So if that is the case, then create an image that works for you with a hand tool. Just make sure it is an awesome hand tool. You can take it back to the Home Depot if you need to.