8-WEEK PRODUCT WORKSHOP 2025
ASSIGNMENT ONE.
CONSUMER BOTTLES
ASSIGNMENT UPLOAD
1. Must not be larger than 1200 pixels on the longest side.
2. Must be .jpg format
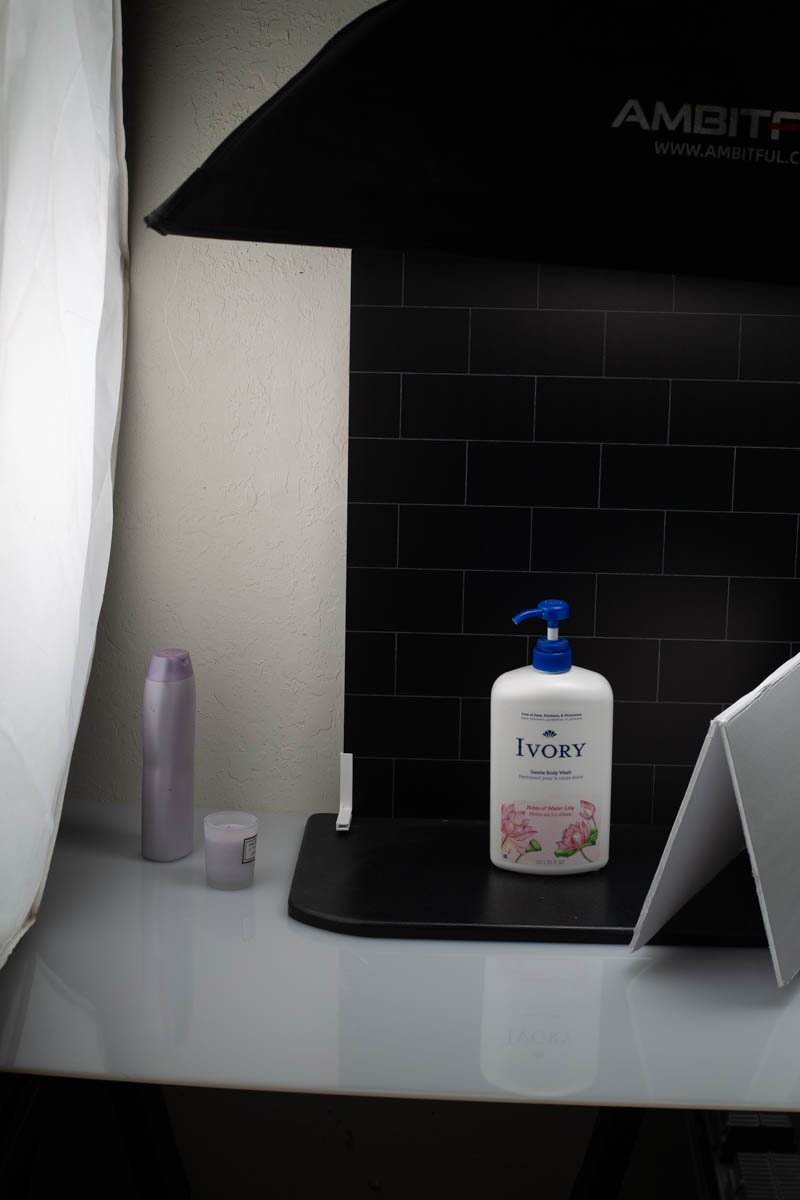
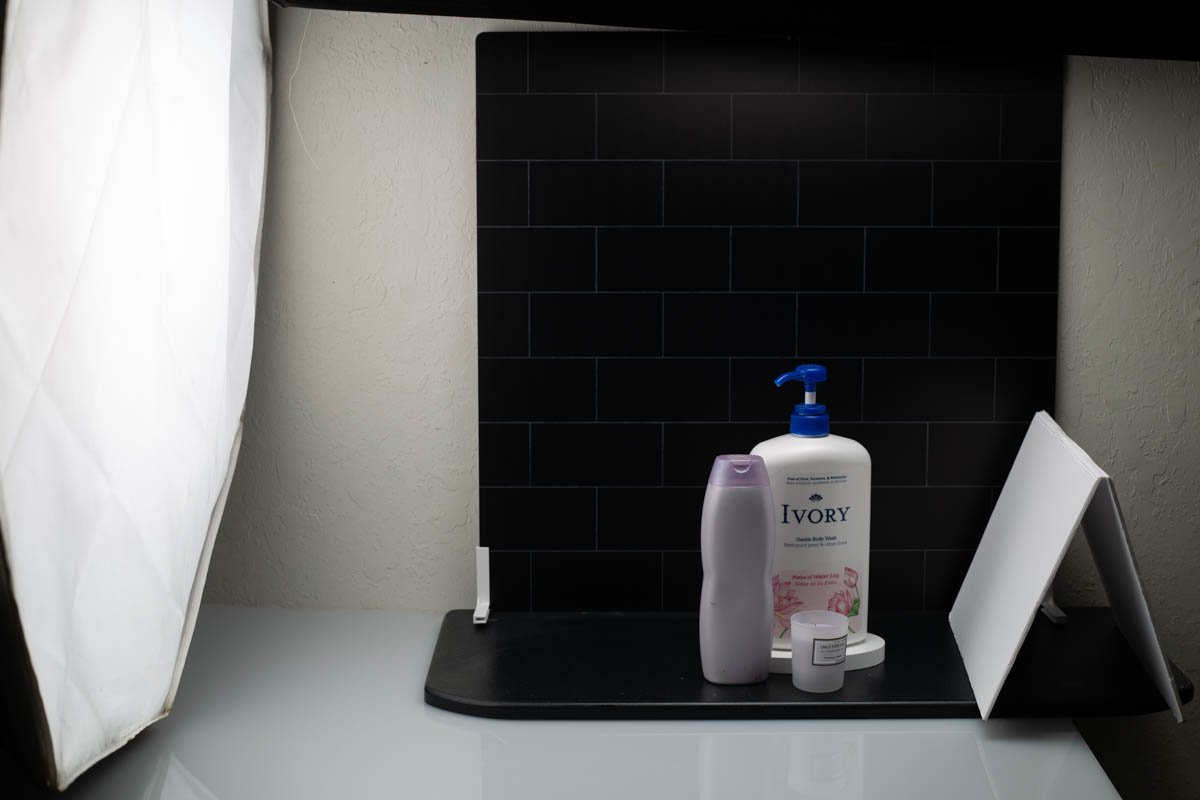
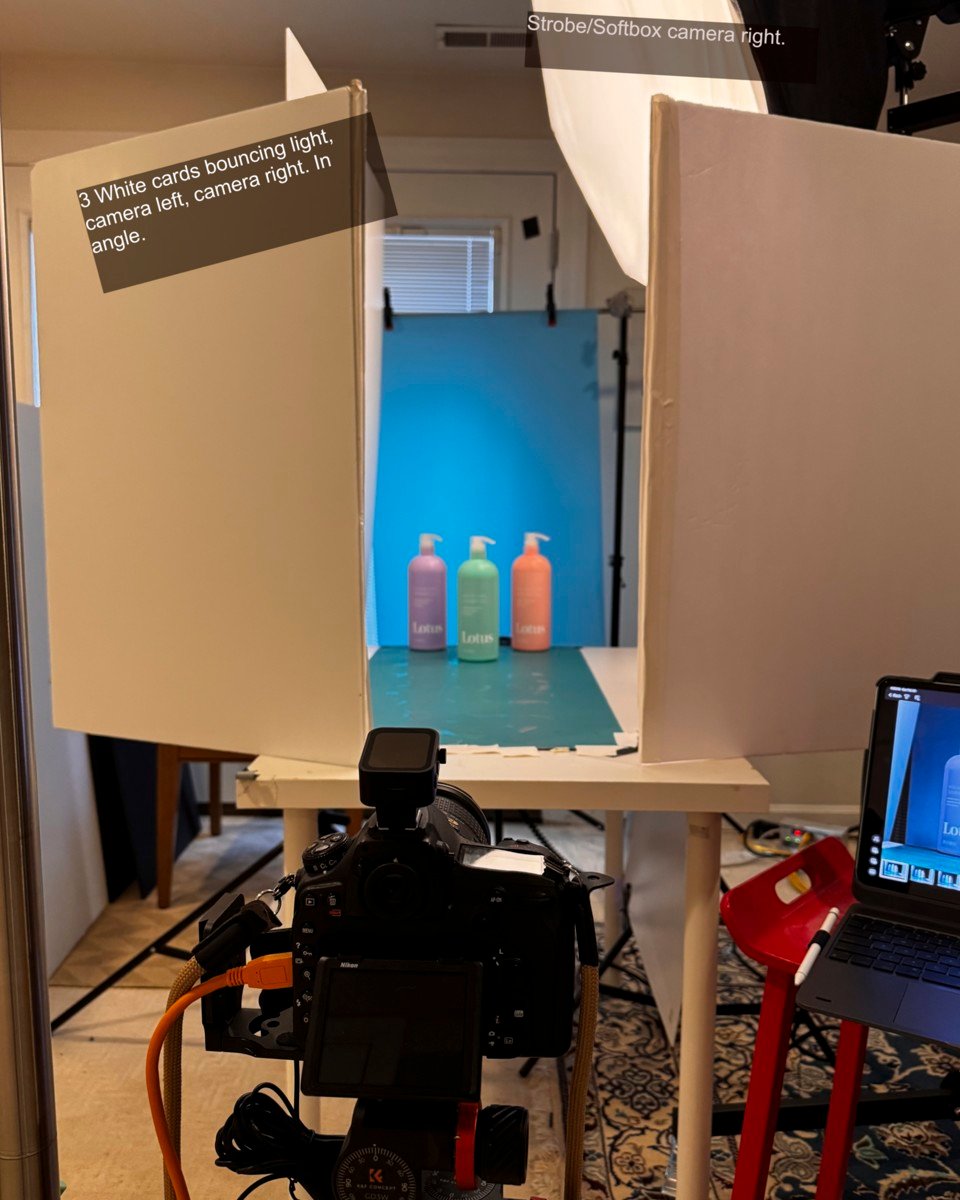
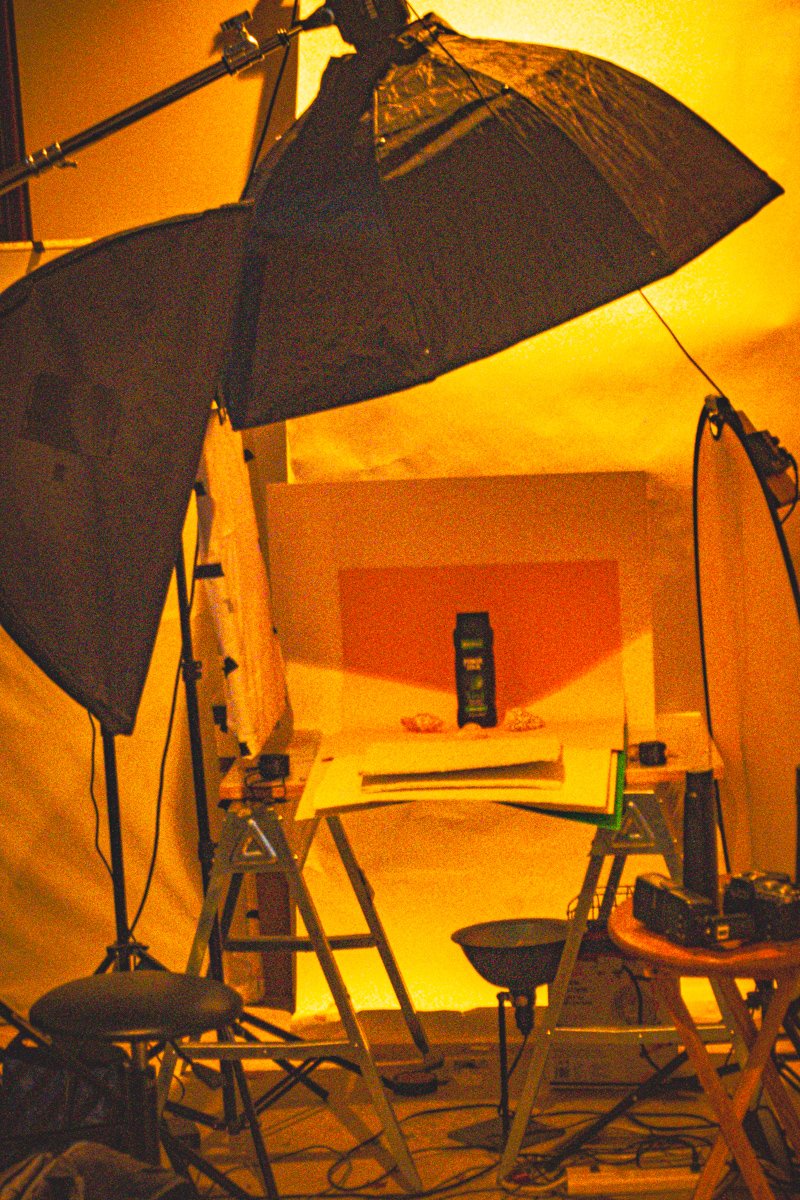
3. Include BTS shots (at least one per set)
4. Naming Convention: first-last-assign#-1.jpg / first-last-assign#-1-bts.jpg
[wordpress_file_upload]
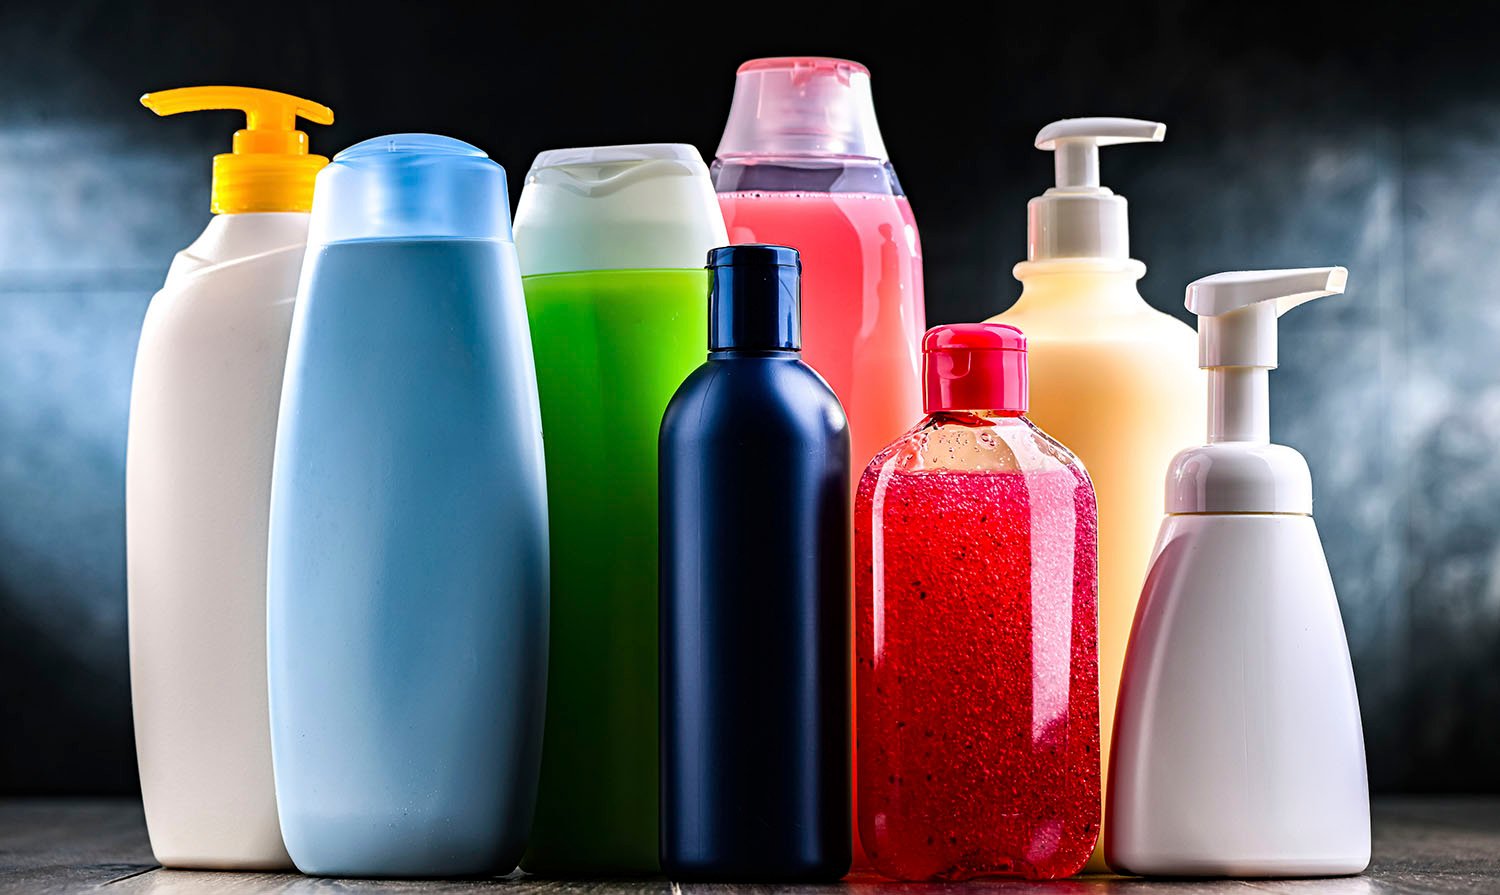
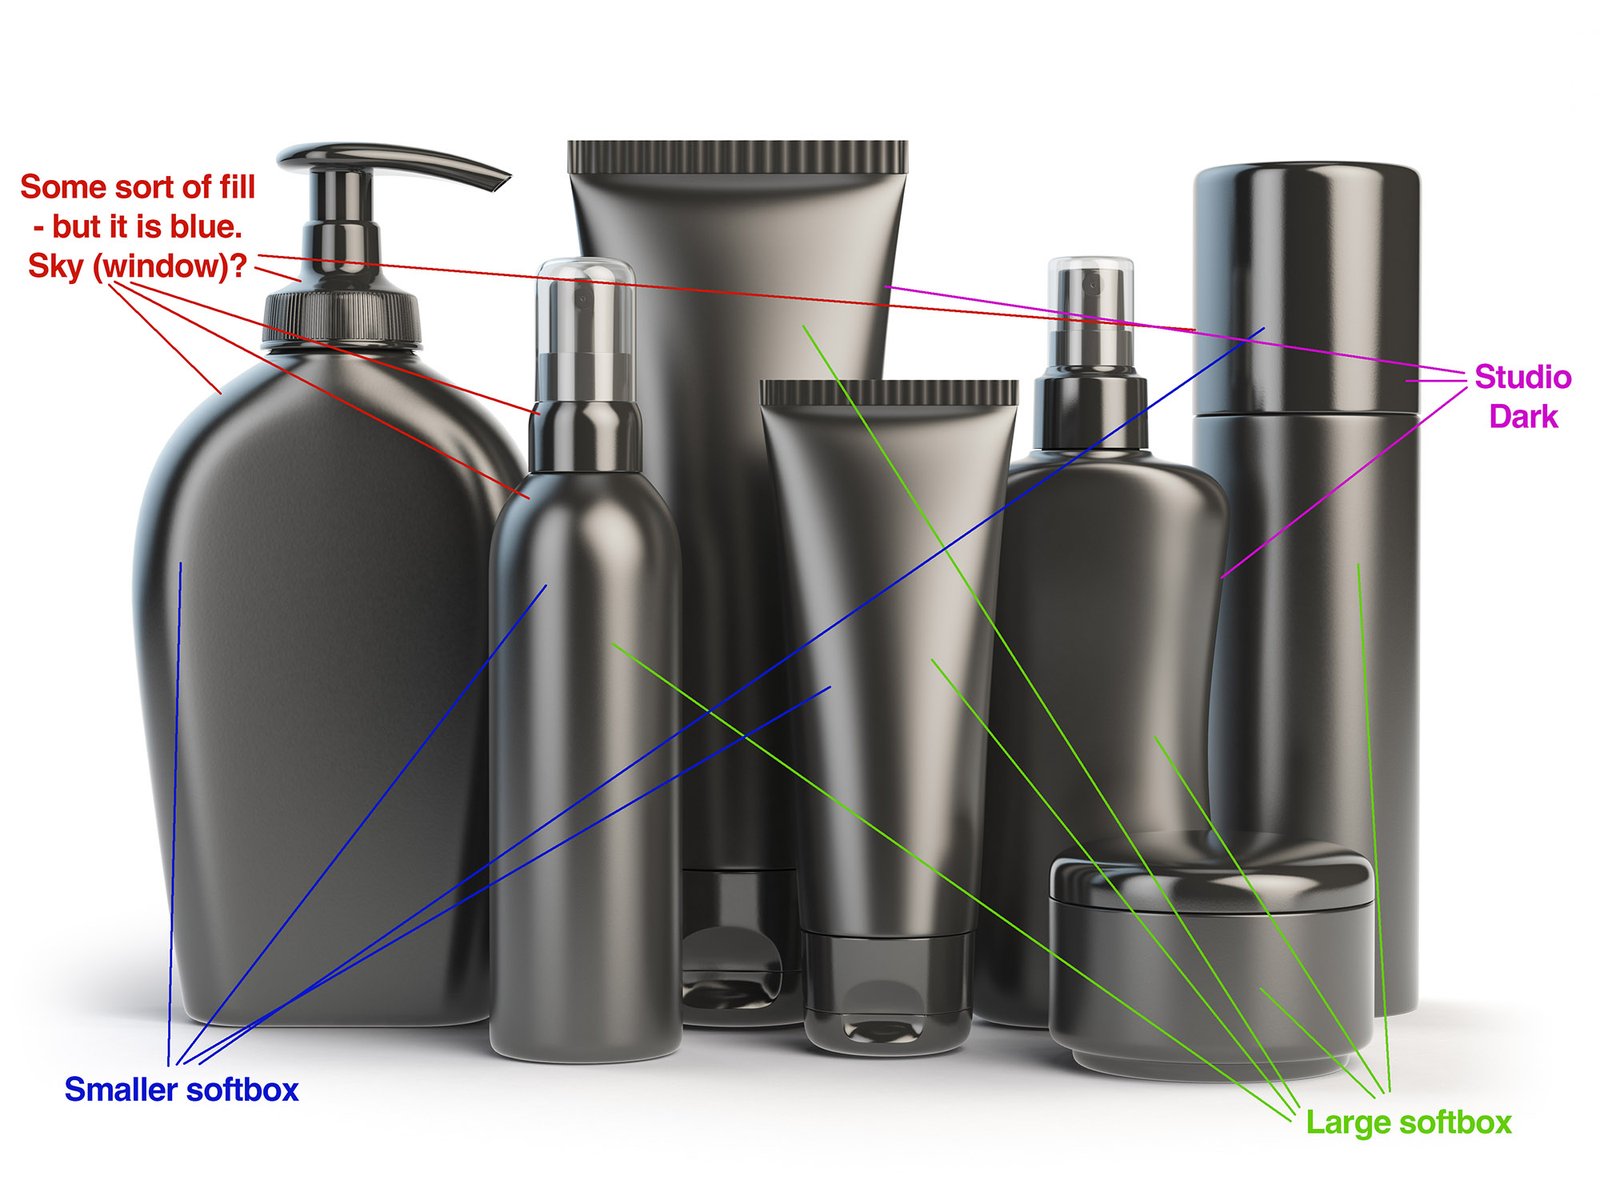
We will be looking at the matte surfaced bottles for this exercise. Glossy ones will be in the fragrance class.
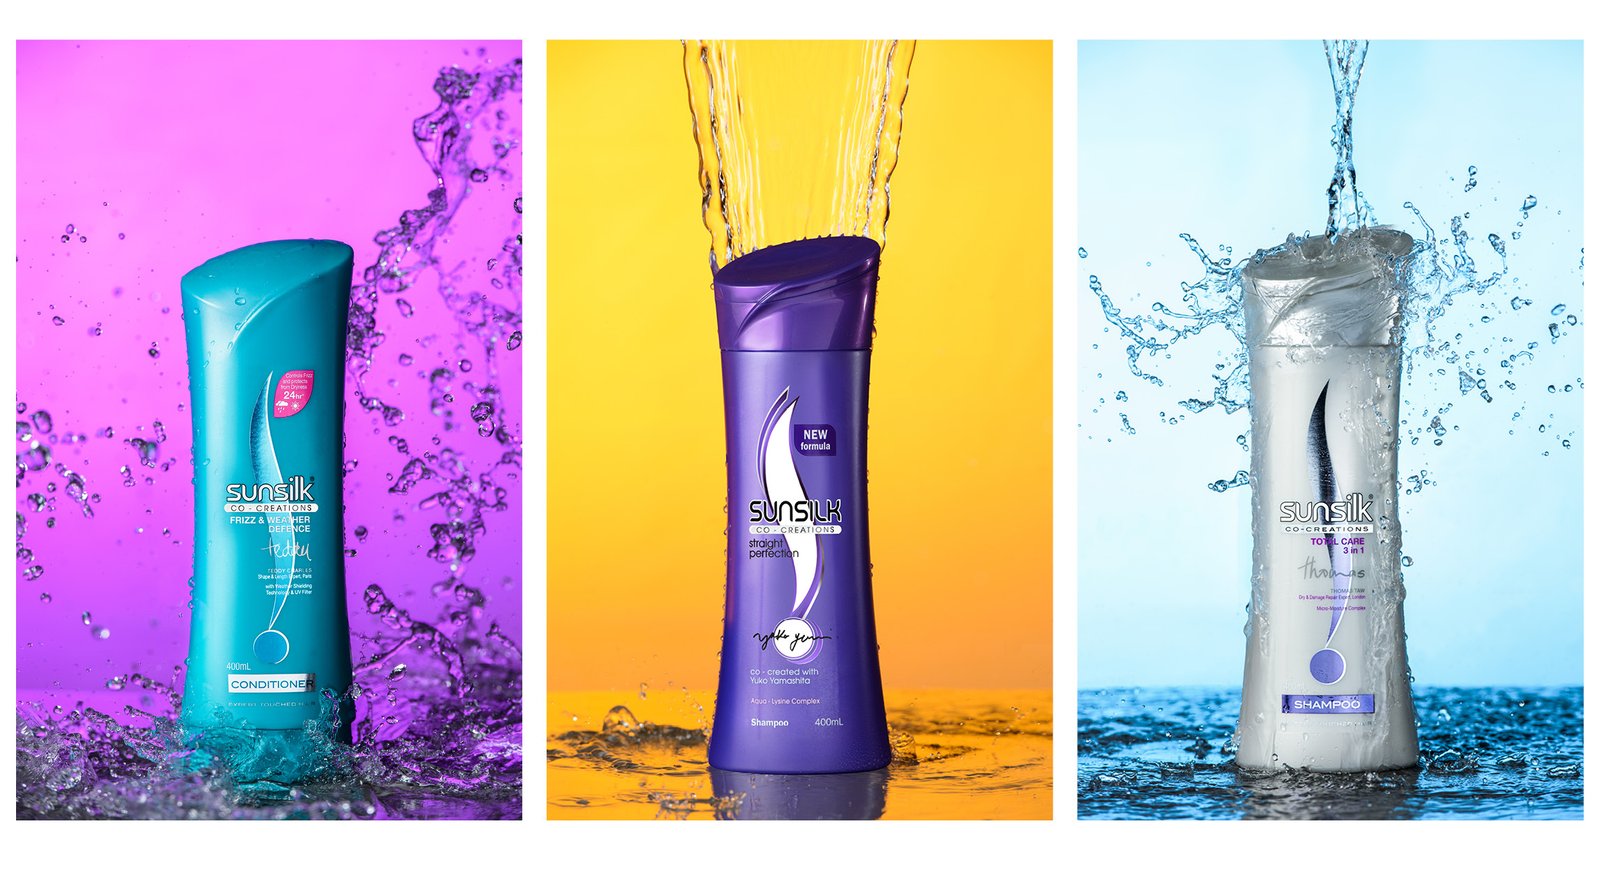
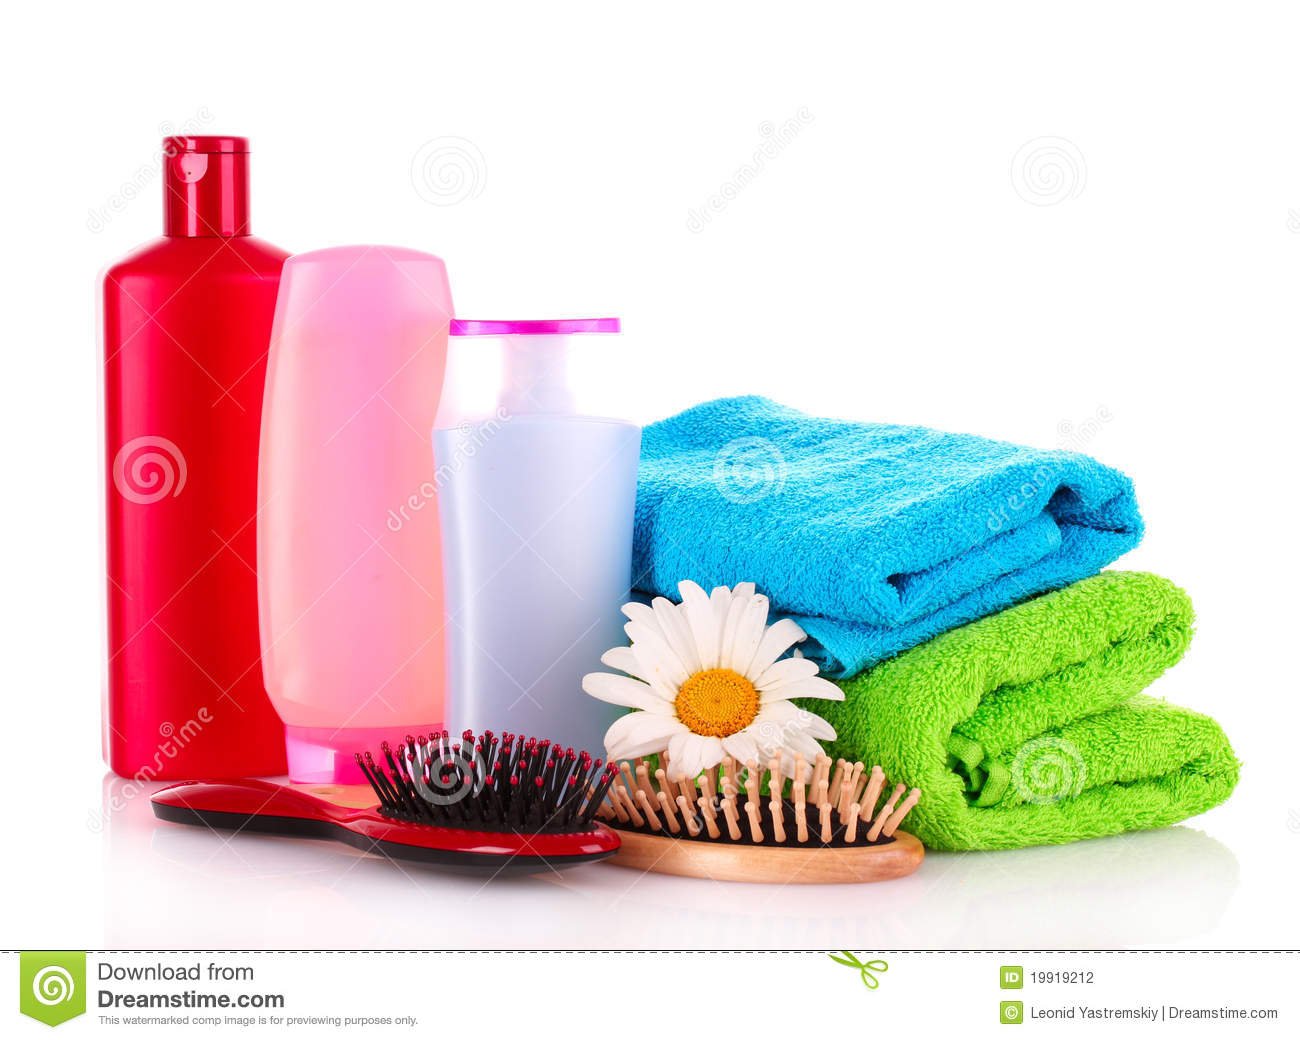
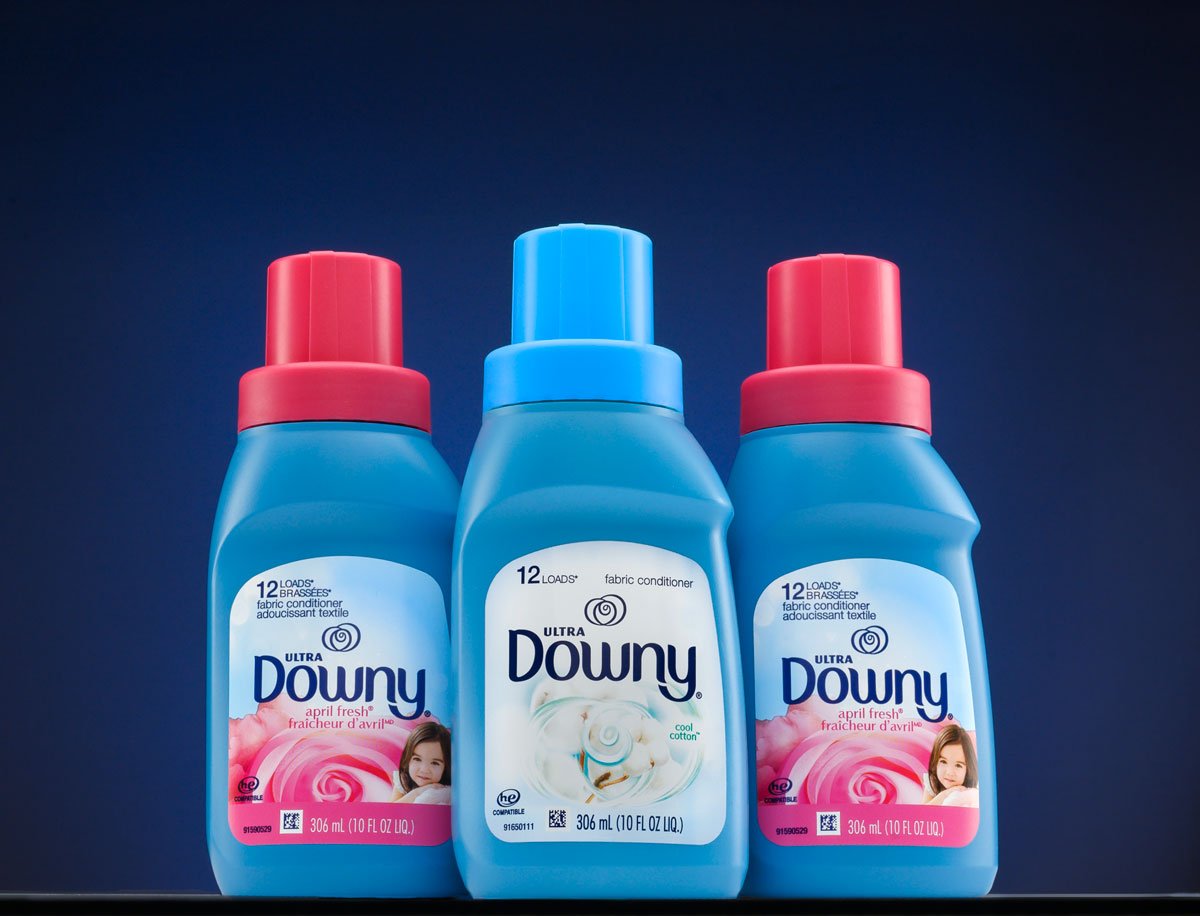
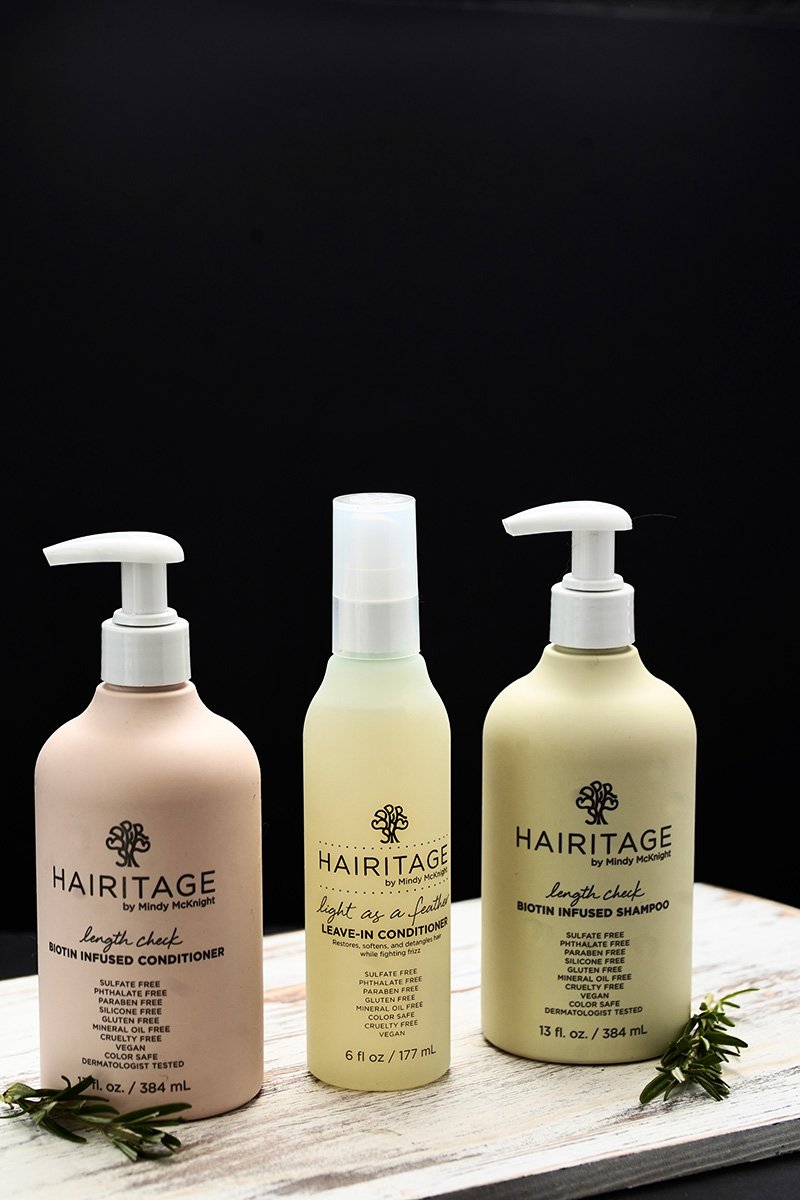
Look at the way the highlights are shown on the two left bottles as compared to the red and pink bottles. The matte surface of the left bottles shows a gradual diffusion of the highlight, even the hard, direct light seen on the top of the blue bottle. This is beccause of the surface and the rough texture bringing tiny highlights and shadows together to form a smoother transition. Looking at the comparison of the light on the red bottle – sharp edged, pure white, and angular in shape – we are actually seeing the softbox reflected in the glass.
The center bottle has less texture than the left two, but more than the red, and they resulting reflection has more shape from the softbox, but softer edges in that shape than the red bottle.
Learning to dissect and deconstruct images through the rendring of light is a great tool for learning how to light better across all genres.
Three lighting ideas:
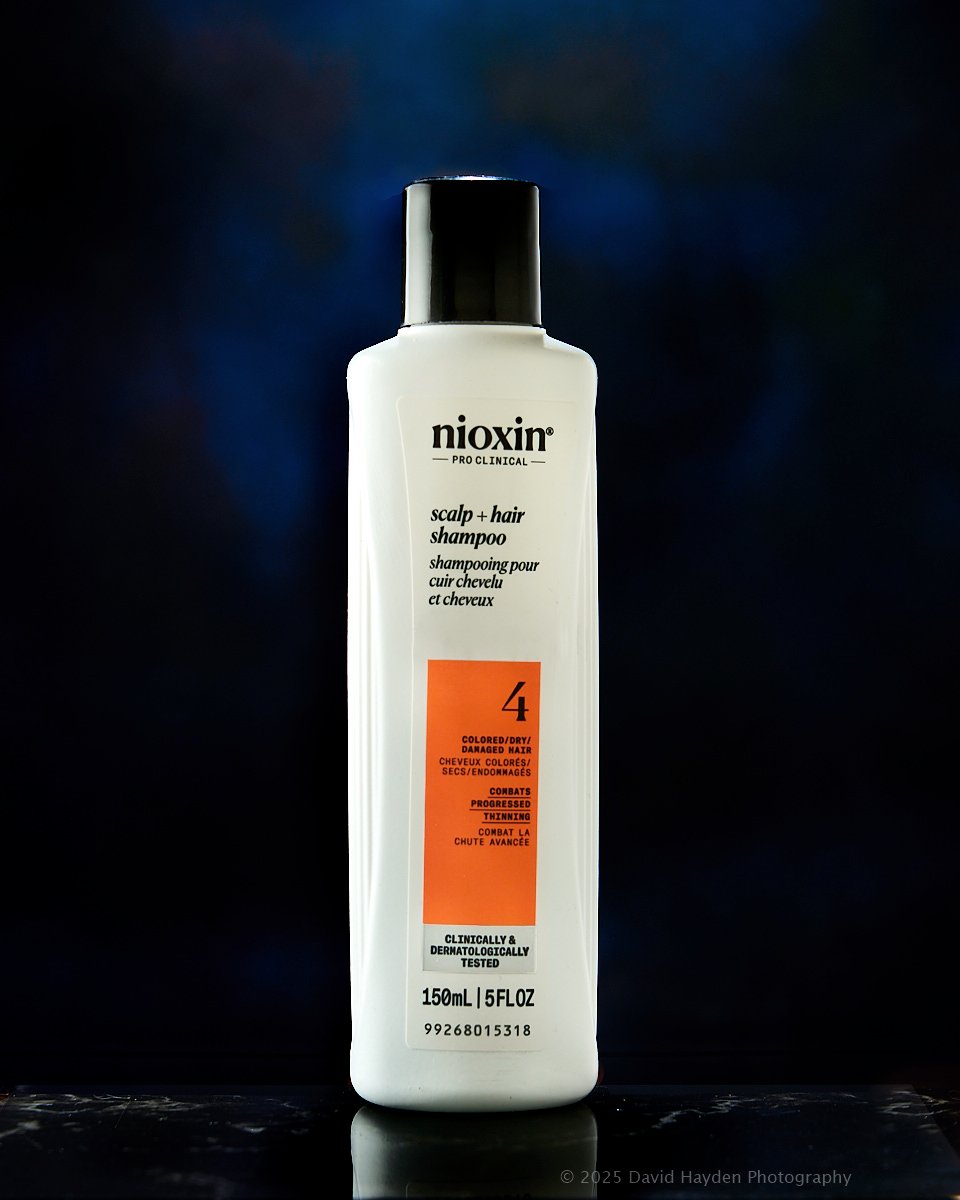
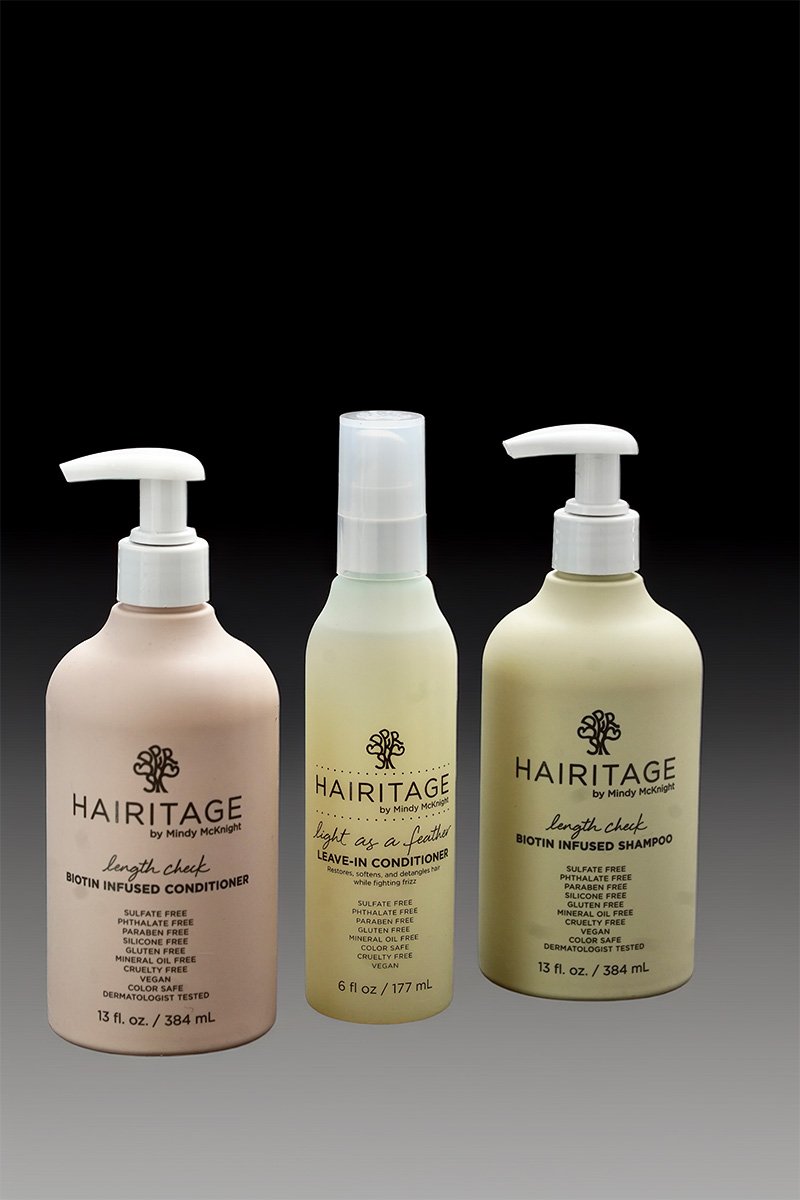
1. Soft Gradient Glow on a Dark Background (Elegant & Moody)
- Background: Deep charcoal or black gradient (seamless paper or a softly lit backdrop).
- Surface: Dark wood or a slate stone slab for a subtle texture.
- Lighting Setup:
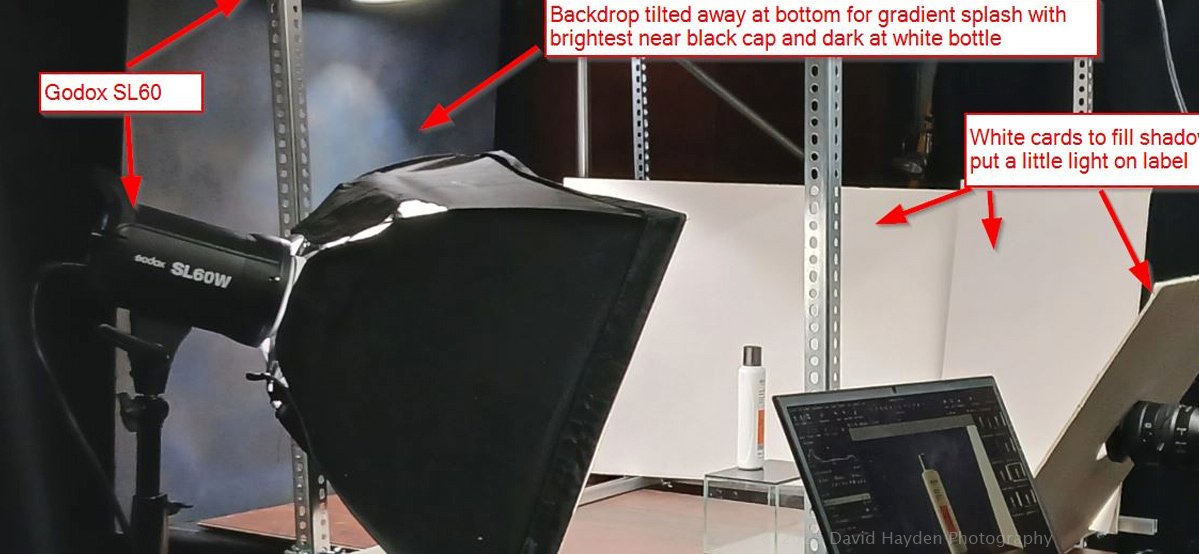
- Main Light: Large softbox or diffused LED panel behind and slightly above the bottle, with a black flag to block direct reflections.
- Edge Lighting: Two strip softboxes or vertical diffusion panels on either side, placed slightly behind the subject to create a subtle rim light.
- Fill: Small white card in front, angled upward to control shadows and softly reveal branding without harsh reflections.
? Result: The matte finish absorbs light beautifully while the edge lights define shape. The gradient backdrop enhances depth.
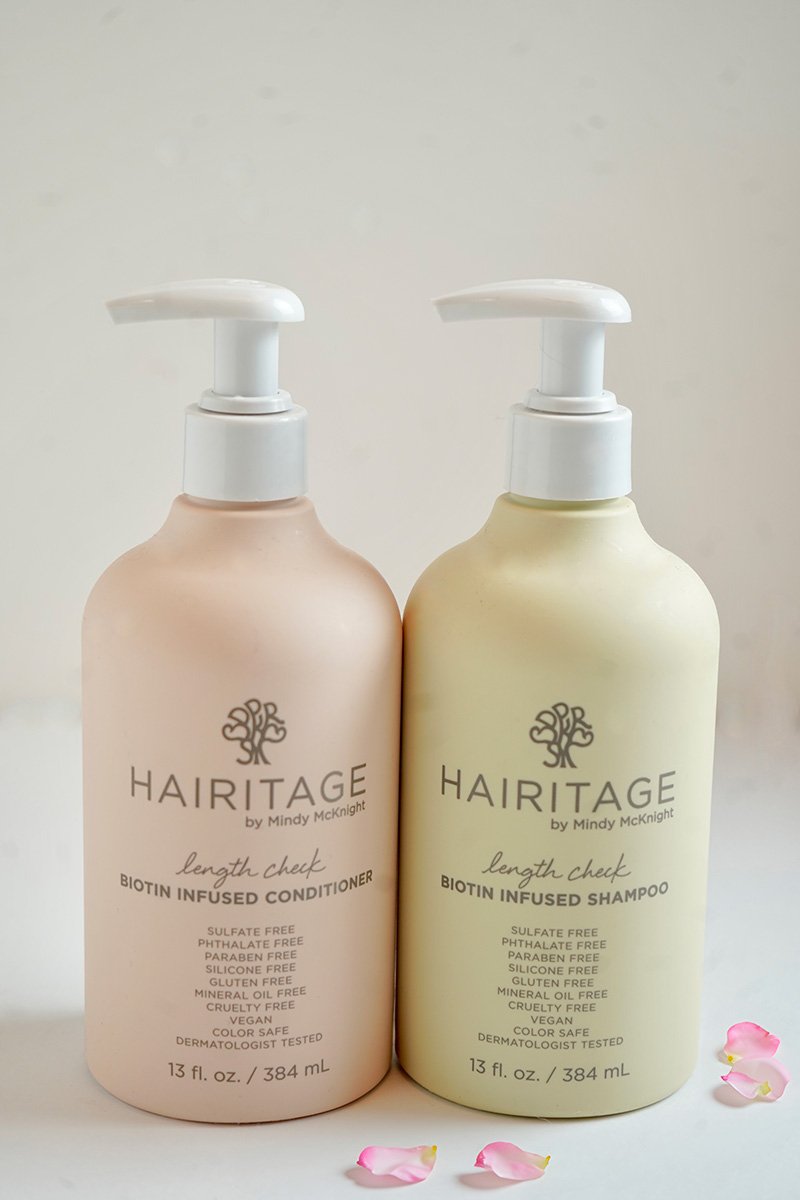
2. Backlit Glow with a Reflective White Surface (Bright & Clean)
- Background: Soft white fabric or a white seamless backdrop.
- Surface: High-gloss acrylic or a frosted glass panel over white.
- Lighting Setup:
- Main Light: A large softbox directly behind the bottle, diffused with an additional silk or acrylic panel for an ethereal glow.
- Side Fill: Two small softboxes or LED panels placed at 45° angles to softly shape the edges.
- Top Light: A bounced overhead LED for subtle depth without creating hot spots.
- Negative Fill: Small black flags on either side to maintain contrast.
? Result: This setup creates a modern, airy look, emphasizing the bottle’s shape without hard reflections.
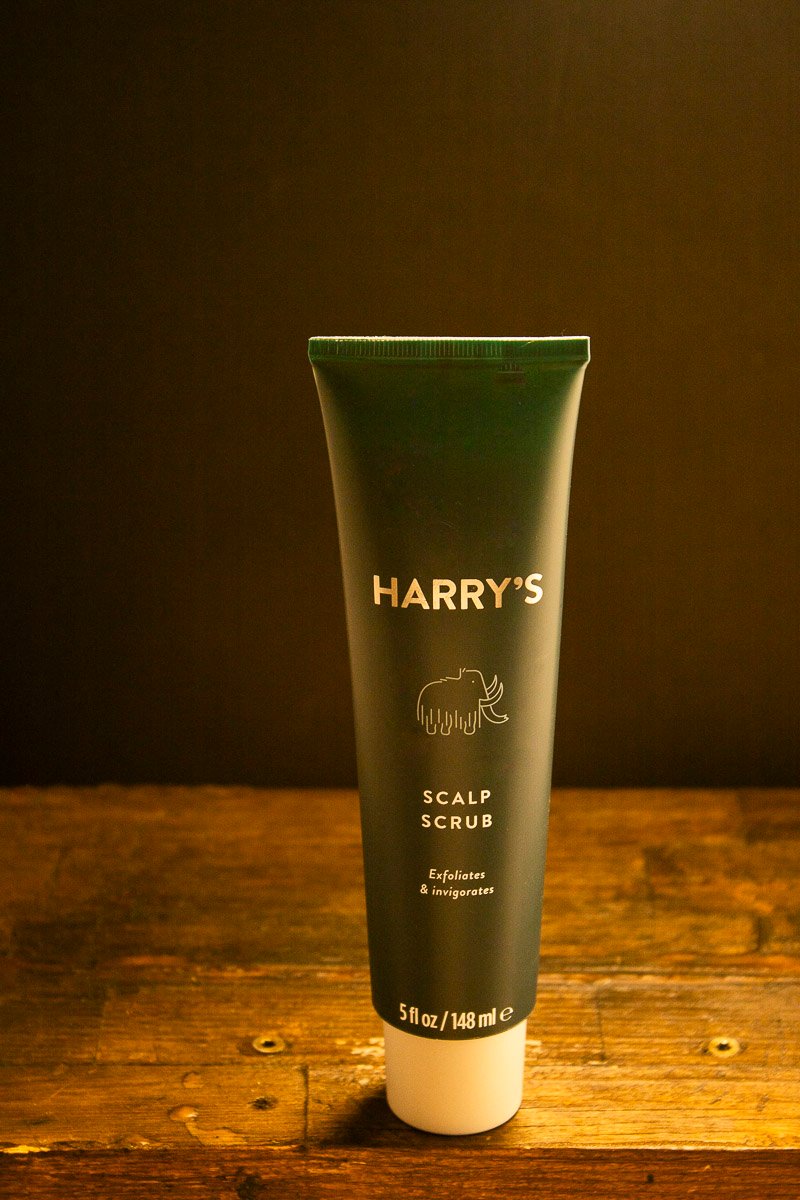
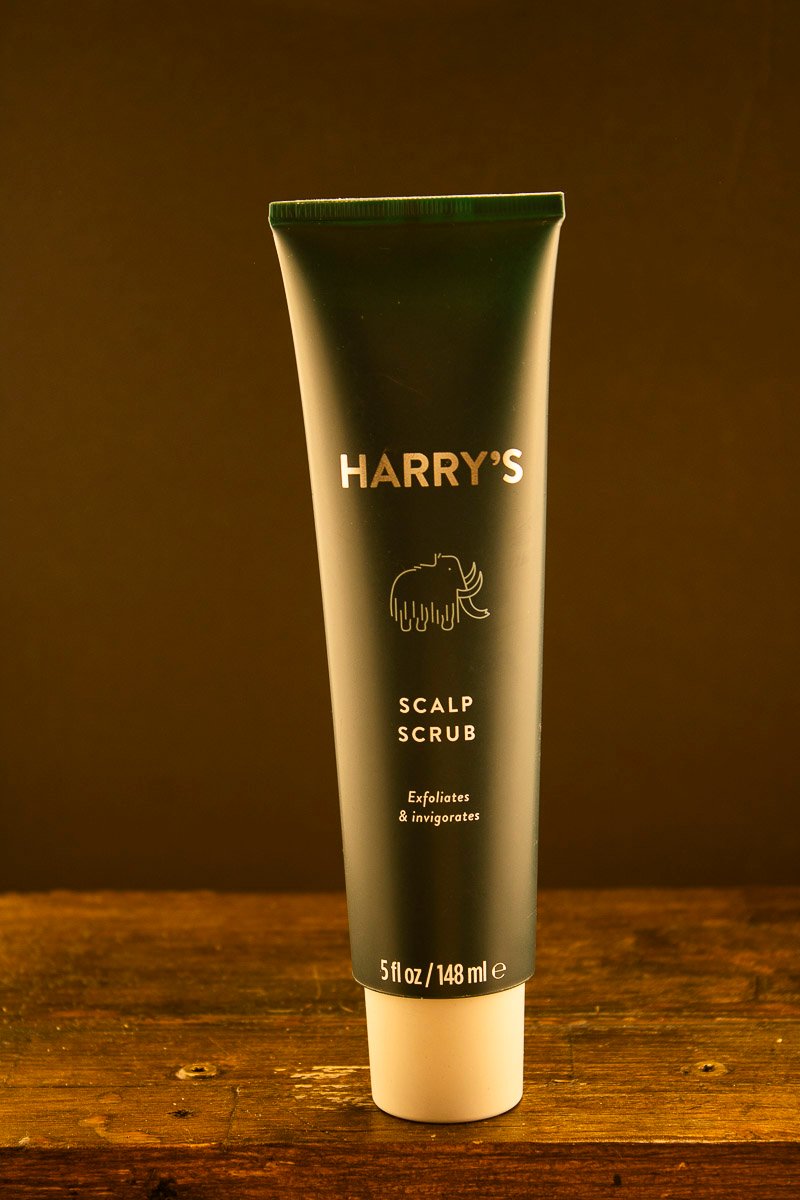
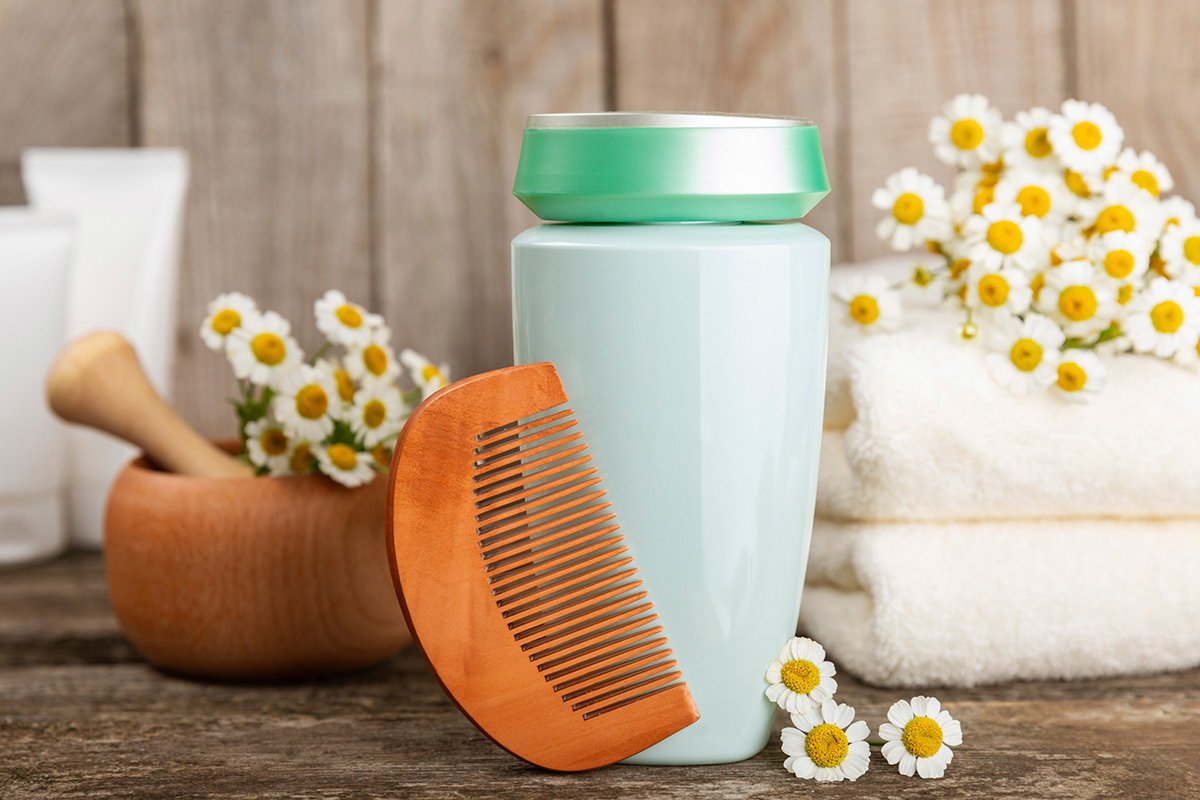
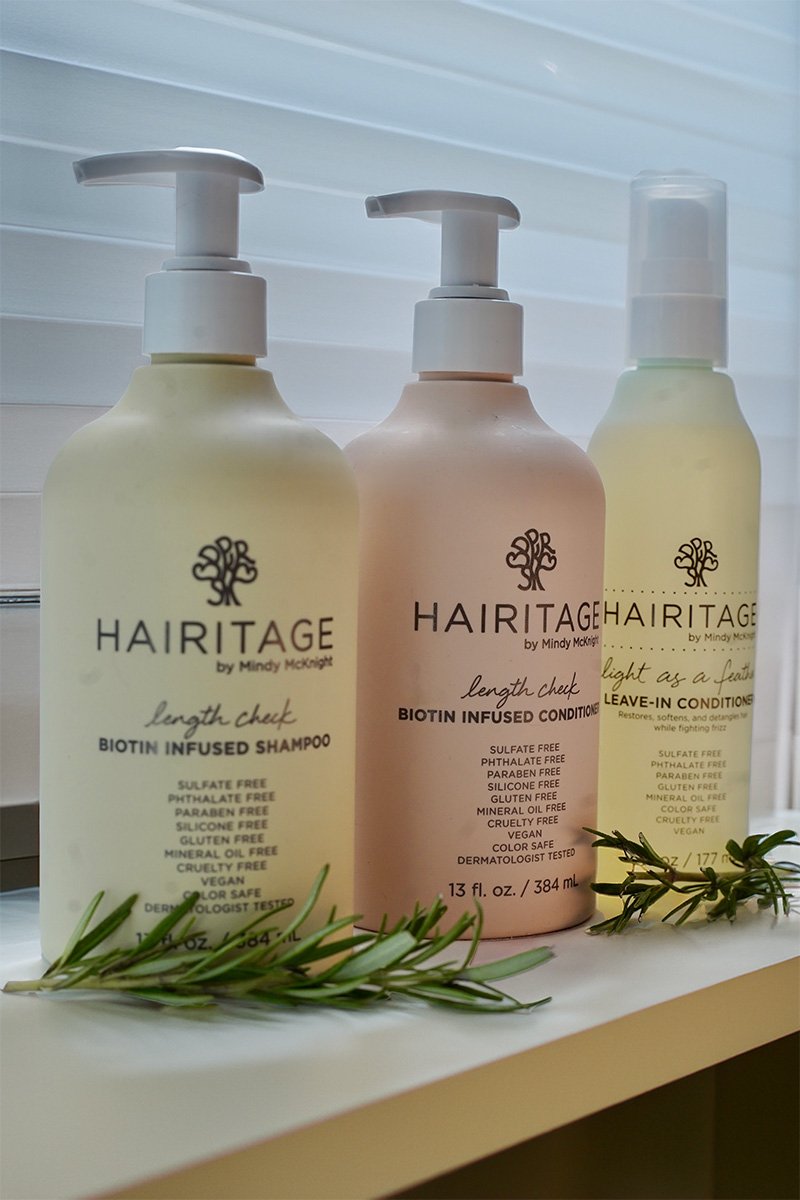
3. Dramatic Side Light on a Textured Surface (Earthy & Organic)
- Background: Textured canvas, rustic wood, or an aged plaster wall in warm tones.
- Surface: Weathered stone, concrete, or reclaimed wood.
- Lighting Setup:
- Main Light: A single directional light source (like a deep dish reflector or bare bulb strobe) placed at a sharp 90° angle for dramatic texture.
- Bounce Fill: A large white card or scrim on the opposite side to softly recover details in shadows.
- Back Light: A subtle hair light behind the bottle to create separation from the background.
? Result: This setup plays with contrast and shadows, emphasizing the bottle’s form while keeping the matte texture rich and dimensional.
WELCOME VIDEO 2-19-2025
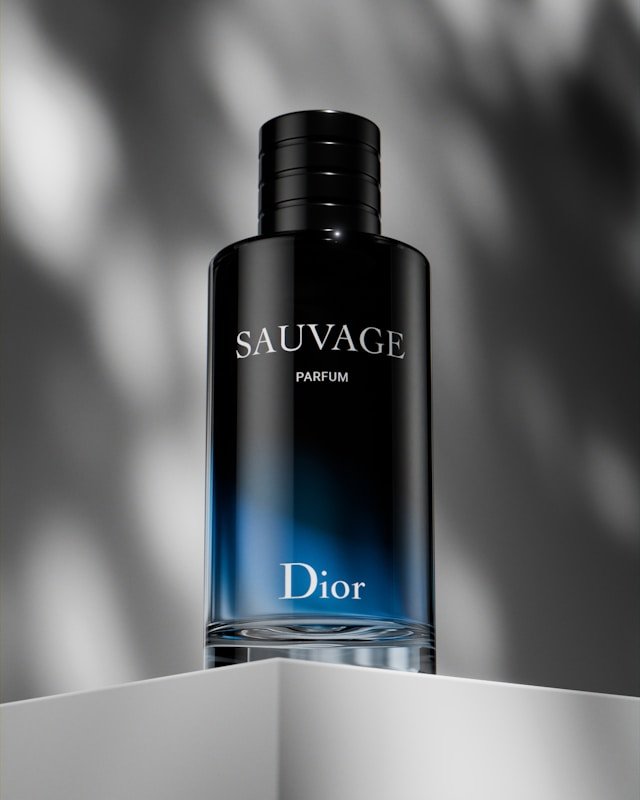
Shooting from a low position, makes the top get smaller and presents the bottle as a monolithic structure, larger than life so to speak. It is an unusual angle and is used for hero shots and main features.
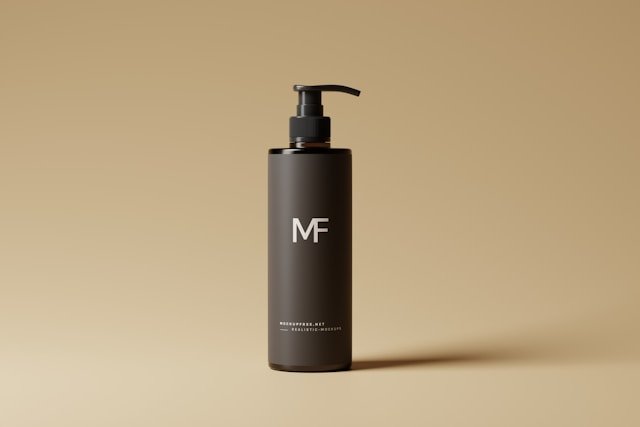
This is the oblique angle making the bottle straight up and down, and is the most popular way to shoot a bottle. Usually used for catalog, direct sales, web, and hero shots.
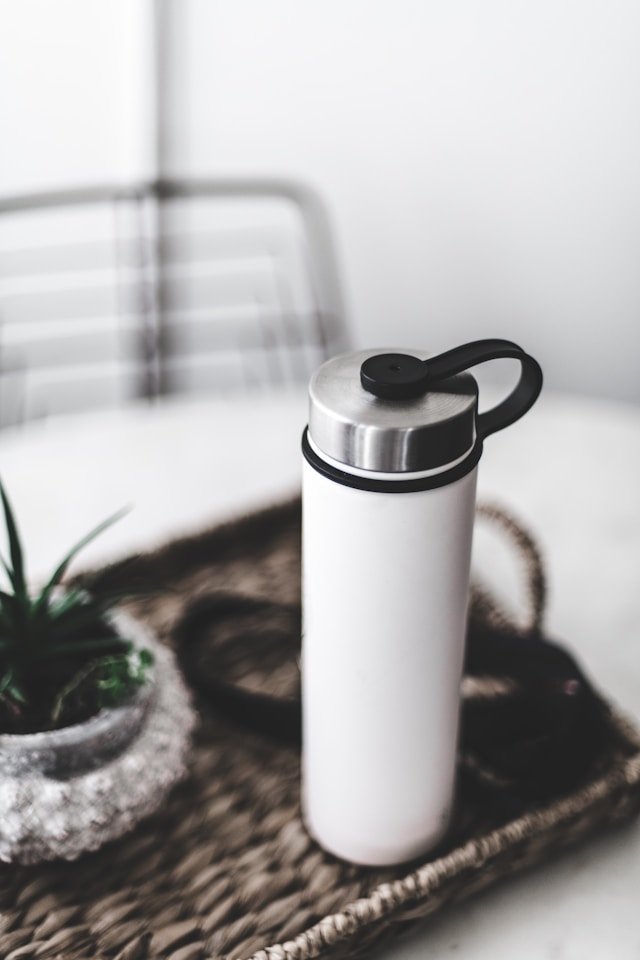
The “Natural Angle” where we usually see a bottle. This 30-45 degree angle is usually used in ads and editorials where the viewer is expected to feel more comfortable with the bottle.
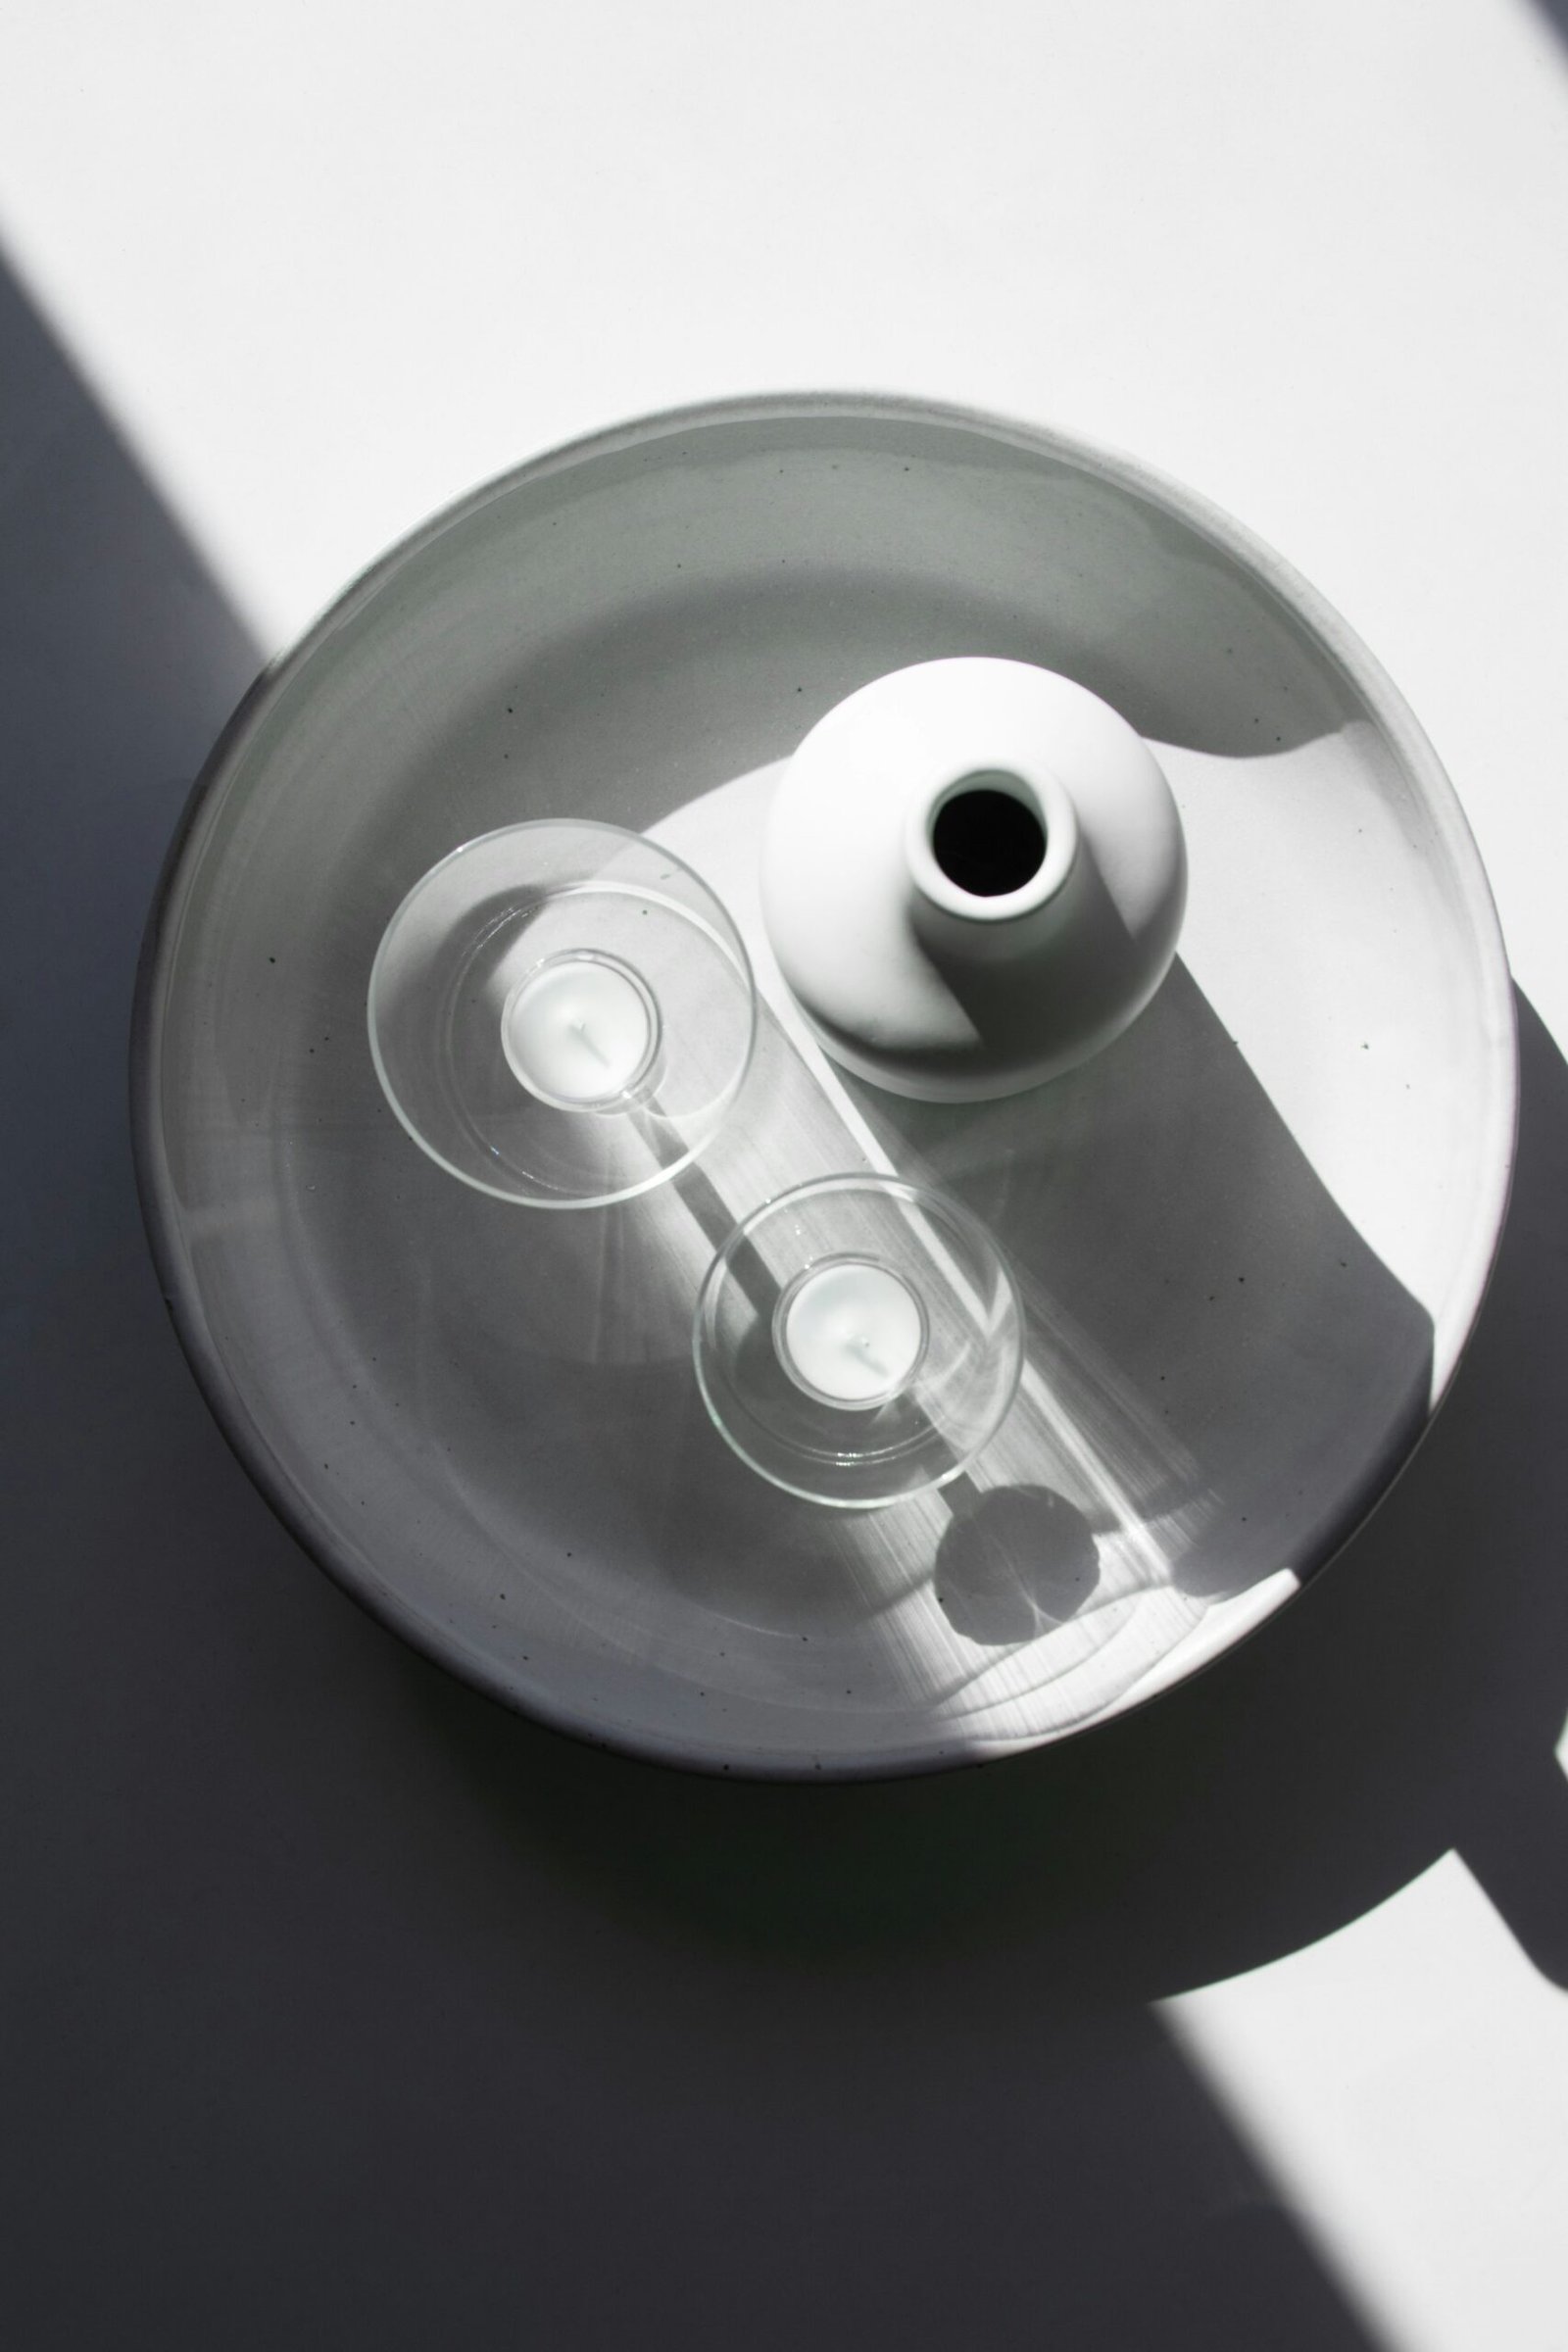
Top down is mostly seen as props for other products as well as for food shots (lay-flats). This is NOT an angle I want you to shoot for this assignment.
Shooting Opaque Plastic Bottles in a Commercial Setting
Shooting opaque plastic bottles for commercial use presents unique challenges, particularly in controlling reflections, defining shape, and ensuring label clarity. This guide will walk through lighting setups, composition techniques, lens choices, and best practices for both single and group shots.
1. Lighting Strategies for Plastic Bottles
Since plastic bottles have a semi-reflective yet soft surface, the goal is to sculpt their shape while keeping labels legible and avoiding glare.
High-Key, Low-Key, and Neutral Lighting
Choose your lighting approach based on the brand and mood you want to convey.
High-Key (Bright, Clean, Pure White Background)
- Often used for e-commerce and pharmaceutical or wellness products.
- Requires large soft light sources (softboxes or scrims) positioned evenly.
- Shadows should be minimal, and reflections must be diffused.
Low-Key (Dramatic, Dark, Bold)
- Ideal for luxury, sports, or high-contrast branding.
- Uses controlled side or backlighting to define edges.
- Strong shadows can enhance depth but must not obscure labels.
Neutral (Balanced Commercial Look)
- Works well for most products, keeping the focus on clarity.
- Uses a mix of soft front fill light and subtle rim or top lighting.
- Works on both light and dark backgrounds with slight tonal separation.
Lighting Setup for Single Bottles
- Key Light: Large softbox at a 45-degree angle to the bottle.
- Fill Light (Optional): Soft reflector opposite the key light to balance shadows.
- Top Light (For Shape): Overhead soft light or strip light to emphasize curves.
- Background Light (If Needed): Helps separate bottle from the background, especially for dark bottles on a dark background.
Reflections & Glare Control
- Use diffusers or polarizing filters to soften reflections on plastic.
- Keep light sources large and positioned at an angle to prevent hot spots on the label.
- If the bottle has a glossy label, a circular polarizer can help cut reflections.
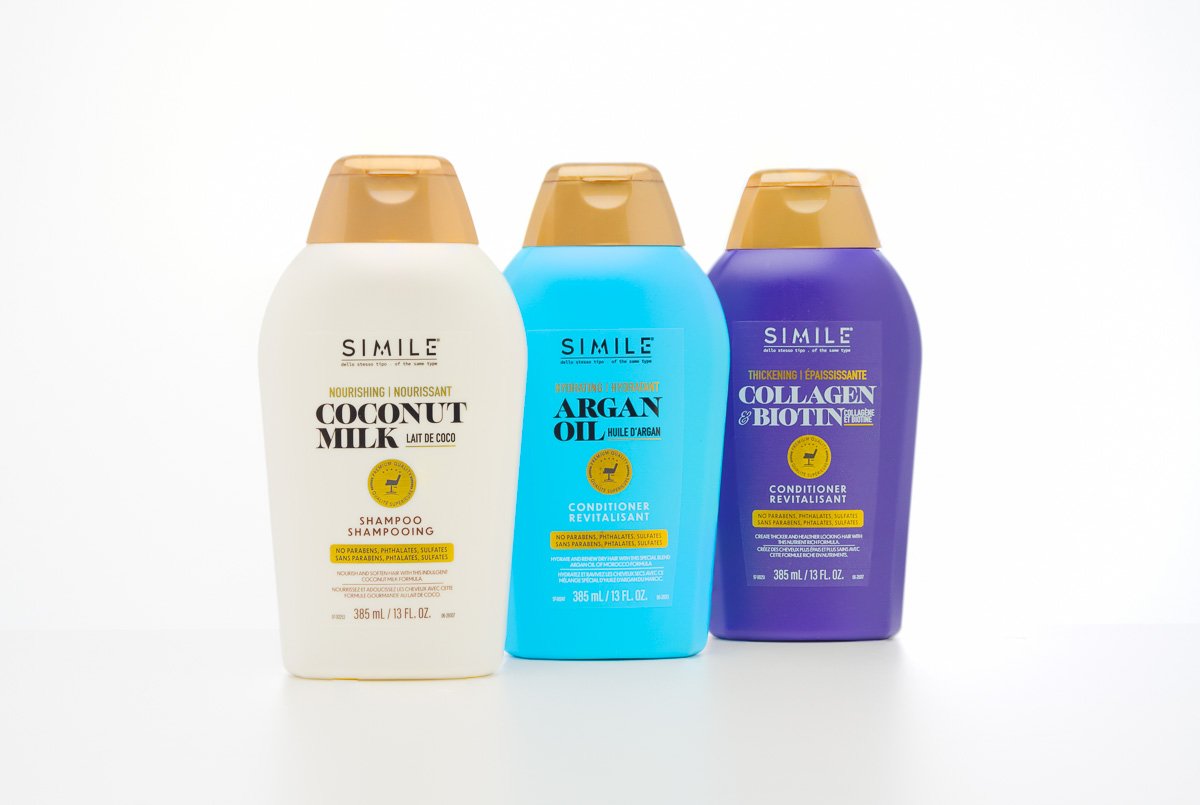
Lighting Setup for Group Shots
- Keep Consistency: Avoid mixed lighting angles that cause bottles to look disjointed.
- Avoid Overlapping Shadows: Side lighting may cast uneven shadows in groups, so consider a soft, large front light.
- Depth Control: Use a slightly narrower aperture (f/8-f/11) to ensure all bottles are in focus.
- Backlight for Separation: A subtle rim or backlight prevents bottles from blending into the background.
2. Composition Strategies
A strong composition guides the viewer’s eye while maintaining a professional commercial feel.
Single Bottle Composition
- Straight-on, Eye-Level Shot: Best for e-commerce and informational clarity.
- Slight Angled Perspective: Adds depth while keeping branding visible.
- Hero Shot (Slightly Below Eye-Level): Elevates the brand perception by making the product appear dominant.
Group Composition
- Symmetry & Balance: Ensure an even distribution of bottles.
- Leading Lines: Arrange bottles in a subtle arc or staggered pattern for depth.
- Layering: Place taller bottles in the back, shorter in front, avoiding awkward gaps.
3. Lens Choice & Depth of Field
Choosing the right lens ensures accurate proportions and minimal distortion.
50mm – 85mm (Full Frame) / 35mm – 50mm (Crop Sensor)
Avoid wide-angle distortion while keeping a natural field of view.
Macro Lens (100mm or more)
Great for extreme detail shots, especially for labels or unique textures.
Depth of Field Considerations
- Shallow (f/4 – f/5.6): Isolates a single bottle against a blurred background.
- Deep (f/8 – f/11): Ensures sharp focus across multiple bottles in group shots.
4. Best Camera Angles & POV
Eye-Level (Standard Commercial Look)
Ensures labels are legible without distortion.
Slight Downward Angle
Gives the bottle depth while maintaining a clean product shape.
Straight-On Flat Lay (For Lid or Top Focus)
Useful for packaging or lid-closeup shots.
5. Common Challenges & Fixes
Glare on Labels
Adjust light angles, use diffusion, or apply a polarizing filter. Often a small change to this angle may fix this problem, but also consider the size of the light source (smaller makes harsher highlights – larger makes softer) and how close the light is to the subject. It may be counter-intuitive, but the light in closer can often be softer.
Uneven Lighting in Group Shots
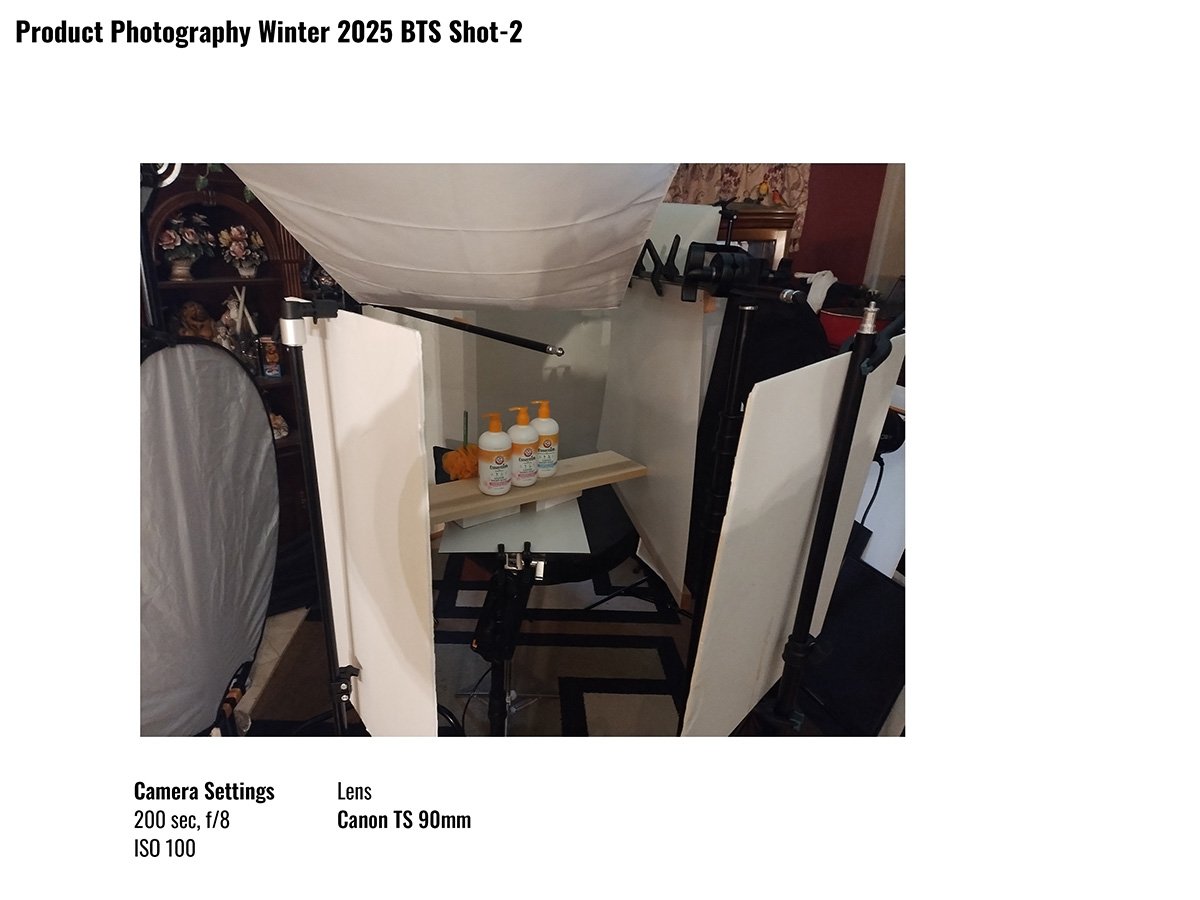
Ensure an evenly diffused key light, and avoid harsh directional shadows. Light too far to the side can result in harsher shadows or uneven fall off. Be careful to make sure you have plenty of white cards of different sizes to add to the main light as bounce sources.
Background Separation Issues
Use a subtle rim light or contrast the background color with the bottle. In addition, make sure your subject is not too close to the background. I suggest a minimum of three feet for a shot like this.
Reflections on Plastic
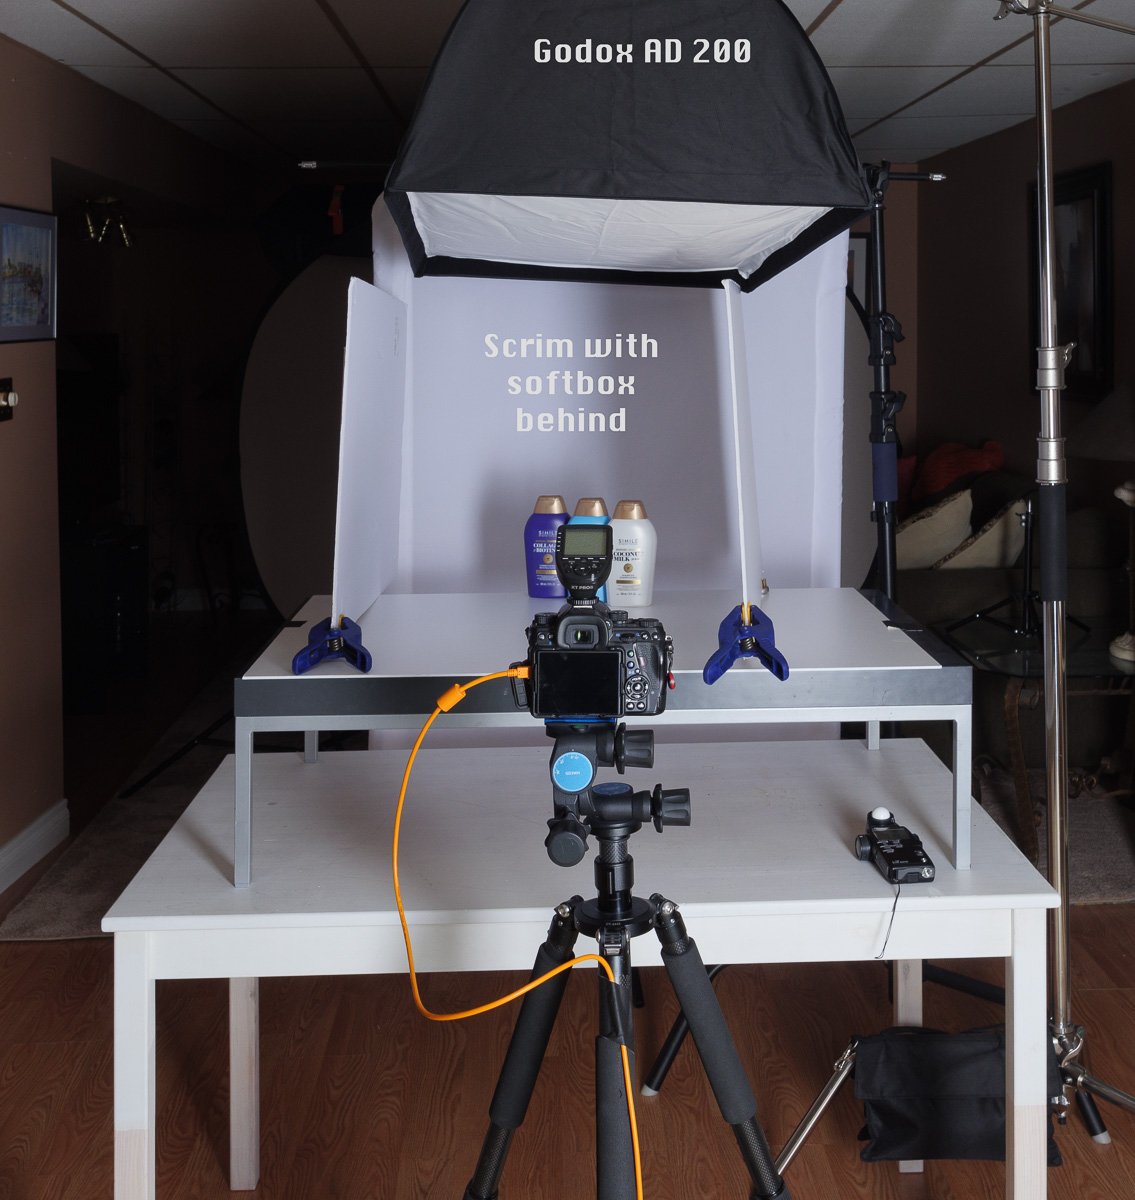
Larger light sources create softer reflections; use diffusion panels if necessary. Scrims with softboxes behind them can give you silky smooth highlights.
Shampoo Bottle Photography Checklist
Setup
- Choose a background (White for e-commerce, Gray for balance, Black for drama)
- Place the bottle on a tabletop (use a riser if needed for a natural shadow)
- Secure the bottle with museum putty or tape to prevent movement
Camera & Lens
- Use a 50mm – 85mm lens (full frame) or 35mm – 50mm (crop sensor)
- Set ISO 100, Aperture f/8 – f/11, Shutter Speed 1/125s
- Mount the camera on a tripod and use a remote trigger or timer
Lighting Setup
- Key Light (Main Soft Light at 45° Angle)
- Fill Light (Reflector or Softbox on the opposite side to soften shadows)
- Top Light (Overhead strip light for shape and contour)
- Background Light (Optional, to create separation from the backdrop)
- Use a circular polarizer if reflections on the label are a problem
Shooting & Framing
- Check and adjust lighting for minimal glare and even illumination
- Capture eye-level, slightly angled, and overhead shots
- Use bracketing (shoot different exposures) for flexibility in editing
- Check composition: avoid too much empty space or tight cropping
Post-Processing
- Adjust white balance, contrast, and exposure
- Remove dust, minor imperfections, and scratches
- Use dodge & burn to subtly enhance label visibility
- Save TIFF for high-resolution and JPEG for web use
A STEP BY STEP WALKTHROUGH OF A BOTTLE SHOOT
Step-by-Step Guide: Photographing a White, Soft-Textured Plastic Shampoo Bottle
This exercise will walk students through a controlled setup to photograph a white, opaque, soft-textured plastic shampoo bottle in a professional tabletop environment. The goal is to highlight the bottle’s shape, maintain texture detail, and ensure label readability while controlling reflections.
Step 1: Setup the Scene
? Choose a Background
- White background: A seamless look for e-commerce and a clean, high-key aesthetic.
- Gray background: Offers subtle separation for a balanced commercial look.
- Black background: Creates a dramatic, low-key shot but requires edge lighting for shape definition.
? Position the Bottle
- Place the shampoo bottle centered on a tabletop about 2-3 feet from the background.
- Elevate it slightly using a small acrylic riser or a piece of white foam core to create a natural shadow under the bottle.
? Secure the Bottle
- Use museum putty or double-sided tape to prevent accidental movement.
Step 2: Select the Camera & Lens
? Lens Choice
- 50mm – 85mm (Full Frame) / 35mm – 50mm (Crop Sensor): Avoids distortion and gives a natural perspective.
- Macro Lens (100mm+): Ideal for close-up shots of the texture or label details.
? Camera Settings (Starting Point)
- ISO: 100 (to minimize noise and maximize detail).
- Aperture: f/8 – f/11 (sharp focus, good depth of field).
- Shutter Speed: 1/125s (syncs well with studio lighting).
? Tripod & Remote Trigger
- Use a tripod for stability and a remote trigger or timer to avoid camera shake.
Step 3: Light the Bottle
Since the bottle is white and textured, the goal is to enhance shape and texture without overexposure.
Main Light (Soft Key Light)
- Position a large softbox (or scrim with a strobe/continuous light) at a 45-degree angle to the left of the bottle.
- Keep it slightly higher than the bottle to create a soft gradient of light across the surface.
- Modify if necessary: Add an extra layer of diffusion if you see harsh reflections.
Fill Light / Bounce (For Balance)
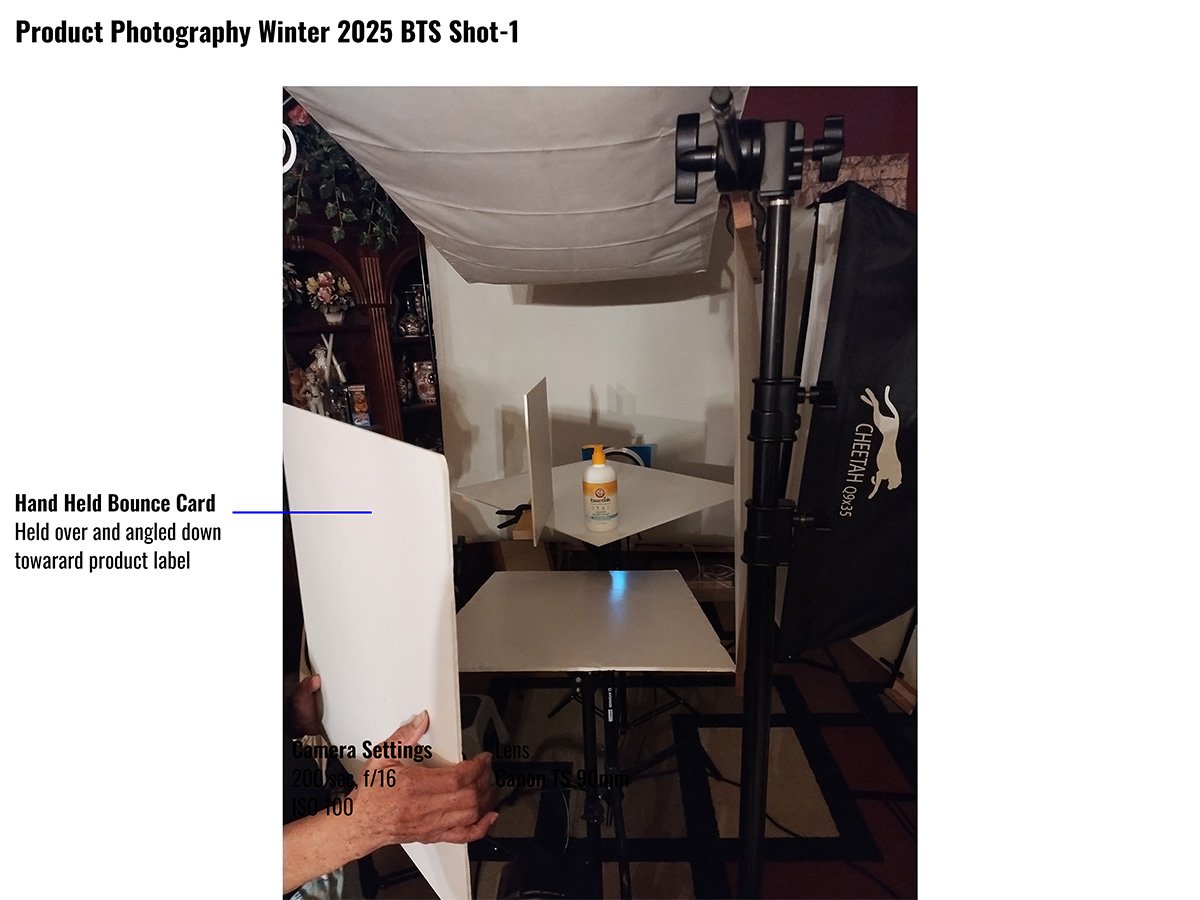
- Place a white reflector (foam board or bounce card) on the opposite side of the key light to soften shadows.
- If the shadows are too deep, use a soft fill light at a lower intensity.
Top Light (To Define Shape)
- A strip light or a small softbox overhead will help enhance curvature and provide gentle highlights.
- Keep the intensity low so the bottle doesn’t look flat.
Background Light (If Using White or Gray Background)
- Place a strobe/LED with a small softbox aimed at the background to create separation.
- If the bottle blends too much into the background, increase background exposure slightly.
Rim Light (For Low-Key Look)
- If shooting against a dark background, add a small strip light behind the bottle to create a clean edge separation.
Step 4: Adjust for Texture and Label Visibility
? Check Texture Detail
- Slightly increase side light contrast if the texture looks too flat.
- Avoid using direct frontal lighting—it kills texture.
? Ensure the Label is Readable
- Angle the key light so it illuminates the label evenly without reflections.
- If the label is glossy, adjust the light angle or use a circular polarizer on the lens.
? Control Highlights
- If any hot spots appear, diffuse the light more or move it slightly further away.
Step 5: Frame the Shot & Choose the Right POV
? Eye-Level Shot (Best for E-Commerce)
- Camera parallel to the bottle ensures a clear and distortion-free product image.
? Slightly Angled Shot (Adds Depth)
- A 5-10 degree tilt can make the bottle feel more dynamic while keeping the branding visible.
? Top-Down Shot (For Packaging Detail)
- If showing bottle caps or unique top designs, shoot from directly above.
Step 6: Capture the Image
? Take a Test Shot
- Review for hot spots, shadows, and label clarity.
- Adjust light intensity or position as needed.
? Bracket Exposures
- Take multiple shots at slightly different exposures to ensure the best result.
? Refine Composition
- Check for balance in the frame, ensuring no awkward negative space.
Step 7: Post-Processing
? Color Correction & Exposure Adjustments
- Adjust contrast, brightness, and remove any unwanted color casts.
? Retouch Surface Imperfections
- Remove dust, scratches, or uneven textures using frequency separation in Photoshop.
? Enhance Edges & Label Legibility
- Use subtle dodging and burning to ensure the label stands out clearly.
? Final Crop & Export
- Save the final images in high-resolution TIFF for print and optimized JPEG for web.
Bonus: Group Shot Adjustments
For group shots of multiple bottles:
- Maintain even spacing and avoid crowding.
- Light from a slightly higher angle to minimize overlapping shadows.
- Use a smaller aperture (f/8 – f/11) for deep focus.
RESOURCE IMAGES
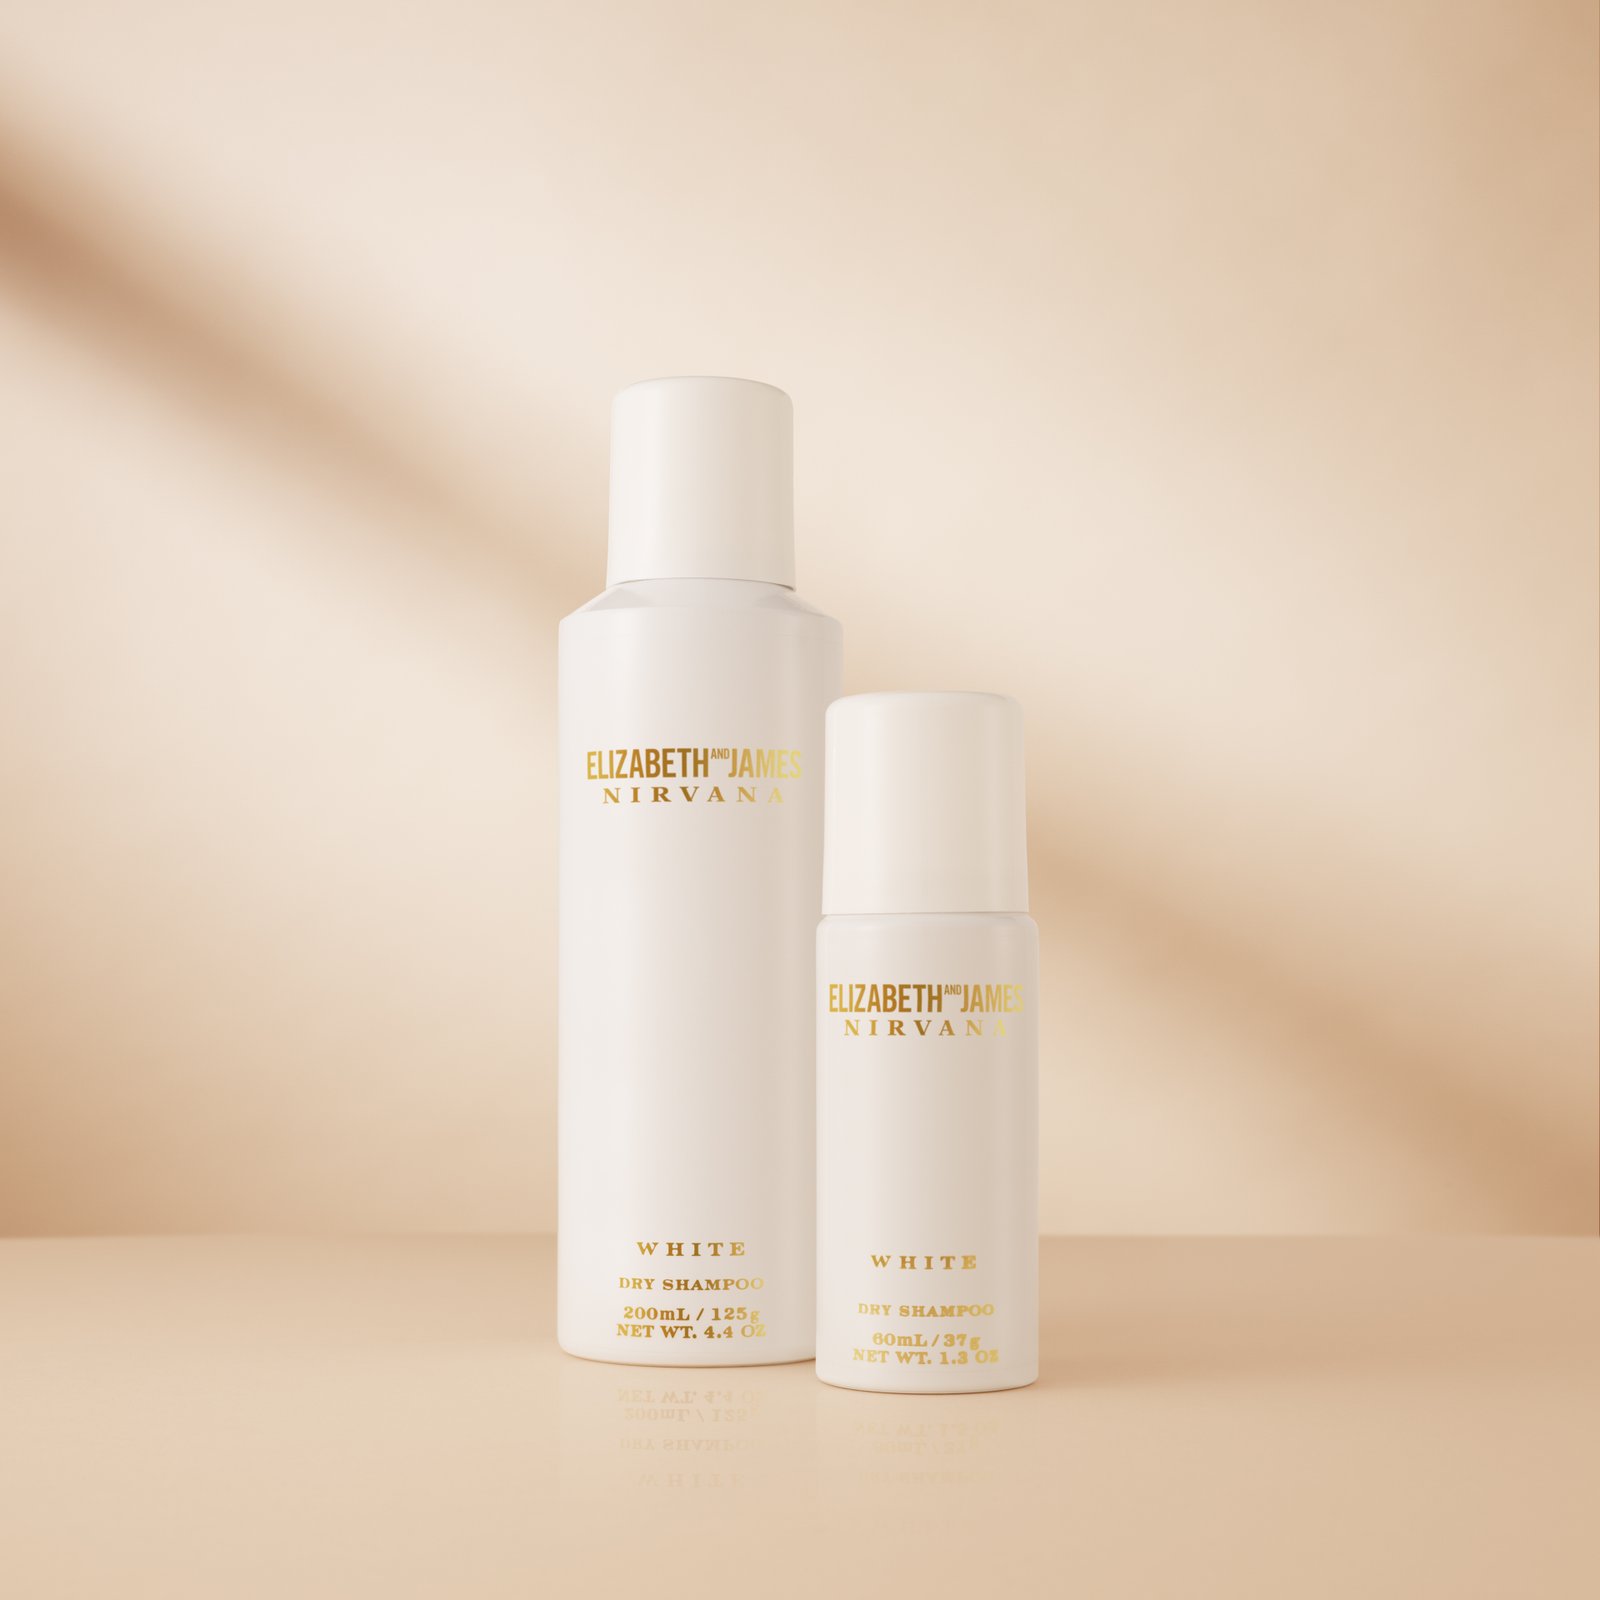
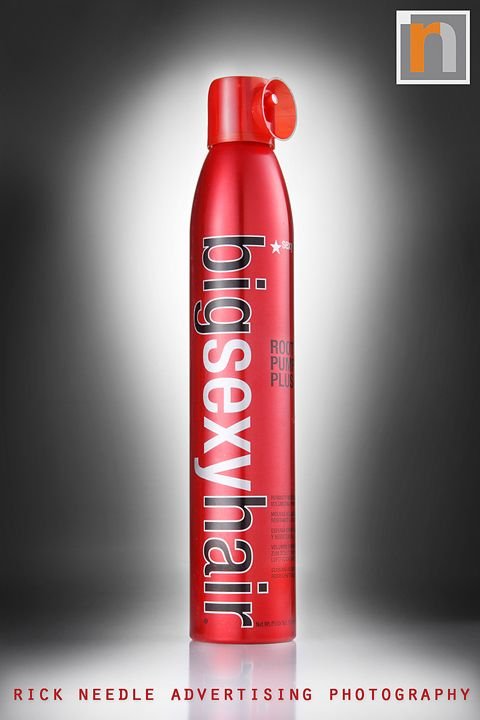
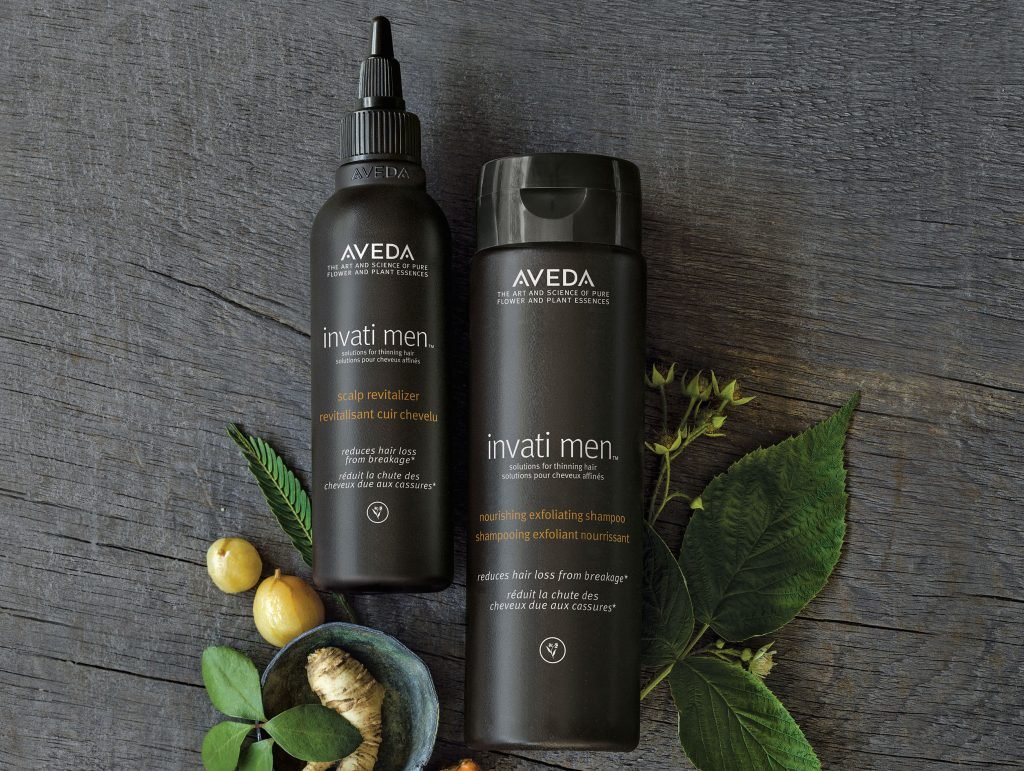
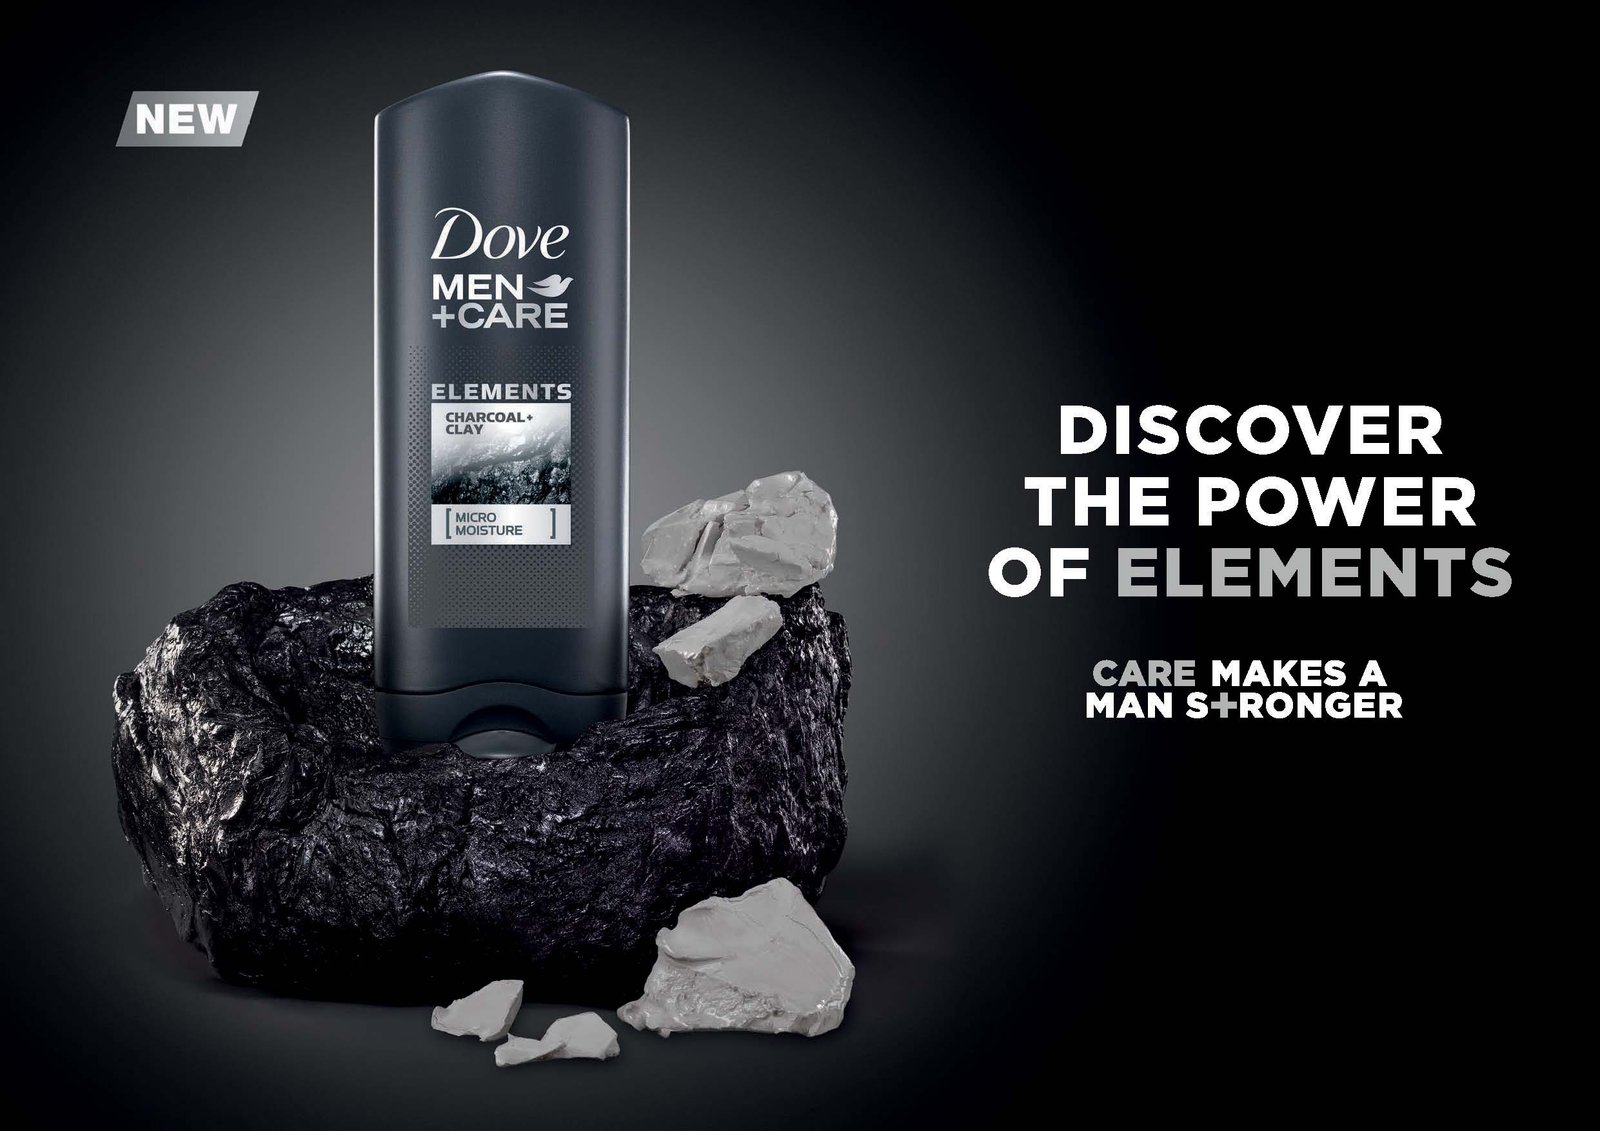
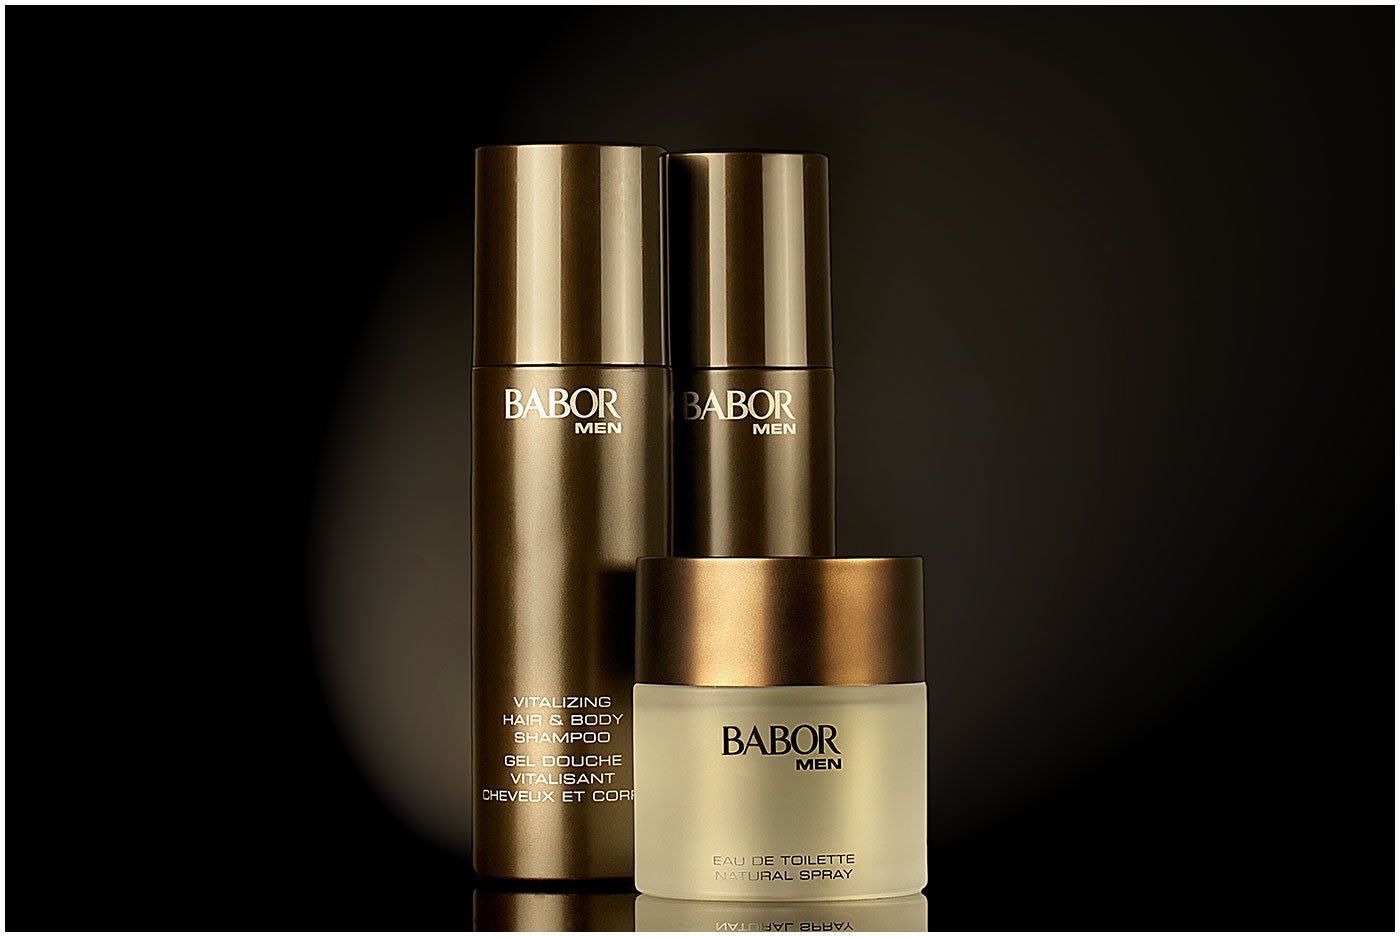
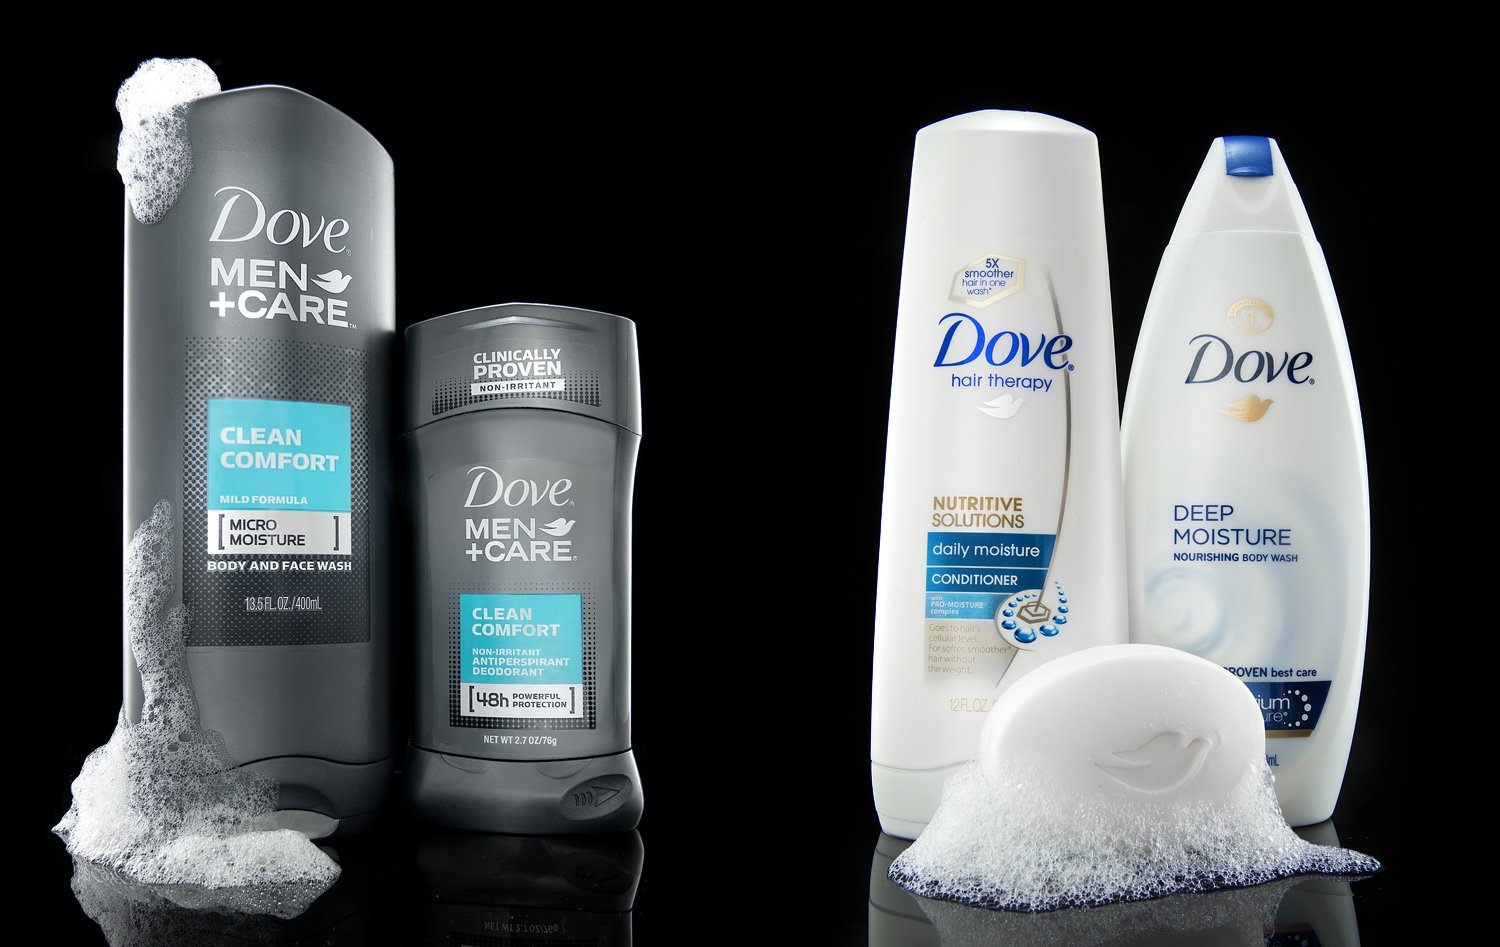
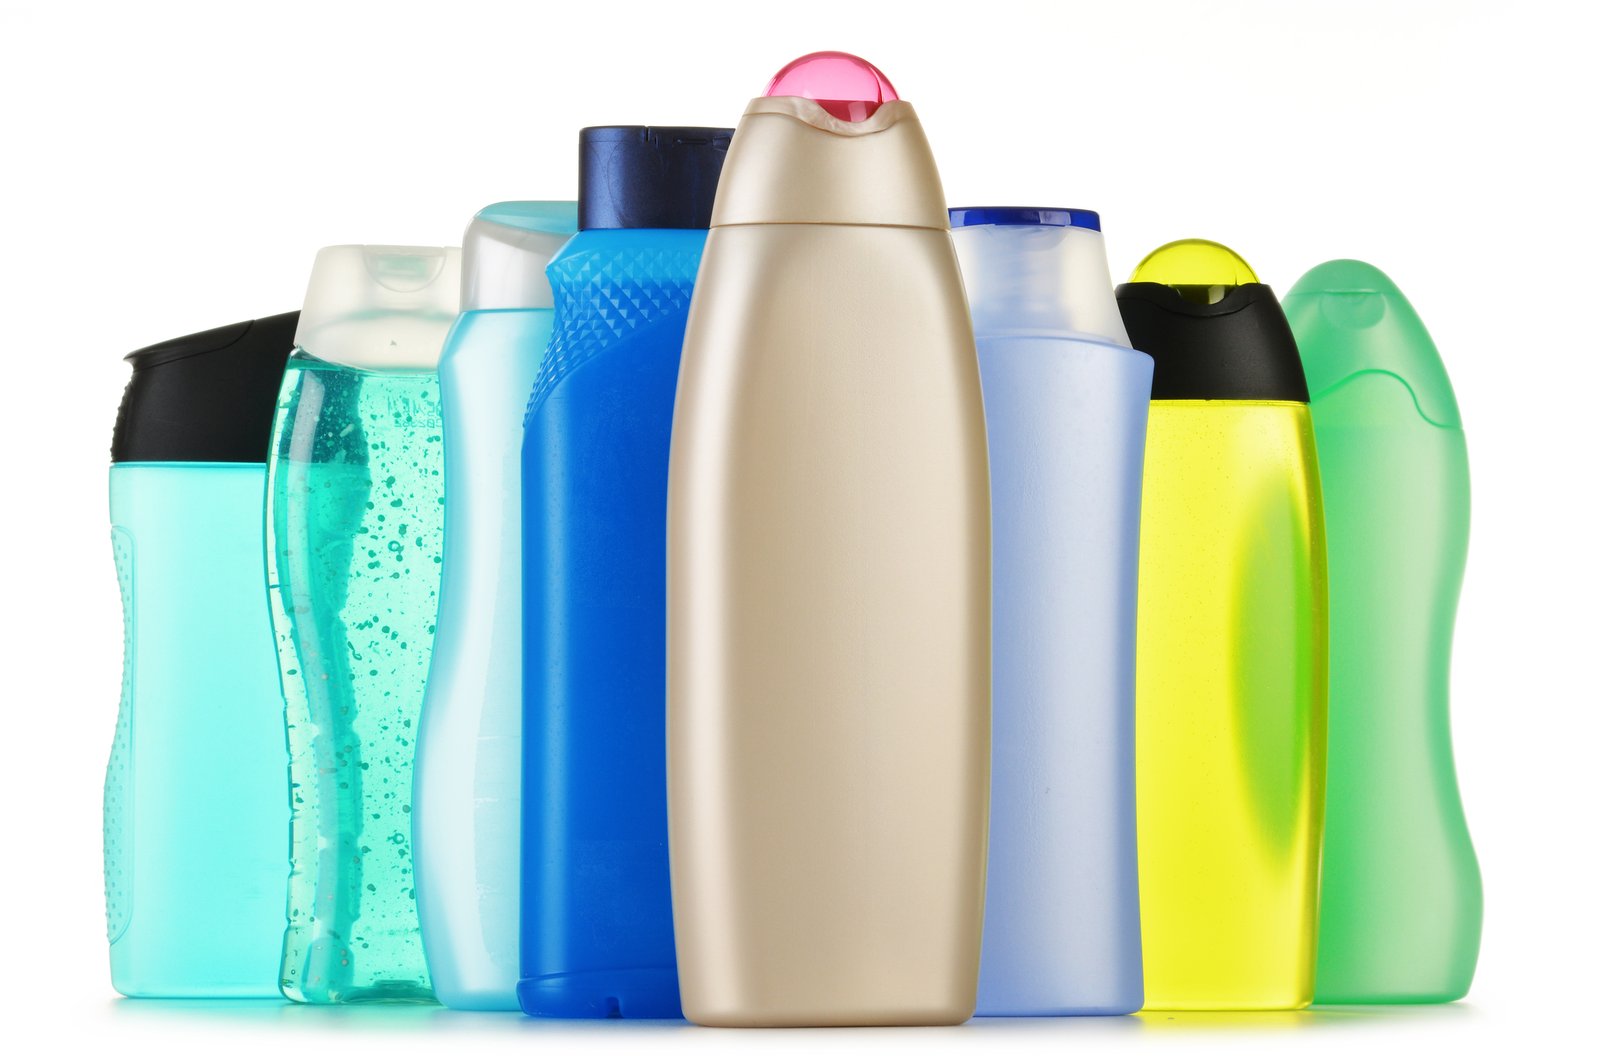
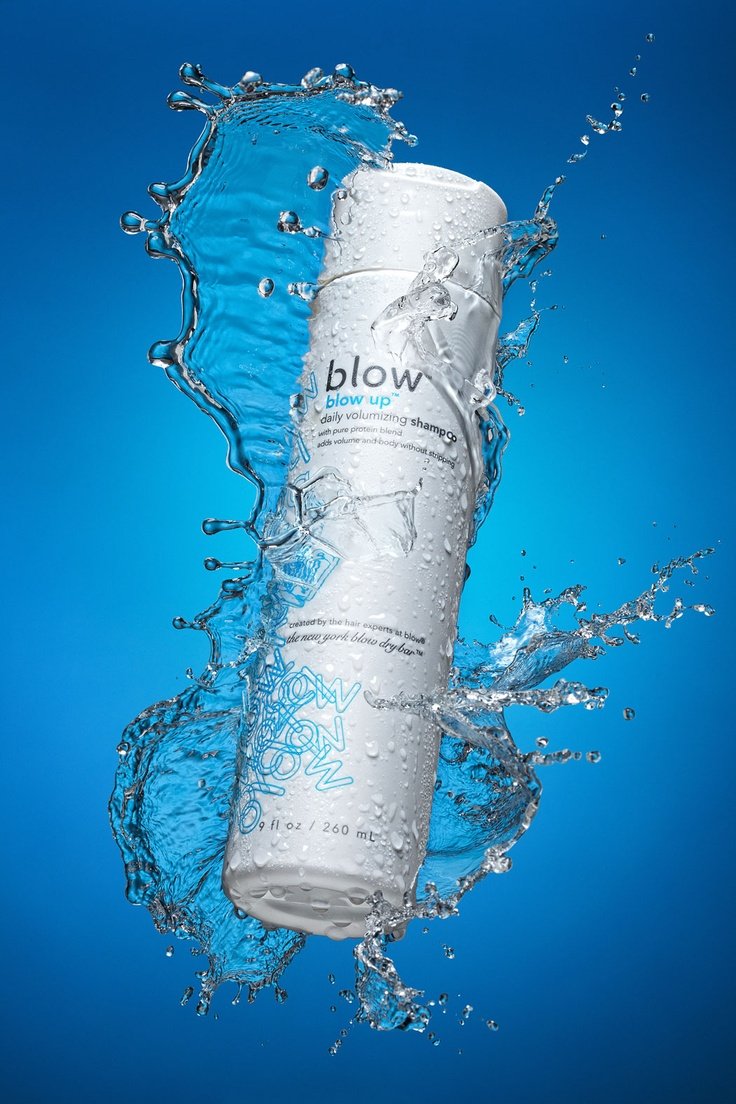
-
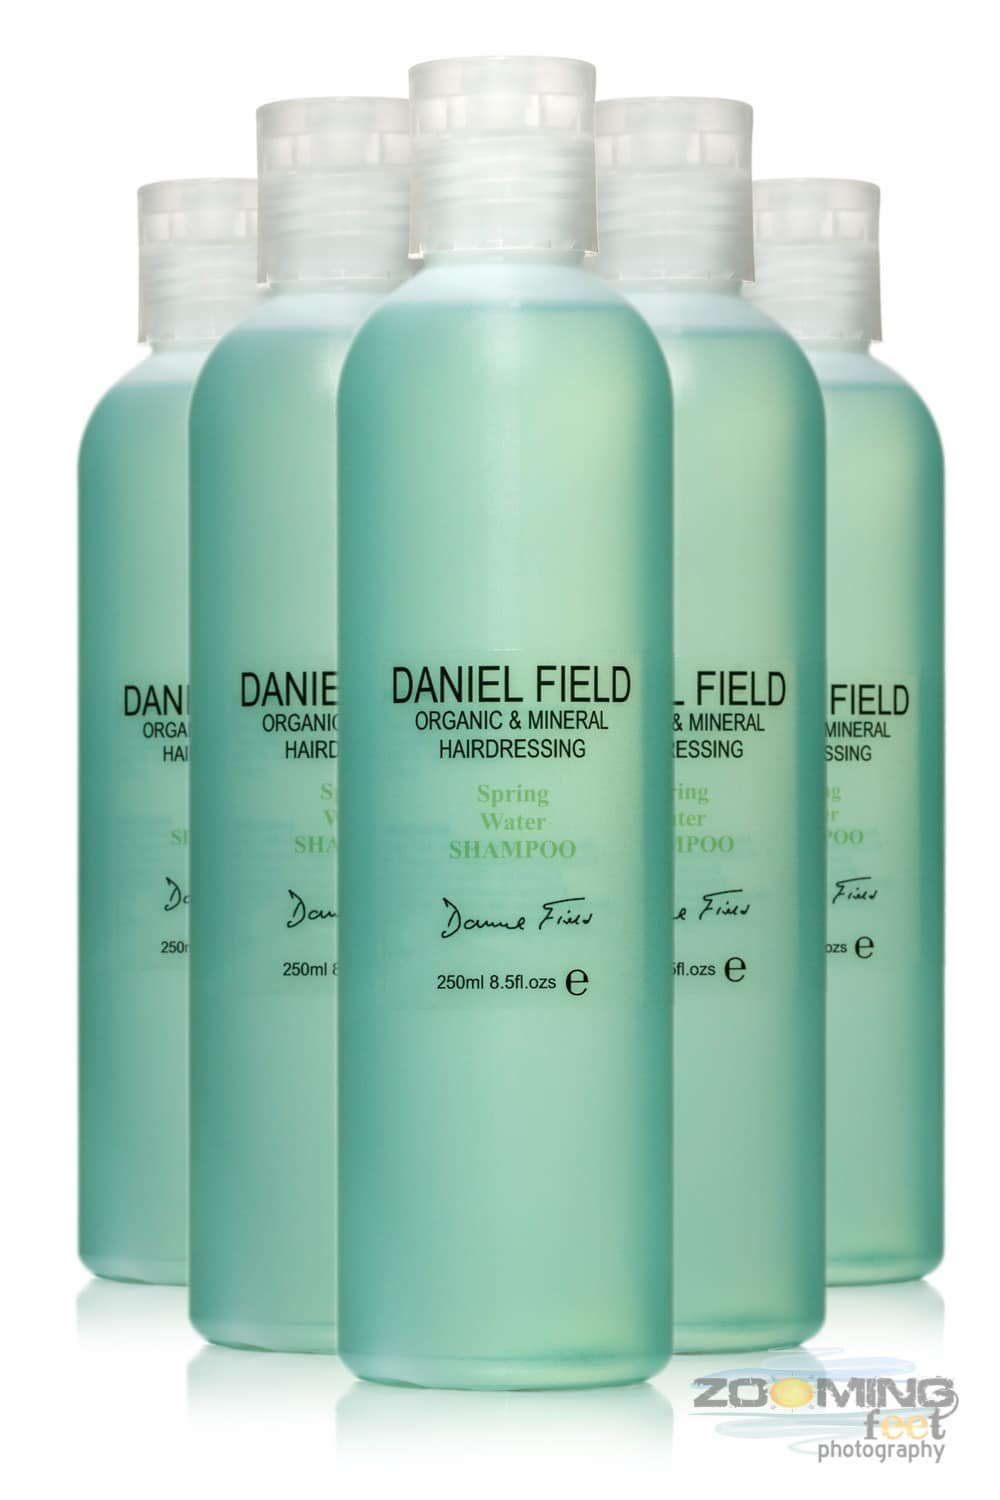
- Devon Product Photography
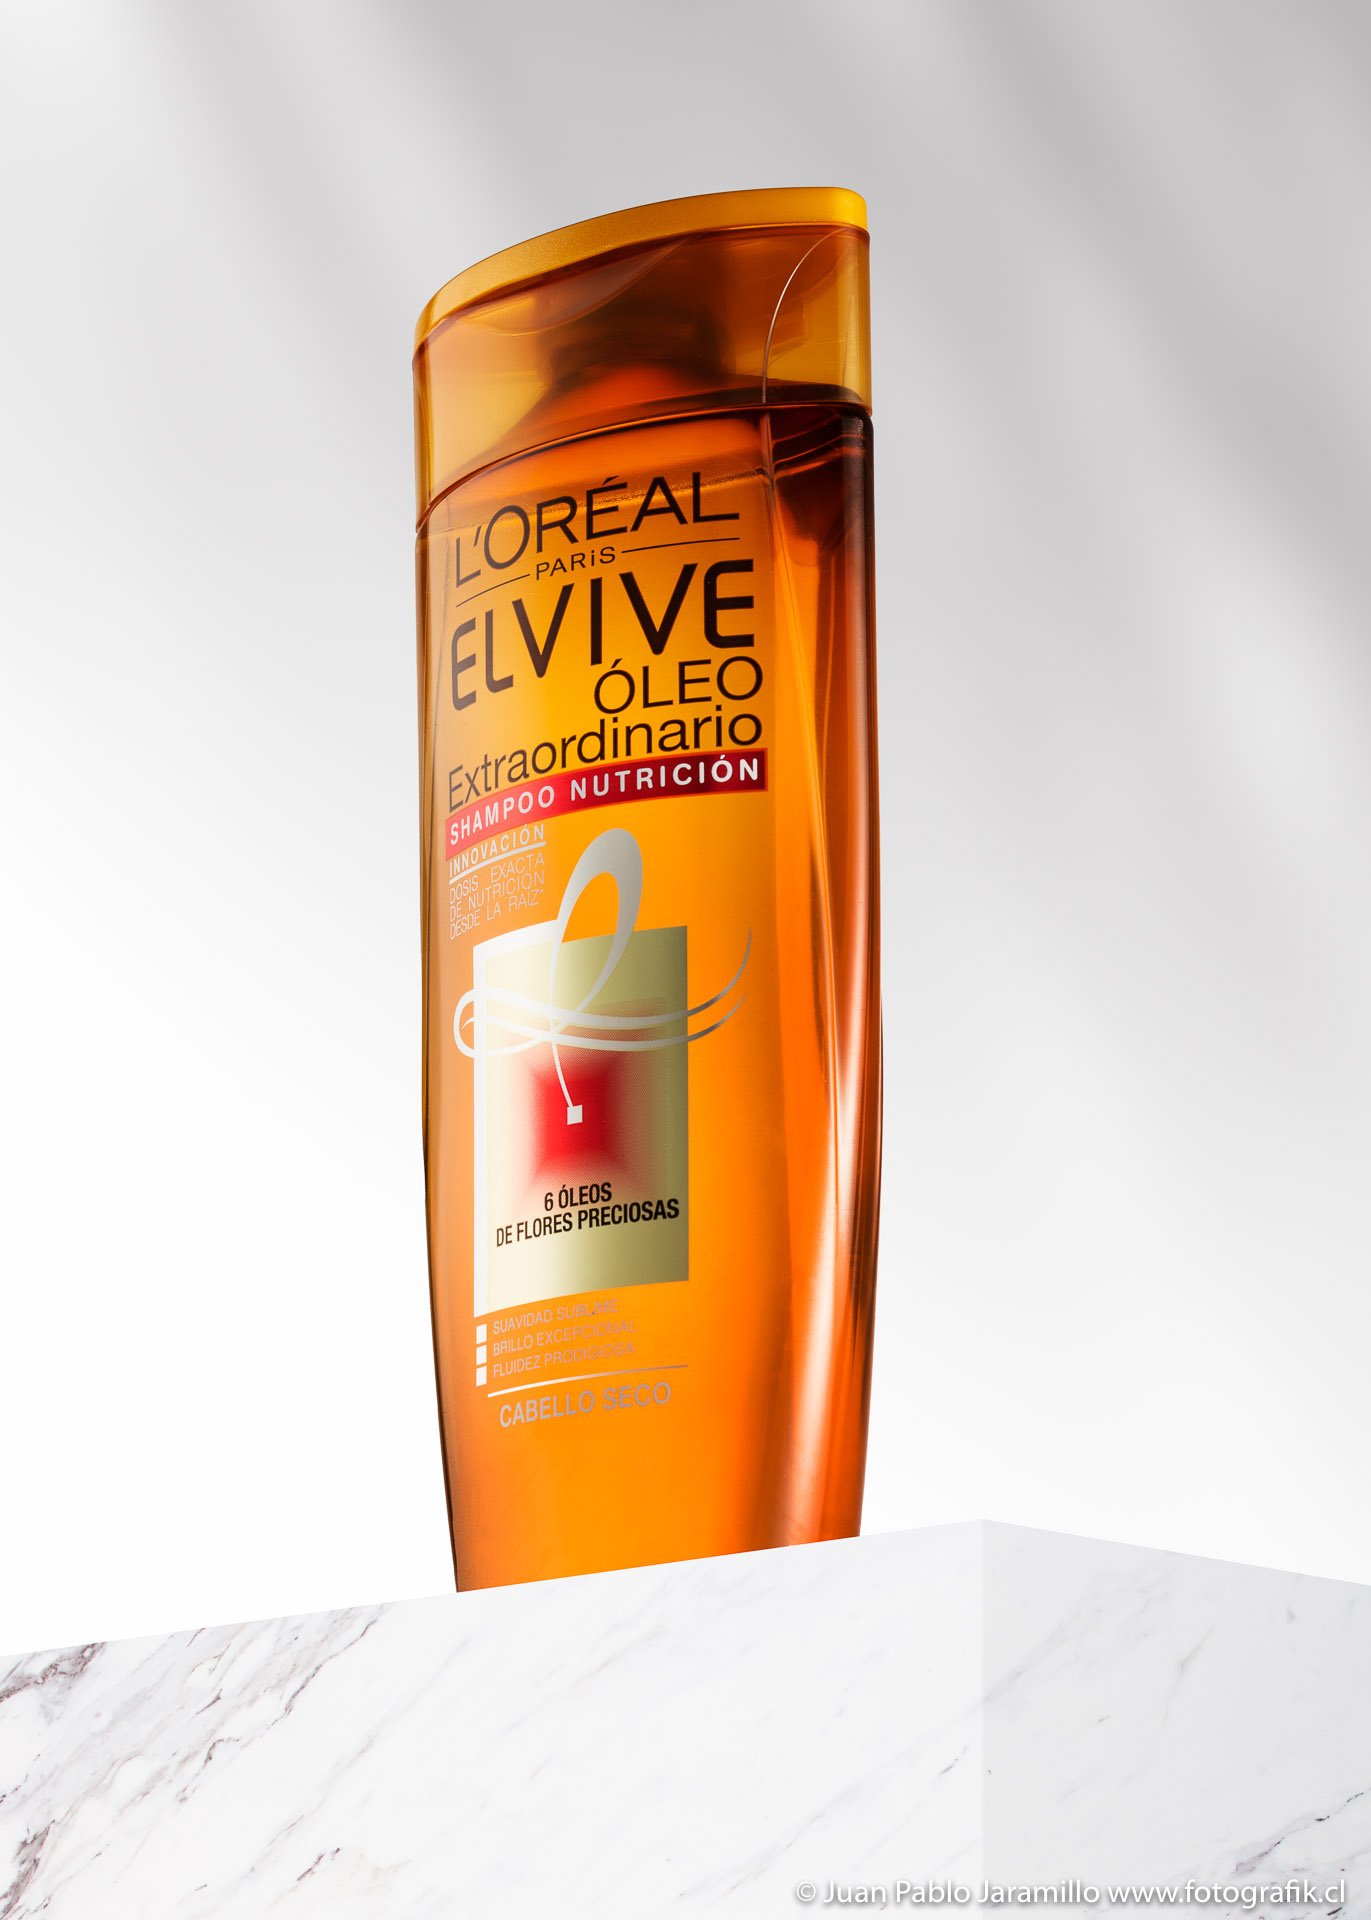
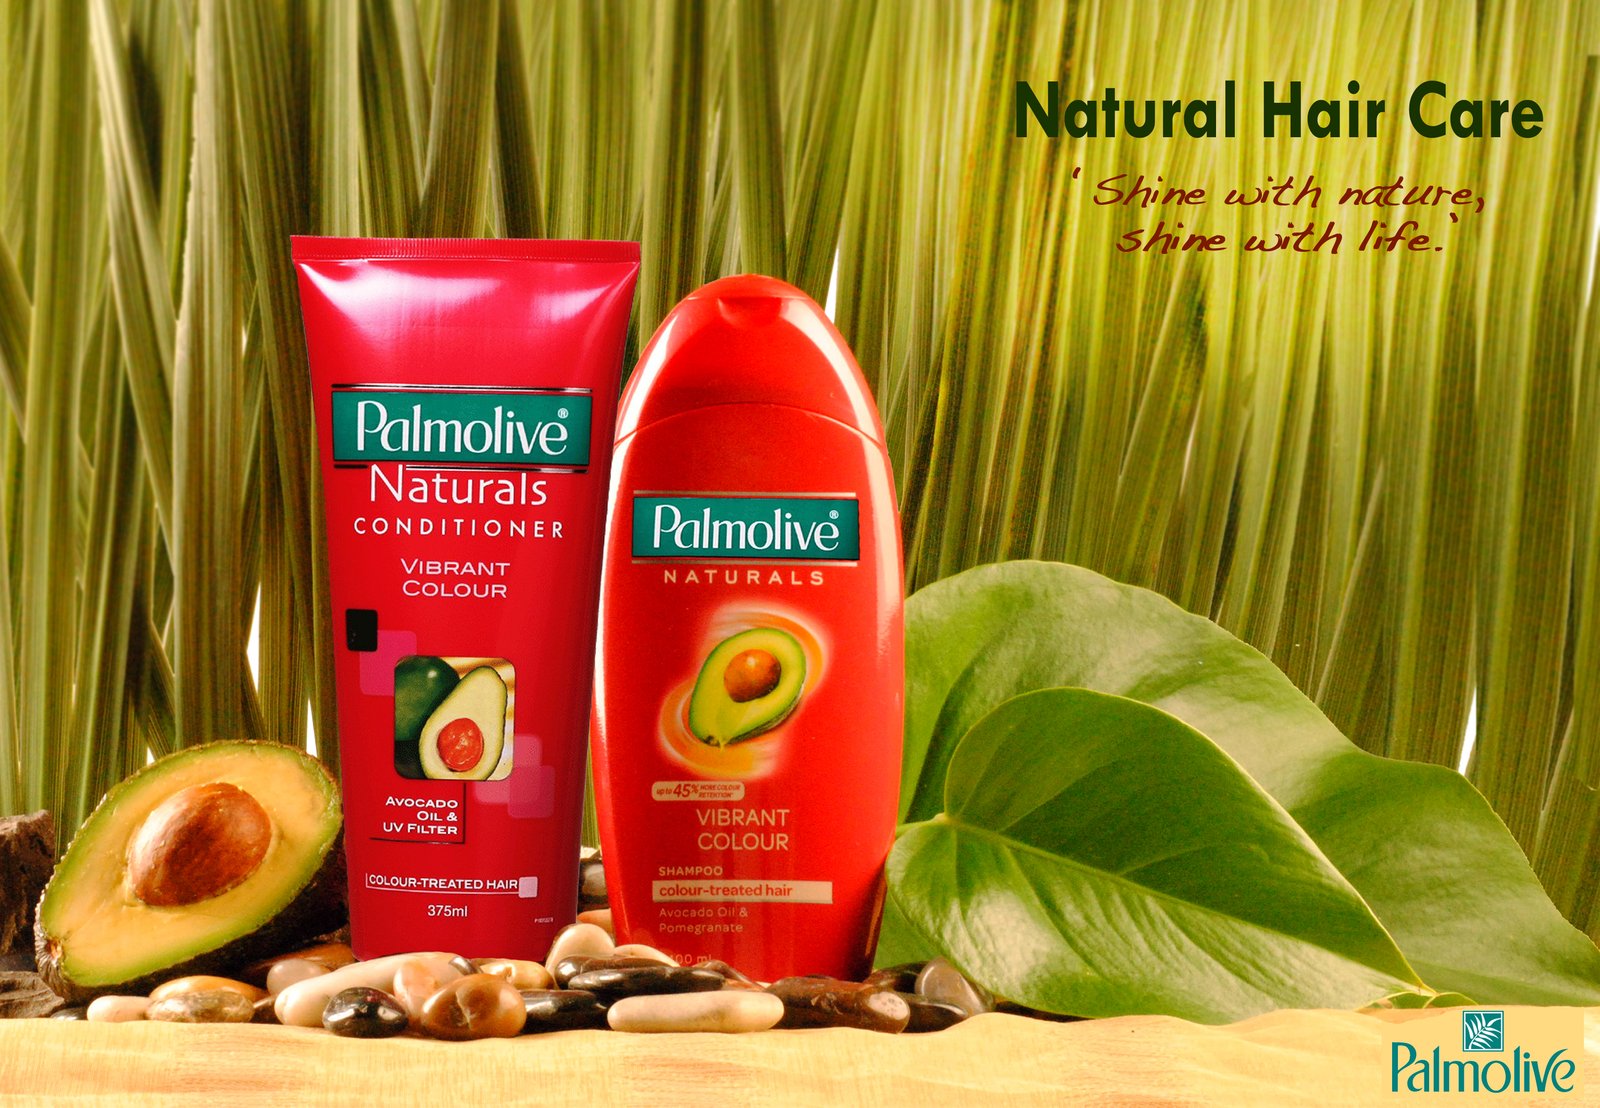
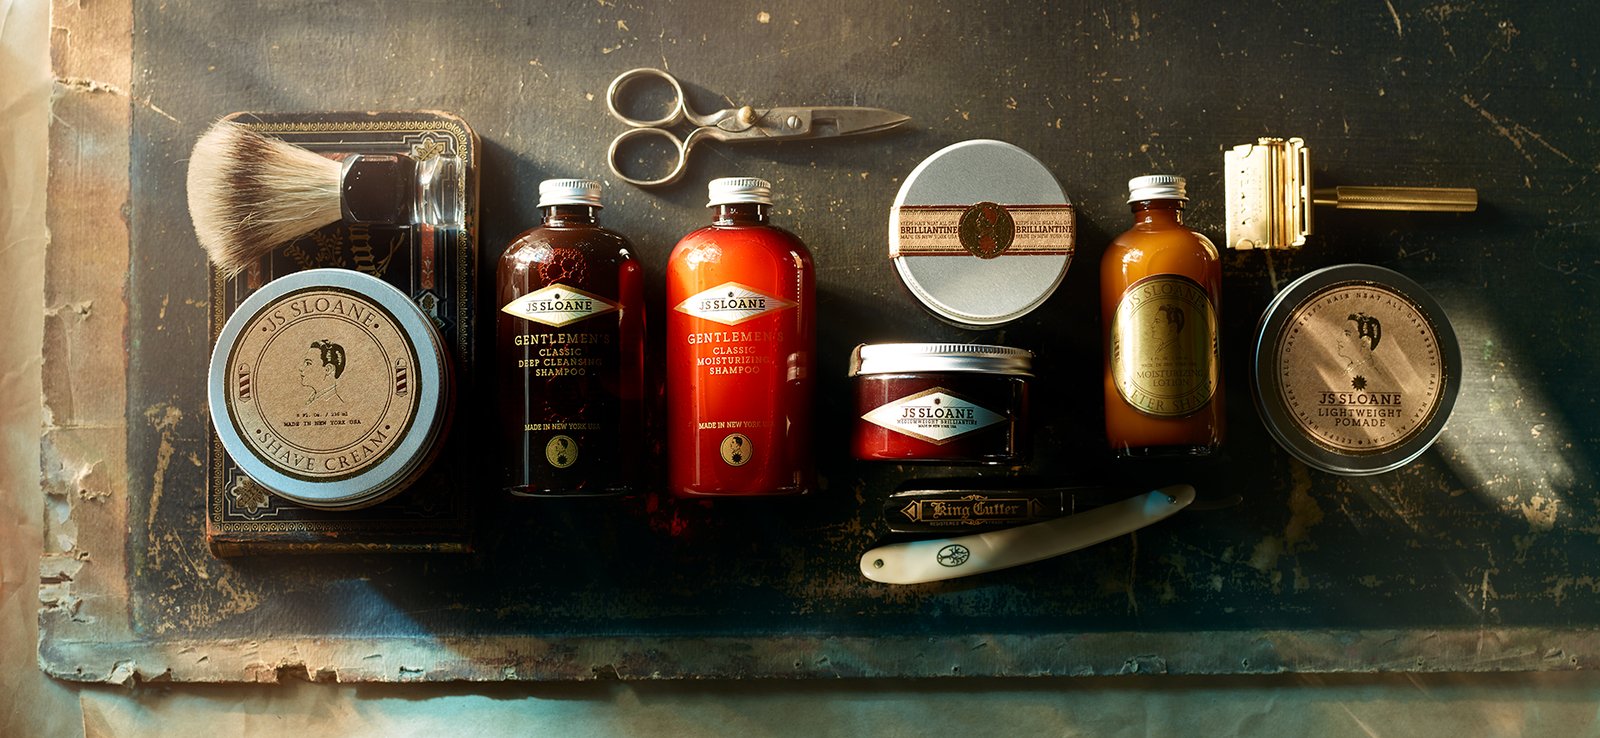

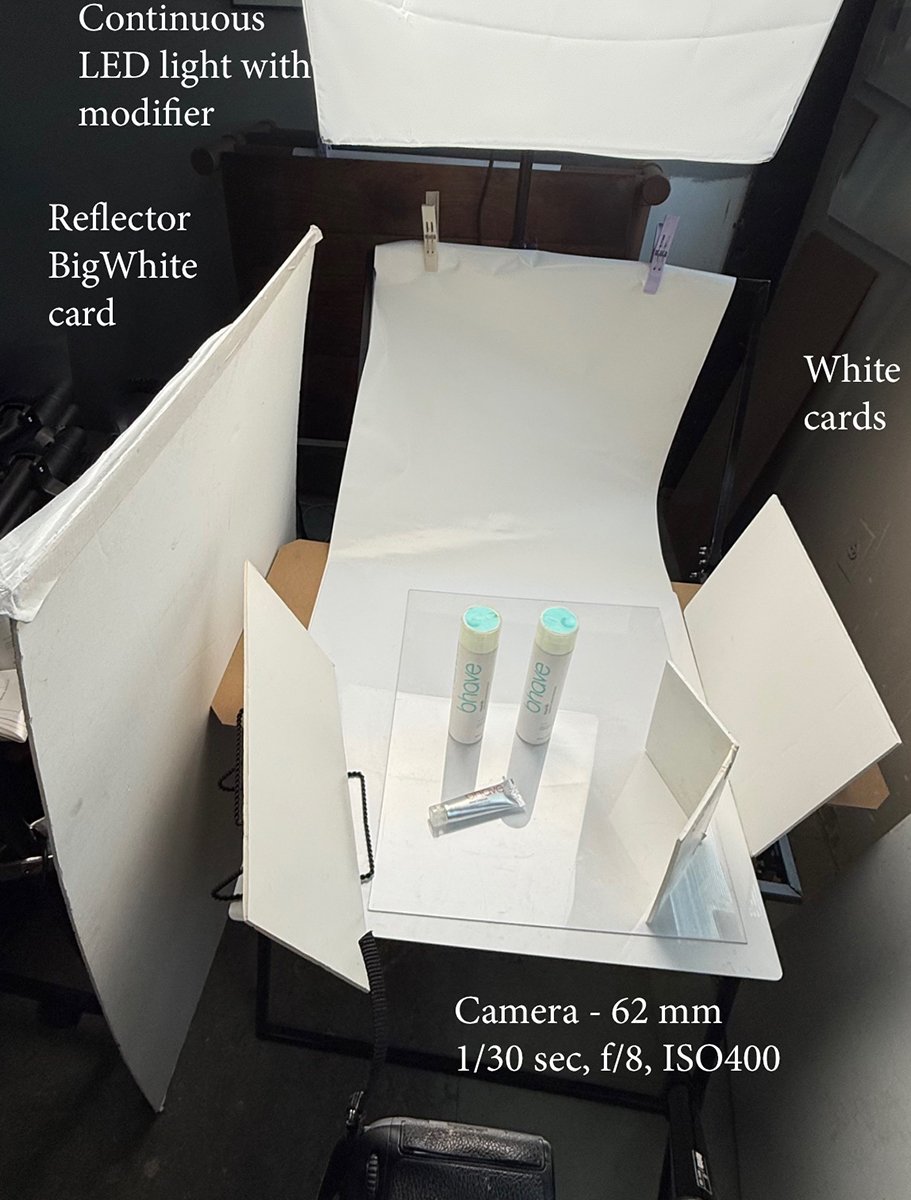
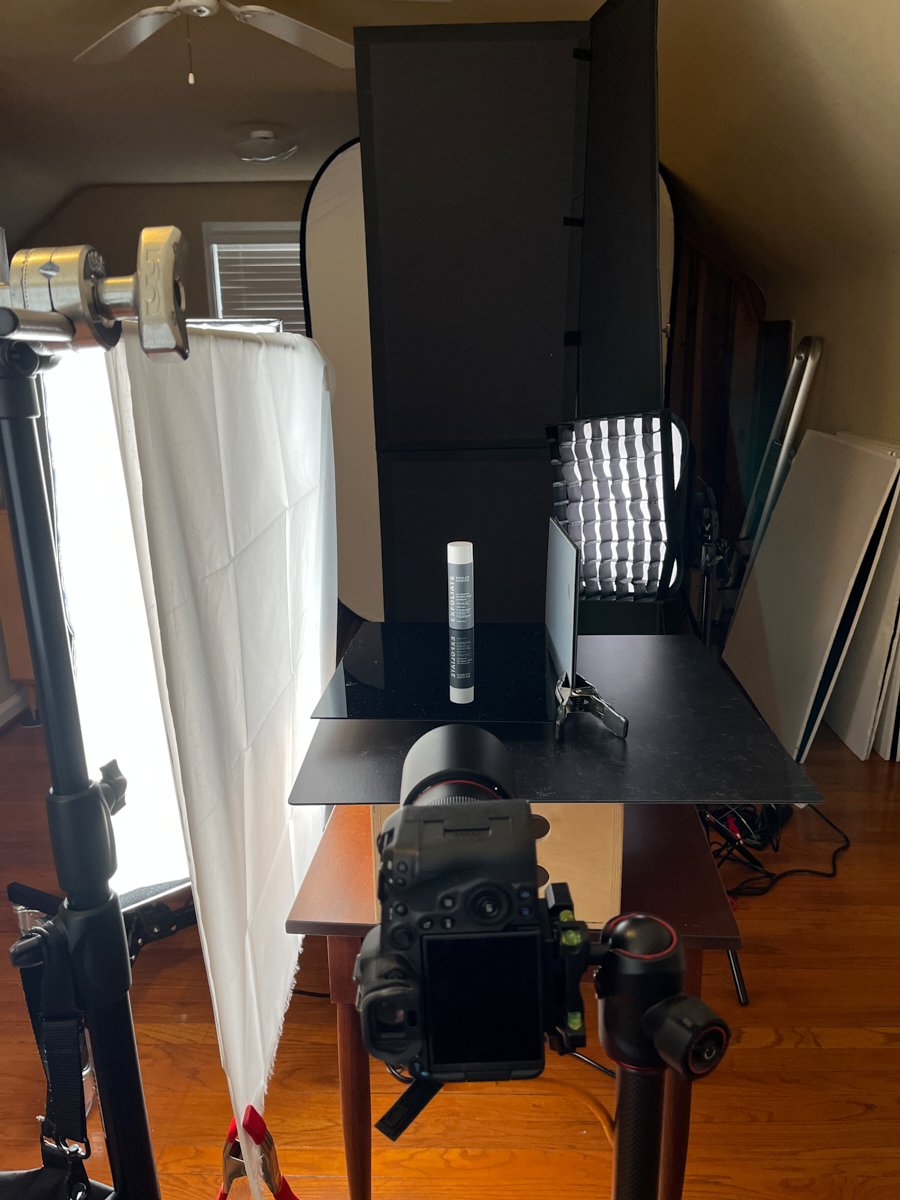
Let’s start the basic lighting off with light from each side, with an optional top light for fill (or needed top rim).
But this is not as simple as lit may seem. Just putting the lights on the side is not enough. You must make some
Just putting the lights on the side is not enough. You must make some decisions about where on the side they go, how close, at what angle, and whether the light is in front of or behind the product. This is finesse work, and you must make sure you take your time to get it right.
- Where are you putting your highlights?
- Do you need a bright edge to pull the product forward?
- Do you need a dark edge to give the product dimension?
- Do you need a spray light for the background or will a plain color work?
- Scrim or softbox?
- Shoot angle?
- Top light?
- Is the product straight?
- What does the label look like?
- Do you need to add some fill cards for reflection?
Each of these questions will lead you to more finessing.
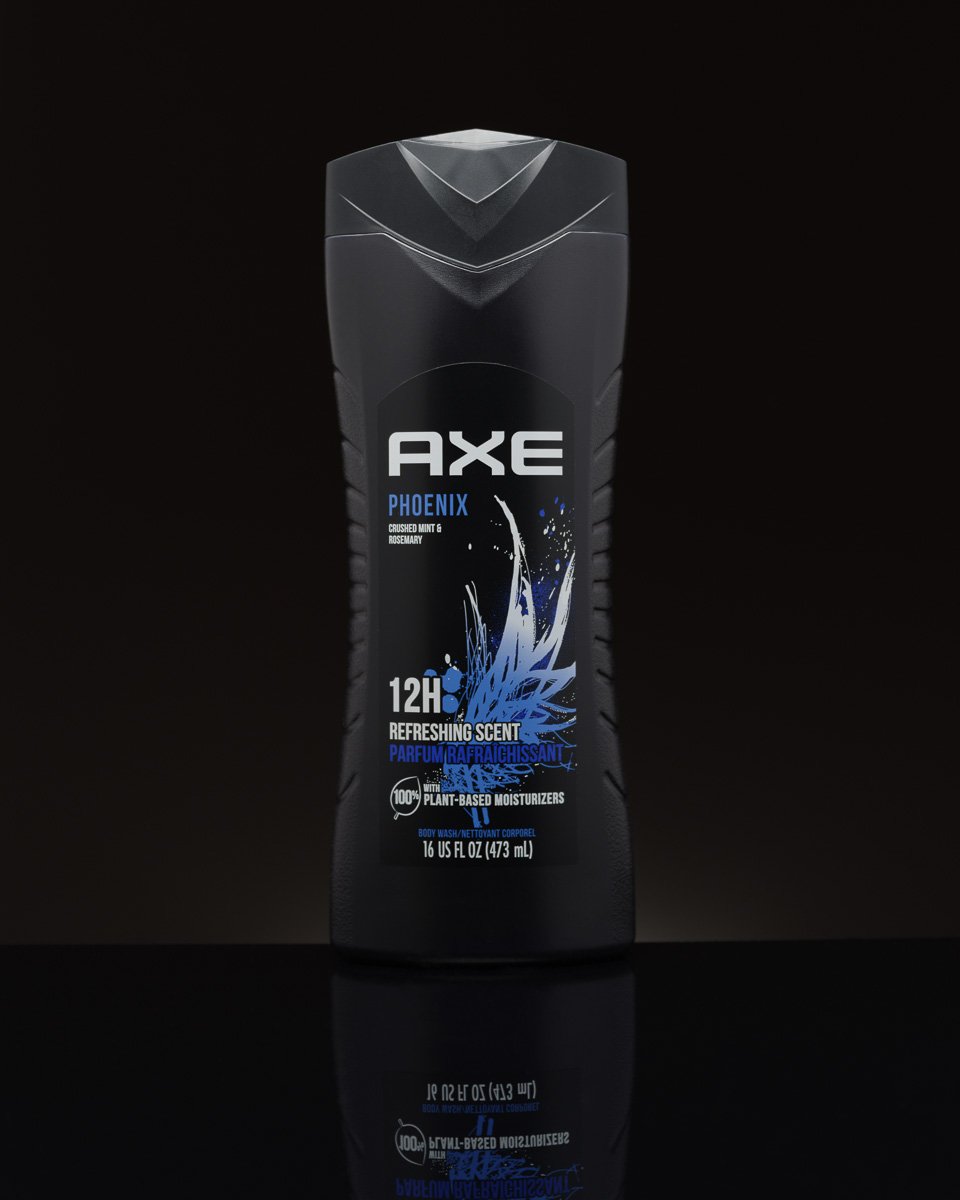
This is how you can get that glow on the background like in the axe ad we looked at.
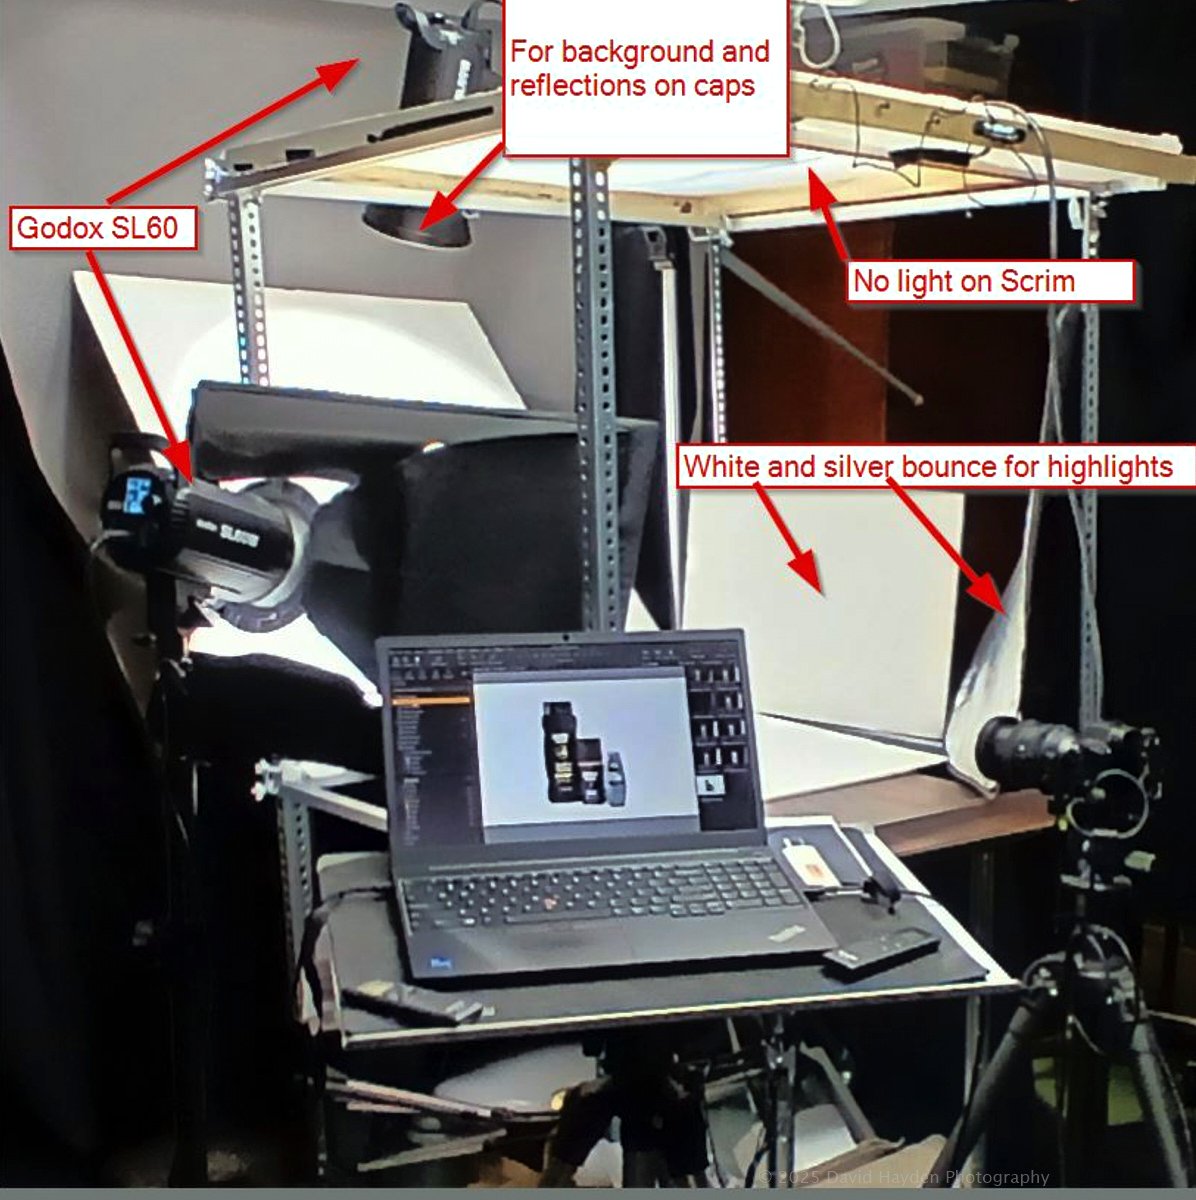
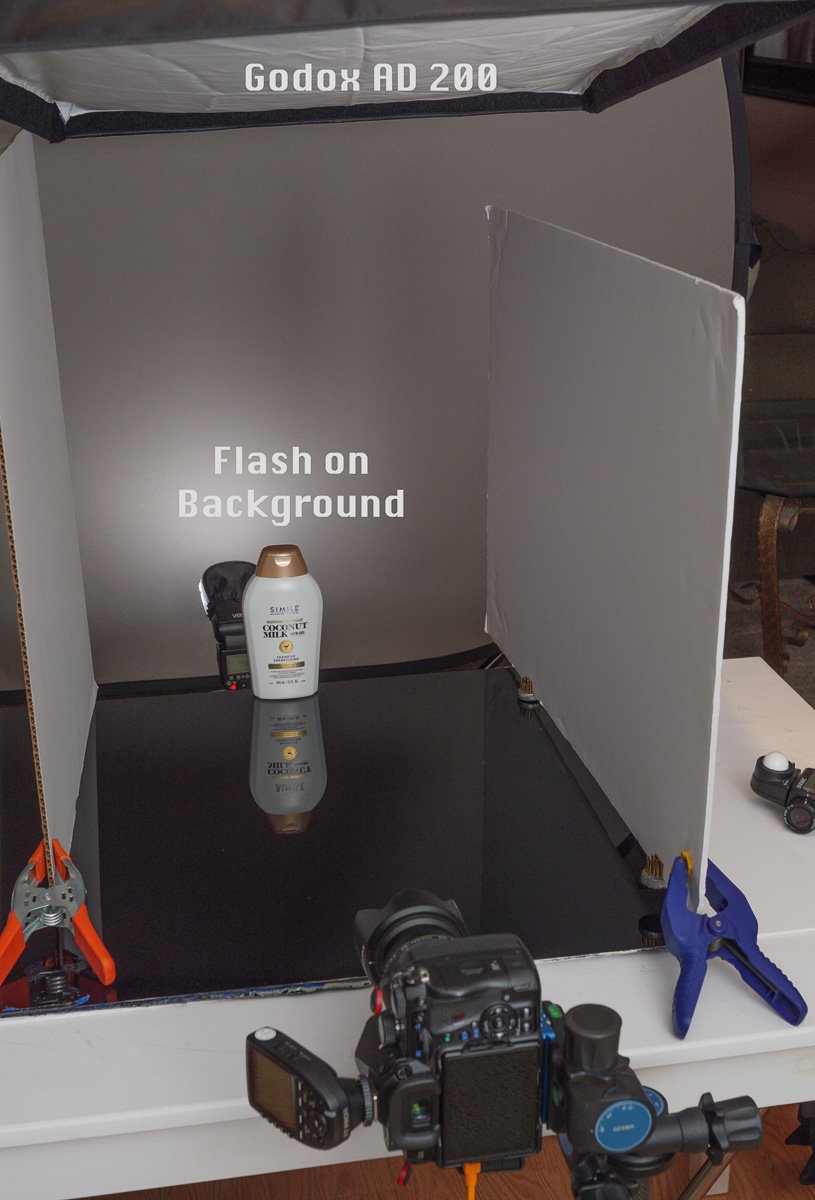
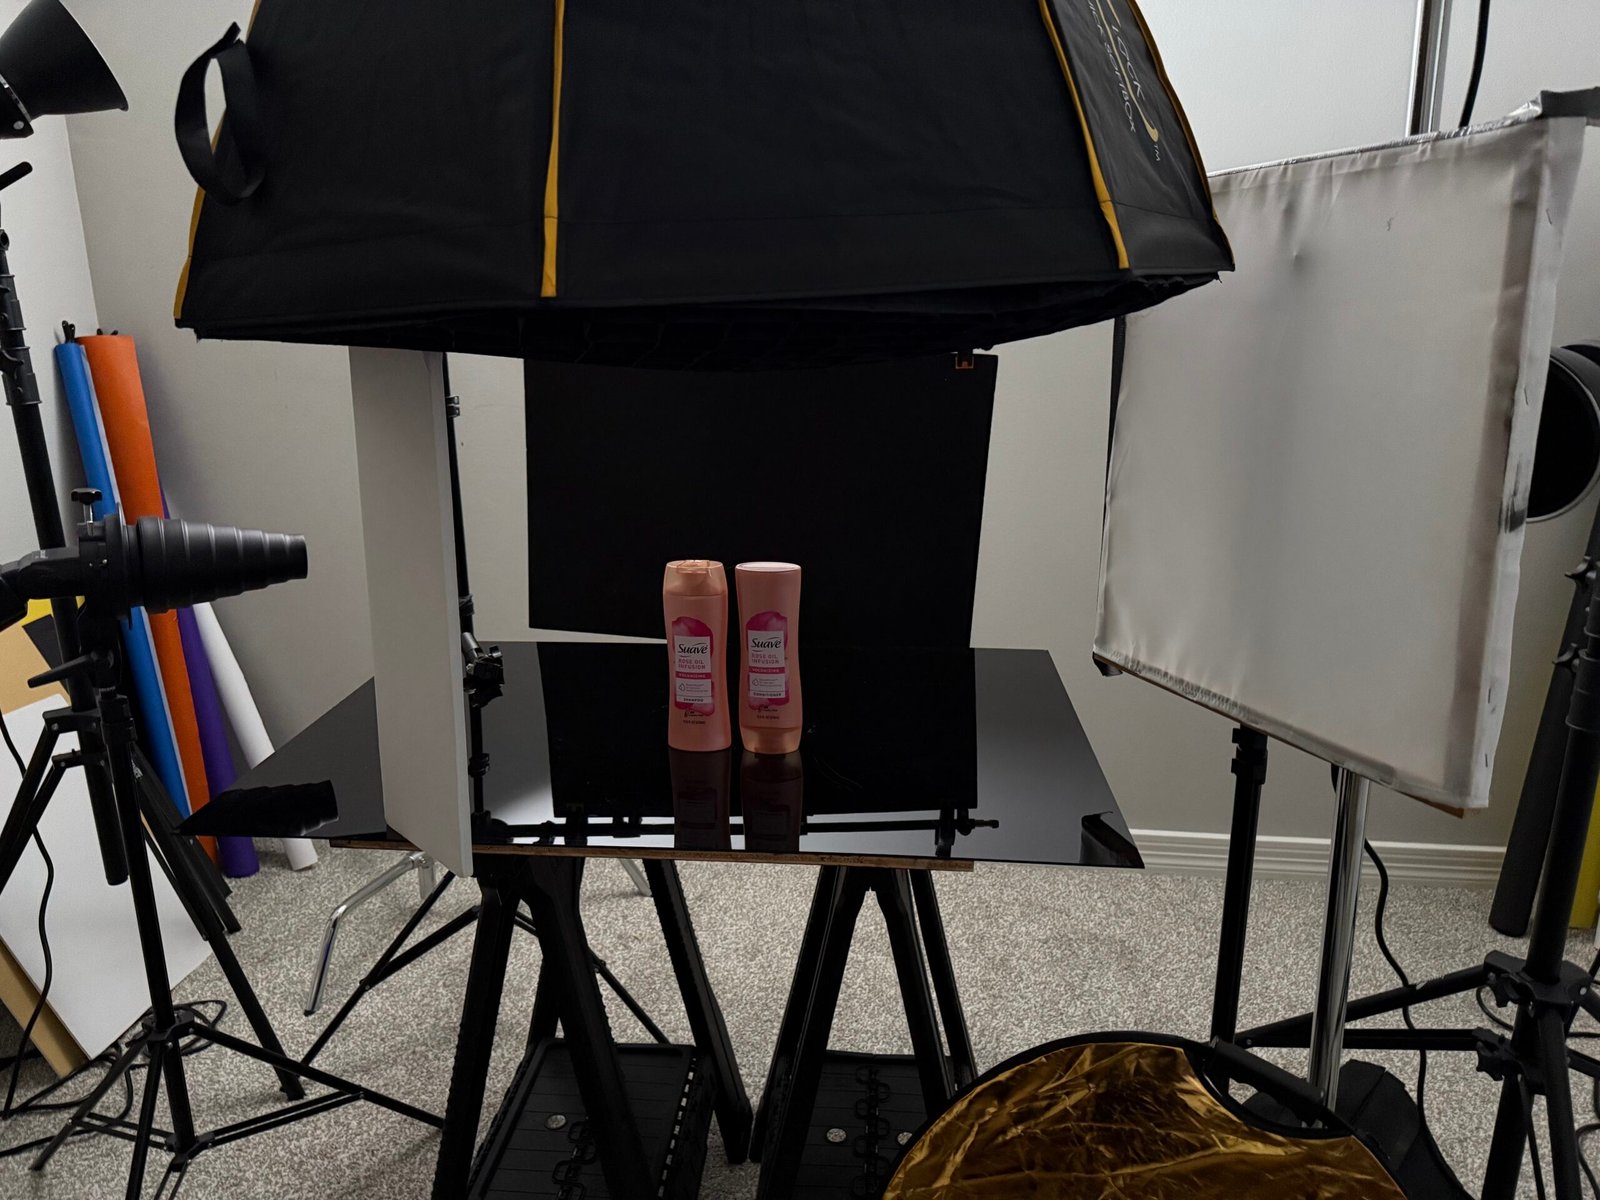
The Lexan is curved at a very slight angle behind the product. Above it is a scrim, and the light behind the scrim is close enough to create a hot spot in the scrim being reflected on to the shiny Lexan. It is a simple move, but very effective when used right. It can create a soft glow behind the product without a horizon. And the shiny surface allows the reflections to be a part of the design.


ASSIGNMENT ONE:
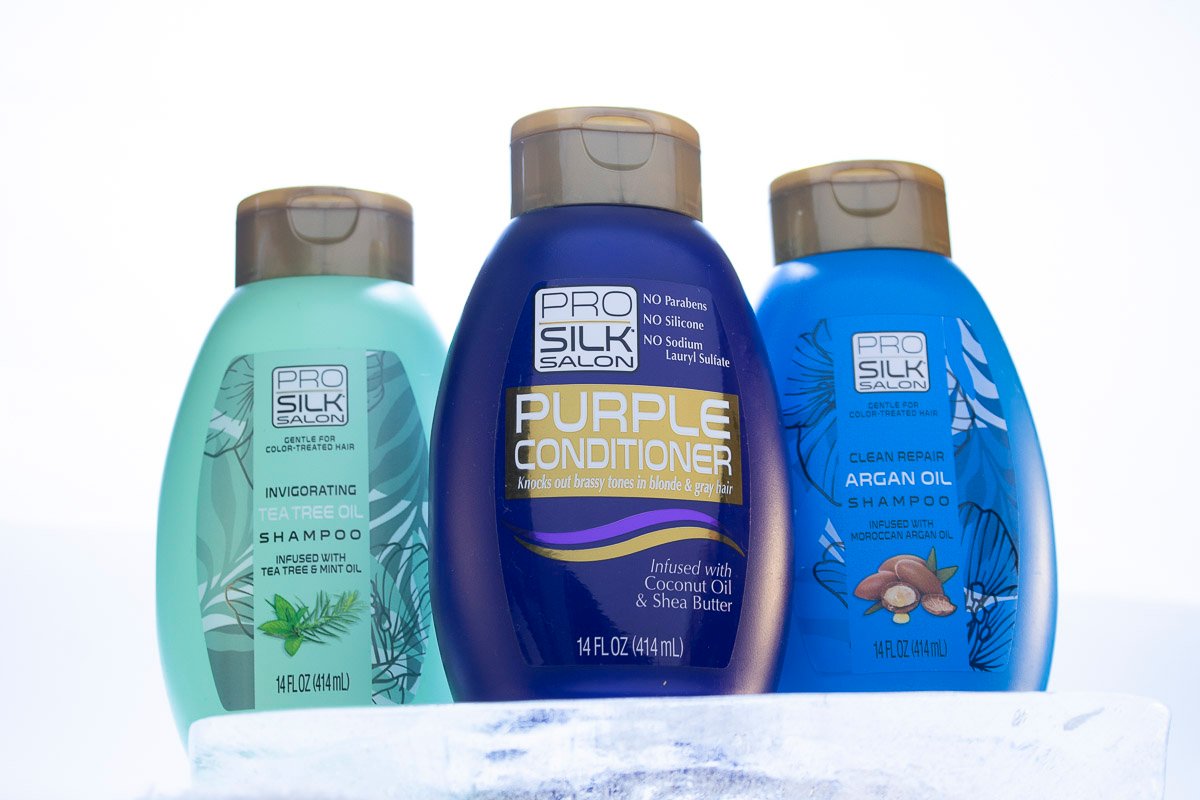
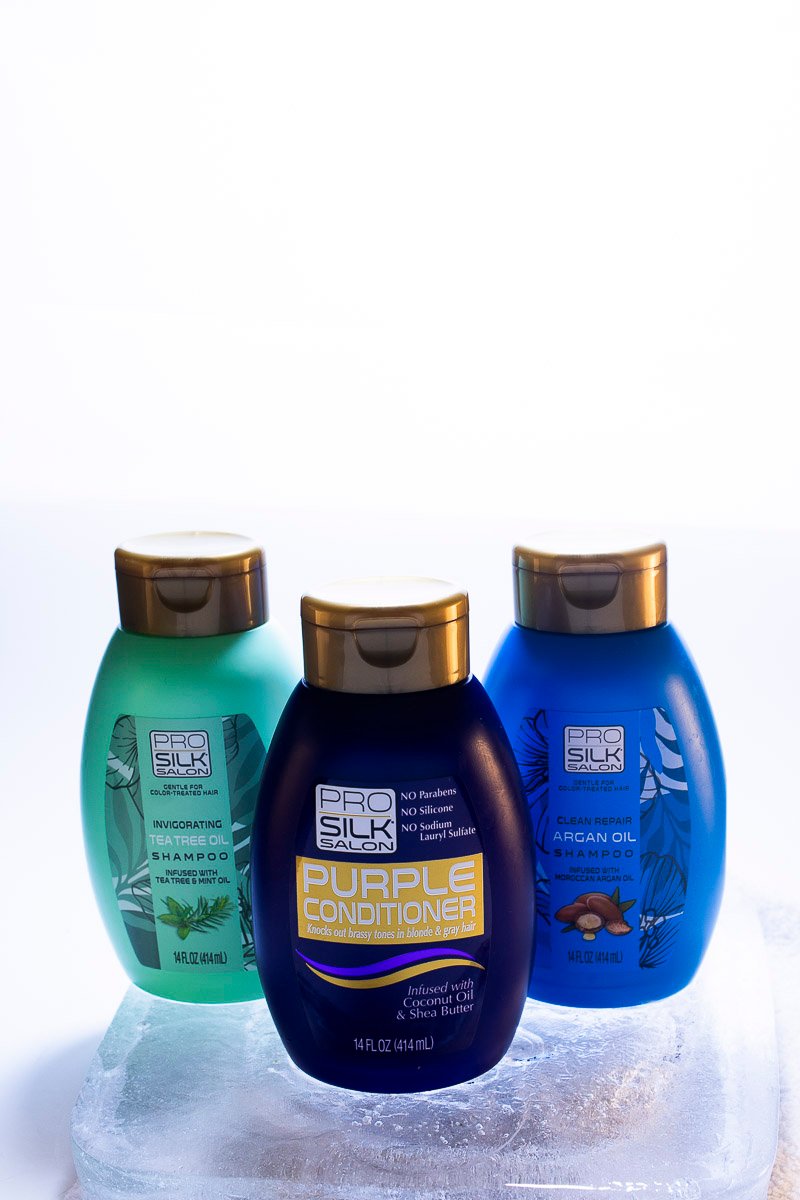
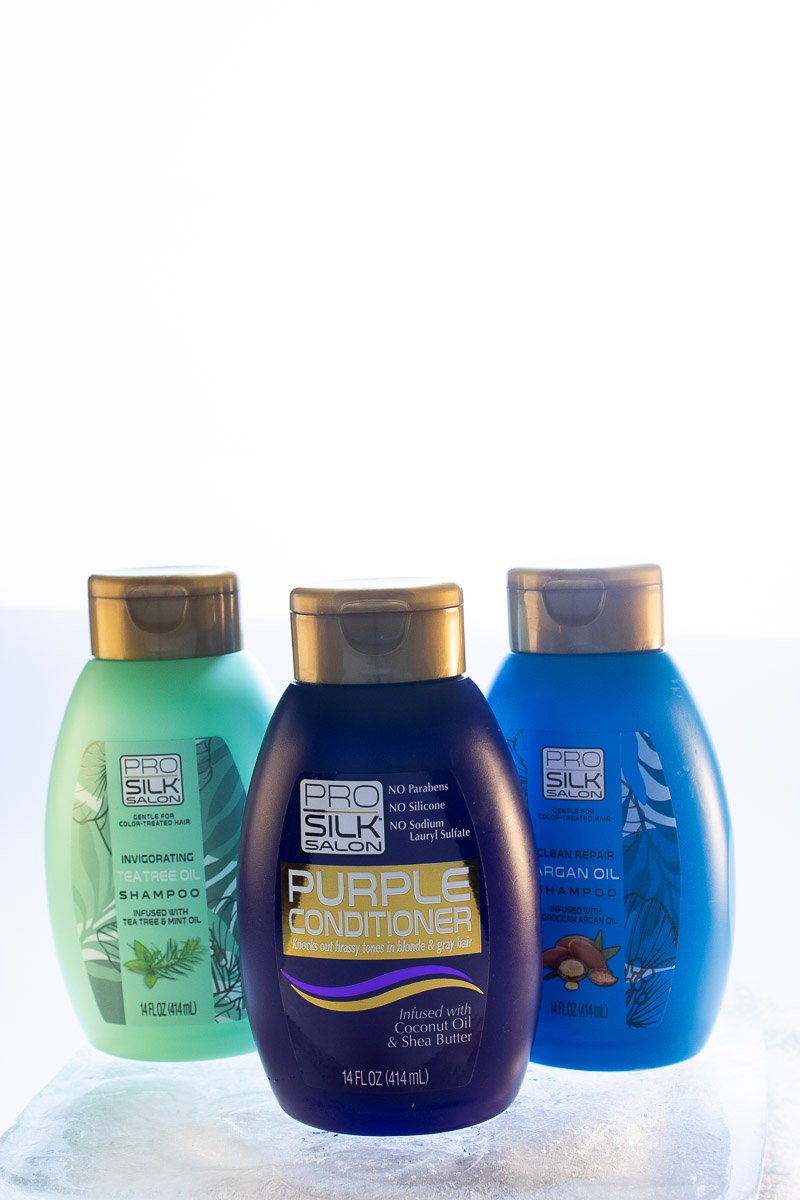
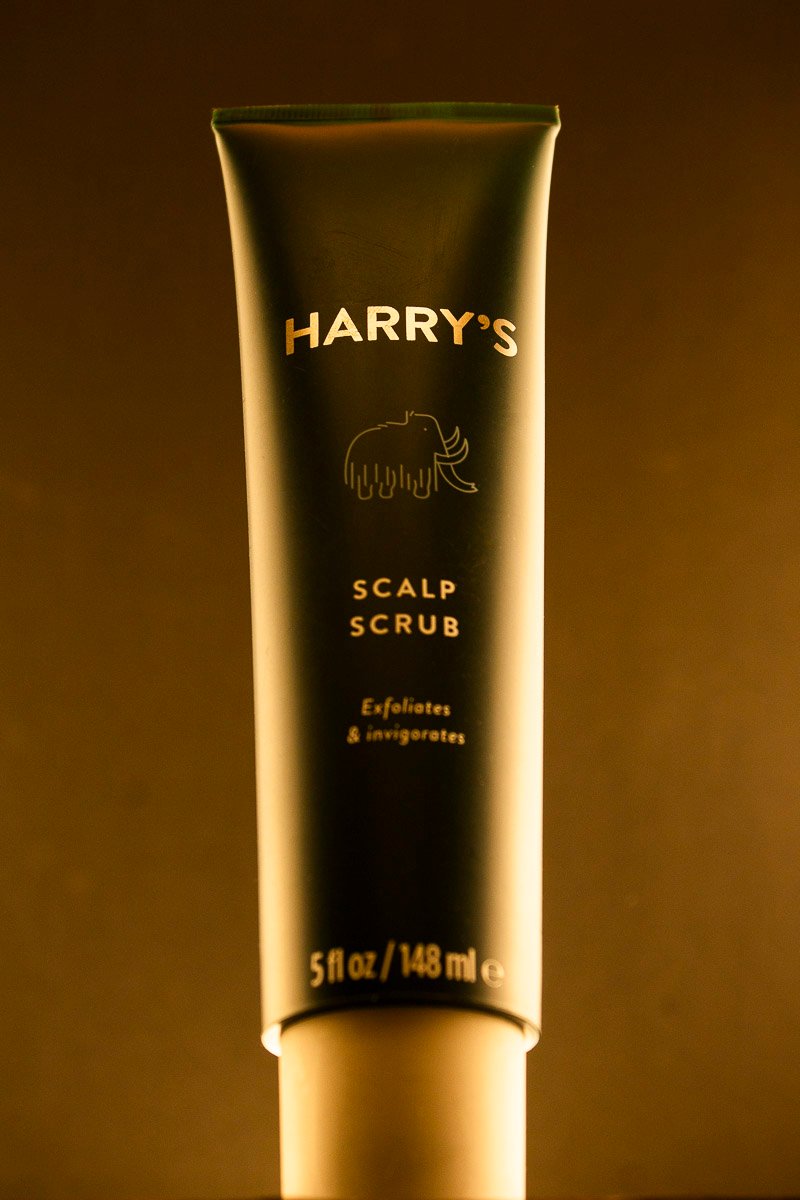
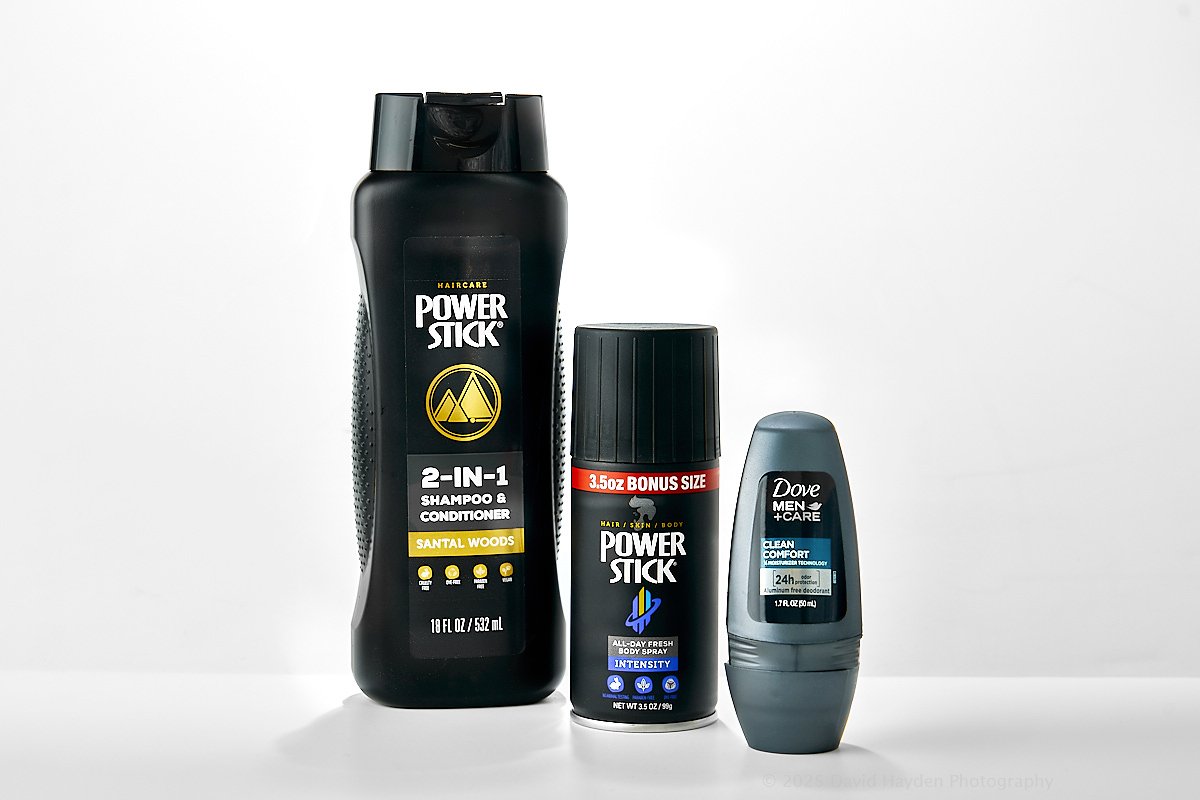
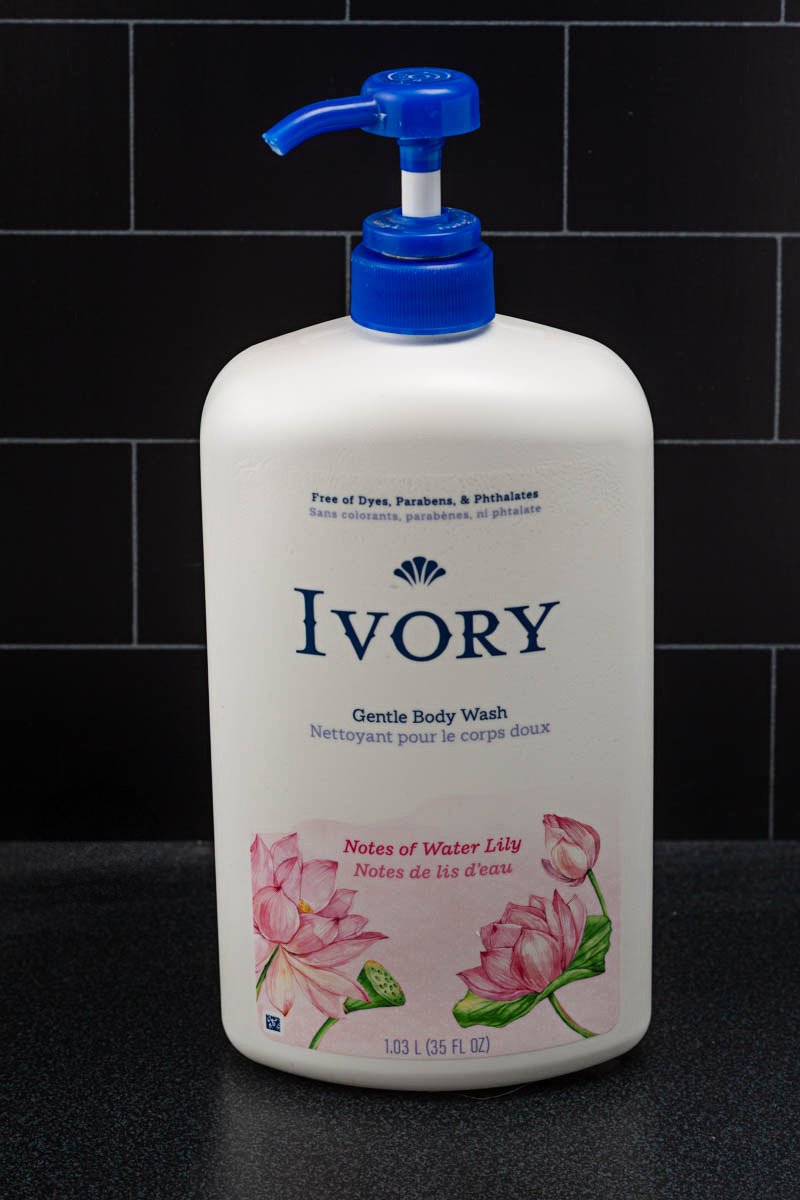
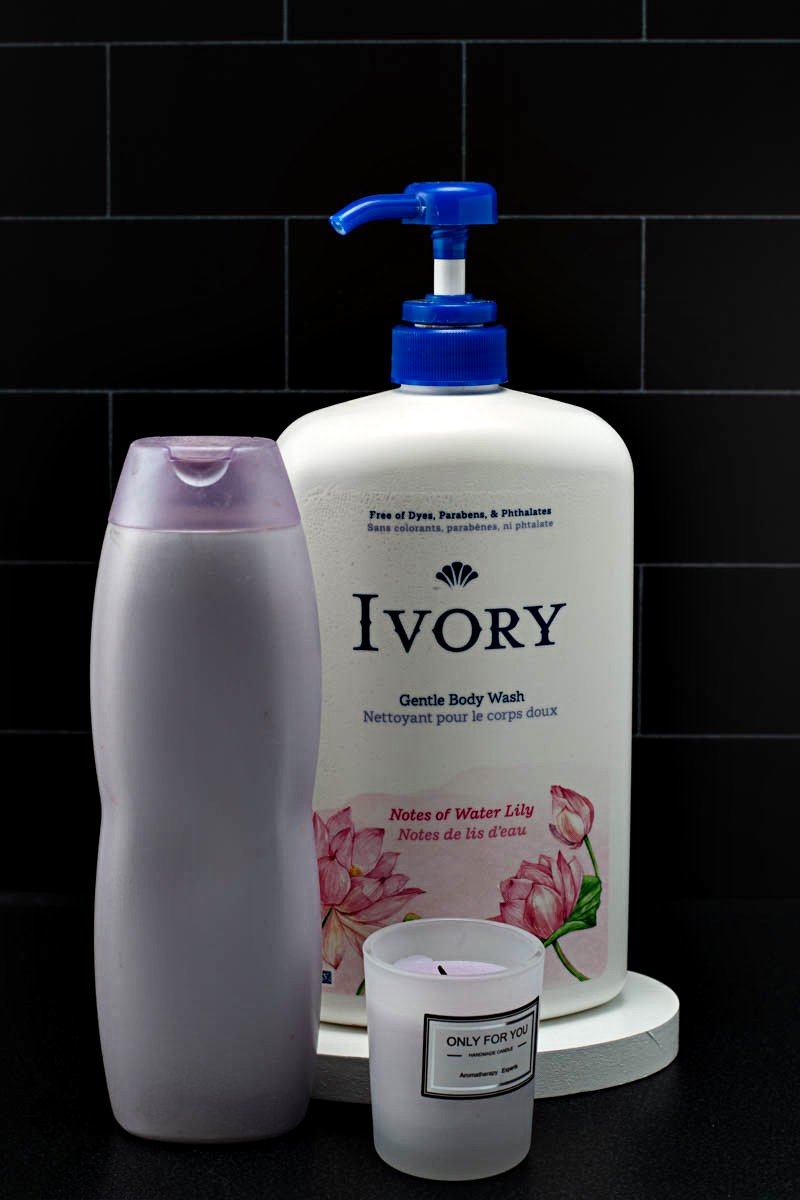
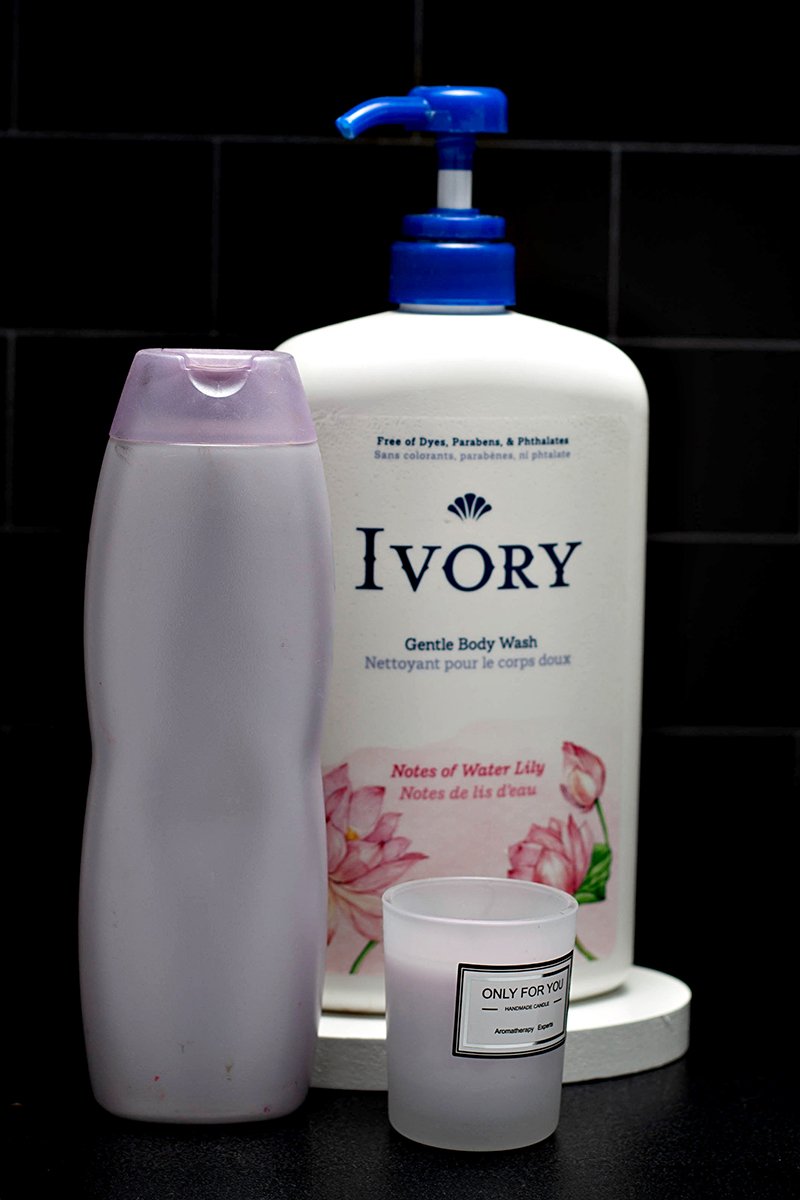
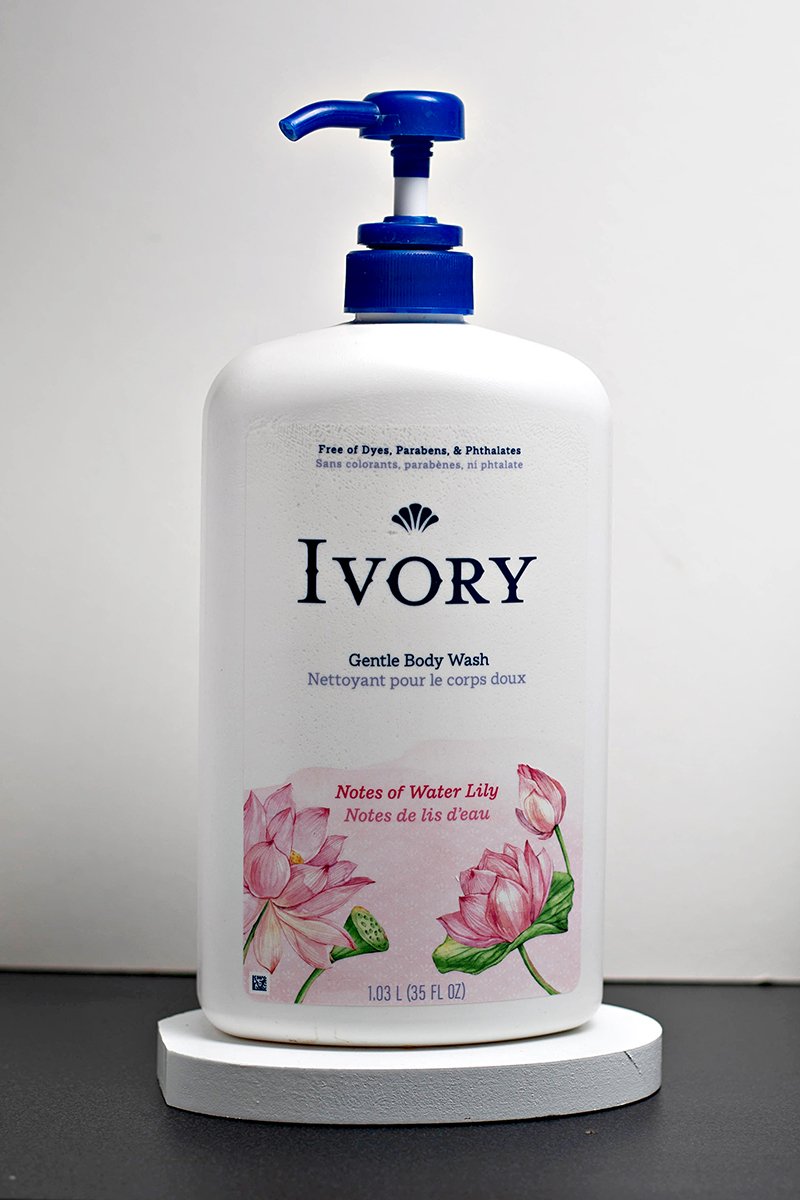
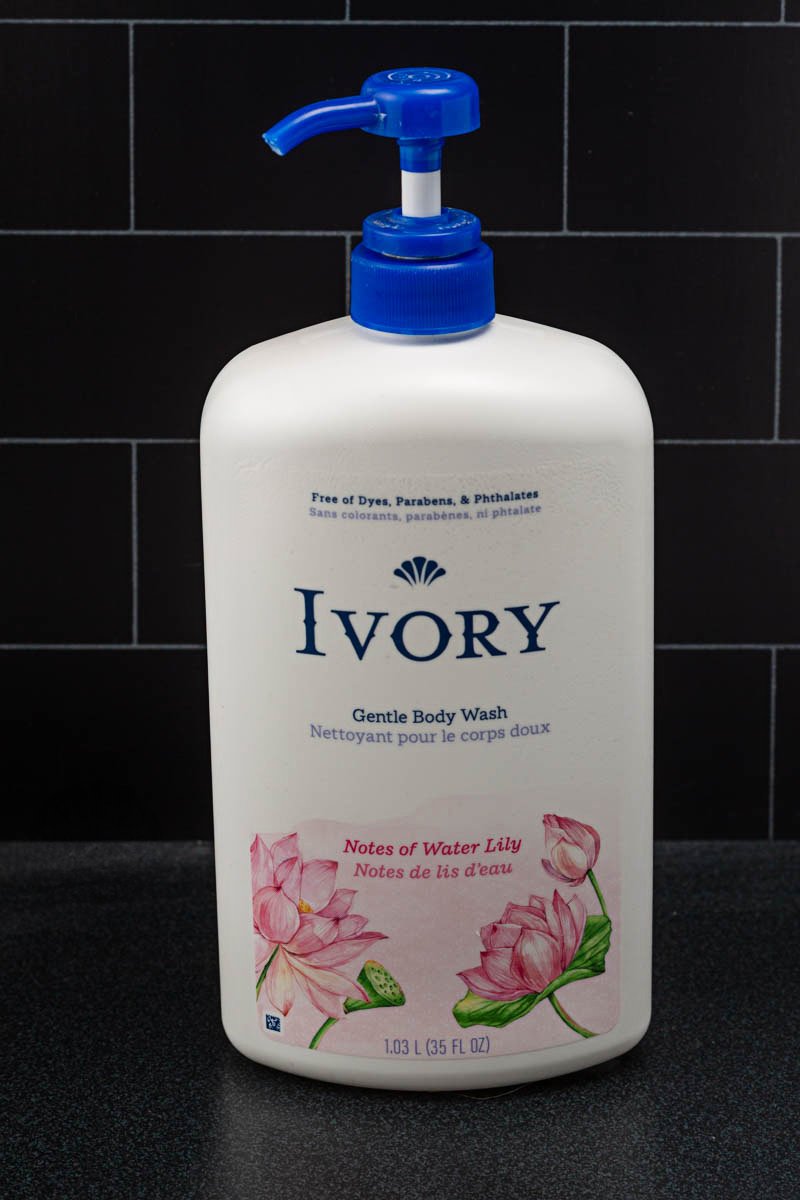
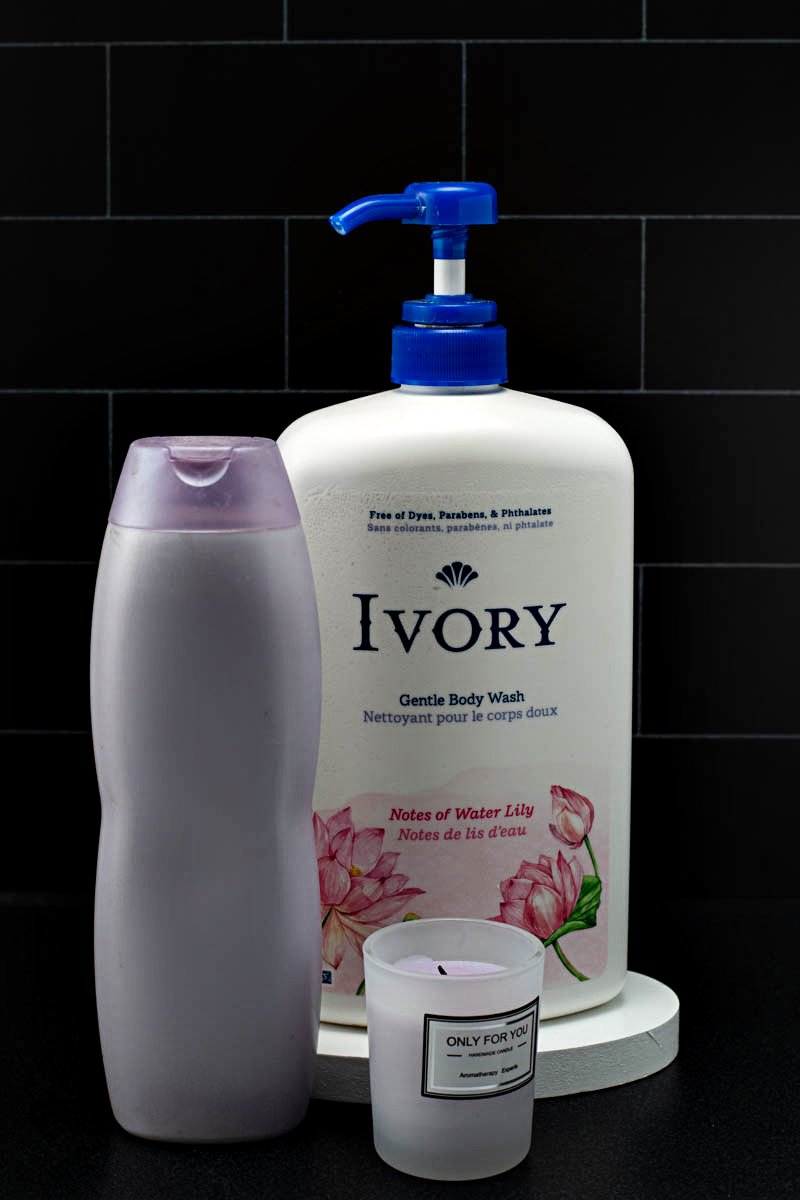
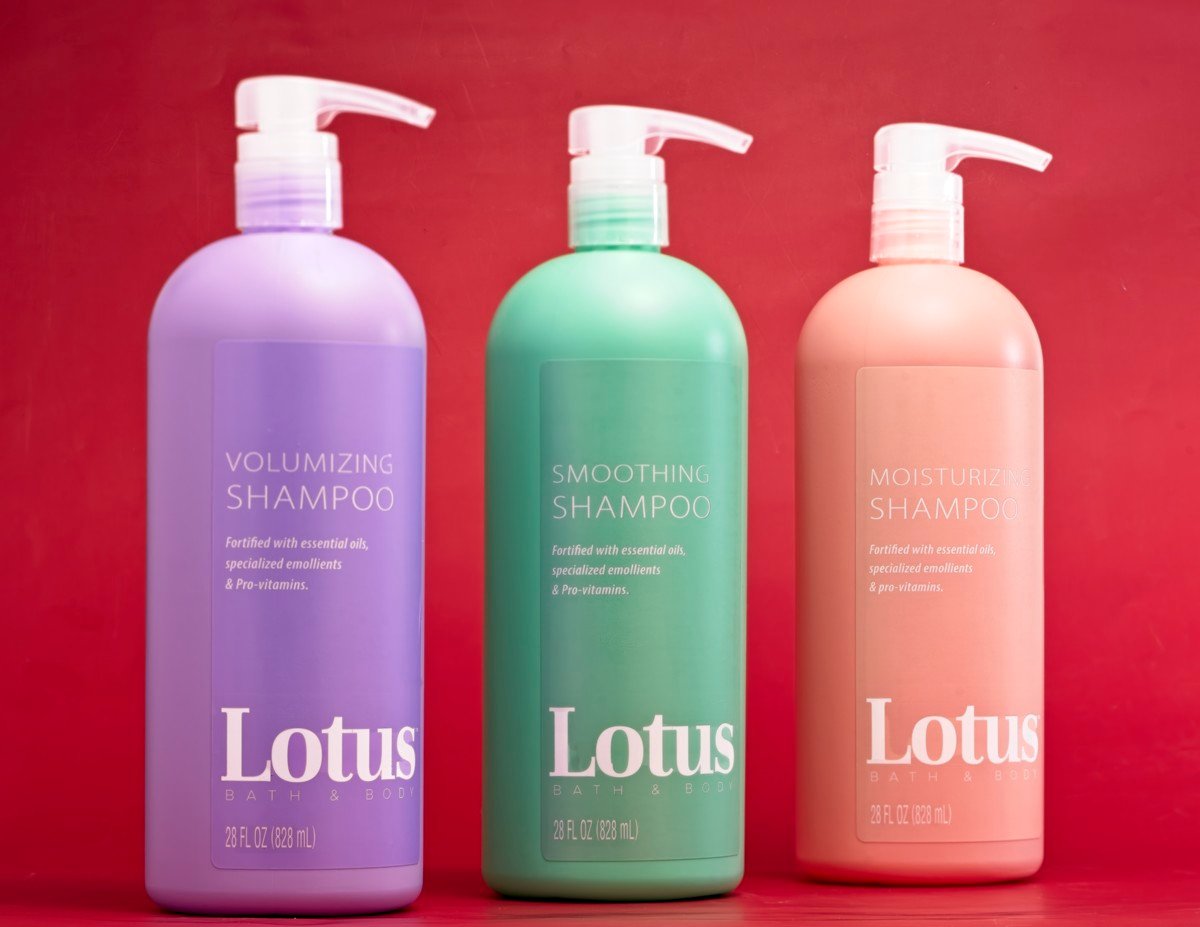
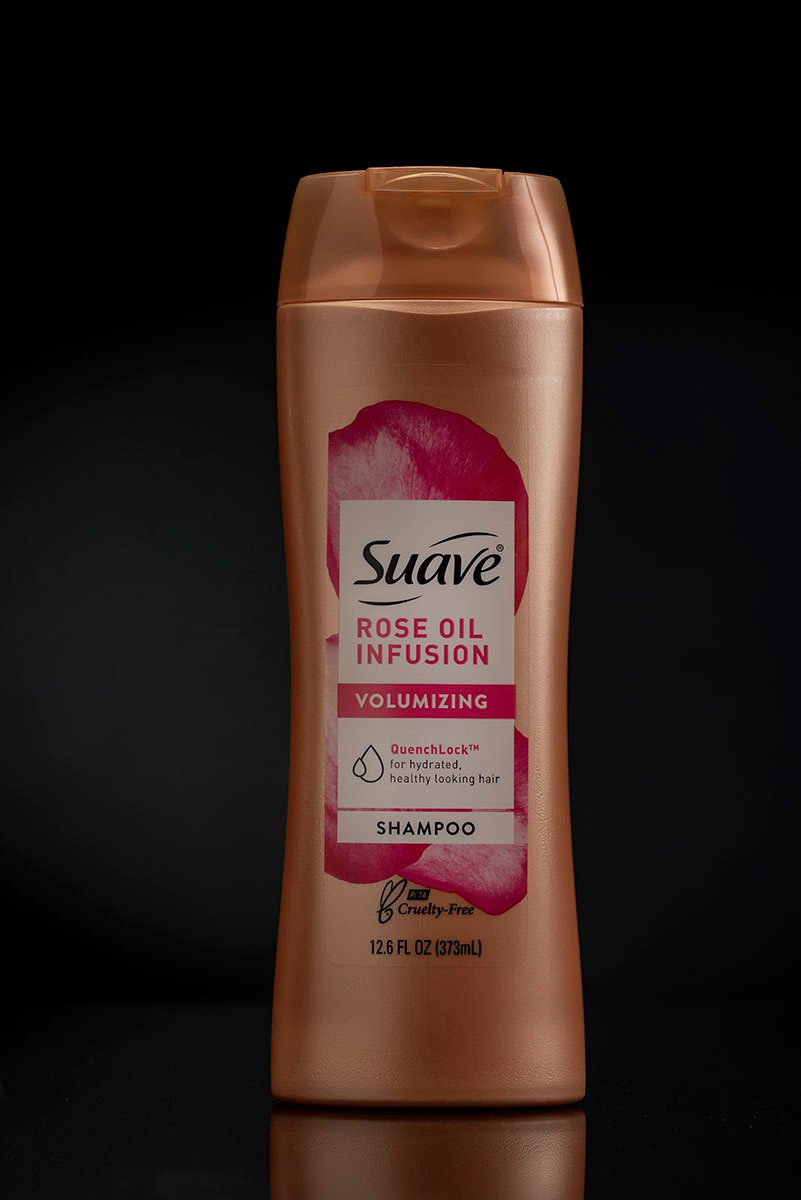
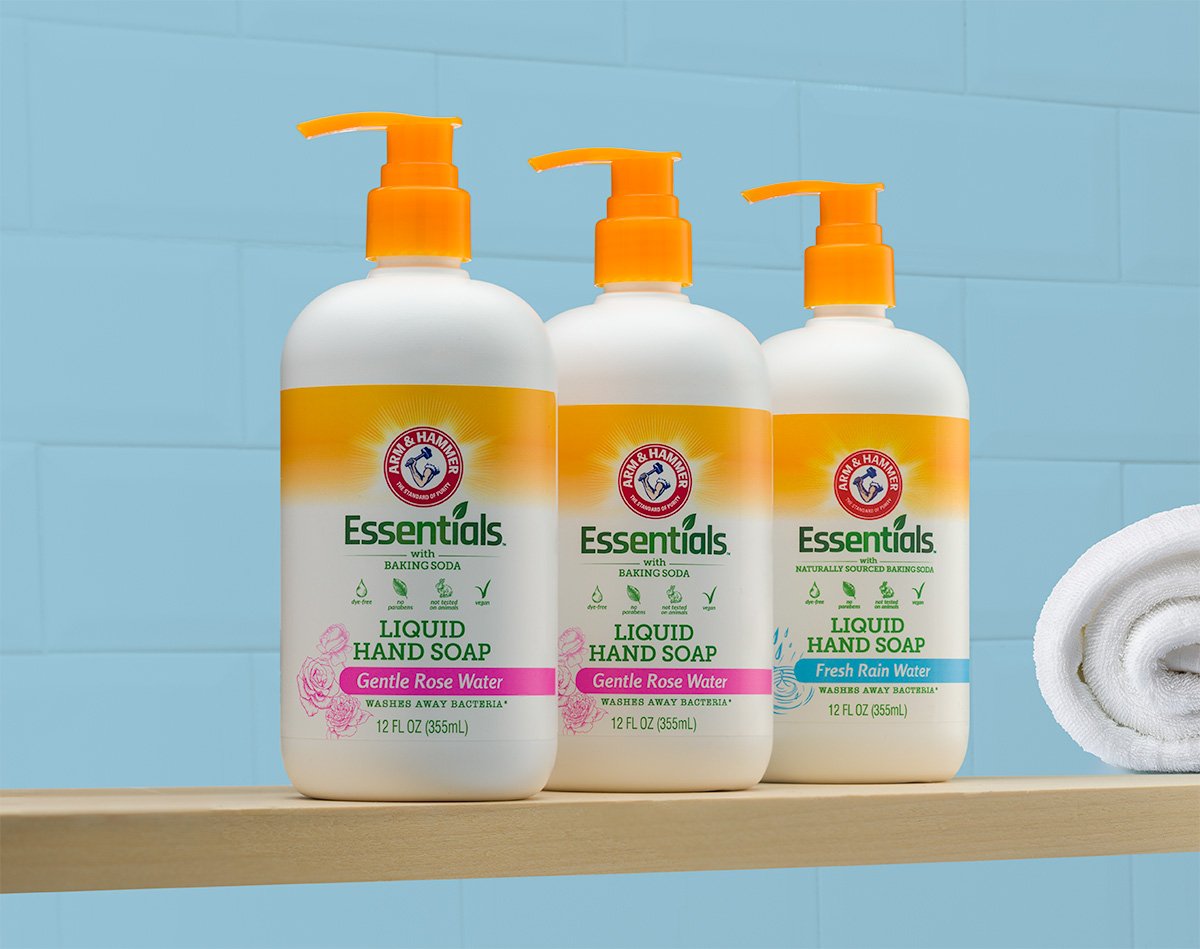
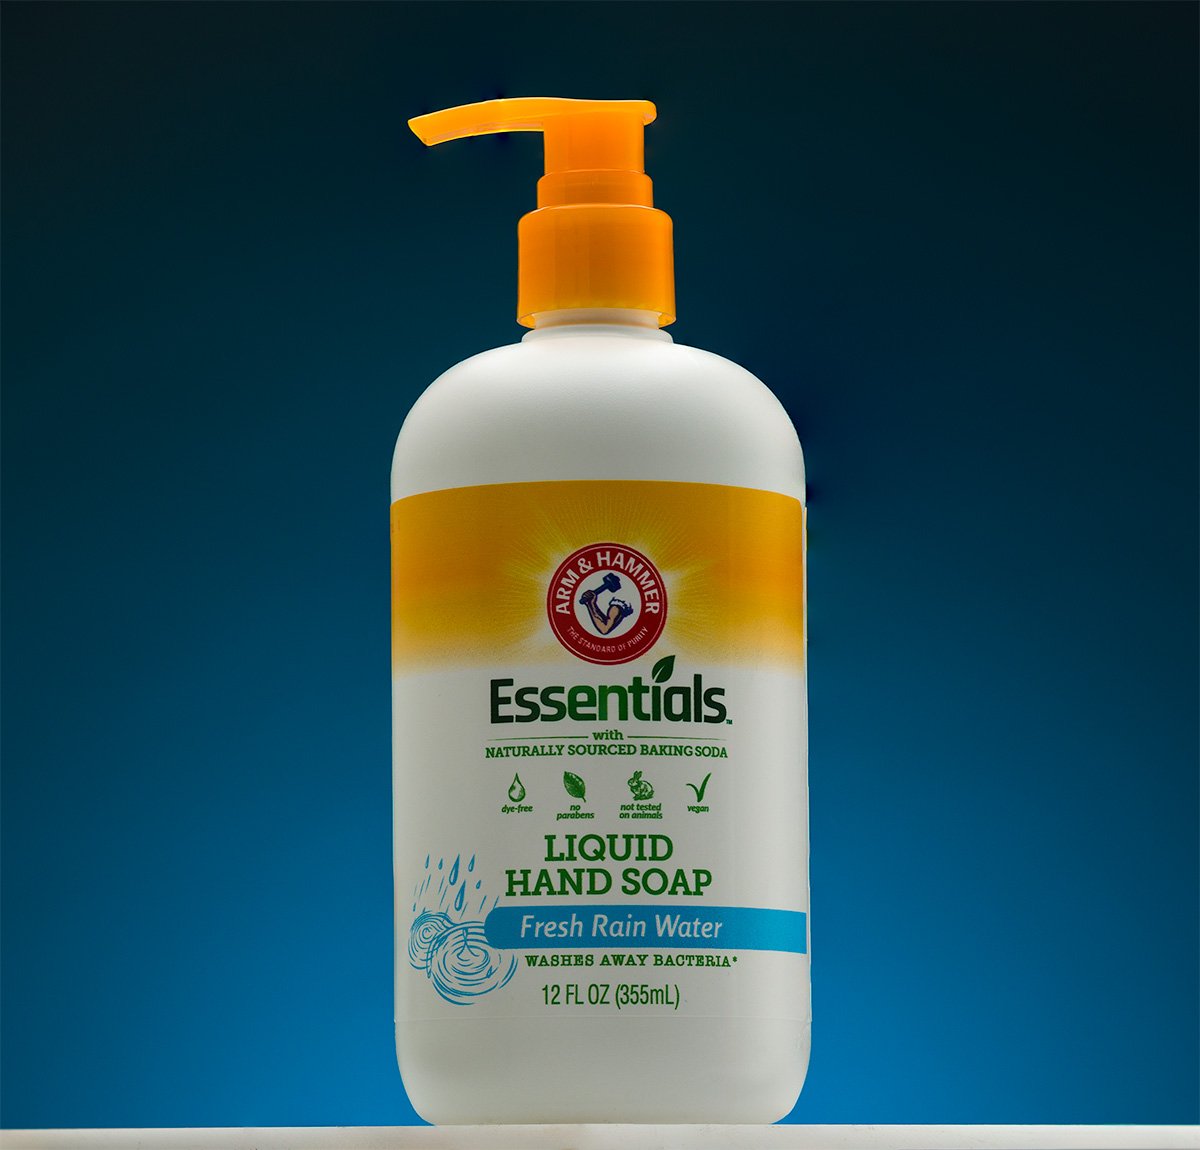
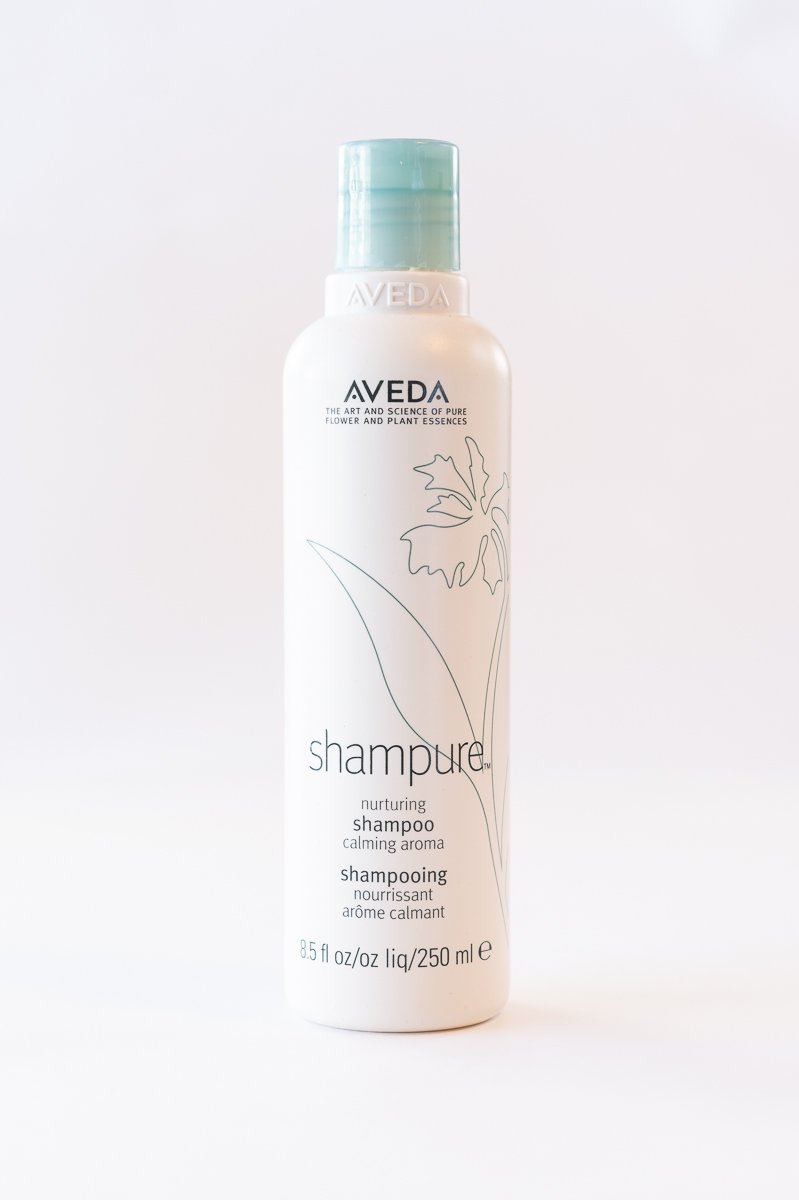
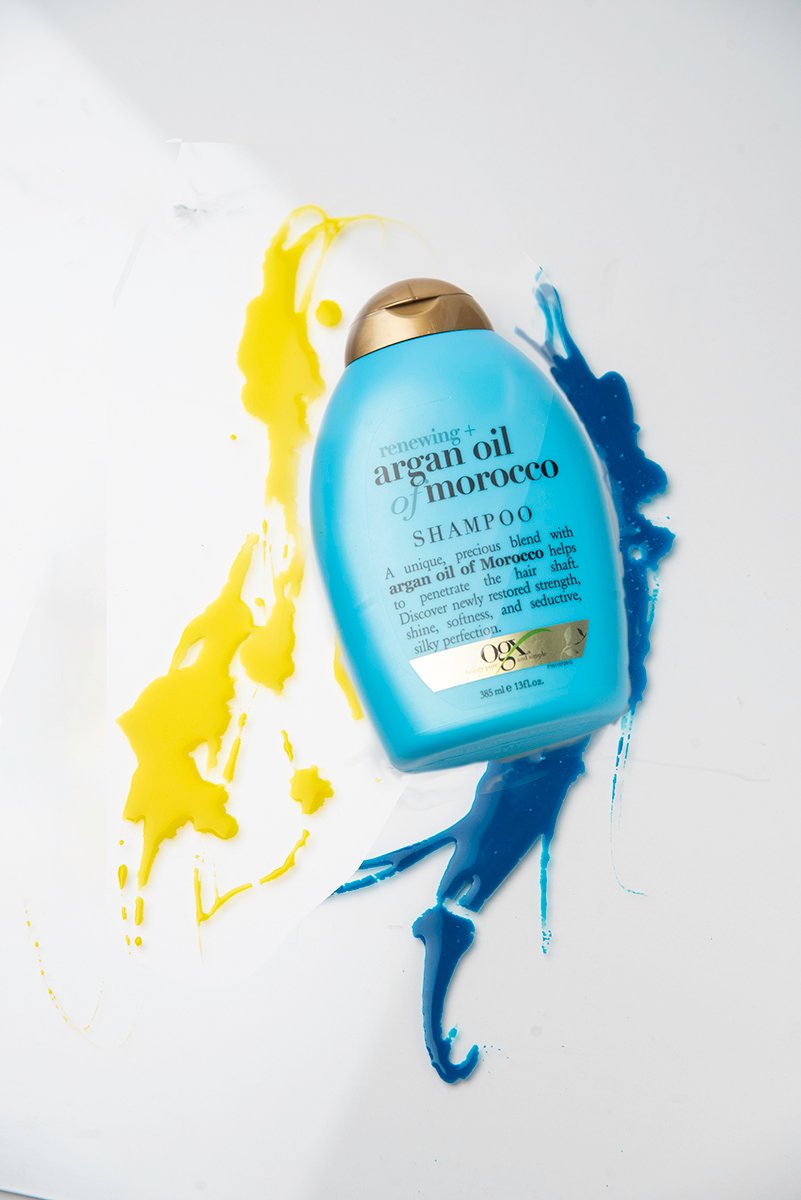
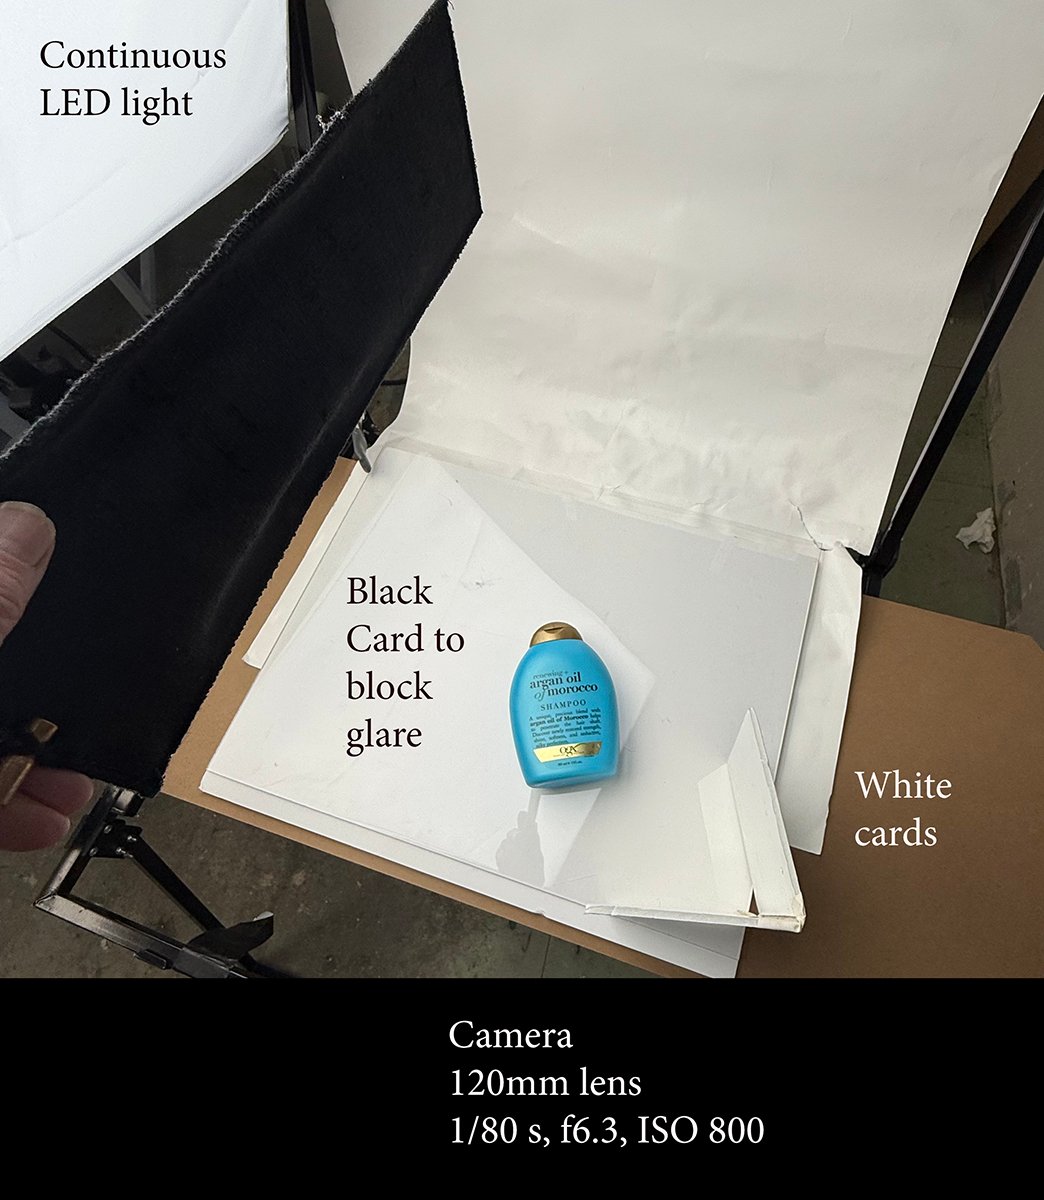
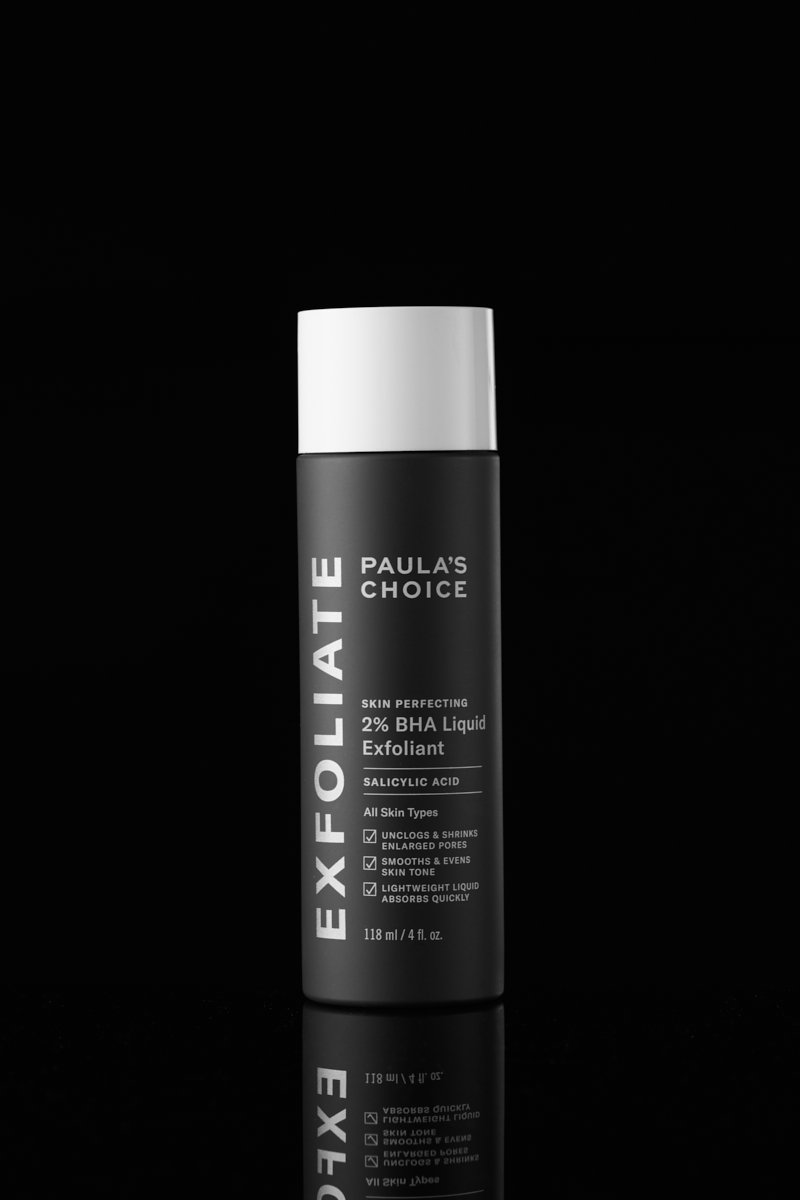
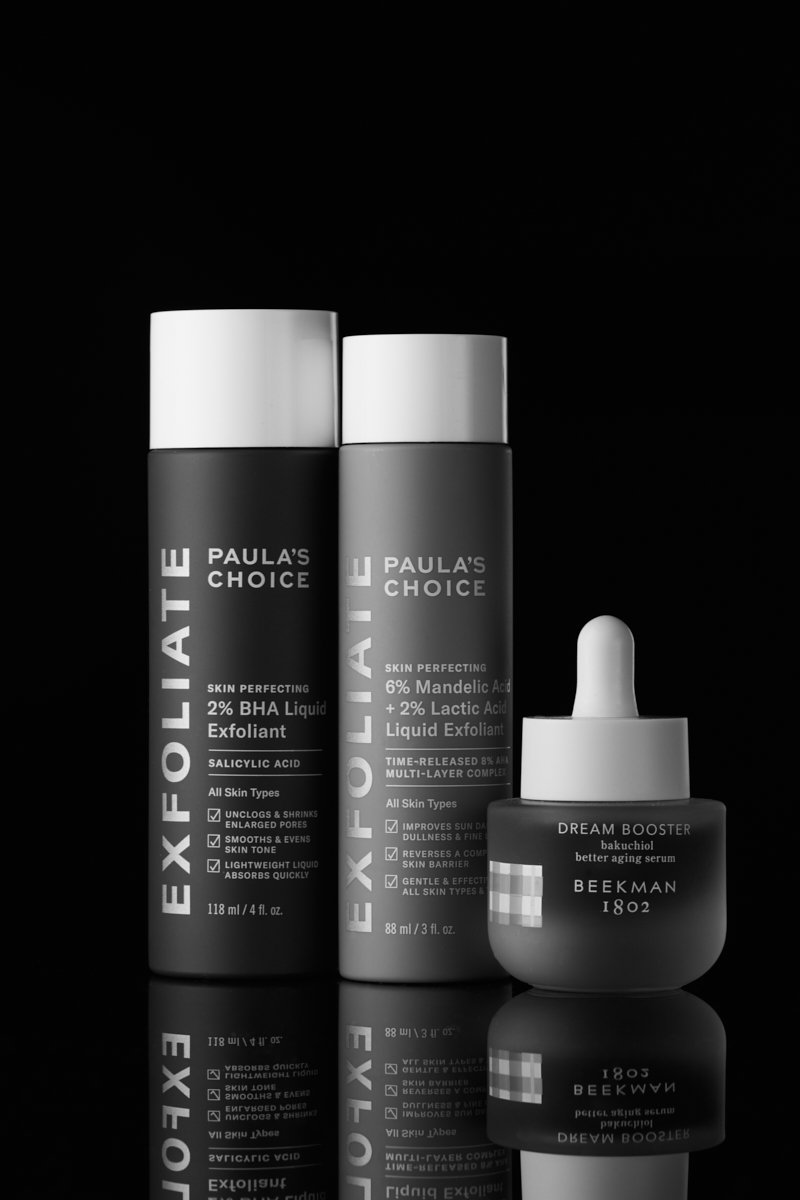
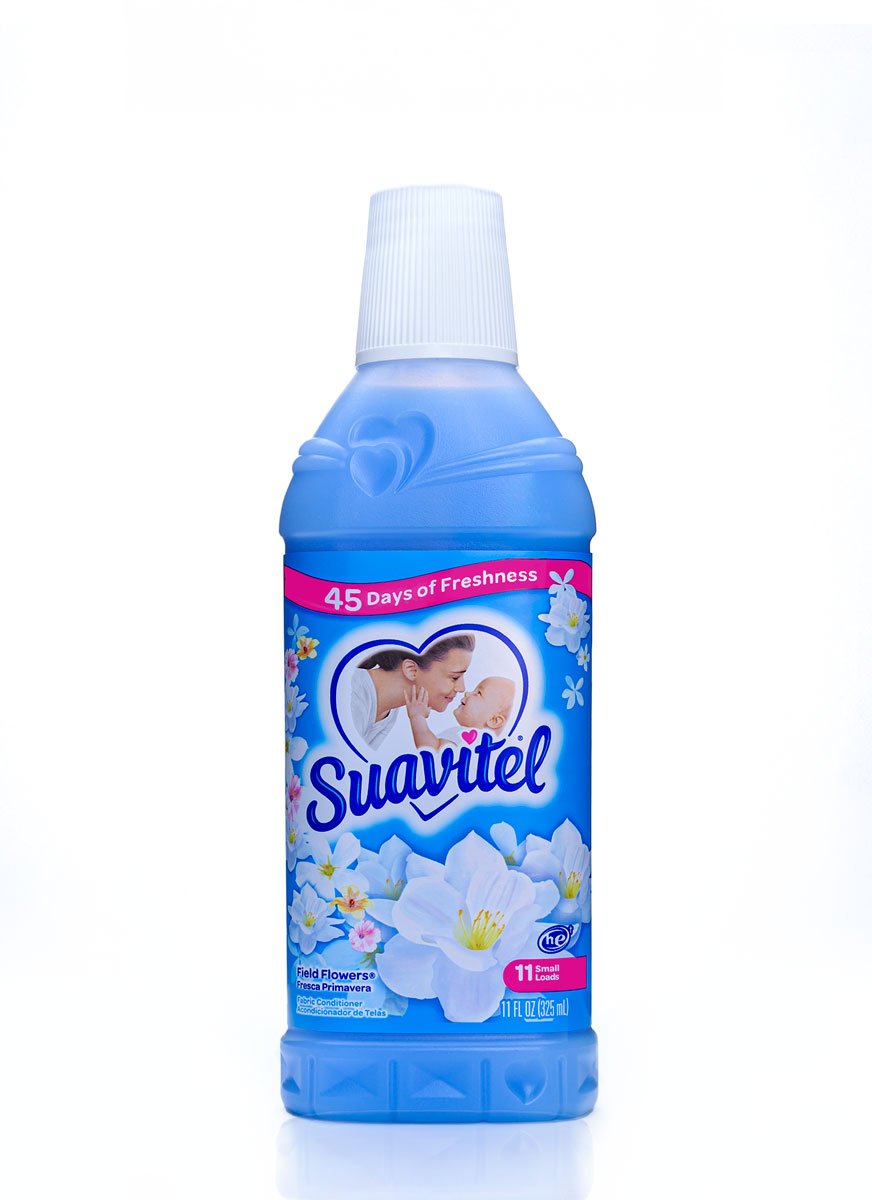
Non-translucent bottle(s) (think plastic) keep the logo and label well-lit, and perfect, with clean lighting overall.
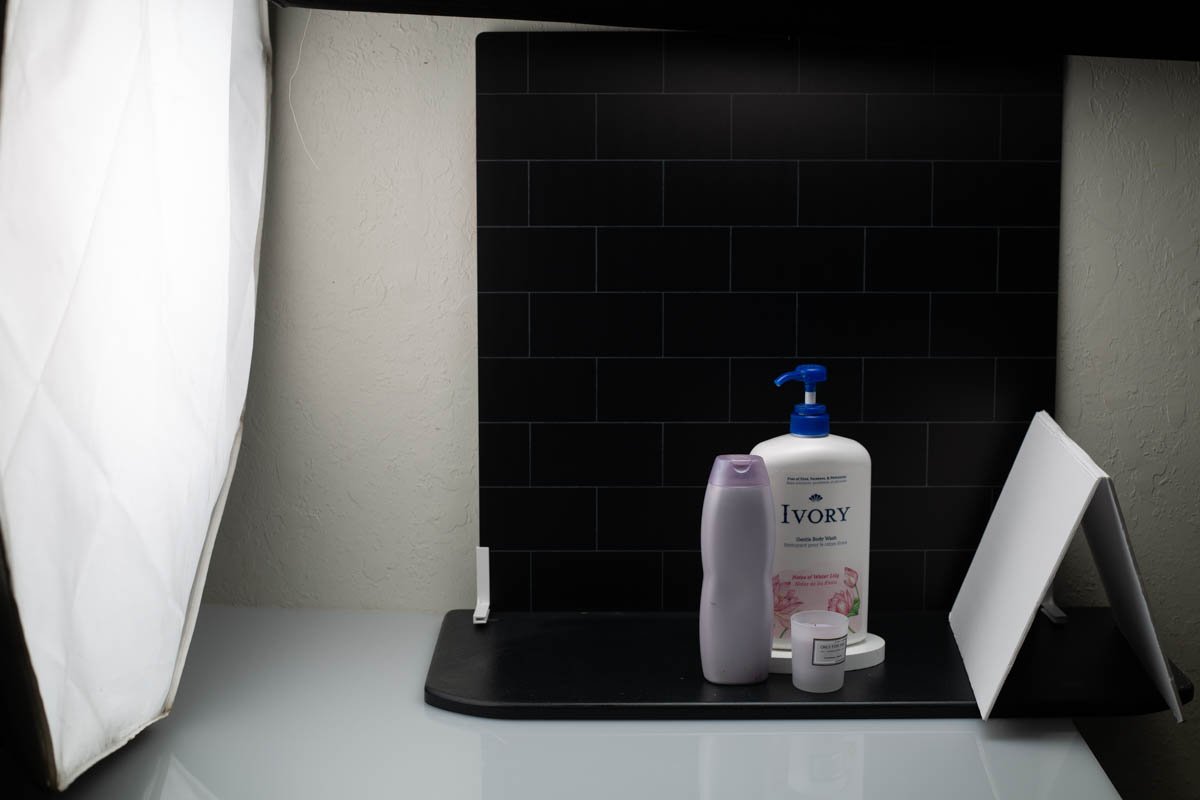
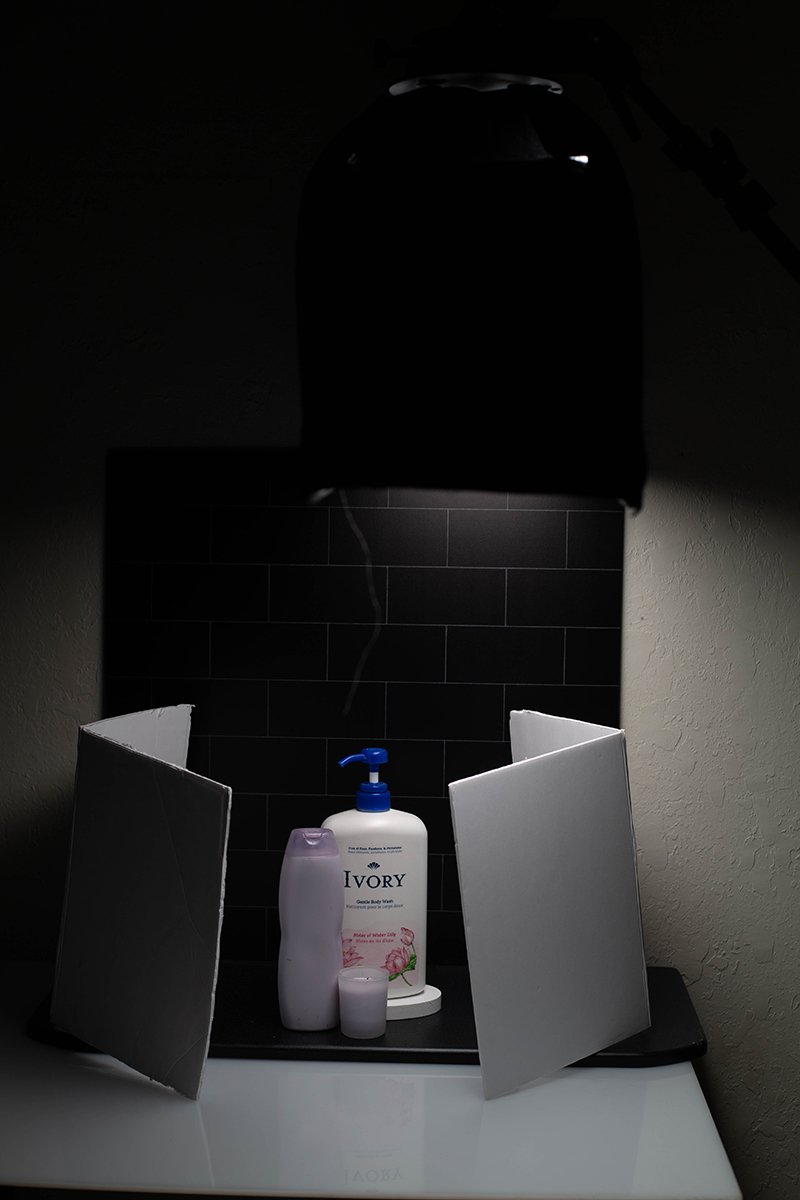
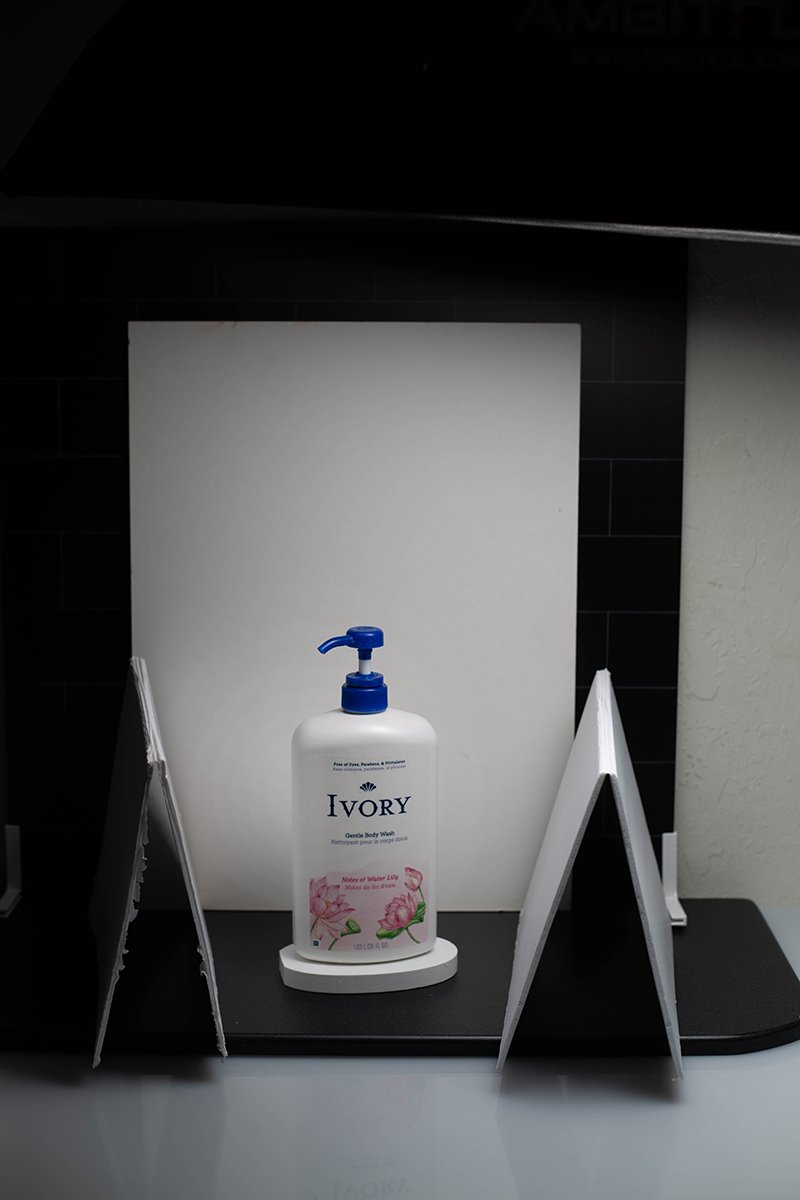
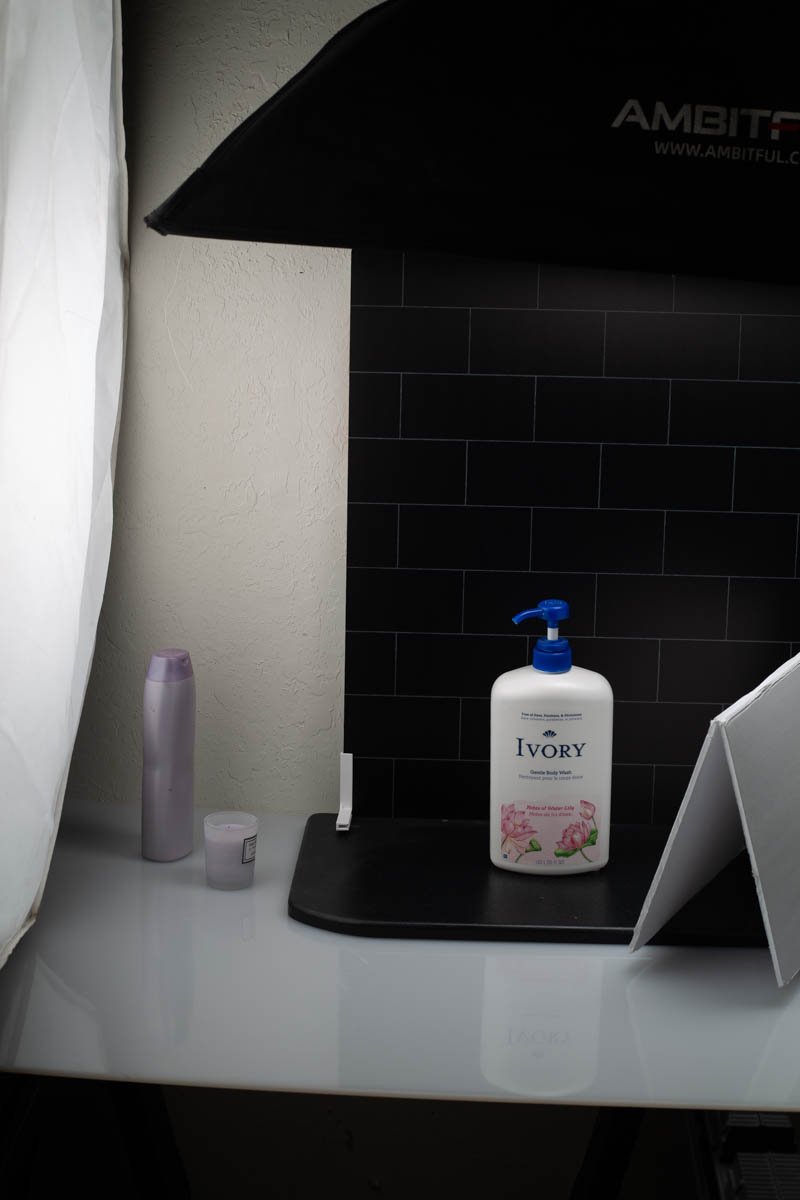
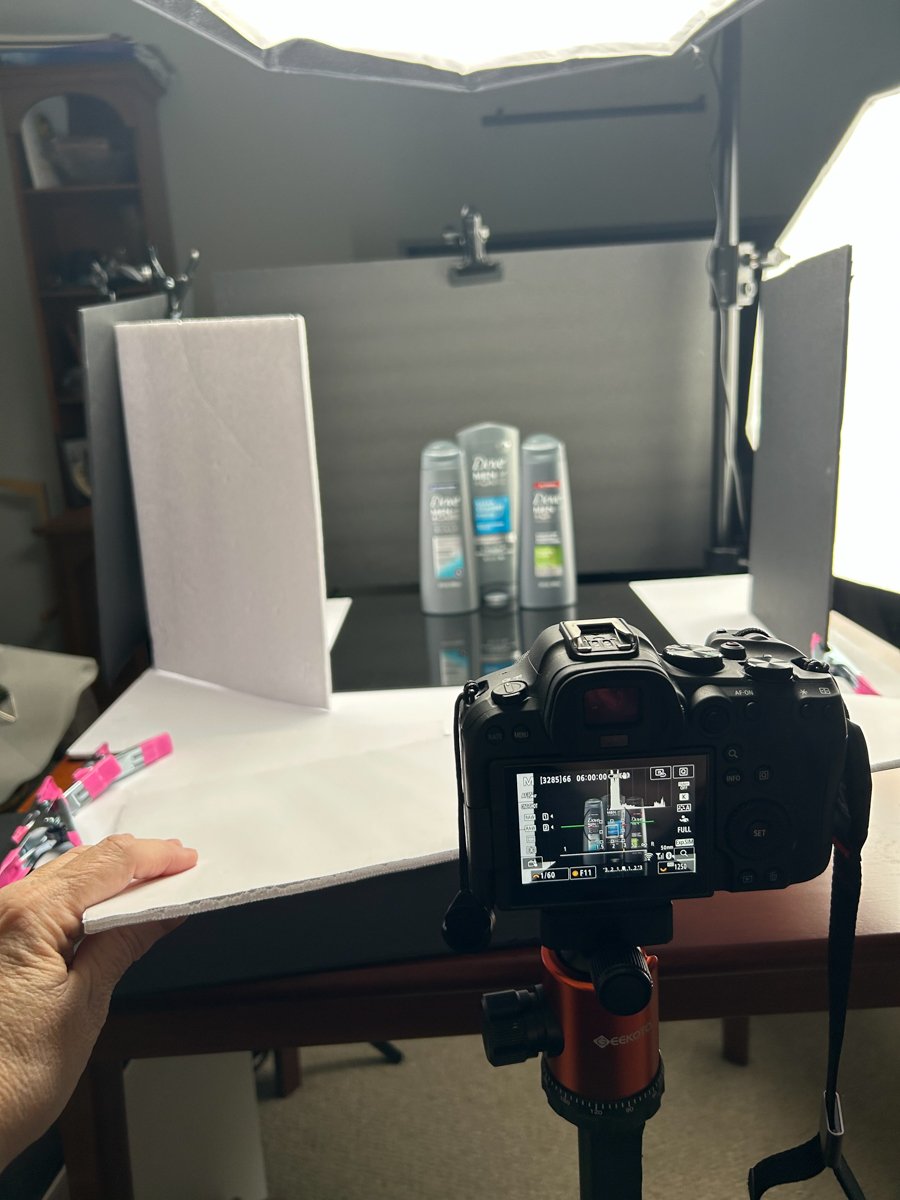
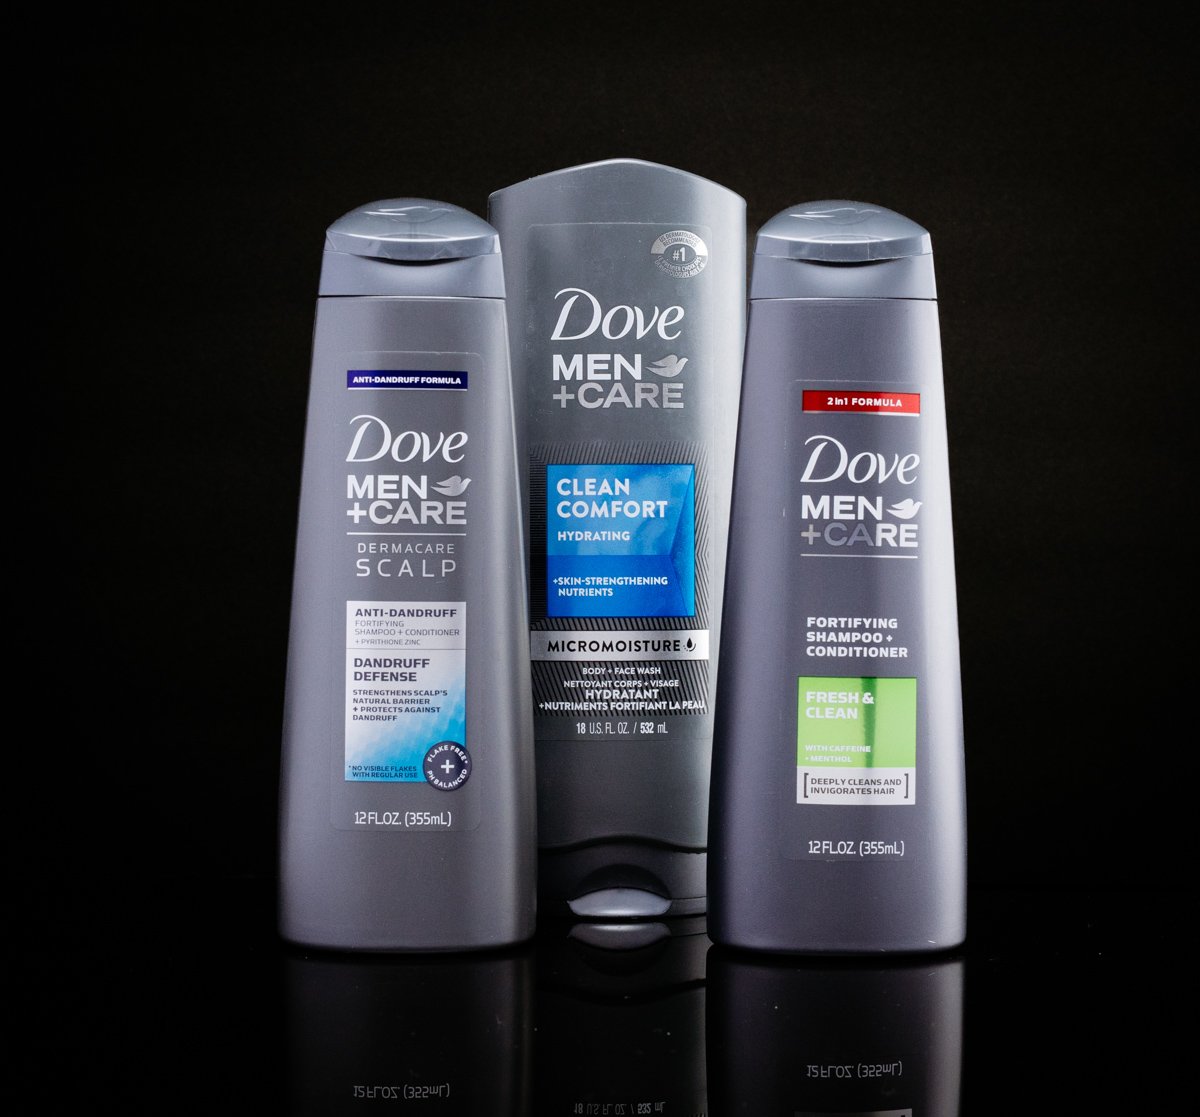
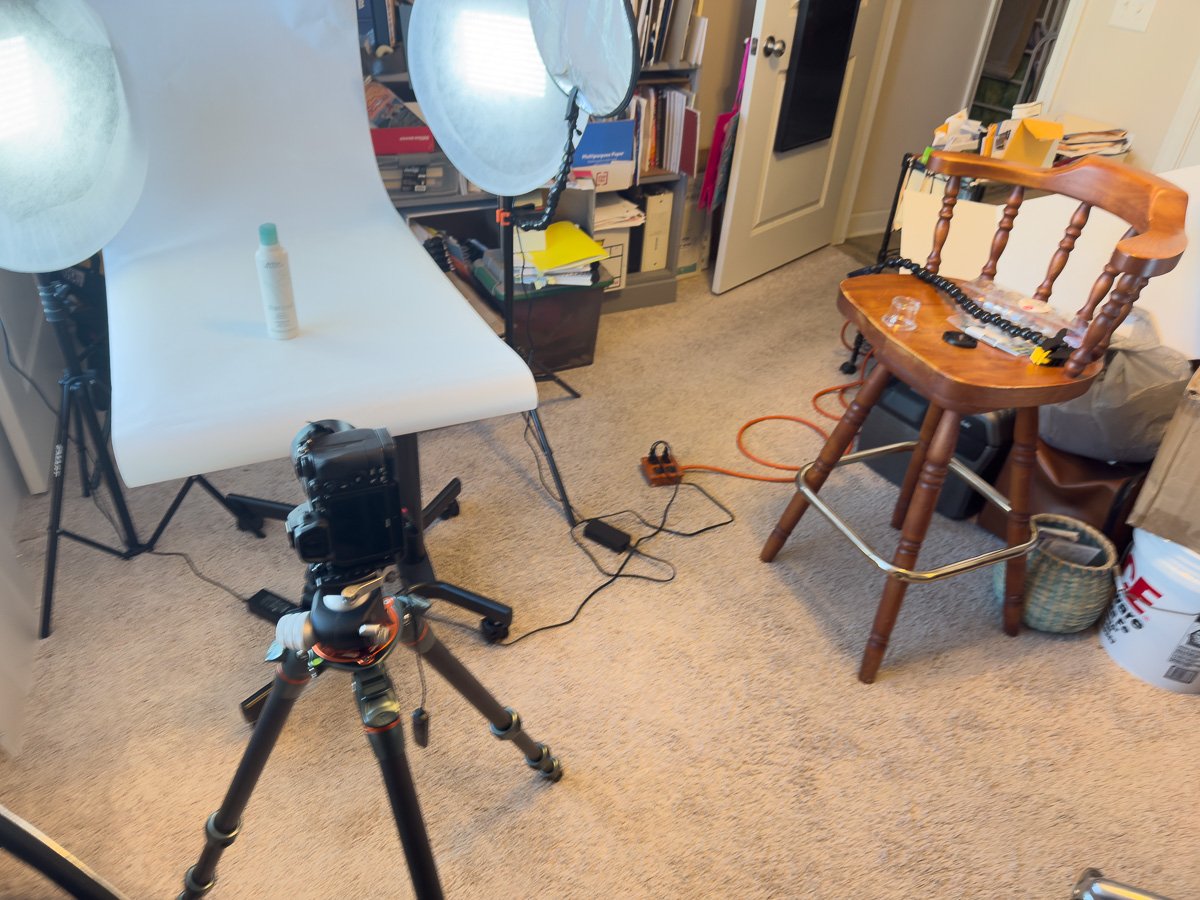
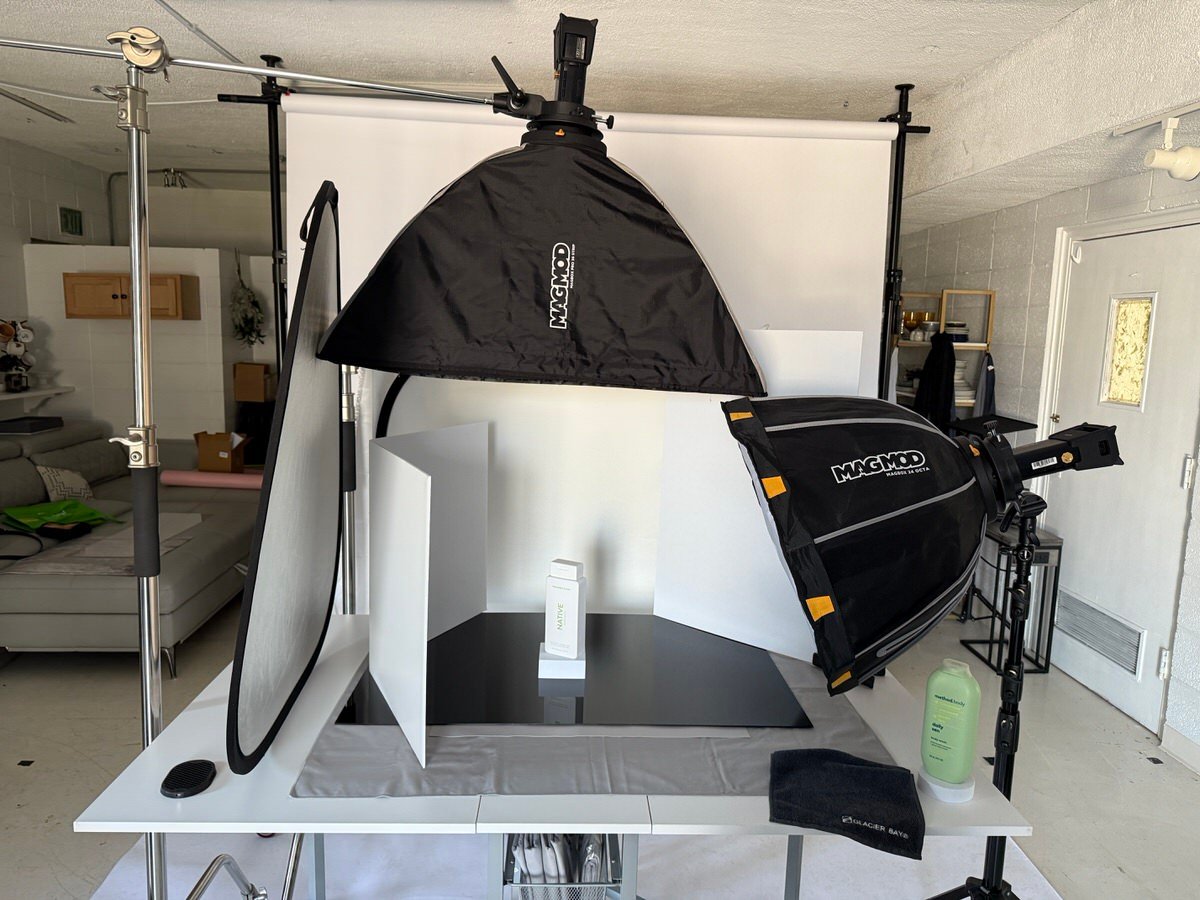
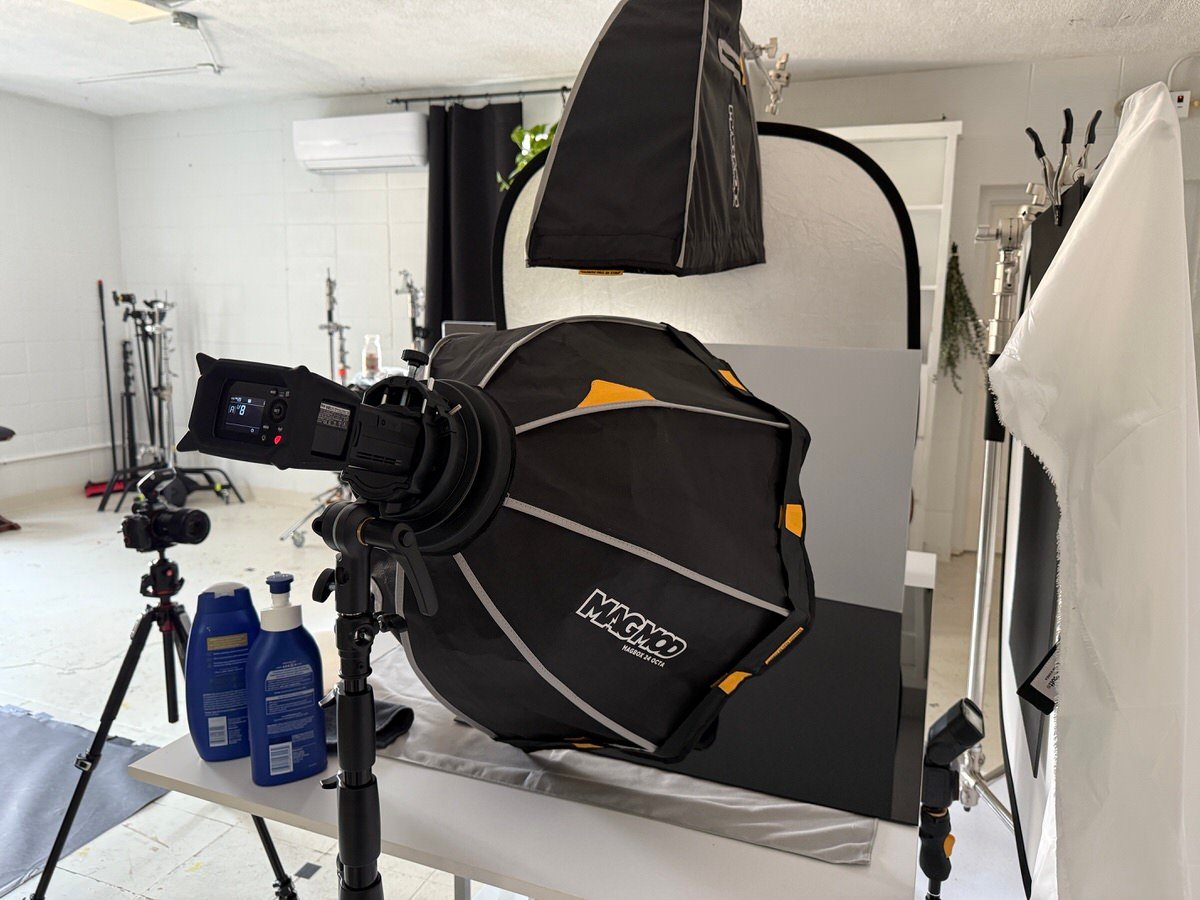
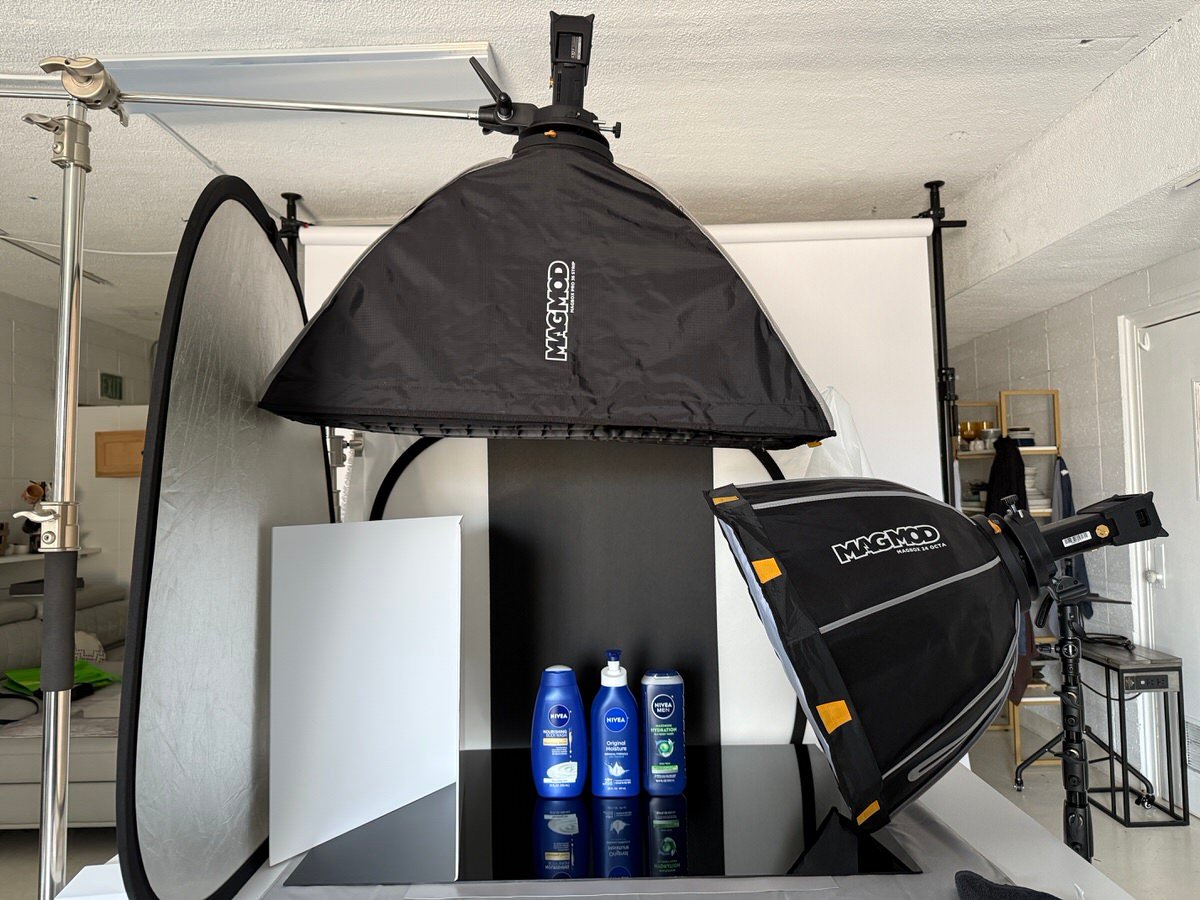
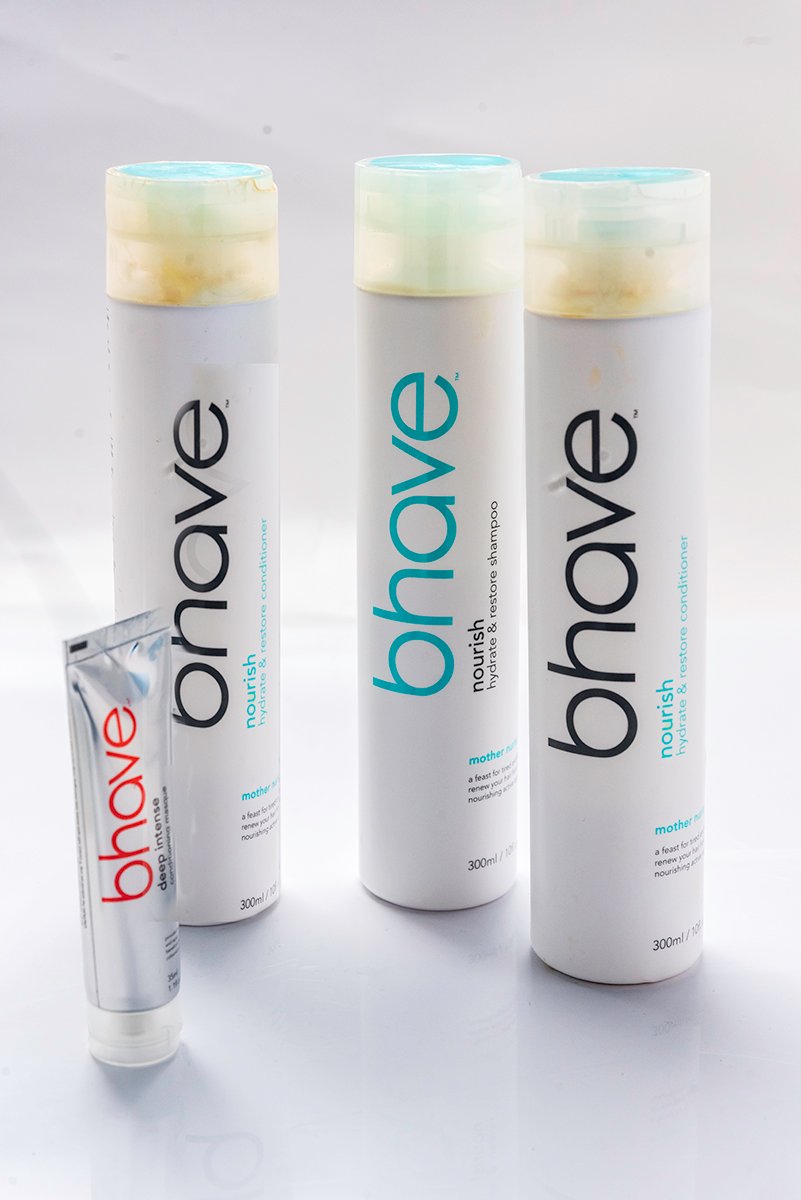
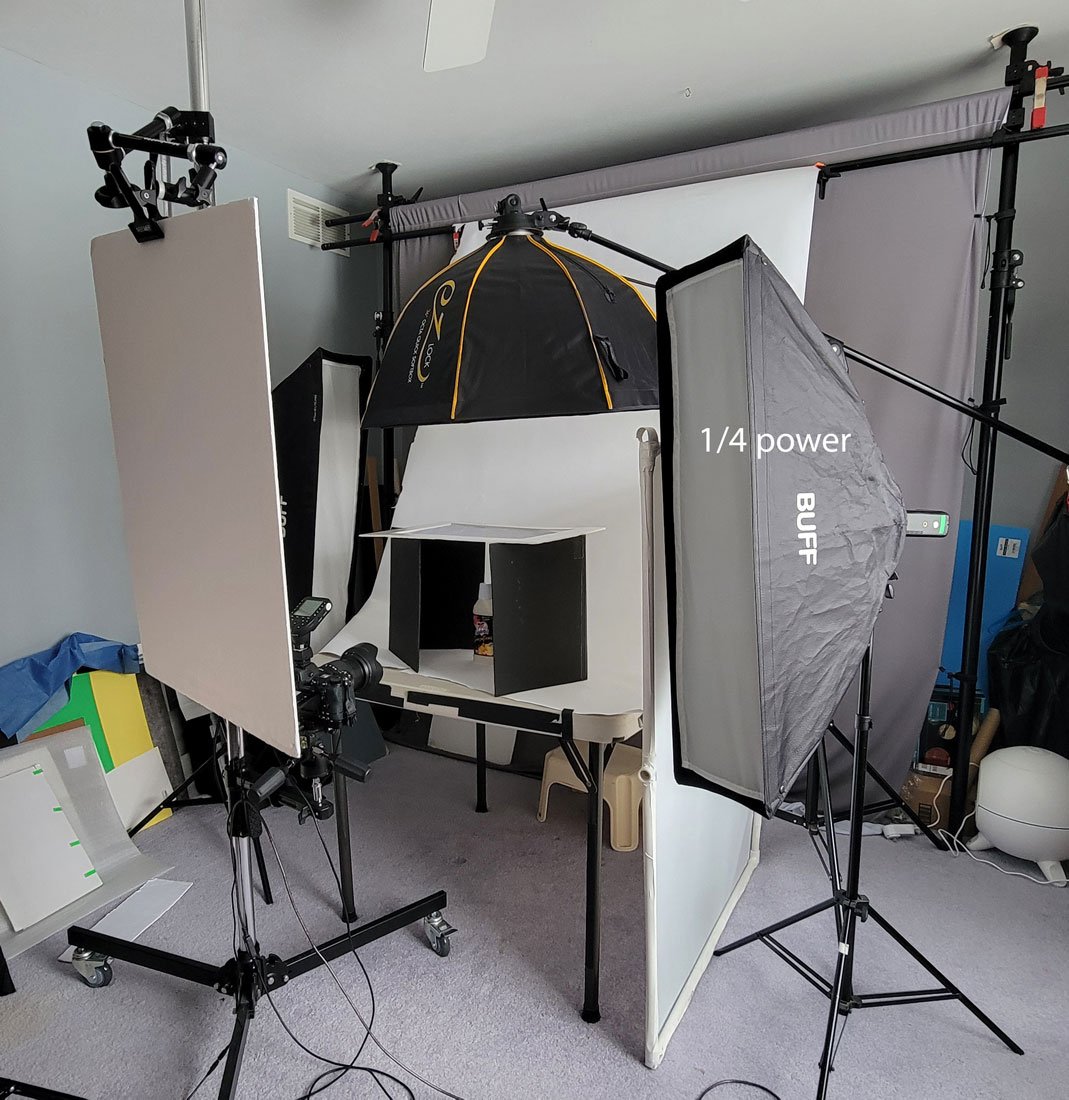
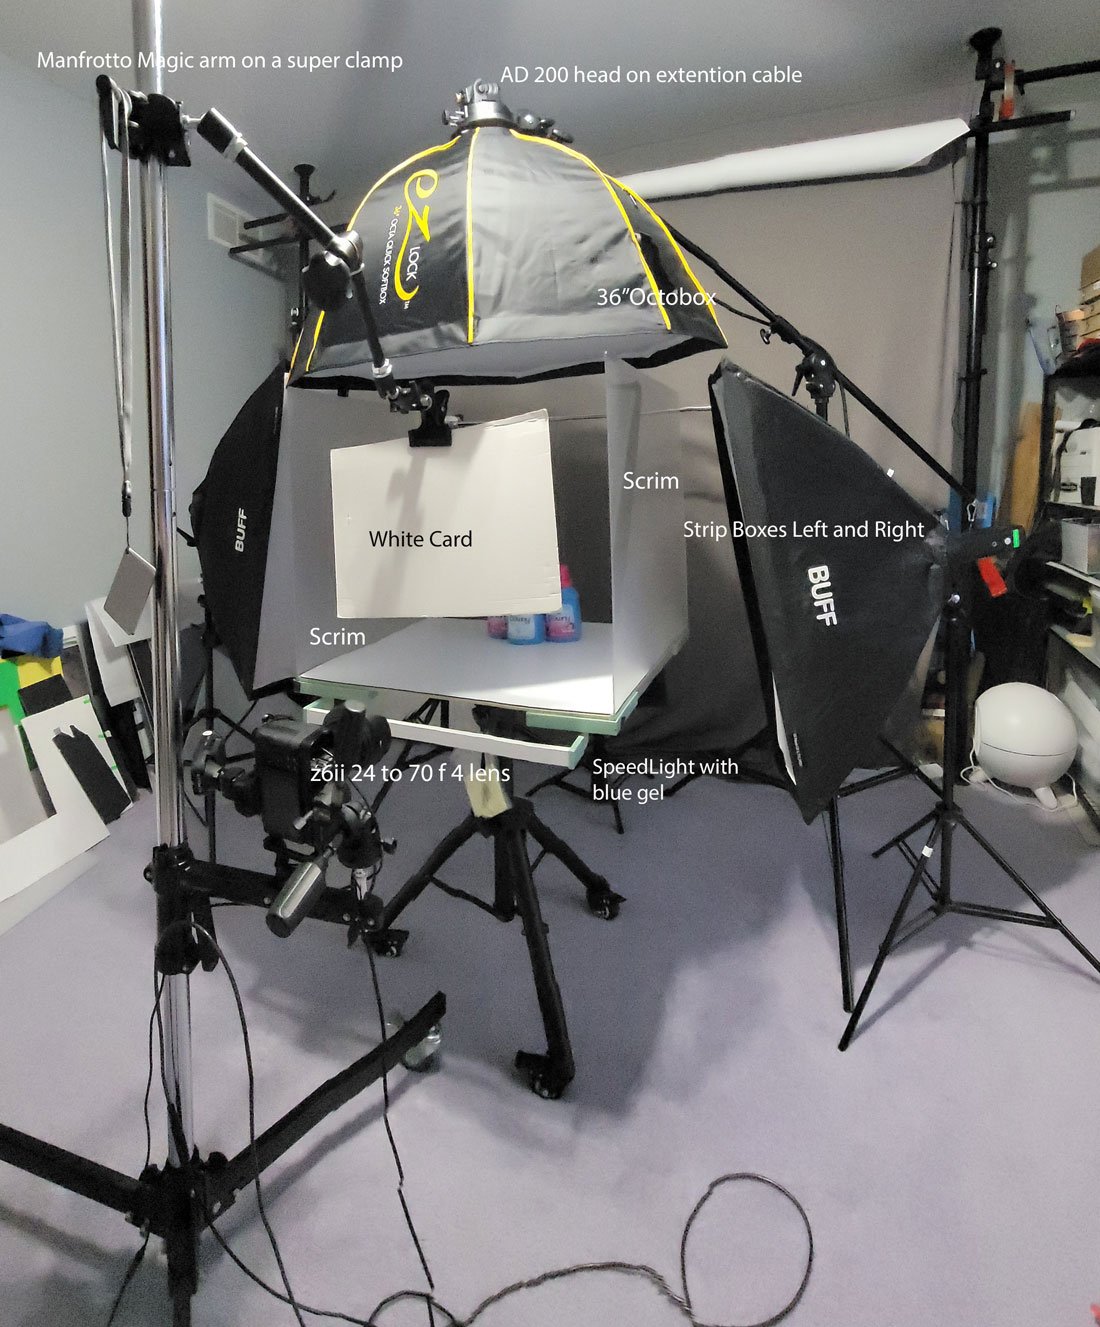
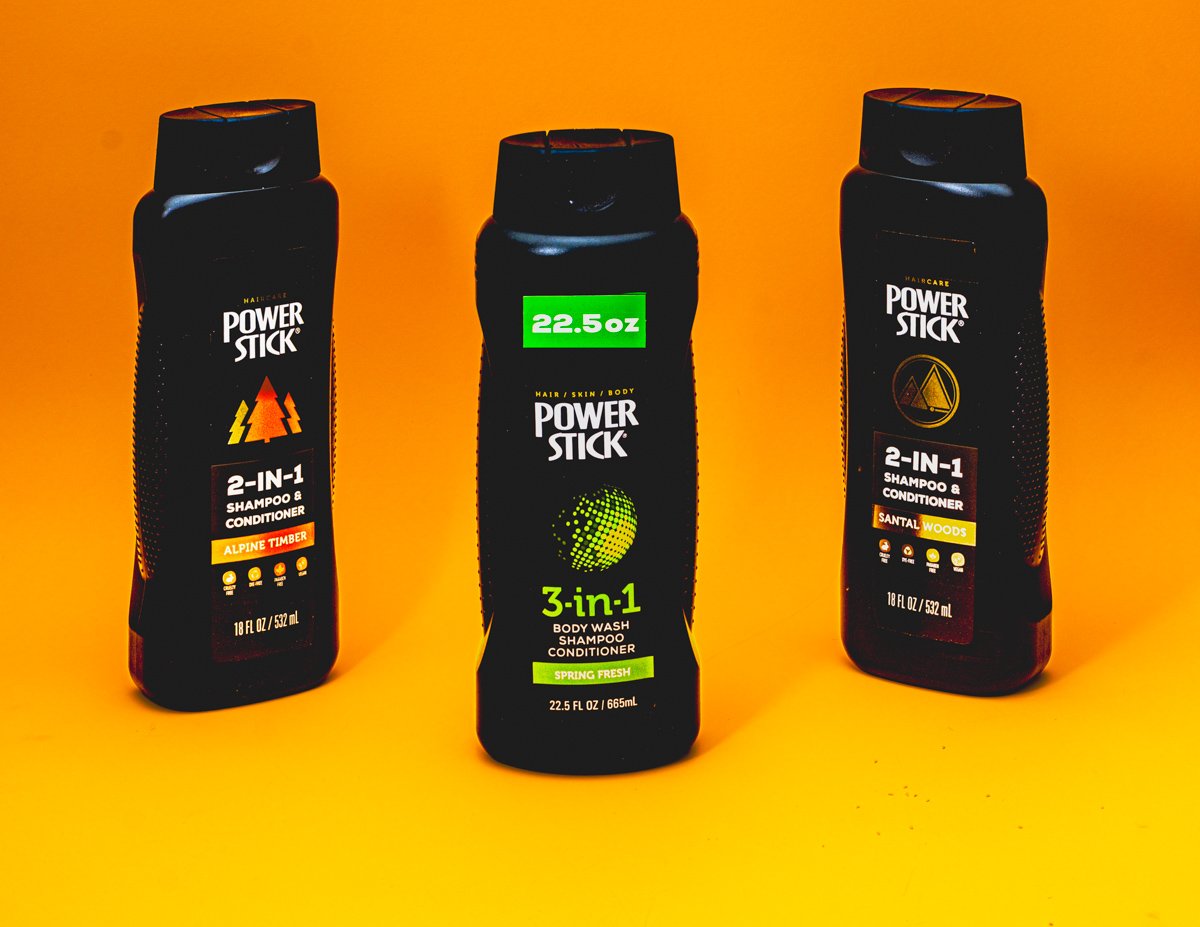
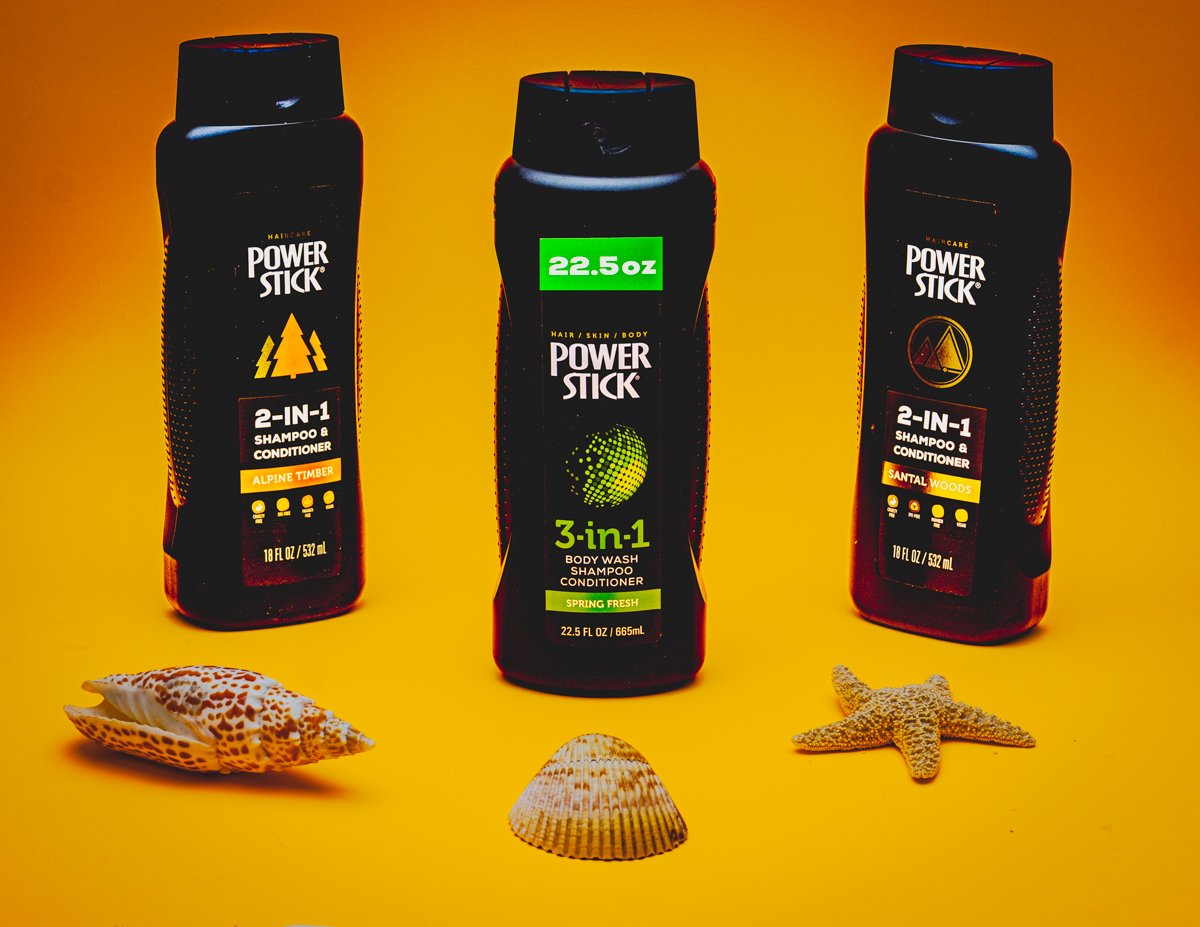
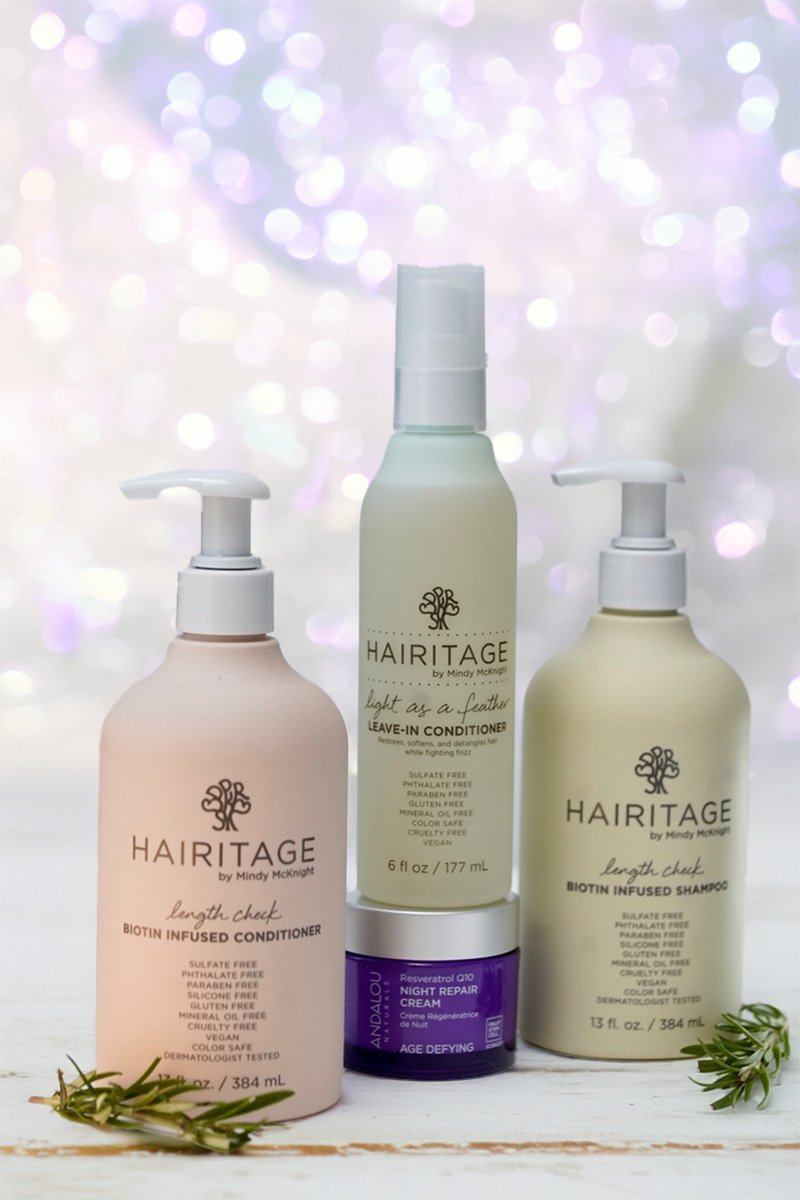
Submission: 1 shot of the single product, a group product shoot (3 minimum / 5 maximum) product, and two BTS (lighting/setup) per member. Please no more than that. If you have additional images, post them to the Facebook Group.
IMPORTANT: No glass or glossy surfaces, no mirrors or mirror finish.
The finish should be matte or ‘pebble’.
We will get into shiny products in the following classes.
Plastic, buffed, wood, paper, matte-finished consumer items.
OUR MEETING NOTES REVIEW
Wednesday Meeting
Saturday Meeting
Class Images, 2025
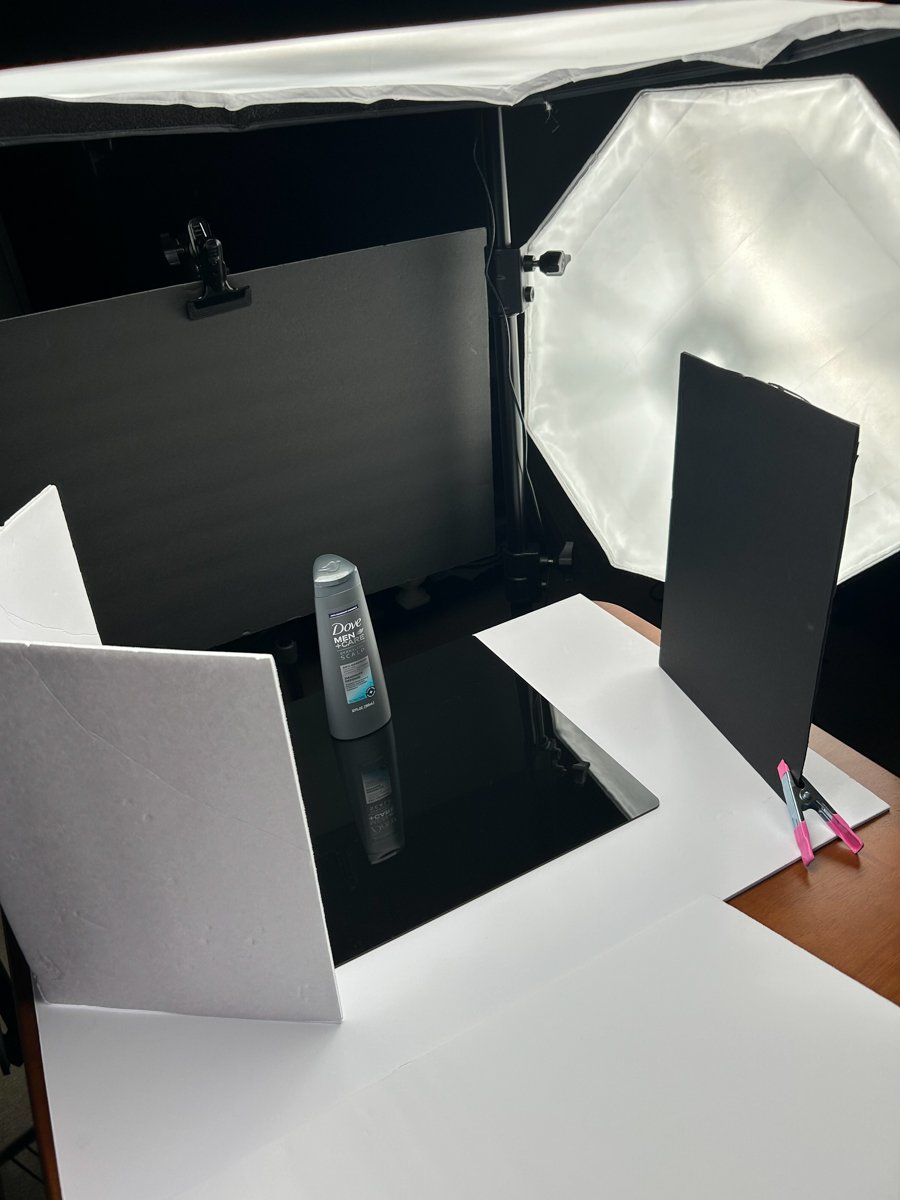
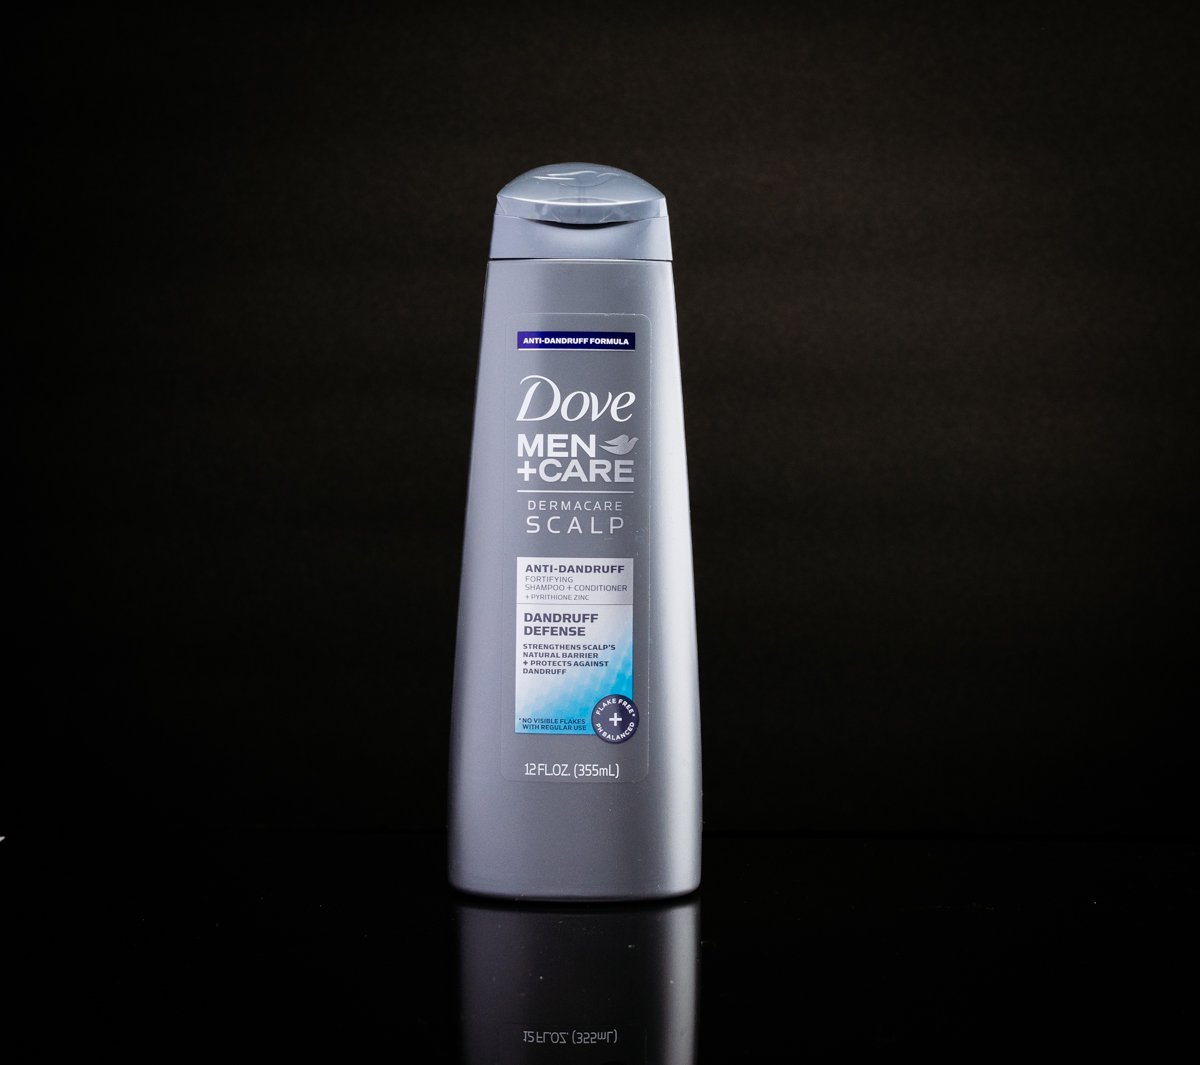
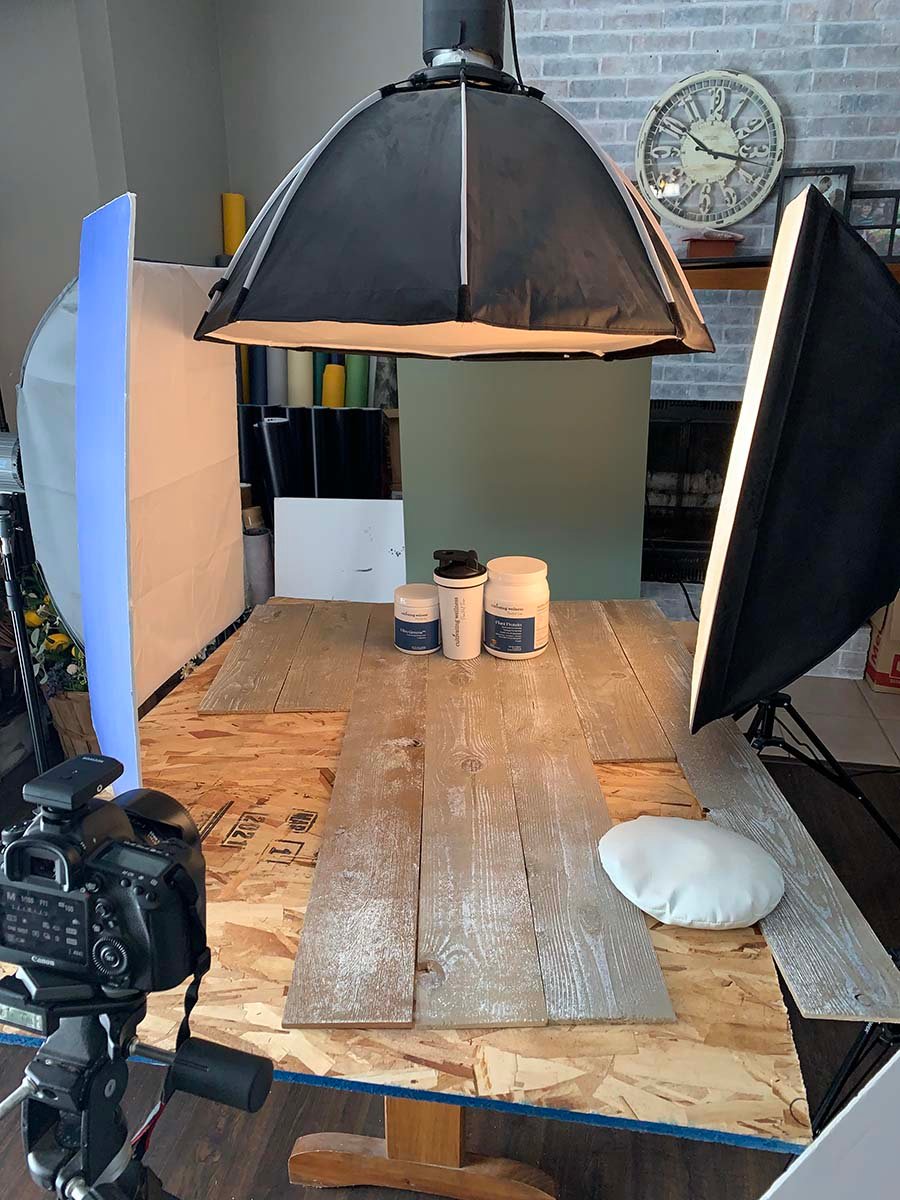
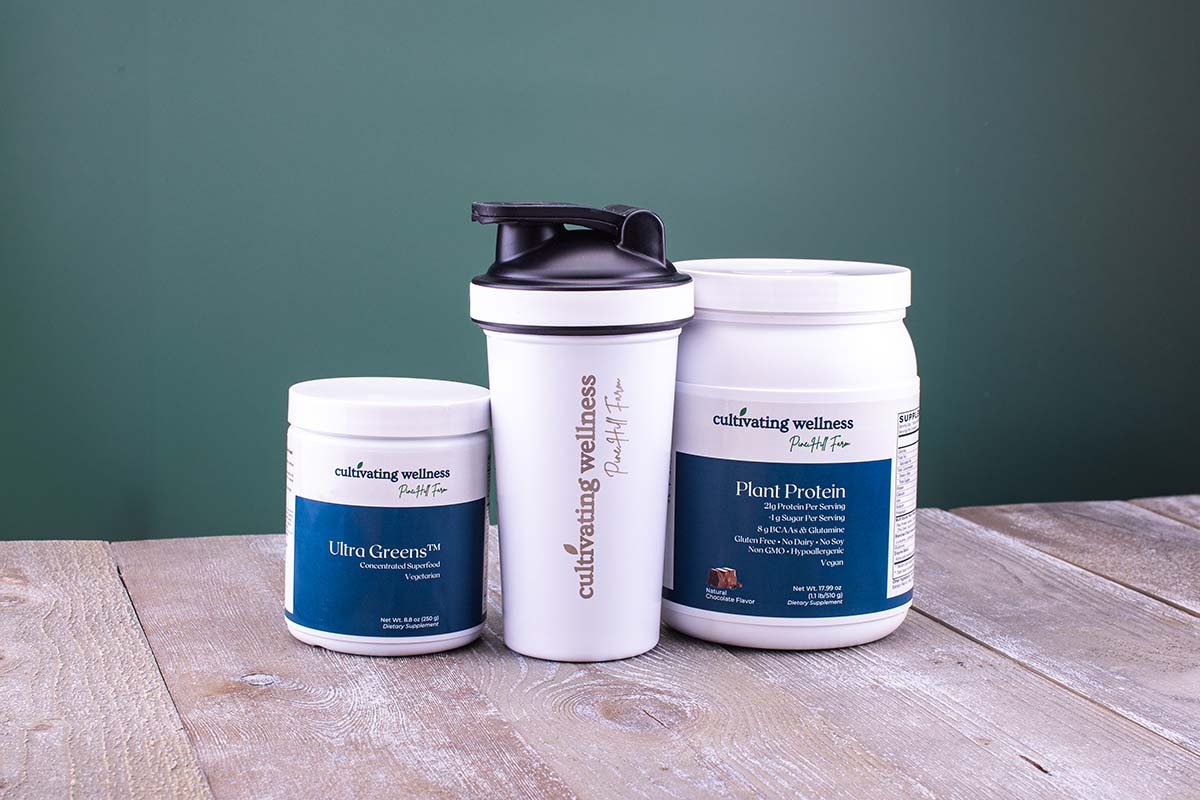
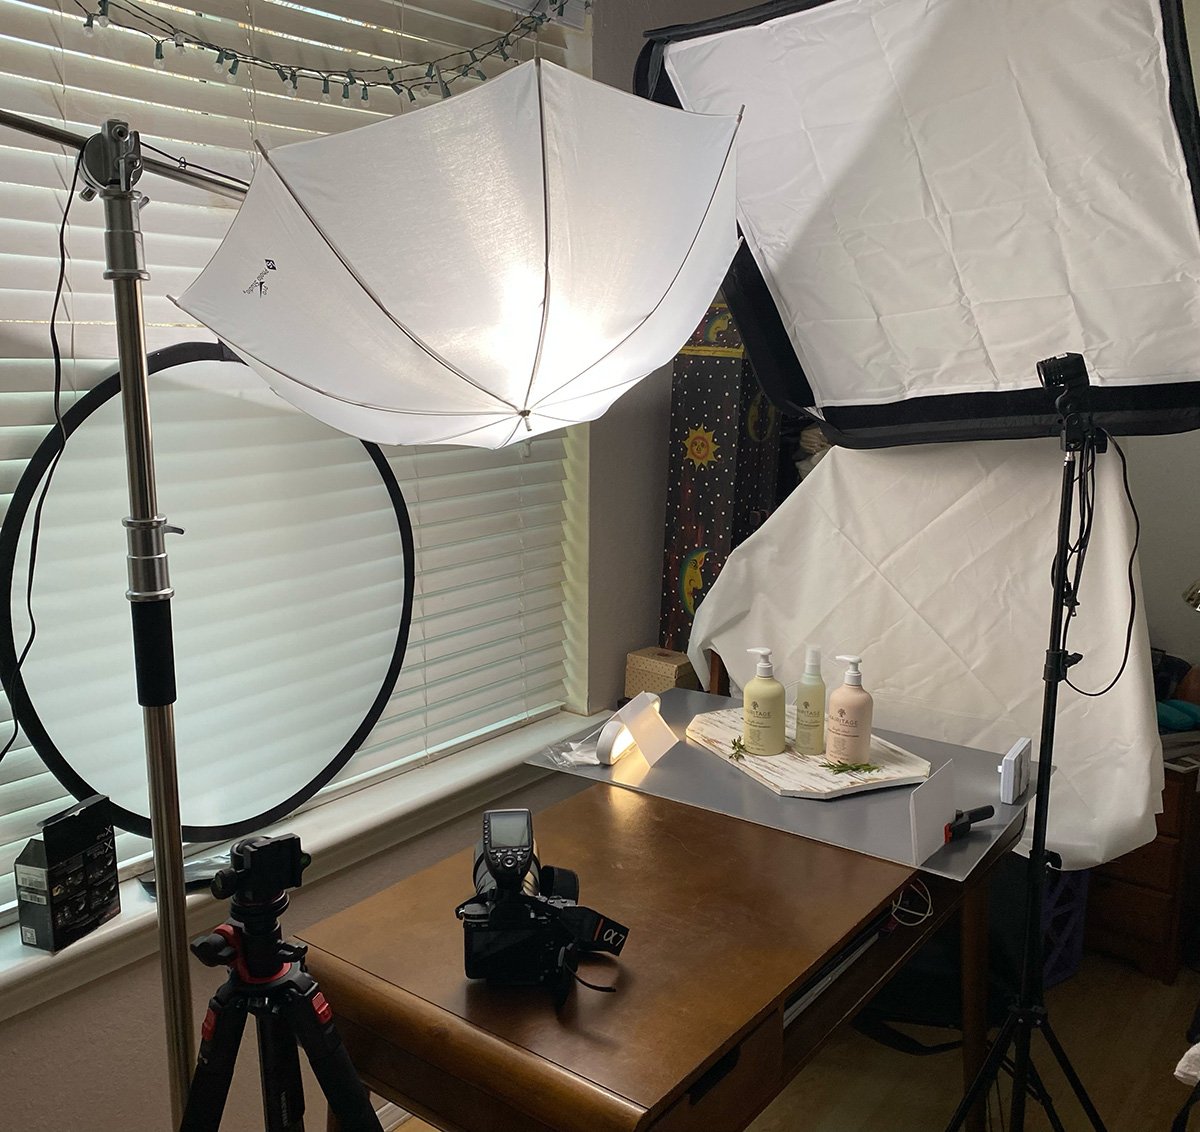
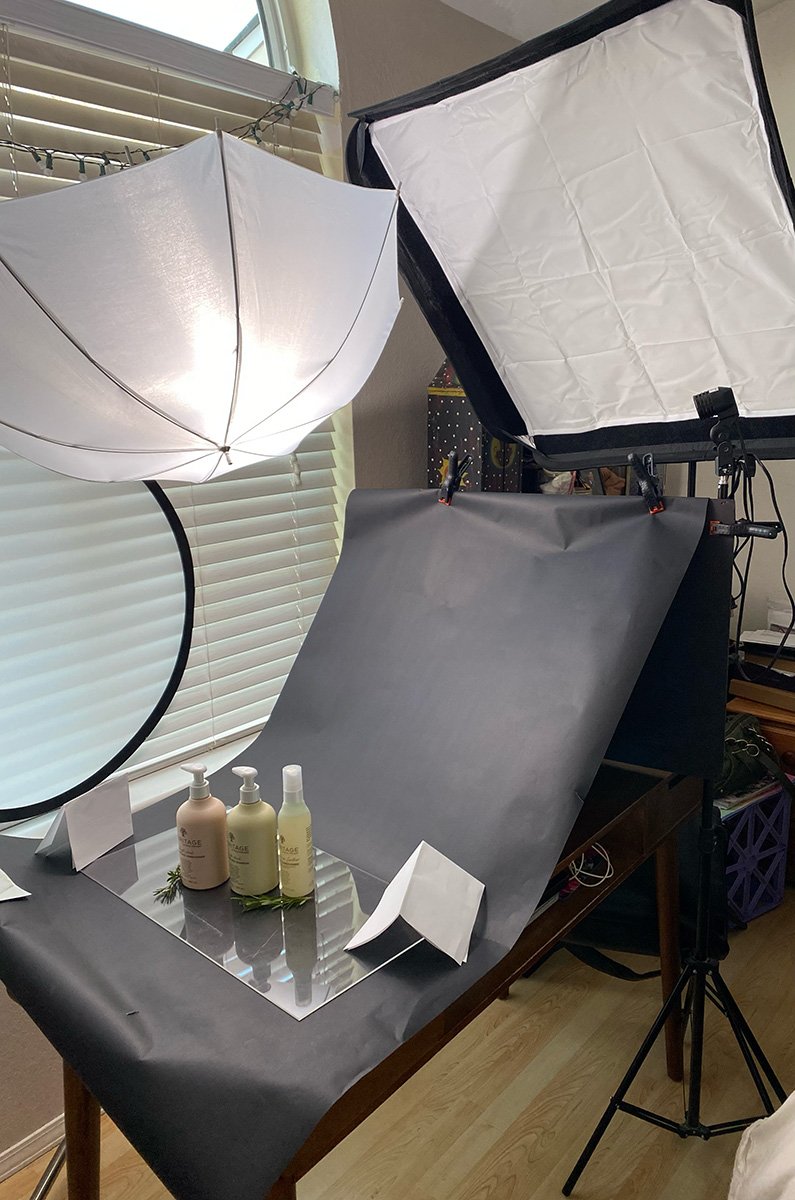
-
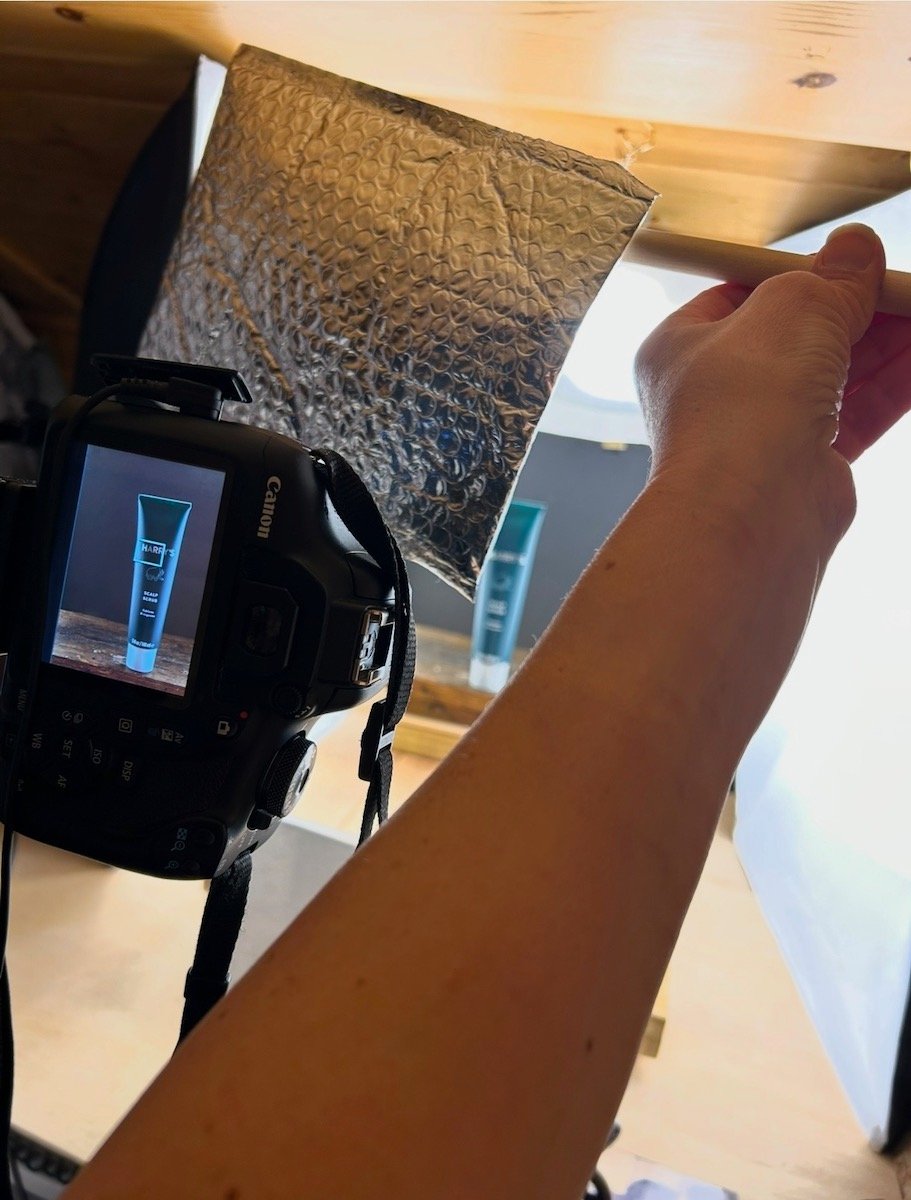
- Screenshot
-
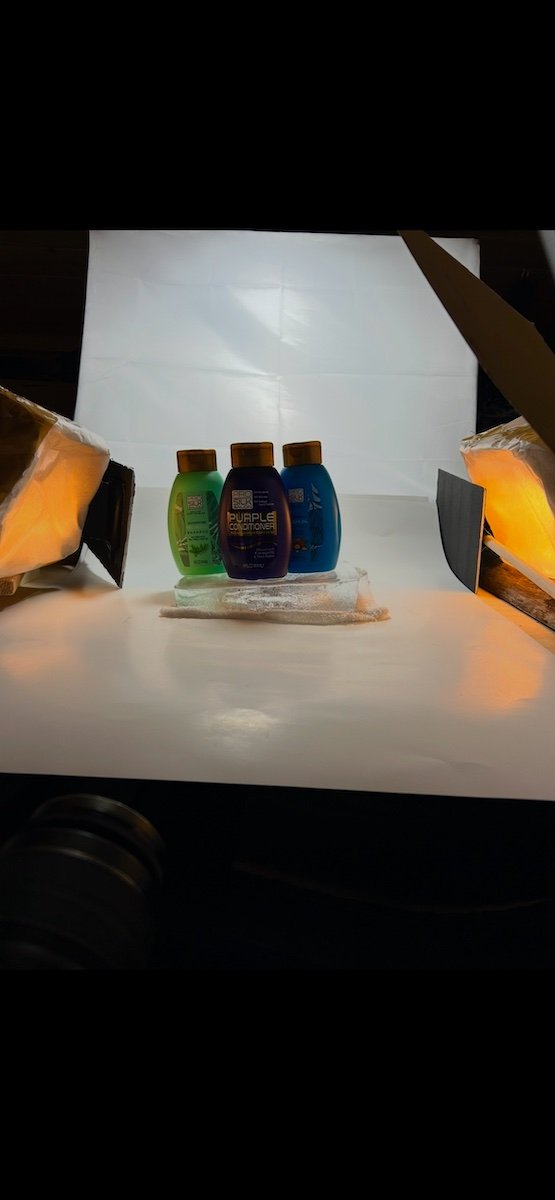
- Screenshot