NATURAL LIGHT PORTRAIT CLASS MODULE ONE
One of the most popular and easiest ways to make natural light portraits is to simply use an open sky.
Usually, that means working in the shade, or with some sort of backlight.
But it should be noted that shade alone is not enough to ensure good natural light (and yes, there is such a thing as ‘bad’ natural light).
For one thing, I do not recommend deep shadow.
For instance, deep into an alley with no light other than the sliver above you may not be the best for all situations. However, the end of the alley where light is all around can be a beautiful place to shoot. Placing your model just inside the shadow line where there is enough soft ambient light to make the subject look great without any hard light or deep shadows is preferred.
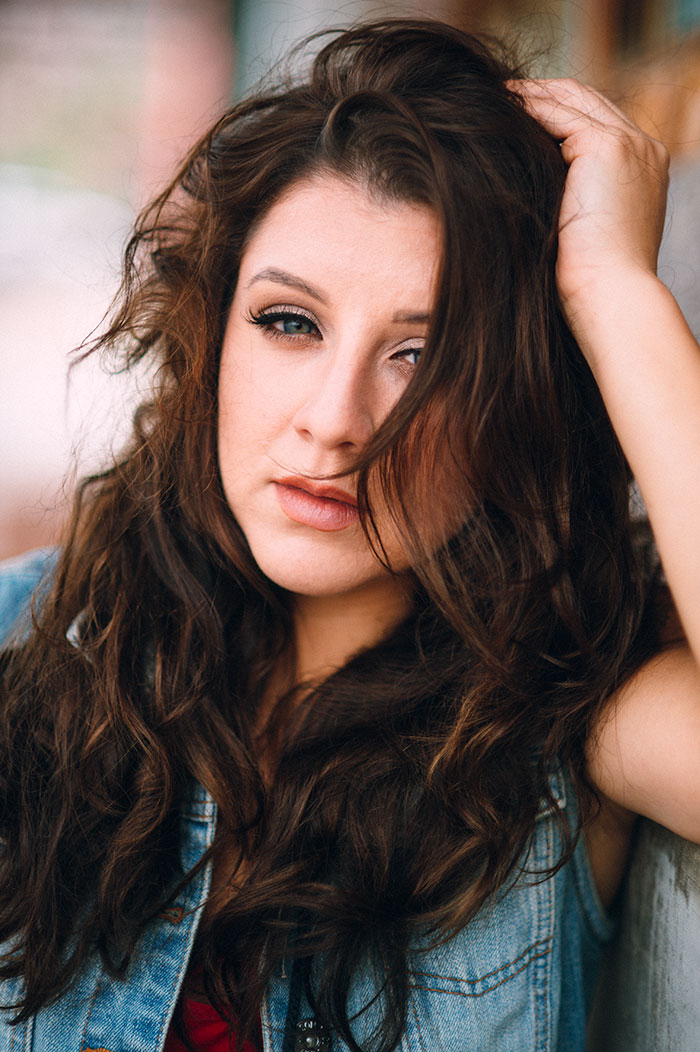
The image on the cover is Bri and she is standing on the porch of a building in San Diego. It is a very clear and bight afternoon. Behind me is a group of bright buildings one and two stories high. You can see the reflected light on the edge of the bannister and in the window behind her.
This soft, directional light was a bit on the cool side, so a bit of warming was needed to make it look more inviting. The bluish tint came from the large, open blue sky above us.
It is a lightly overcast day so the light is essentially a huge softbox.
In front of her, and behind me, there is a lot of sky… soft gray sky. And that light is wrapping all around her face from every direction. The light is so soft it doesn’t even create a deep shadow under her chin.
The dark background makes the face stand out even more because it creates such contrast.
This was not the only time I was able to use that big soft light on this day.
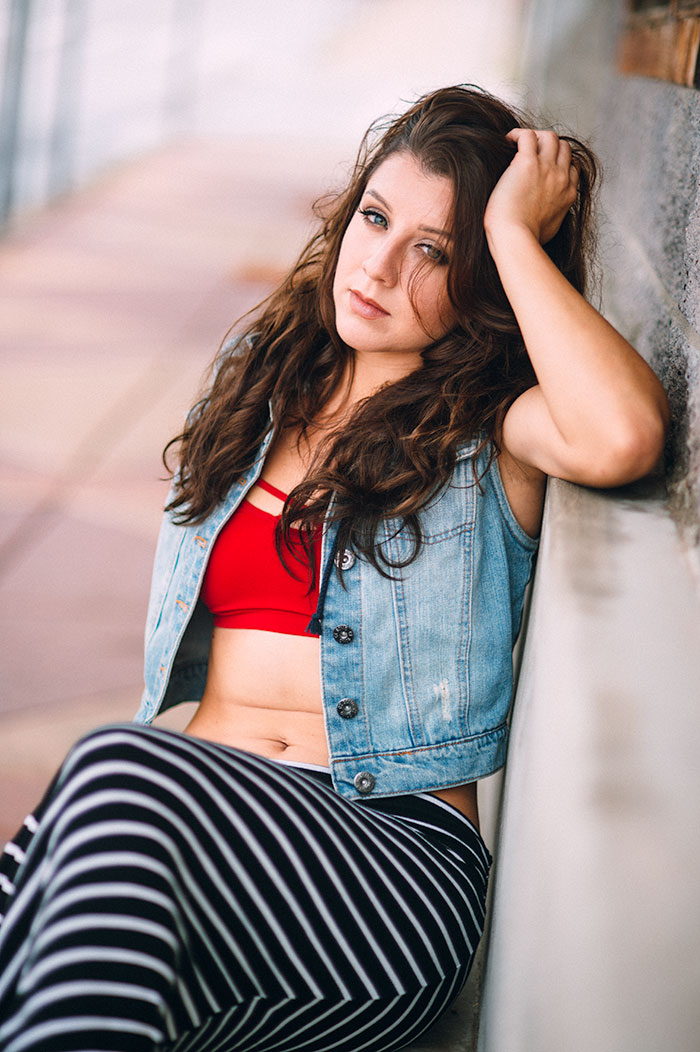
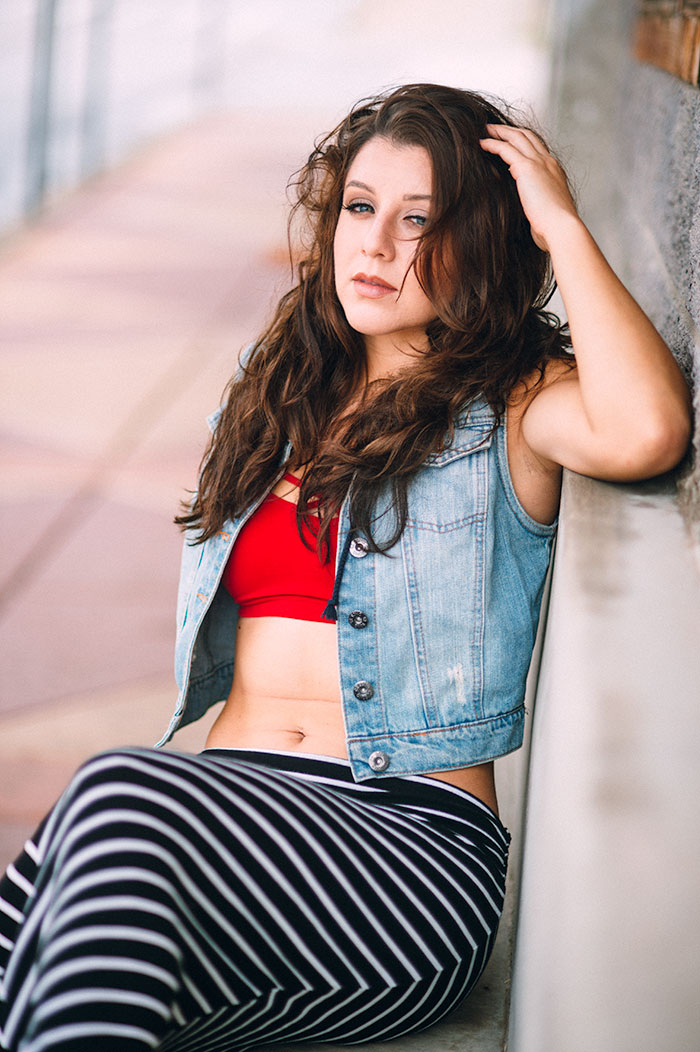
In the photo below, Bri is sitting in a stairwell that is on the edge of a sunlit street. The light is coming from mid-right (camera) and you can see a bit of the light coming through a bush on my right hitting the wall above her.
In this situation, she is well lit due to the bright walls around her, and the bright walls of the building behind me. Simple light and a colorful background make for an interesting and pleasing portrait.

HANDY TOOL FOR THIS CLASS:
Please head over to Milanote and get a free account to archive your work for this workshop. Milanote allows you to make mood boards that are private, sharable, and very cool. Free accounts get 100 boards – more than enough for you to put your stuff in and keep it for learning and reviewing.
I want you to keep a ‘mood board’ – or set-shot (BTS) for every shot.
What to include on your Milanote board:
BTS shots.
Exposure notes.
Idea images (swipe file)
Location scouting images
Outtakes and additional imagery
Any notes you may have created to make the shot
MODULE ASSIGNMENT:
PART A:
Shoot a portrait in just open sky (shade, or soft backlight). Note the color of the light. Is it being affected by additional lighting (tungsten, reflections, or anything else that can change the lighting in the open sky?
PART B:
Try doing three shots of your subject with a different background. Go for blue skies, trees, walls, buildings, and anything else you can find. Do these backgrounds change the way your subject relates to the viewer?
PART C:
Work with apertures. What difference does shooting at f-2.8 and f-16? How does the background help or hinder the portrait?
PART D:
Shoot a portrait from 5 feet away at f2.8 (85MM – 135MM lens).
Step 10 feet back and shoot the same subject/setting at f2.8 with the same lens.
Notice the subject got smaller, but what happened to the background?
Now do the same thing at f-11 to f-16.
PART E:
Shoot a portrait filling the frame from top of the head to mid-chest with a 50MM lens at f4.
Shoot the same portrait (top of head to mid-chest) with an 85MM – 135MM at f-4.
Shoot the same portrait (top of head to mid-chest) with a 180MM – 200MM at f-4.
Compare the shots. What is different? How do the faces compare? What is happening in the background?
For all of these portraits use open sky – pure ambient light. Make it the best light you can find.
NATURAL LIGHT PHOTOGRAPHERS WHO USE THIS METHOD
SAM ELKINS
SCOTT TOEPFER
KYLE JOHNSON
JAKE STANGLE
DAVID EUSTACE
RICHARD RINALDI
Jasmine in Mexico
On the roof of a casita, we were surrounded by white walls and floors. Adding in the bright, blue sky above and the light that filled the shadows was clean and beautiful,

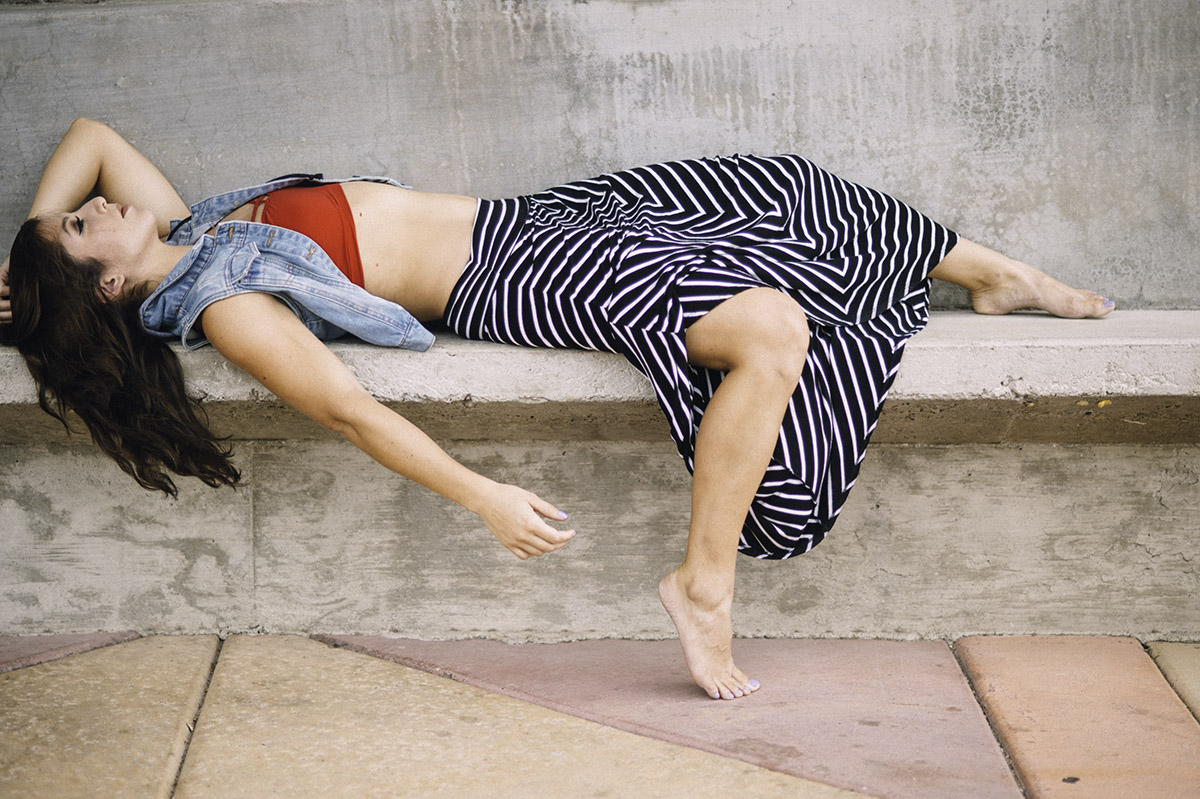
In the shot above, I had Bri laying on a concrete bench on the sidewalk as the sun was playing in and out of the clouds.
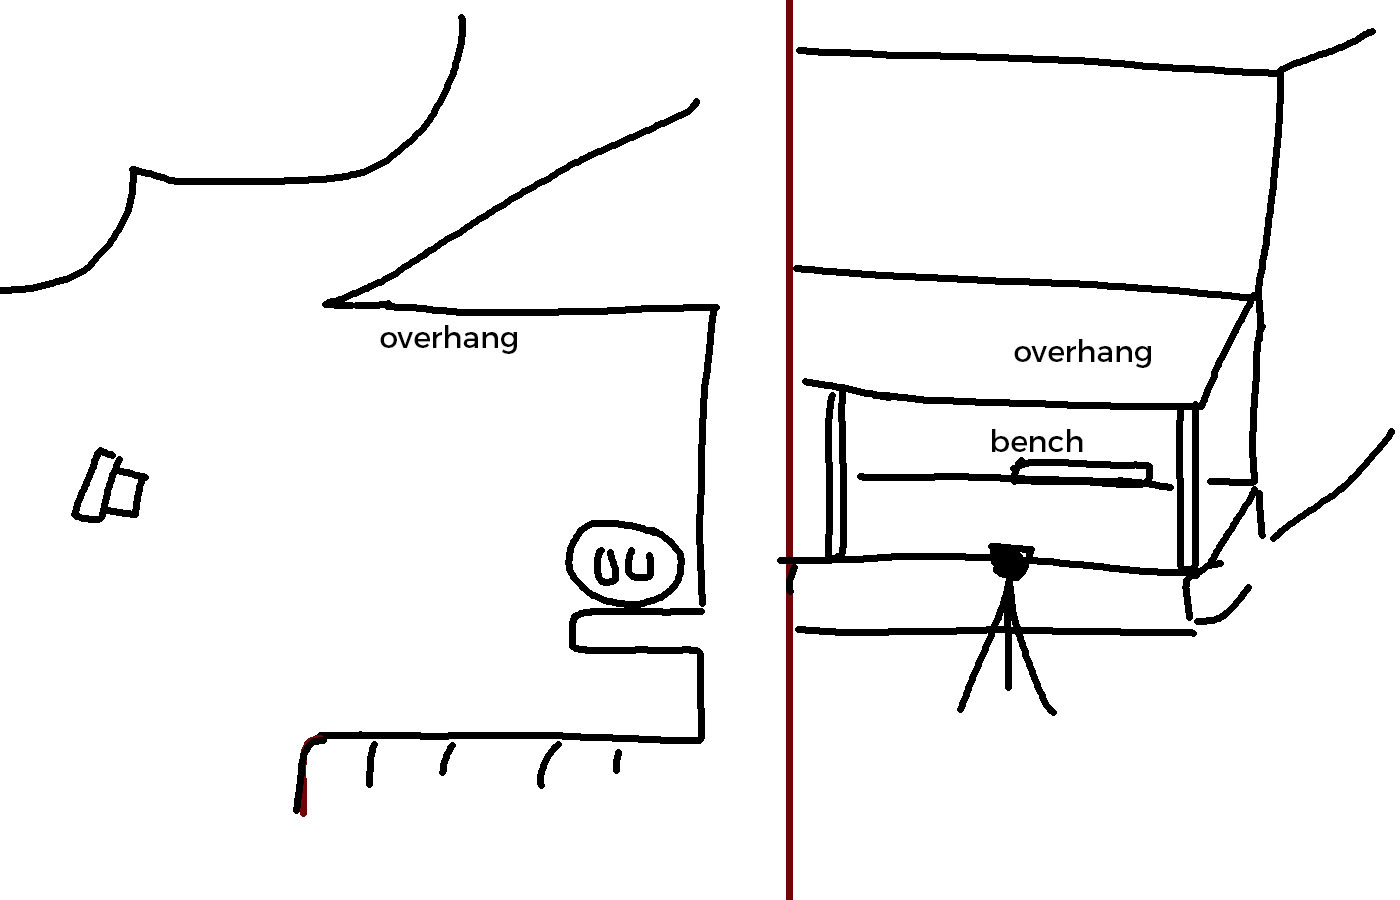
The surrounding buildings, mostly white or light color, and the slightly overcast sky gave us plenty of ambient light under the overhang. She was probably 6 feet from the edge of the light on both the front and the side. As you can see there are hardly any visible shadows and the light is simply beautifully soft.
(On left is the side view, and to the right is the front view of the bench and sidewalk under the overhang.)
IMPORTANT to note that the location featured one story buildings and most of them are white and brighter neutral colors so there was not a lot of ‘dark’ around this location (Superior, Arizona).
An older video of me shooting natural light in totally natural light.
GALLERY ONE
[rl_gallery id=”45375″]
GALLERY PART TWO
[rl_gallery id=”45385″]
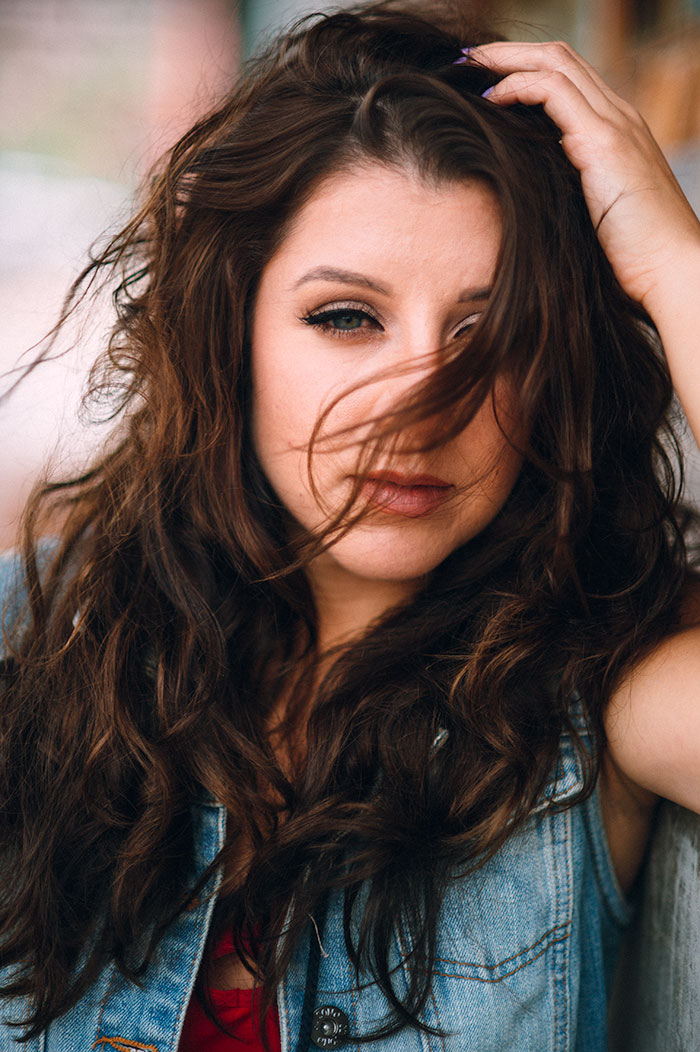
The light was so pretty I decided to do a couple of headshots.
A note on exposure: When working in the shade, our eyes may be accustomed to the brighter ambient making it seem as though the subject is too ‘dark’. But remember that we can place exposure (See PDF on Home Page) and bring the exposure of the tones into where we want them.
Here are two more of Bri in that same location. These are nearly full length and you can see the light behind her and how it interplays with the sidewalk under the overhang.
You can see how the area behind her that is not under the overhanging porch is blown out. That is because I am basing exposure on her skin tones and not on the ambient light that doesn’t matter to the image.
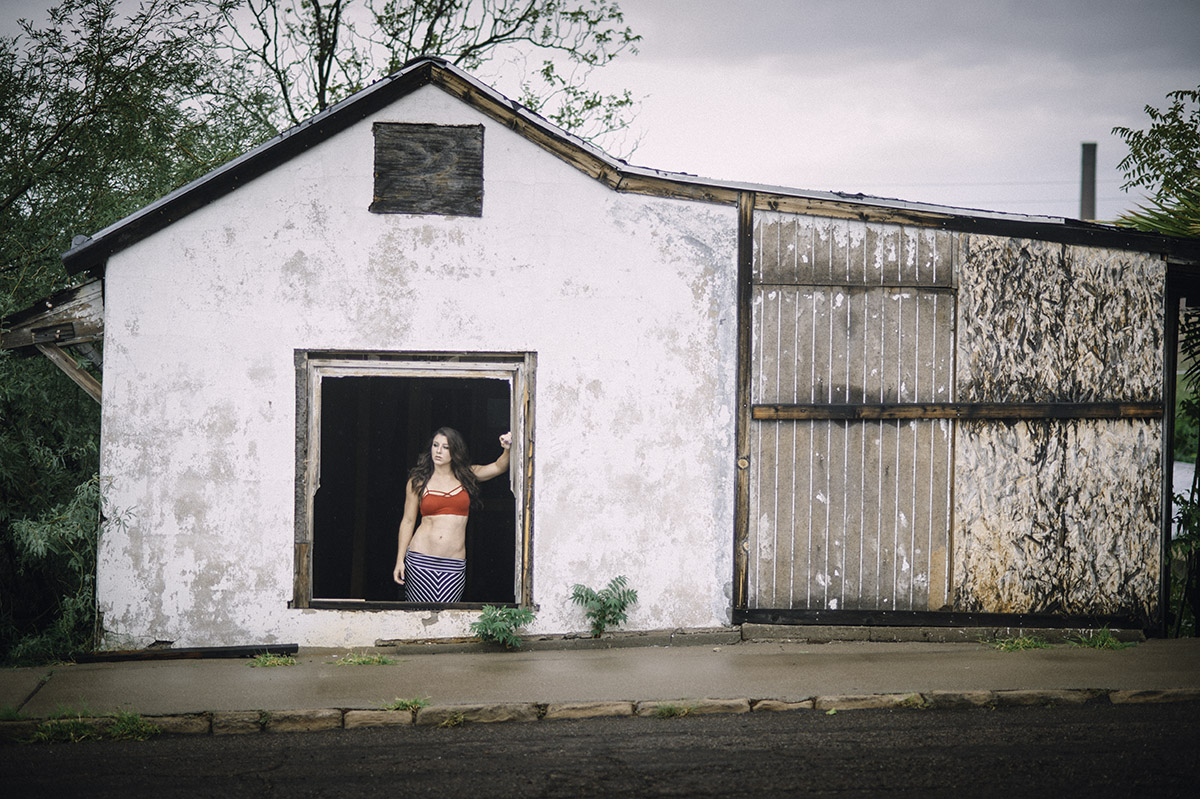
In this last example we see Bri and a large truck. The sky is still lightly overcast, but the brighter sun backed clouds are behind the truck. I am using open sky and clouds to make this shot. Notice how smooth the light is on the steel truck and how soft it is on Bri.
Open sky, shade is our assignment.
![]() On a trip to Mexico, I was able to get Jasmine up to the roof of a bright, white casita. We used no cards or reflectors, just the bright walls and bright sky to light her face. As you can see, the light is beautiful. Jasmine is sitting in the shade and there is light bouncing all around the space. As you can see, the light presents on the face as smooth and even and still allows for beautiful modeling.
On a trip to Mexico, I was able to get Jasmine up to the roof of a bright, white casita. We used no cards or reflectors, just the bright walls and bright sky to light her face. As you can see, the light is beautiful. Jasmine is sitting in the shade and there is light bouncing all around the space. As you can see, the light presents on the face as smooth and even and still allows for beautiful modeling.


![]() While shooting in Santa Cruz, I took some time to make some photos of Miranda. This shot was a totally natural light shoot and you can see the exposure is based on the face. This allows the highlights in the background, and on the top of her head to blow out a bit. I don’t care about the background, I care about how the light presents on the face. This light is 100% open sky with late afternoon light from behind the model. Simple, easy, and super beautiful.
While shooting in Santa Cruz, I took some time to make some photos of Miranda. This shot was a totally natural light shoot and you can see the exposure is based on the face. This allows the highlights in the background, and on the top of her head to blow out a bit. I don’t care about the background, I care about how the light presents on the face. This light is 100% open sky with late afternoon light from behind the model. Simple, easy, and super beautiful.
