How to modify an image to fit an alternate format by Chris Aldridge.
Here’s a walkthrough of how I modified an image to fit a particular format. There are several methods used here to widen the overall image so that it fits a wide but squat format. The layout required the main subject to be on the right side of the image, as it was being used for a pamphlet cover that carried over to the back.
Here’s how I did it.
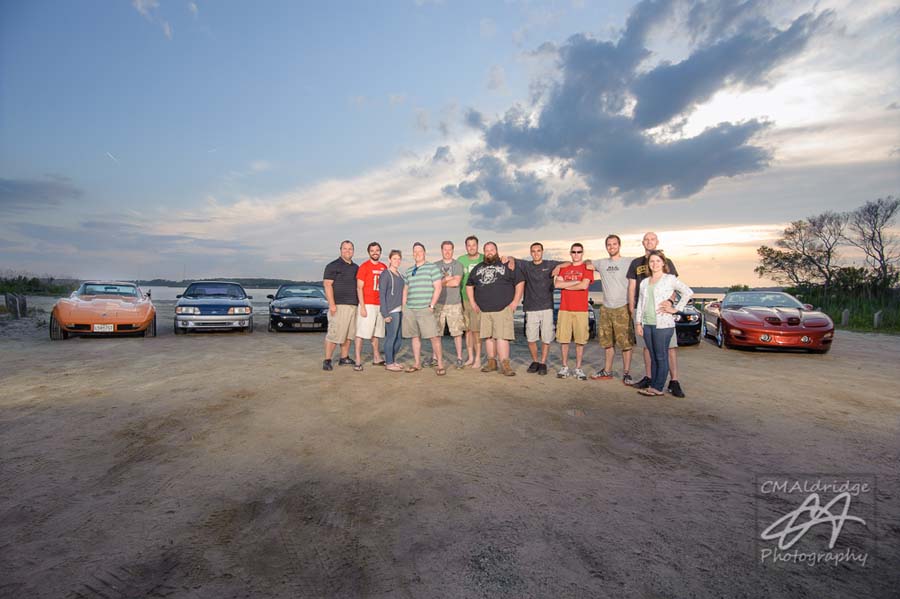
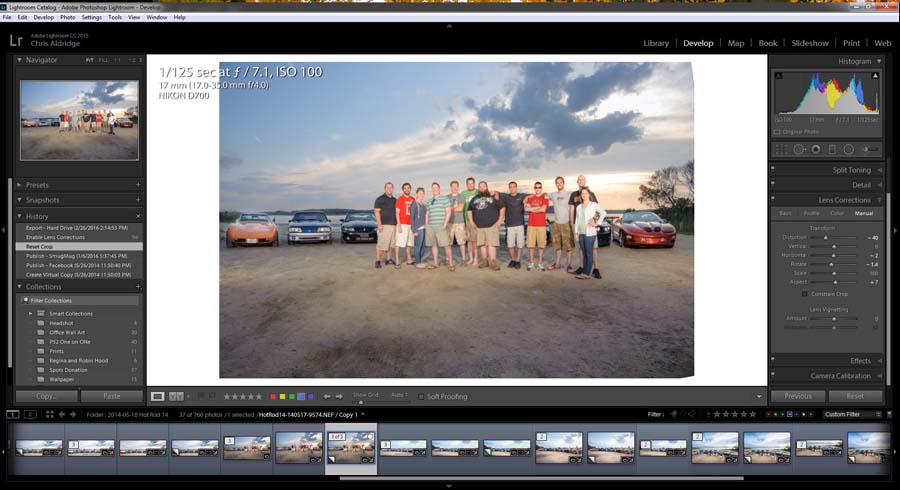
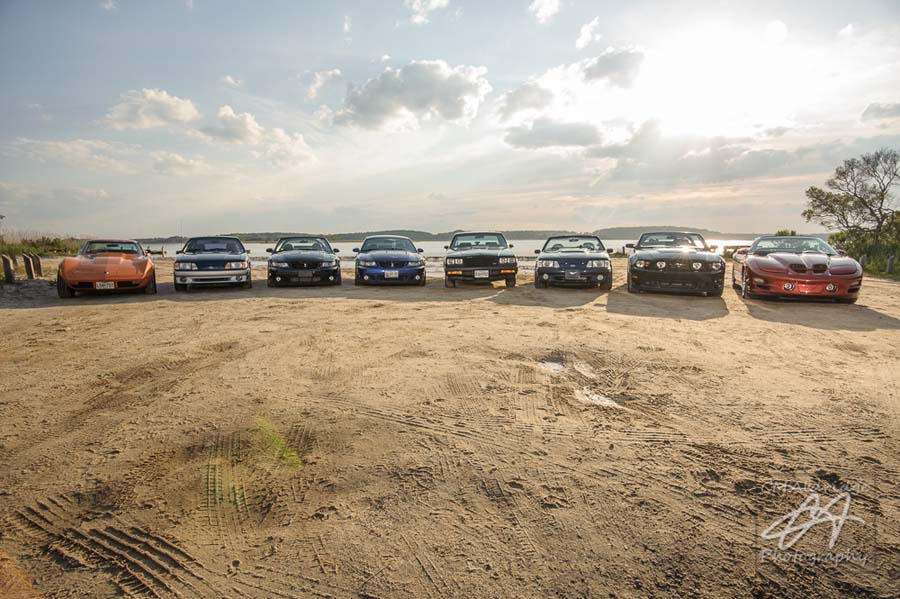
The initial image was a wide angle photo. There was a ton of distortion.
In Lightroom, I handled the distortion before moving over to Photoshop. I started with the profile corrections, but ended up using the manual adjustments to tweak the look of the image. You can see the settings on the right side.
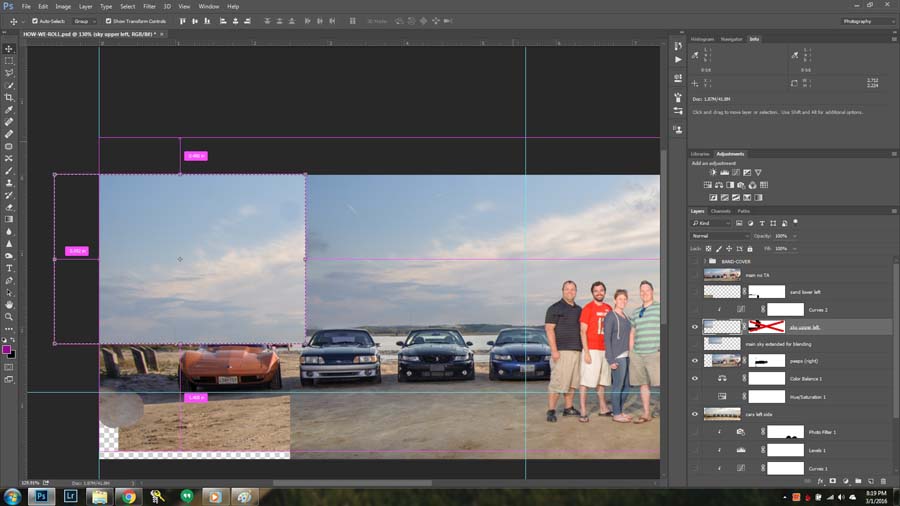
I opened the image into Photoshop, and dropped it into the layout and sized it for appearance. The image extends outside of the visible area, which is important as I will be using some of those components later to fill in the extended areas.
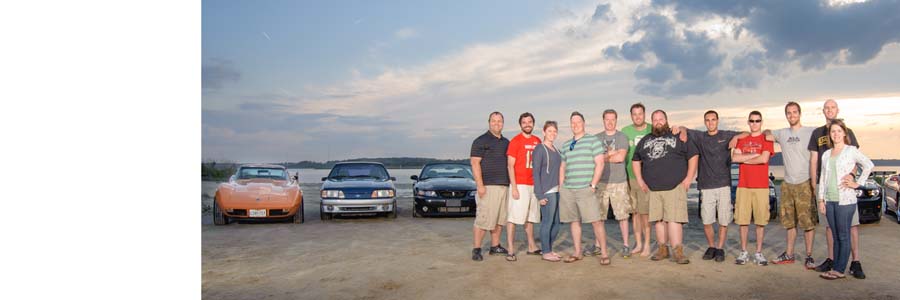
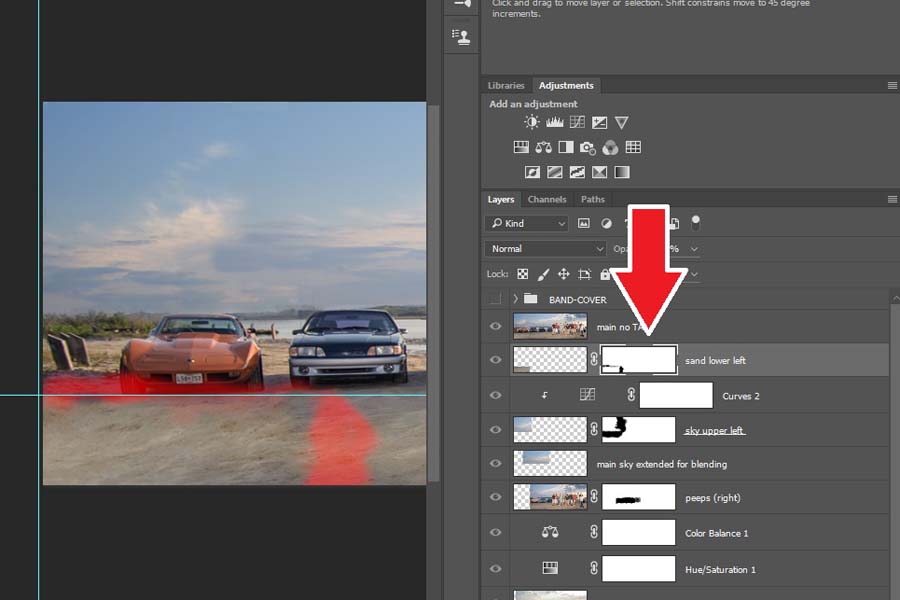
To get the additional content to fill the left side, that is shown as white above, fortunately I can use some of the cars that are blocked by the people from a setup shot of just the cars.
I dropped this into the layout below the right side image. The reddish area shows the layer mask I used to get the cars to show through. This was applied to the right side image.
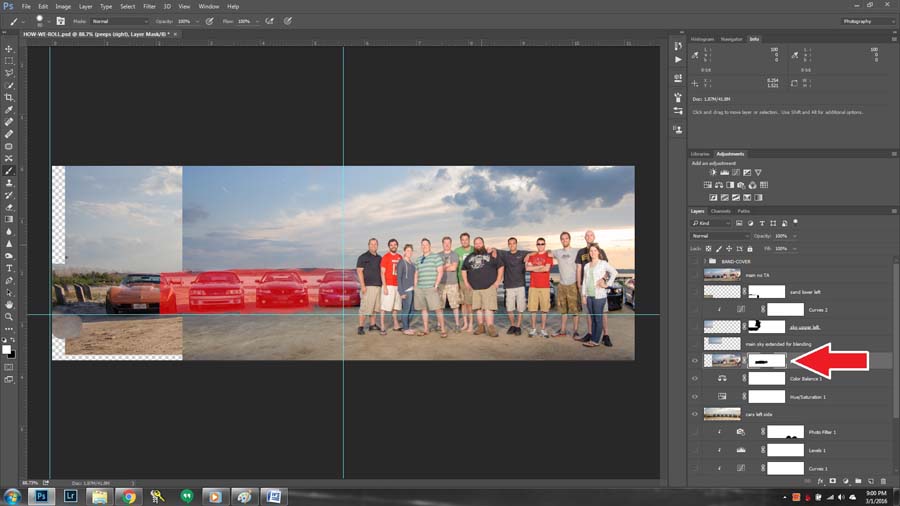
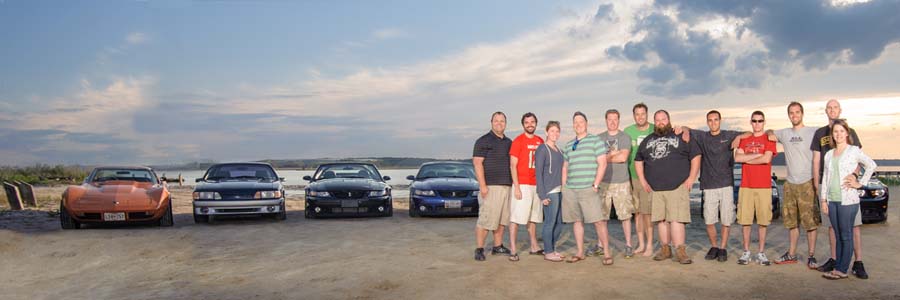
The layout is now almost fully covered. I could have moved the cars over all the way to the edge, but the car that was showing next to the far right had person was the same, so I lined them up there and blended. Moving it over more would have not lined up right at the center.
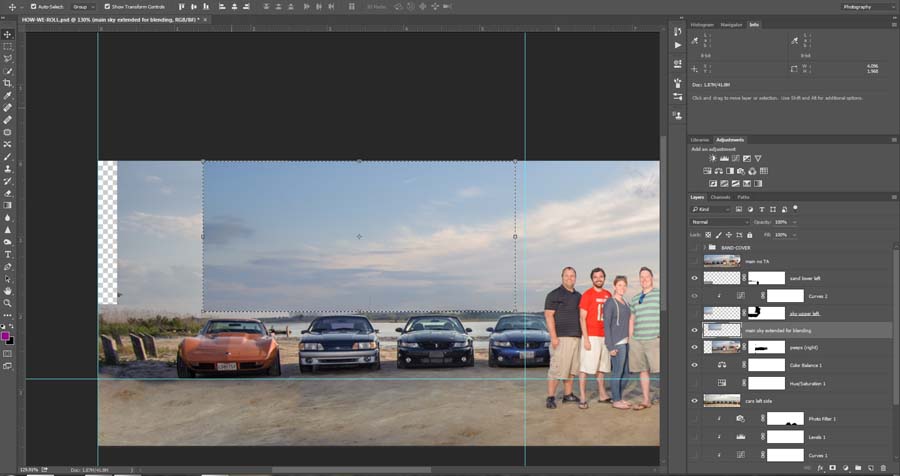
Now I had to blend the sky and the sand. This required extending the right side sky over the left. In the end, only the cars near the horizontal center are what is visible from the second image.
First I select the right section of the sky from the first image and stretch it some. I didn’t go further because it started to look odd. I did this by selecting the base image layer, then using the marquee tool, selected a usable portion. I made the selection a new layer by pressing Ctrl/Cmd-J. This allow for non-destructive editing should I need to make adjustments later.
I basically did this again for a smaller portion of the sky to fill in the last bit to the left. I selected from the original base image, so it would look different than the layer I just stretched.
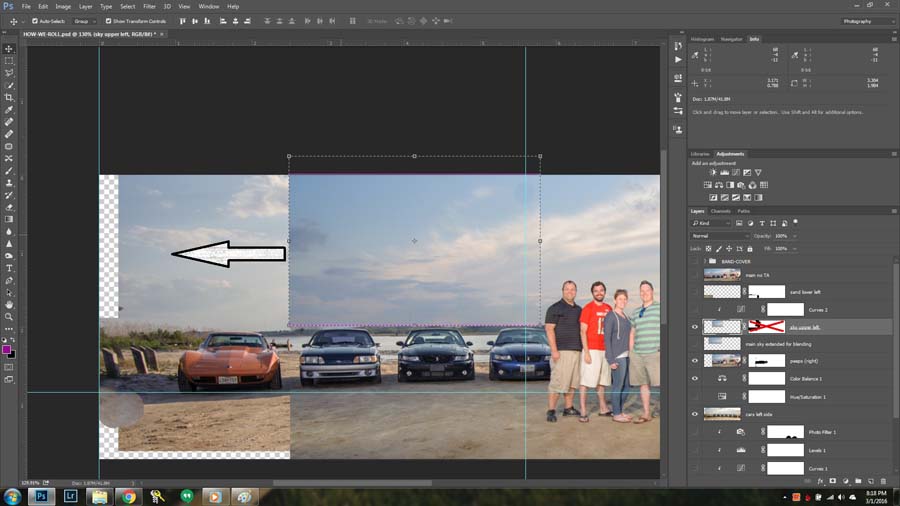
Because of the gradient of the sky, I needed to do some adjustments and blending. For this I added a curves layer above the cloud layer I just created and “clipped” it to it by clicking between the two layers while holding the Alt/opt key. You can also do this from the layer dialogue popup box show below.
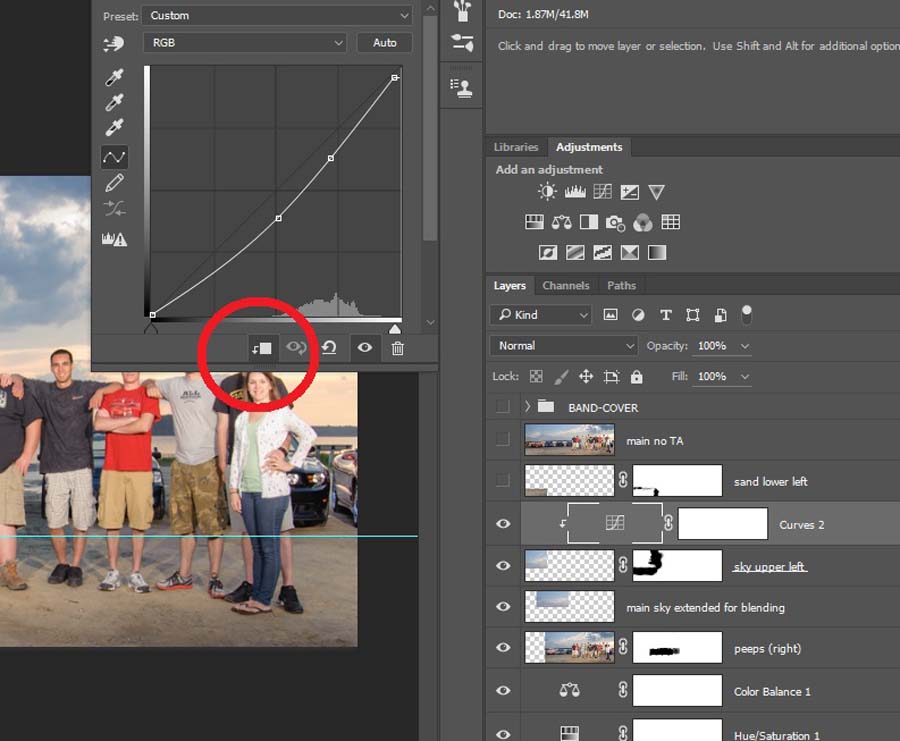
At the same time I opened a layer mask on the cloud layer and feathered the edges so that the two cloud layers would blend together.
Finally I worked on the sand. This was really tricky because there is a light gradient that isn’t noticeable until I moved a selection of sand over to fill in the spot.
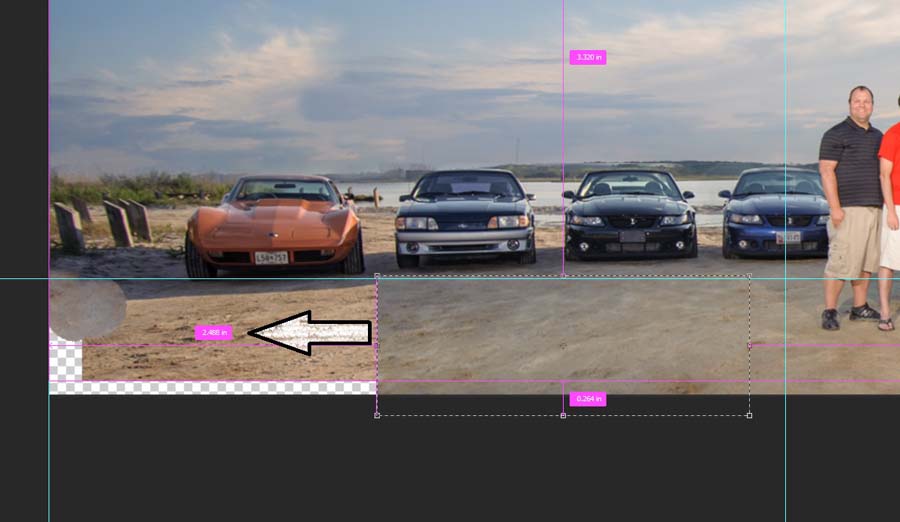
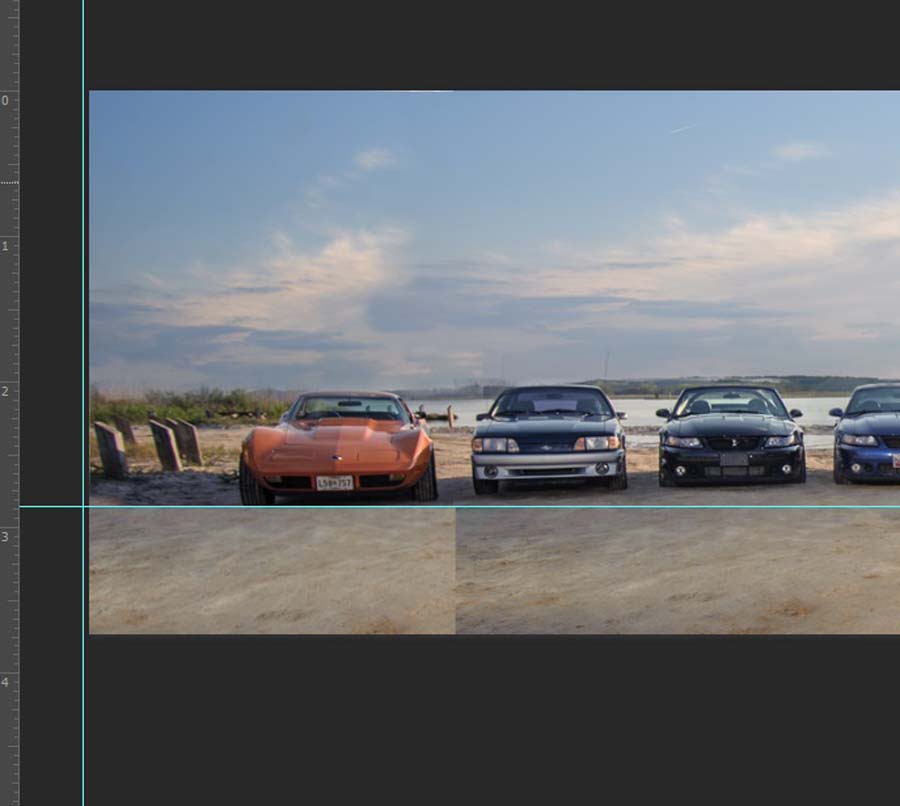
To remedy this complex gradient, I rotated the selection 180 degrees, and flipped it. Then using a layer mask as with the clouds, blended the edges with a soft brush. Again, the reddish areas show the layer mask blending.
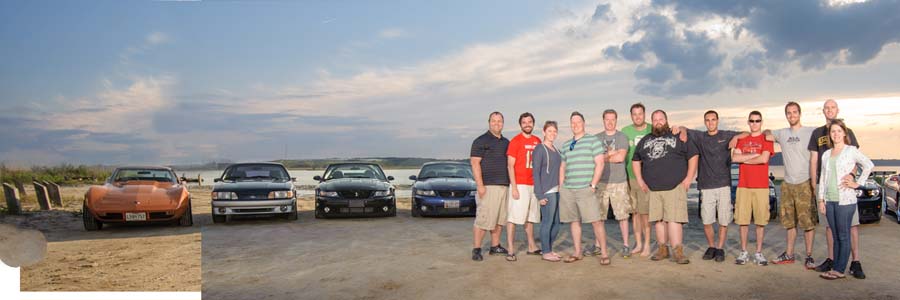
To finish up the image, I cloned out the car on the far right, and stretched the left edge a little bit, but otherwise it’s done.
See more of Chris’s photography on his website.


