This is a post from the old site, and I thought I would redo it for the new one. There are many things you can do when you find a great location. When Bri and I stumbled upon this one, I thought it would be fun to work out several different ideas.
We used flash, natural light, natural bounce, strobe and direct sunlight. It was a very cool place… just an empty lot with a graffiti wall and the sun setting in the West. Tucson has a lot of colorful places to shoot, and we just parked the car on the street and set up.
NEWS:
We have opened the Cleveland and Detroit Workshops and are taking enrollments. I have had some interest from Memphis, Little Rock and Modesto (Central Valley, CA). I would love to set those up. Let me know if there is interest there.
Our contest is up and running (info here) and we are seeing some very nice images in the pool. Be sure to enter and get your image up on the site. And please take a moment to visit the sponsors, maybe let them know if you appreciate their stepping up to give you all the awards for winning.
Posts you may enjoy along with this one:
Sometimes The Location is Not As Good As Promised.
Make Your Own Reality to Add Drama
Shooting With Megan and Raymond on Location
On Location: Anatomy of a Shoot
On Location with Gerry, Jim and Christina
And if you haven’t checked out our Tech Sheets, you should grab them and get started on your collection. We have them coming two per month. That will be a really nice collection when you get them printed out and in a notebook.
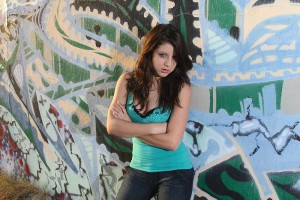
It was late in the day and we saw this very colorful, hand painted wall. I grabbed the camera while Briana changed into an outfit that we thought would look good against this very unique backdrop. Setting the bag where I wanted to start, Briana took her place against the wall for some side light with little fill. The sun is coming from a very, very low angle to camera left and the wall faces south, so the light is just scraping along giving texture and heavy side light.
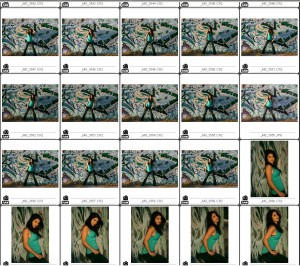
Here are the contacts from the fast moving shots. (Individual images follow.)
Starting out with the side lighting, I worked Briana through a variety of poses that showed the location very well and gave her a sense of place. I centered the figure in the frame and gave it a formal look. Getting a good feel for the shot, I then had Briana turn a bit and I started to shoot some 3/4 shots.
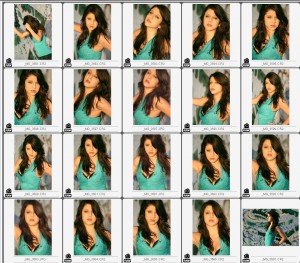
At this point, I noticed how the light was playing on her face. I moved to a position where I am shooting directly from the sun position. Importantl to note, Briana was able to look straight into a dark area behind me, and that minimized the squinting that could ensue if she were looking directly into the sun. The direct light is very, flattering – even with an already beautiful face
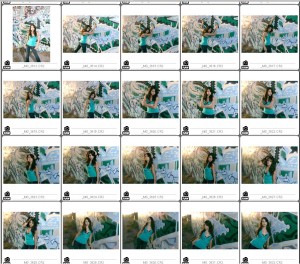
As it got later and later, I grabbed the strobe and started doing some fill. I shot with the sun as a split light, back light and side light. I shot fast and furious and at one point I moved her to a position in the field where there was nothing behind her but the sun. I didn’t really like the shot, so I quickly looked for another viewpoint. That is when I saw the two chimneys and realized that we could “Beat the Sun” with the strobe and have a very interesting background. I told Briana to do something different… well, you’ll see what she did. Within seconds of those shots, the sun was gone and the whole look of the set was completely different.
Side Light
Let’s take a look at how we did the shots. I will show larger images from the contact sheets above. Side Light from the setting sun draws well defined shadows and gives a very dramatic light to the model. I like the way it sculpts the body, adds form to the image and creates a cool shadow on the wall. The shadow acts as a part of the composition and adds a design element.
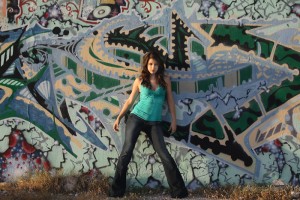
Working with the model, be sure not to turn her head away from the light. Putting her face in the shadow may not be flattering. Not to say you cannot, just make sure you see what is happening on the face. Watching the face as it turns toward and away from the light will help determine the best angles to make the image. Heavy shadows from the nose and cheeks can be very unflattering.
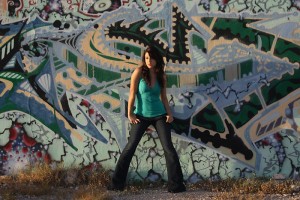
At this point, I moved Briana away from the background so the light could sculpt the face and body. Now there is no shadow on the background and there is a feeling of separation. Since she is no longer next to the wall, the light just fills in and her shadow is no longer a part of the image. The stark contrast is now played out against the even light on the background.
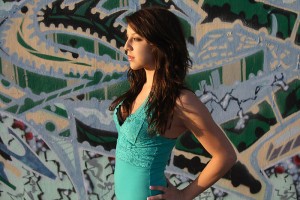
Direct Light
I moved around to start shooting some 3/4 shots and noticed how incredible the light was coming straight over my right shoulder. Since I love direct sunlight, it was striking to me. I will walk around the set looking at how the light works – especially how it sculpts things, creates shadows, adds highlights and let the drama be revealed.
Direct light can also be a challenge if it is too bright. Some models have trained themselves to look into the sun, but a certain amount of squinting is natural. As the sun gets lower on the horizon, the model can look into the dark areas in front of her, not necessarily the sun itself. In these shots, low mountains are behind me and they create a very dark (backlit) area for her to look into. I kept the sun over my right shoulder and worked from the axis of the light.
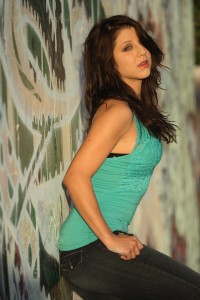
The shot above was taken with a medium telephoto. Even at a wide aperture, the background is too much in focus for me. Quickly I moved the zoom all the way to 200mm at 2.8 and started shooting a head/shoulders kind of look. I had Briana keep moving and shot rapidly: Result.. lots of different looks. Moving from side-to-side with little movements, you can control the sculpting of the light/shadow and how the light plays on her face.
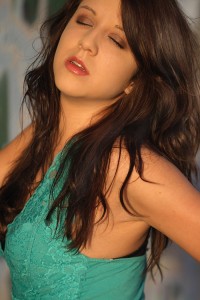
Strobe
I reached for the strobe, turned it on and fired up the wireless remotes in about 30 seconds. Keeping that gear in easy reach and ready to go helps when the sun is moving this fast. I did several shots of back and split lighting against the wall. There were lots of good shots, and I included this one as an example of split with strobe and sun nearly equal.
It helps to know what the power of your strobe is when doing this kind of work. I know that my speedlights put out about f-8 at 1/8 power at ISO 100 at about 6 feet. As long as I am working within the acceptable sync ranges, I can place my strobe at 6 feet and be fairly sure of the exposure. I can either dial the power down or up, or move the light in and out by small amounts. See this post for one way to learn your light and quickly make your exposures.
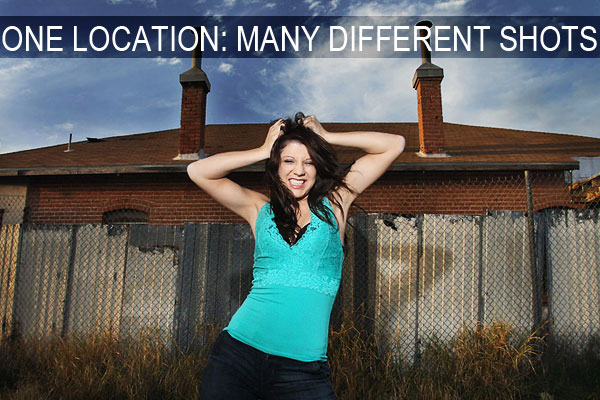
We moved on to a set where we are using ambient light with a little strobe for pop. I turned and noticed the old wall – then the cool double chimney and decided to use that as my background. It was being softly, but directionally lit with the sun, so I beat the sun by a stop and lit Briana with my strobe. The resulting image is quite striking as the light seems to be coming from different locations… cause it is.
I have a speedlight to camera left and on a stand high. It is set to 2/3 stop over the ambient light exposure. When I make the shot at the correct exposure for the flash, the ambient light will be 2/3 underexposed. Still enough light to show the feeling, texture, and warmth of the ambient on the building and chimneys, and deepening the sky color. There is an additional speedlight to far camera right. It is matching the ambient for exposure so all it does is keep the dark side of Briana from going dark. It sets her in front of the background and keeps the feeling of separation very strong.
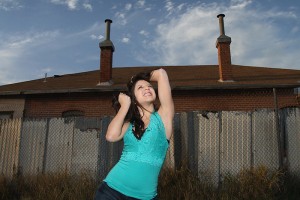
Here is a second shot from the strobe and ambient mix.
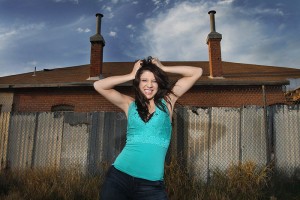
I simply took the ambient light reading and set the strobe to give me about 3/4 stop more light than the ambient alone. That lit Bri up, threw a little shadow on the back, and still left the ambient light to expose the sky and the little building.
The sun is just at the horizon and before the strobe could recycle, the sun was gone. The whole scene changed and we decided to head for another location to capture the bright western sky and light Briana with strobe. Downtown was next.
See you next time for more Lighting Essentials fun. Be sure to visit Borrowlenses.com if you need a special lens, and Mighty Images if you need some great large prints.



I\\\’ve got a group shoot with a graffitti-covered wall this weekend. Just sent this link to the group so they can learn too. Thanks Don.
Hi Don, greetings from the UK again.
You replied to a post of mine a few weeks ago when i asked which Raw convertor you preferred (ie DPP or Photoshop). Many thanks for the speedy response Don.
Would there be any chance of you putting a tutorial on your site or your You Tube videos, on how you process your Raws in DPP from start to finish, before you take it into Photoshop. I think those of us who also use DPP as our Raw convertor would find it very interesting indeed, as i\’m sure everybody uses different styles of processing their images, i know speaking for myself i would find it very interesting to see what your favourite settings and tricks are before you actually get the image into Photoshop.
Thanks once again for such an informative site Don.
Regards
Steve.