Making The Subject Look Cold
By Pablo Minier
(This is the last of the March Madness tutorials. If you want to take them all in, just click the March Madness graphic on the right and it will take you to a list page. We hope you enjoyed these little tutorials and got some useful info from them. A very big SHOUT OUT to all the P52 members who took the time to prepare these for you. Interested in next year’s Project 52? Stay tuned for the announcement coming in April.)
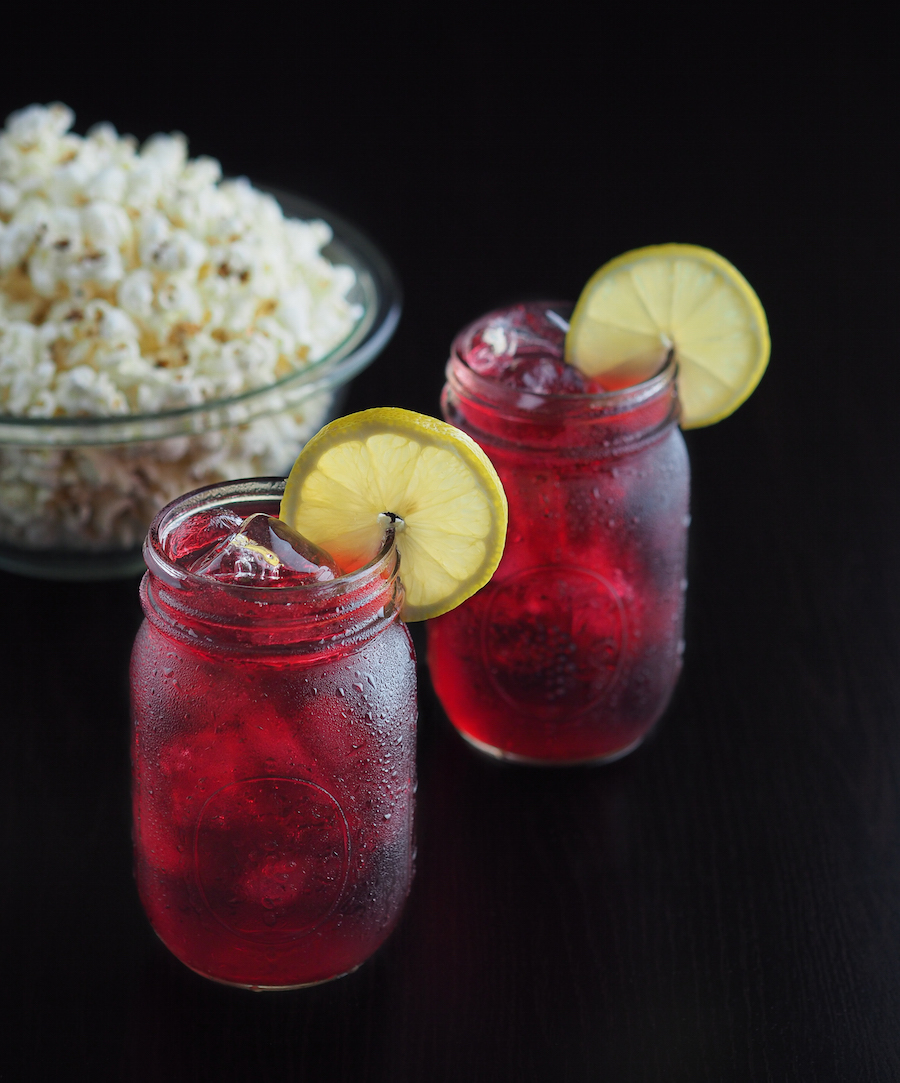
One of the challenges of food photography or any visual medium really, is to convey sensory experiences when your viewers can only interact with your image using their eyes. How do you let them know that a beautifully pour espresso is hot and fresh? Or that a steak is tender and juicy? What about a cold beer? That’s where visual cues come in. Fortunately our brains are an amazing feat of biological engineering so we are able to associate certain visual characteristics of different objects to how they feel to the touch or how they might taste or smell. In this tutorial we’ll cover one such visual cue: condensation.
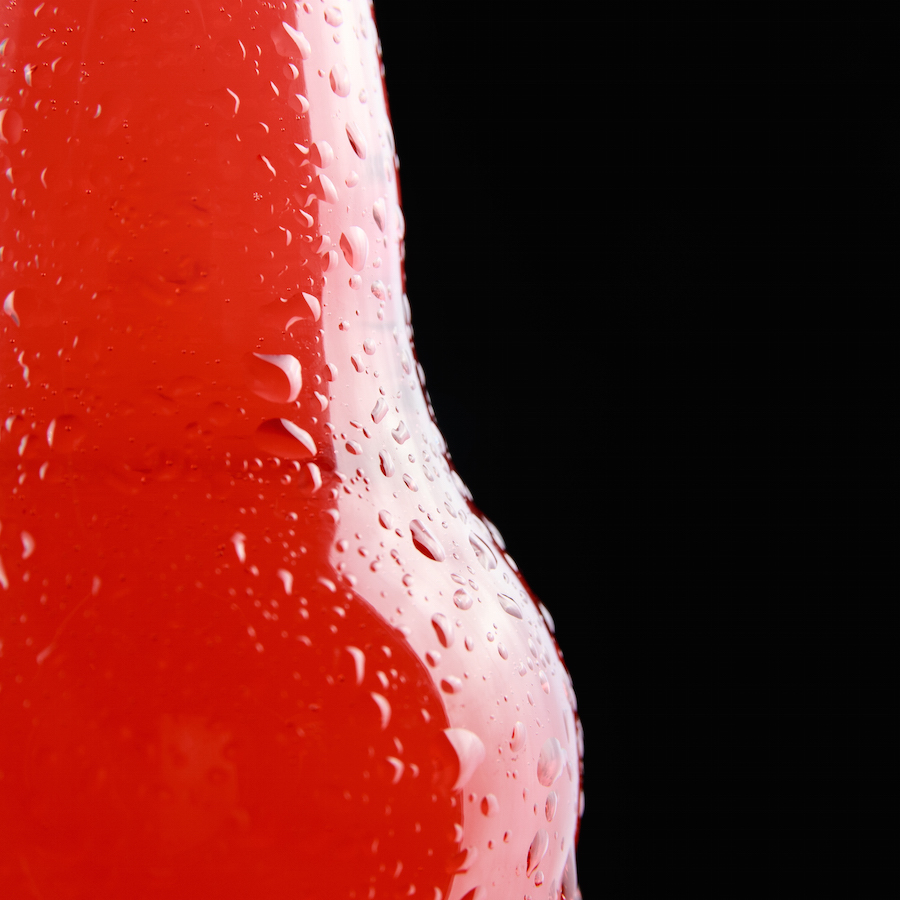
When the temperature of an object is colder than the environment that surrounds it, water droplets will accumulate on its surface and that’s how we know that something is cold just by looking at it. So hurray for condensation! The thing is that this phenomenon doesn’t last for a long time, especially if you’re working on a studio with hot lights or even using window light. We need to find a way to takes advantage of this visual cue without having to pop our subject back in the freezer and wait for 15 minutes. Don’t worry, here comes glycerine to the rescue!
The solution is rather simple, mix water and glycerine at a 1:1 ratio, pour your magic liquid in a spray bottle and be ready to be amazed. As it turns out this mixture when applied carefully will take a really long time to dry out and it won’t drip (unless you spray too much of course). So at this point you are probably picking up your keys and going out to your local store to get some glycerine; make sure to also get at least 3 totally different spray bottles while you’re at it (every bottle has a slightly different spray pattern that is further modified by the distance and angle that you use to spray your subject).
So there you have it folks, a nice and easy way to use visual cues to elevate your food photography. Happy spraying!


