Let’s take a single image today and deconstruct it out to see exactly how it was created. The shot is of Briana in Mexico while we were doing the September workshop in Puerto Penasco, Mexico. Also known as Rocky Pointe, the little town had become a favorite shoot spot for us so we always return for an afternoon of image making and fun!
Evan was working with Briana in an area very close to this set so when he finished I asked to jump in real quick to take a shot. I already knew exactly what I wanted to do so it was easy and quick to set up.
Have you seen the newest column by our resident model and author, Briana? She is taking questions about modeling and working with photographers. If she doesn’t know the answer, she vows to get it. If you have a question about that side of the camera, the really scary side, ask away in the comments section. Go to the tags and click on “Ask Briana” or visit her “Model Behavior” section on the site. Also take a look at our newest post on the Magazine.
A plug for the workshops: Detroit is this week, and Atlanta next week. Get enrolled fast. I think they only have a few openings left.
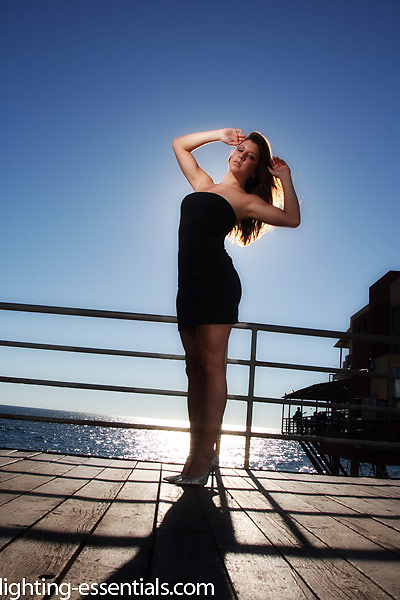
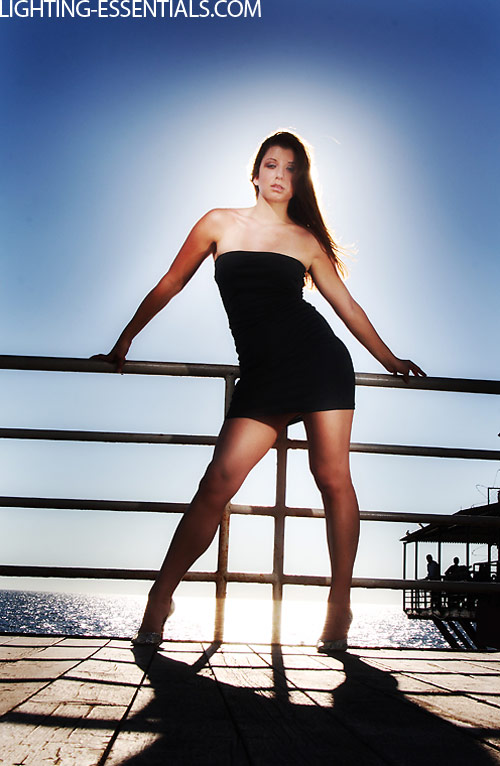
I saw the specular coming across the ocean toward Bri and I wanted to incorporate into the shot. The sun was throwing a shadow toward me on the pier and I lay down to position the shadow of her head right over my camera. That meant that the light of the sun would be like a glow behind her head and act like a spotlight behind her.
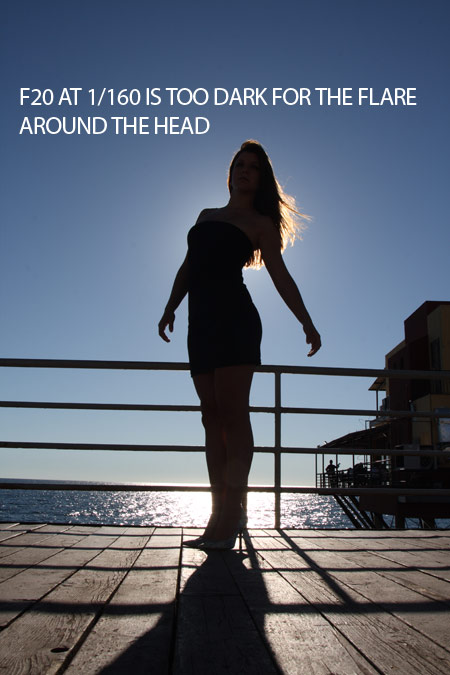
I took the first shot at an exposure that I knew would be close, f20 at 1/160 of a second. Knowing that the ambient around us was f16 at 1/100 at 100 ISO, I wanted to see how the underexposed image would look. f20 is 2/3 stop under exposed (f20 is 2/3 under f16) and 1/160 was 2/3 stop underexposed by shutter speed (1/160 is 2/3 less exposure than 1/100). Total was 1 1/3 under the ambient. Of course this is a backlight situation which changes it up a bit, but I wanted to see what the shot would do with those settings.
I didn’t fire the flashes this time. I only wanted to know what the other part of the scene would look like. Whenever I do this I shout ‘test shot’ and never know what Briana will come up with. I should do a book sometime of all the strange and crazy ‘test shots’ we have.
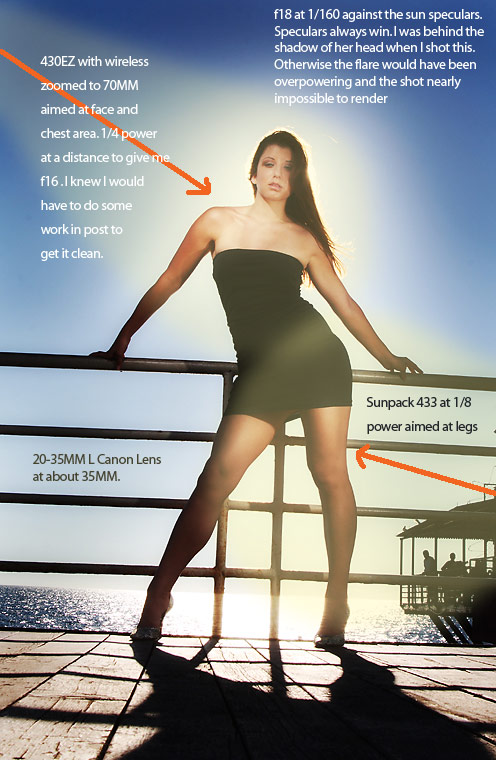
I thought that the flare was too faint around her head so I opened the shot up to f16 at 1/160. At this point I added my flash units in. The flash to camera left is a 430EZ and it set to 1/4 power and zoomed to 70mm. I knew where to place the flash because of the distance / aperture tests I had done. To get f16 I needed to bump the power from 1/8 to 1/4 and position it at the distance of my arm span. Mike is holding the strobe and aiming it at Bri’s face and chest.
On the other side is Evan with an old Sunpack 433. It is set to 1/8 power and he is in a bit closer. I wanted him to keep the flash aimed on her dress and thighs. This would give an interesting cross light to the subject and add to the overall ‘spotlight’ thing I was going for.
This shot shows that the light is pretty good for Bri's face but a not nearly what I wanted for her legs.
I liked the exposure here and the area around her face looked like I wanted it to. Tweaking the light by bringing in the legs light on camera right about a foot. It doesn’t take much, just tweak a little and check. Small movements can make big differences in the light – both from a power situation and coverage.
Here is a diagram of the light position.
I was happy to start letting Bri do her thing while keeping in the shadow of her head. The flashes were giving me fits, but we managed to get several good shots. I like to let her know what the recycle time is by audibly giving her a few cues… she takes that rhythm and we can shoot for a while with little direction from me. She takes a simple pose and works the heck out of it before moving to another big change.
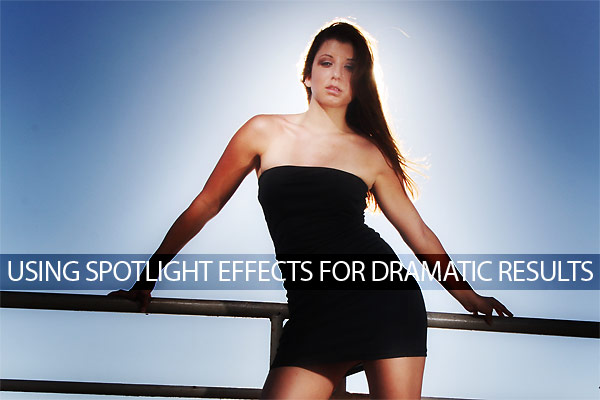
Here is the finished shot:
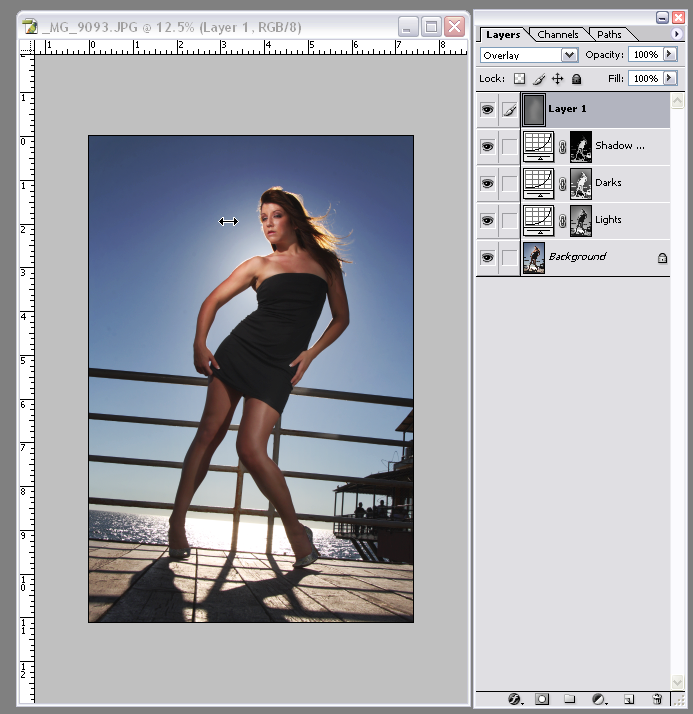
I did some work in Photoshop, but not much. Here is a shot of the screen of the photoshop work. I cleaned up the skin a bit, and then added some contrast with different sets of curves. I also added a bit of highlight with overlay painting with white. Very minor. There is also a very faint use of the shadow/highlight slider that does not show on the layers pallet. Use that filter judiciously unless you want the extremes that it can produce.
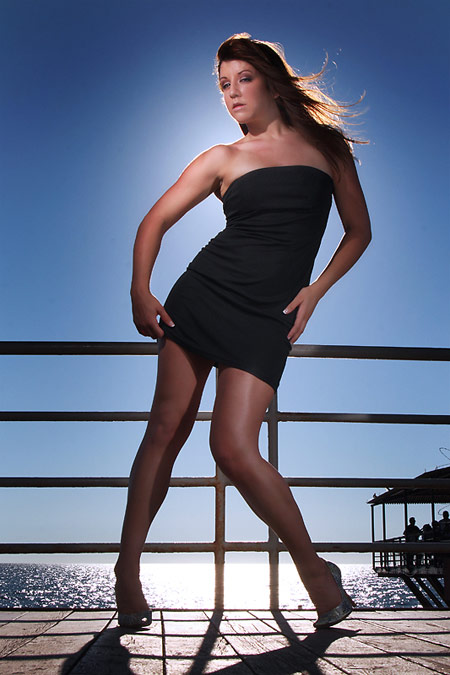
The shot was pretty clean, but I did bring out her legs a bit, and add to the overall luminance of the image. In the end, the spot light on the back of her, combined with the opposing lights on different places on her figure gives the shot a fun, dramatic look
One last shot I also liked:
I hope to see you again at Lighting-essentials.com. This week we will be posting some more stuff from Mexico and then Bri and I get on a plane to Detroit. We will be posting there as well, so be sure to visit to see the nearly live uploads from the Detroit workshop.



Thank you so much for the shots and the explaination. It makes so much sense when you explain it like that.
Is it just experience that lets you know where to start with your shutter speed, ISO and aperture? I would have had to play around with those settings for a while to get close and afraid I would lose the model in the process.
Thanks for all the detailed info, always wondered how to get such amazing photo’s directly facing the sun.
Awesome photo’s
Roger
awesome shot and explanation! You are a great photographer and teacher!
awesome shot and explanation! You are a great photographer and teacher!!..FYI I am colorblind and have the hardest time with the secirity codes! haha
Hi guys. Question, if i may.
I’m getting this “spotlight” or “gotcha” effect on lots of my photos, since I’m using flash, especially indoors. They just look fake and staged. Is there a way to really soften the light and widen the spread of it so it looks more natural while still being able to shoot from a reasonable distance?
Much appreciated